Want to know how to dry flowers? Here's everything you need to know
It's easy once you know how to dry flowers and this guide has all the advice you need to get started
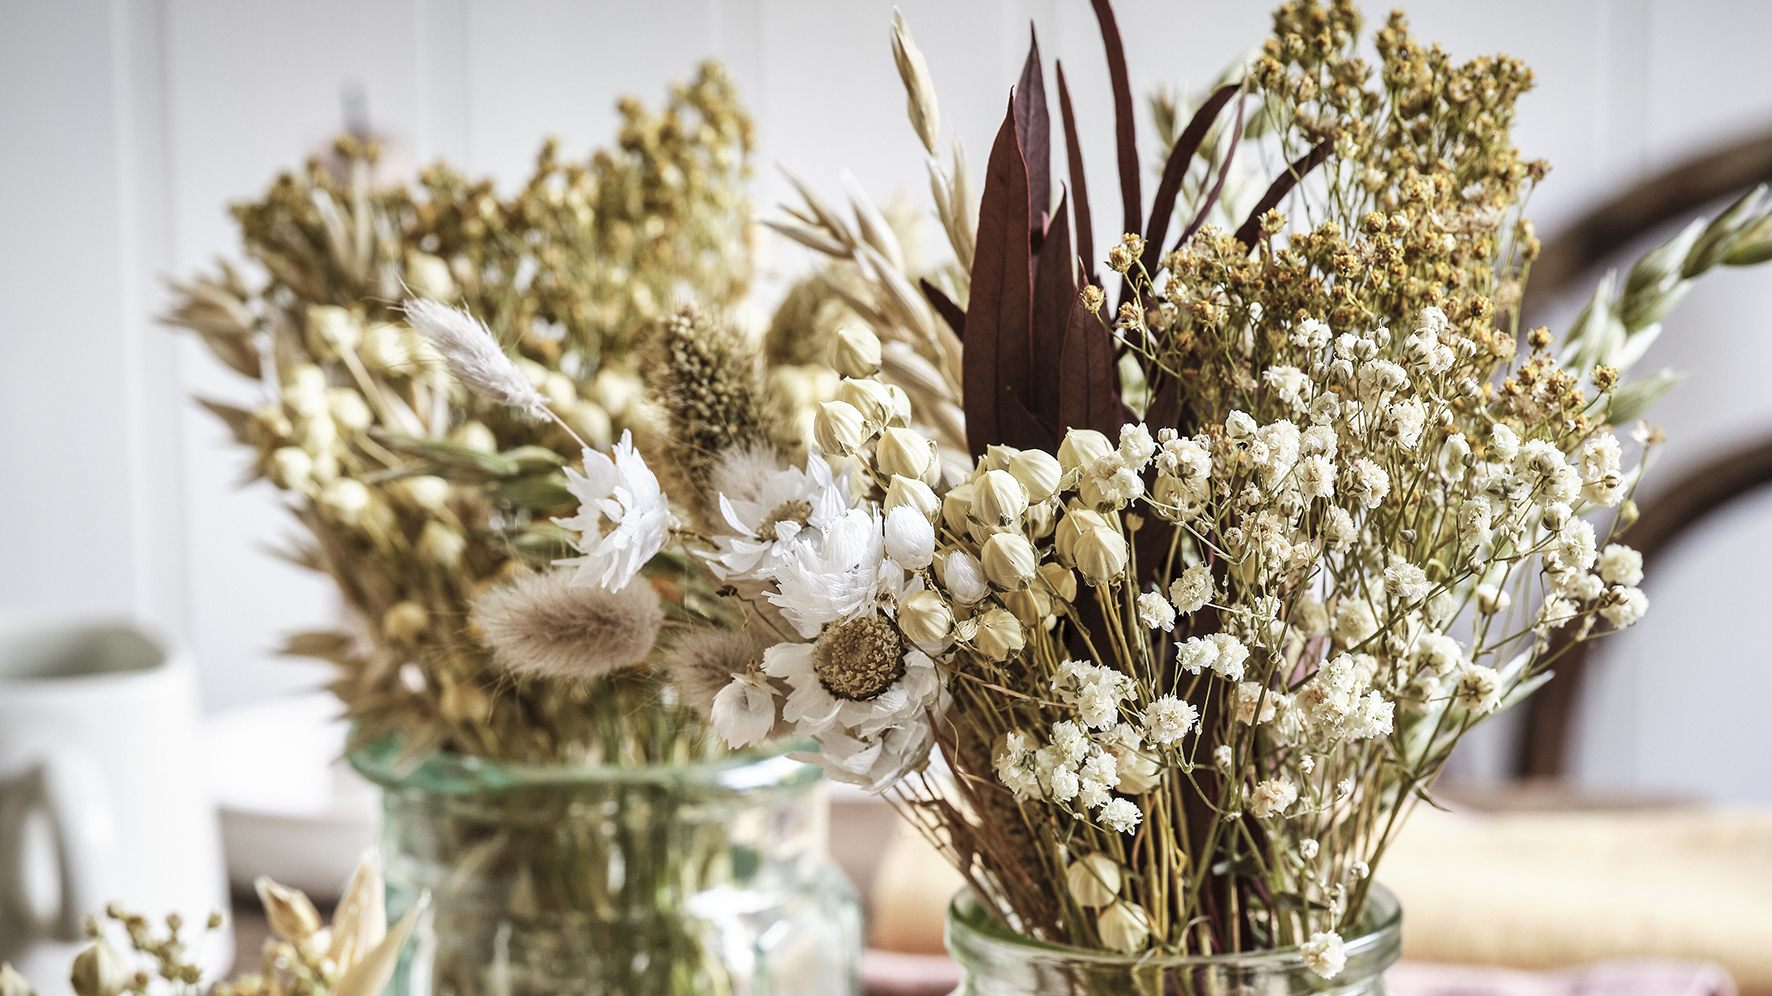

Once you know how to dry flowers you can have floral displays in your home which last for months. Fresh blooms will only give you a few days on joy but with the latest craze the fun never stops, plus it helps prolong the life of your treasured garden blooms. It's all over Instagram and the high street and there are so many varieties of dried flowers and foliage available to buy, but why not save yourself some money and get drying yourself? It’s so easy when you know how!
There are just a few simple steps you need to follow to get your own dried flowers just like the ones you can buy in shops and online. There's also a few other things to bear in mind such as when and how to harvest your flowers. Possibly most important of all we've got all the tips on how to get the best looking displays possible once you've worked out how to dry flowers. Then all that's left to do is provide the correct after care to ensure your displays last.
Once you're up to speed with how to dry flowers, make sure you head over to our indoor plant ideas for more ways to bring the outside into your home.
HOW TO DRY FLOWERS
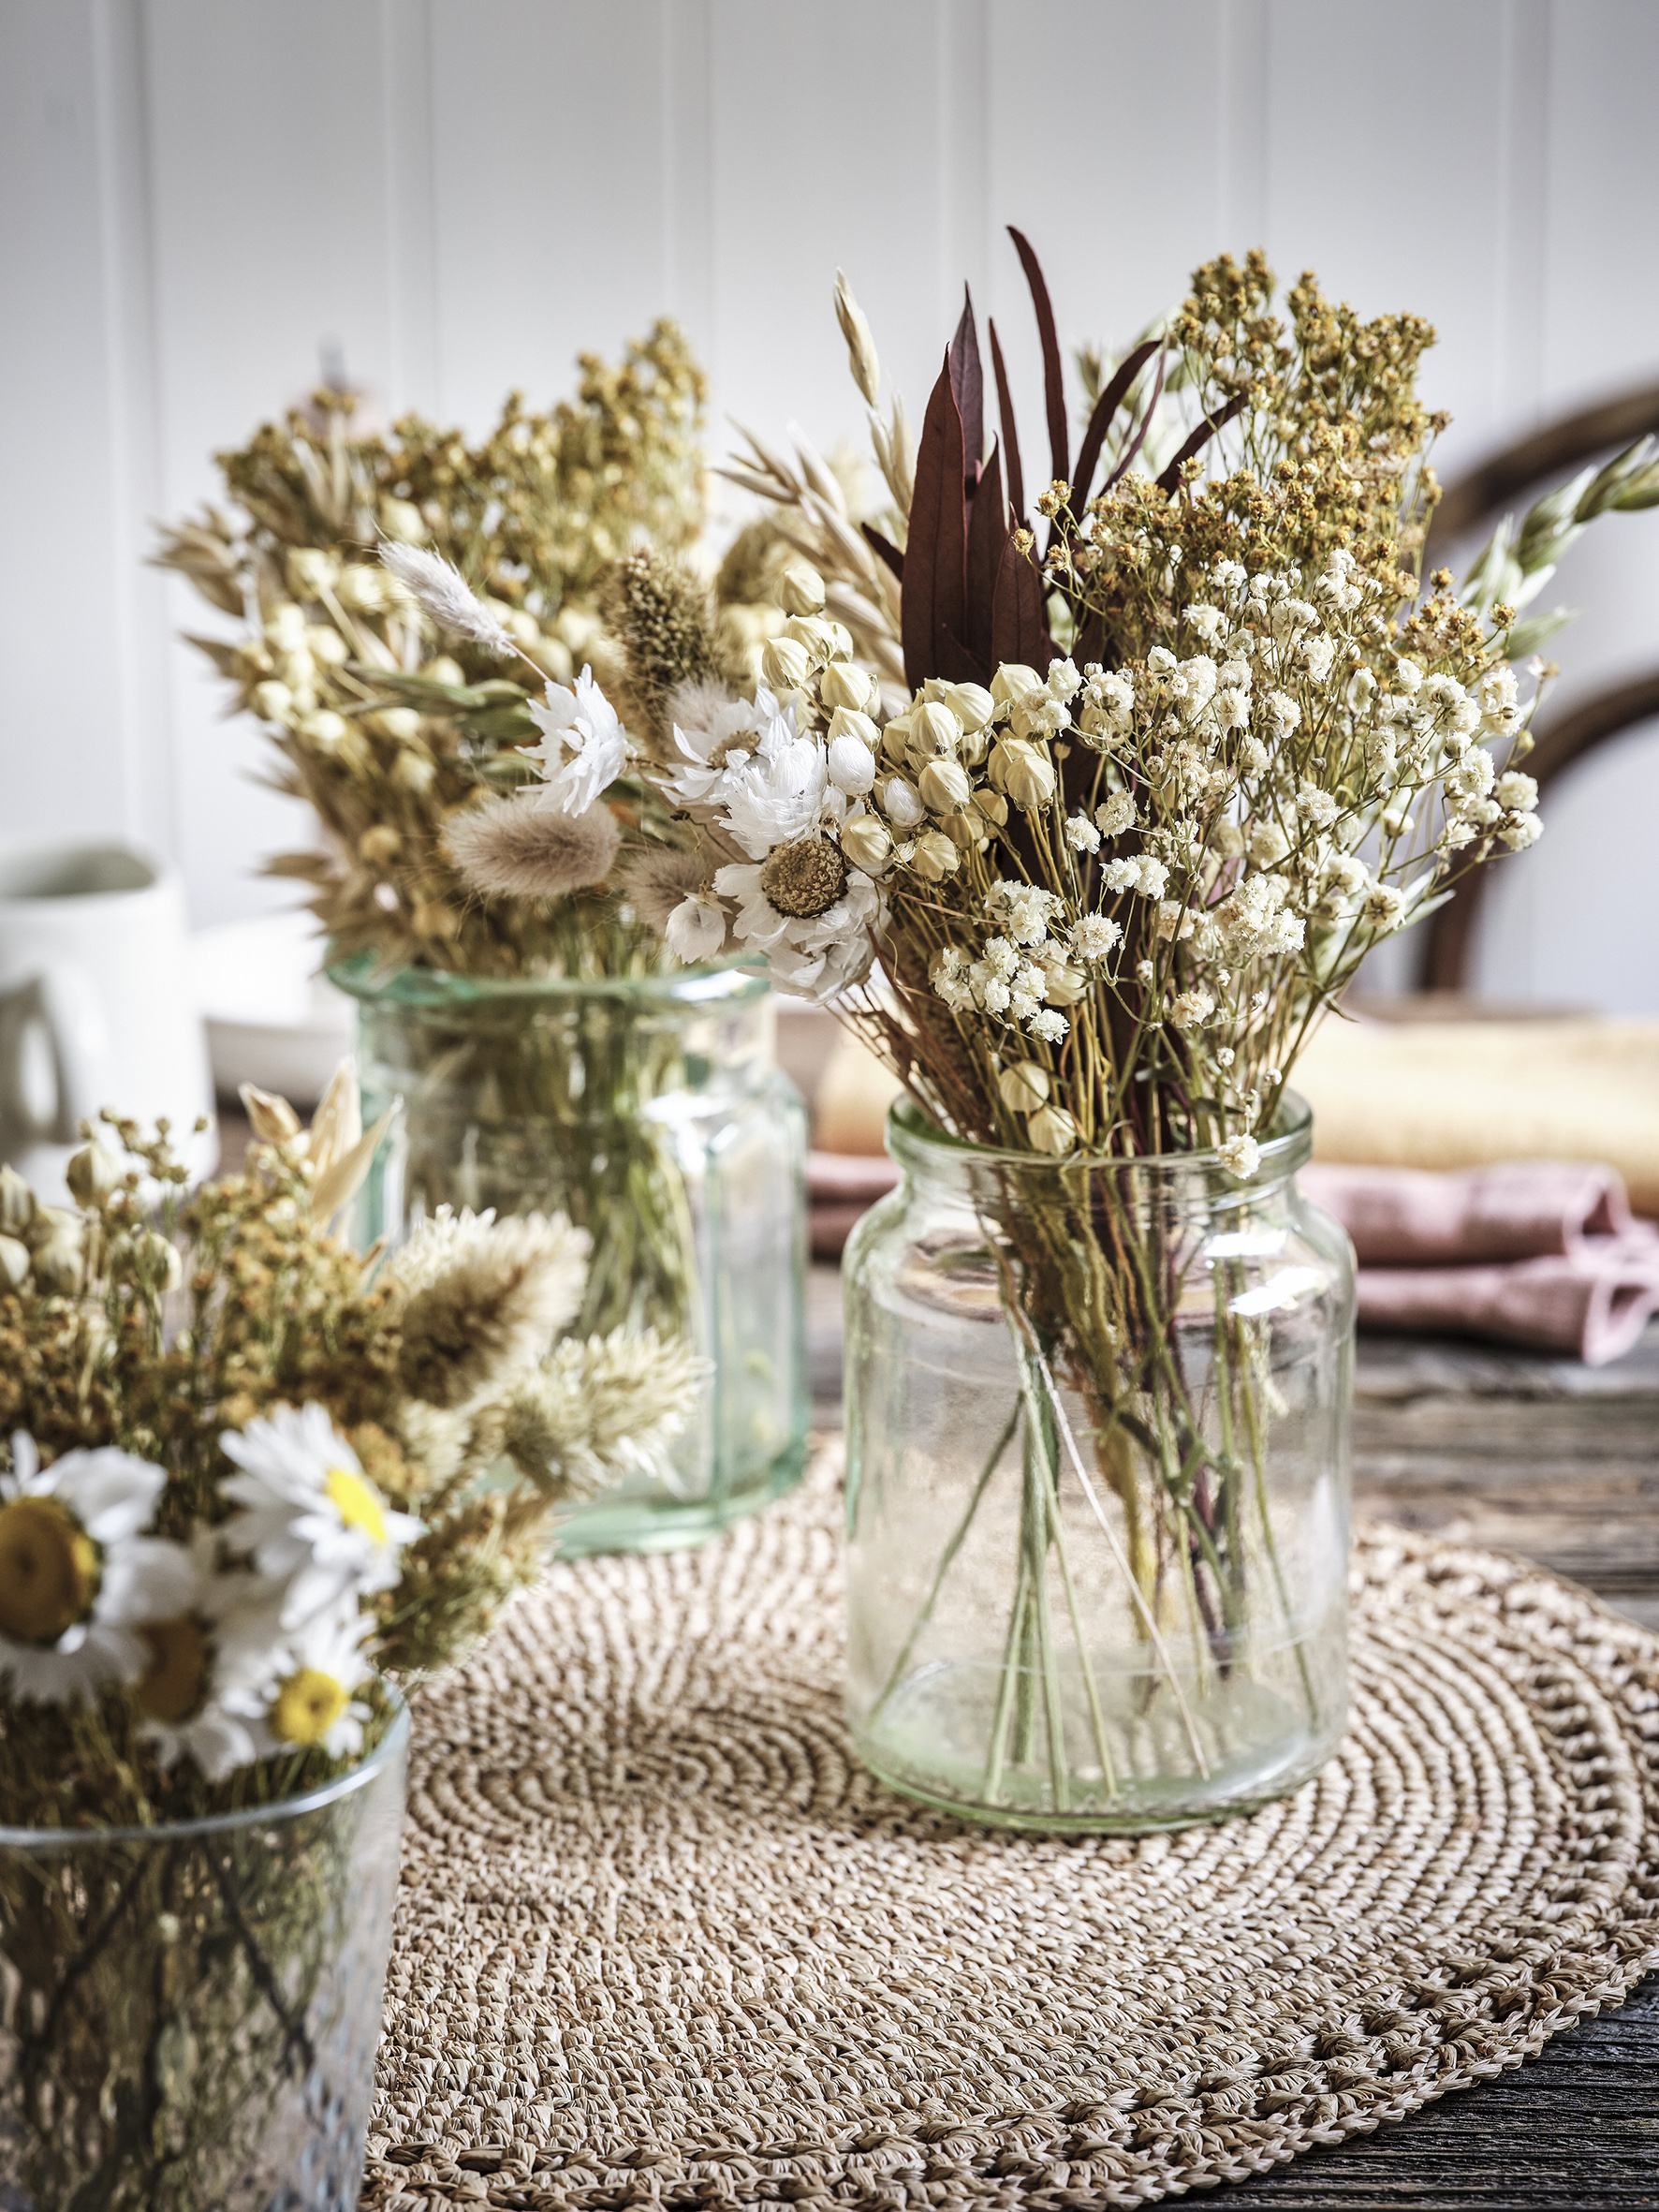
You can buy dried flowers but there’s something even more special about collecting the ingredients for your display from your own garden. Pick flowers and foliage on a dry day, after any morning dew has disappeared. There are two methods of drying – air drying or by microwaving which can be used as a general rule for most flowers. But you can scroll down for specific drying techniques for the best dried flower varieties.
To air dry, remove excess foliage, tie stems hanging downwards on a coat-hanger, then place in an airy enclosed cupboard away from the light. Leave for up to three weeks to completely dry out.
The microwave method is suitable for smaller flower heads. Take a one-use microwave dish and place few centimetres of silica gel inside. Place the blooms on top then heat in the microwave just above the defrost temperature in blasts of one minute for up to 5 minutes, checking frequently. Once the flowers are dry, remove the dish, cover and leave for a day. Remove any gel from the flowers with a brush and coat with clear acrylic spray to prevent yellowing. Keep flowers at their best by placing away from direct light.
THE BEST FLOWERS AND HOW TO DRY THEM
HYDRANGEAS
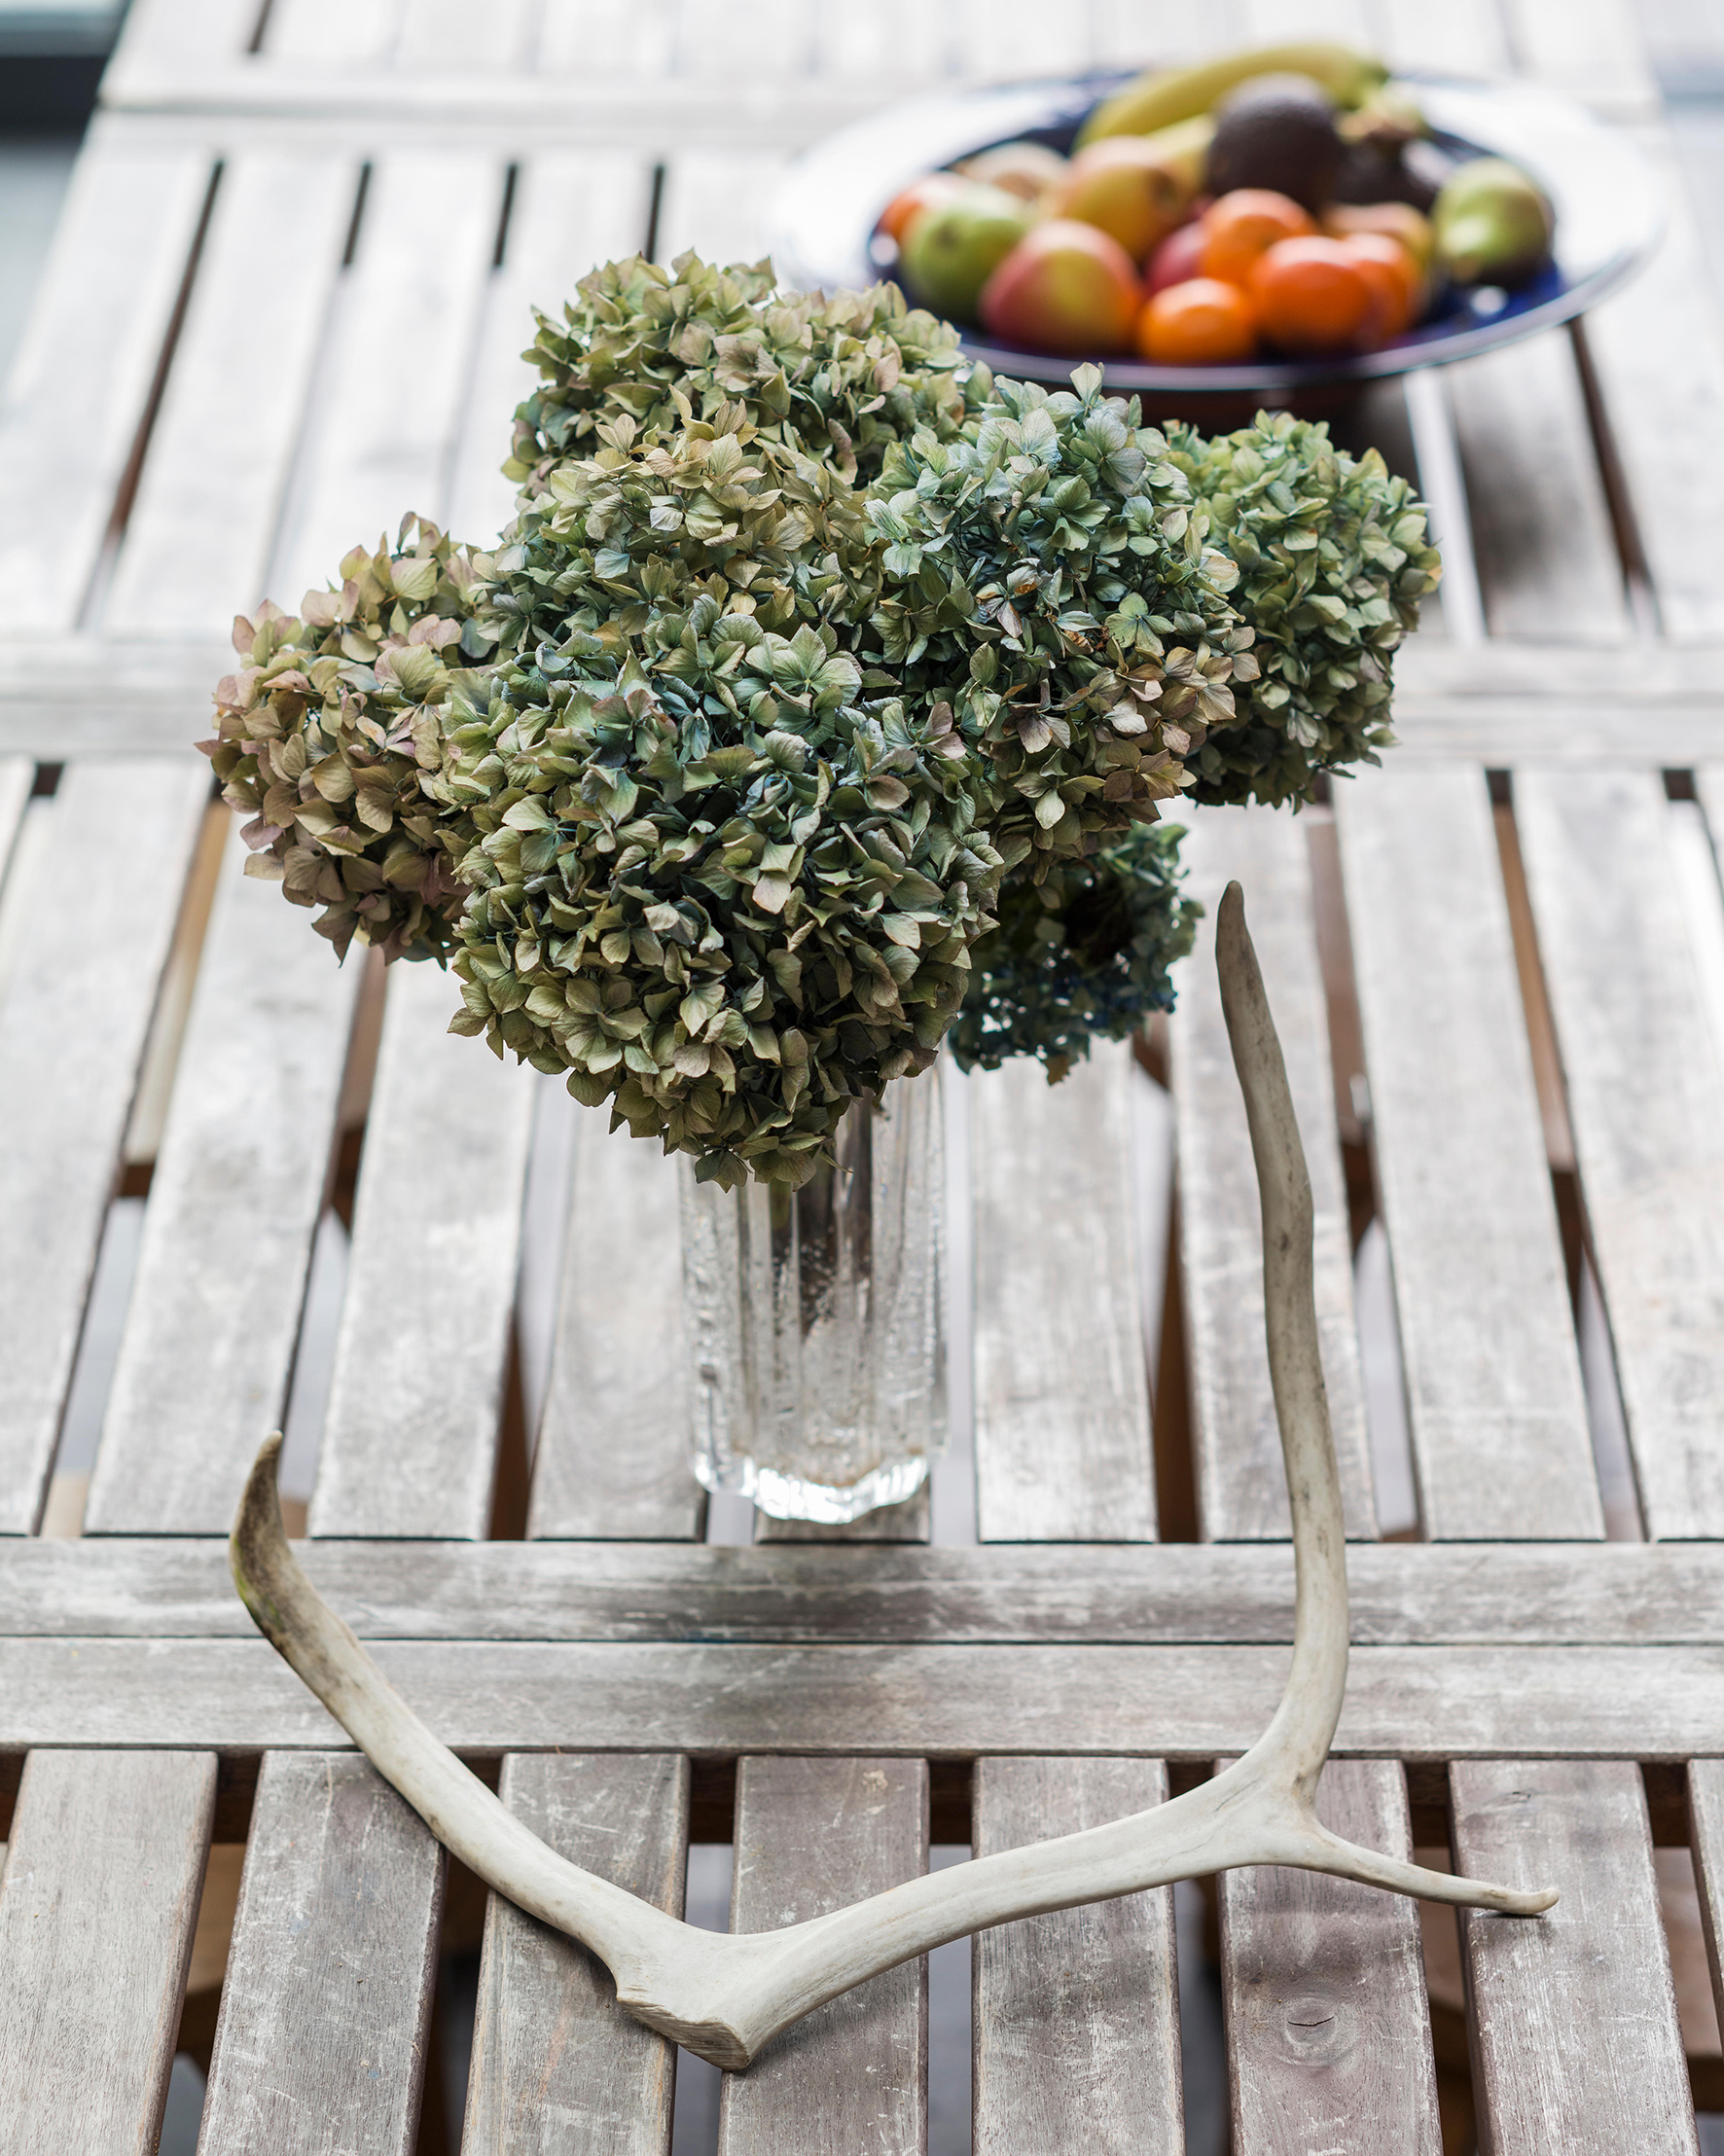
When to cut: H. macrophylla, H. paniculata and H. arborescens can be cut when the colour of the flowerheads has faded and they are starting to develop a papery texture. Cut relatively short stems to avoid removing next year’s buds.
How to dry: Stand stem ends in a container with about 2in (5cm) of water (do not refill), in an airing cupboard for one to two weeks.
Ideas to try: Arrange solo in a clear glass vase or silvery container. Dried hydrangeas are also superb for Christmas wreaths.
SEA HOLLY
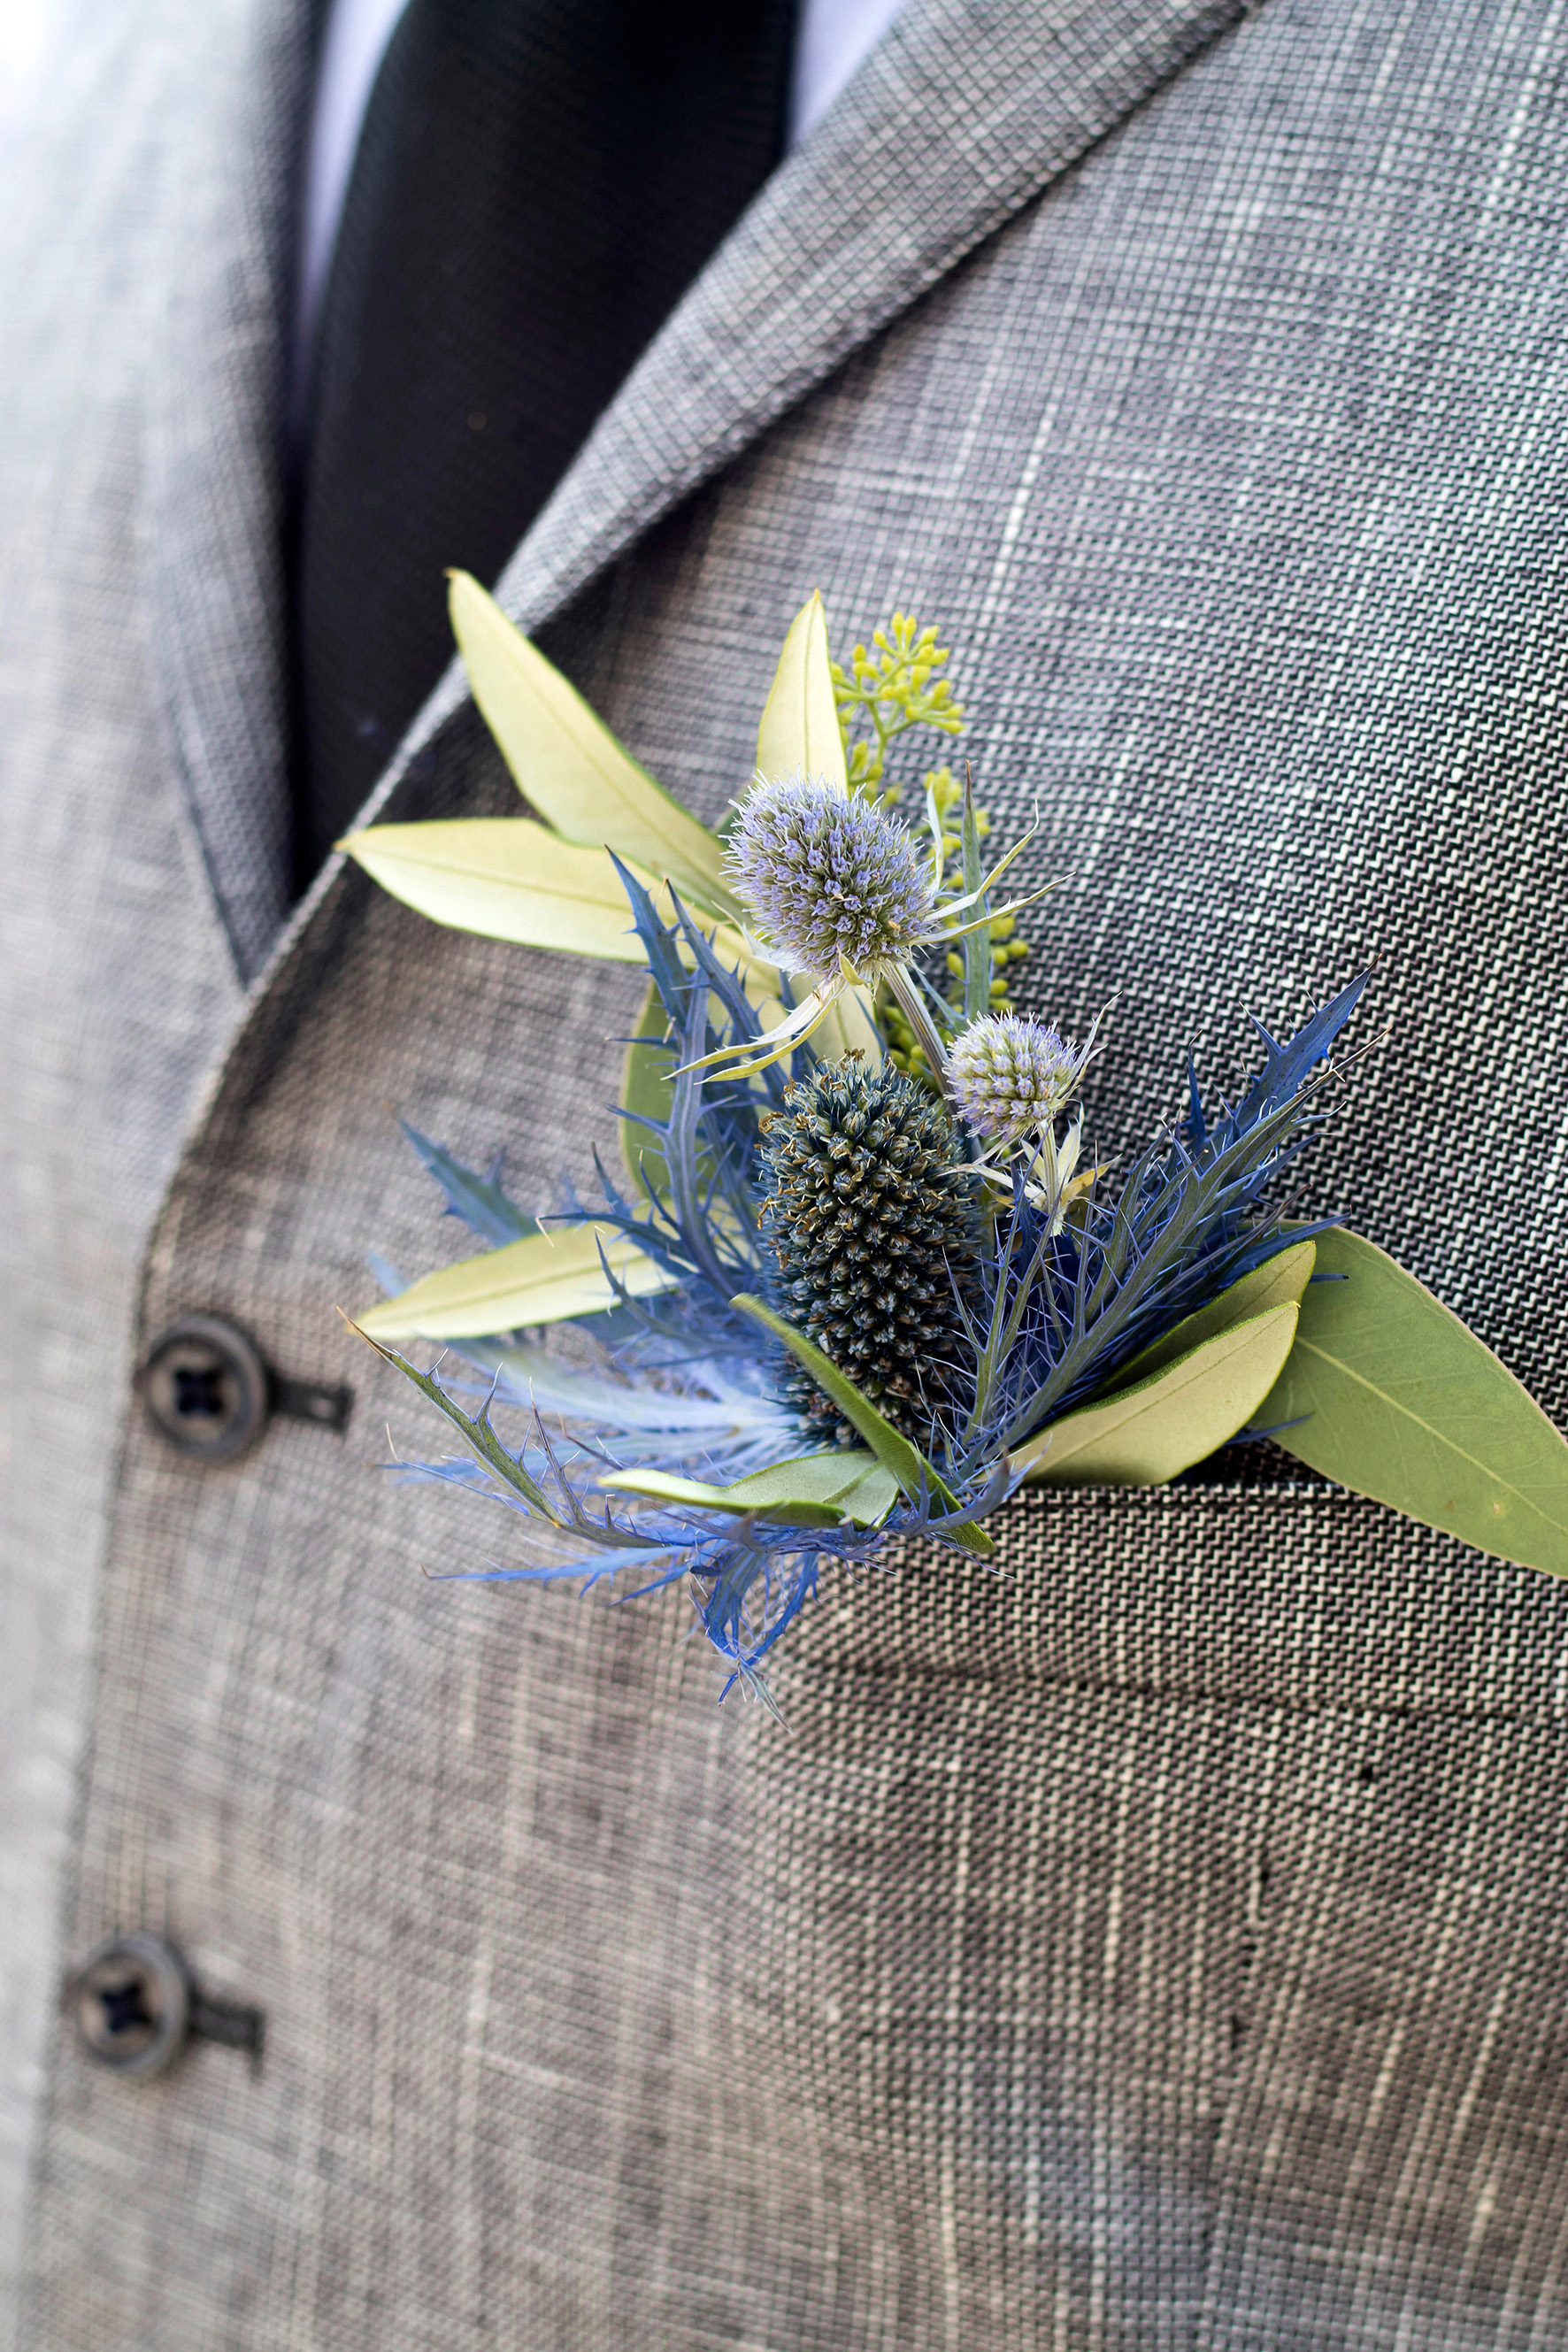
When to cut: Sea holly (Eryngium alpinum, E. giganteum, E. bourgatii) should be cut once flowers are fully formed in mid to late summer. Most blue eryngiums start off silver and morph to electric blue or violet, so make sure you wait until the colour is at its best.
How to dry: Remove lower leaves and stand stems in a tall container. Or hang bunches upside down in a warm room for one to two weeks: flash drying in heat helps preserve their colour.
Ideas to try: Arrange in a vase with dried lavender, globe thistle, and cornflowers. Bold orange or yellow blooms also look great. Or make a smaller bunch to use as a corsage for yourself or a partner.
NIGELLA
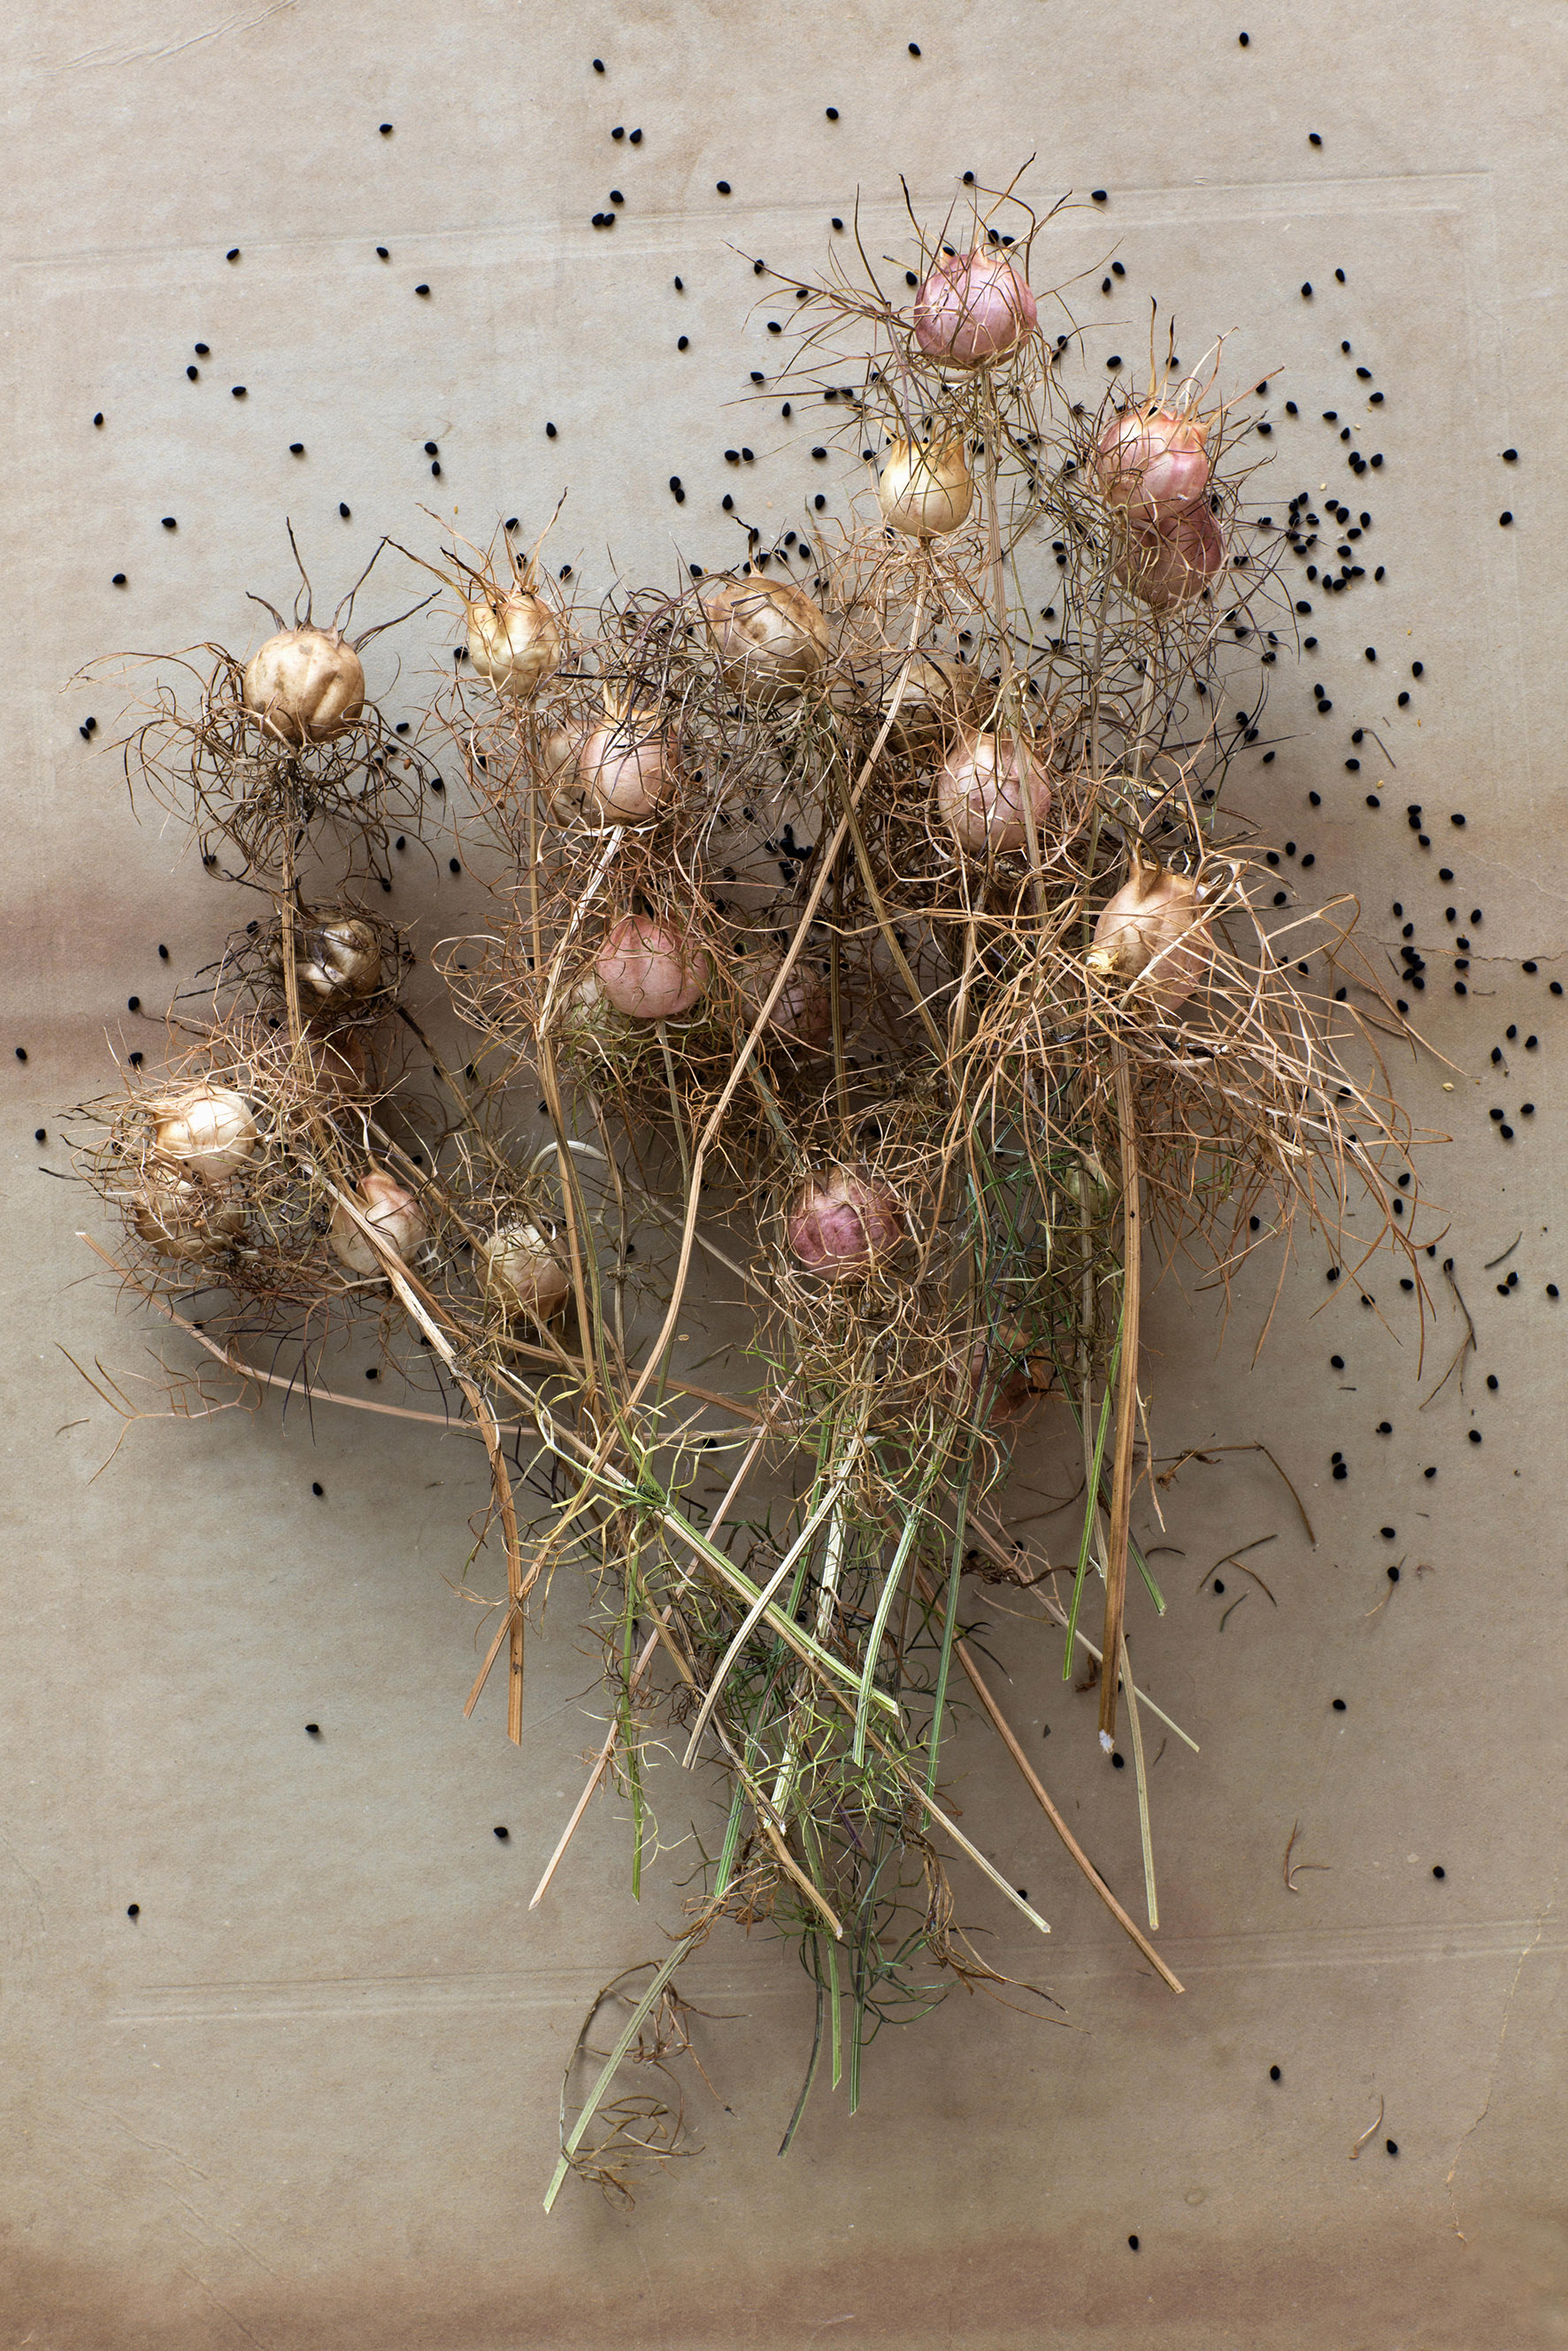
When to cut: The blue flowers are a cottage garden staple, but it’s the seed pods with their lacy tendrils that make love-in-a-mist popular in dried arrangements. Cut as petals fall and strip off foliage.
How to dry: Put together small bunches, tie with string and hang upside down in a cool, dry place for two-three weeks.
Ideas to try: Create a rustic posy with dried grasses such as pennisetum and other wild flowers like scabious. Alternatively, arrange a few stems on their own in narrow glass vase.
ALLIUM
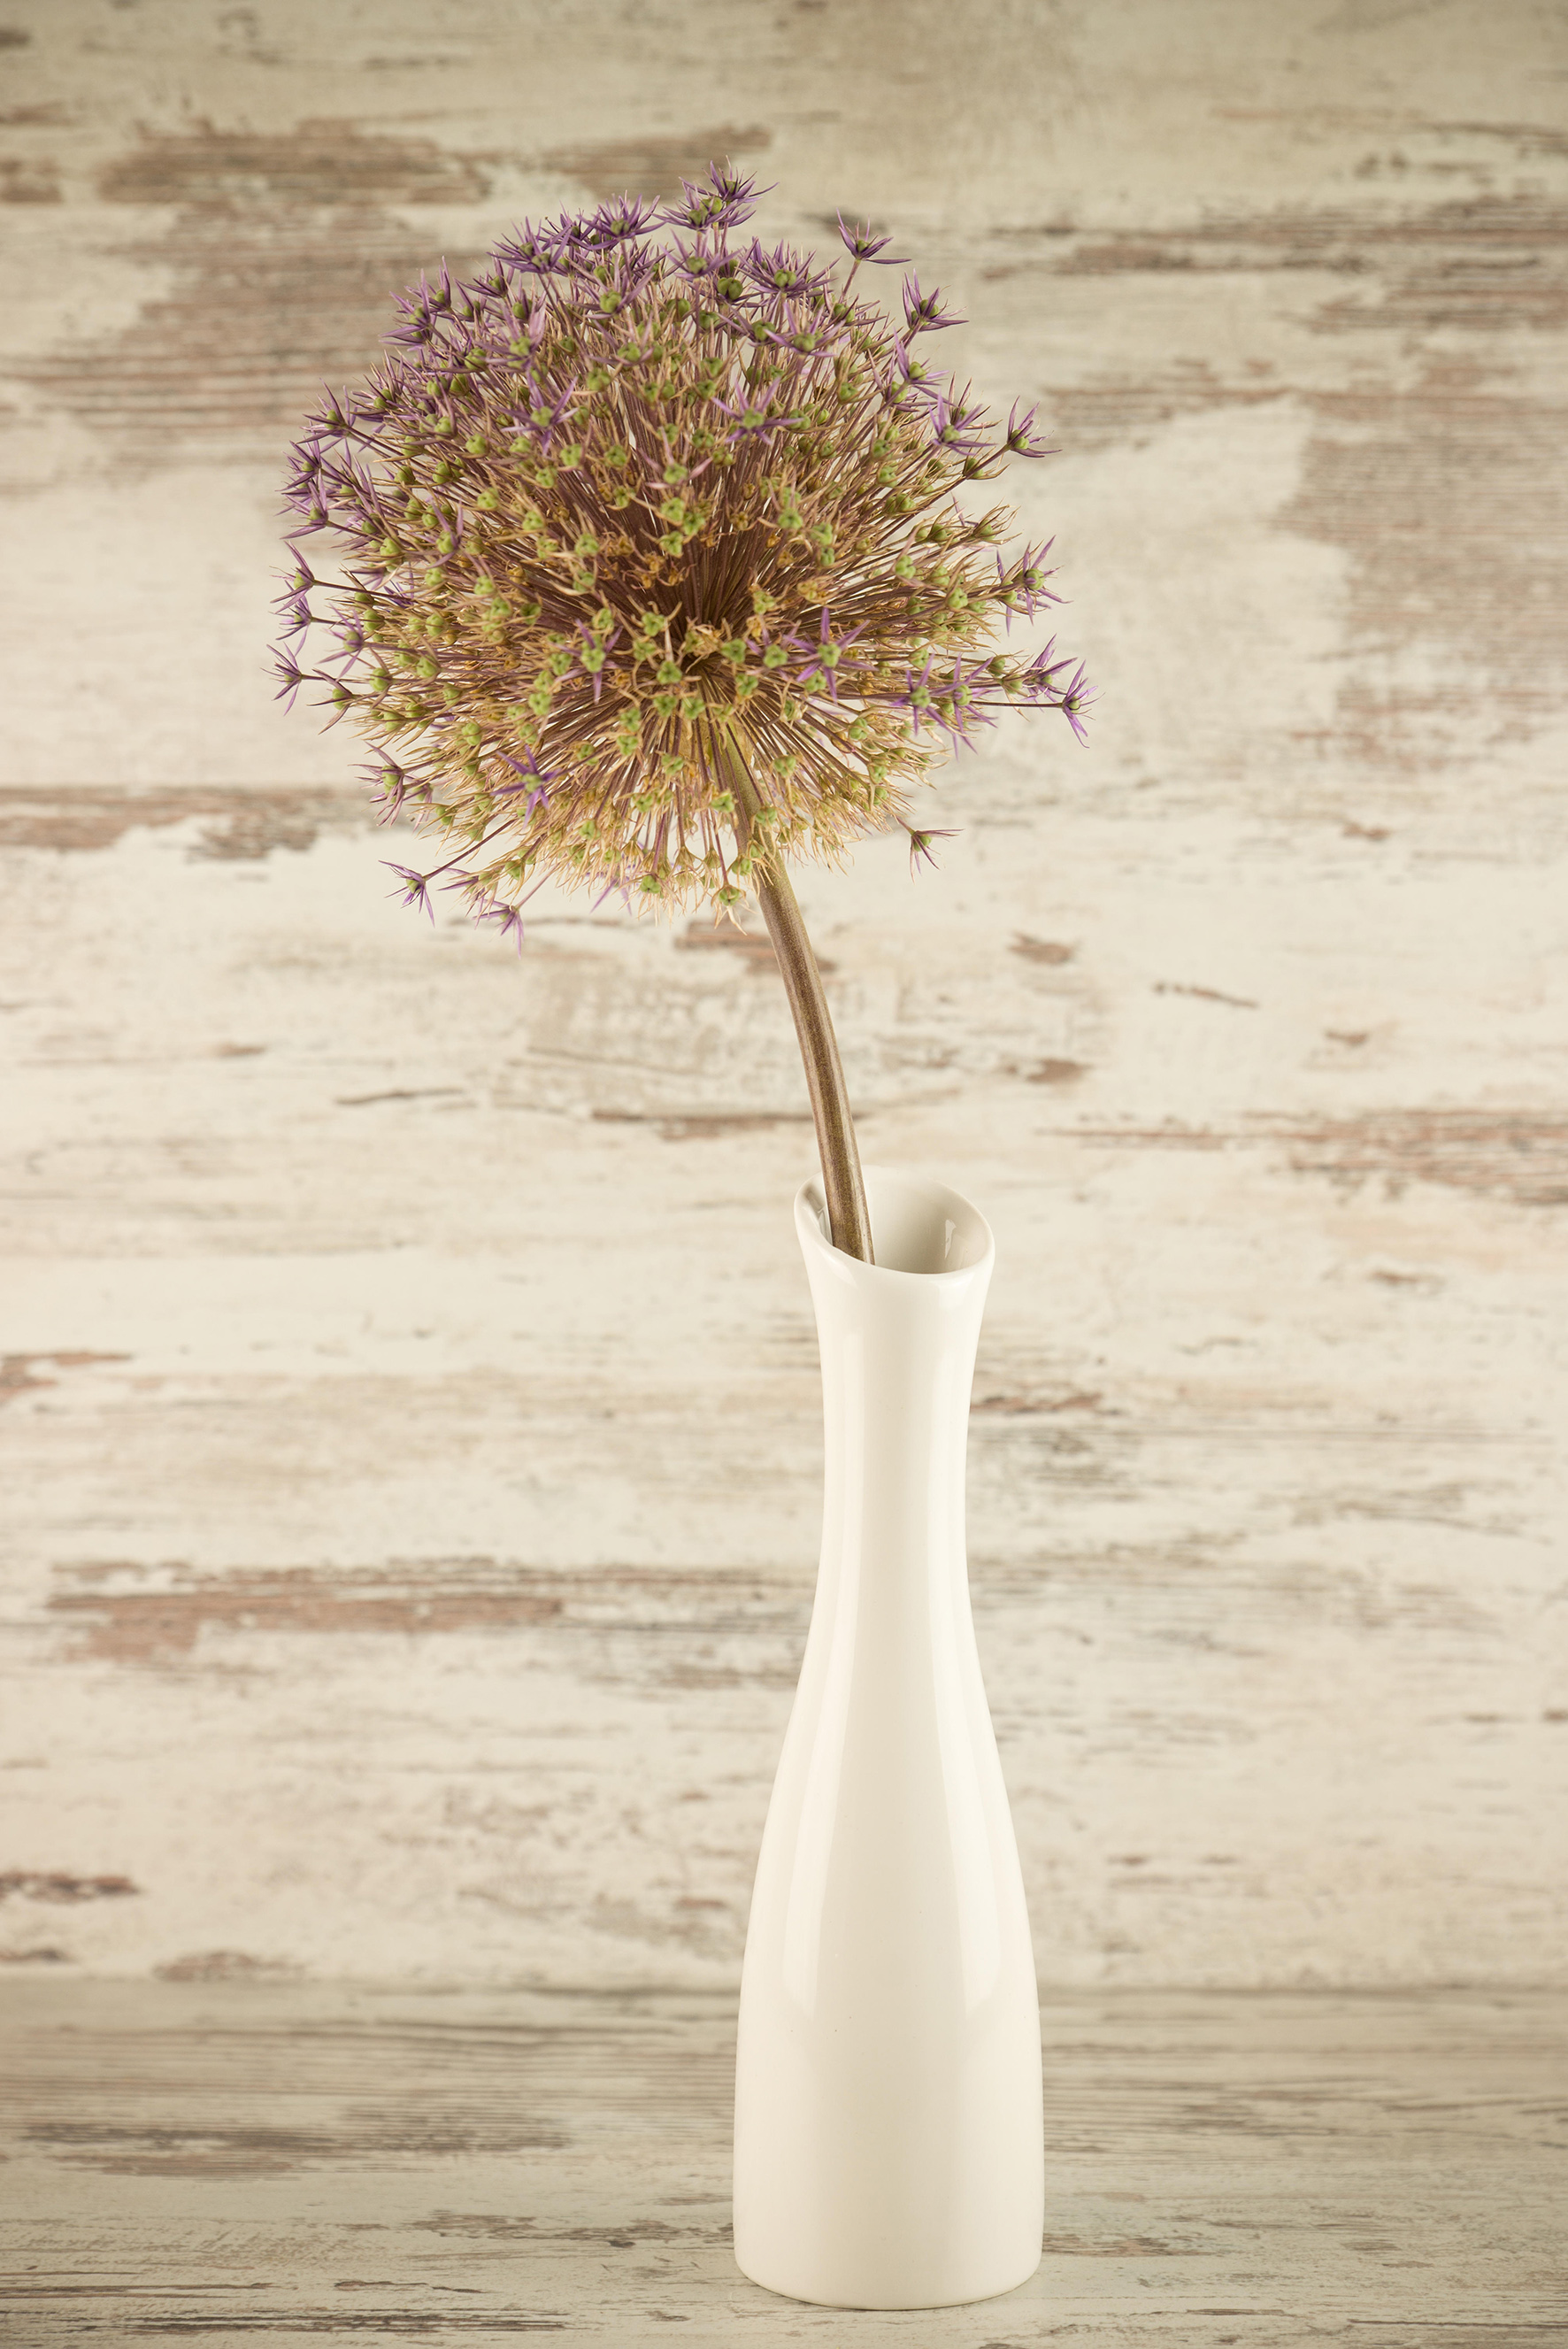
When to cut: Choose from A. giganteum, A. stipitatum, A. christophii and A. schubertii, and cut when the flowerheads are at their best. Some allium seed heads (such as those of A. schubertii) dry naturally in the garden, but they last longer when dried indoors.
How to dry: Stand stem ends in a container with 2in (5cm) of water and leave for three to six weeks, without refilling. There is no need to hang them upside down.
Ideas to try: Dried alliums are best displayed on their own in a simple, stylish container. Those that resemble fireworks (A. christophii and A. schubertii) look striking sprayed silver or gold for Christmas (or Bonfire Night).
ARTICHOKE AND CARDOON
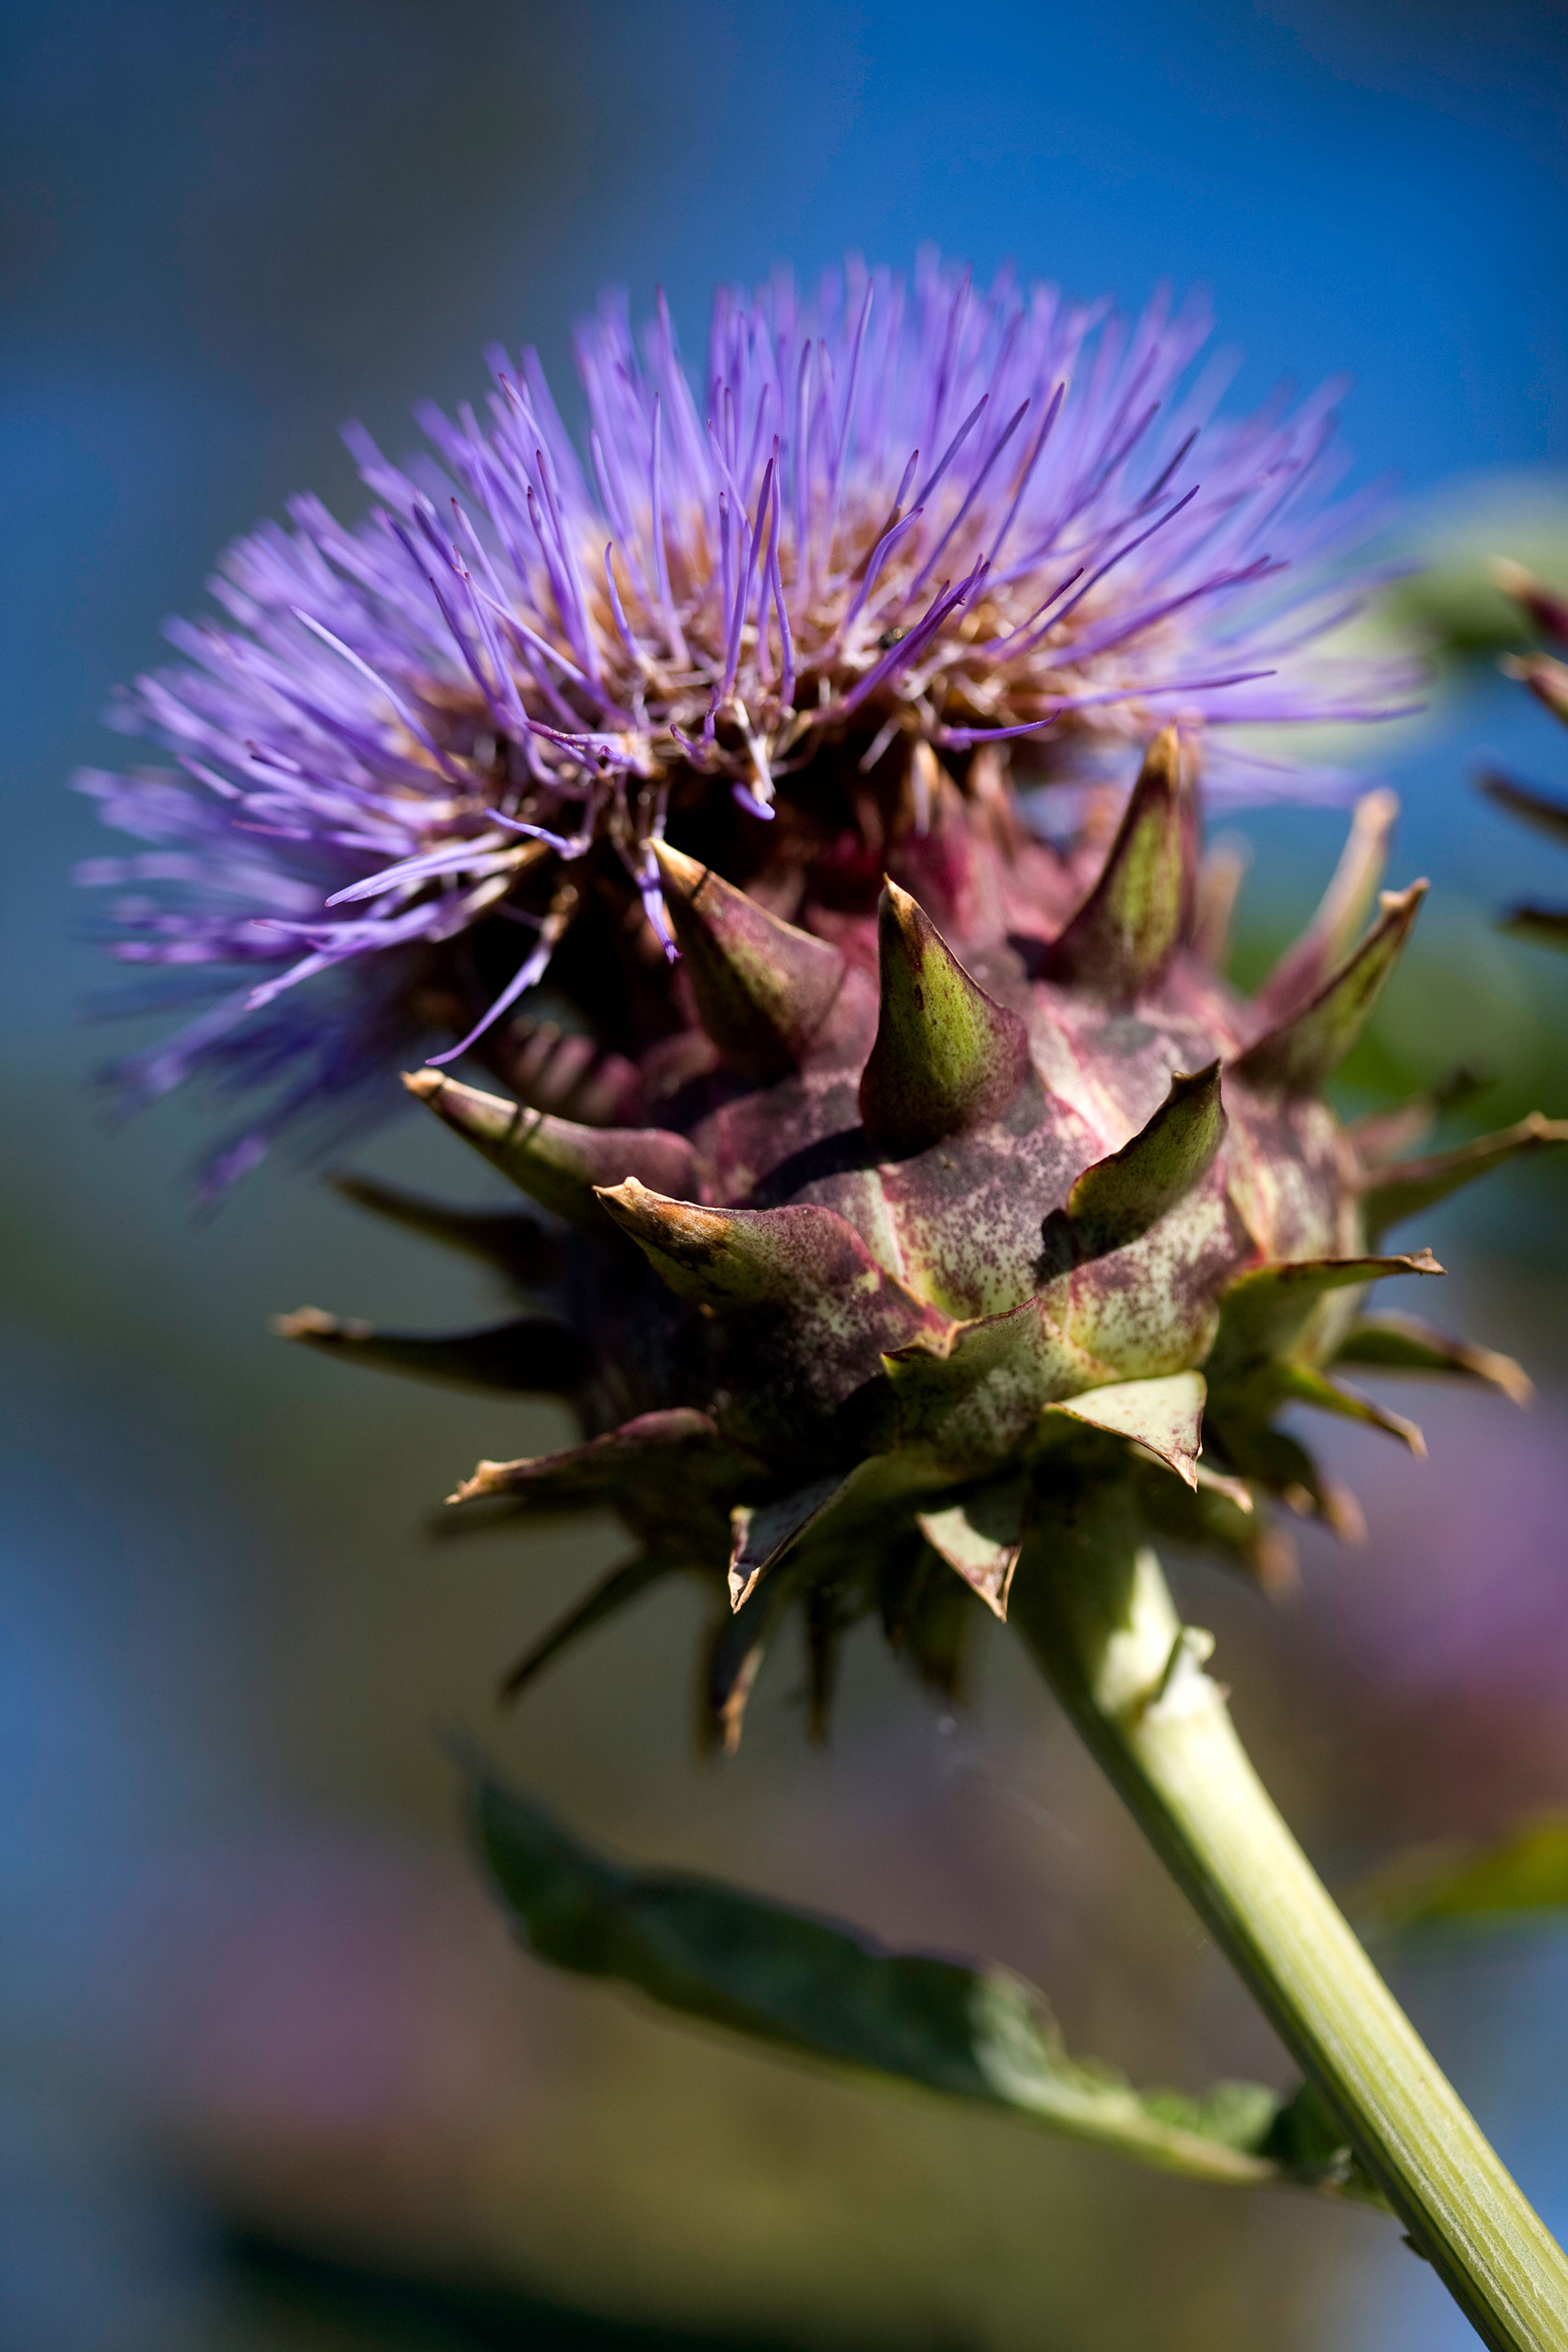
When to cut: these should be cut when their purple flowers are at their best – in summer or early autumn. If you cut them before the flowers appear, they won’t last as well. Keep stems long as they work best in tall vases.
How to dry: Blooms are heavy, so best to hang them individually, upside down, in a dry, well-ventilated area that is warm but not in direct sun. Leave for two to three weeks.
Ideas to try: Pair with dried Eryngiums – the latter’s blue tones will complement the purple flowers perfectly. If you’ve kept the stems very long, they look brilliant on their own in a very tall, floor-standing vase.
Read more:
- The best indoor plants: find your perfect pick with our guide
- How to grow ornamental grasses
- Create a classic garden scheme with our cottage garden ideas

Teresa has worked as an Editor on a number of gardening magazines for three years now. So she is lucky enough to see and write about gardening across all sizes, budgets and abilities. She recently moved into her first home and the garden is a real project! Currently she is relishing planning her own design and planting schemes. What she is most passionate about when it comes to gardening are the positive effects it has on our mental health to grow and care for plants, as well as being great for the environment too and help provide food and shelter for wildlife.
