How to create an outdoor desk: easy guide to making a work-from-garden set-up
Fancy a spot of alfresco working? Here's how to create an outdoor desk and chair with some easy DIY know-how
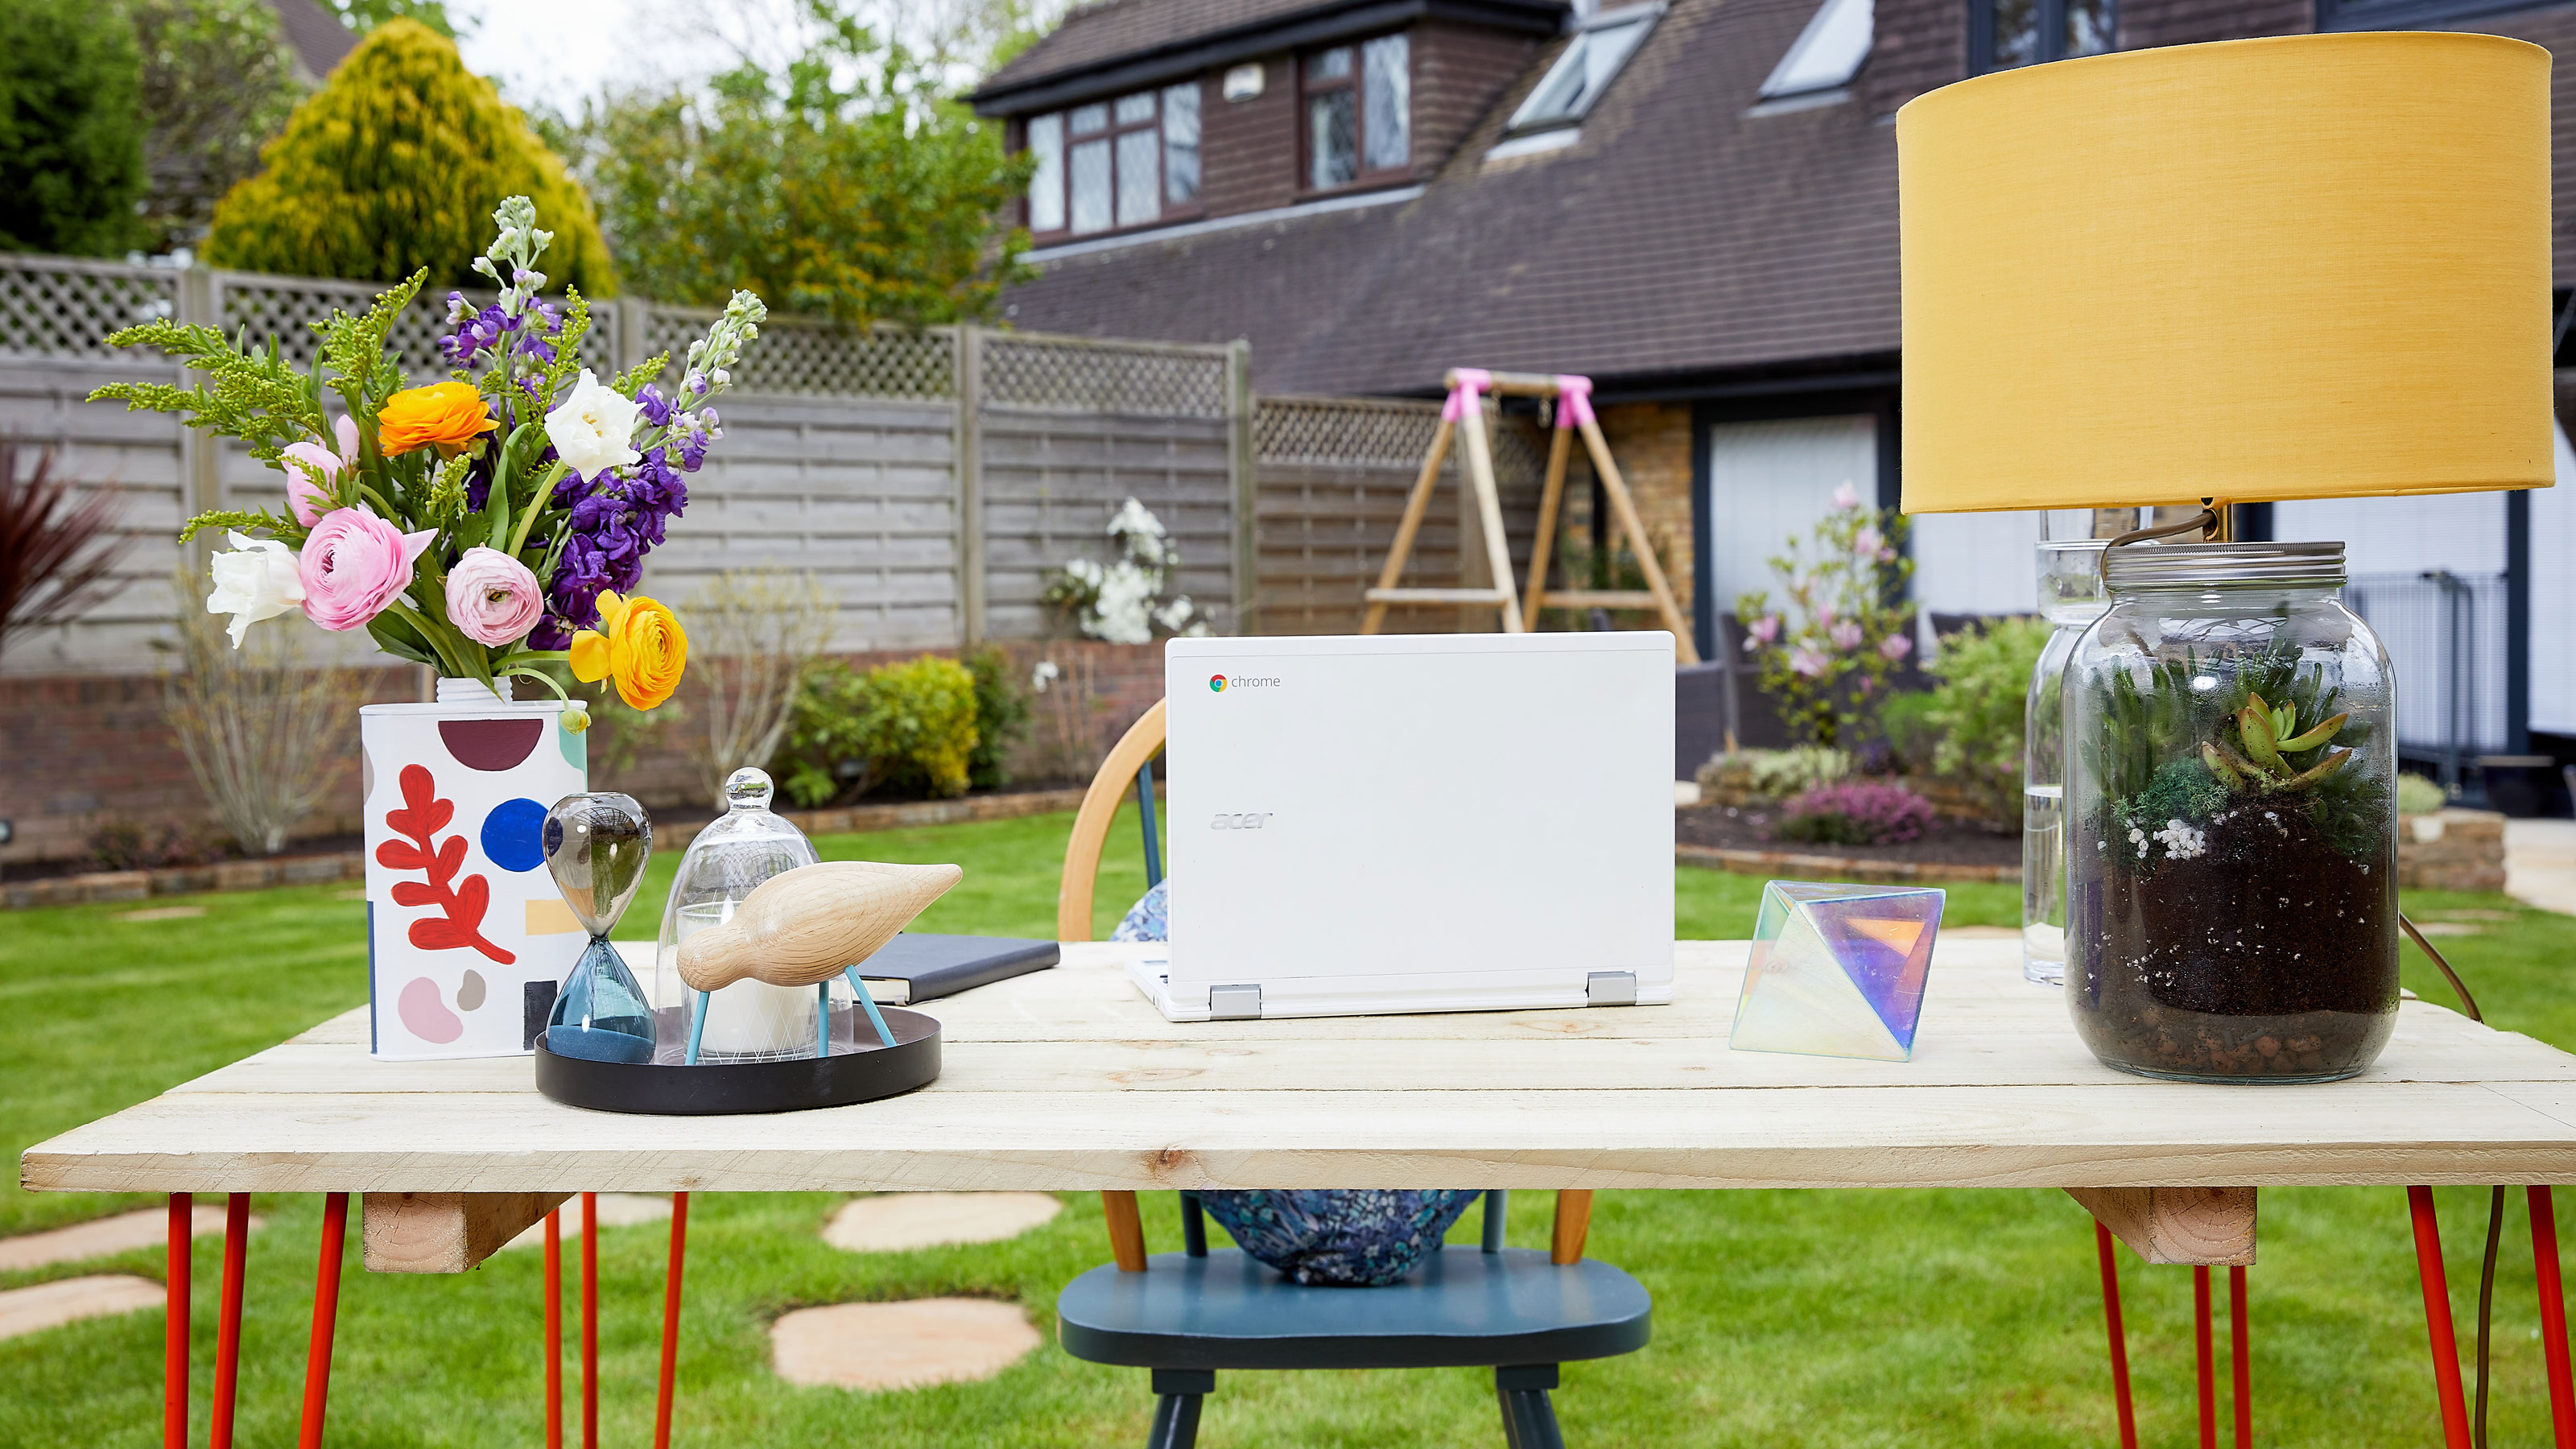
Working from home getting you down? Learn how to create an outdoor desk and chair and you can enjoy lots of vitamin D while you're still 'in' the office.
New research has revealed that 73% of Brits said their garden and outdoor spaces have become even more important following the pandemic, and a whopping 73% of Brits are set to continue working from home following lockdown. With 2 in 5 people (40%) looking to revamp their garden design ideas in 2021, creating a space to work outdoors could be a brilliant project.
Jeyes Fluid, the British heritage brand that’s been proudly keeping the nation’s gardens clean for over 140 years, has launched its Creative Spaces initiative, partnering up with Melanie Lissack, the award-winning interior stylist, writer and influencer. Together, they are helping to inspire Brits to easily repurpose tired furniture, leftover materials in the home and upcycle them to transform their gardens.
To inspire you to make the most of your outdoor space, here’s how you can create a practical and stylish upcycled work-from-garden desk and chair to soak up those rays, while answering all those emails.
How to create an outdoor desk
Love the idea of doing a day a work while also getting to make the most of your garden? Follow this easy step-by-step project and you'll be able to create the perfect work-from-garden set-up.
As with our pallet furniture ideas, we'd recommend upcycling your table outdoors in the garden or on the patio to minimize spillages and accidents.
You will need:
- Jeyes Fluid
- Sponge, cloth or stiff brush
- Treated wood planks
- One square piece of treated wood (700x700mm)
- Saw
- Drill
- Dust mask
- Safety goggles
- Wood screws
- Sanding block
- Measuring tape or ruler
- Wood glue
- Clamps
- Screwdriver
- Hairpin legs 10mm (or use square wood planks as alternatives)
Step 1: prep your cleaning solution
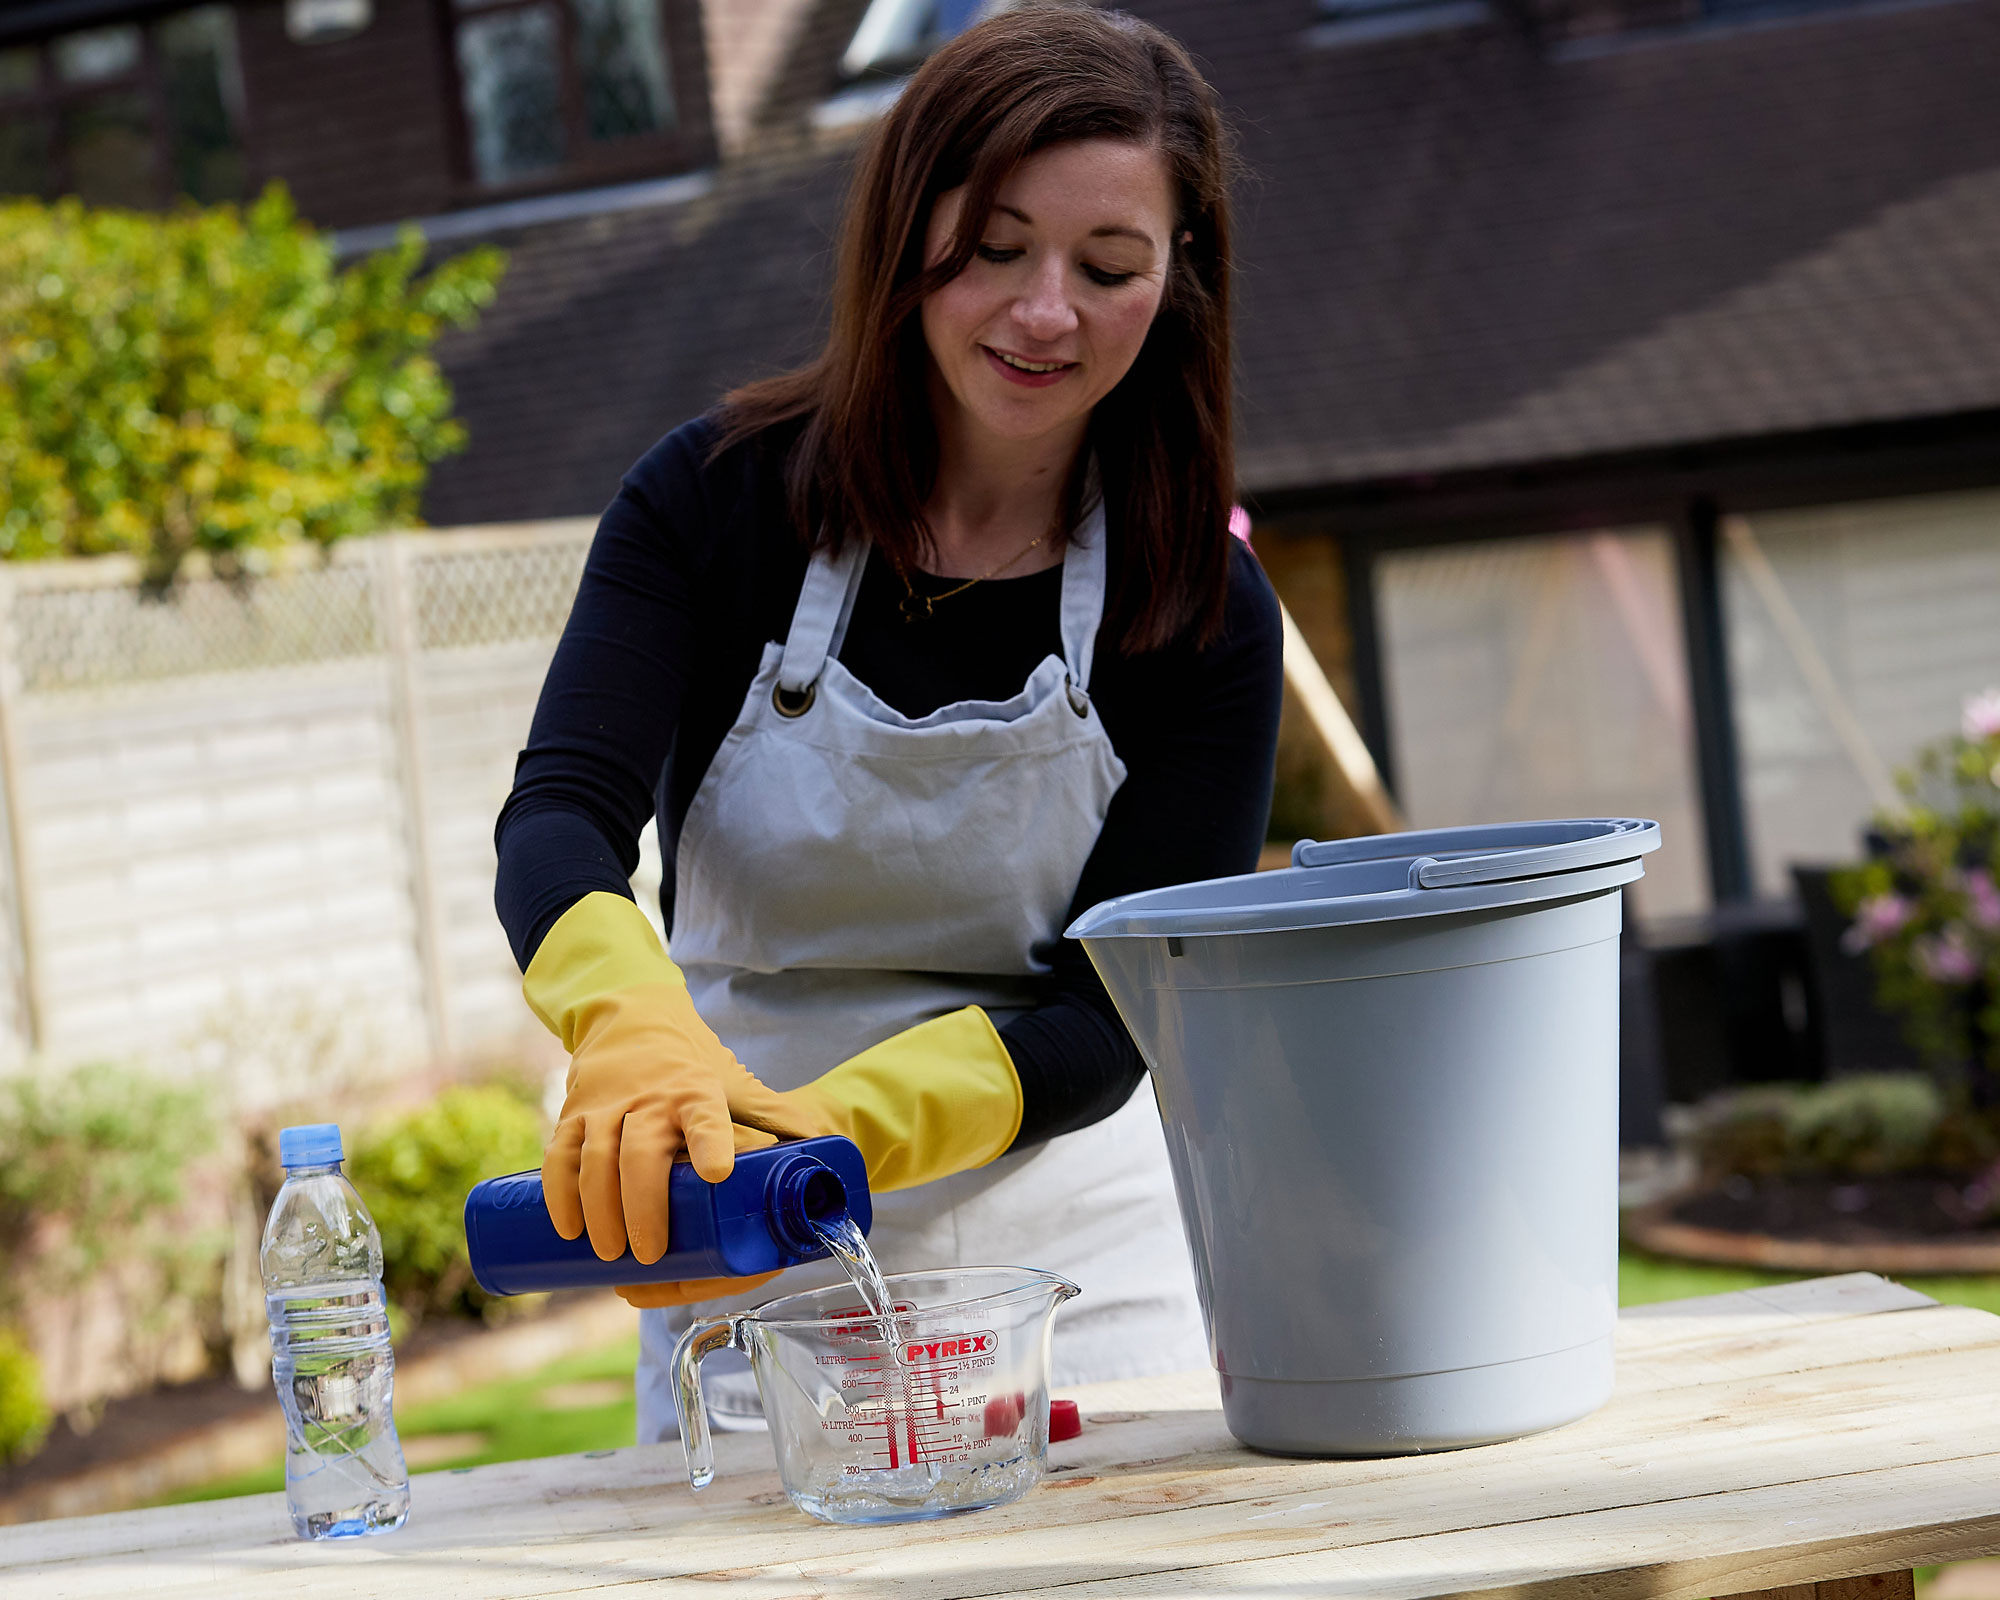
Use a measuring jug, pour 5000ml of water and 250ml of Jeyes Fluid into a bucket. Jeyes heritage tin has been replaced, so look out for its new recyclable plastic bottle with an updated formula as part of its commitment to help pave the way for a more sustainable future.
Step 2: treat and dry your wood
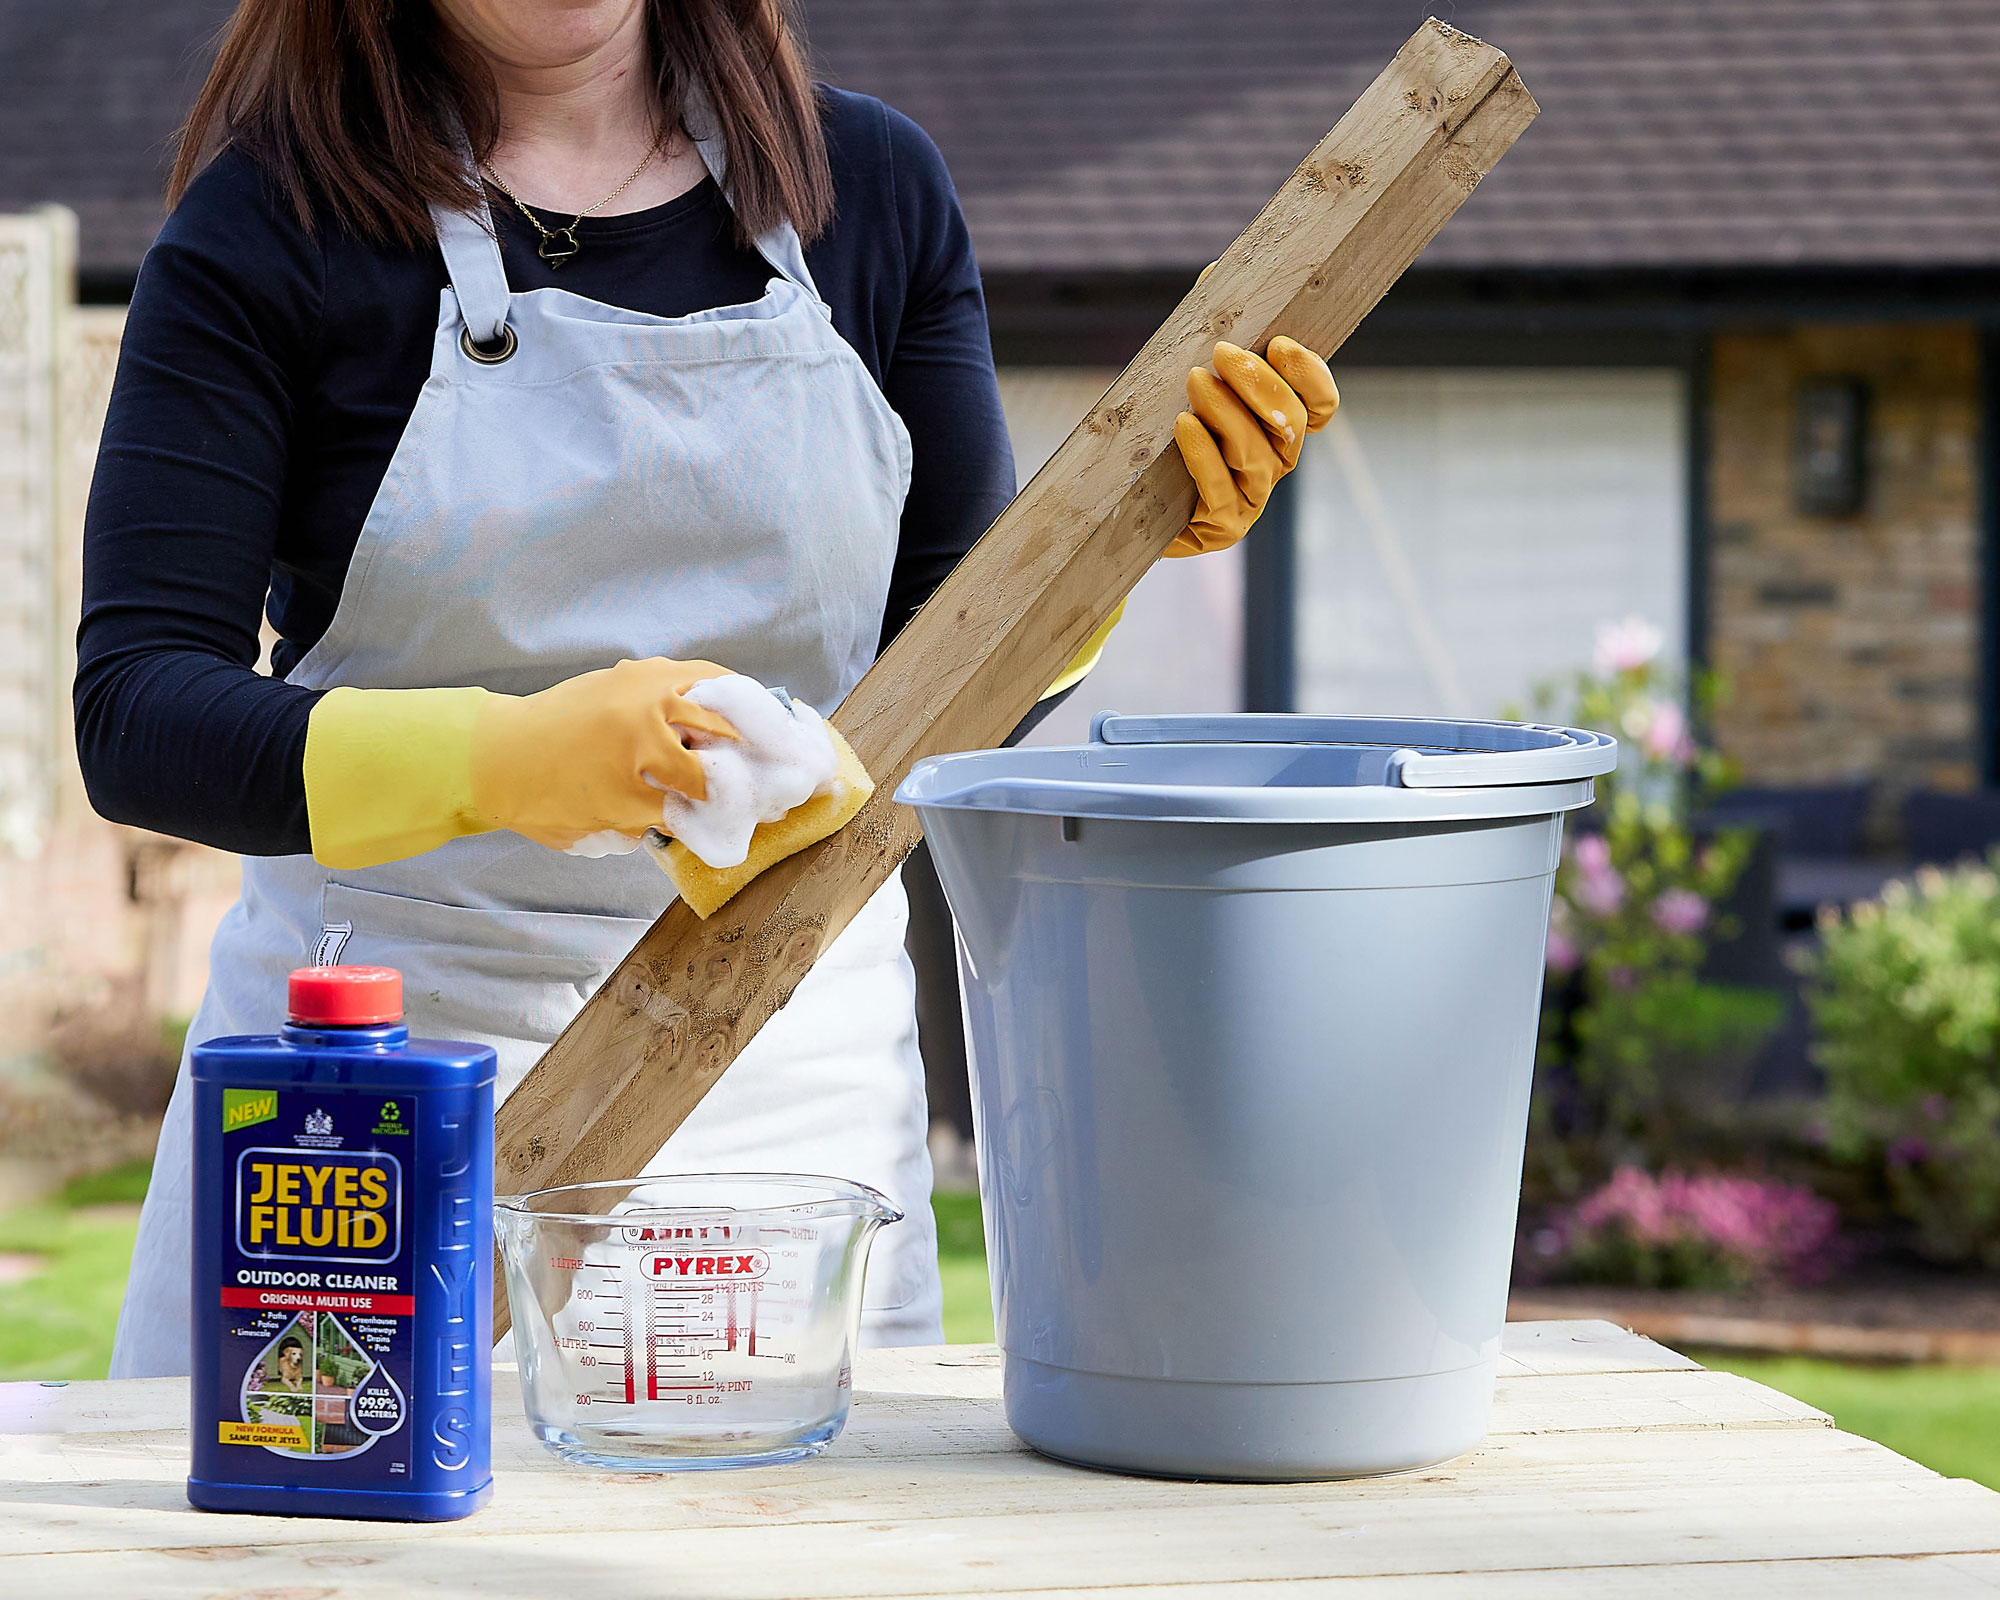
Make sure you wear some rubber gloves for protection, then dip a cloth, sponge or stiff brush inside the solution and rub the wooden planks.
Then rinse the plank or use a damp cloth. Wait until the plank is completely dry and clean.
For the table top, you can also use manmade boards, reclaimed wood, old doors, pallets or natural slabs.
Step 3: cut the wood to size
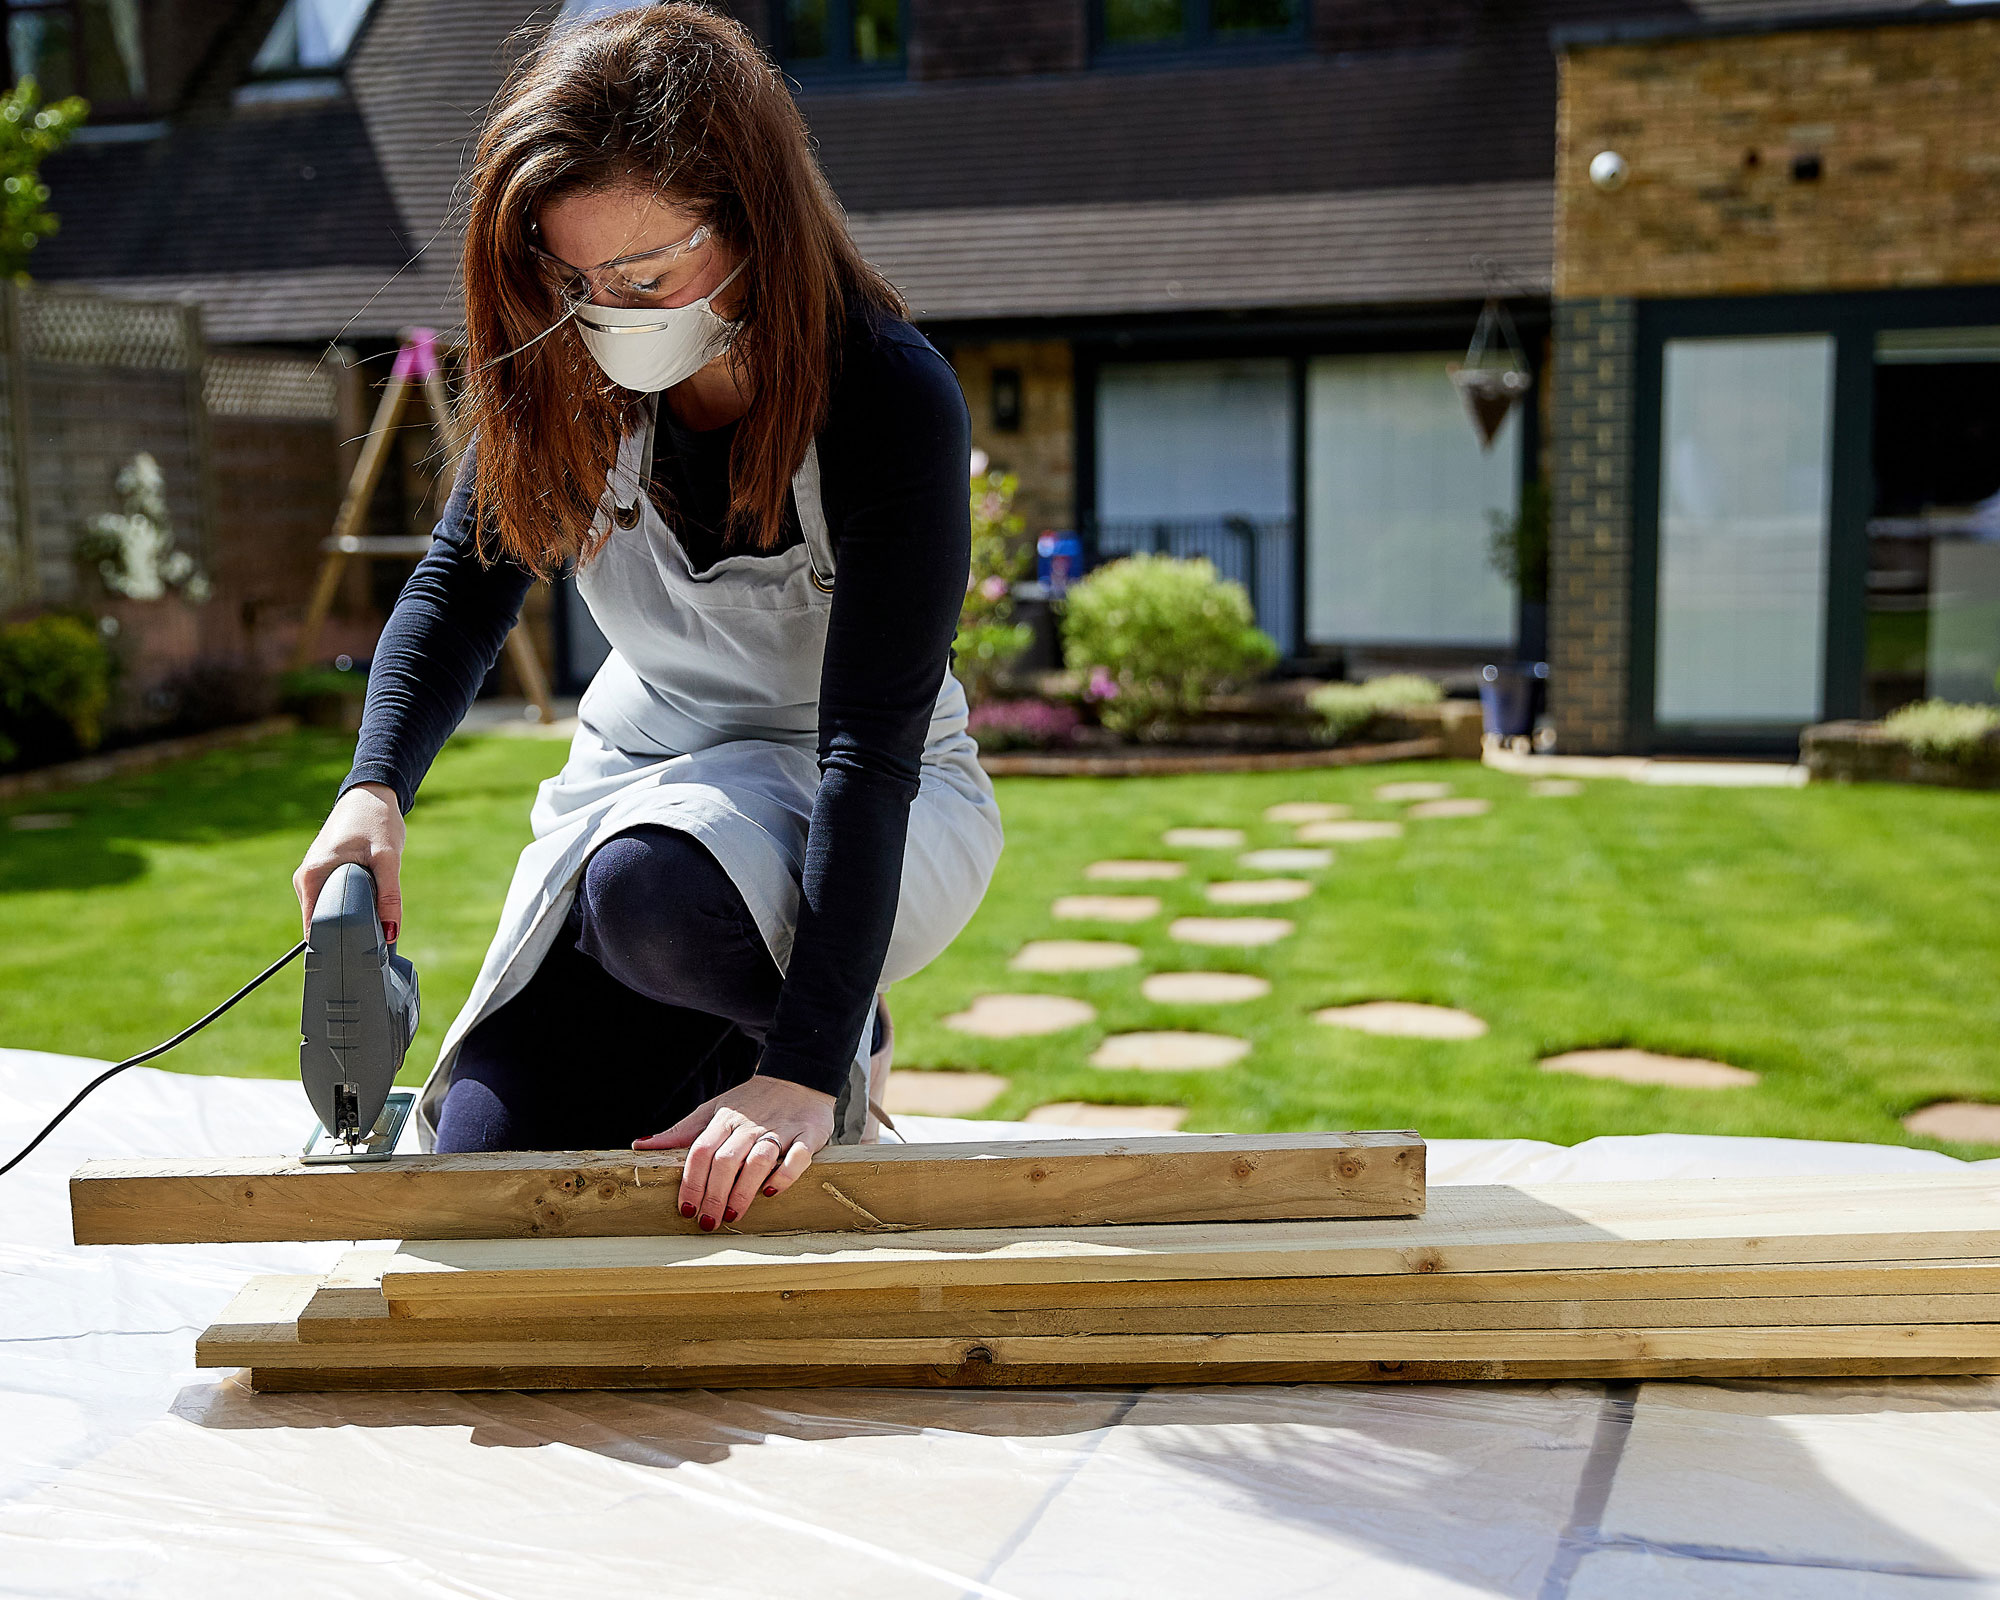
Wear your dust mask and safety goggles. Cut four old scaffold or gravel boards to size with a mechanical or electric saw. We have cut it to 120cm. Ensure they’re all the same size. You could also change the width of this table and modify the amount of boards you cut accordingly.
Step 4: smooth the edges of the wood
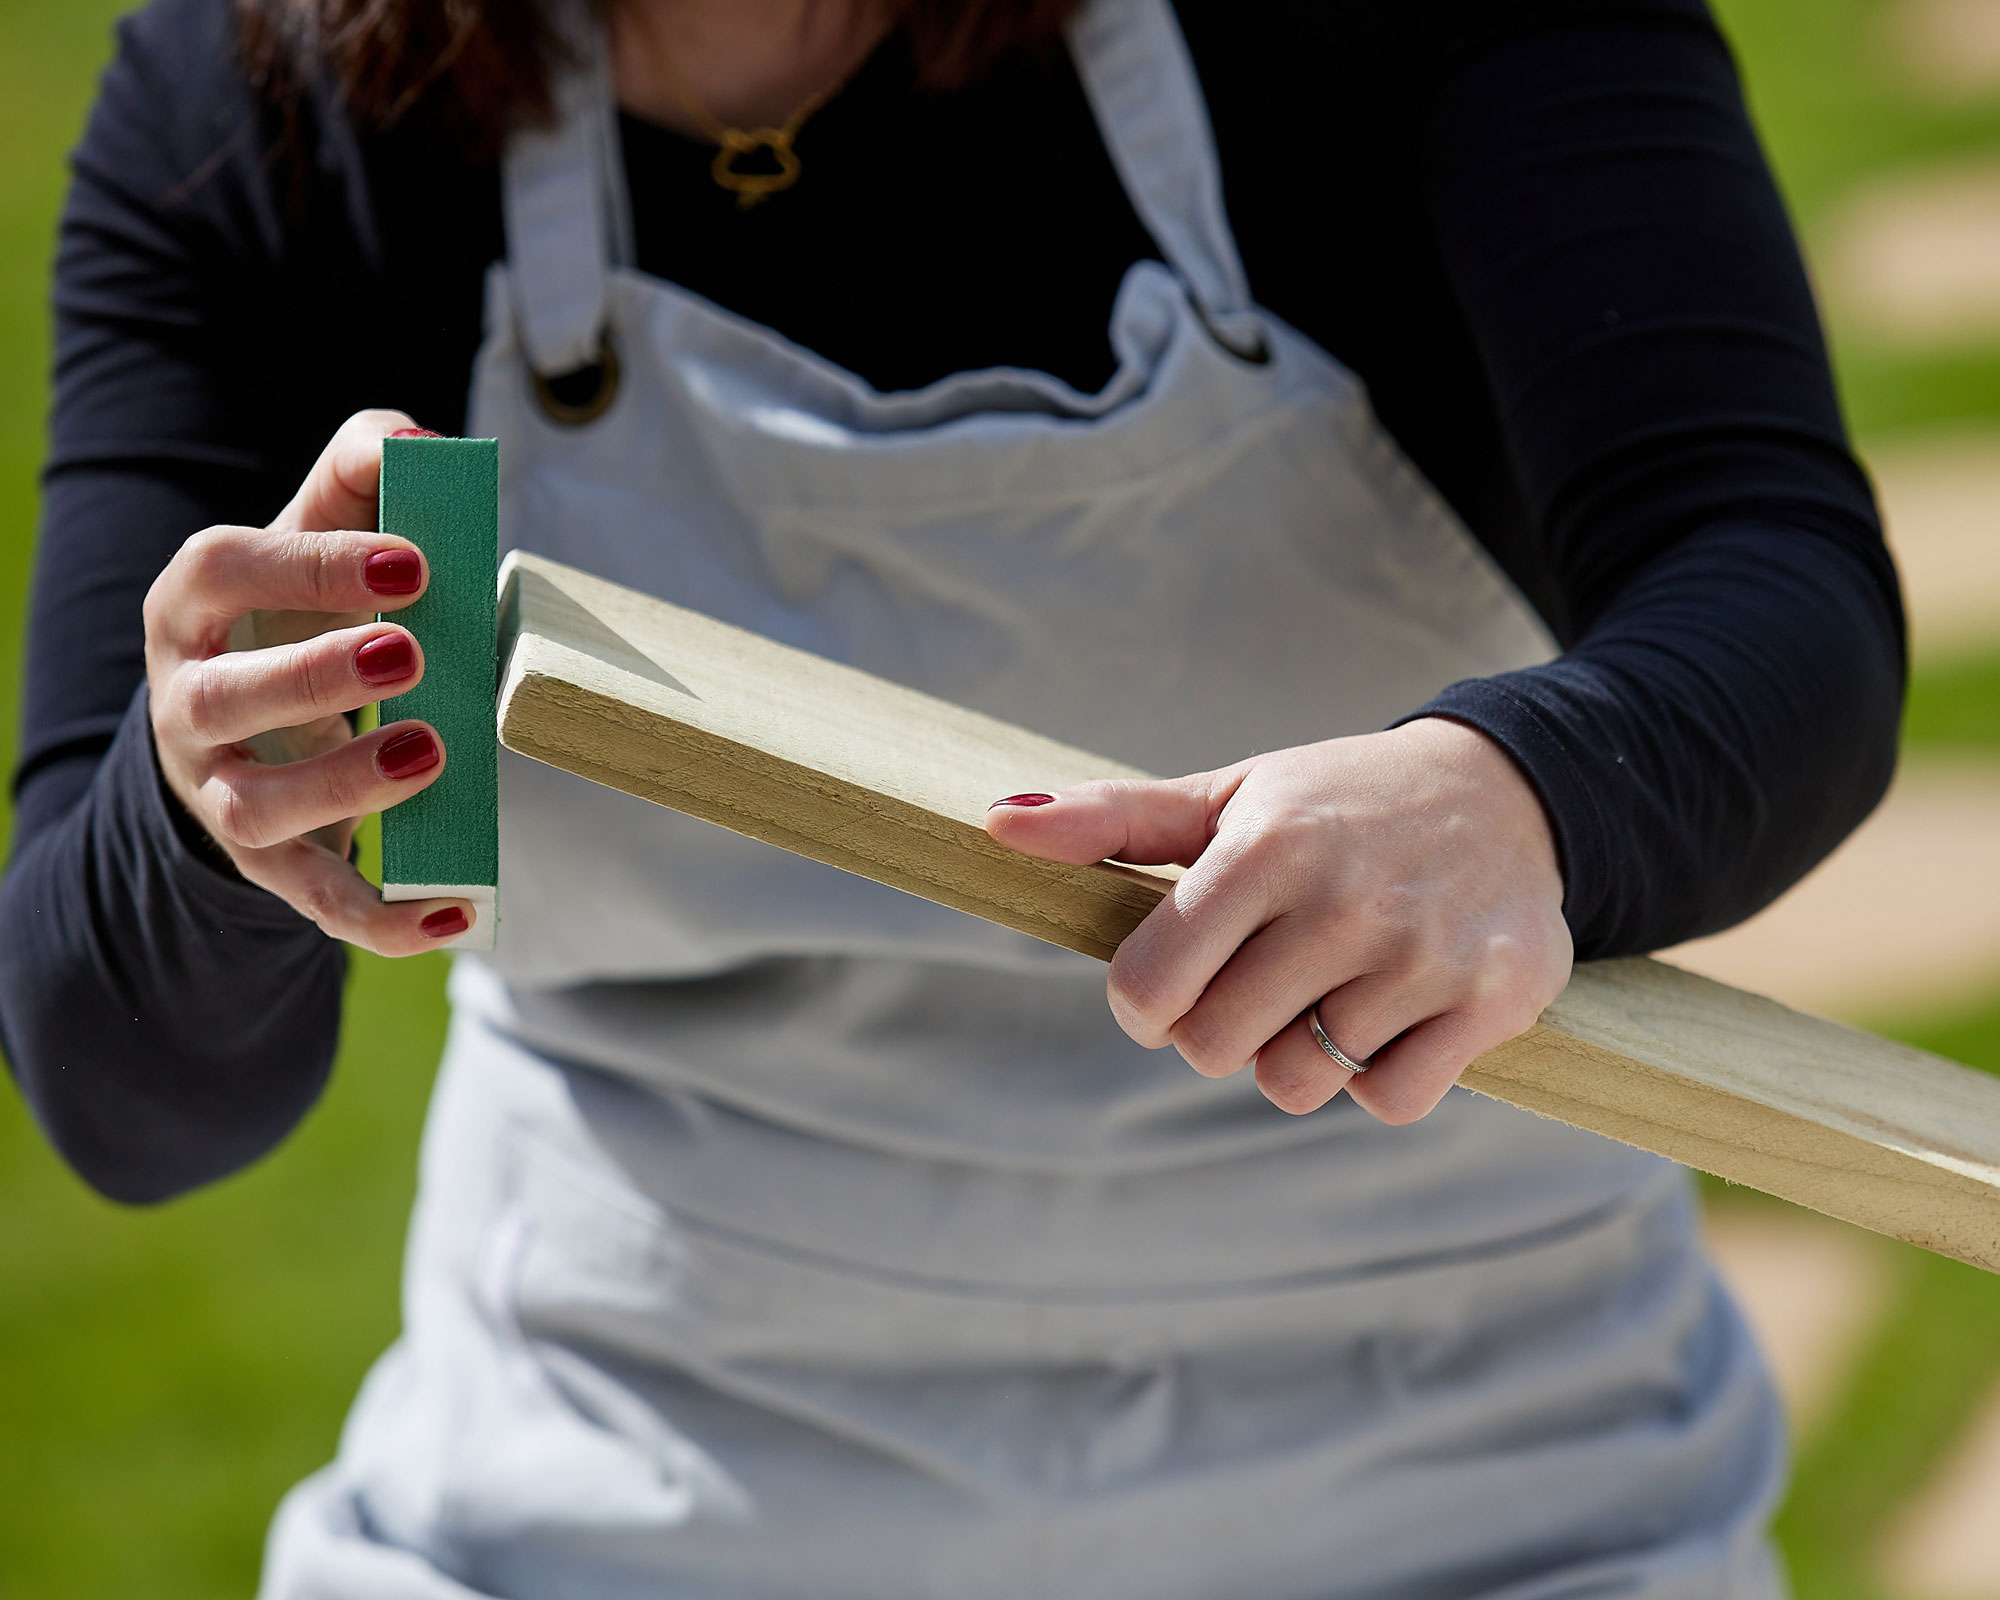
Once the wood has been cut to size, it's a good ideas to smooth the rough edges with a sanding block or palm sander to create a neater, more practical finish.
Step 5: glue the wood together
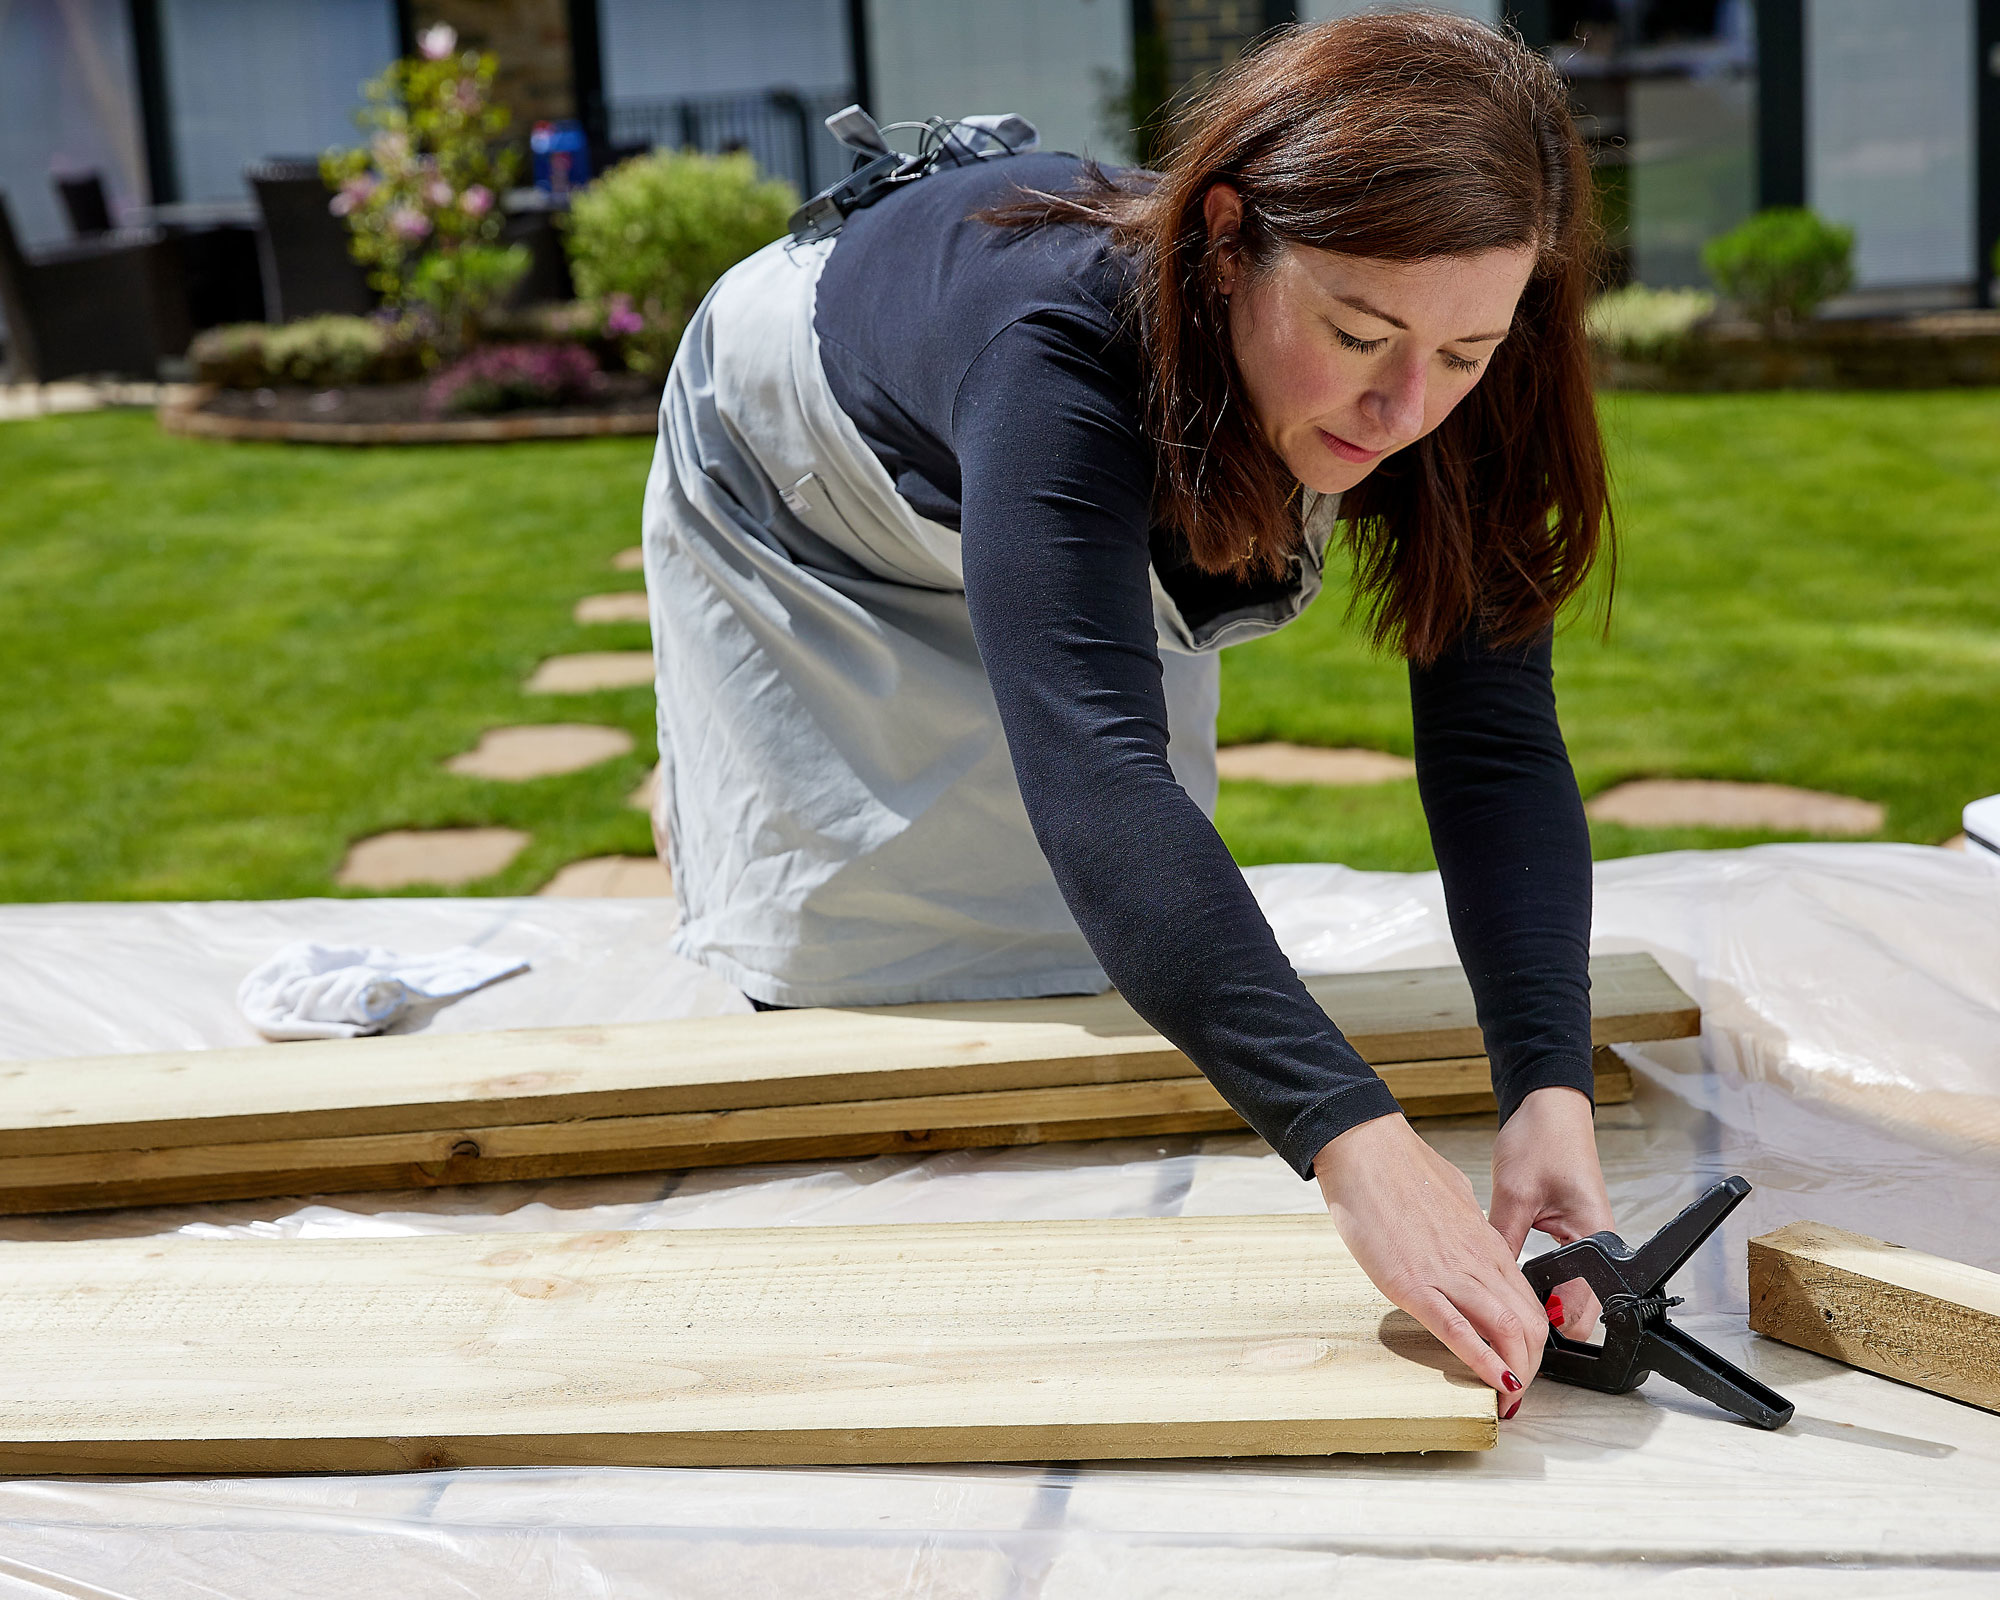
Take off your dust mask and safety goggles. Then, arrange the boards out on a flat surface and use wood glue to glue the side of each board together. Wipe off any excess glue as you go. Clamp the edges of the boards to keep them secure until the glue is completely dry.
Step 6: secure the table top
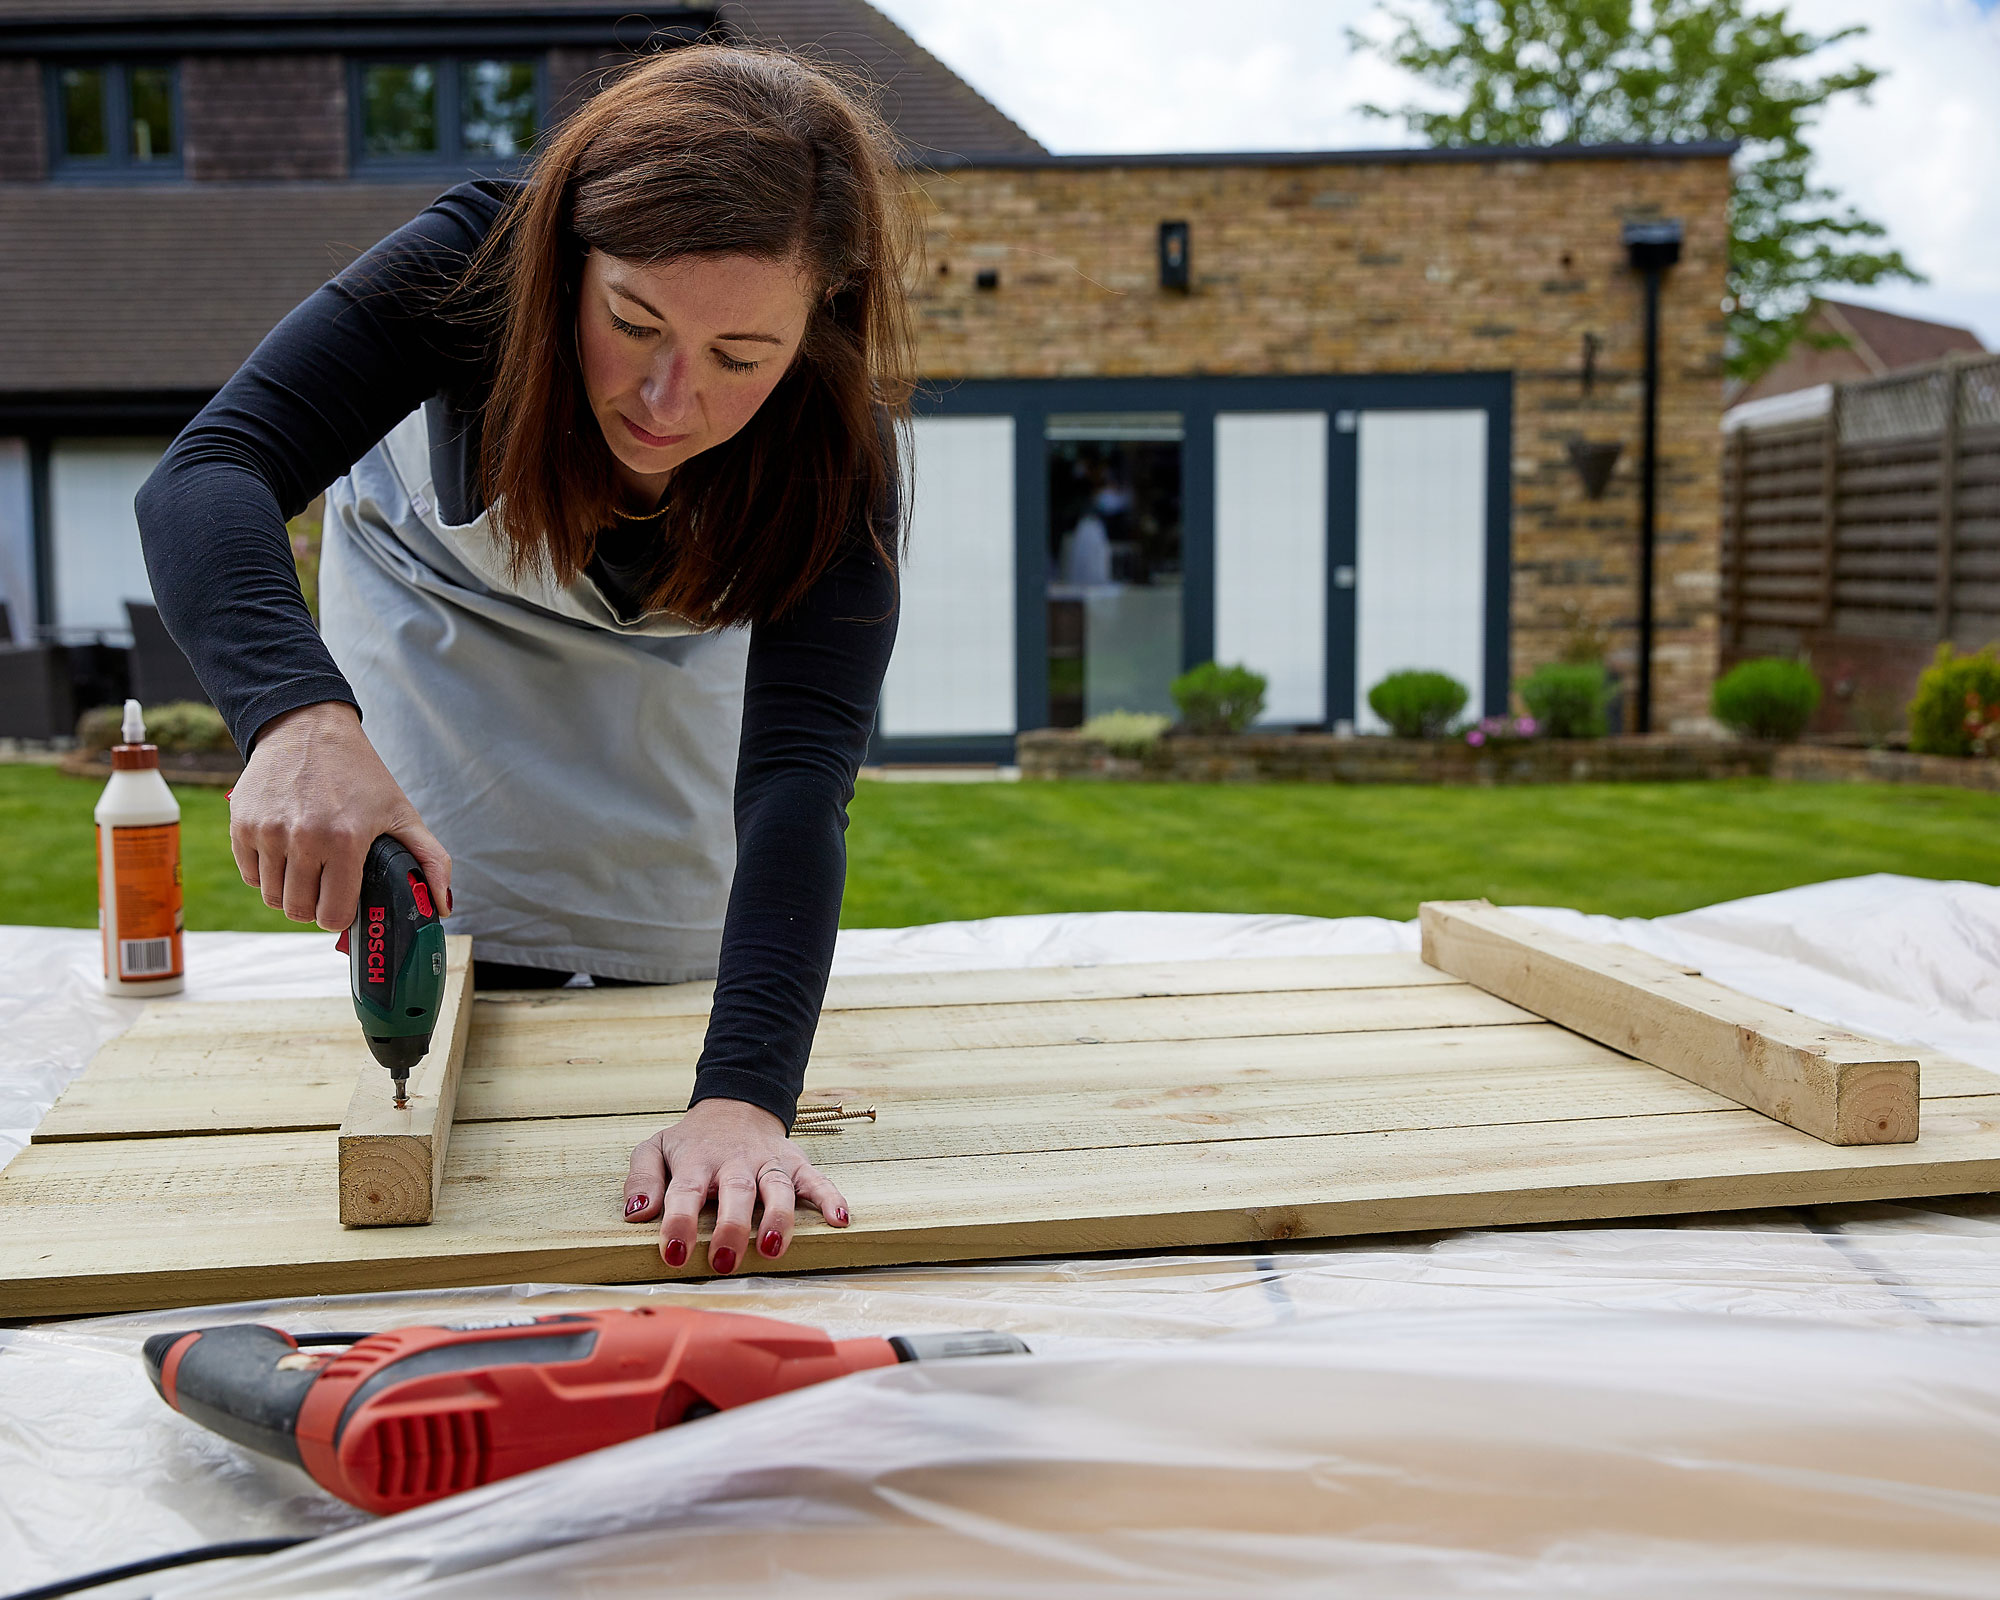
Attach two 700x700mm planks onto the underside of the table across each of the boards so they are parallel to the board. Then use wood screws to secure them to the bottom of the table. This will make the overall tabletop more secure.
Step 7: attach the table legs
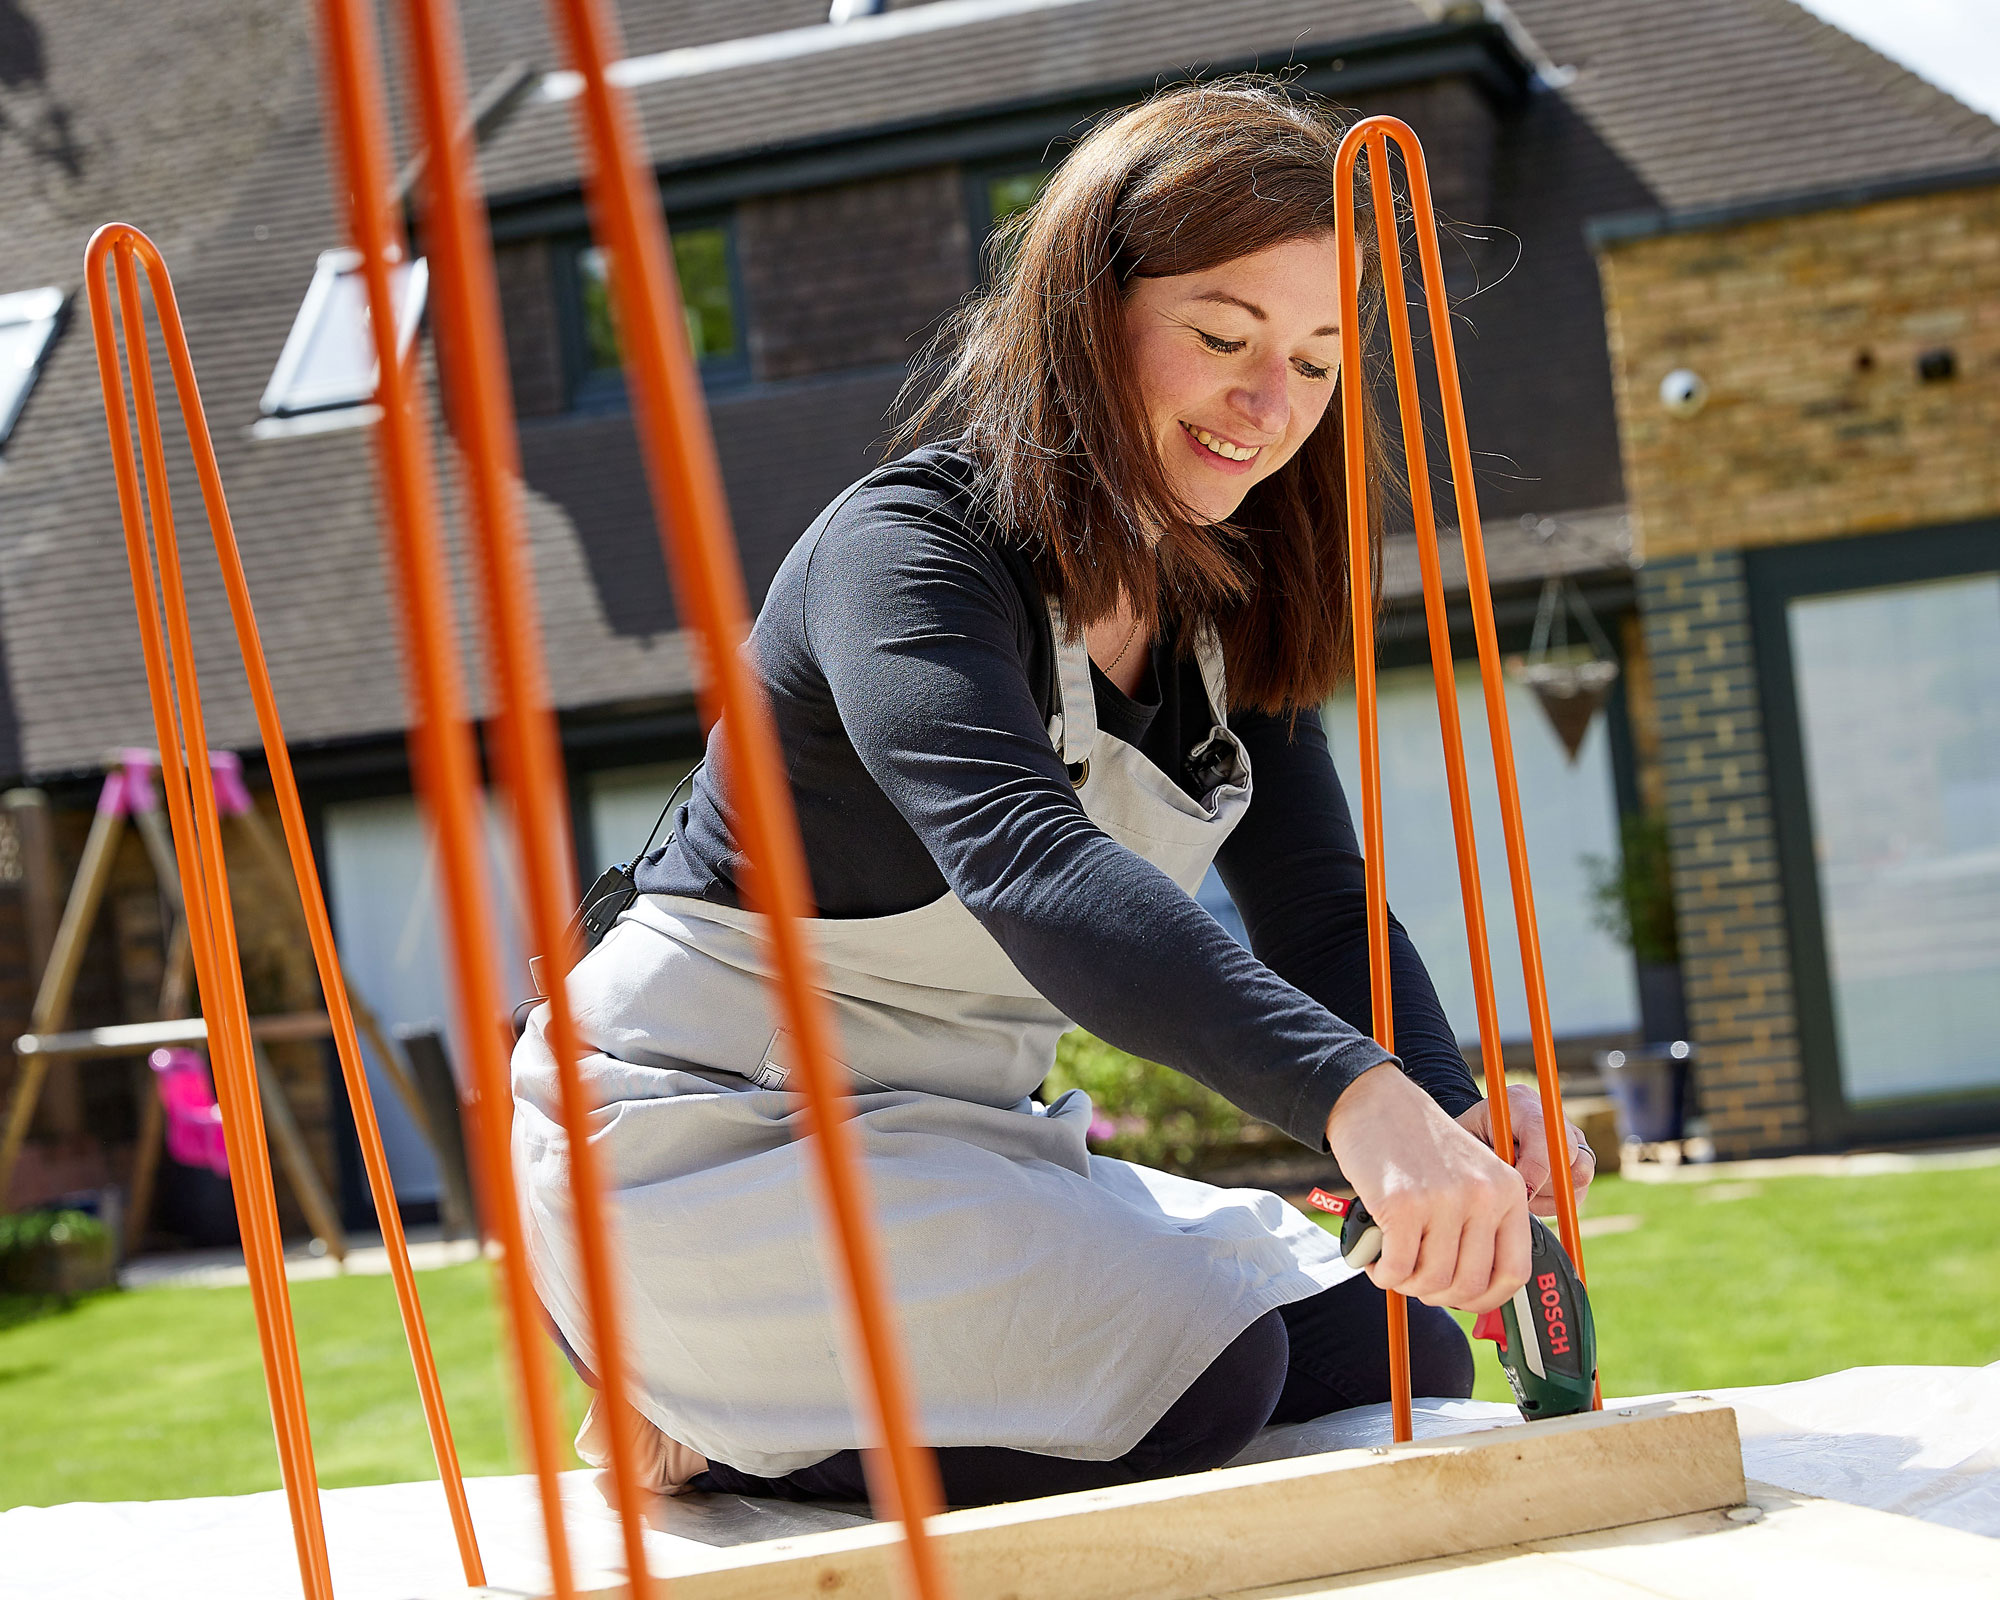
Next, attach the table legs to add the finishing touchers to your garden table ideas. We've used hairpin legs but you could also use square planks if you'd prefer.
- Position your hairpin table legs in each corner with equal distance from the edge and attach them using your drill driver and wood screws.
- We opted for orange but minty green, duck egg blue, yellow, red, copper and chrome could work too.
- The screws and floor protectors for this are typically supplied with the legs.
That's it, your new outdoor desk is complete. You'll get plenty of use from it in the garden during the summer months, but we think it would work just as well as indoors in a garden room or summer house over winter as part of your garden office ideas too.
How to upcycle an outdoor chair
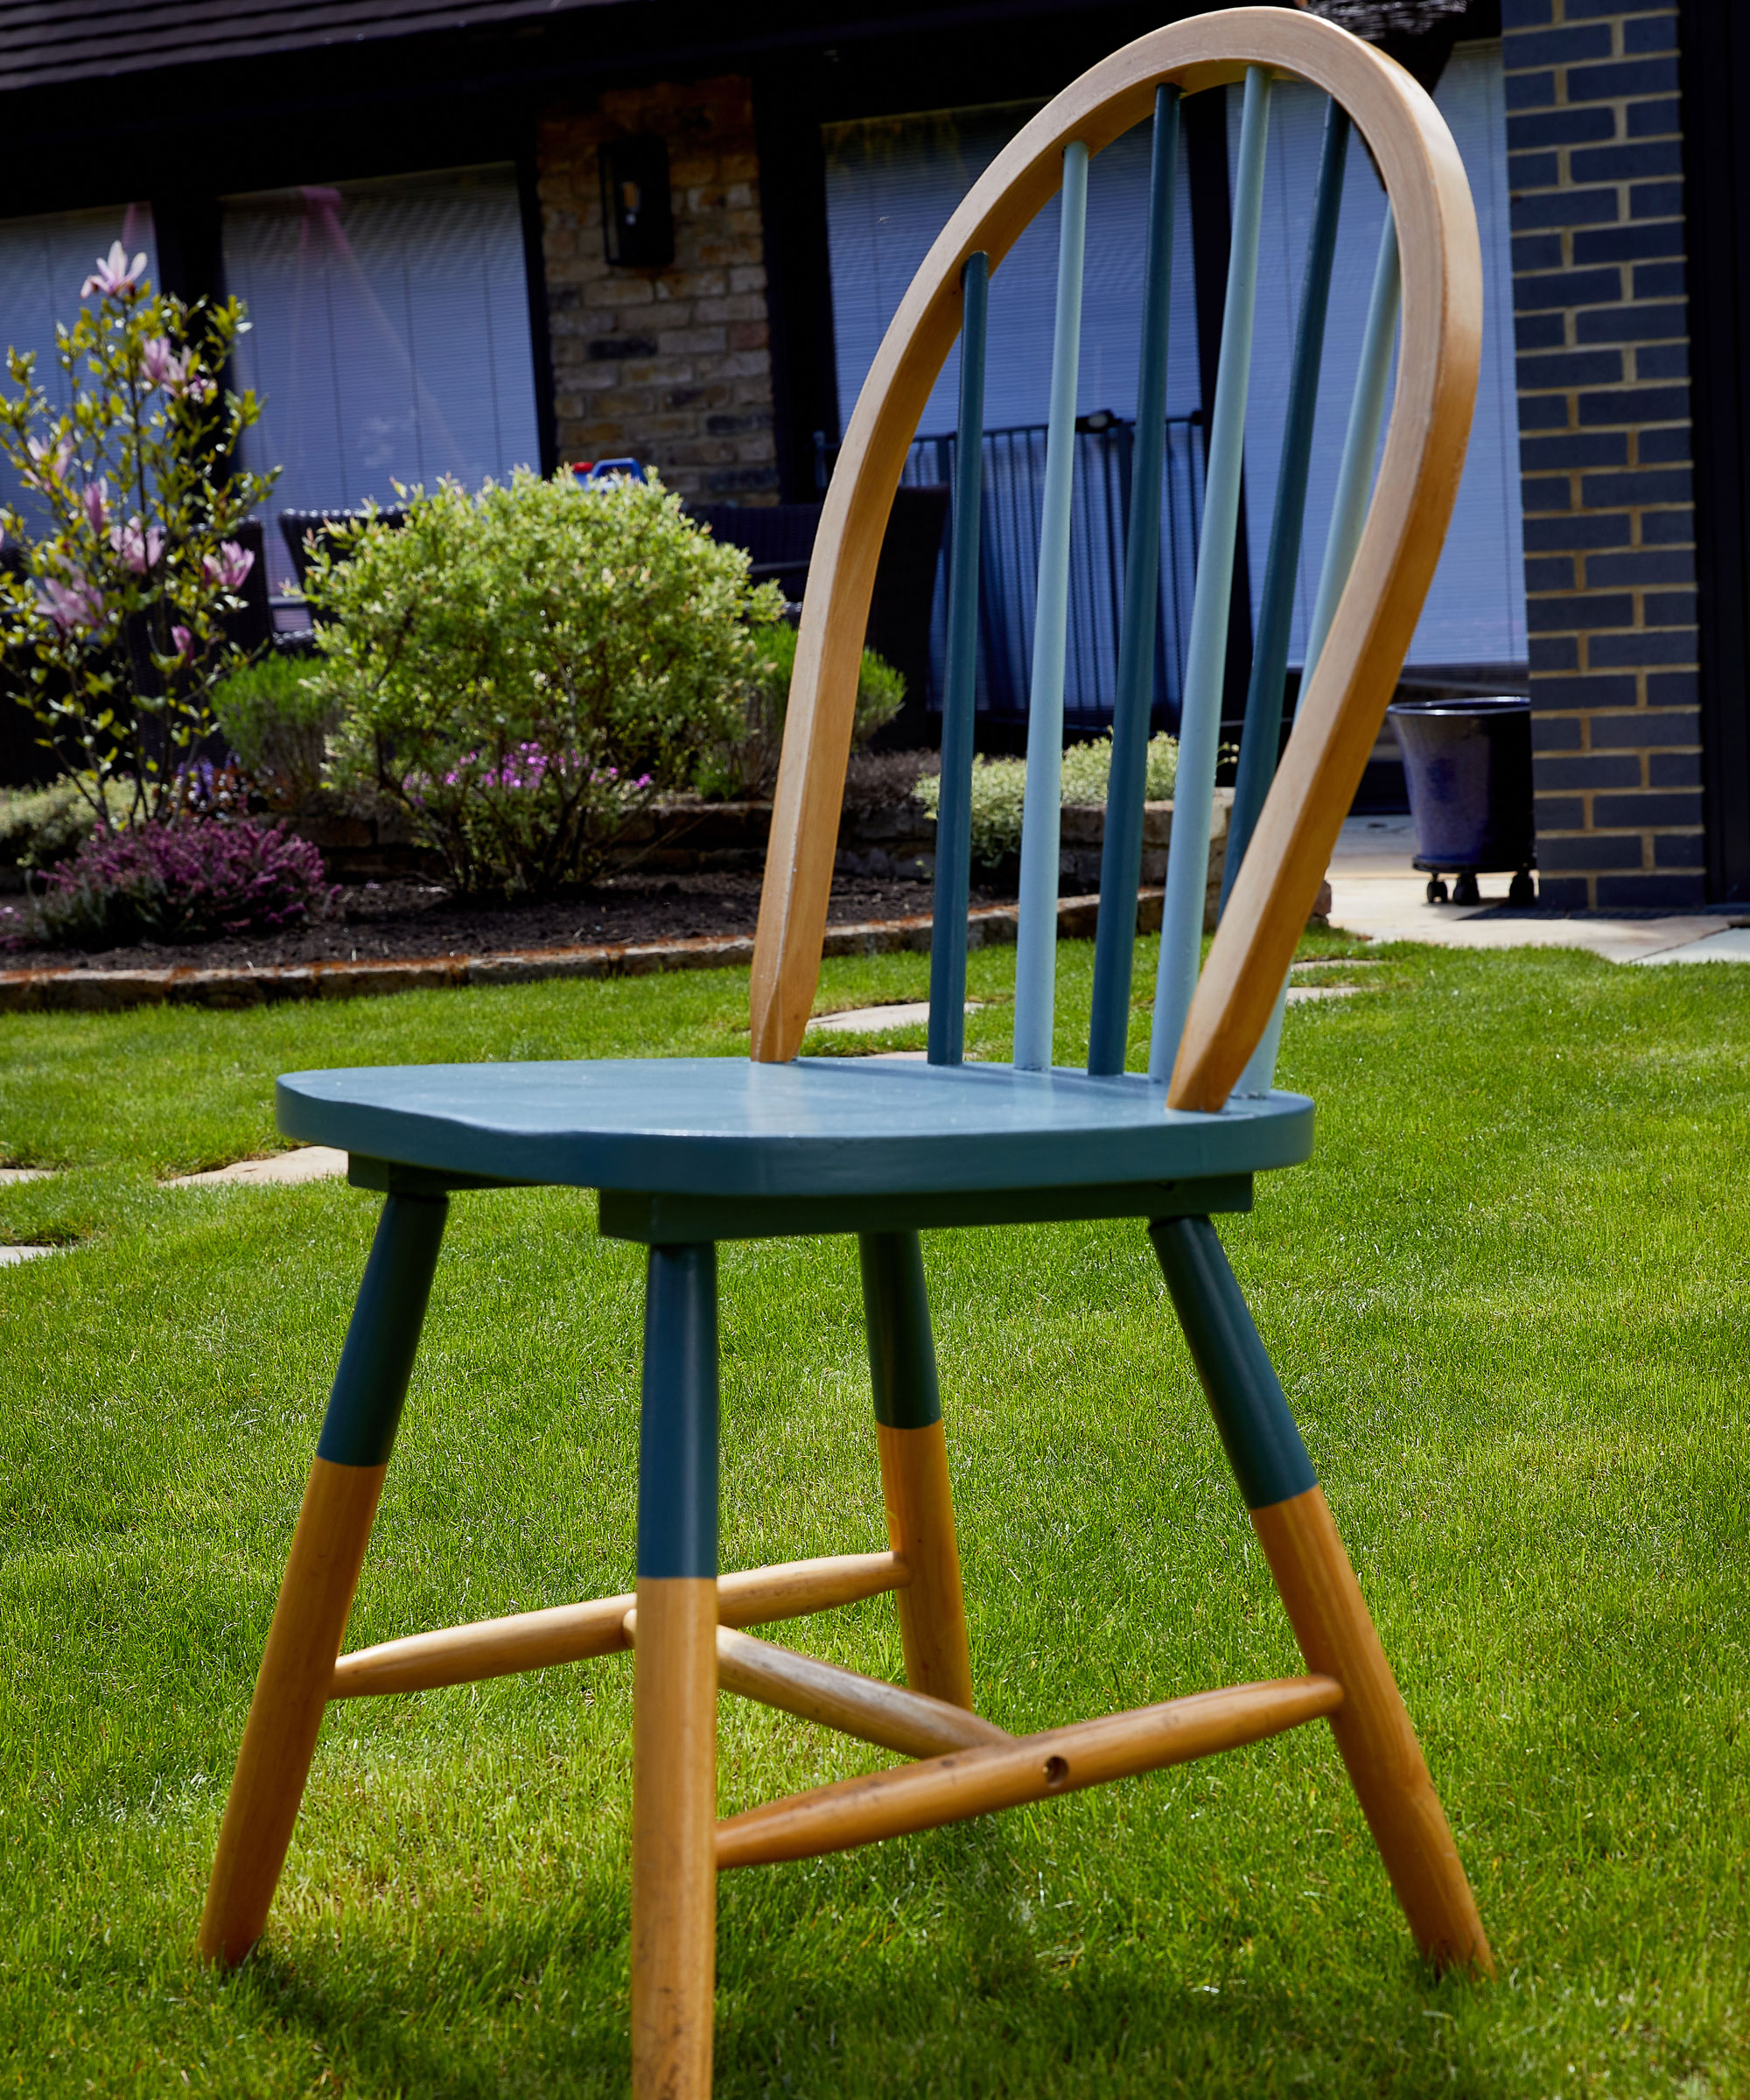
An outdoor desk is useless without an outdoor chair. Upcycling an old chair is the perfect option if you're looking for cheap garden ideas and don't want to splash out on a brand new design.
You will need:
- Old wooden or metal chair - we have used an Ercol chair
- Masking tape
- Exterior primer suitable for wood with no sanding required
- Exterior eggshell paint or any color of your choice that’s suitable for wood or metal
- Small paintbrush
- Artist’s paintbrush
Step 1: clean your chair
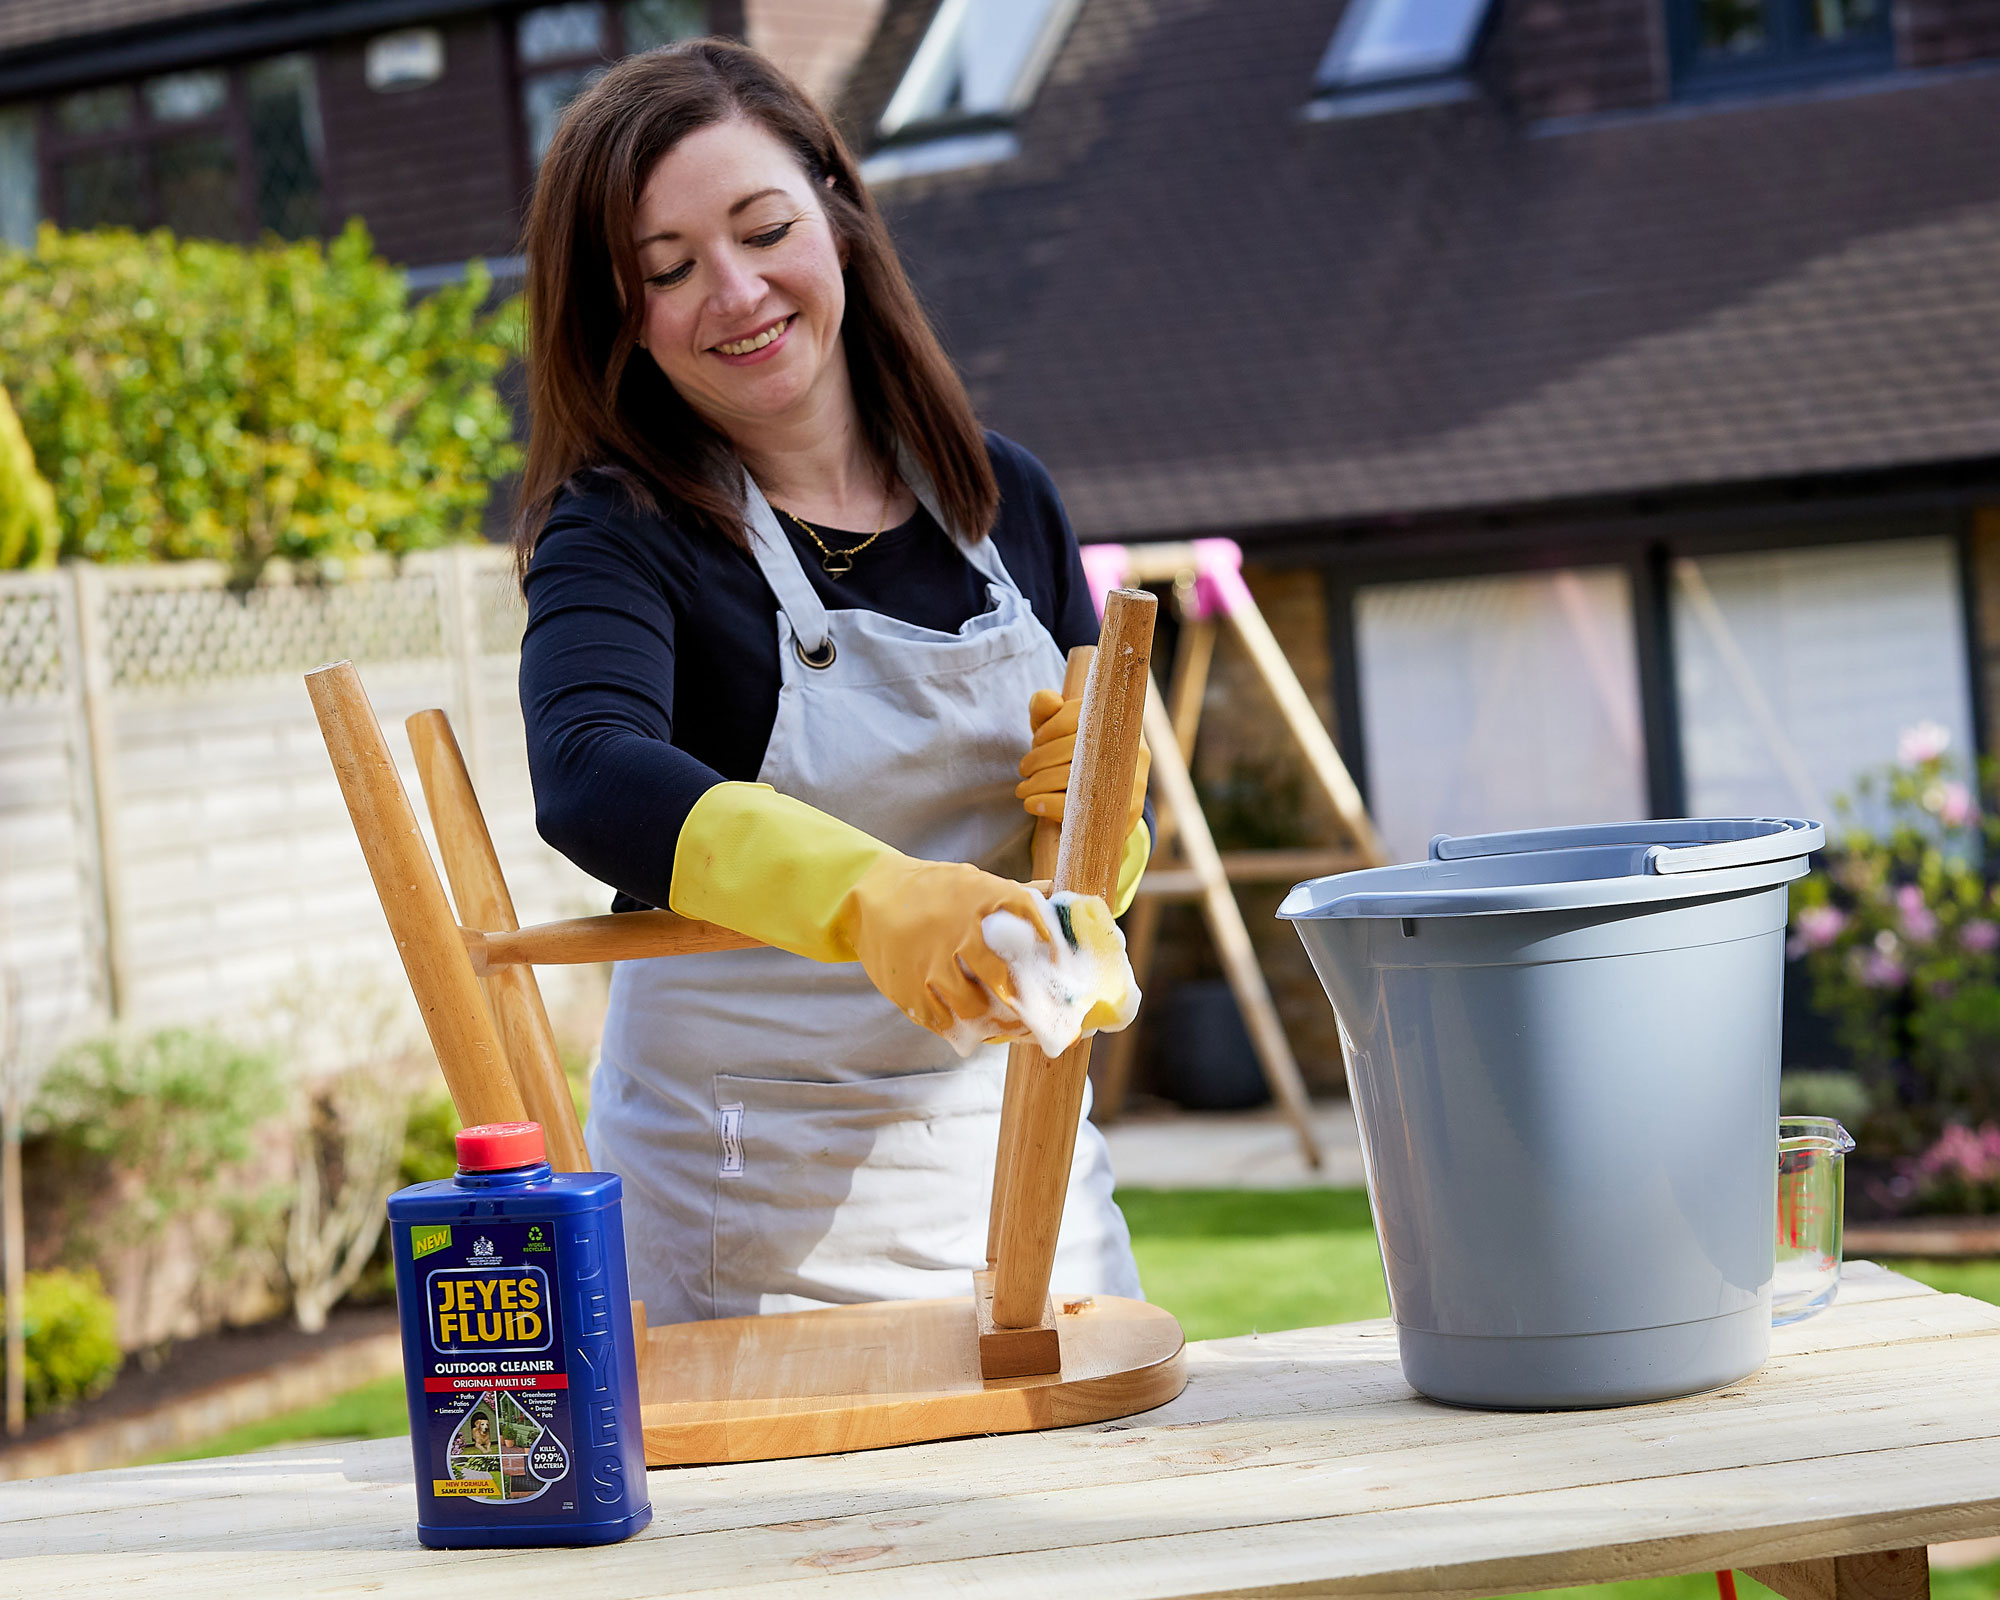
Make sure that the chair is properly cleaned. Just like with the desk, we also used Jeyes Fluid for this. Wait until it’s completely dry before proceeding.
Our guide on how to clean outdoor furniture has lots more tips on how to get your garden seating and tables looking their best.
Step 2: tape out your design
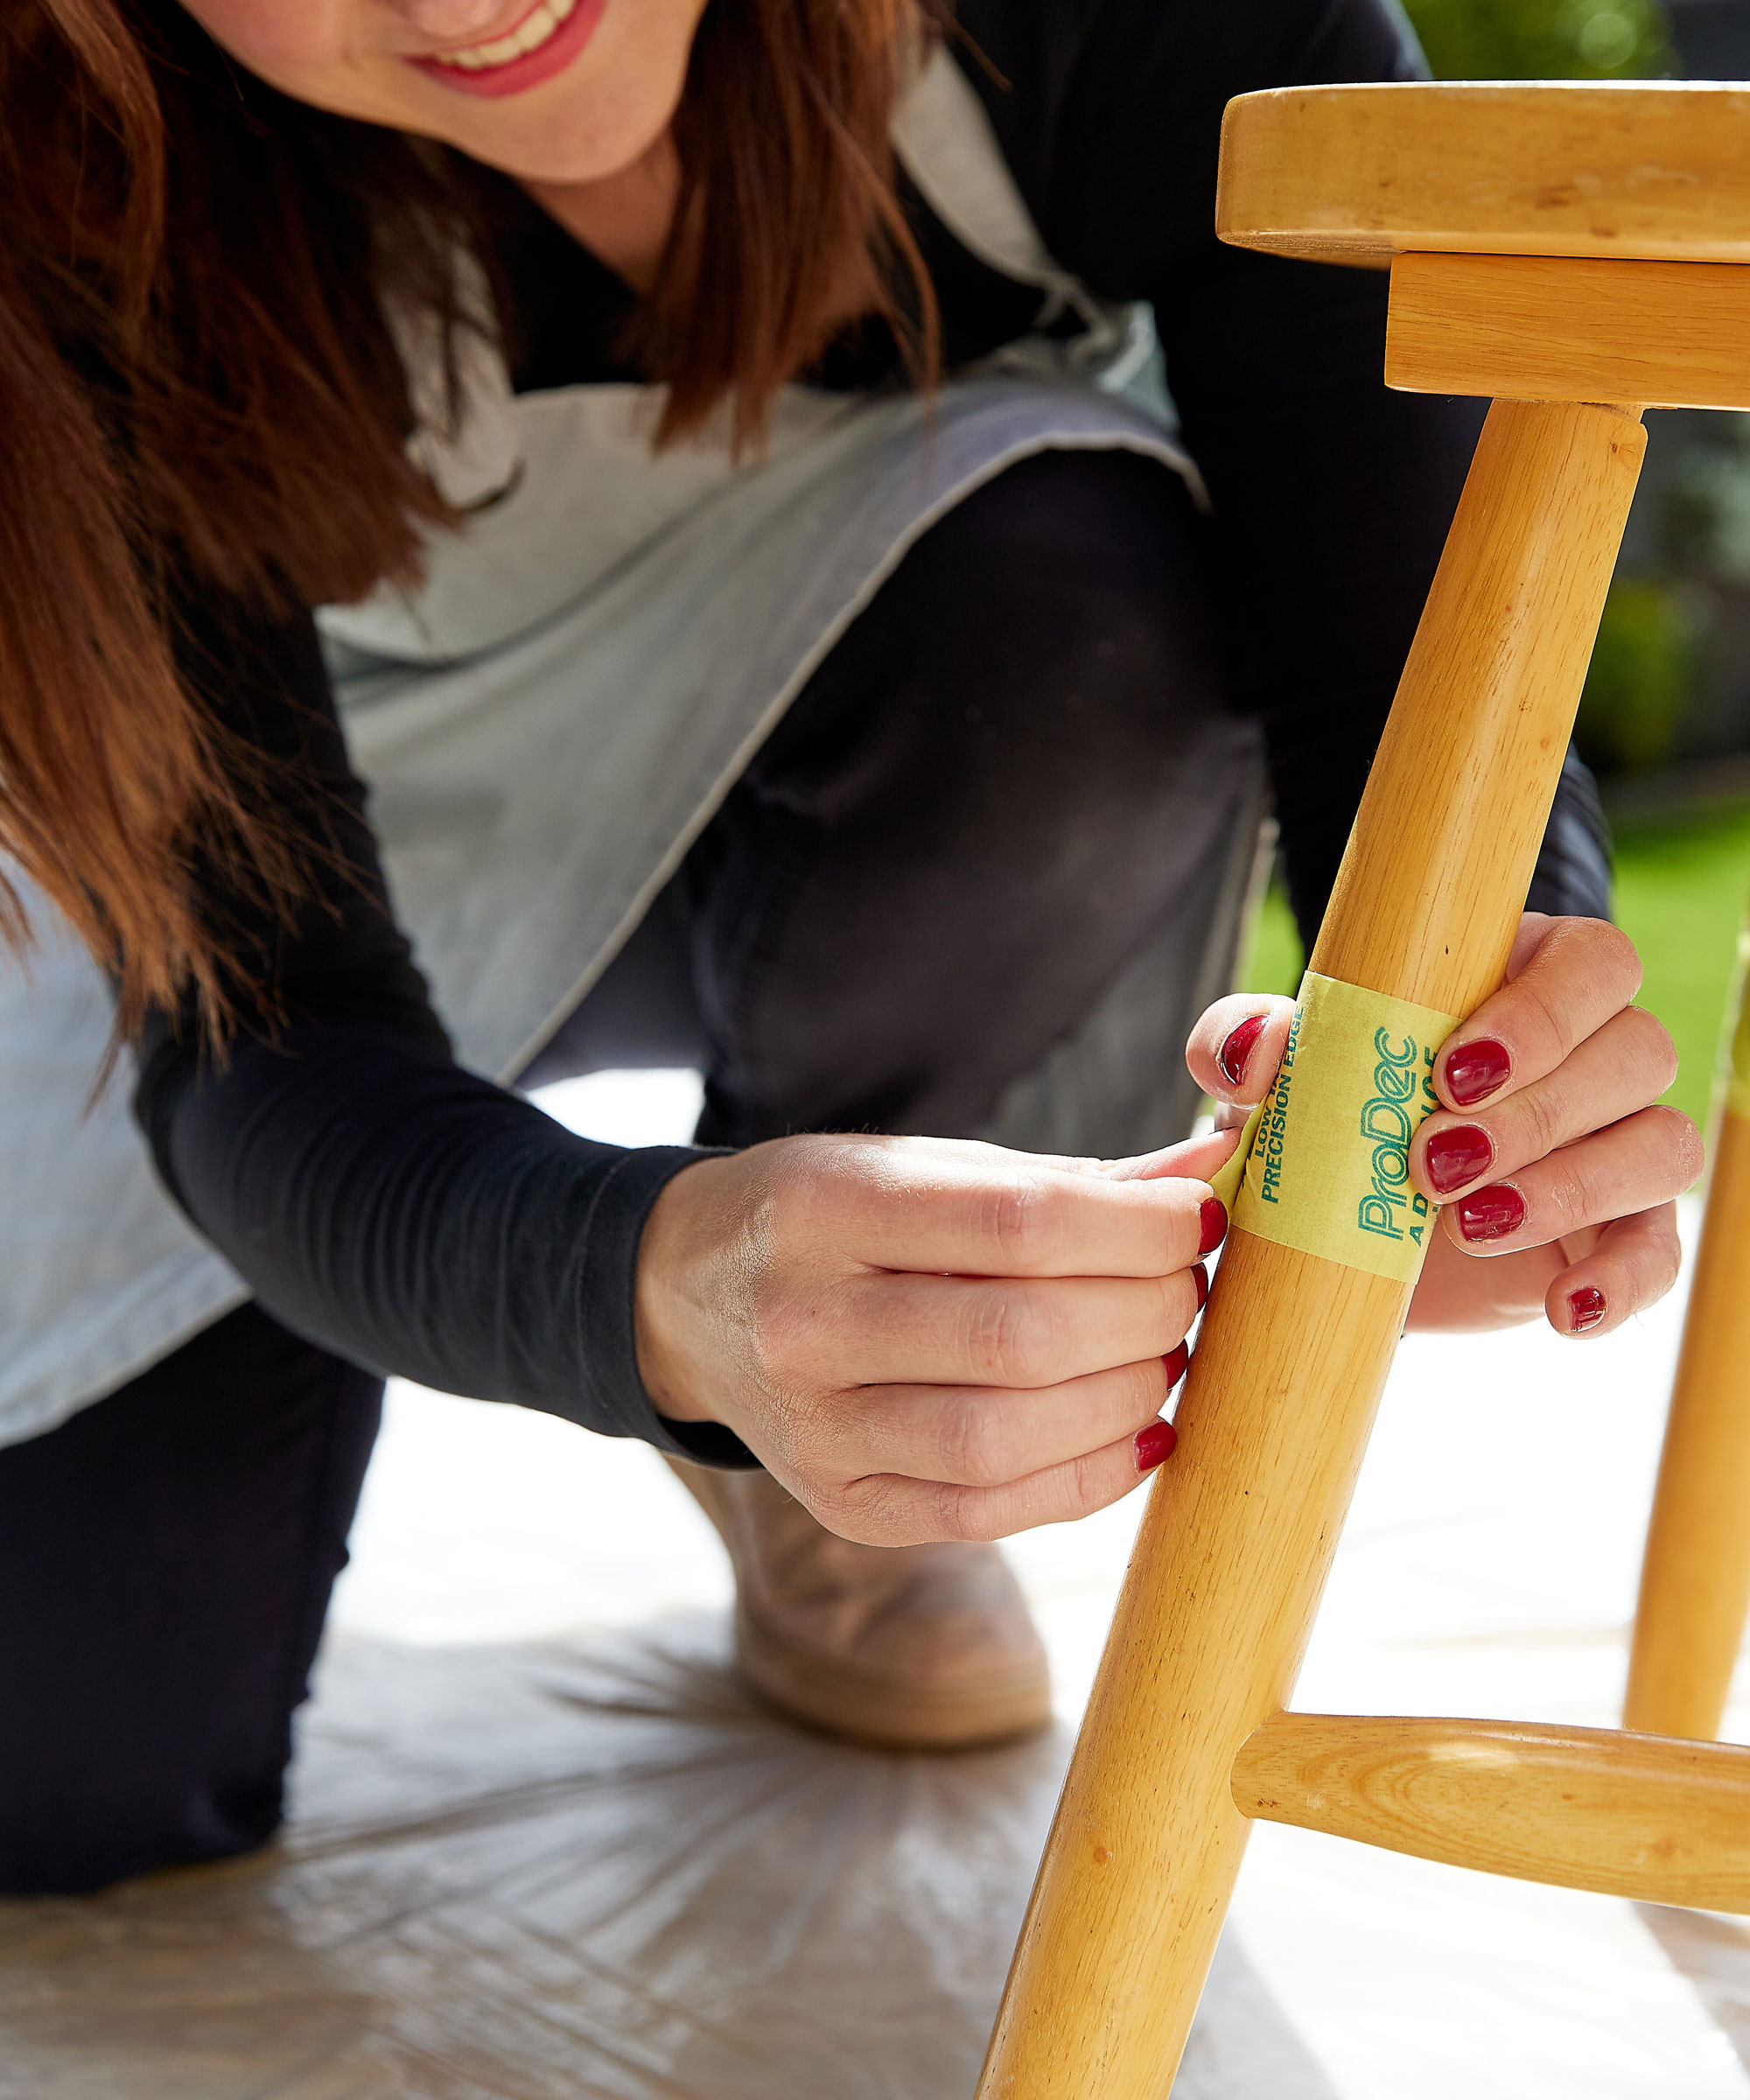
Use masking tape to create your design and protect areas that you don’t want painted. We taped the top of the chair in between each spindle (the edges of the chair back).
Also, measure how high up the chair leg you want to paint and stick masking tape. We measured 13.5cm up the leg. Repeat this for each of the legs. Alternatively, if you want to paint a pattern use the tape to section off the parts that will form this.
Step 3: prime the chair
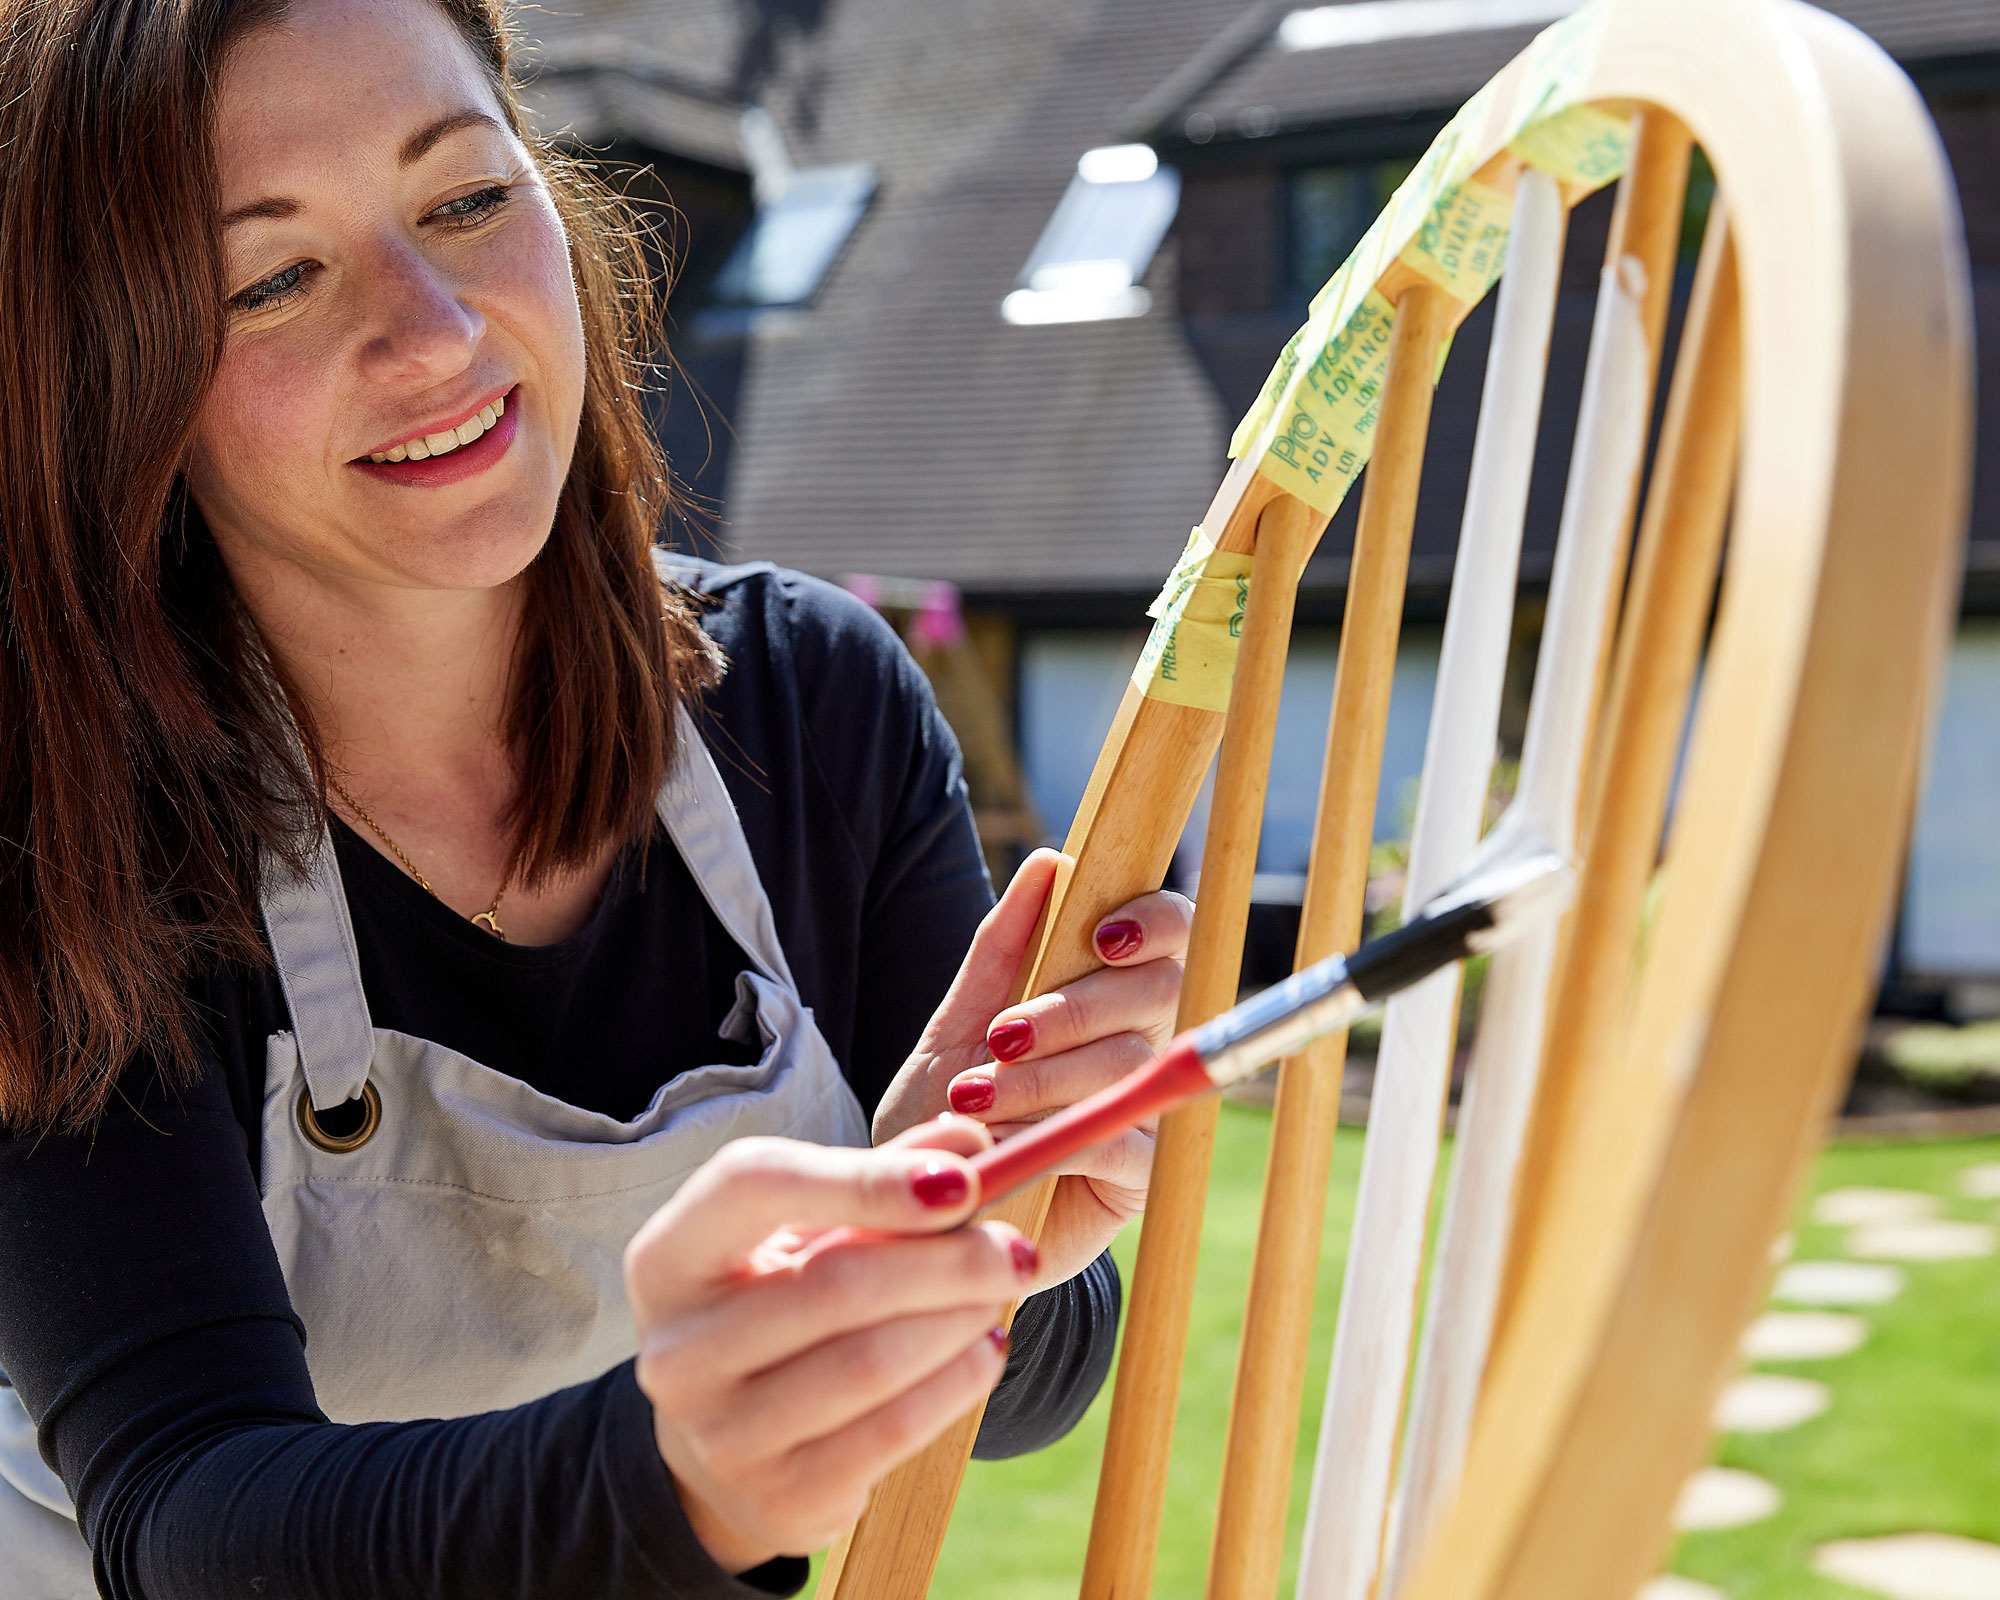
Apply one coat of primer and leave to dry for two to four hours before applying another. This will help the paint to stick evenly and will make the color of your furniture appear bolder.
Leave to dry completely for another two to four hours.
Step 4: paint the chair
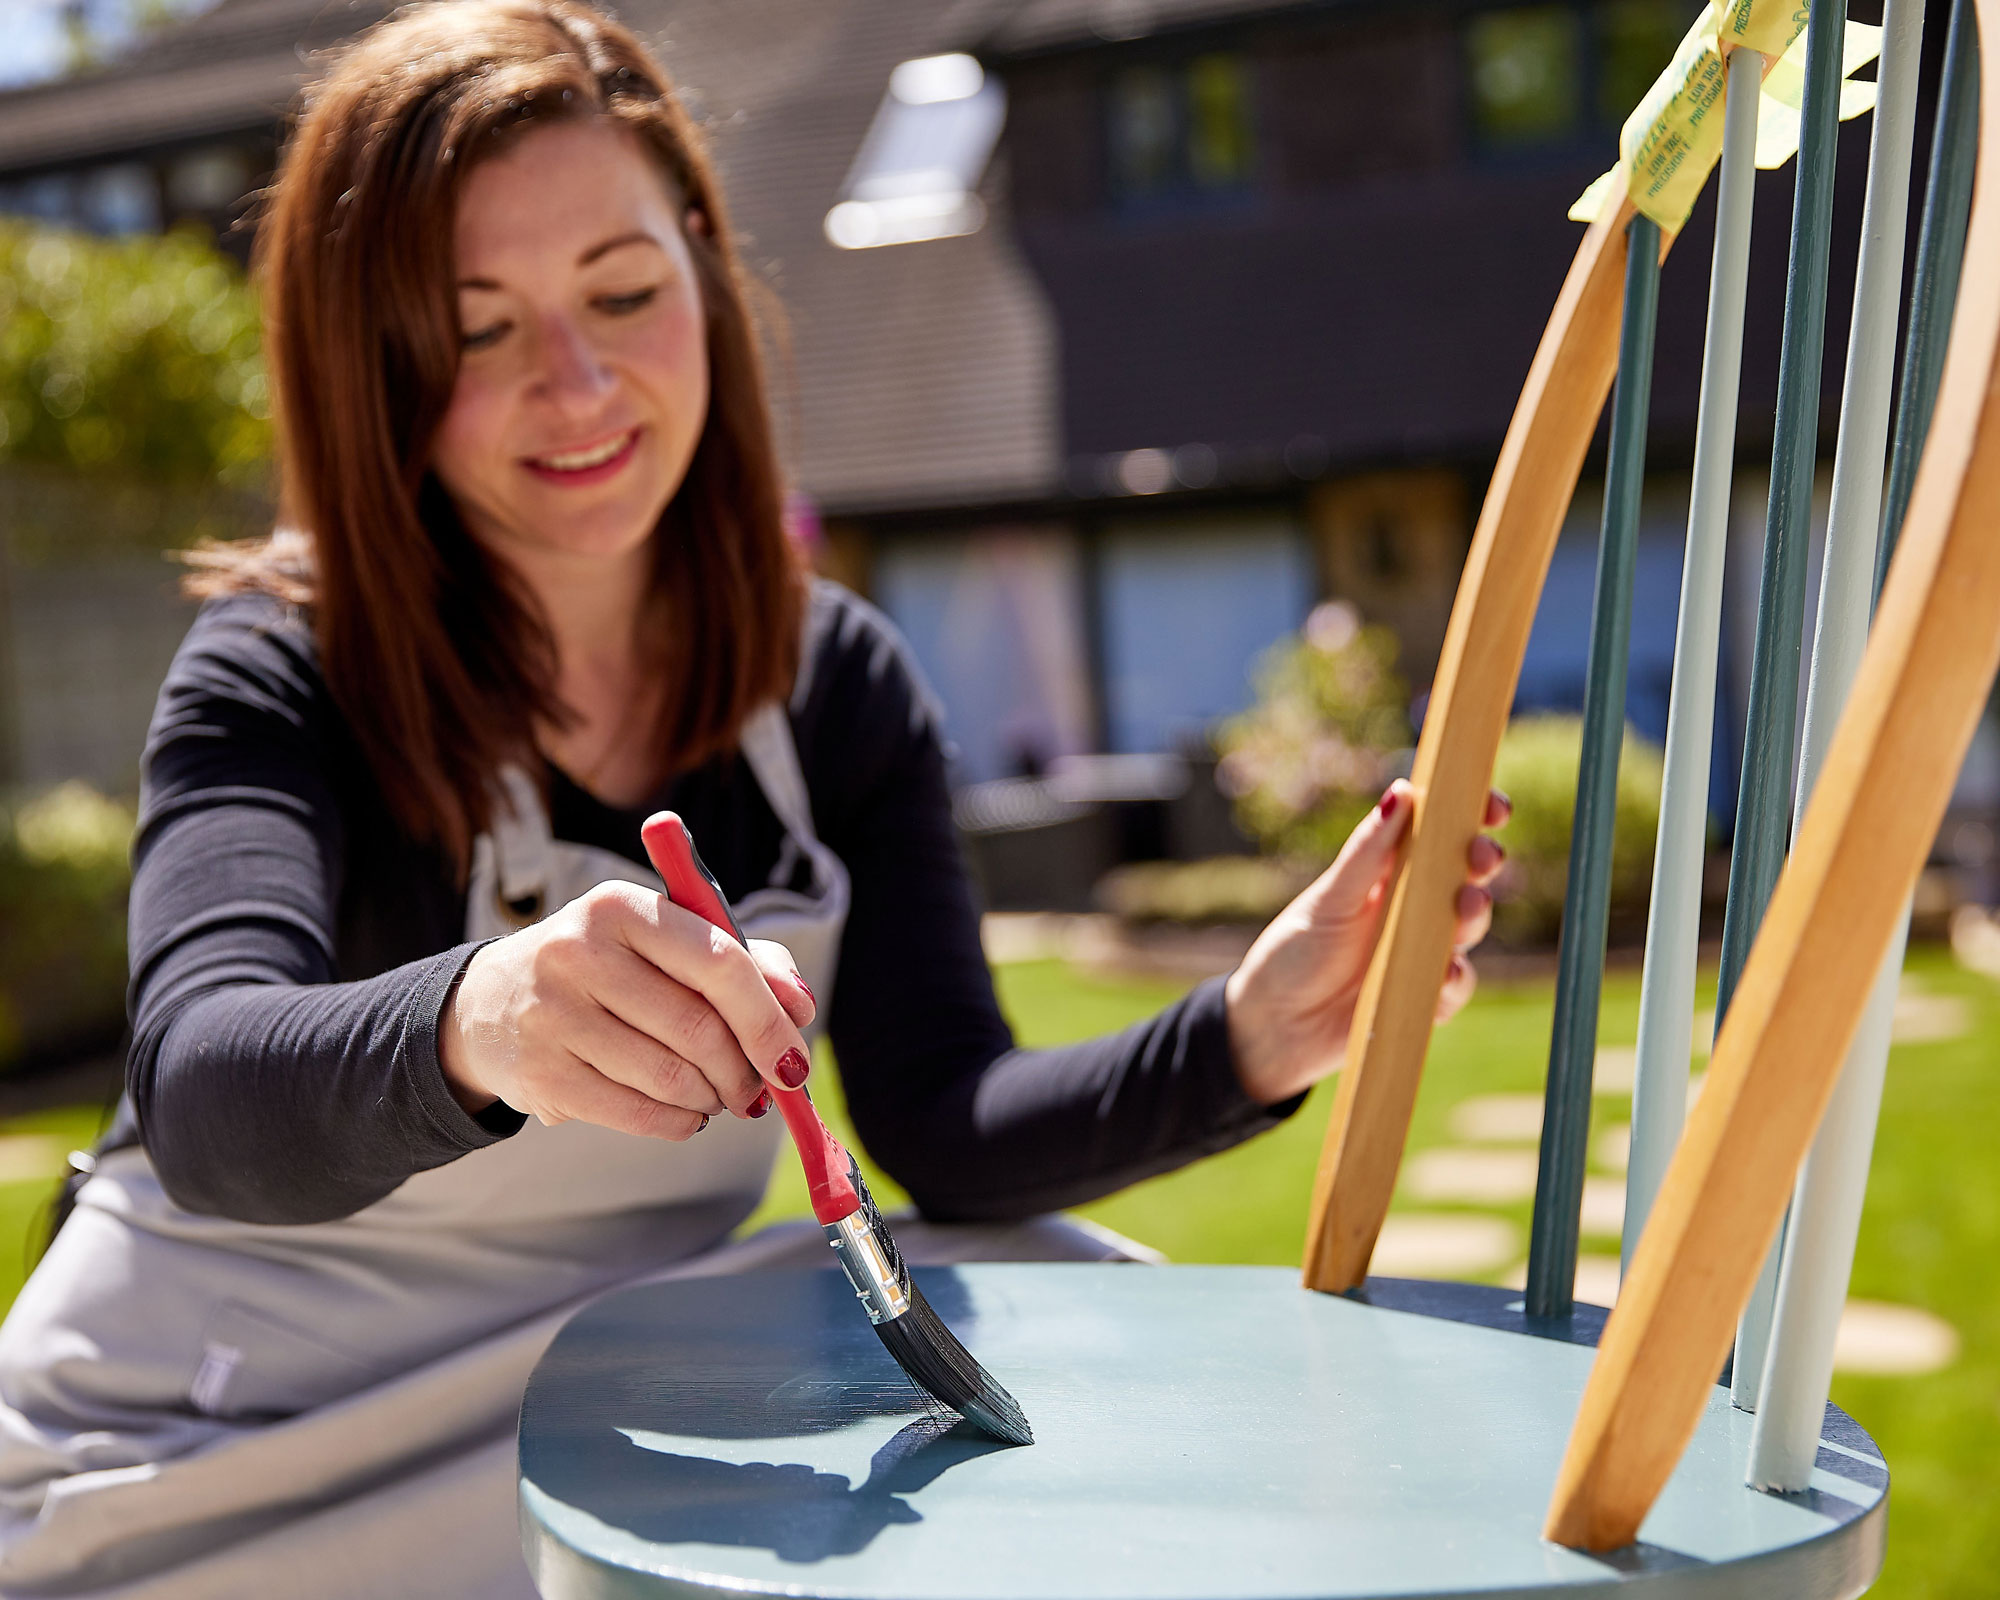
Paint the chair with 2-3 coats of exterior eggshell or the best exterior wood paint for an even coat of color. If you have a metal chair, make sure you choose a suitable paint for that material.
If you want to add further designs or details, make sure you do so after the initial paint is touch dry.
Carefully remove the tape and touch up any areas with an artist's paintbrush. Leave to cure for at least a week before using the chair.
Your outdoor desk finishing touches
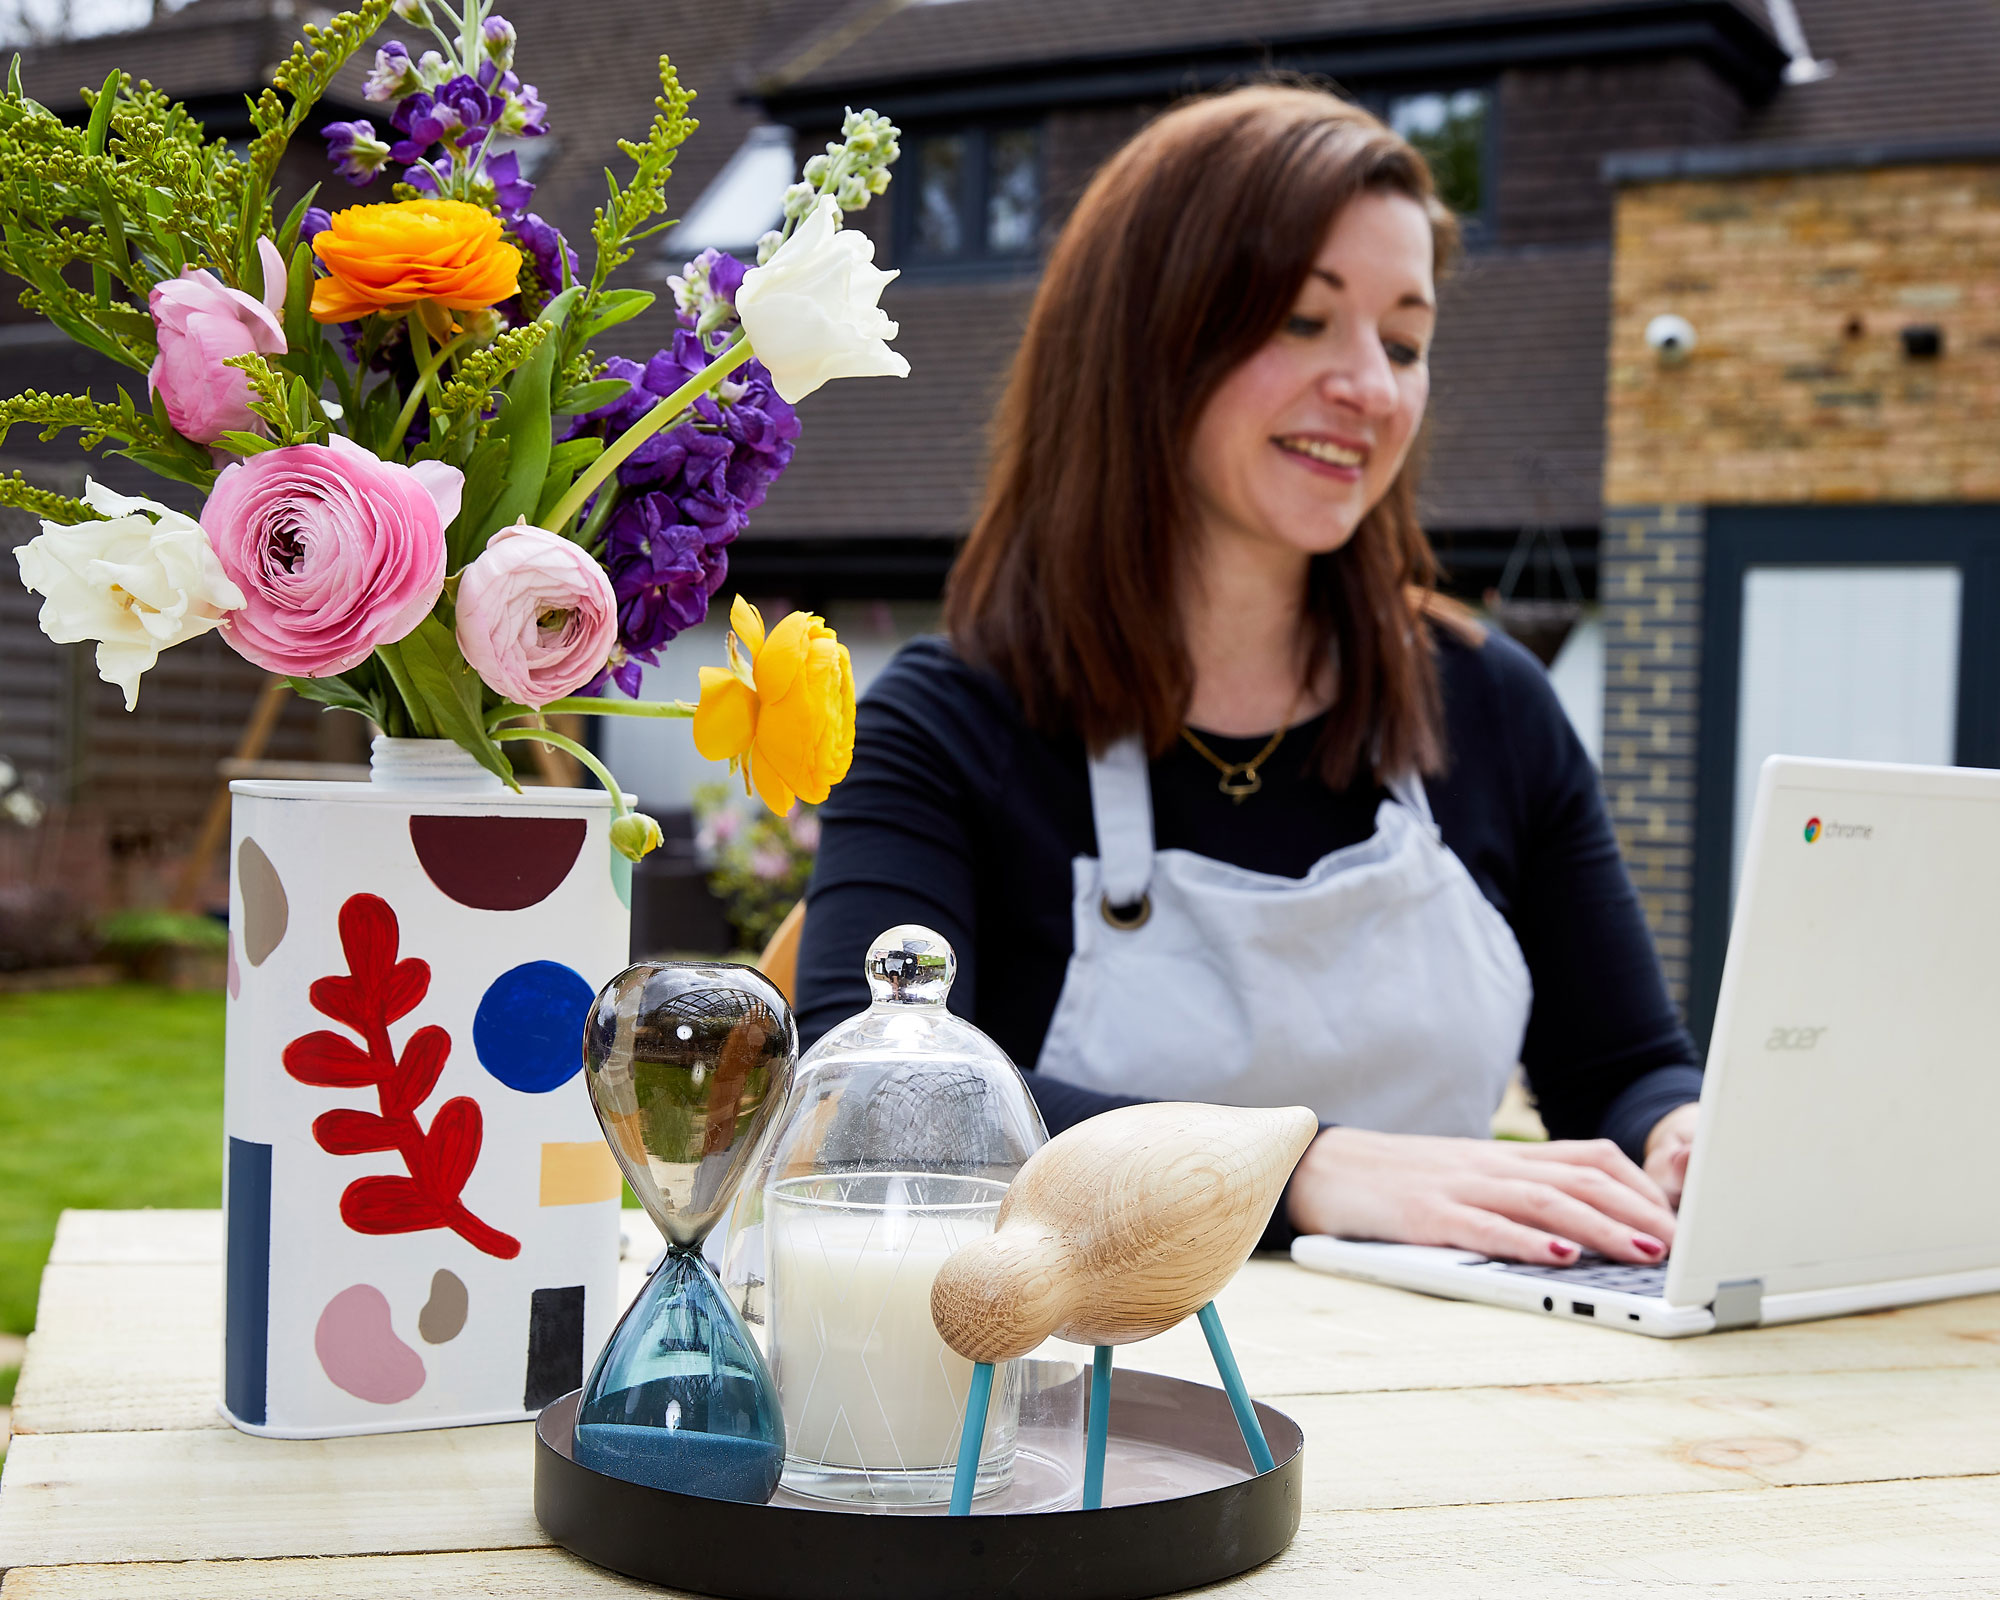
Don’t forget to personalize your set up with your favorite outdoor accessories such as a stationery holder, one of the best outdoor rugs (for some added comfort underfoot) and some plants.
During summer, your best indoor plants may enjoy a holiday outdoors, so arranging them on your new desk can be a great way of enjoying them during the warmer months too.
Feeling inspired to try some more DIY projects? Our guide on how to build a pallet bench is a brilliant way to boost your outdoor seating ideas.
Jenny is Senior Digital Editor on Real Homes and joined the team in January 2021. She also works on the homes brands' video show, on the Future Homes Network, which is packed full of ideas to help you make the most of your own home and garden.
