Landxcape LX796 robotic lawn mower review: good value and decent performance
Keen to take mowing the lawn off the to-do list, we've reviewed the Landxcape LX796 robotic lawn mower. Here's how we got on...
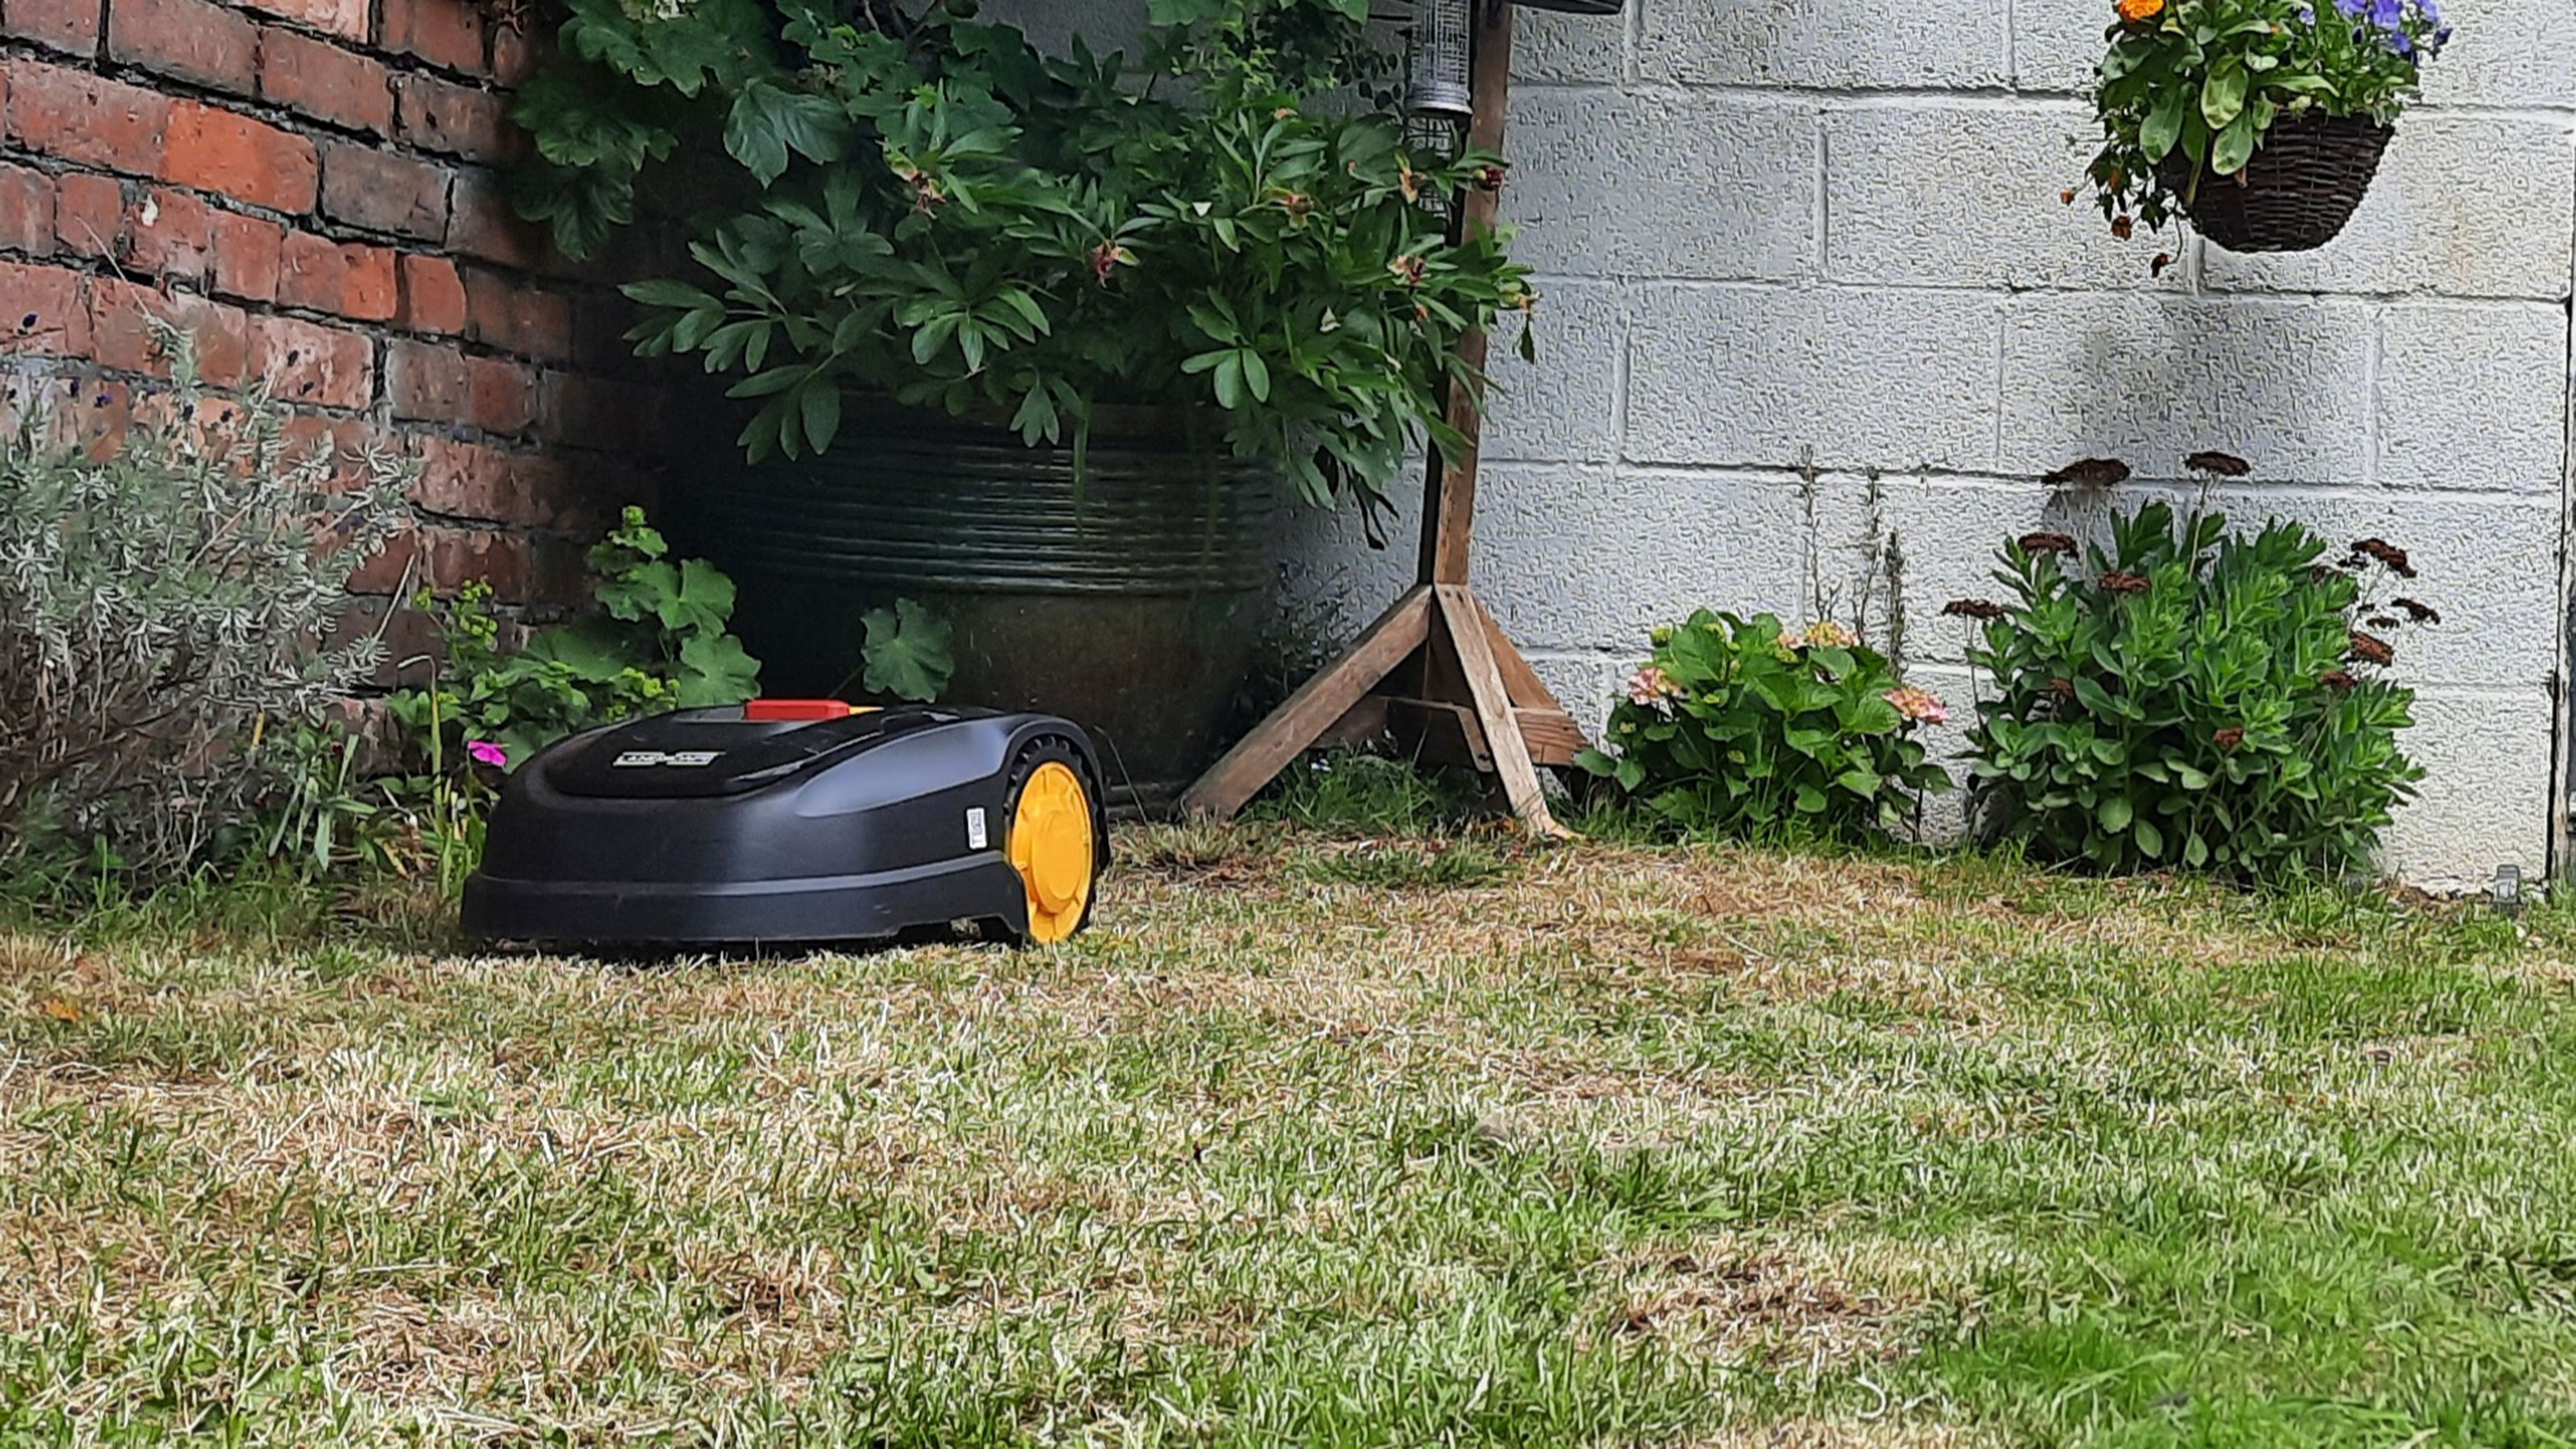

With no programming required, automatic return to base and no bin-full of grass cuttings to empty, the Landxcape LX796 robotic lawn mower will be a useful addition to the garden during the summer months. You will need a lot of patience when setting it up, though, because the instructions aren't all that clear and you'll still need to get your strimmer out once-in-a-while to trim around the garden borders.
-
+
No programming required
-
+
Scheduling a grass cut is an option
-
+
Stays within the boundary wire
-
+
Does a good job cutting the grass
-
+
Returns to base for a recharge / when job is complete
-
-
Instructions aren't clear
-
-
No good for mowing tight up against borders
-
-
Gets stuck a few too many times for my liking
Why you can trust Gardeningetc

Looking after the lawn is something which we take great pride in, especially since we've grown each and every blade from seed. Our back garden used to be laid to gravel when we moved in four-or-so years ago so, after shifting five tonnes of the stuff, sifting soil and sowing seeds, I'm sure you'll appreciate that we want to continue to look after it.
Keeping the grass in a regularly trimmed state is important for promoting growth, we know, so when the opportunity came up to review the Landxcape LX796 robotic lawn mower I couldn't wait to get (it) mowing. Like any new tech, though, it can be tricky to get your head around the concept, but with a lot of persistence and even more trial and error, I did manage to tick 'mow the lawn' off the to-do list eventually.
Read on to hear more, then check out our best robot lawn mower guide for more top buys.
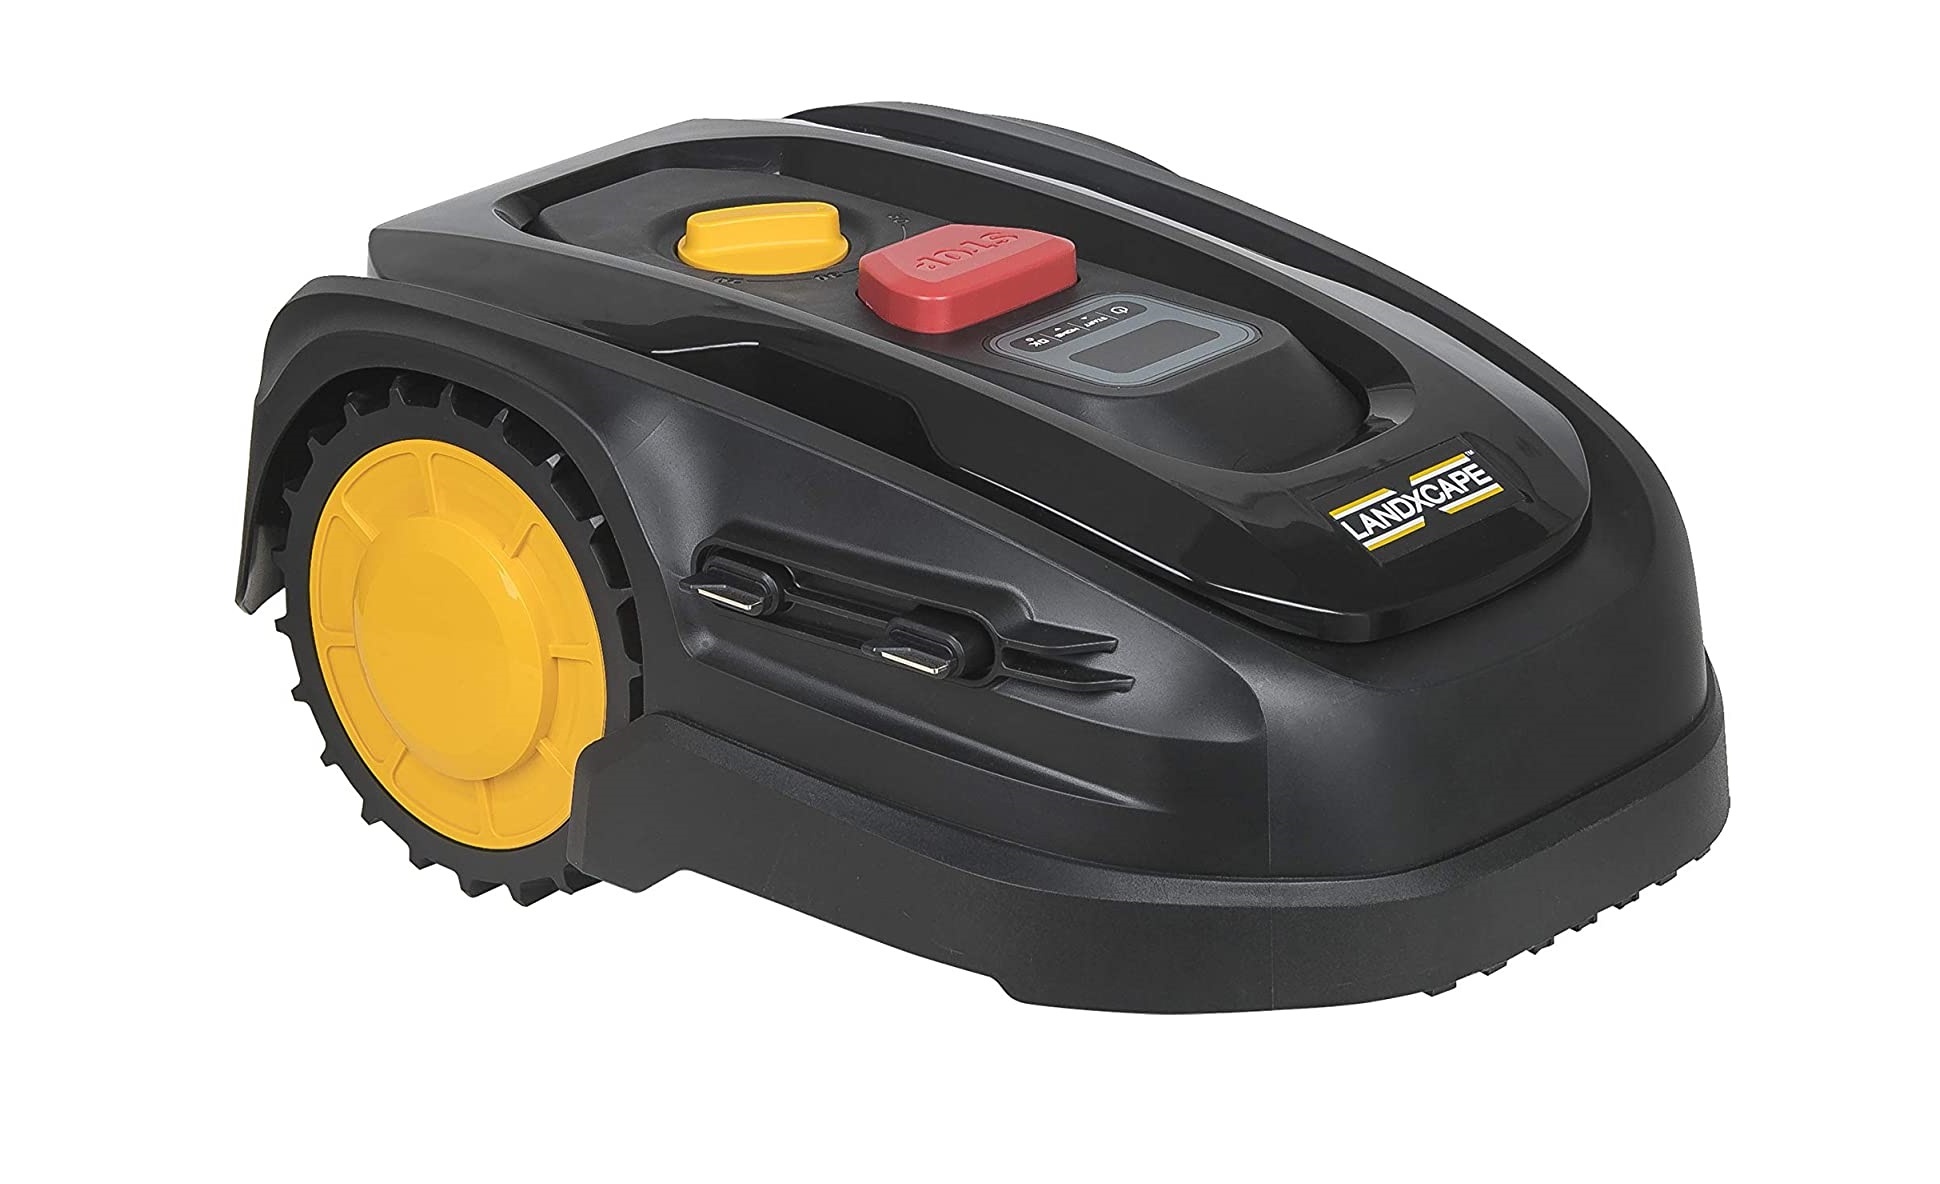
Product specs for the Landxcape LX796 robotic lawn mower
- Lawn area: up to 400 m²
- Cutting width: 16cm
- Cutting height: 20-50mm
- Max. Gradient: 25% (15°)
- Battery power: 20V Max / 2.0 Ah Li-Ion
- Recharge time: up to 4 hours
Delivery and unboxing
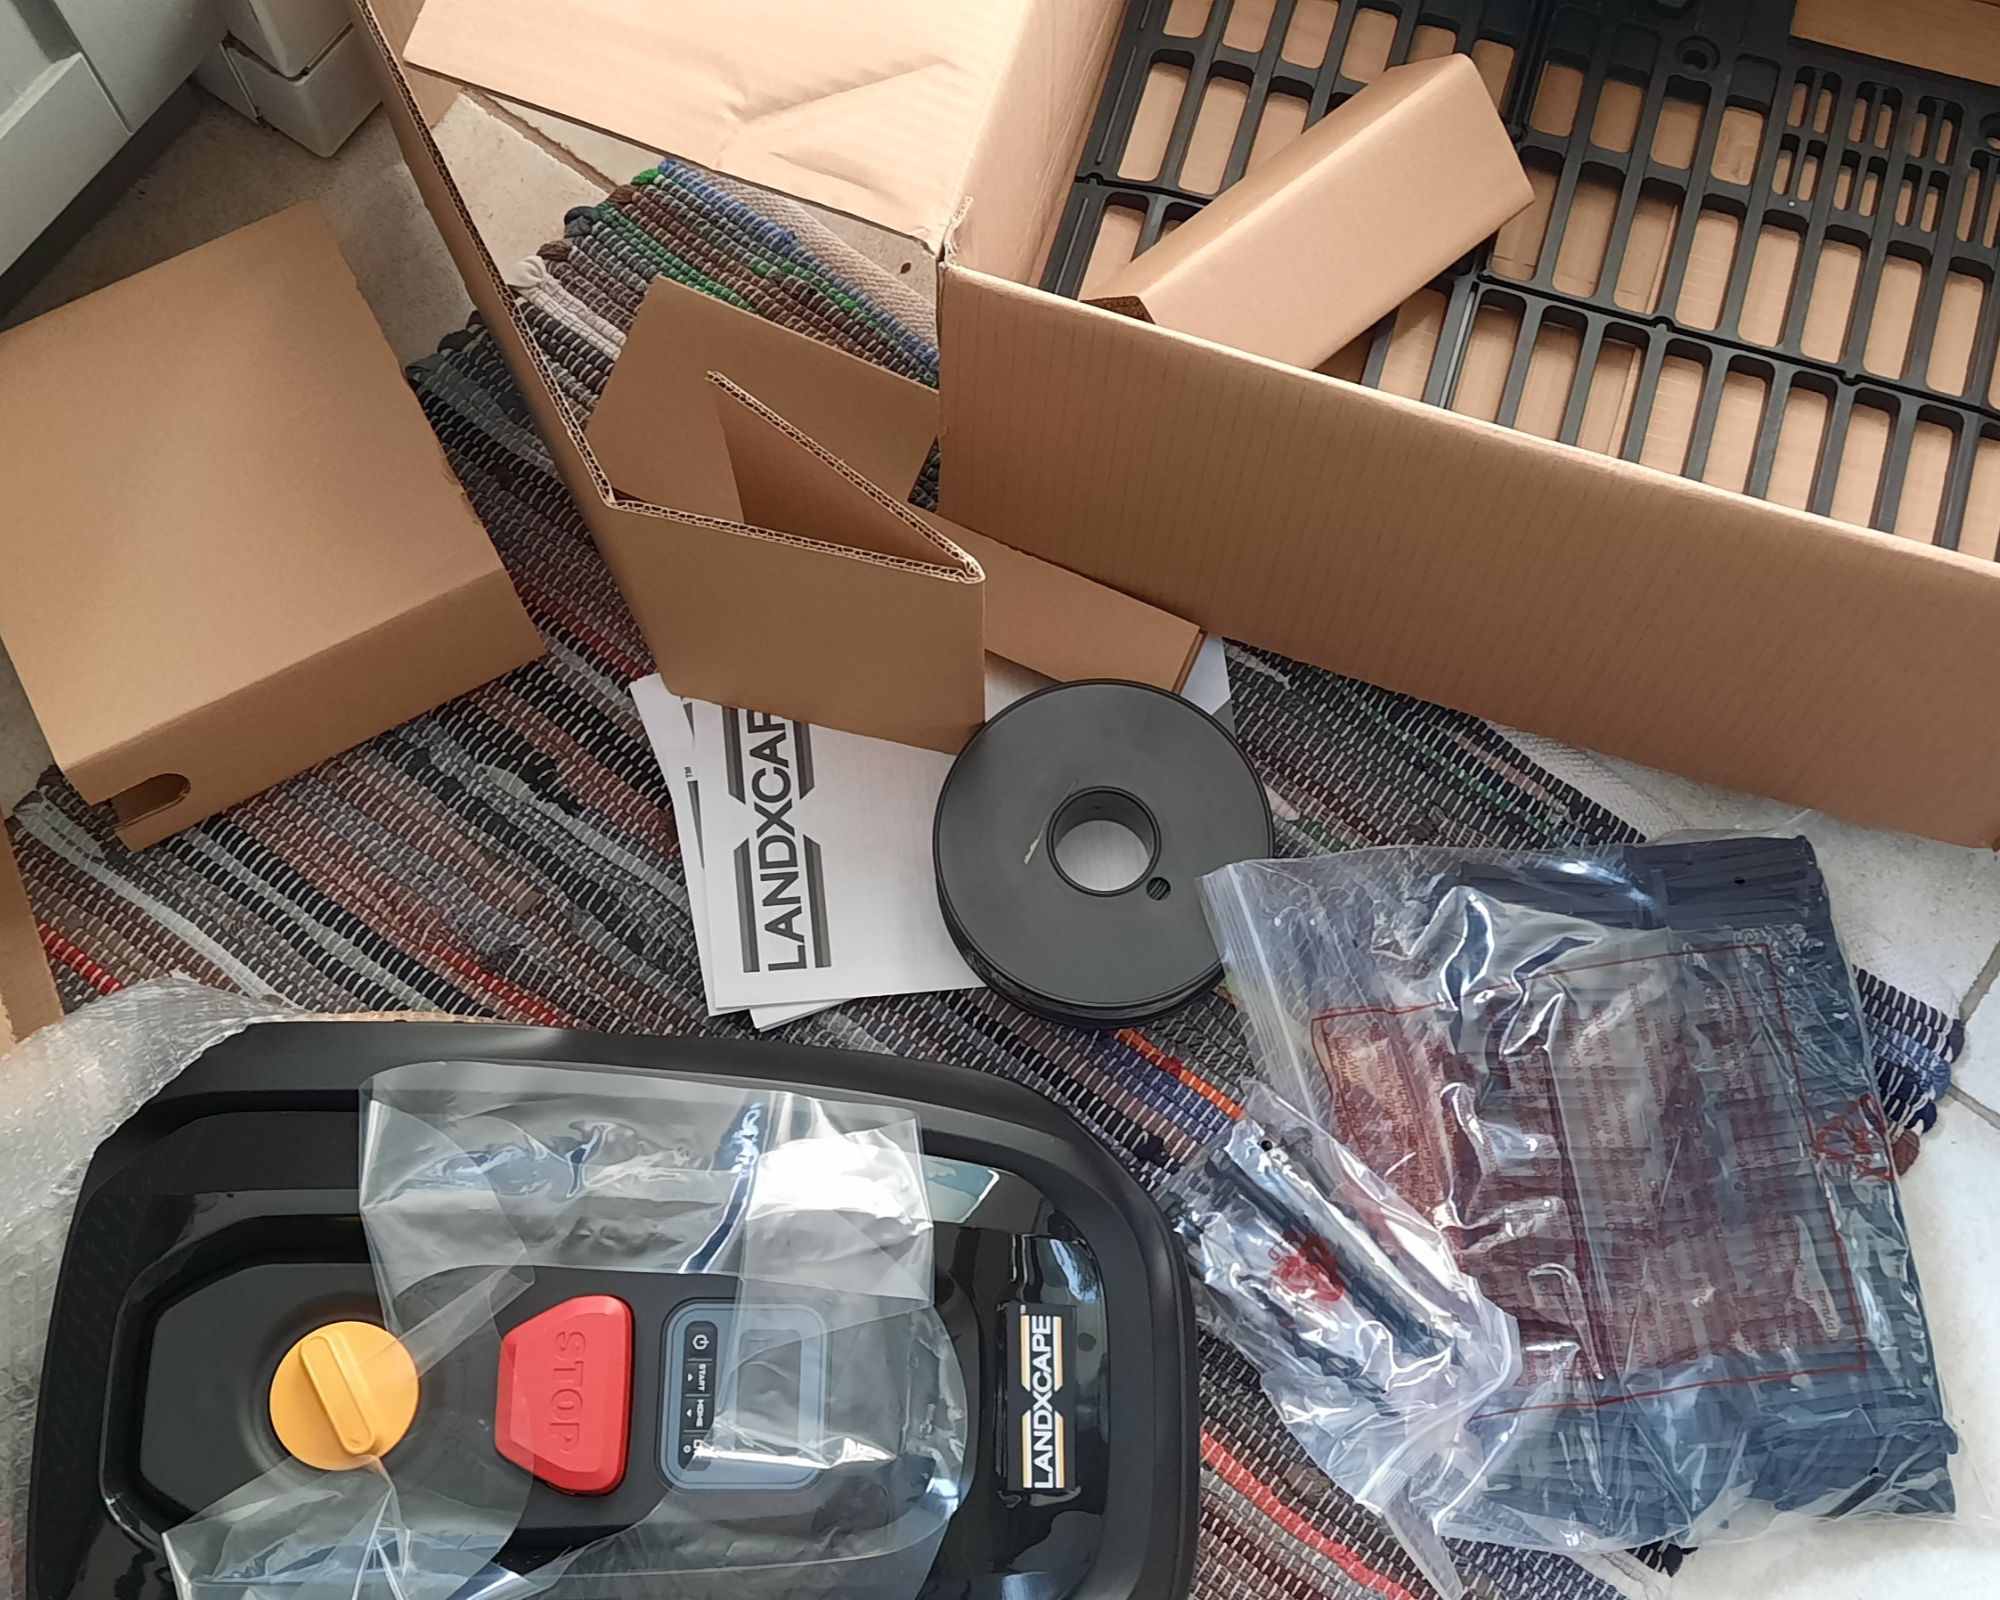
The Landxcape LX796 robotic lawn mower arrived wrapped in a plastic bag which was providing some waterproof protection to the branded cardboard box inside. In its entirety, the package felt heavy and it is a fairly large and awkward size which didn't easily want to be carried down our narrow hallway entrance.
Taking up most of the space in the box was the lawn mower unit which had some bubble wrap wrapped over the top of it. Tucked in around it, down two of the four sides to the box was the instruction manual, 130m boundary wire, 180 pegs, 7 screws, power supply, 3 blades and screws and 1 hex key. It sat neatly on top of the charging base which lined the base of the delivery box.
Setting up
Although the Landxcape LX796 doesn't need much set up itself there is a fair bit to do before you're ready to start using it. I turned to the instructions, of which there are five separate documents/booklets to go through. I found the instruction guide, owners manual and 20v robot lawn mower charger booklets to be the most useful at the point of set up, and at the point of using it to cut the grass.
Choosing a suitable spot in the garden for the robot mower to reside during the summer months was the first thing to do, and this was subsequently the first challenge.
In the installation guide it was advised to 'find a flat surface for the charging base, dry and away from direct sunlight' but in the lawn mower charger booklet it says 'for indoor use, do not expose to rain'.
I've since received clarity that it is the charging base to be on a flat surface, preferably protected, and the plug is to be indoors or in a proper outdoor socket which could be a limiting factor for many.
We found that the cable to the plug is just about long enough to reach a cable extension through a window in our extension – not ideal but it was fine. I've had it confirmed that the robot lawn mower is perfectly able to withstand the rain and sunshine, and are completely waterproof (except when turned upside down) so don't worry too much if it's not undercover.
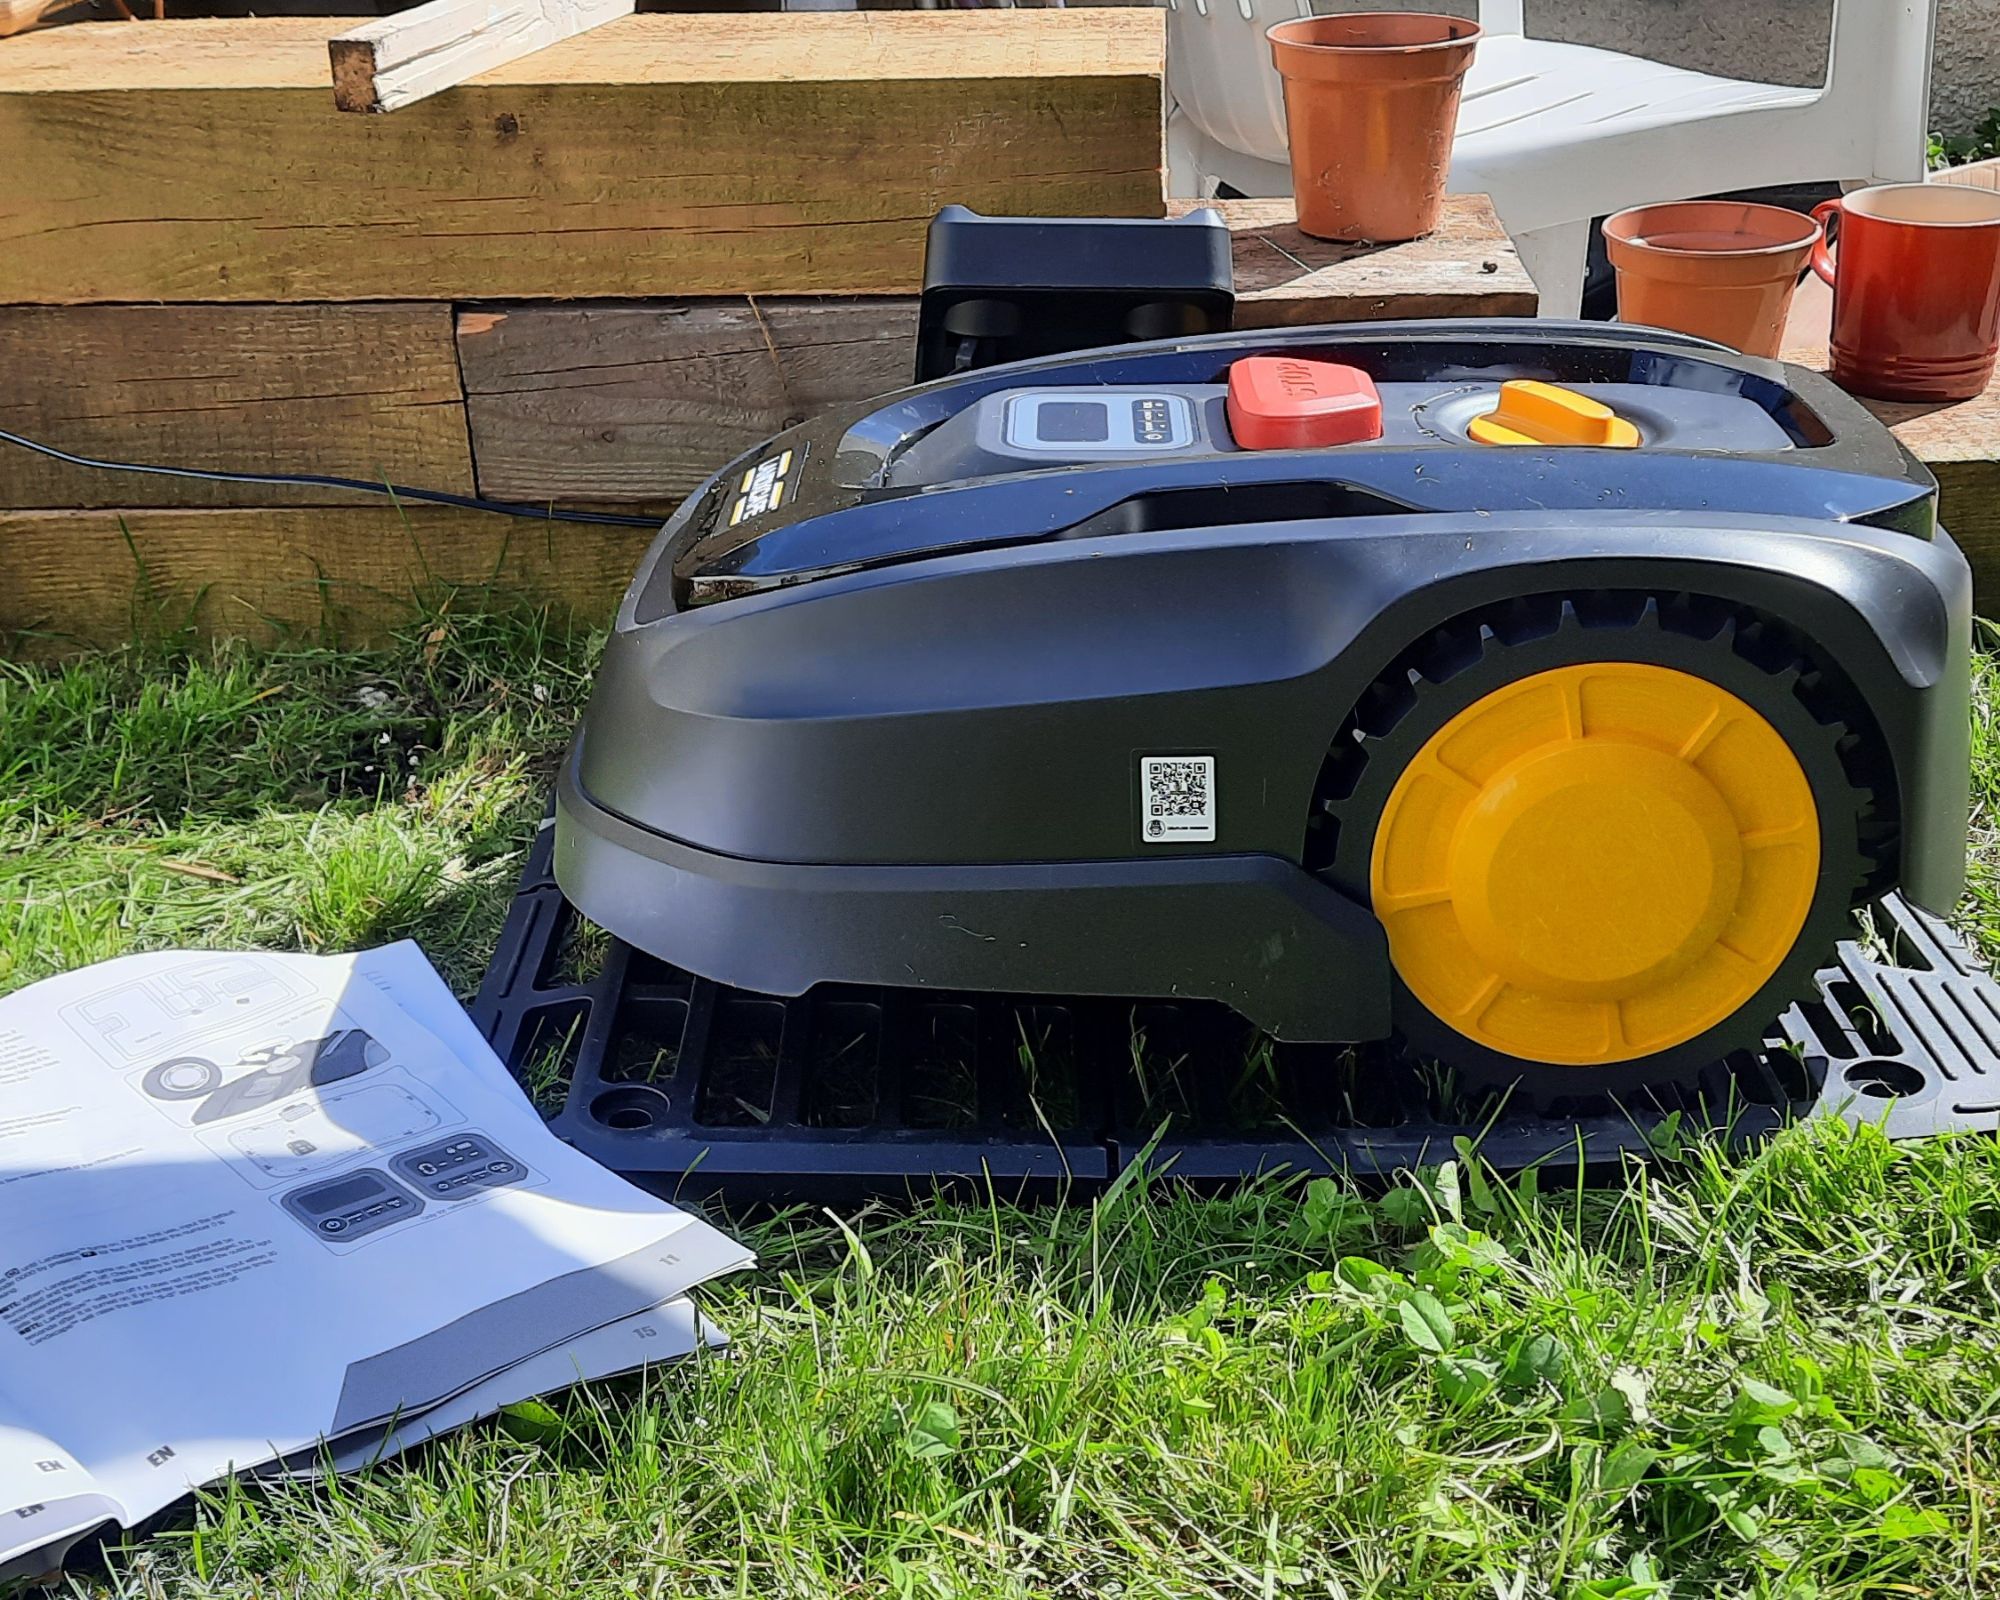
The next stage in the set up was to set the boundary wire. It's recommended in the installation guide to use a lawn mower or grass trimmer to cut the grass where you are going to be pegging down the boundary wire, and I'd also recommend this. I would also say to not rush to replace your lawn mower or strimmer at any point soon either, because you're going to want to regularly cut along the boundary wire every couple of weeks since the robot lawn mower is unable to cut the grass close to any borders or flower beds you may have.
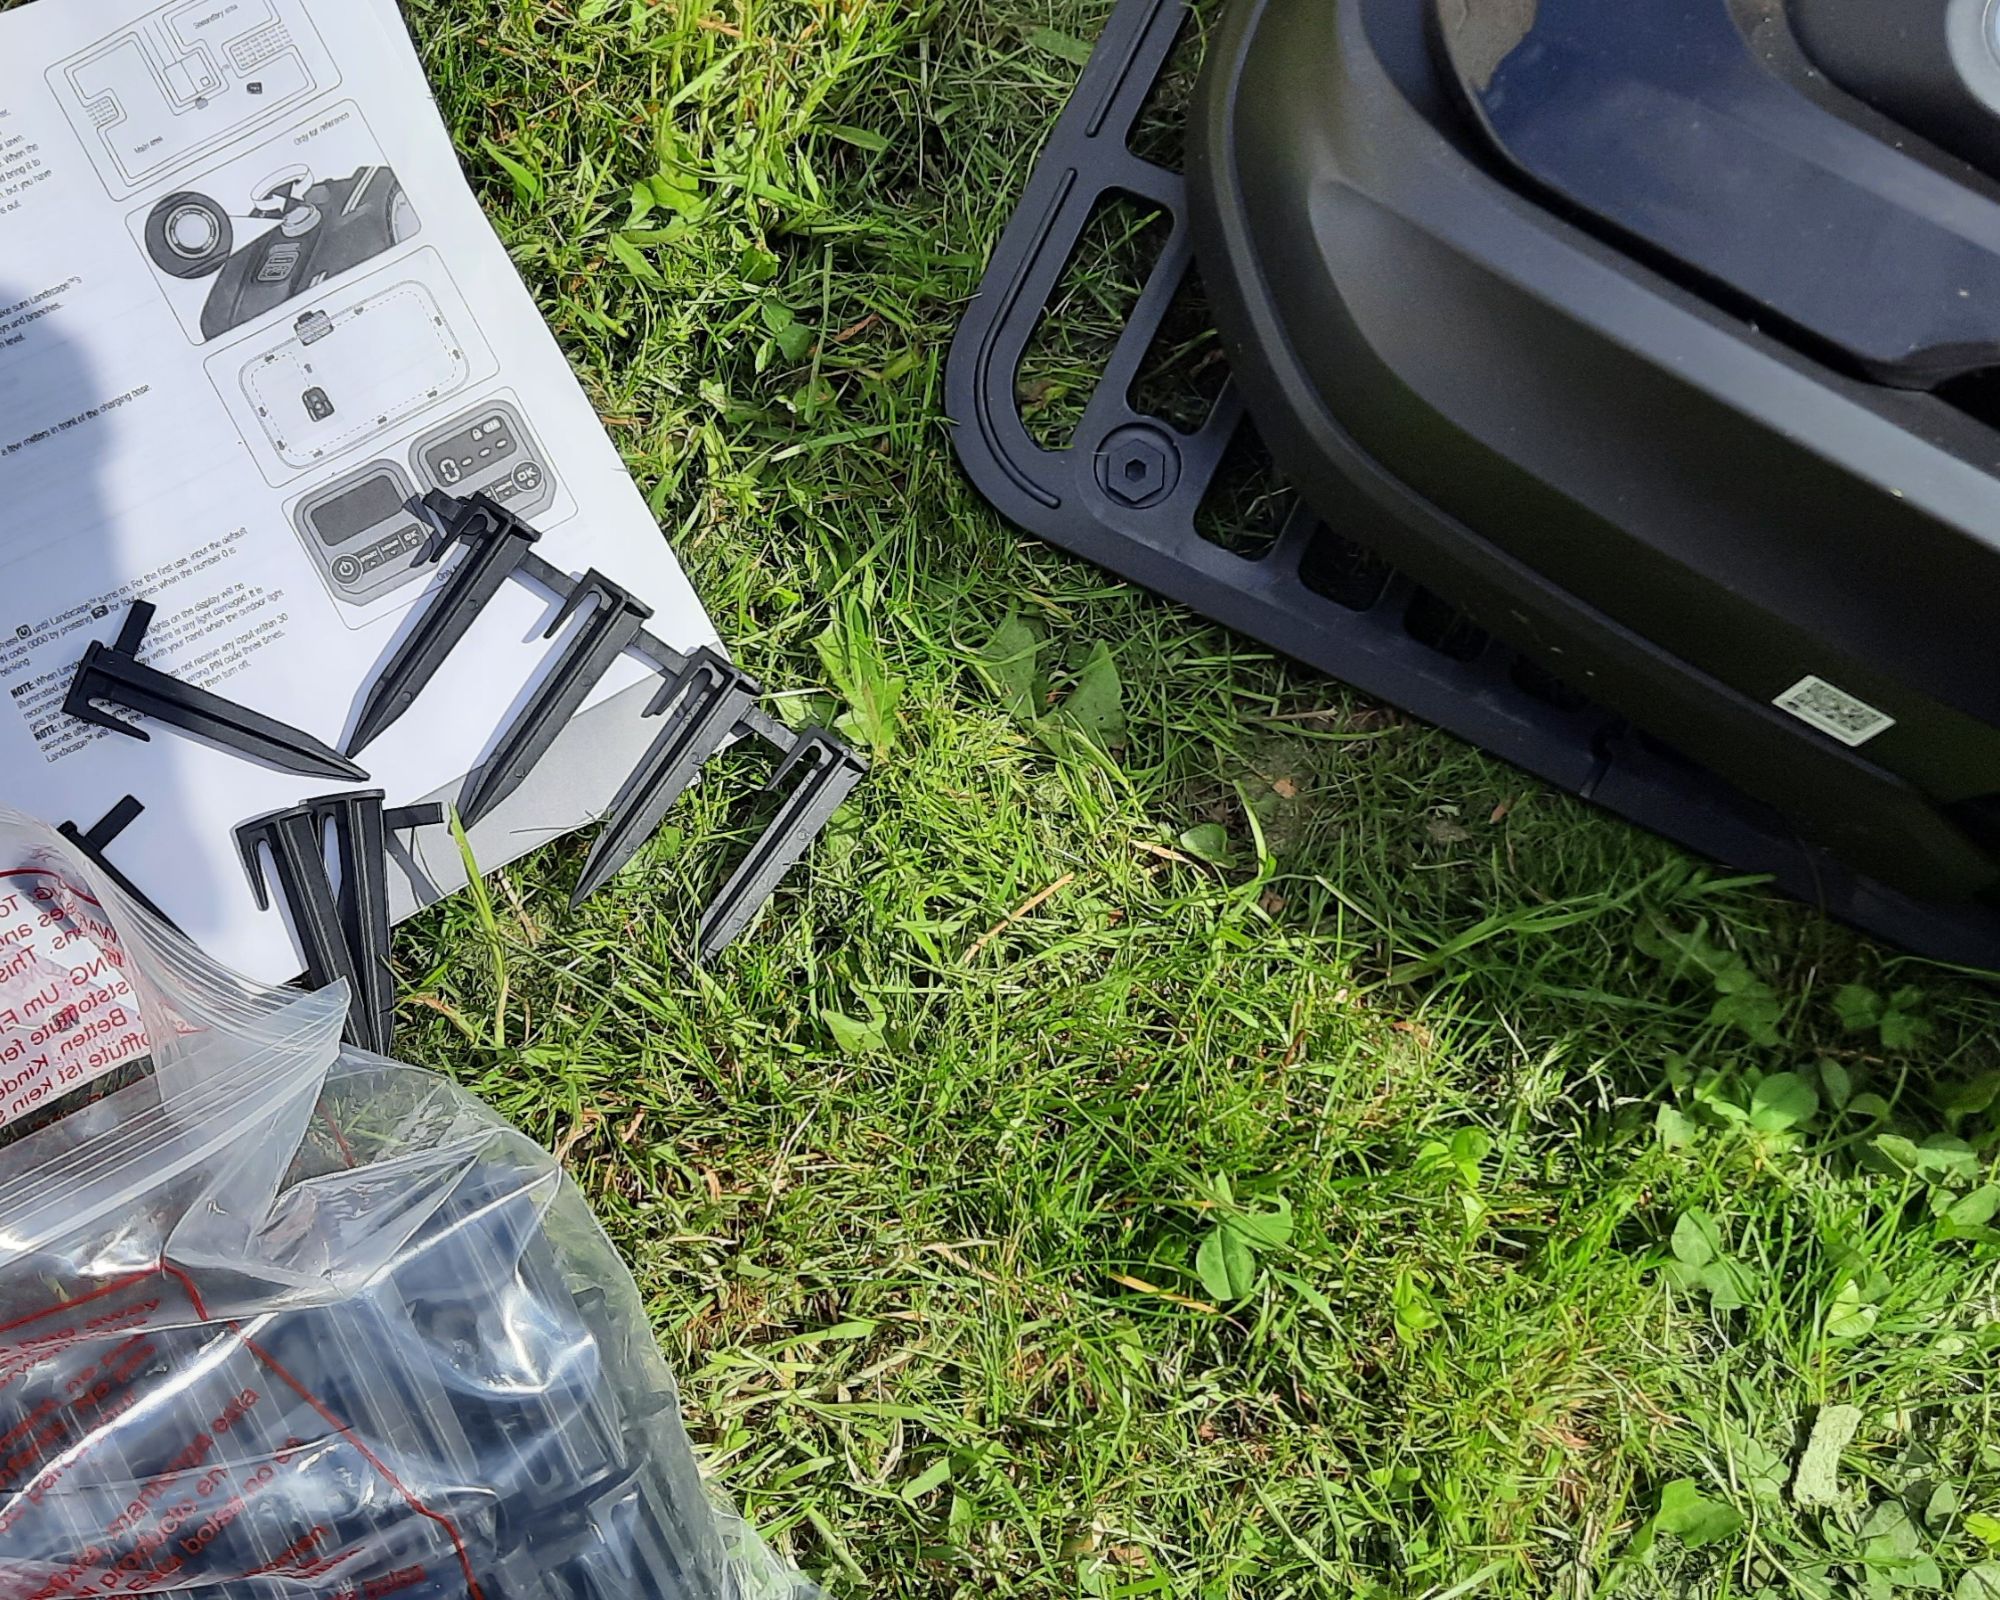
Pegging the boundary wire as you lay it would be a useful tactic. I used one peg per 15-20cm, sometimes a shorter distance depending on level of the ground. Despite our best efforts, our garden is uneven in most places so lots of pegs were used, and I had some left over so the supplied 180 pegs were plenty for me. If you need more, however, another pack of boundary pegs can be bought from Amazon for £22.74.
Once you've laid the boundary wire and are happy with how aligned it is next to the edges of the garden, the wire will need to be led back to the charging base to connect it all up.
A length of OUT-wire will need to be left out for inserting into the groves of the charging base and connecting to the terminals. In the installation guide, a length of 80cm is advertised but this seemed a lot to me and I managed with just half this amount. Peeling back the plastic at the end of the wires was slightly scary, not only because I was trying to scrape away the plastic with scissors and my barely-there finger nails, but also because I didn't want to get any kind of shock, of which there is no risk of – I'm just well out of my comfort zone. Just make sure that any power going to the charger base is off until you're ready to start using the mower.
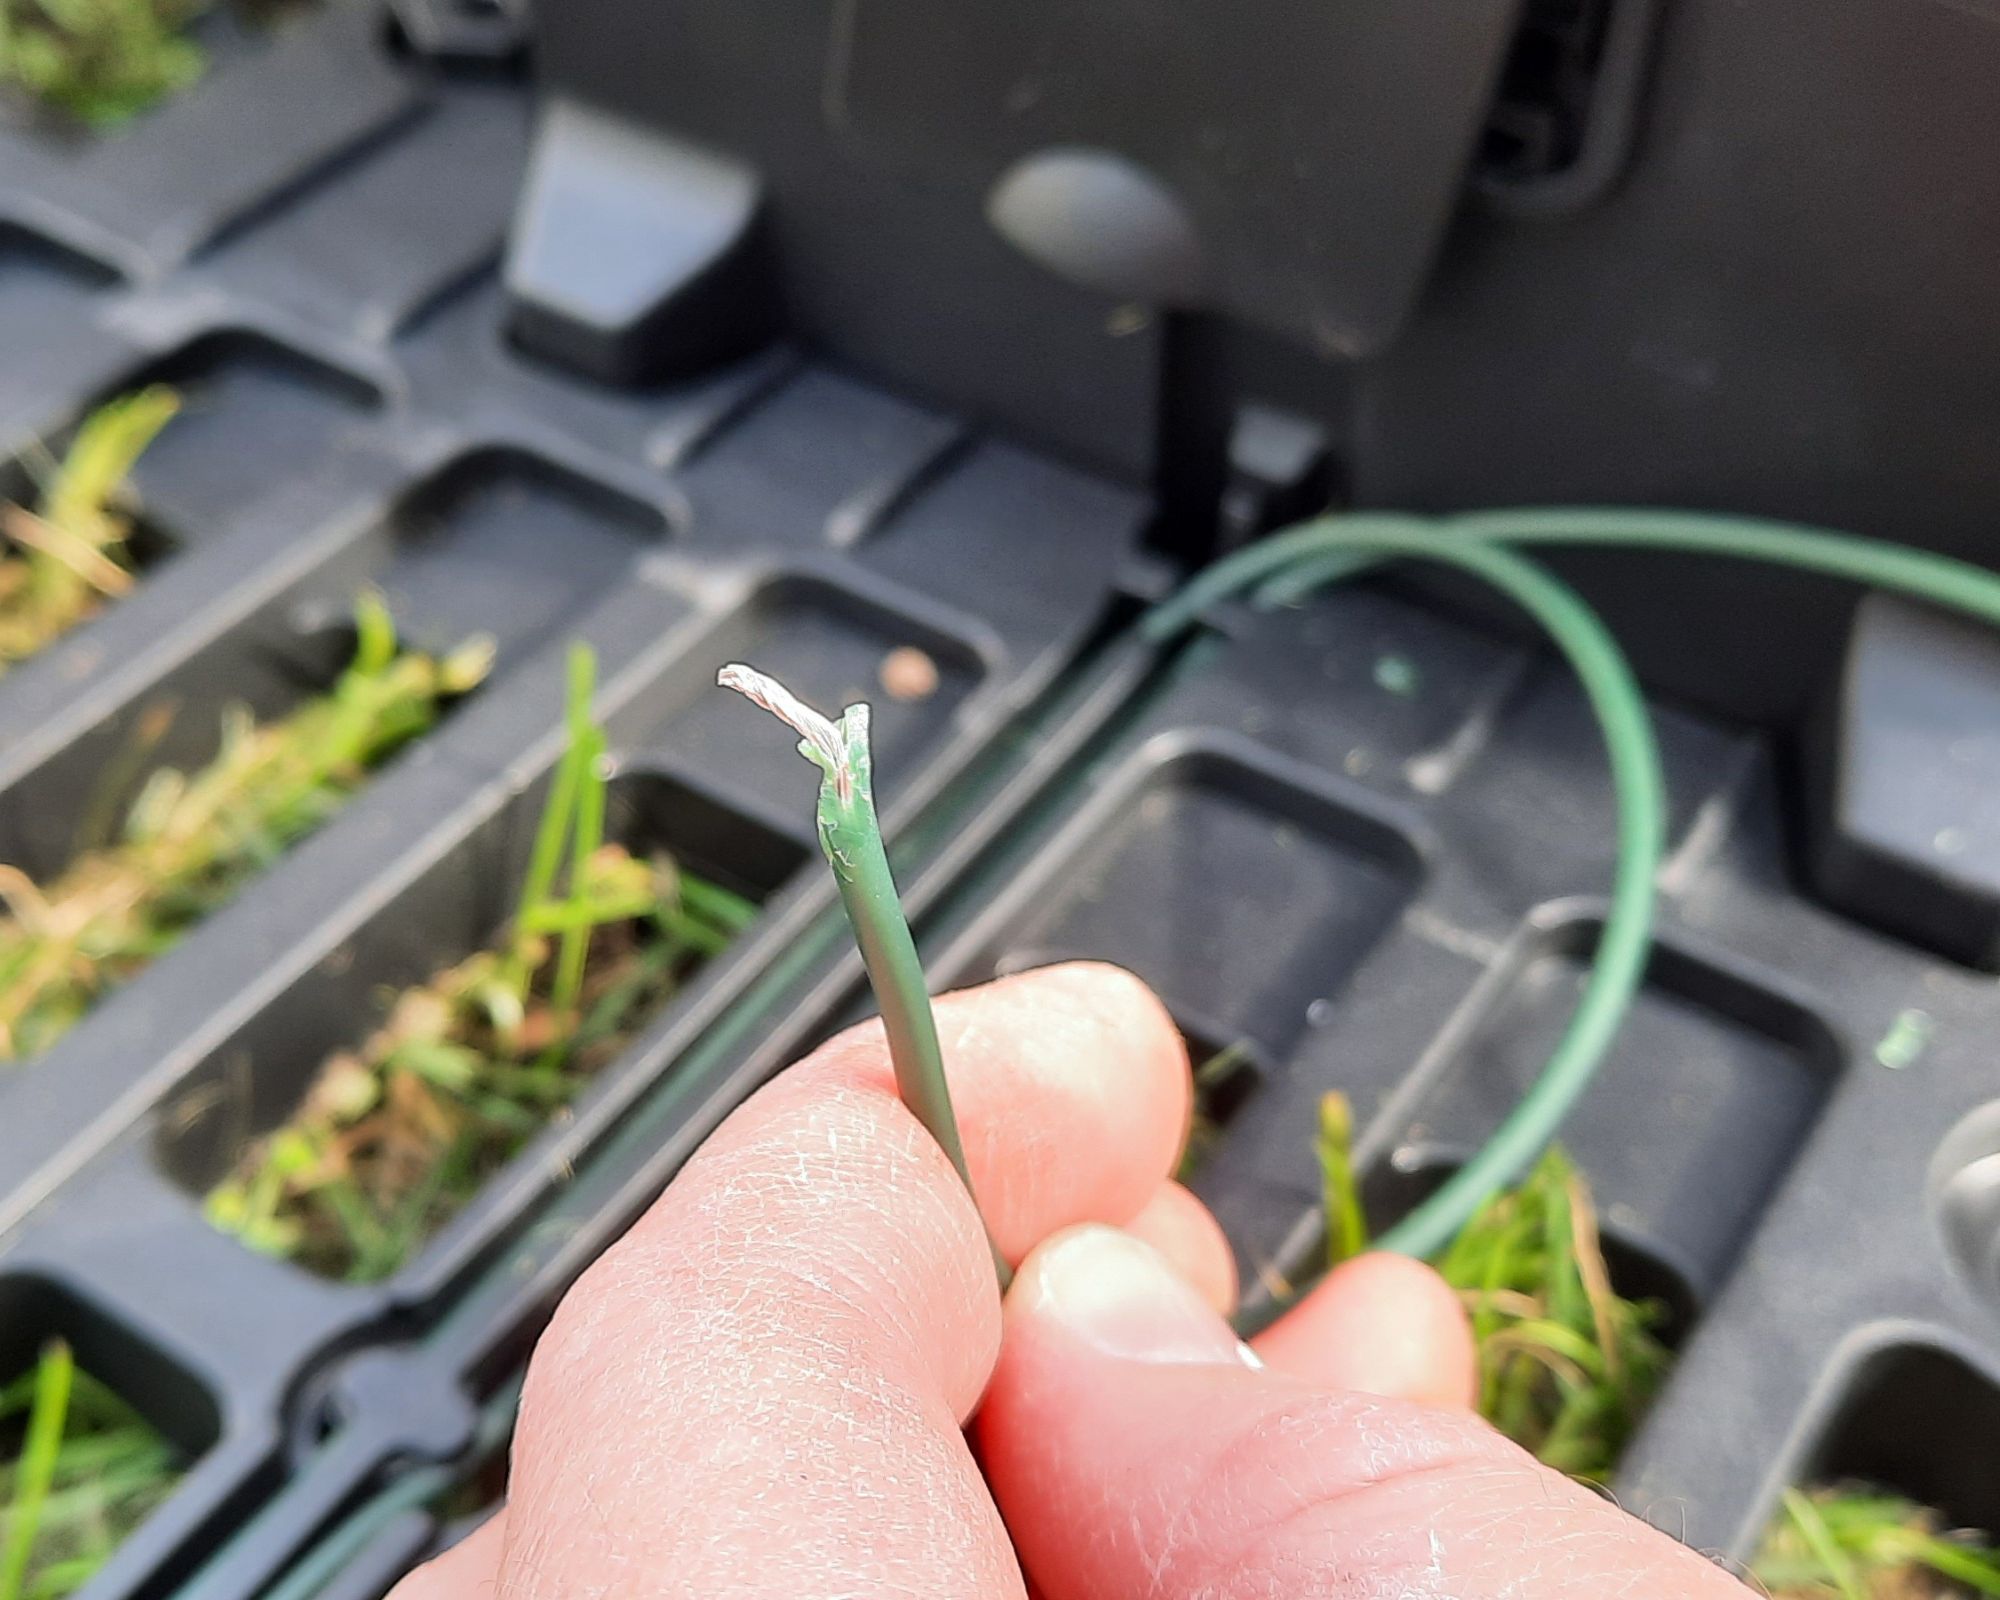
Before the Landxcape LX796 robotic lawn mower starts to mow for the first time you'll want to charge it up and do a trial run, which is documented in the installation guide as 'Verification'. This is just to check that that boundary wire keeps the mower within the boundary; the grass is a tolerable height and it can start / stop when you need it to.
I found that by setting the grass at a maximum height of 60mm no grass was cut because I'd already been over it a day-or-so before with a lawn mower and you'll need to press 'OK' five times, not four as stated in the guide to take you to step 4.
As part of the set up I also tried to scan the QR code on the side of the Landxcape LX796 but nothing happened. I also downloaded the Landxcape app to my smartphone but I couldn't connect it to WiFi. Turns out that this is not a WiFi enabled smart robot lawnmower. This is obvious when looking on the Landxcape website, and yet not so obvious looking in any of the five booklets or if you're to go by the QR code on the side of the mower. So if you want a smart robot lawn mower then this is not the one for you since it's more of a 'press-and-go' type of robot lawn mower.

WORX garage
If, like me, you feel more comfortable protecting your £400+ investment then there is such a thing as a garage for it. I was also sent the WORX WA0810 Landroid Foldable Garage to review which, yes, is an additional £199.99 on Amazon but it'll protect the Landxcape 796 from wind, leaves, rain and direct sunlight.
I found that it was mega easy to set up, which was a good thing since there were zero instructions to follow. It took me no longer than 10 minutes to figure out how to assemble it and then assemble it, frequently referring back to the image on the front of the box it arrived in for reference. The lid tilts up and down with a simple mechanism but I think for the duration I'm testing it and therefore using it, I'll keep the lid down since the space I have allocated for it isn't protected from the elements in the slightest.
Performance
There are four adjustable cutting heights on the Landxcape LX796 so, after the trial run, I set it to cut the grass to a 40mm height. With zero programming required, just power up, enter the pin, 'start' and 'OK', meaning getting going from the charge base was really easy. Just make sure the charge base is on because it will not work unless it is.
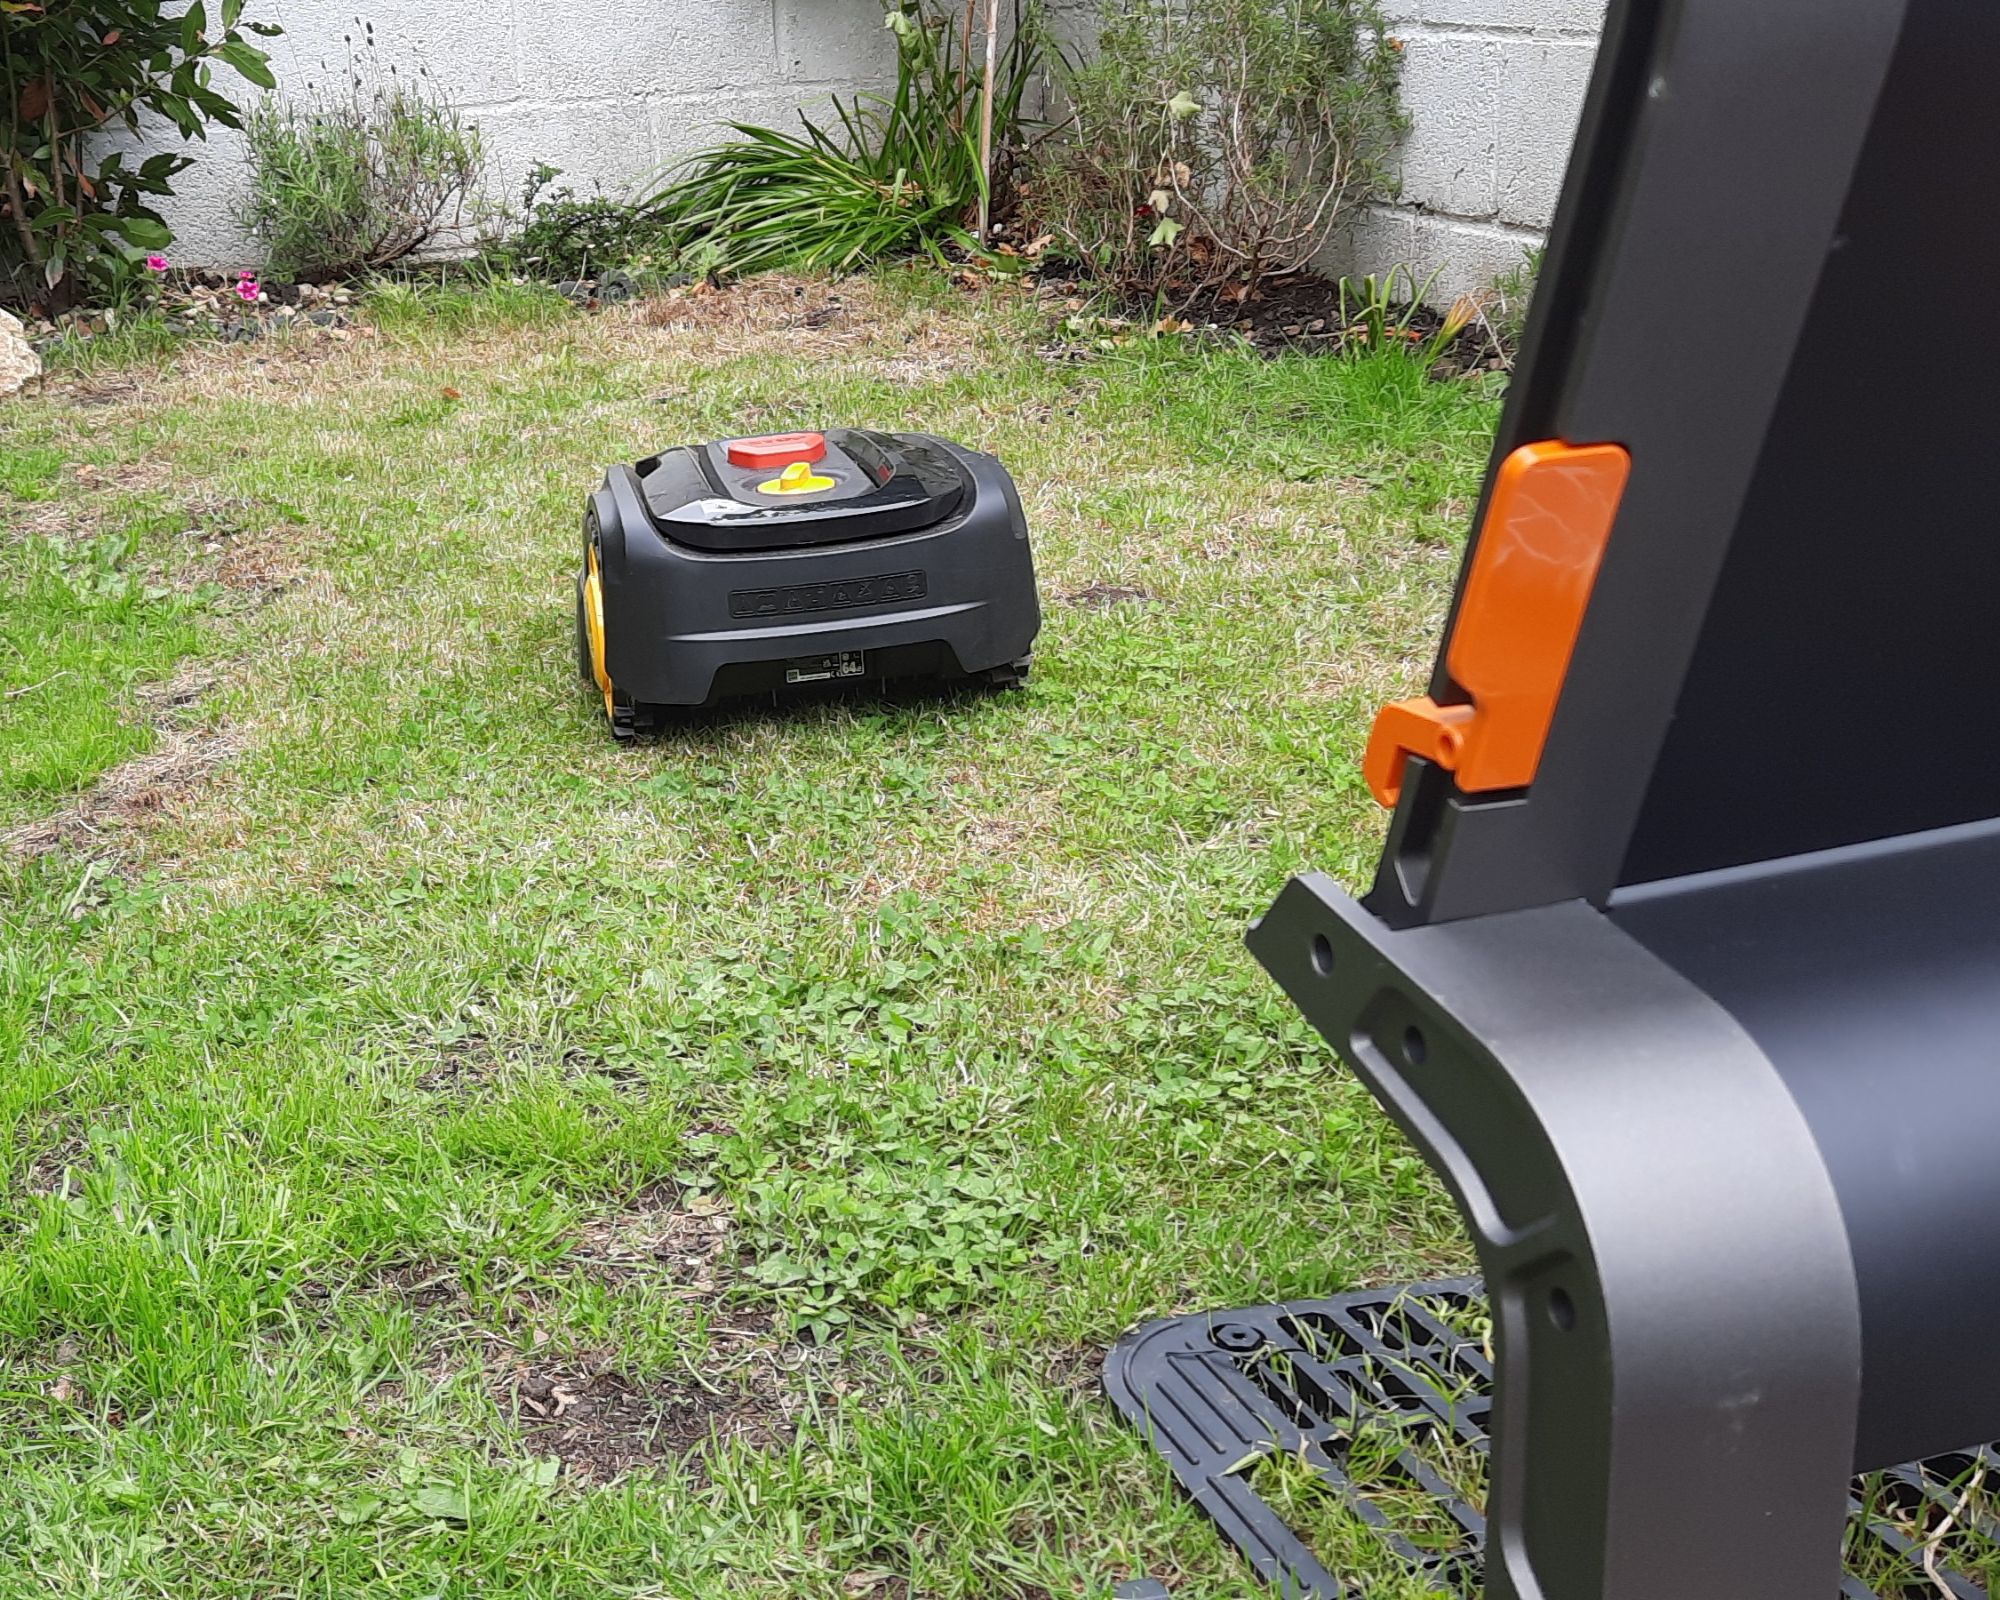
It will choose its direction of travel at random, and as long as there was nothing in its way, it easily took on our 100m2 garden in one charge (it's capable of gardens of up to 400m2) and returned to base when it had finished the job.
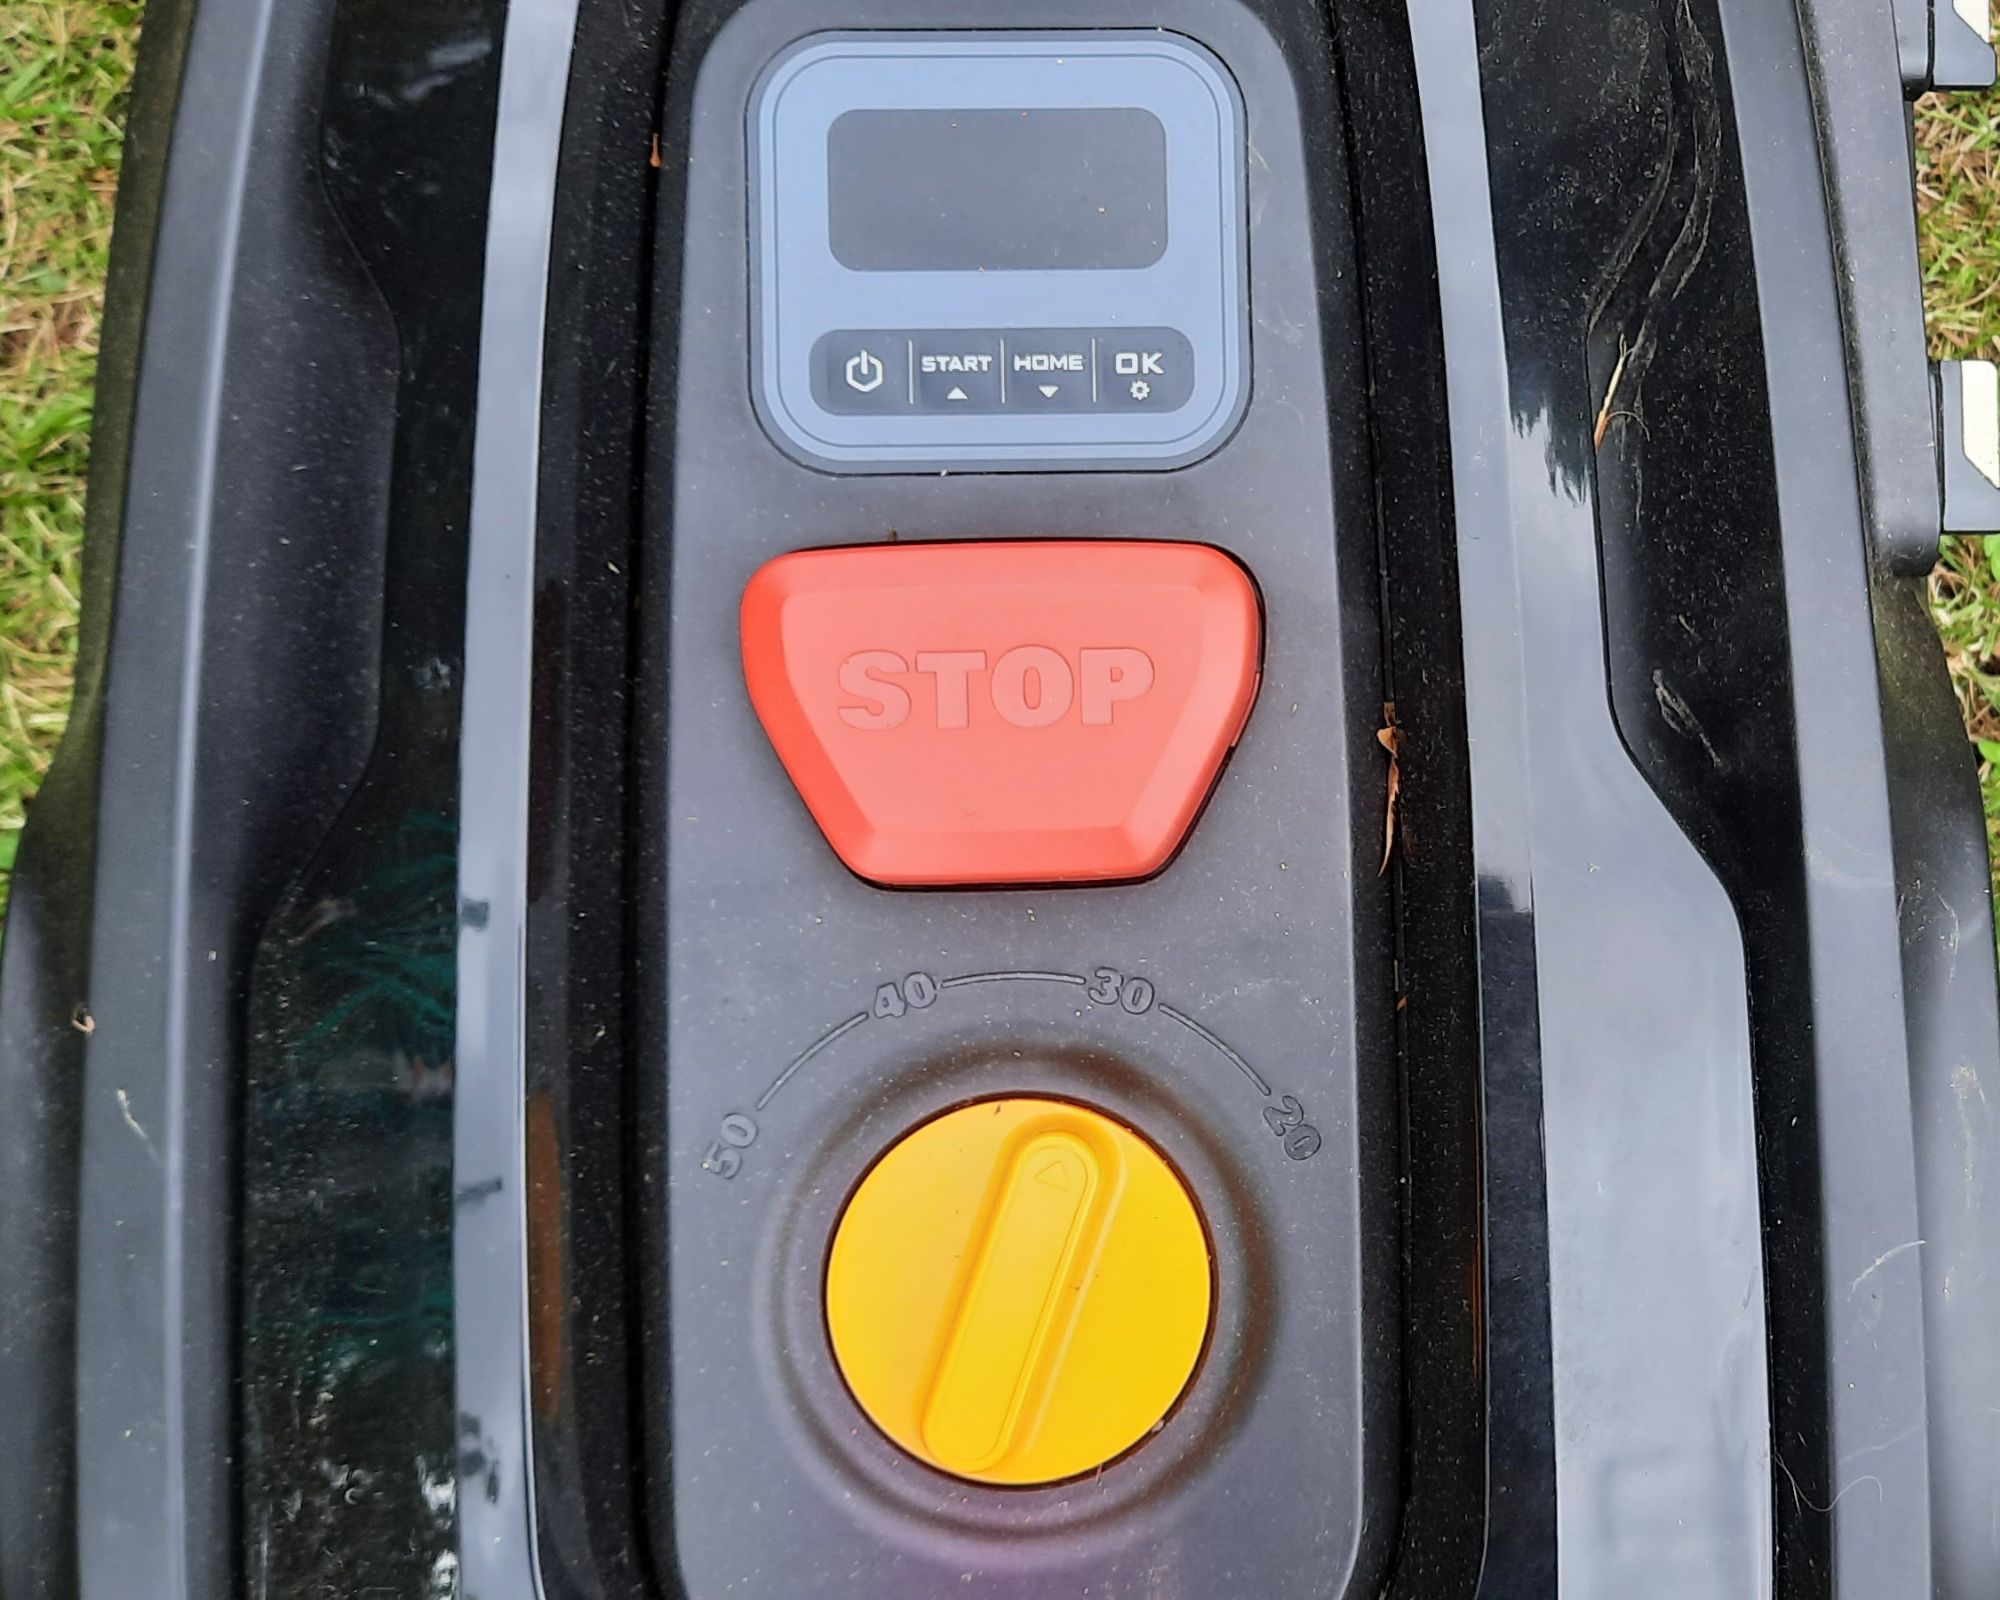
It does move at quite a pace so hitting 'STOP' at any point was a bit of a chase. I also found that the robot mower got stuck in a few dips on our uneven ground, and wasn't a fan of any tight turns in the garden. It also bumped into the washing line and a stone which I used to cover a hole, rather than divert around things which I had become accustomed to in the home when using a robovac.
When it did get stuck every now and then, the Landxcape did some manoeuvres that either worked or didn't, which in most cases meant that it chewed into the ground (a bit), gave up and turned itself off. Should this have been a smart robot mower I would have received a notification about this, rather than having to watch it for the duration of a mow in case of any incidents.
I soon learnt that I also needed to re-lay the boundary wire after a few goes, just once though, because the robot lawn mower kept getting stuck on the garden edging to our flower beds, and running into the plants. Although this isn't in the installation guide or any of the others, I'd leave at least 20cm of ground between the boundary wire and the edge of the flower border / pathways etc to avoid any damage. There is a handy-looking measure gauge that can be cut out from the cardboard box, though, which I only saw after pegging the boundary wire but is something that you may find useful.
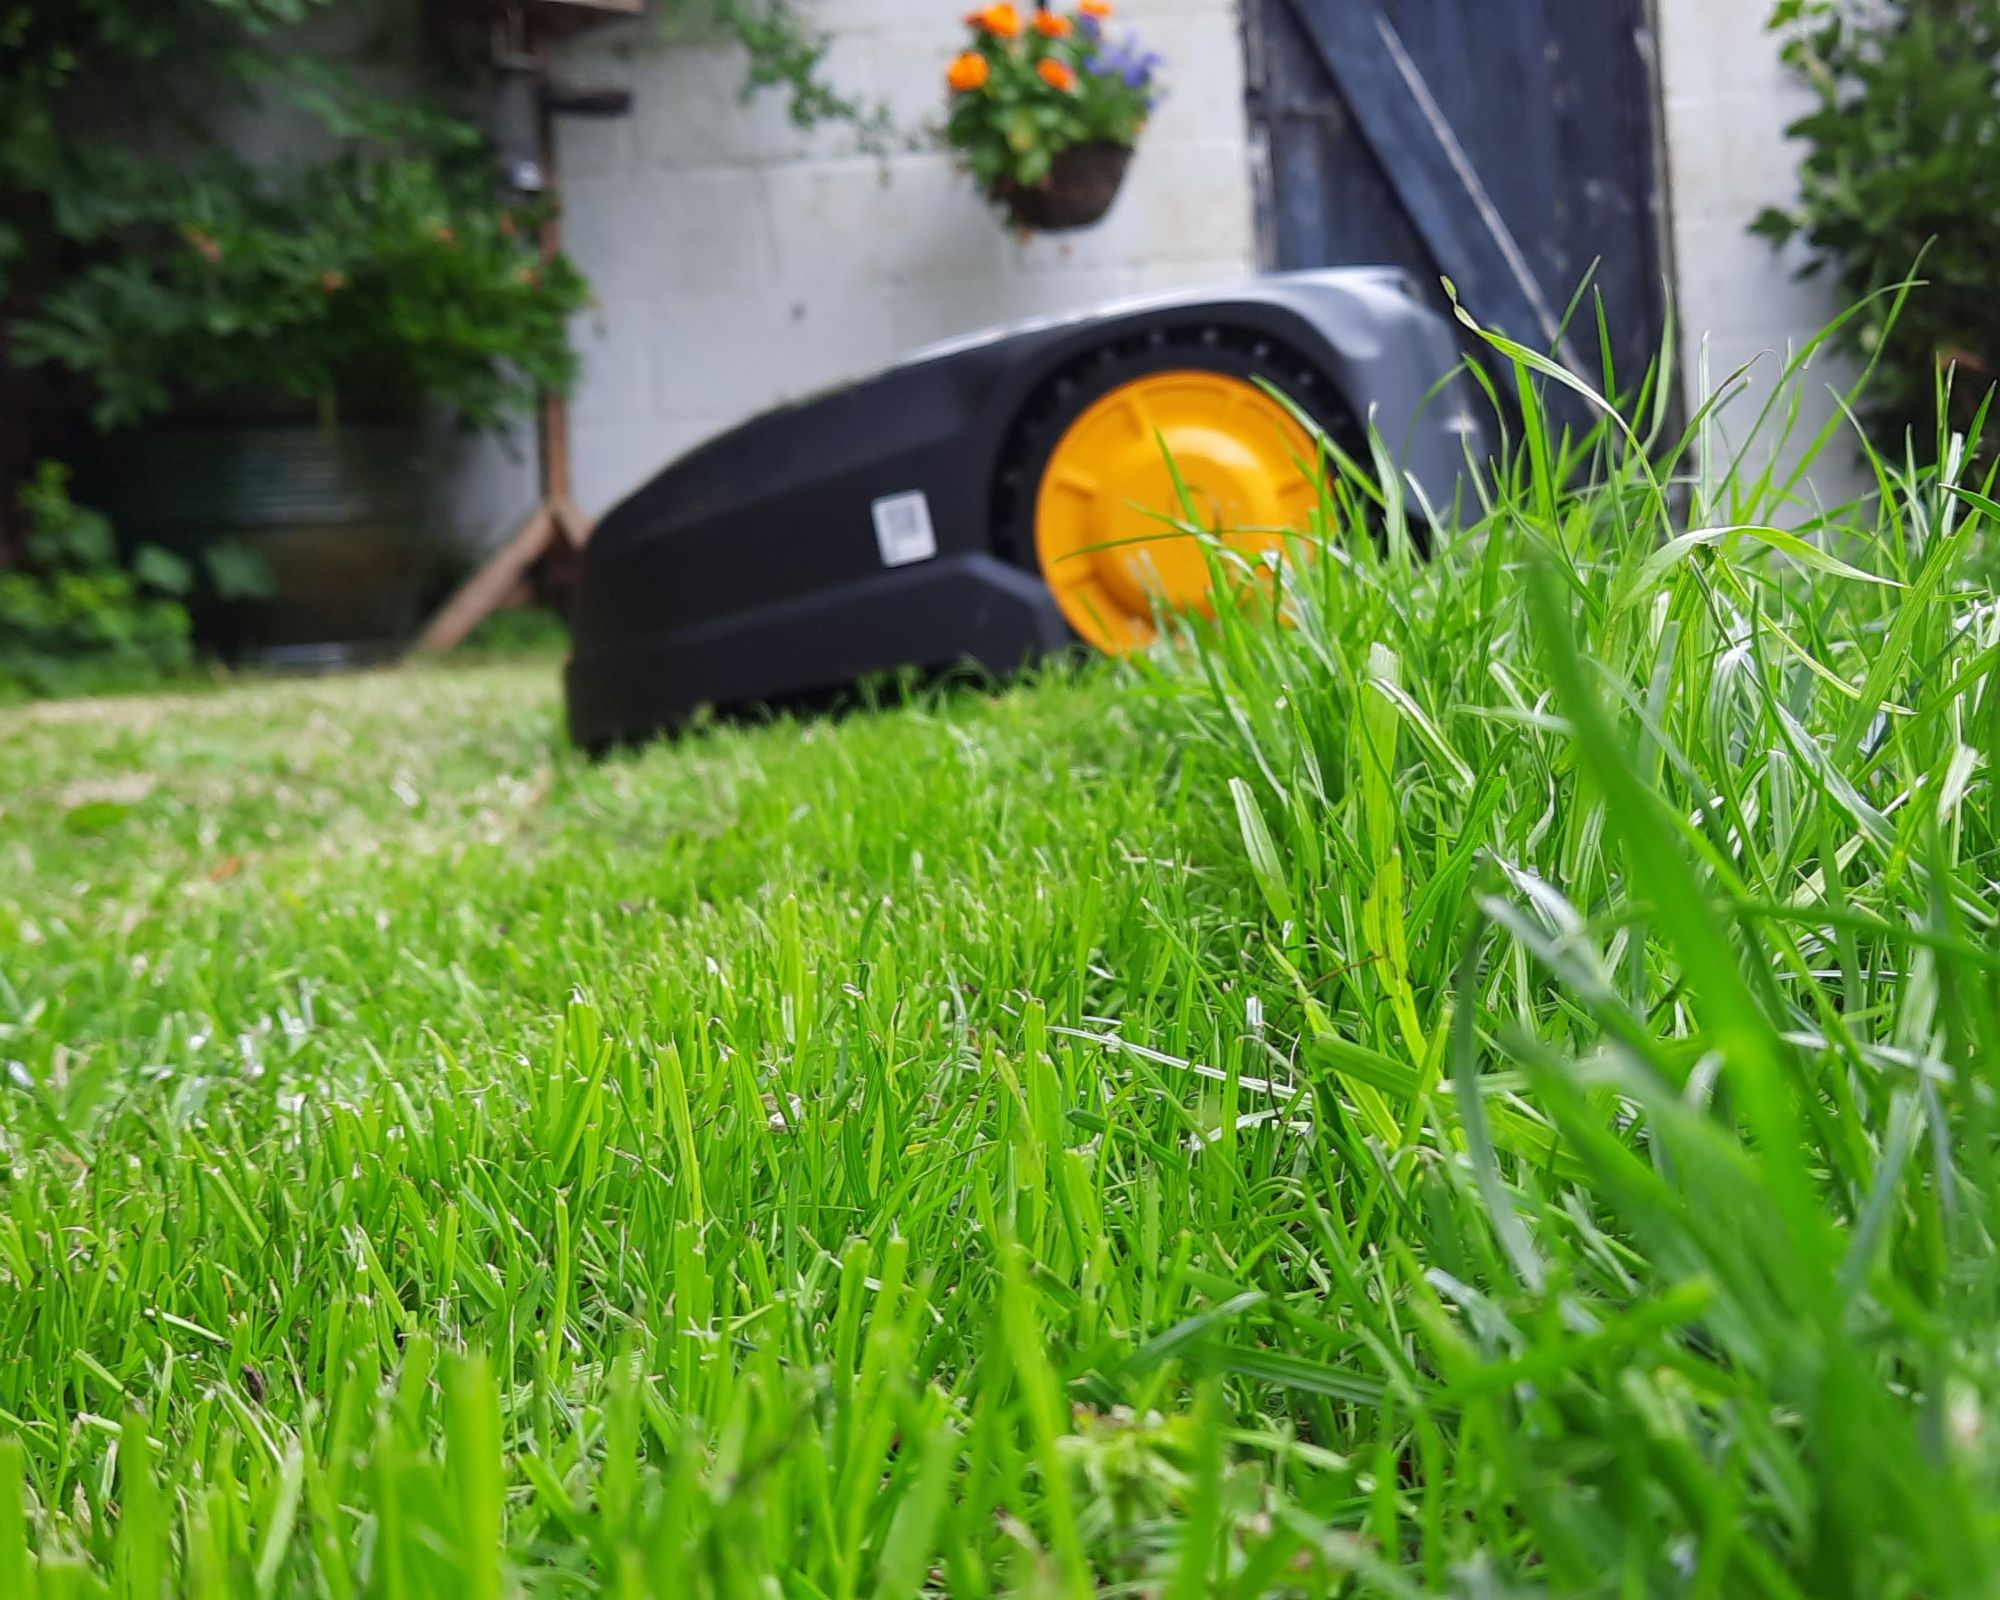
Having said all this, the Landxcape LX796 robot lawn mower does cut the grass and does a pretty good job of it, too. It stays within the boundary wire and returns to base by following the wire when the mow is complete, so long there is nothing in its way.
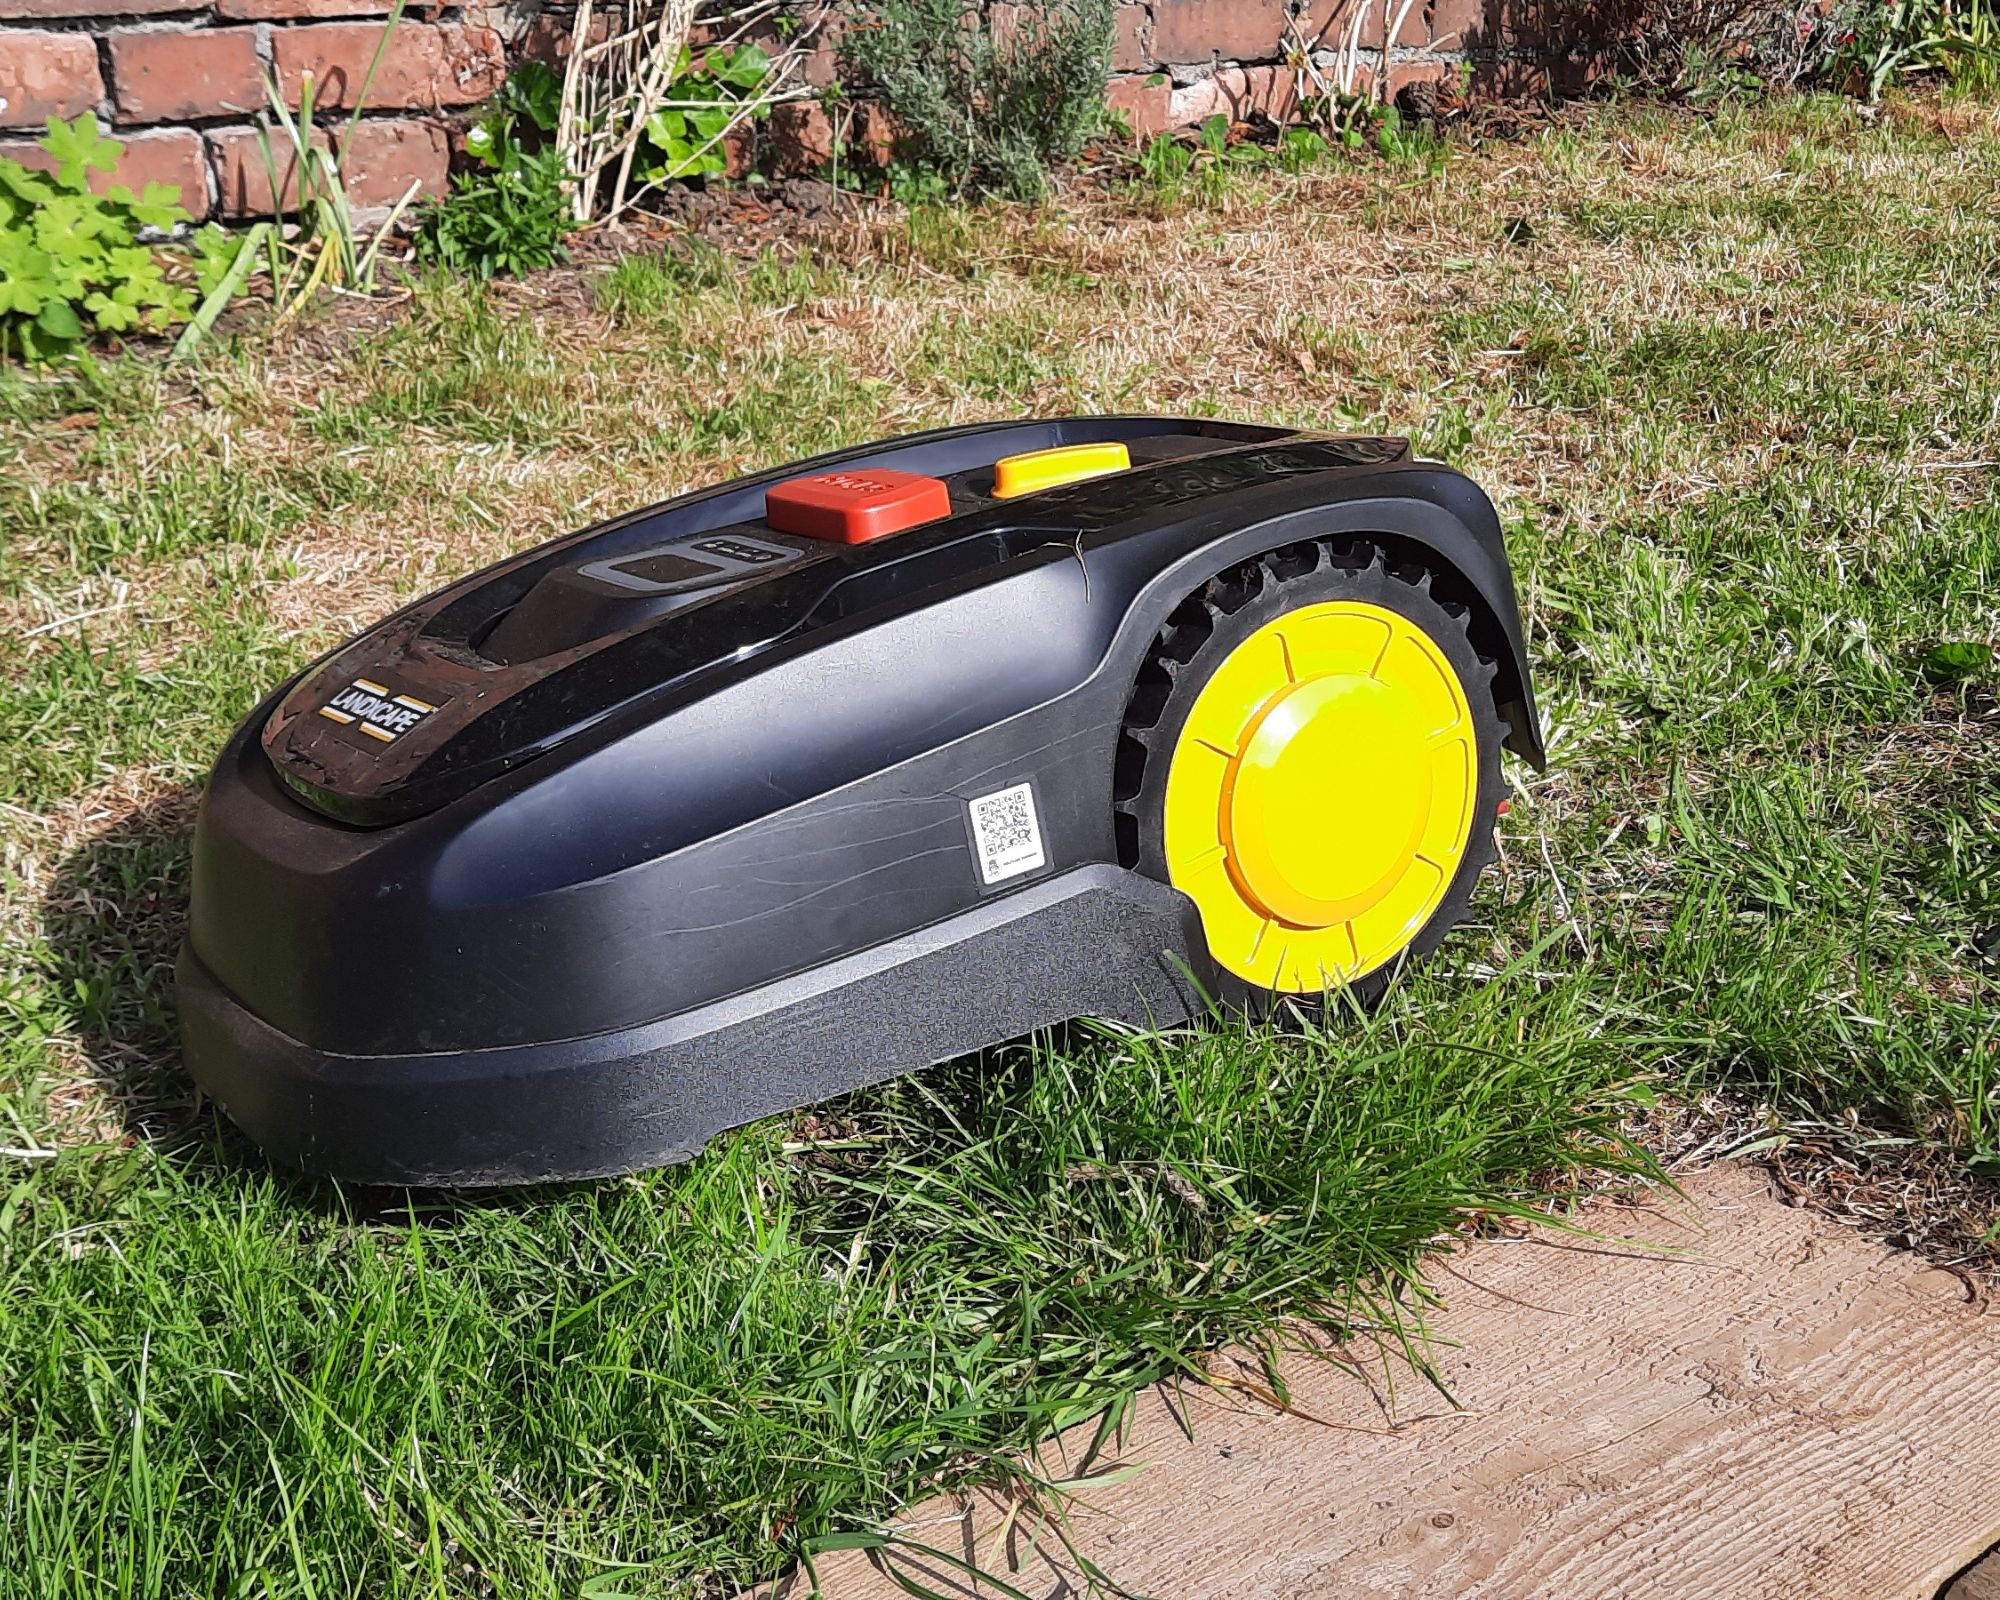
There is no bin to empty, either, since the grass falls to the ground to serve as a natural fertilizer, promoting healthy lawn care. And, of course, the more times the Landxcape sets out to mow the lawn, the stronger the grass grows back, too, so happy days. You will need to grab your best strimmer every couple of weeks or so, though, to keep the strip of grass trim between the border edges and boundary wire.
If you have a family garden and at any point children (or pets) take an unavoidable interest with the working mower, there are lifting and tilting sensors which provide some additional safety. It is quite heavy and cumbersome to flip on the side but in the event that this does happen, the blades will stop immediately and a beeping noise will sound as the alert. You'll also see error code E6 displayed, which won't disappear until you've put it safely back into position and reset it to start cutting the grass again.
The only kind of programming which you can do on the Landxcape LX796 is to set up a default working schedule, essentially providing an automated mow. The trick here is to have today's time and date set, and always have it switched on and charging at its base.
I'd failed to notice that the robot lawn mower was switched off most times when at the base, for various reasons, which meant that it didn't venture off on its own accord despite numerous attempts of checking the time, date and start times.
We got there eventually, though, and I'm so glad I persevered because now this is working like clockwork, I don't need to worry about mowing the main areas of our lawn. For our small-ish garden, however, following the default working schedule (Monday - Friday) – which can not be changed – is a little overkill so when I see it doing the rounds mid-week, I'll be hitting 'STOP' and manually docking it, until I feel that our grass is ready to be cut again.
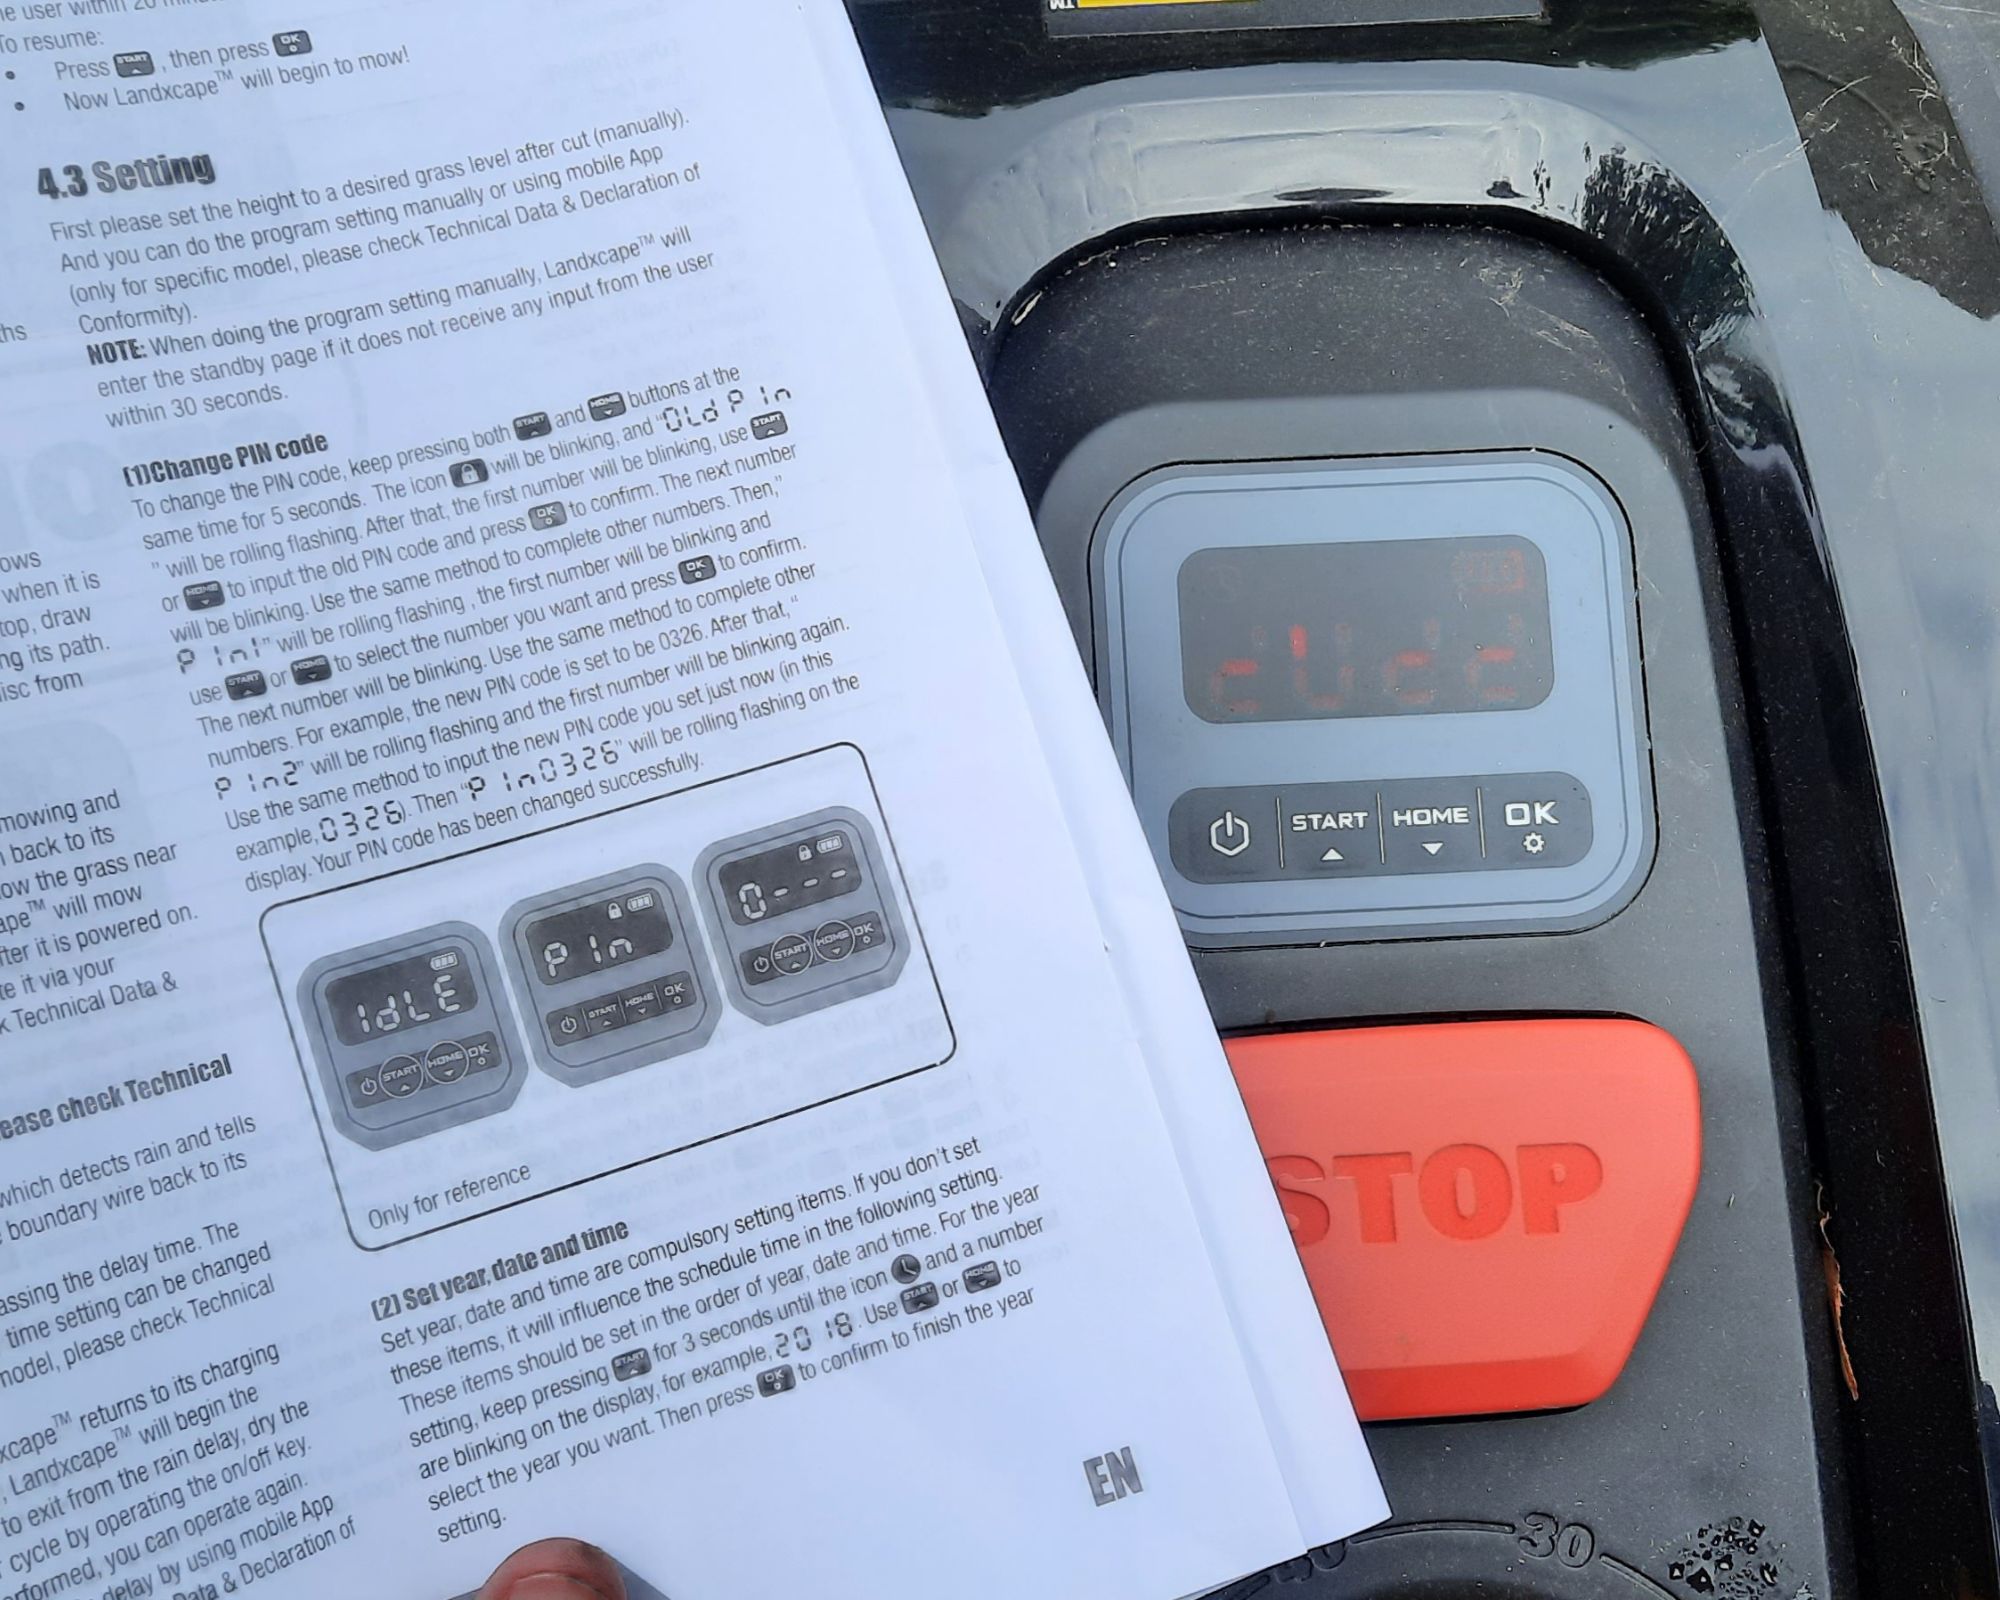
Other settings which you can tweak is the PIN code so it's no longer default, but a code which only you know. Referring to the owner's manual provided some sort of guide but, as with my experience thus far with the set up, it wasn't that easy to follow and found that I was doing a bit of trial and error before getting it all right. A bit of perseverance helps, and remembering a memorable PIN – obviously.
Cleaning, maintenance and storage
The Landxcape will look a lot tidier and be a lot happier if it's cleaned regularly. The body and underside can be cleaned with a moist rag, just be careful of the blades when it's flipped over to clean and wear gloves because those are sharp. Longer term, you may want to replace the blades with those supplied every season. A pack of 24 blades can also be bought from Amazon for £11.68.
It's advised that you only use the Landxcape LX796 during the summer months, or warmer weather, to preserve the life of the battery. It can be stored in a shed or garage, once it has been thoroughly cleaned, had a full charge and is powered 'off'. If you also have the garage, I would be inclined to store this away, too, when not in use so it's in a good condition for when you next need it.
How does it rate online?
There's not a whole lot of reviews out there just yet for the Landxcape LX796 because it's new but we have seen some on Amazon about the older LX799 that it's replacing. As far as we know, the spec is very similar if not the same. The newer version can just cover an additional 100m2 of ground, and after reading through the reviews it sounds very familiar to my experience so far with the LX796.
The ease of set up and pleasing results after a mow is the general consensus, with advice shared to perfect the boundary wire. To read the instructions and reviews is also advised, before attempting to set up your new lawn mower. I would add to this to say to digest what is being said, too, and really understand the specs.
I've seen that one reviewer has had their Landxcape LX799 for one year now, who have confirmed that it still works (always good to know), it gets stuck every once in a while and there's no need for a shelter.
How does it compare to other robot lawn mowers?
A noticeable difference with the Landxcape LX796 to other robot lawn mowers is the price. This one retails at £479 which is a good £100-or-so cheaper than the likes of Worx and Flymo, and some other Landxcape models in the line up. The main factors which affect this difference in price is the lawn size it can mow and any smart capabilities.
It's also a little on the noisy-side – I can hear it when I'm sat in the dining room with the window open to the back of the house. We live in a terraced house so I'm sure our neighbours can hear it, too, especially when they are sat in their gardens.
When we wrote up our Worx Landroid M500 robot lawn mower review one of the most impressive things to note about it was how quiet it was, so that's a consideration if noise levels are important to you.
Should I buy the Landxcape LX796?
There's a lot of good things going for the Landxcape LX796, but equally there are a few niggles which may affect your decision. Compared to other robot lawn mowers, it's affordable. It's also a quality bit of kit, too, which does ultimately mow the lawn to your preferred length. Once you're confident that you know how a robot lawn mower works, it is also relatively quick and easy to set up.
If you want to get the same out of it as you do with perhaps a robot vacuum cleaner in the home, then I would highly recommend you set up the scheduling because it's this which will ultimately provide you with an automated mow. You can't change the default working pattern (Monday to Friday) but you can change the start time to suit.
I would also recommend buying the mini garage for it. It was really quick and easy to set up, and I don't find myself worrying about the lawn mower (I am a worrier) when there's a heavy shower because I know it is protected – it also acts as a good shelter from the birds. I appreciate this is more money, but totting up the price of the garage plus the Ladxcape 796, you're still not spending as much money as you easily could with another brand / model.
It isn't, however, WiFi enabled / smart which makes controlling the Landxcape LX796 very manual. It means that you can't control it remotely, nor can you pause or stop scheduled mows. This could suit you perfectly well because it's one less thing to set up but if it is, you may want to take a closer look at the LANDXCAPE LX810I which covers the same m2 area of lawn. It's also a product which isn't going to replace the lawn mower nor strimmer which are needed to trim around the boundary wire and when the robot lawn mower is in hibernation during the winter months, although this is (probably) the same for all robot lawn mowers, it is worth a consideration.
About this review – and our reviewer
Jennifer (Jen) Oksien is our Large Appliance editor who was sent this product to review at home, in her 100sq ft garden which is laid to lawn. The ground is uneven, the garden has an edging and Jen hadn't reviewed a robot lawn mower before so it was the perfect challenge for the Landxcape LX796.
We are not given any compensation for our reviews, but we may be gifted the product meaning that we can test it over a greater length of time, and update our reviews if required. We also receive affiliate commission for some products brought through our site.
Jennifer is Appliances Editor at Gardeningetc who looks after our barbecue-related content, along with appliance and mattress content across our other Future Homes titles. When she is not scouting out the best offers and products for your outside cooking stations, Jennifer enjoys growing vegetables, flowers and herbs from seed. Up until recently she had an allotment, too, where she grew a bumper crop of rainbow carrots, sweetcorn and marrows – the crop was so successful in fact, she ended up giving it away to neighbouring gardeners.
-
 Seaweed compost and green manure are on the menu with this top trend for 2023
Ideas Gardening experts say the regenerative gardening trend will take sustainability to the max next year
By Jayne Dowle Published
-
 Neglect this backyard cleaning task and you could 'decrease your home's value by 20%' say property experts
Landscaping It’s hard to prevent moss and algae forming on your patio at this damp and chilly time of year, but well worth the effort, according to these experts
By Jayne Dowle Published
-
 Experts reveal how to make white bark trees gleam this winter
Plants It's all down to simple soap and water
By Jayne Dowle Published
