Flymo Easilife 200 robotic lawn mower review
We left our lawn in the hands of the Flymo Easilife 200 robot lawn mower, to see if we could take mowing off our garden chores list for good. Here’s how it got on...
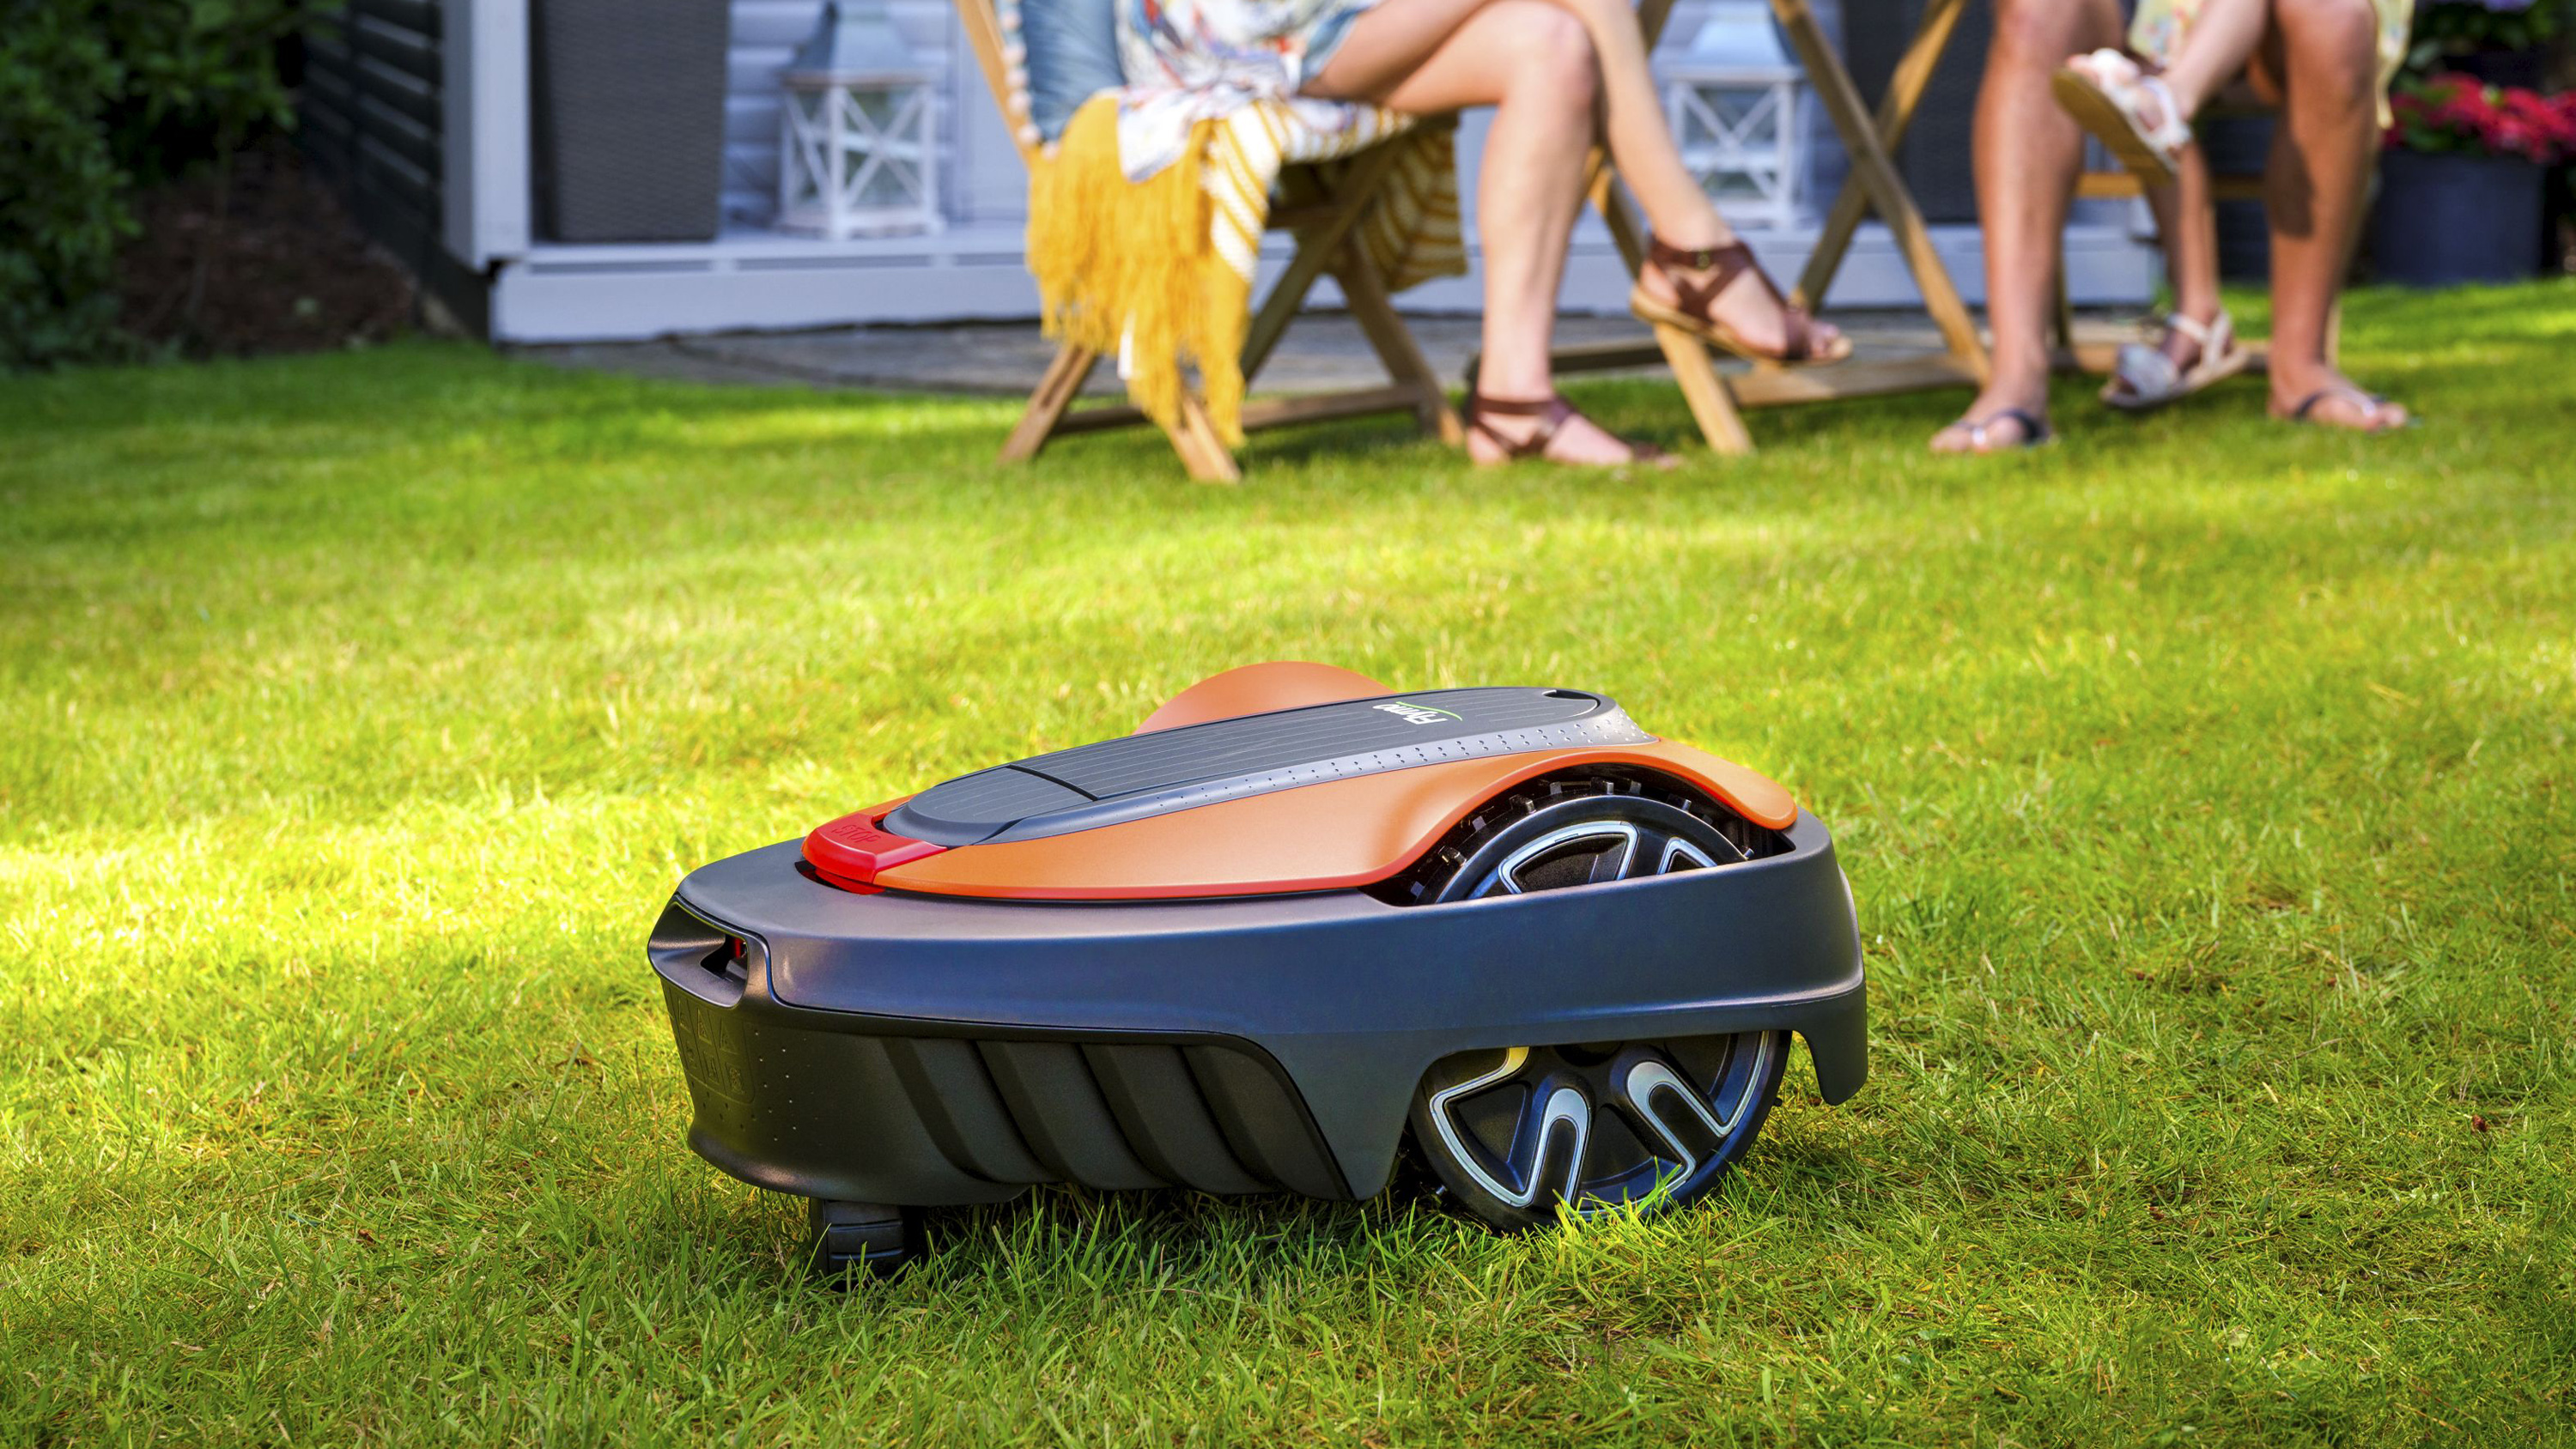

You’ll need time and patience to get it set up, but once installed, the Flymo Easilife 200 robot lawn mower is easy to use and performs very well indeed.
-
+
Once setup, you won't have to worry about your lawn again
-
+
Easy to use
-
+
Useful features to ensure best performance
-
+
Mulching process will improve your grass quality
-
-
Lengthy set up process, particularly for complicated lawns
-
-
Still requires manual strimming at borders for neatest look
-
-
Manual could be clearer
Why you can trust Gardeningetc

The Flymo Easilife 200 is the new entry-level robotic lawn mower for the well-known gardening brand, replacing the well-regarded 1200R model that came before it. As its name suggests, it is aimed at lawns of up to 200m2, but there are other models in the range that cover larger spaces, up to 350m2 and 500m2.
Being a robot lawn mower, once the setup is complete, you can pretty much leave it to do all of your mowing for you, thanks to a handy scheduler that can be controlled via an app, and a feature called LawnSense. This automatically adjusts the schedule based on the weather conditions and your lawn length. Clever stuff.
Handing over this summer chore to a robot wasn’t a hard decision to make. We don’t have the biggest garden — our grassed area is around 60m2 — but staying on top of it in a busy household is tricky, and it’s always one of those jobs that gets shifted down the to-do list. The result? A lawn that’s never mowed when we want to sit out and enjoy it.
Could the Flymo Easilife 200 be the answer to our manicured lawn dreams? We lived with it for a couple of weeks to find out. Keep reading for the results of our test, and if you want to check out which other designs made our best lawn mower list, make sure you head to our buying guide.
First impressions
Lawn coverage: 200m2
Cutting length: 2cm to 5cm
Noise level: 58dB
Weight: 7.3kg
Connectivity: Bluetooth
Charging time: 60 minutes
Waterproof to IPX4
Included: 100m2 of wire/150 pegs
Included: 10m low voltage cable
Two-year warranty
Considering the robotic brains built into the Flymo Easilife 200, it is actually pretty compact compared to a regular lawn mower, helped by the fact it doesn’t have any sort of grass collector (more on that in a bit), and obviously no handles. At 7kg, it’s also more than half the weight of our standard lawn mower, not that you’ll need to be picking it up too often. It has three wheels, three cutting blades that sit in the middle of the mower and a lift-up flap on the top that hides the on-board controls. The box it comes in is pretty cumbersome though, so you might need a hand getting it wherever you need it.
Getting started
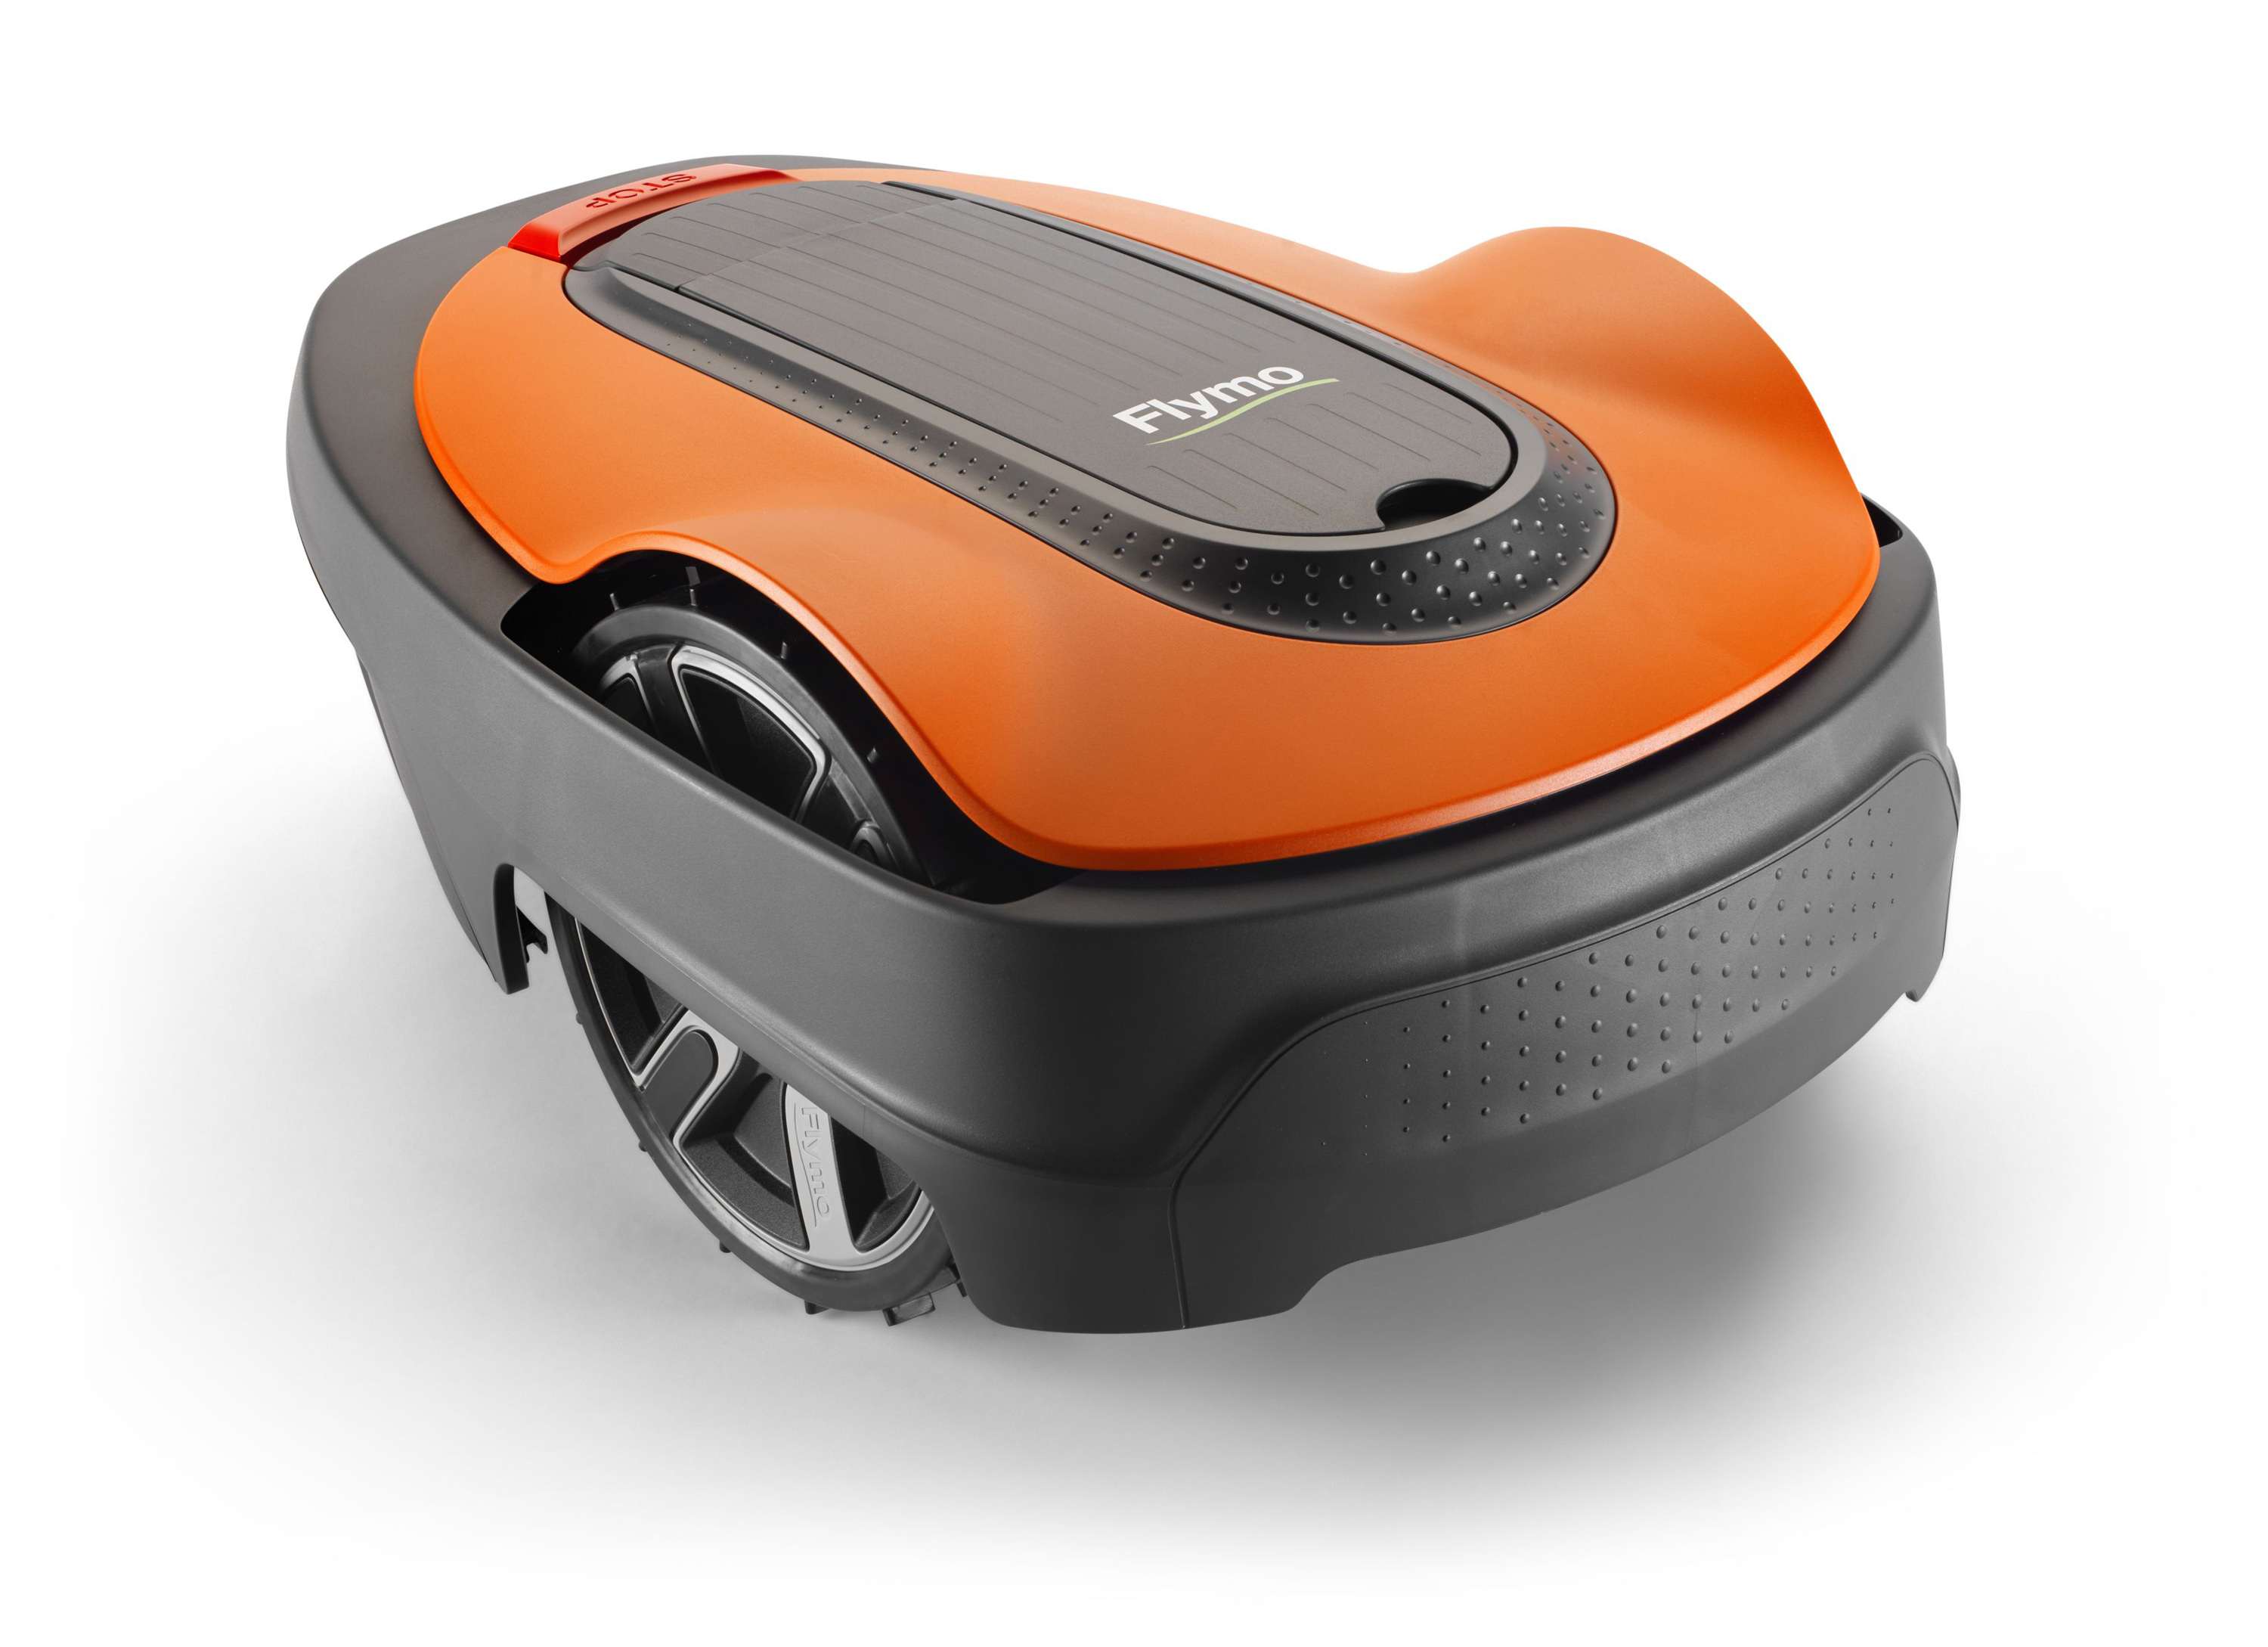
To many, investing in a robot lawn mower might seem pretty daunting because of the setup process. Truth be told, it’s not particularly complicated (and of course, only needs doing once) but it is a bit of a faff, so requires some time and patience. You’ll want to set aside a couple of hours to get it up and running, and more if your grassed area is more complicated.
In the box there is a quick start guide and a more in-depth manual. I didn’t find the manual the easiest to follow (So. Many. Sections.) but the quick start guide is simpler and covers the main points that most lawns will need.
First off, you’ll need power, ideally from an outdoor socket, and enough of the included low-voltage cable to reach the spot you decide on for the mower’s charging port. There is 10m of cable included in the box but we needed to buy more to make it reach, so consider measuring ahead of time. Flymo sells different lengths to suit your needs, and doesn’t recommend using extension cables as a quick fix.
You can install the waterproof charging port on your lawn in a corner or on a straight, the only requirements are that it has a metre clearance in front of it and is placed within a 60cm gap. You don’t want it on too much of a slope or uneven ground either, so choose an area that’s as flat as possible.
Once you’ve chosen the location for the charging port, you can get to work on installing the boundary and guide wires. The boundary wire goes all the way around your mowing area, while the guide wire goes across your garden and helps the mower to return to its charging port when it has finished mowing. Flymo includes 100m2 of wire for this job, so plenty to cover the space that this model is intended for.
We went for the simple installation of pegging the wire on top of the grass (150 pegs are included for this) but if you’re having your garden re-done, you can have the wire buried under the turf for a smarter look.
When installing it like we did, you’ll need to place pegs at regular intervals, ensuring the wire is as flush to the ground as possible. If it isn’t you risk the Flymo cutting it during operation.
You’ll also want to take into account any obstacles in your garden you’d rather the Flymo avoid. It will bump into solid objects, like our toddler’s swing and our washing line, and carry on its business, but if you have a flowerbed in the middle of your lawn, you’ll want to loop the boundary wire around it so the Flymo knows to steer clear. Flymo recommends you sketch out your garden beforehand so you can plan exactly what needs to be done before you start, which was a big help.
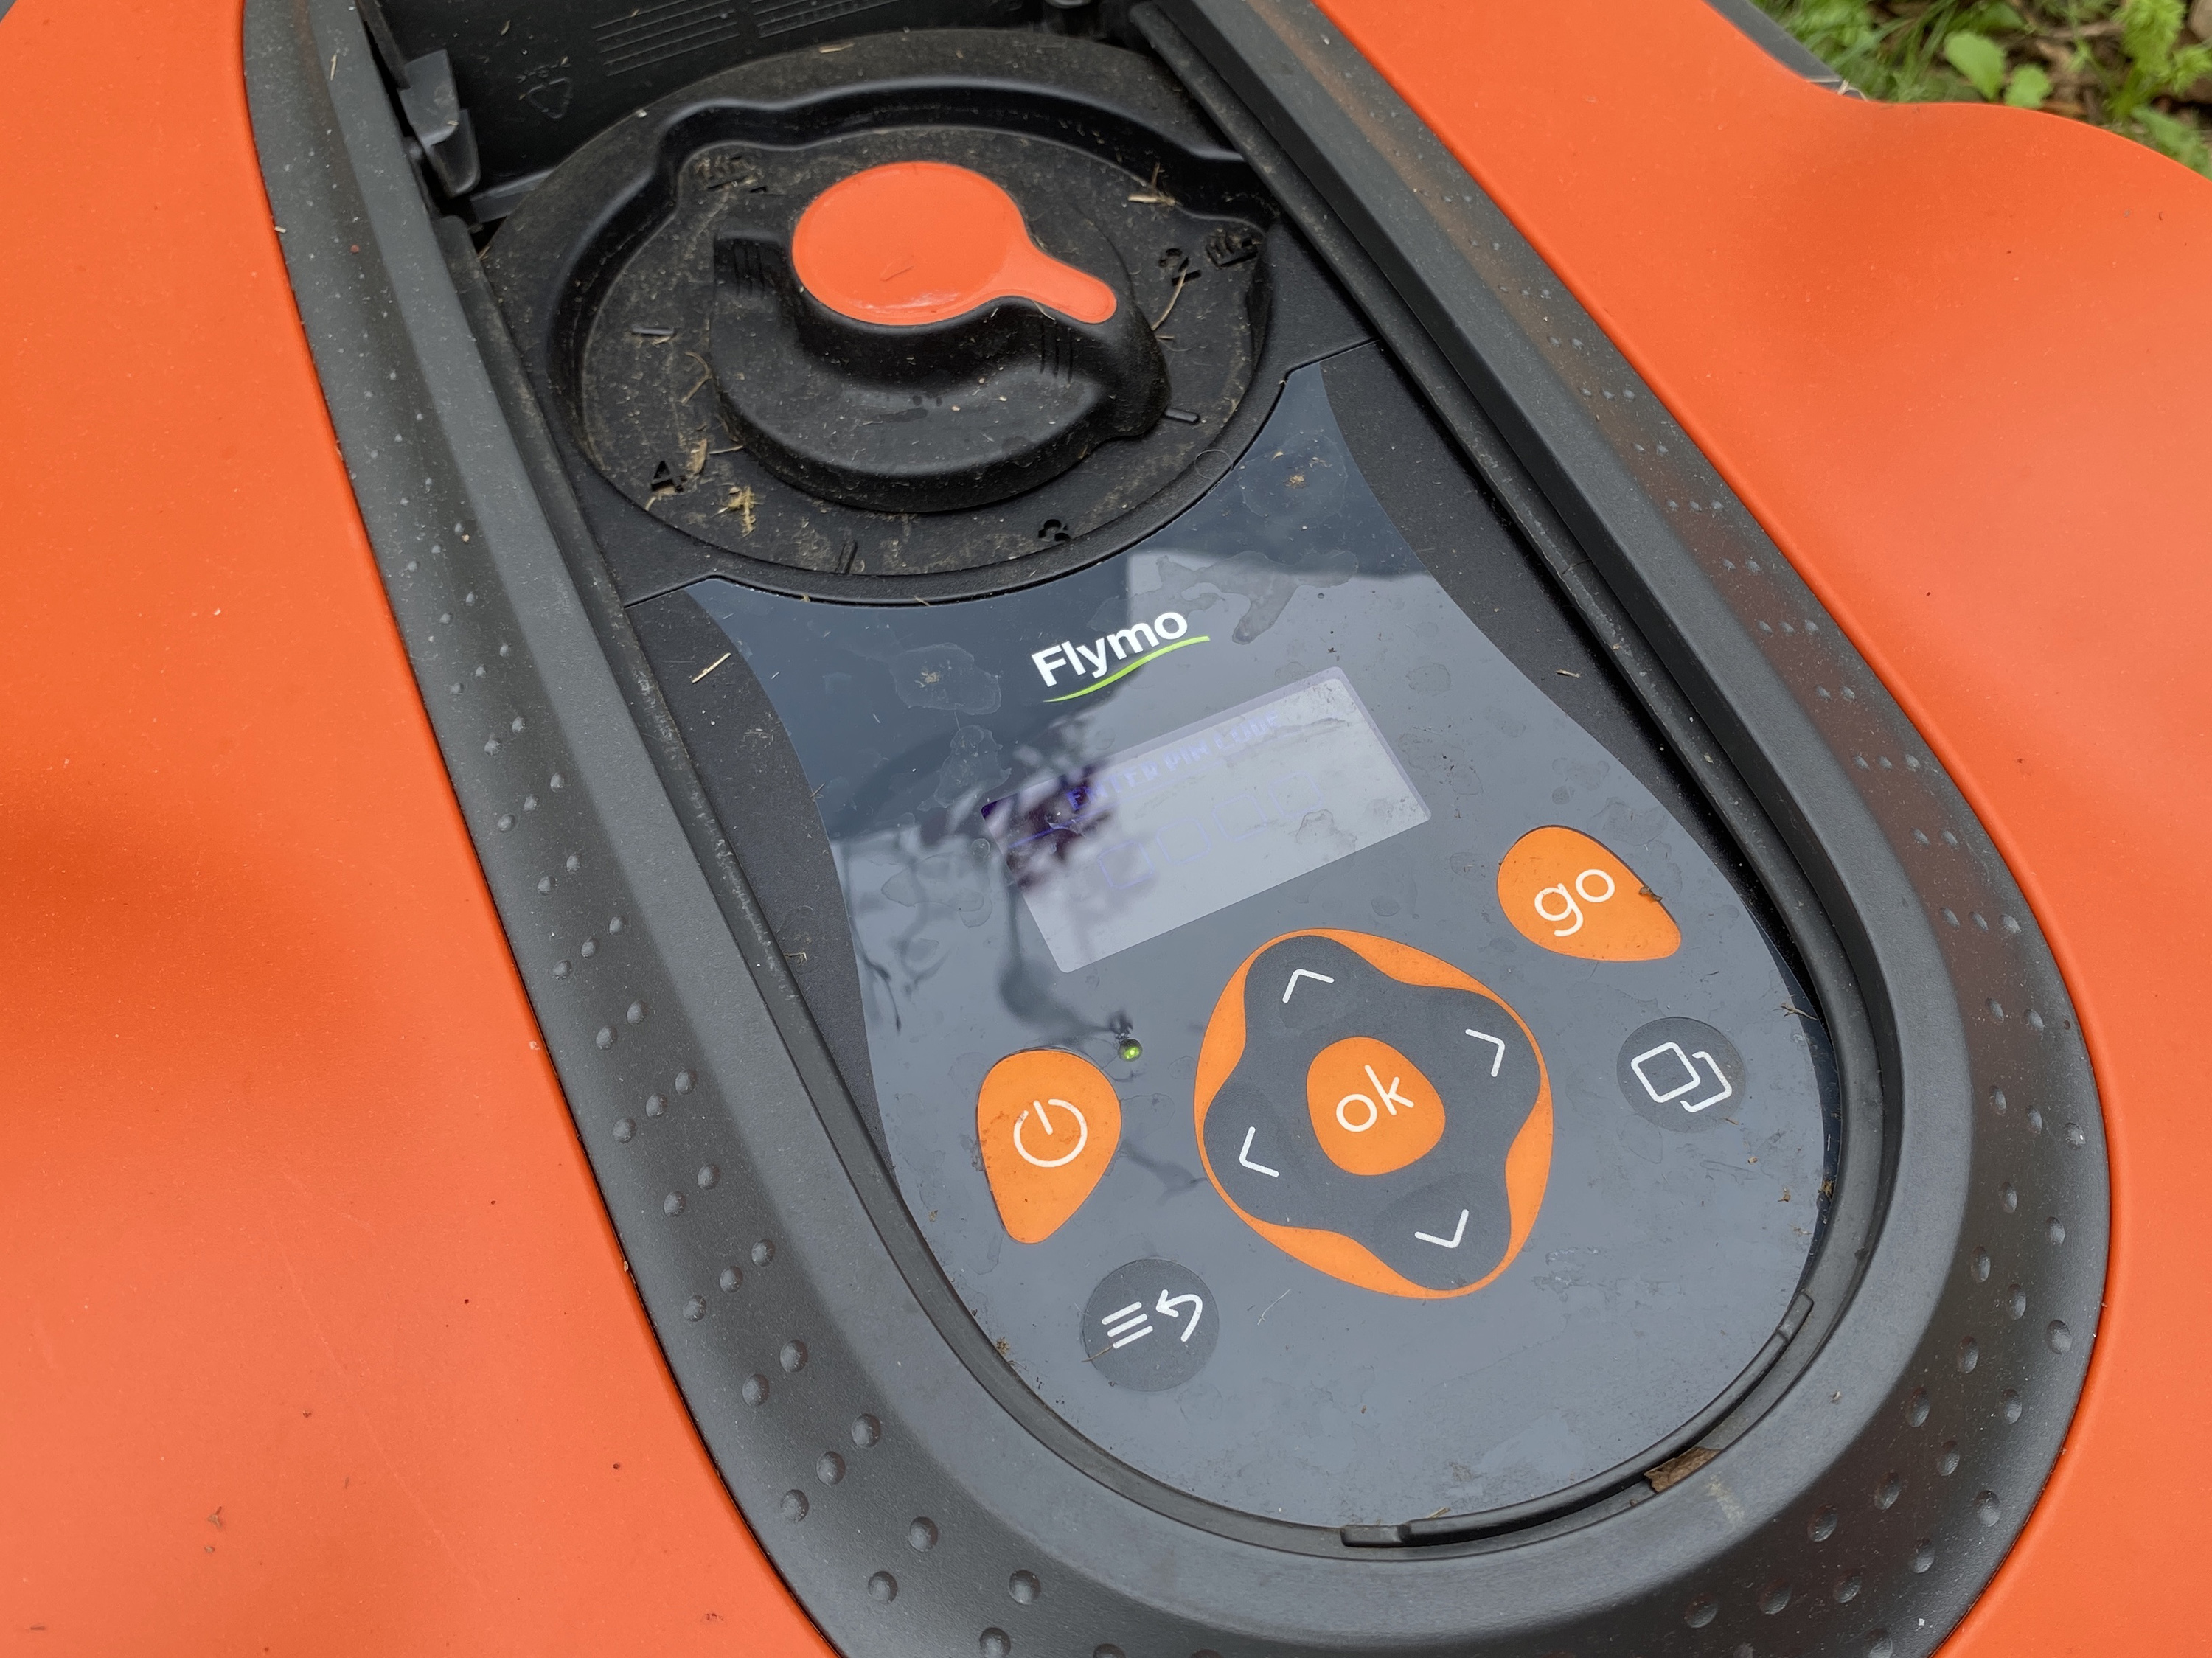
Once that’s all installed correctly you’ll be prompted to set up things like the date, time and a security PIN code on the mower itself, plus choose the grass length. This is adjusted using a simple dial, offering lengths between 2-5cm at half centimetre intervals.
You can then download the Flymo Easilife app, which pairs your phone with your mower via Bluetooth. This allows you to control the mower from your phone from here on in, set up and adjust the schedule and see the mower’s progress when in use.
Getting up and running might seem like a long process to explain, but once you get started it’s relatively straightforward. I did it on my own within a couple of hours, with a few additional tweaks over the coming weeks to smooth out performance.
What it’s like to use
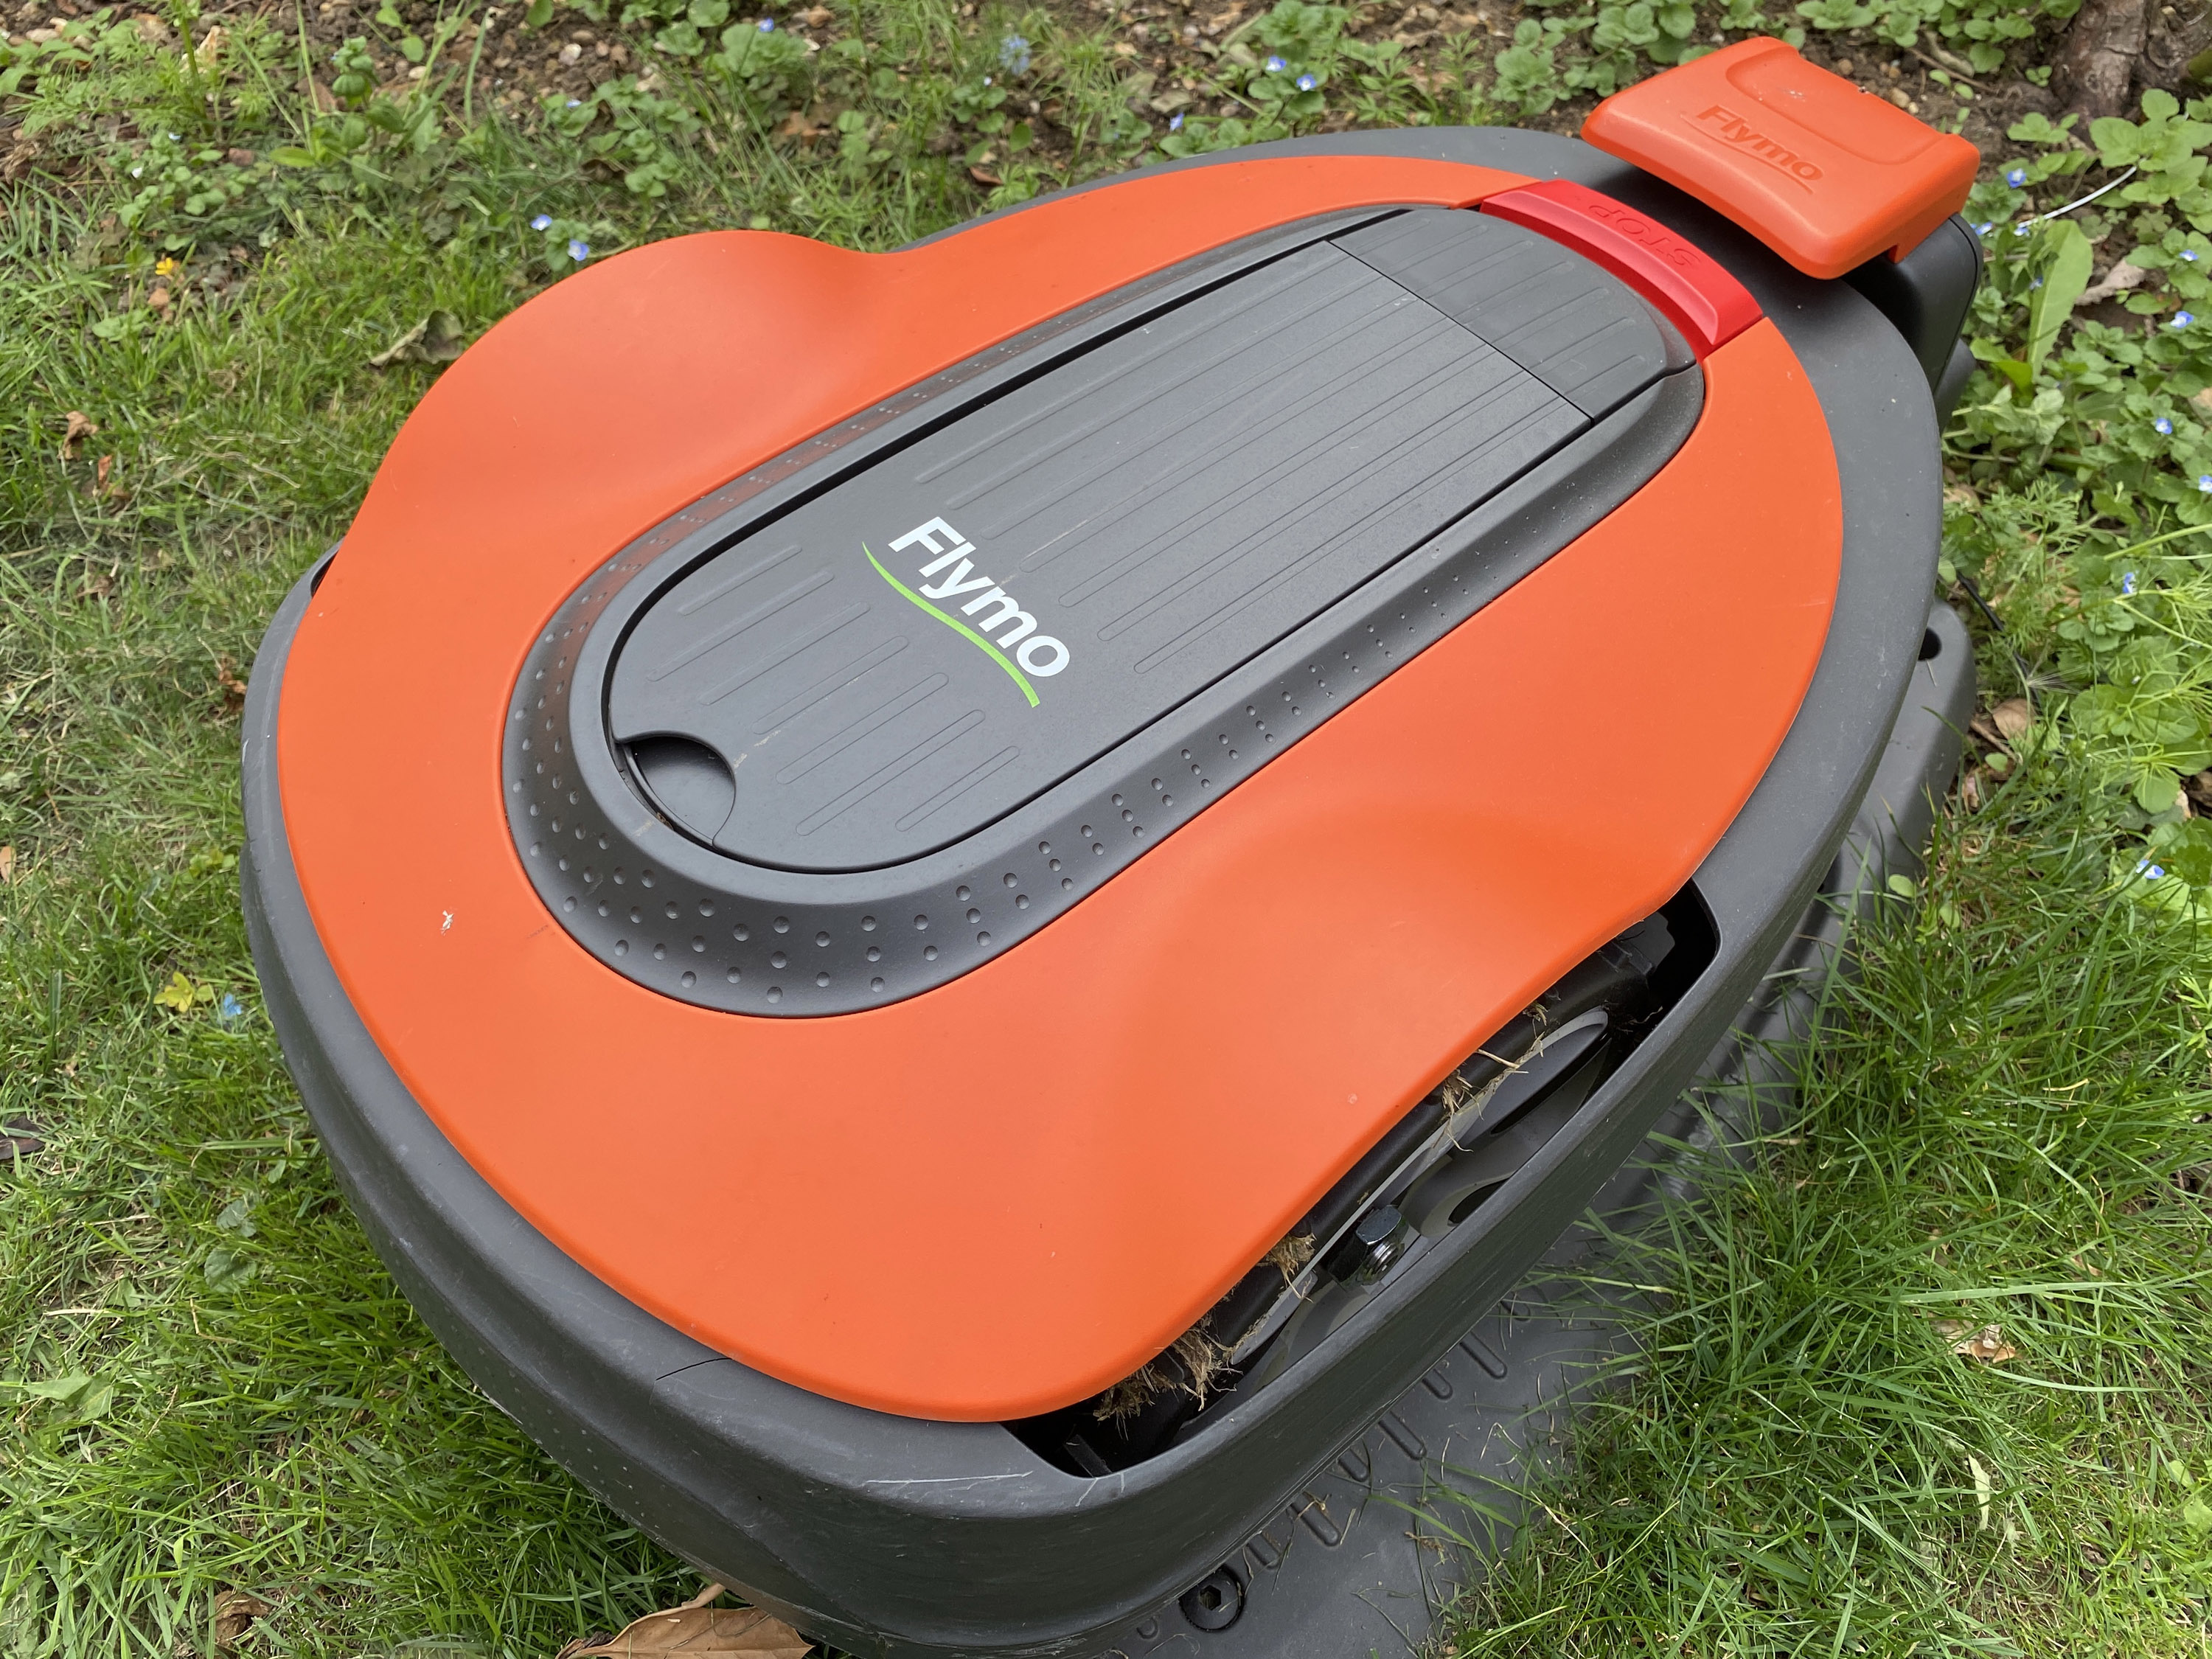
The setup is the biggest part of your involvement with the Easilife 200. Once it’s done, you really have very little to do with it, apart from giving the blades their recommended weekly clean with a dry brush and, of course, stepping in to rectify any issues.
You’re likely to come across the majority of issues related to installation in the first few mows. Our lawn is a little uneven, and despite putting in more than the recommended amount of pegs, we still experienced a break in the wire about a week in. Thankfully, a number of wire connectors are included in the box, so it’s just a case of adding one of those in where the breakage is, rather than needing to re-lay the whole wire – a relief to say the least! Still, to avoid this happening it’s worth double checking your wire after the first mow or two for any wires that have lifted.
Undoubtedly, random issues will still crop up every now and then too. We had an error where the mower was unable to dock due to an apparent obstruction in front of the charging port. When we went to check on it, we couldn’t see anything that had caused this issue, but just manually docked it ourselves.
For a well set up mower, these issues should be few and far between. However, it would be handy if error reports were pushed to your phone as a notification when they do happen, but they aren’t. You’ll have to load up the app to see any problems, so the mower might have been idle for some time before you realise.
How does it perform?
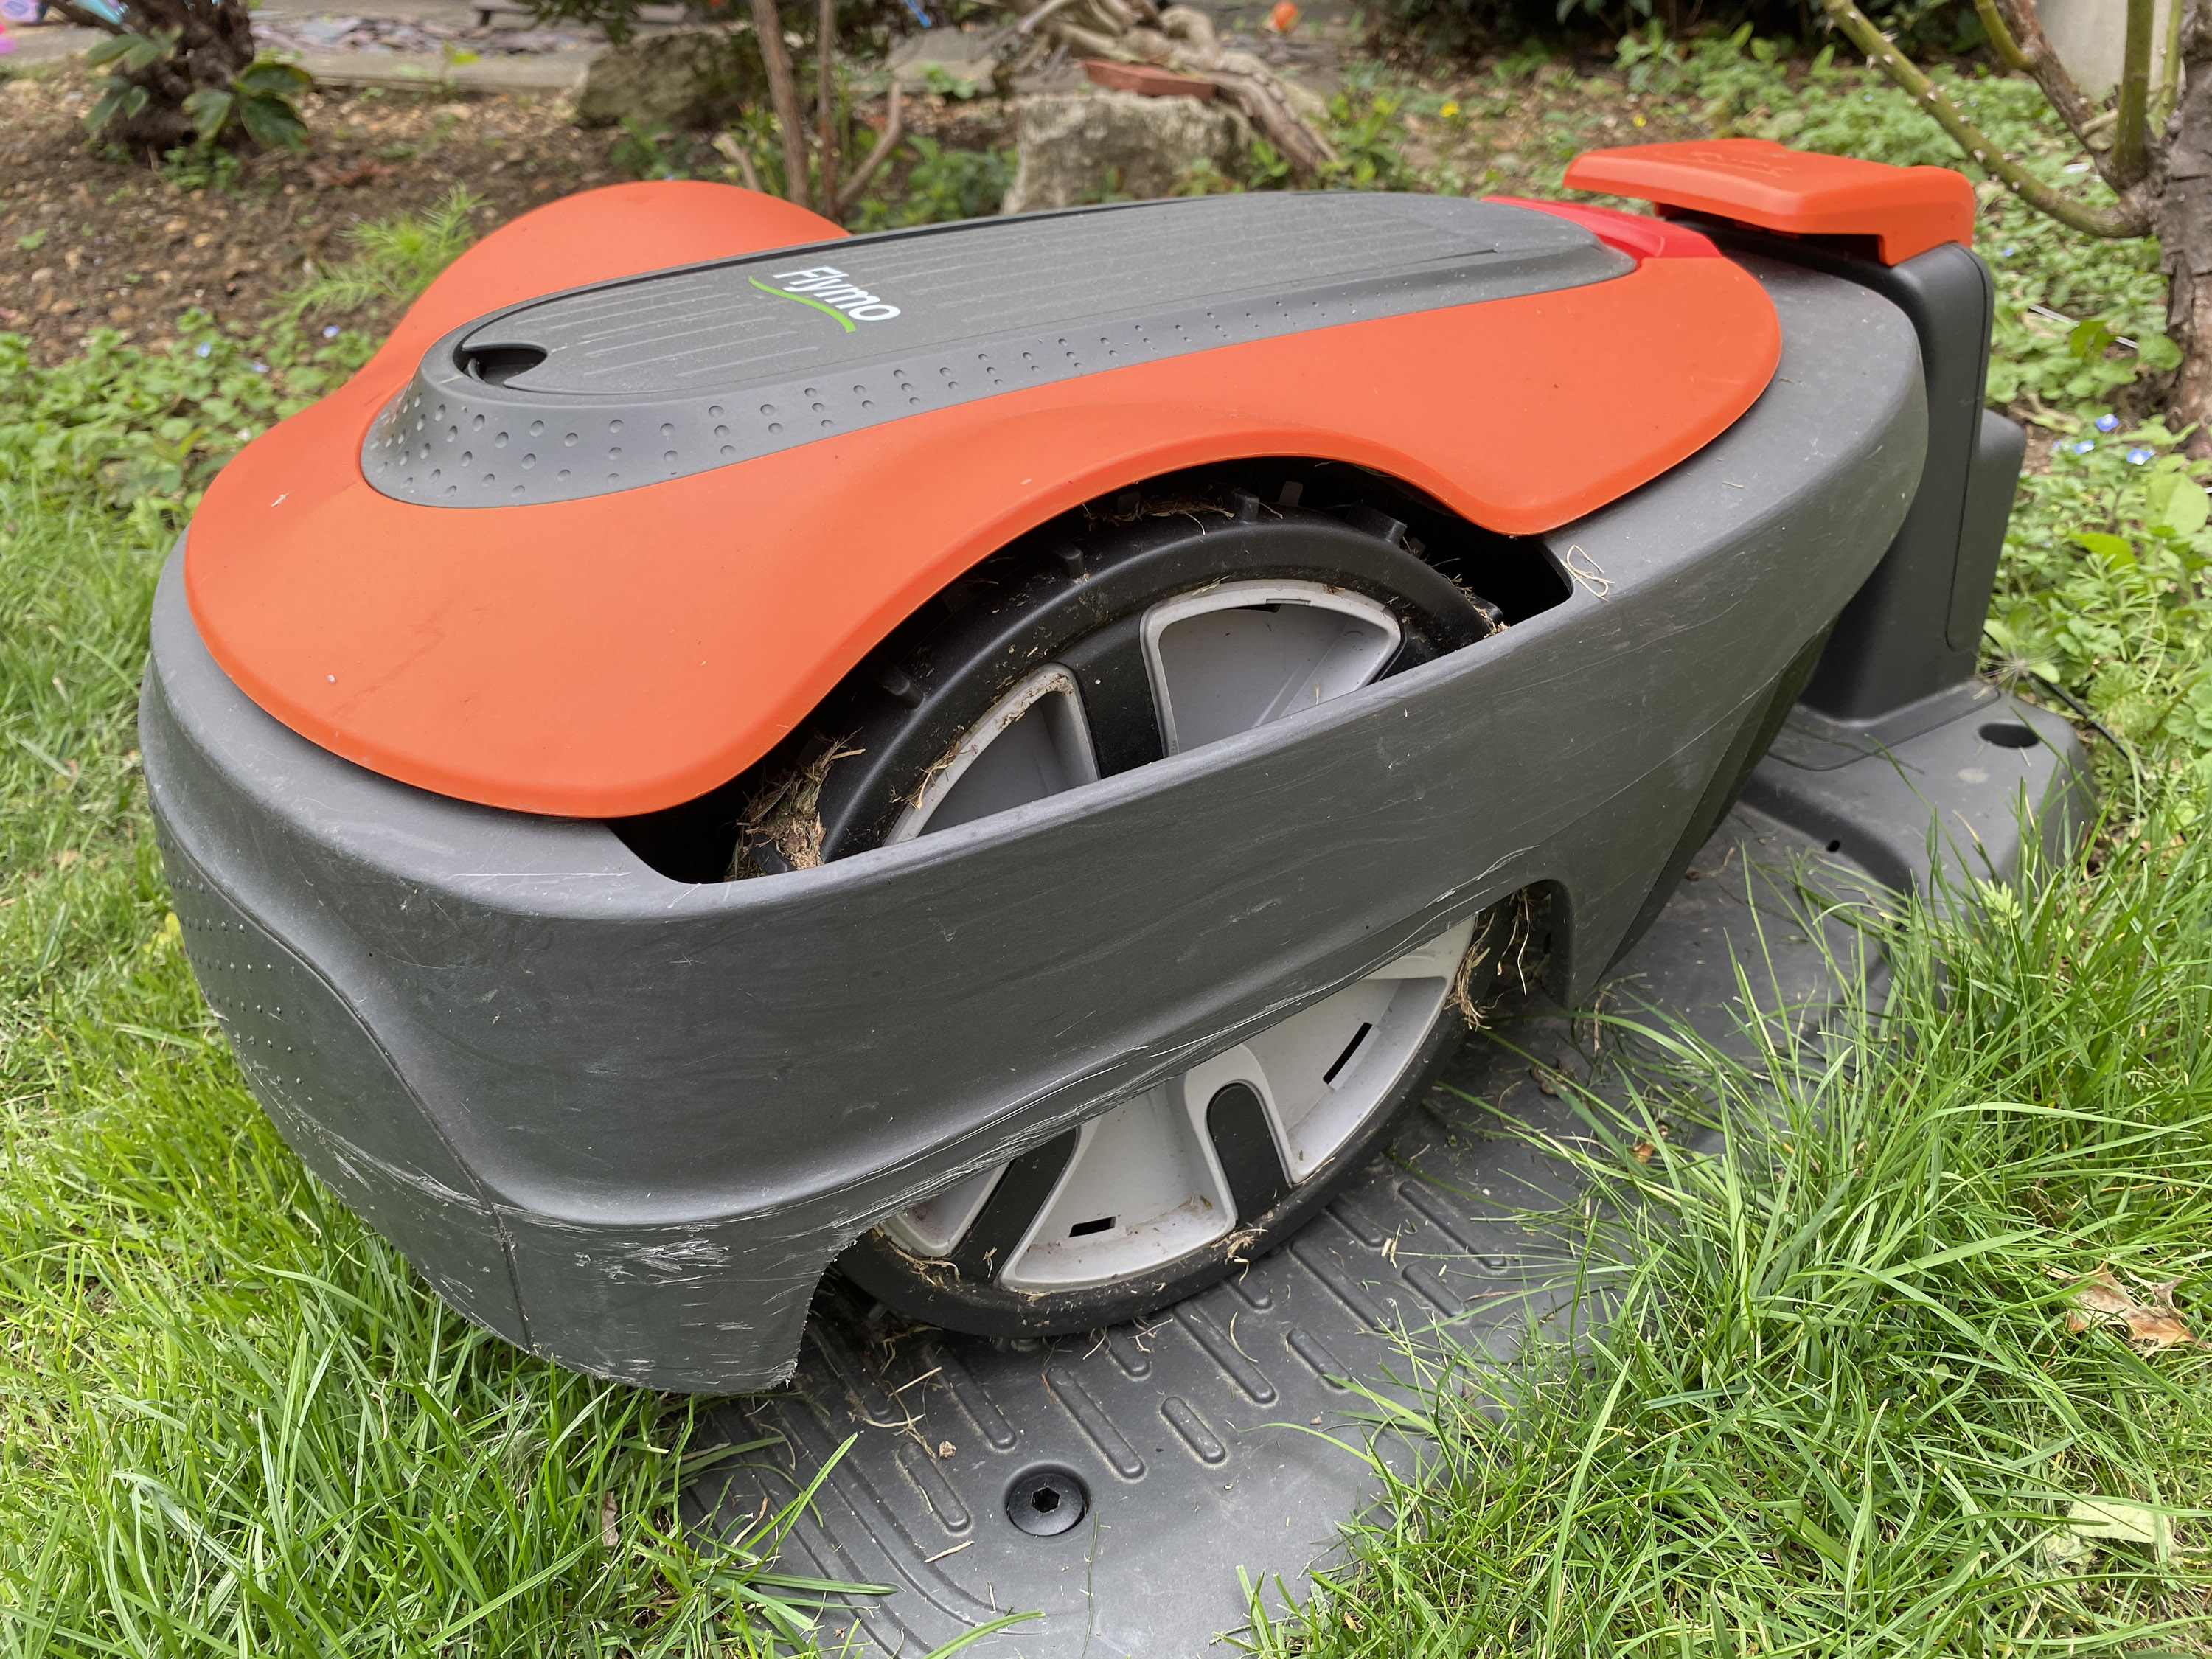
The Flymo Easilife 200 works differently to our regular lawn mower, in that it doesn’t collect any grass cuttings. Instead, it mulches them. This is a process that leaves the cuttings on the lawn, which in turn works as a natural fertiliser to improve your grass quality.
As the mower mows in a random path, it will go over the same cuttings several times, making them finer and finer as it does. That means you don’t get big clumps of grass left on your lawn as I’d envisioned. In fact, you’ll only notice the cuttings if you go and give your grass a little “ruffle” with your hands.
This random path programming means it does take considerably longer to finish the job than you would by doing it manually, but as you can set it to mow whenever you want, the time it takes doesn’t really matter.
You can set it to mow to your requirements of course, but the scheduling wizard initially suggests around two hours of mowing a day for a lawn of 100m2. This way your grass will never be so long that the amount of cuttings are noticeable.
You can also activate Flymo’s LawnSense feature for the best performance. This will take into account the length of your grass and the weather conditions, then adjust the scheduler accordingly. This way, if it finds it is over-mowing or under-mowing it will rectify this itself automatically.
The result is that our grass has never looked so consistently neat and tidy, though of course you will still need to take the time to neaten up the borders and edges the Flymo can’t get to with a strimmer. I set the Flymo to mow in the early hours of the morning so it is done for the day by the time we get up — at 58dB it’s so quiet it doesn’t disturb us or our neighbours.
Battery life is pretty impressive too. For larger lawns, the Flymo will need to take itself back to the dock to recharge before completing the job, but it manages the two hours scheduled daily for my lawn in one outing, even returning with some battery to spare.
Ease of use
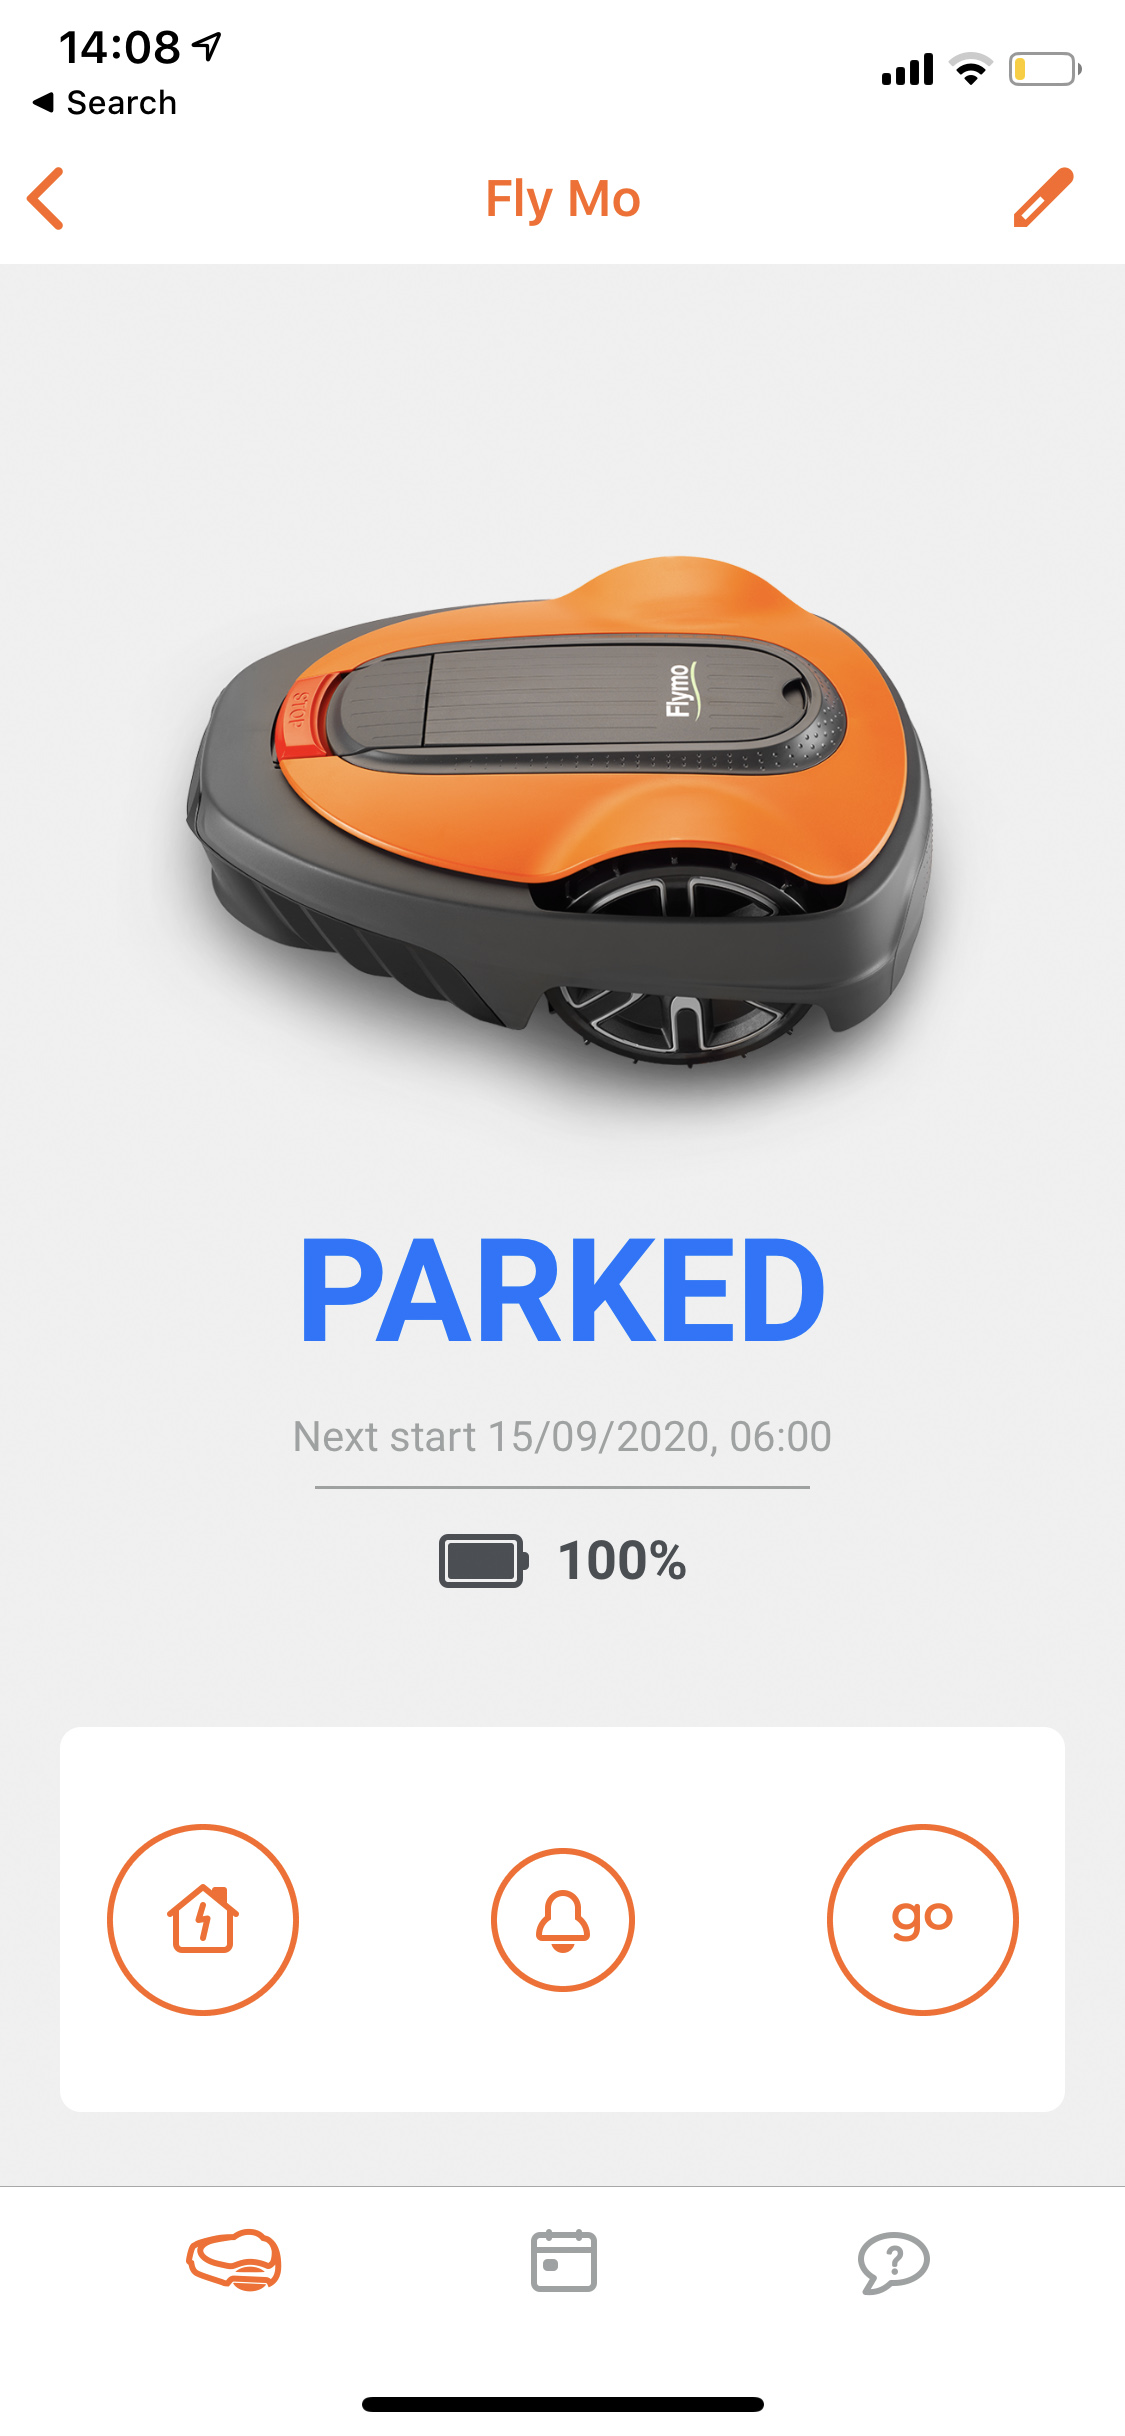
Once set up, the Easilife 200 is really easy to use, because there’s not much for you to do. I control it solely through the app on my phone, and have only had to go out to the mower itself to rectify an issue.
It’s simple because there aren’t loads and loads of menu options to wade through. The home screen on the app shows the current status of the Flymo, and from there you can simply view, set and change the schedule, put it into holiday mode, check error messages or start an override mow.
There’s also a help section for troubleshooting or checking the manual, in case you’ve misplaced the paper copy it comes with.
Additional features
The Flymo Easilife 200 is adaptable to most garden designs, but will need some extra consideration during setup for more complicated arrangements.
If you have two sections of grass separated by a grass-level path, as we do, you can treat it as one patch of grass and the Easilife will roll happily over it. However if you have grassed areas on different levels, separated by steps for example, you’ll have to set up a secondary area instead. The Easilife 200 will then need moving manually between the two, and will sound an alarm for you to do so when it’s ready.
In terms of weatherproofing, the Flymo won’t be phased by a standard British summer, thanks to being waterproof to IPX4. Flymo does suggest you don’t run it during a thunderstorm though, and recommends disconnecting the charging port if you see signs of a storm rolling in, to protect the onboard computer from being damaged by any lightning.
Over the winter months when you are unlikely to be mowing the lawn, you may wish to pop the mower itself into a shed to hibernate. However, if you’d rather keep it out, Flymo does offer a feature called FrostSense, which recognises when the temperature drops below 5 degrees and will prevent the mower from operating.
Finally, there is a feature called Spot Cut. This can only be selected on the mower itself (rather than via the app), and allows you to lift the Flymo to an area that needs a bit more attention. The mower will then work outwards in a circular motion to ensure the area has been covered before it reverts back to a standard mow.
How does it rate?
Online reviews for the Easilife 200 are overwhelmingly positive, including the user reviews on Amazon, which give it 4.5 stars and praise its ease of use and performance. We’d have to say that we agree. Though the set up procedure requires time and patience, once it’s done, there is very little you have to worry about. It cuts well and really requires very little of our attention, which means our grass has never looked so consistently neat and tidy.
With an RRP of £650 though, the Easilife 200 is no small purchase, and so is ultimately aimed at people who have the money to spend and who would find the luxury of a robot lawn mower beneficial. That could be people who struggle with mobility or those who love spending time in their garden but would rather not spend a whole lot of time on the upkeep.
If you fall into either of those camps, the Easilife 200 will be a very welcome addition to your garden indeed.

