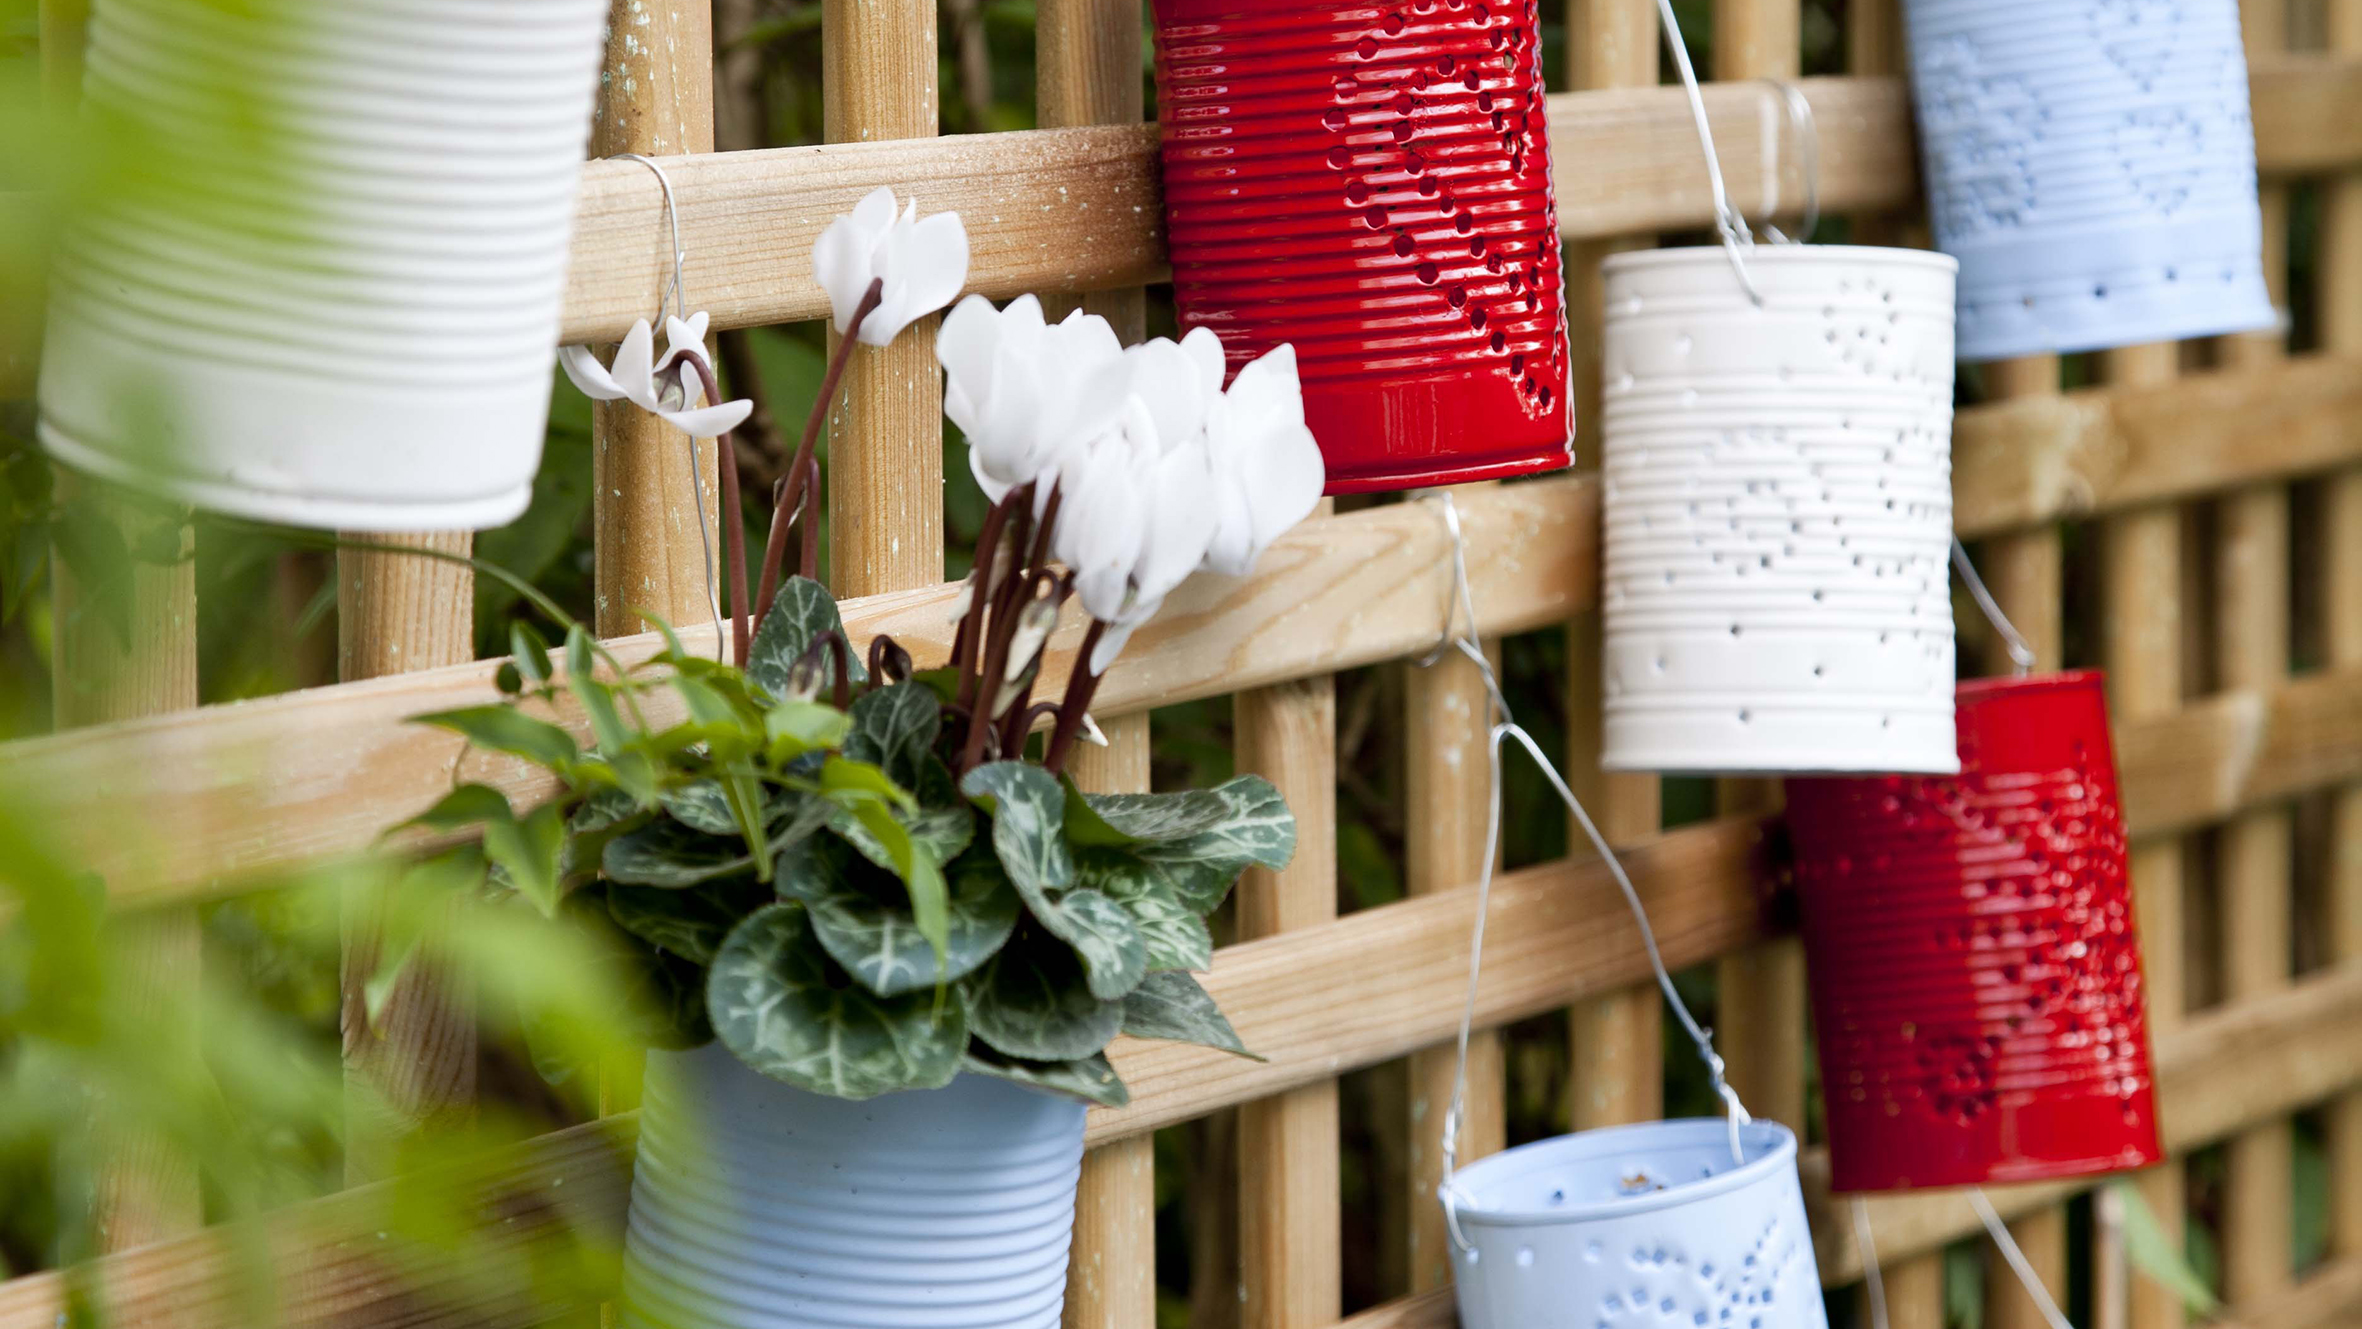
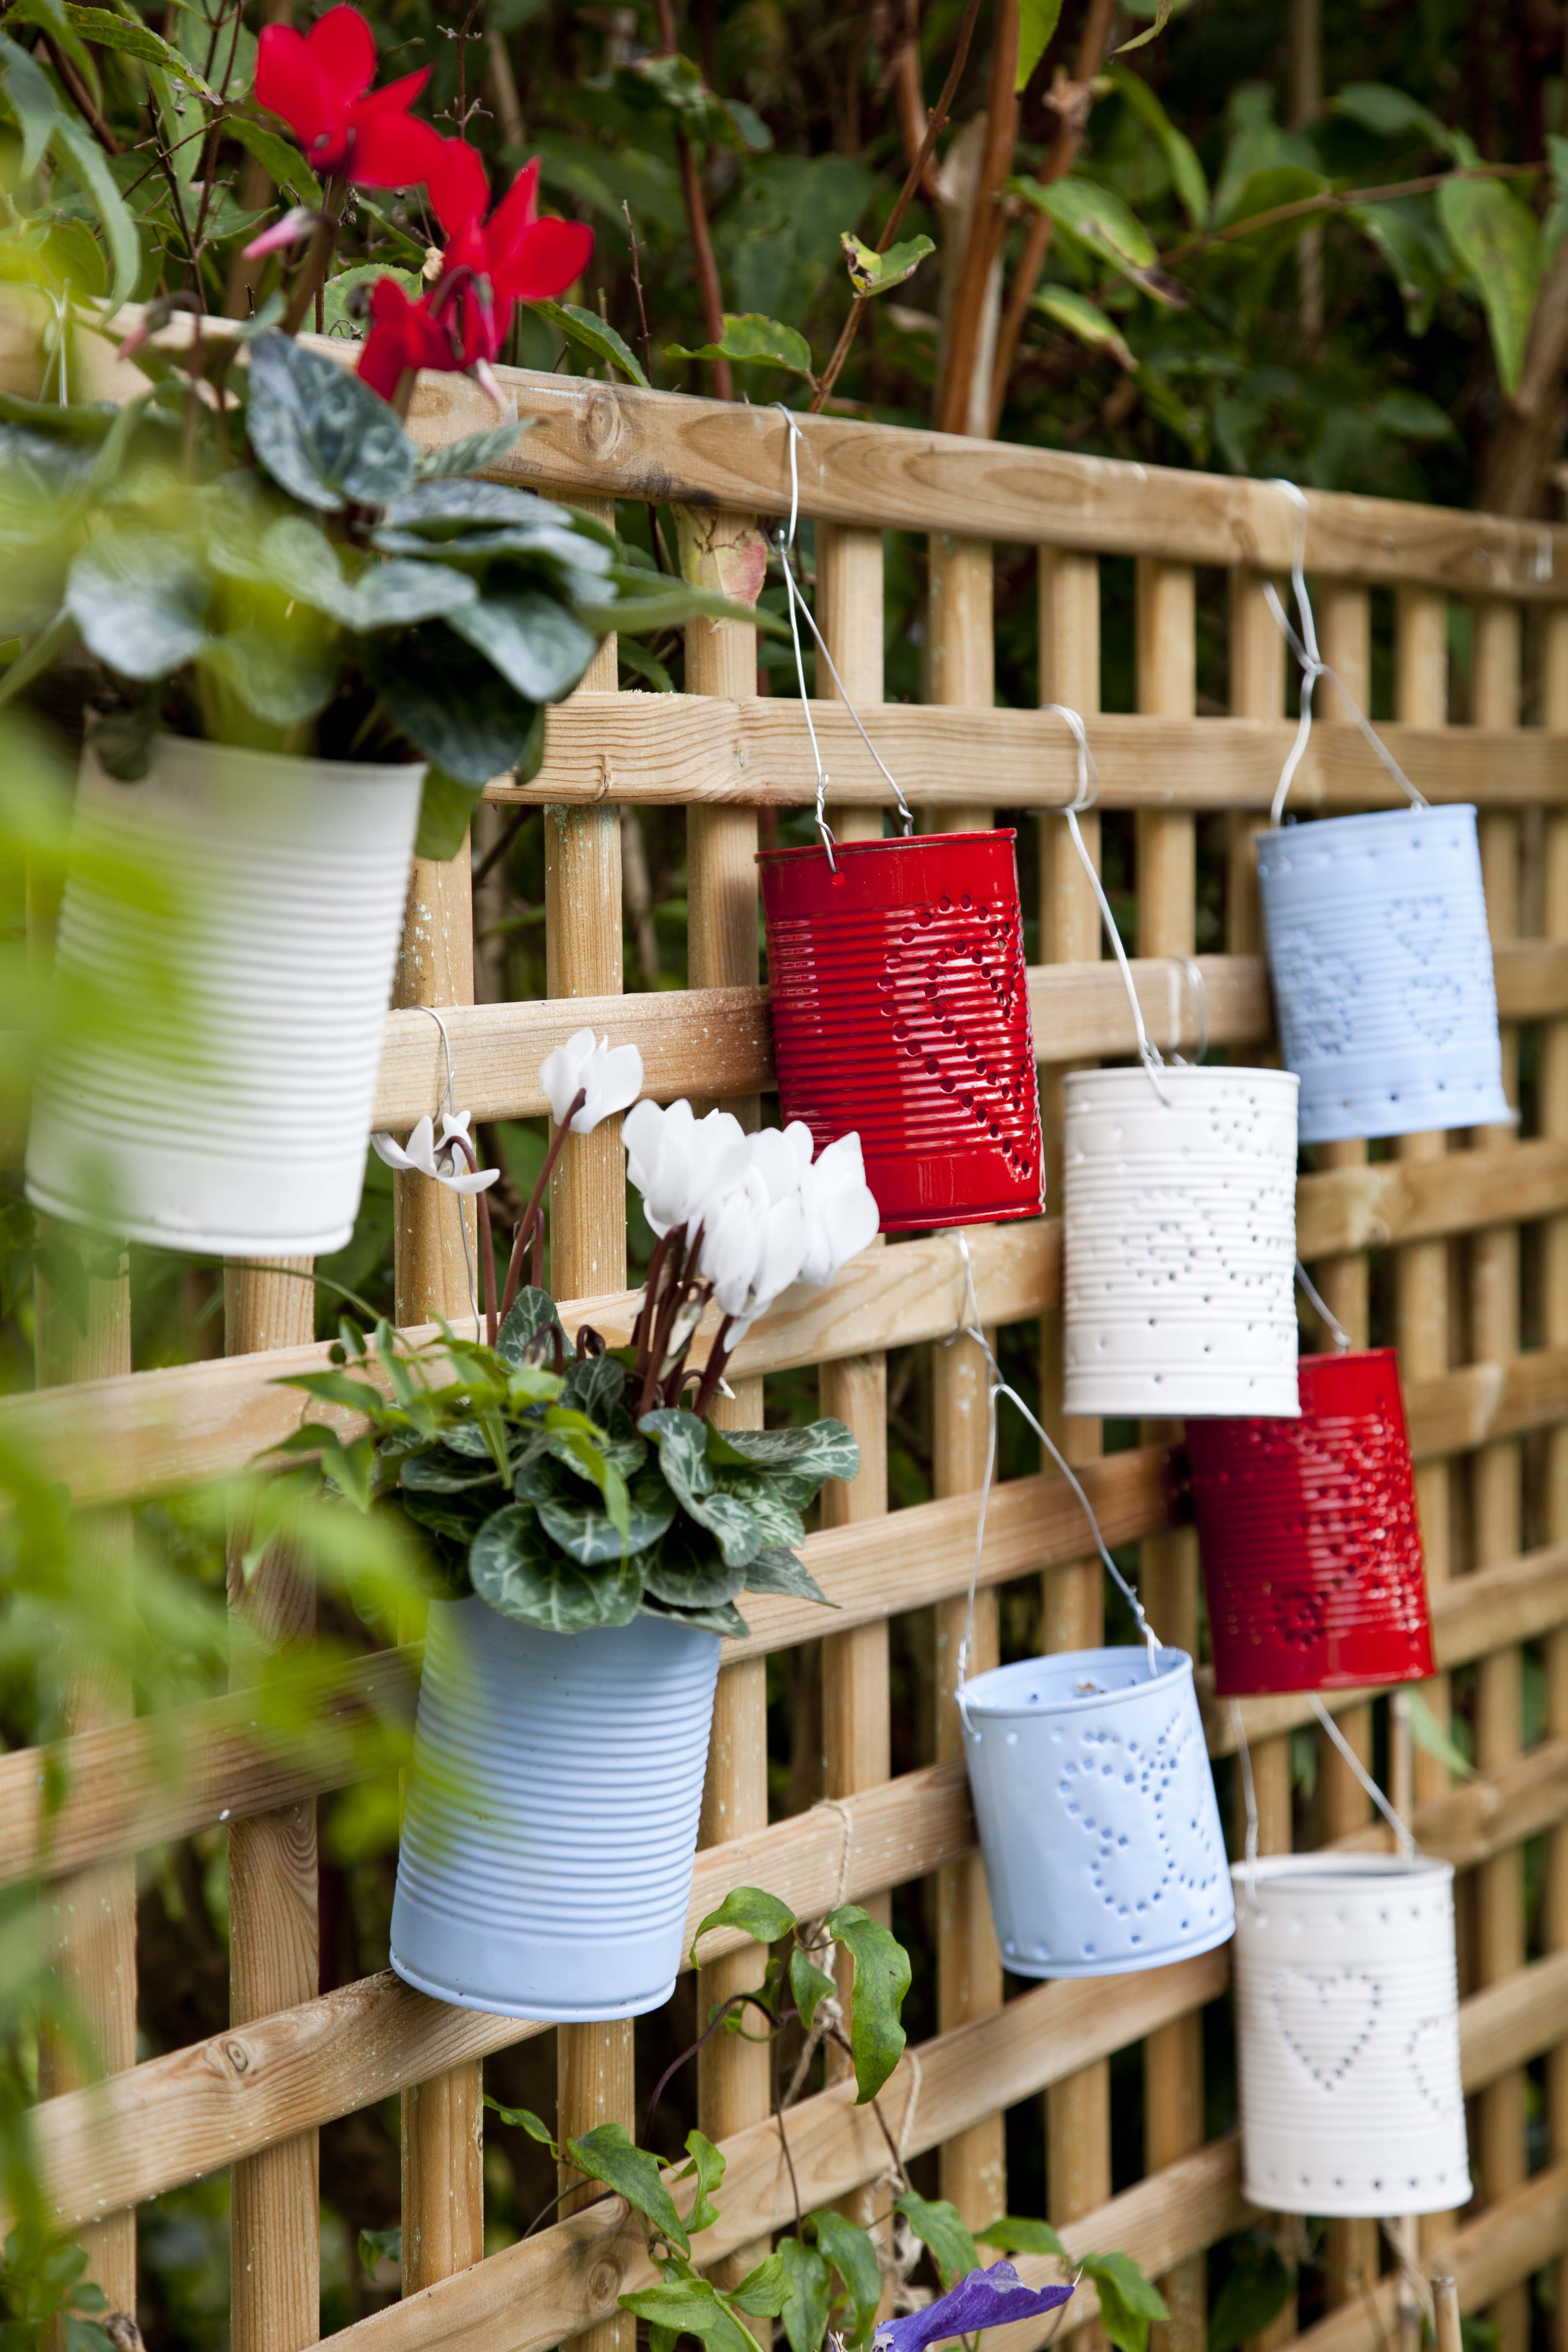
Weekend project: make these DIY lanterns and planters in five easy steps
These recycled tin can planters are simple to make and perfect for displaying along a fence or trellis


Everyday items can be painted, upcycled or decorated to create a charming craft piece for your garden. These easy-to-make holders can be displayed along a fence or trellis. They are a mix of lanterns, with pretty patterns marked into the metal, and hanging planters. The planters can hold anything from herbs to bulbs for an attractive display.
Never crafted before? Don’t worry – this project is a doddle and can be easily finished in a day. Choose a scheme with two or three colours that contrast with your surroundings – we picked classic red, white and blue.
You can make similar versions of the lanterns with leftover jam jars. Wash them out and decorate them with the spray paint. Wind the wire securely round the tops to fix them in place. Head to our garden design ideas gallery for more outdoor inspiration.
YOU WILL NEED

- Clean recycled tin cans
- Bradawl tool
- PlastiKote spray paints in Baby Blue, Gloss Red and Antique White
- Metal craft wire for hanging
- Sharpie pen
- Tea lights for the lanterns
- Your choice of plants and herbs
STEP 1: CLEAN OUT YOUR TINS
Remove the label and wash out your tin cans in hot soapy water. Or you could give them a turn in the dishwasher if you have one. Leave them to dry completely before you go on to the next steps.
STEP 2: MAKE DRAINAGE HOLES FOR THE PLANTERS
If you'll be using some of your tins as upcycled plant pots then it is very important to have drainage holes so moisture can filter out when you water. This is done very easily with the bradawl tool. Around 5 small holes in the bottom of the tin should be more than enough.
STEP 3: ADD THE PATTERN TO YOUR LANTERNS
For the lanterns, mark out a pattern of dots on the can with a Sharpie pen then punch along the lines with a bradawl. These will form pretty patterns on the wall when there's a tealight inside.
STEP 4: ADD HOLES FOR THE WIRE
Poke the bradawl through either side of the top edge of your tins. This will be where you'll thread the wire through in order to hang them from your fence or trellis once they are complete.
STEP 5: FINISH OFF WITH PAINT
Spray your prepped lanterns and planters with two coats of the paint in your chosen shade. Allow to dry, then thread the wire through two of the holes you’ve made near the top of the cans to form a hanger. Add your chosen plants and tealights and hang them up as desired. Job done!
More weekend projects:
- Painting garden furniture: get the best results with our top tips
- How to make a bug hotel
- Upcycle tired garden furniture in four easy steps

Teresa has worked as an Editor on a number of gardening magazines for three years now. So she is lucky enough to see and write about gardening across all sizes, budgets and abilities. She recently moved into her first home and the garden is a real project! Currently she is relishing planning her own design and planting schemes. What she is most passionate about when it comes to gardening are the positive effects it has on our mental health to grow and care for plants, as well as being great for the environment too and help provide food and shelter for wildlife.
