Upcycle tired garden furniture in just four easy steps
Revamp dated garden furniture and give it a brand new look with this simple garden paint project


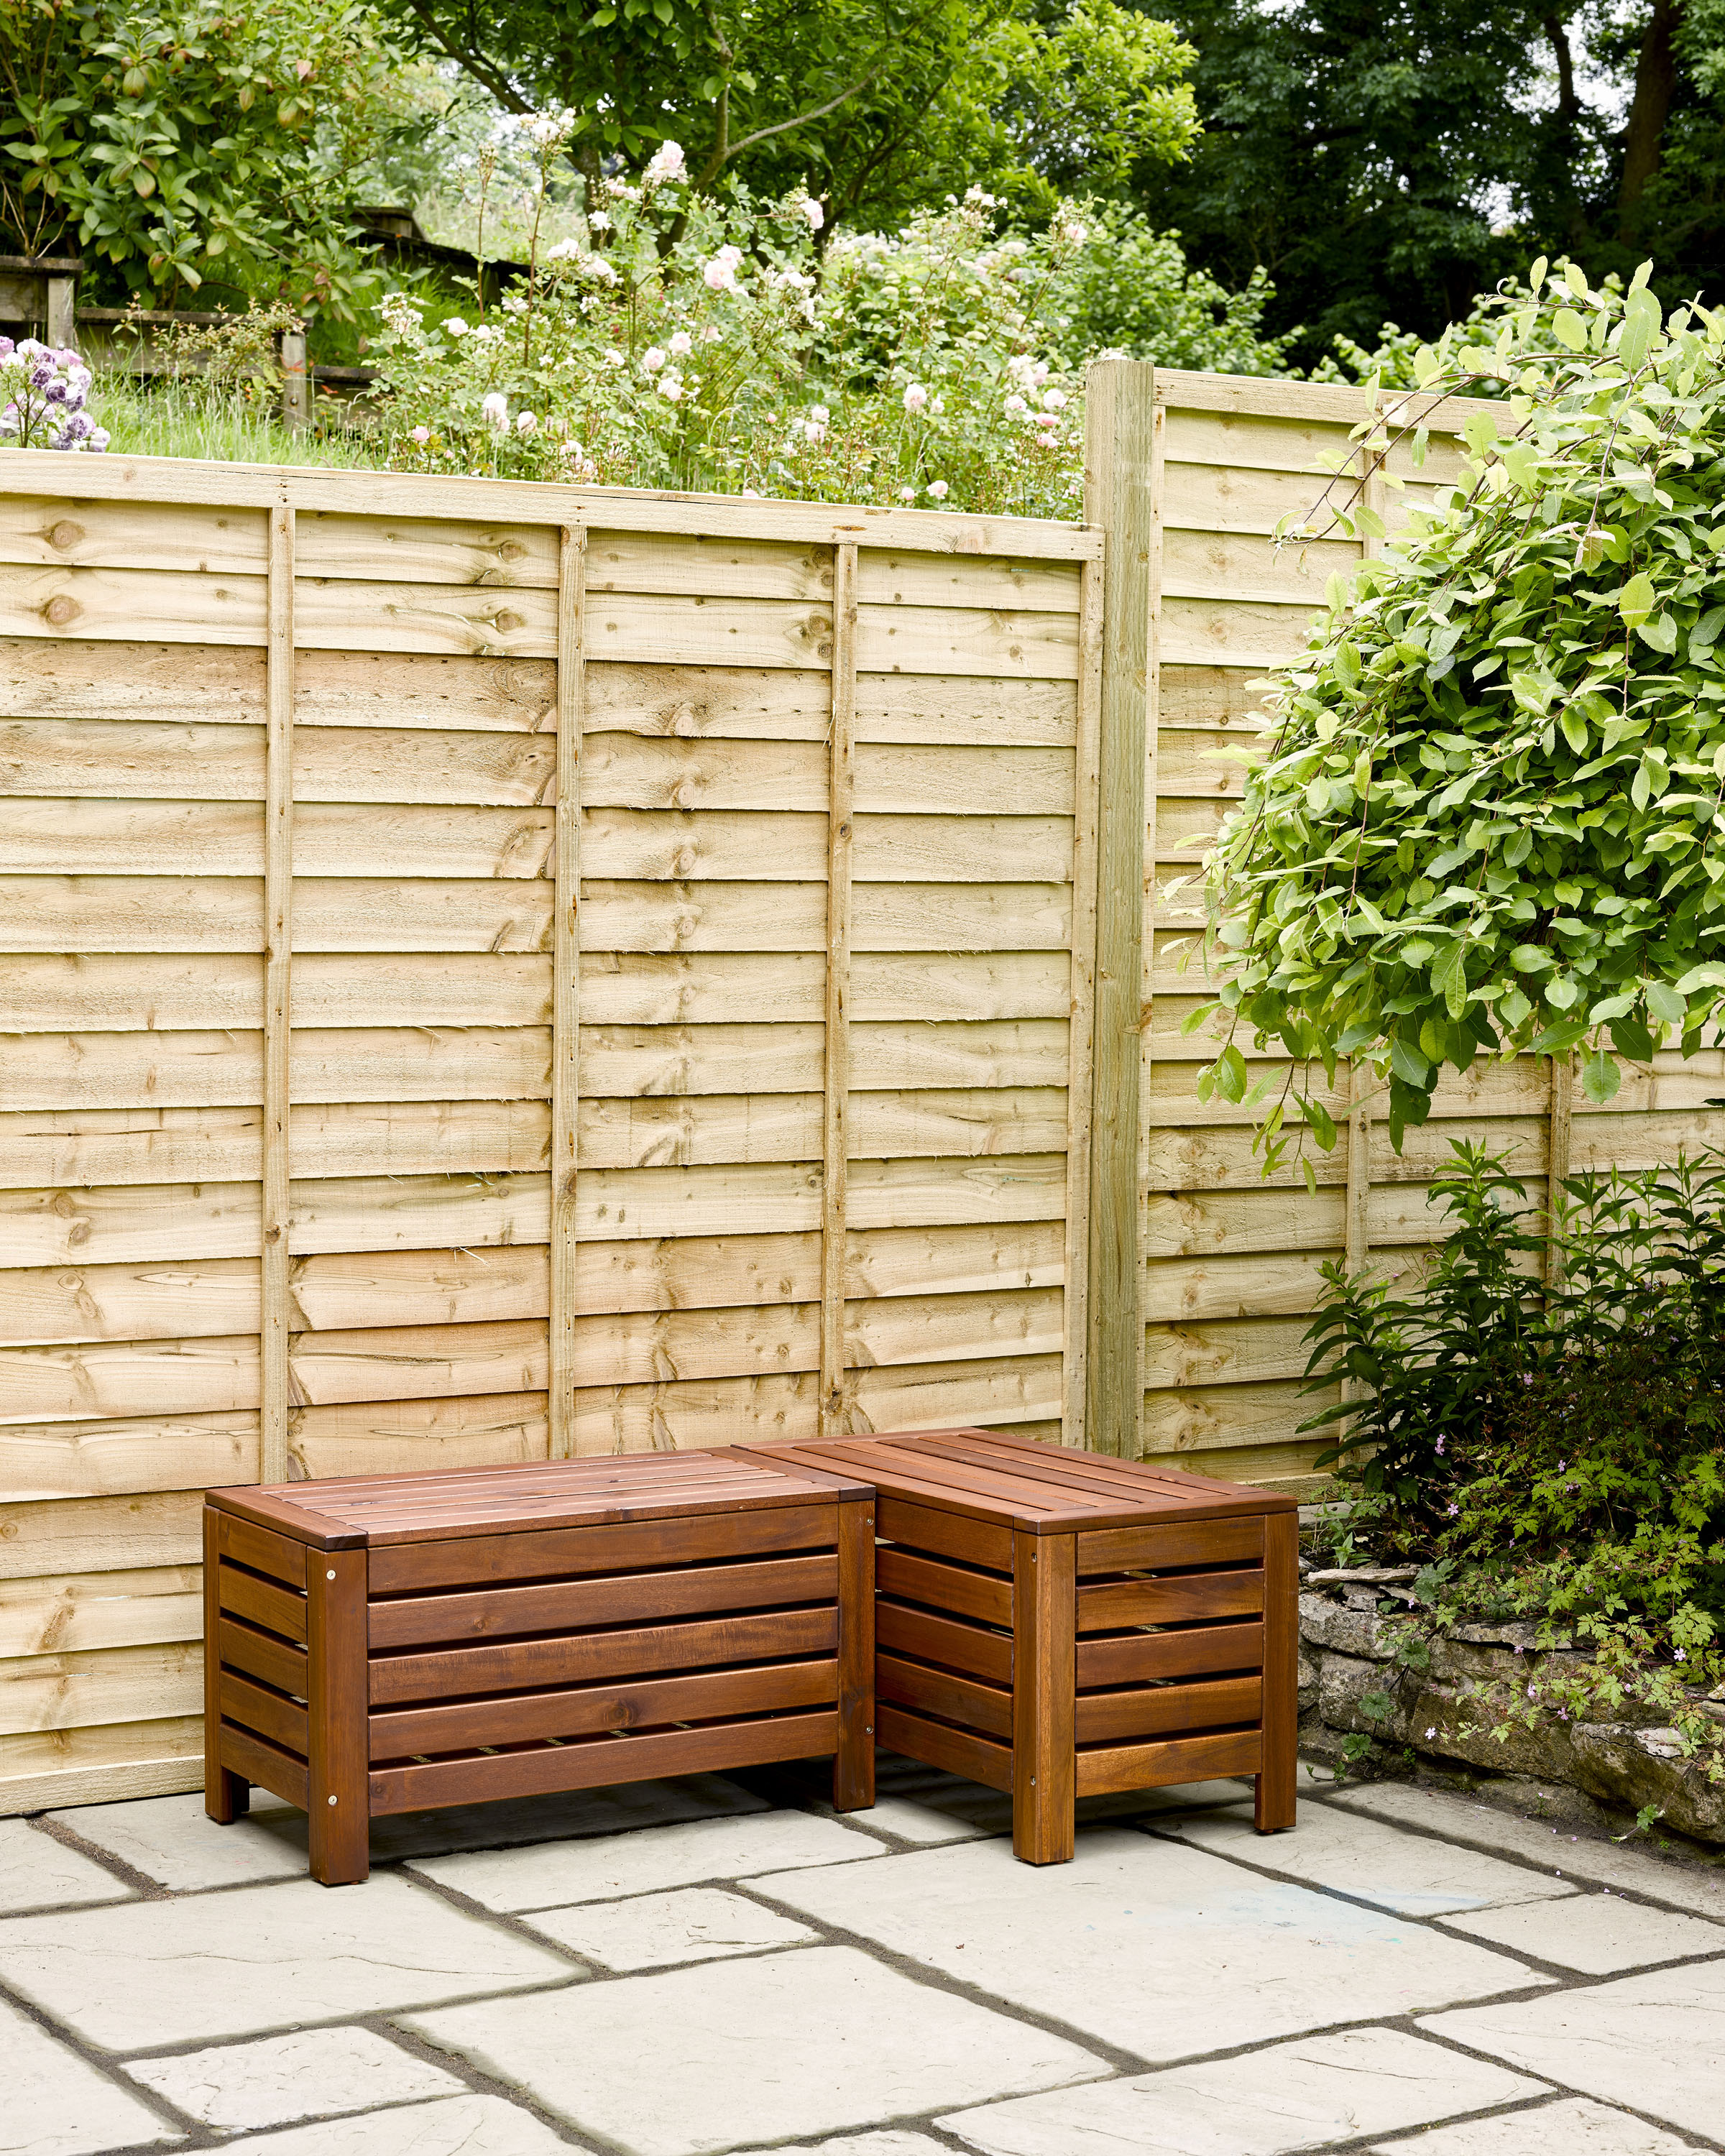
If your garden furniture has seen better days, you might be surprised how easy it is to give it a brand new look with nothing more than a couple of coats of paint and a bit of elbow grease.
That faded wooden storage bench you've been thinking of taking to the tip, or the old outdoor dining set that you wouldn't dare to let grace your Insta, can all be transformed into colourful, on-trend focal points.
So follow this step-by-step project for a quick and easy way to update your garden space in a weekend, then head to our buying guide for expert advice on the best exterior wood paints and find the perfect product for your garden projects. Got your heart set on investing in some new furniture instead? You'll find plenty of great buys in our guide to the best garden furniture.
- Thanks to Rust-Oleum for this stylish garden upcycling project
You will need:

- A piece of garden furniture
- Rust-Oleum Chalky Finish Garden Furniture Paint (or other suitable exterior wood paint)
- Sandpaper or a hand sander
- Paintbrush
- Newspaper or a dust sheet
Step one: get your space ready
It's a good idea to place your furniture on top of a large dust sheet or some old newspapers to avoid the paint staining anything such as your patio floor tiles. Where possible, do this project in a well ventilated space, especially if you are using the spray paint version of the paint (see step four).
Step two: clean the furniture surfaces

It's important that any surfaces you're going to be painting are free from loose paint, rust, wax, oil and grease. Wipe them down with a damp cloth to clean them. For wooden surfaces that are particularly worn or weather damaged, it's also a good idea to lightly sand the surface of the wood to ensure you'll get a smooth painted finish. For small areas or items of furniture you can use sheets of sandpaper and do it by hand, but for larger pieces you'll find it easier and much quicker to use a small hand sander instead.
Step three: prep the surfaces
Depending on the material of your chosen furniture, prepping the surface with a suitable primer is a safe bet to ensure a smooth finish. For example, metal furniture generally requires a primer prior to painting as the surface is slick – try Rust-Oleum Surface Primer. If you're painting bare or previously painted wood, some products, such as Rust-Oleum Chalky Finish Garden Furniture Paint, can be applied to directly to the surface without the need for a primer. It can also be applied directly to wooden fences, brick, stone and plaster so you can give the rest of your space a makeover using similar colourful shades too.
Step four: paint the furniture

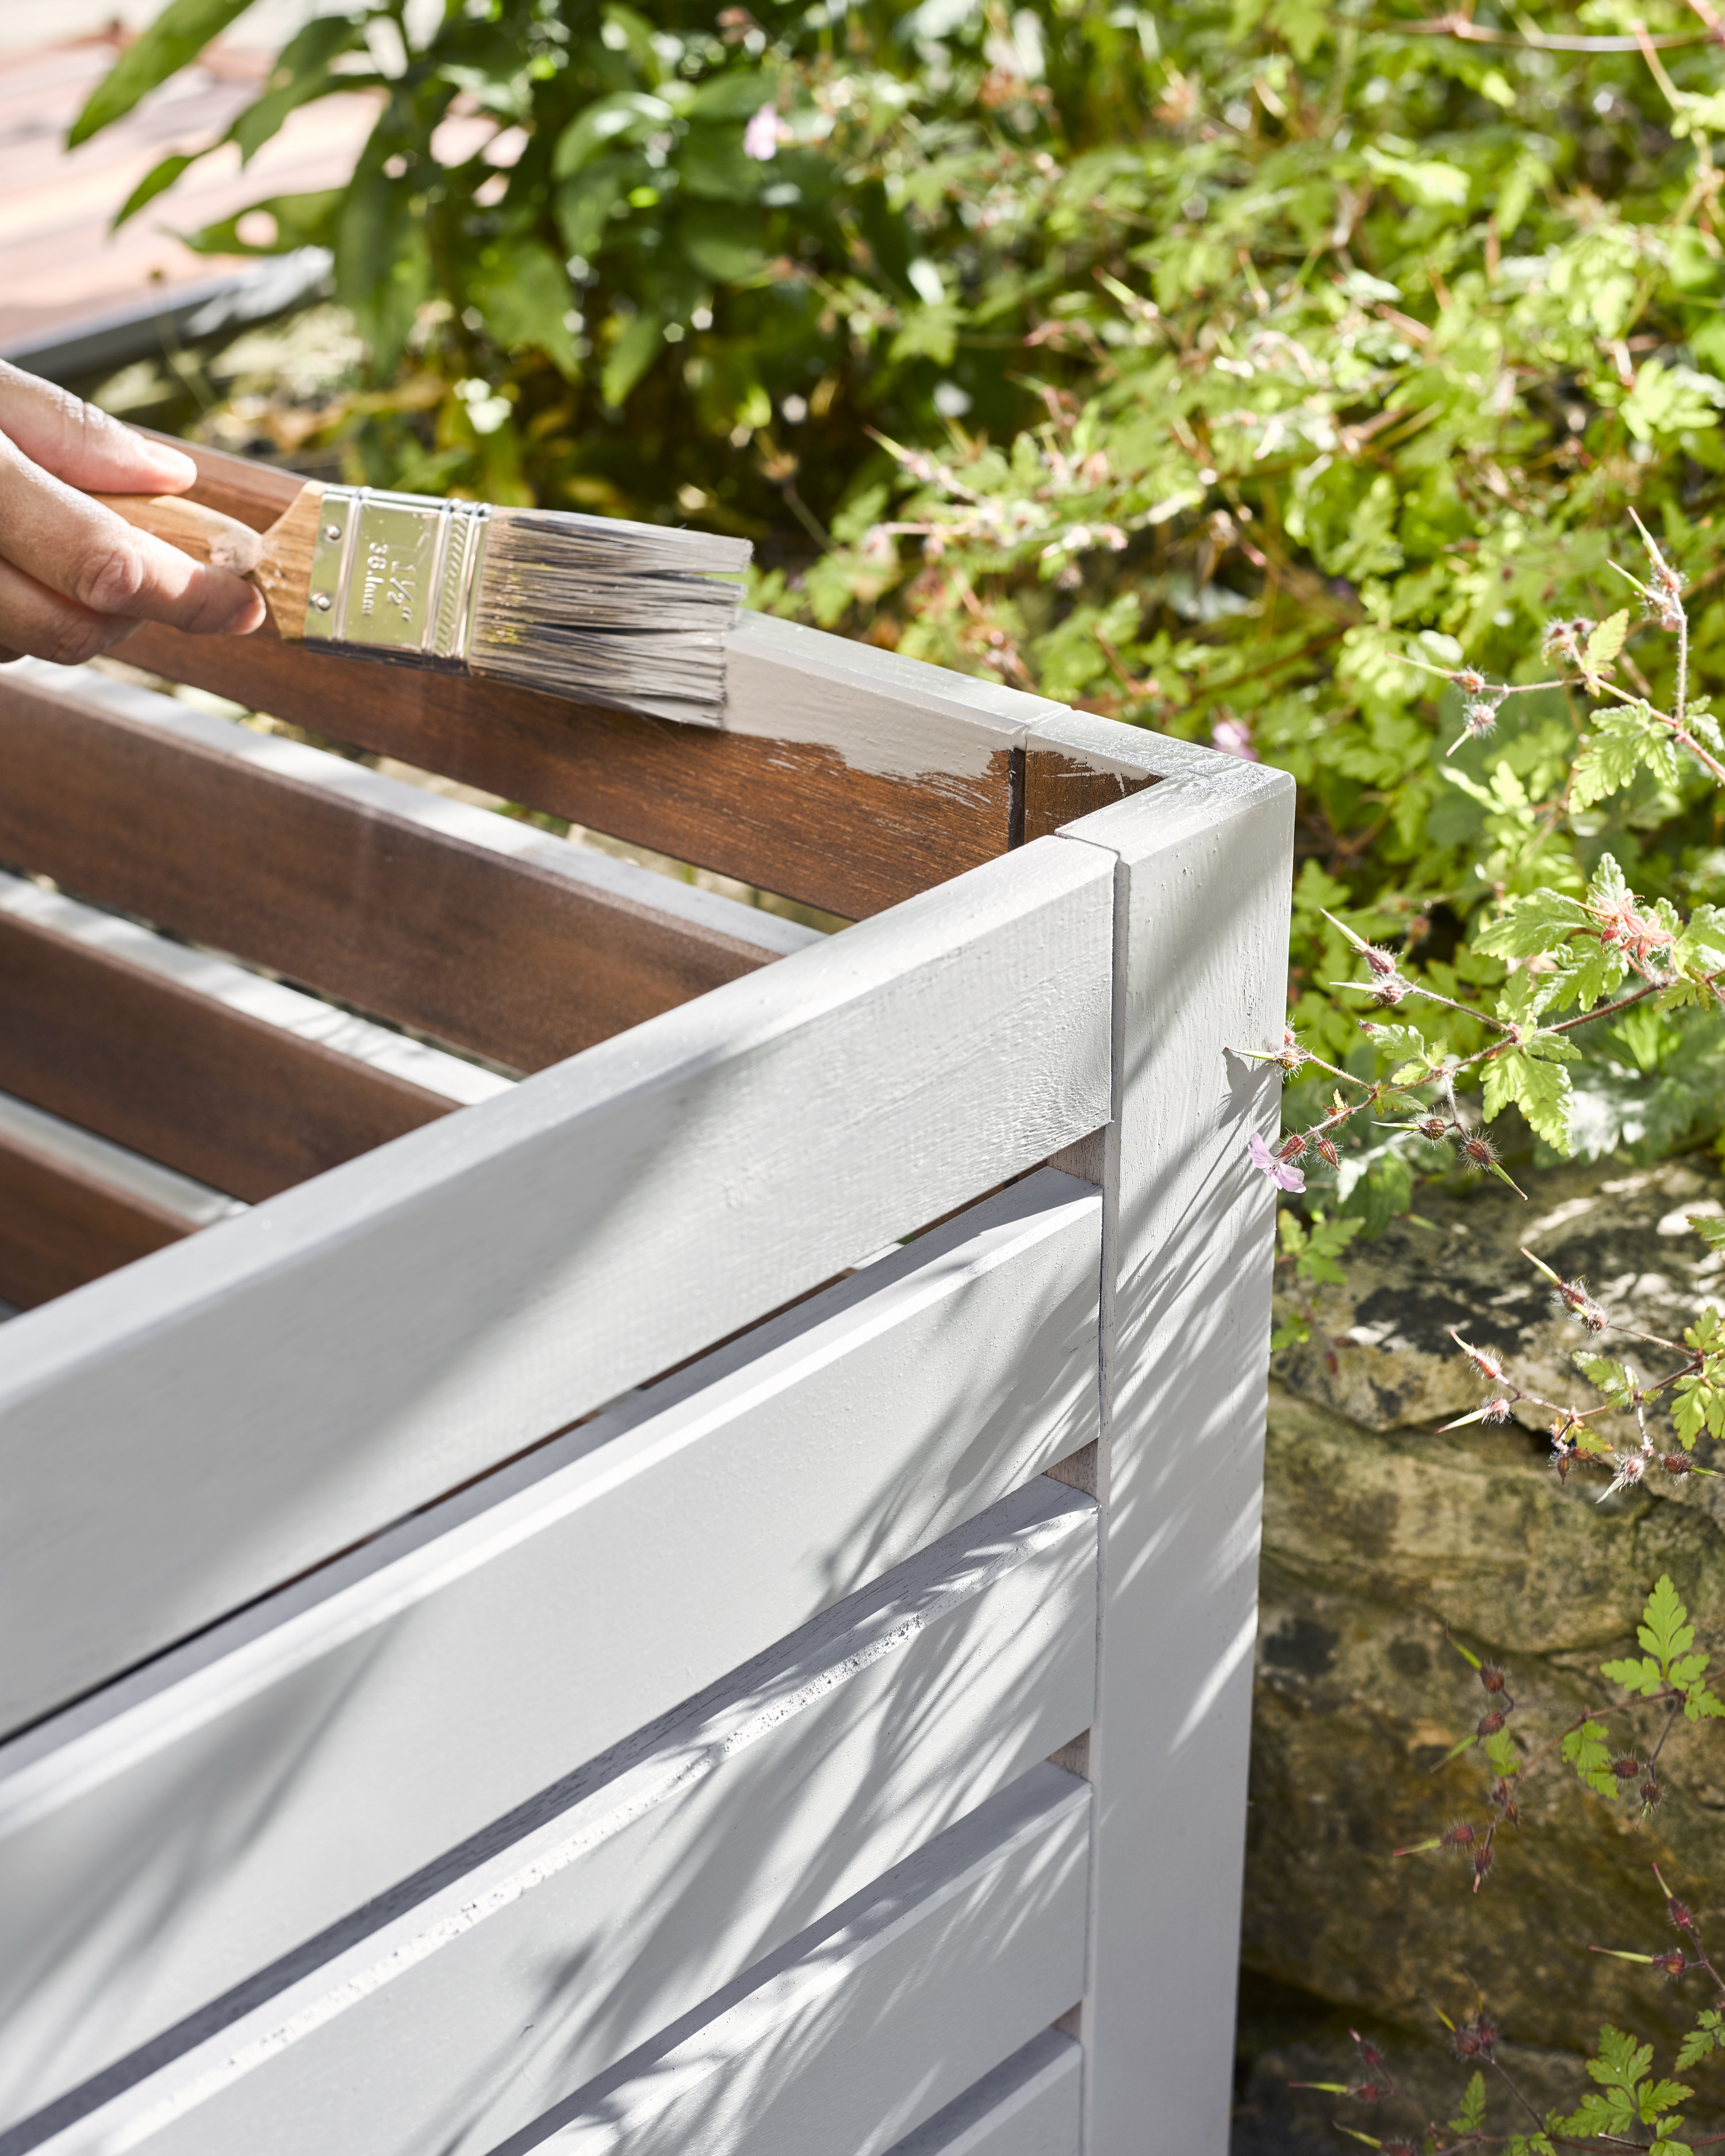
With your surfaces prepped and ready, you can add your chosen colour to the furniture. Apply one coat, allow to dry fully, then add a second coat for even, durable coverage. If you're using Rust-Oleum Garden Furniture spray paint, hold the can approximately 30cm from the surface of the furniture and spray in a steady back and forth motion, slightly overlapping with each stroke.
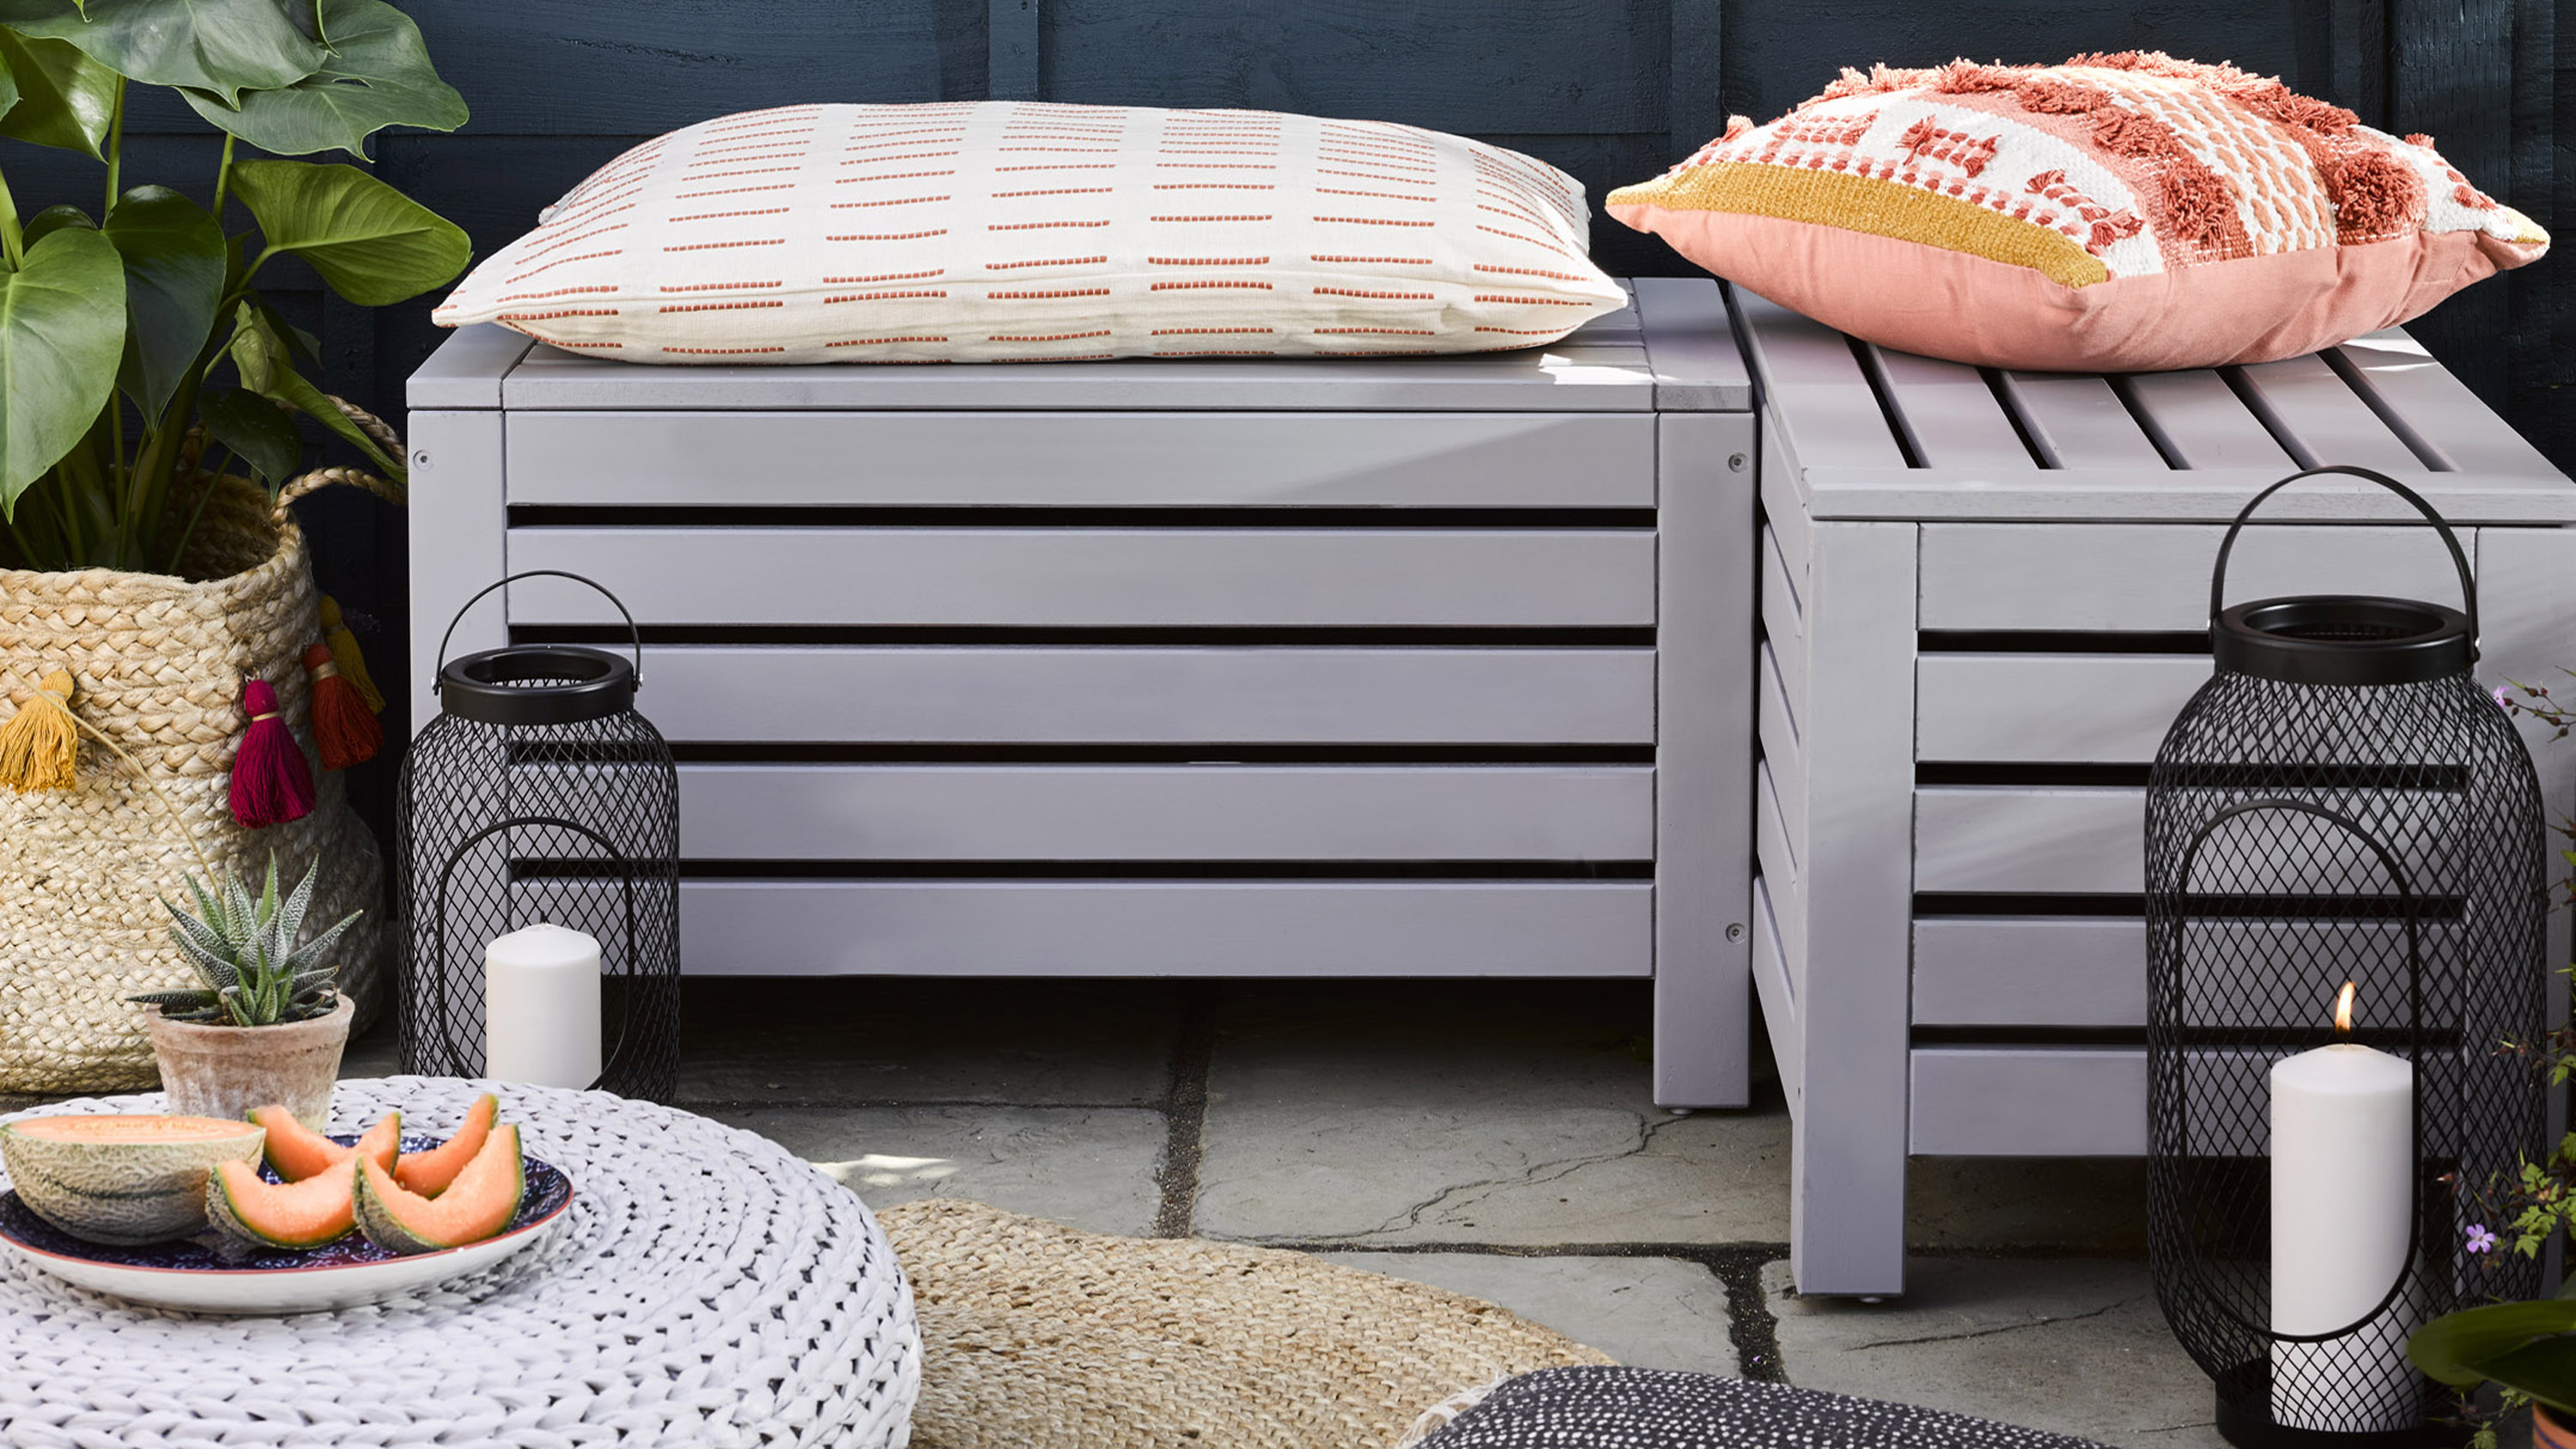
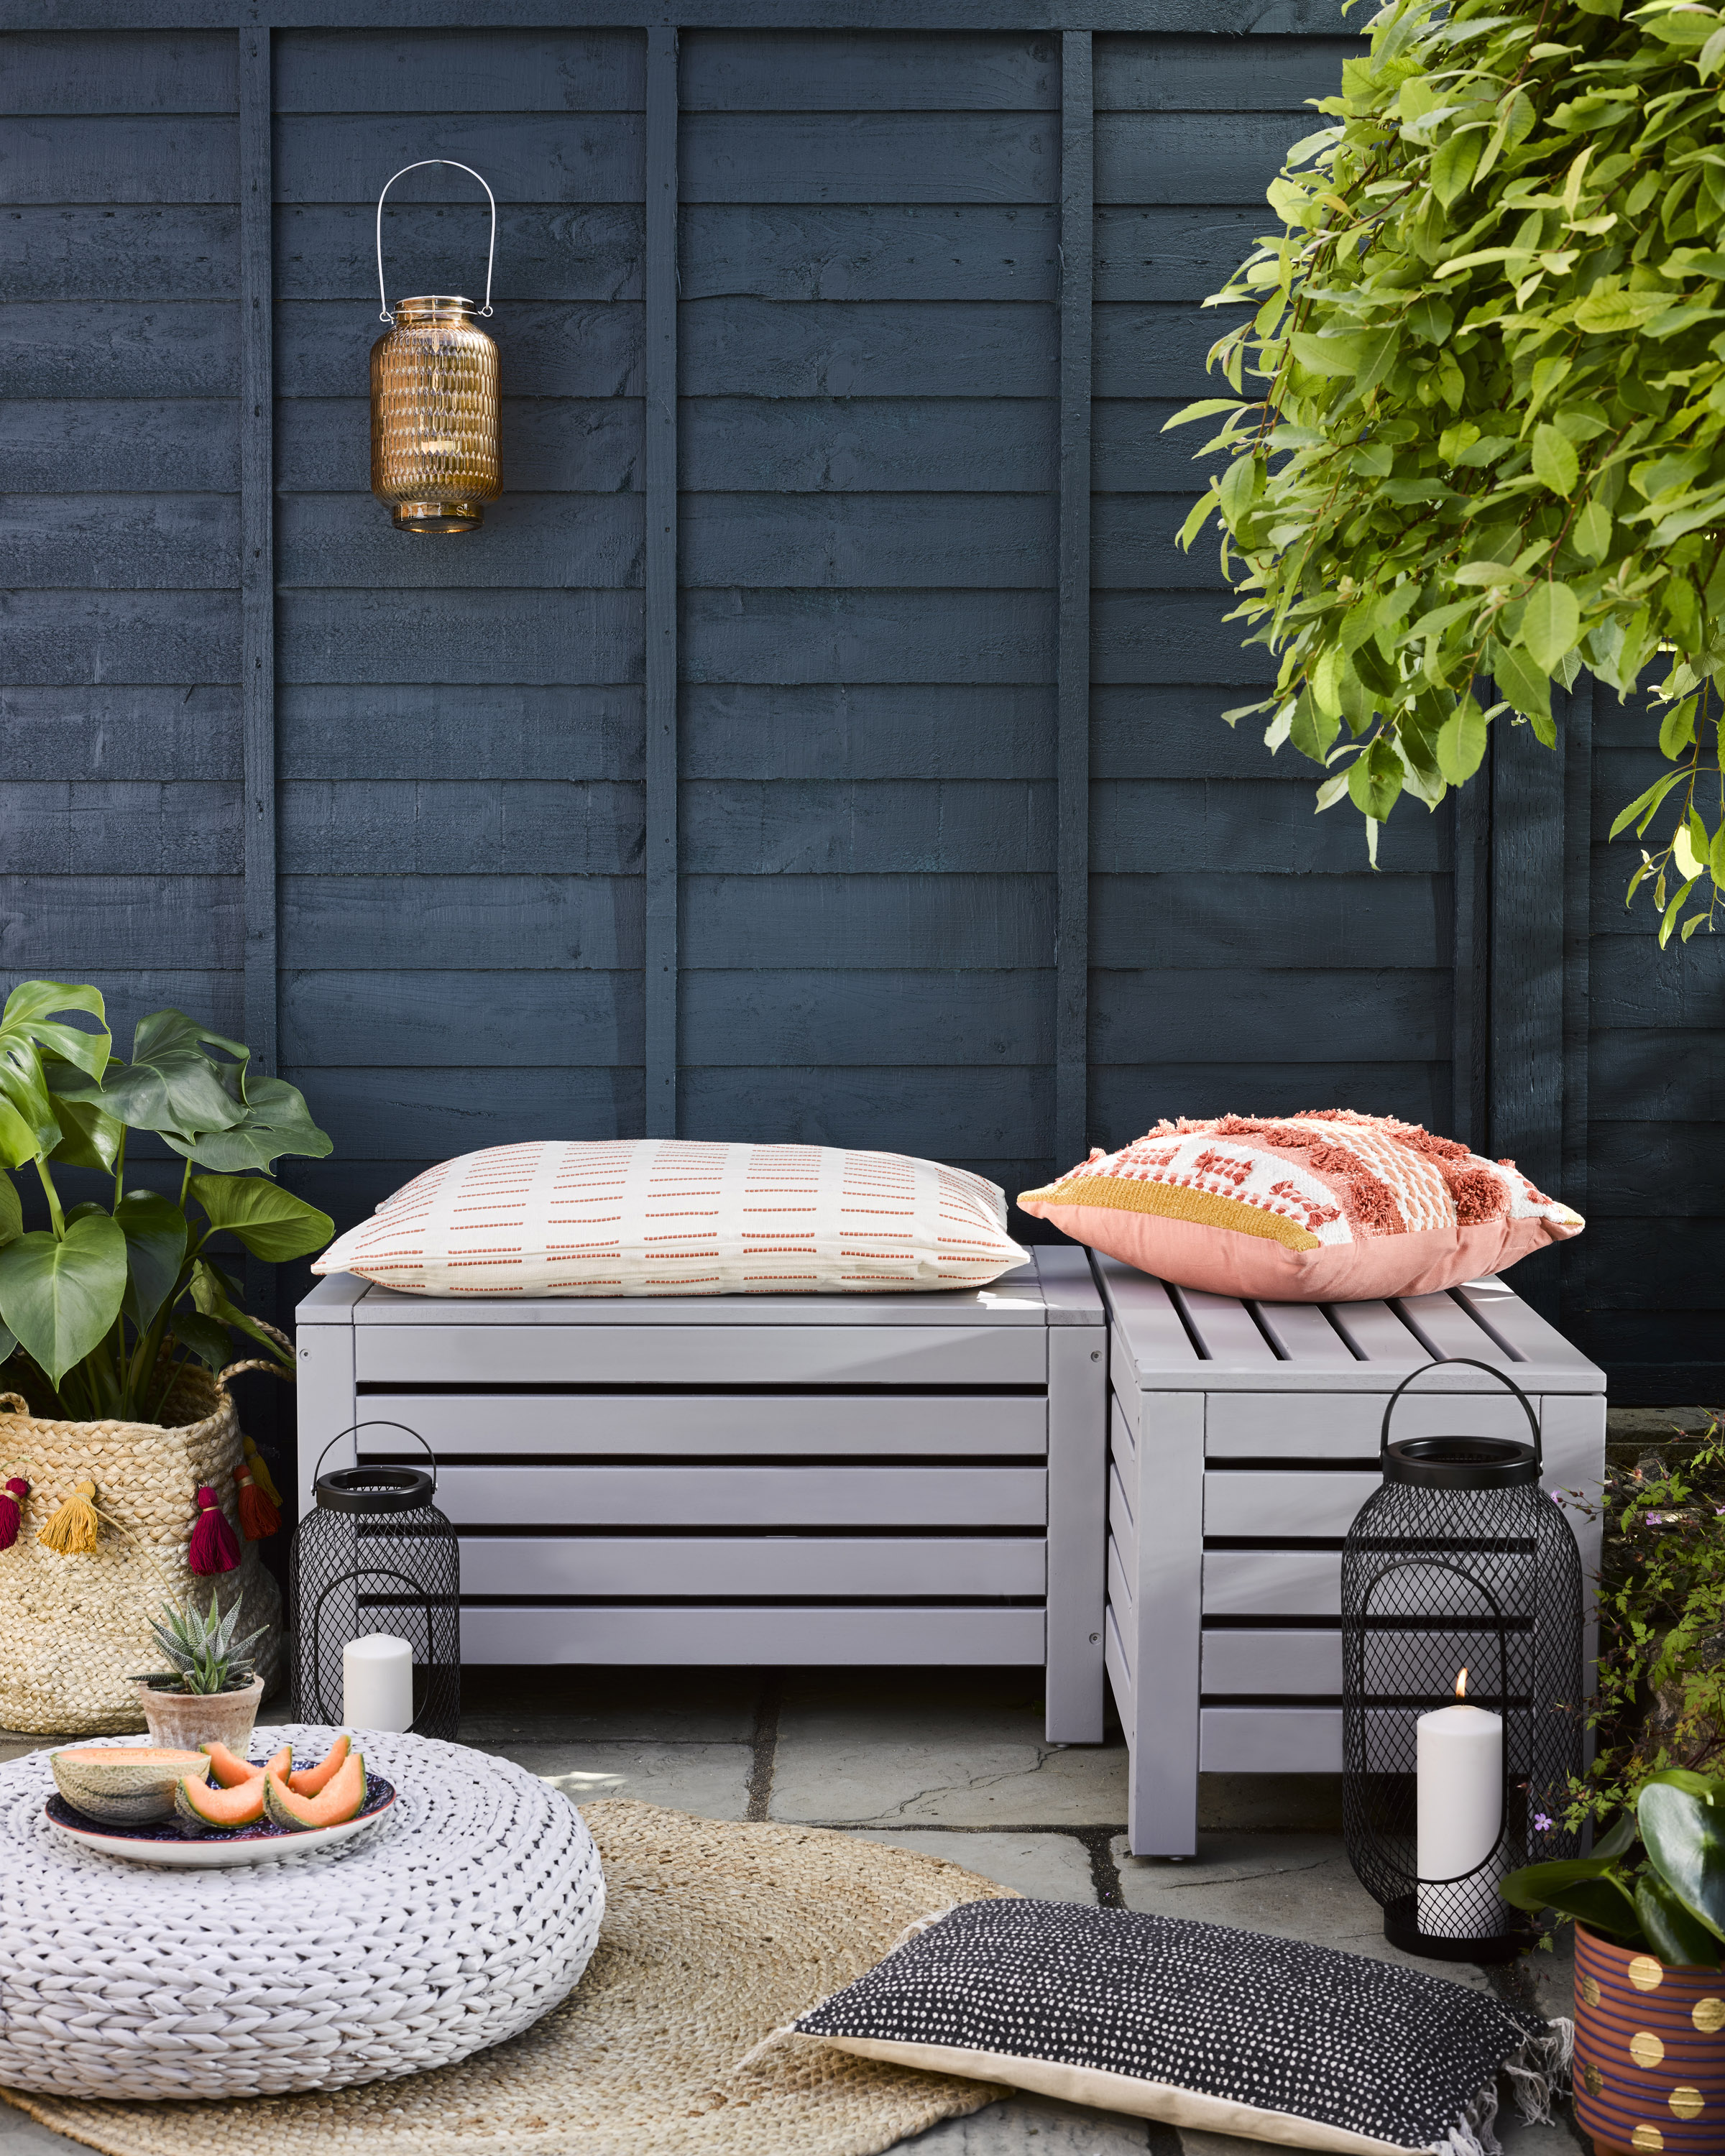
Add a few accessories to style up your newly painted furniture, such as outdoor cushions, some garden lighting and an outdoor rug and your revamped space is good to go!
Read more:
- Painting garden furniture: follow our tips for a stylish makeover
- Revamp and revive terracotta pots in just five easy steps
- Wooden garden furniture: the best designs for your space

For the past 18 years, Beth has worked for and contributed to a number of leading magazines in the UK, including Real Homes, Ideal Home, Period Living, Grand Designs and Good Homes amongst others. Now the editor of Gardeningetc.com, Beth's attention is firmly outdoors. Her own garden is a really important part of her family's home, and she loves spending time tending to the veg patch or entertaining friends and family at a summer BBQ or alfresco pizza night.
