Want to have a go at sowing flower seeds? Flower expert gives her top 5 tips for success
Follow our flower expert's seed sowing tips now and you'll get to enjoy gorgeous blooms in a few months

As spring is finally on its way, it’s time to start sowing your flower seeds. One of the best ways to do this is to sow them indoors and then move them out into the garden once the risk of frost is over. But what's the best way to guarantee success when it comes to learning how to grow flowers from seed?
We asked Nicola Bird, founder of the innovative The Floral Project for her top tips on how to start sowing. Nicola’s philosophy is ‘growing to give’ and she started The Floral Project last year with this in mind, so you can enjoy your flowers yourself and give to local communities like those who are housebound or vulnerable. After all, who doesn’t love to receive a pretty bunch of flowers?
Keep scrolling for her top seed sowing advice and fill your garden with beautiful blooms this summer.
1. Prepare your pots
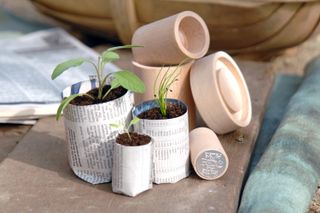
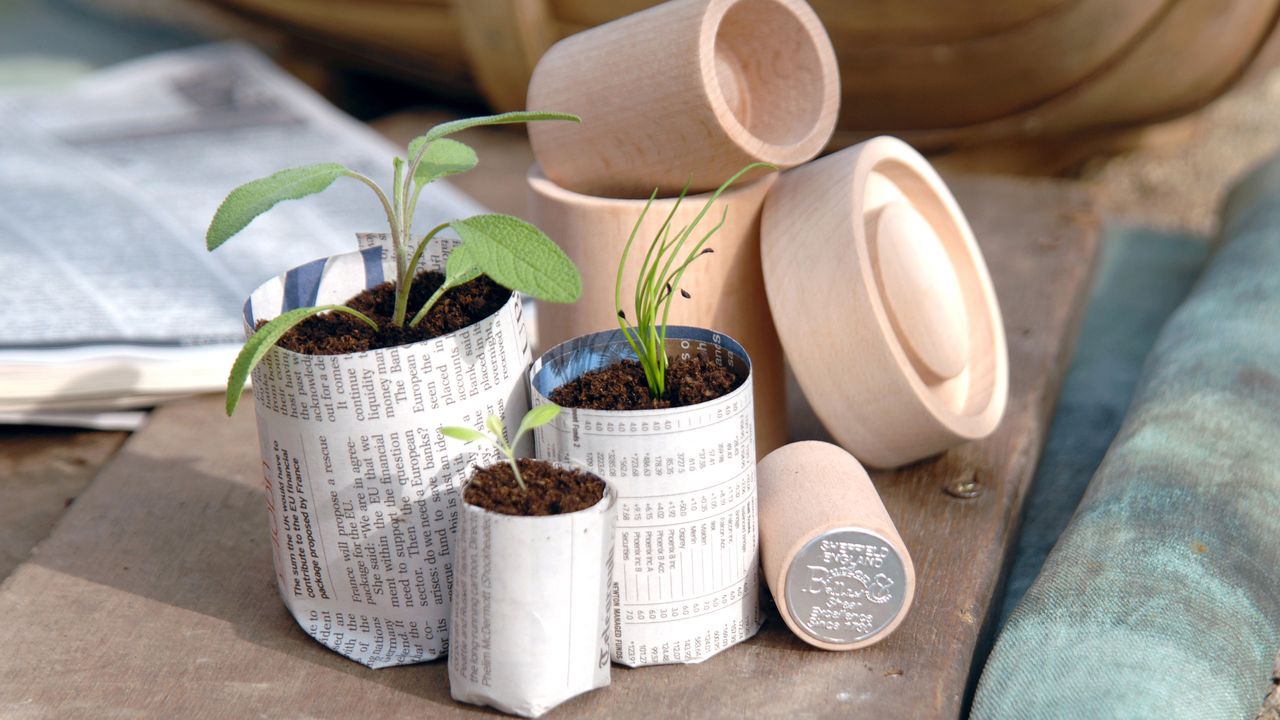
Fill a seed tray, module tray or pots with peat-free compost, making sure there are drainage holes in the bottom. If you don't have these, you can use washed-up yoghurt pots, toilet rolls or meat and vegetable trays instead. One of the most common mistakes is failing to get started because you think you need a lot of 'stuff'. One bag of compost and a packet of seeds is all that's required – there's no need to get fancy!
2. Sow the seeds

As tempting as it is to tip a whole packet of seeds in, if you can, use your little fingernail to scoop up one seed at a time and place them at least a centimetre apart across the surface. Or one per seed module. This gives them room to grow big enough so you can prick them out later once their first true leaves have appeared. Check the pack to see if you need to lightly cover with compost or simply leave on the surface. Take it slow – this is strangely therapeutic.
If you're sowing now, you can start nearly all seeds labelled 'Hardy Annuals' indoors on your windowsills (the exceptions are larkspur, daucus carota and any that say they need 'stratification' to germinate, ie a period of cold).
3. Take it easy when watering
Water your seeds very gently. I tend not to use a watering can in case the seeds are washed away; instead use a sports cup to gently moisten the compost. Total mollycoddling but they seem to appreciate it and it helps settle the compost around your seed so it has contact with everything it needs to get going.
Your soil wants to be moist but not damp. A common mistake is overwatering, which means the seeds rot or become diseased.
4. Label correctly
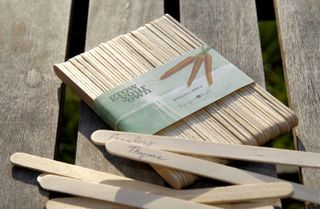
Another key mistake that can be made at this stage is failure to label what you've just sowed. This will result in you sending photos to friends of tiny seedlings asking, 'Does anyone know what this is?'. Your friends will be unable to help you as most seeds look identical when they first germinate!
To avoid this happening, add a label marked with a permanent pen that won't wash off.
5. Prepare your seeds for the outside world
As soon as they have germinated, move the seed tray outside but under cover. This means into a greenhouse, cold frame, the best mini greenhouse, or simply into a plastic crate where you can put the lid on overnight or when there's heavy rain.
A common mistake is leaving them on the windowsill after germination where they end up getting 'leggy' – which simply means pale and all leaning to one side and then panicking – and nobody wants that.
This whole process can take a few days to a couple of weeks. Once they're outside, you can begin all over again with your next batch. Keep it simple and you'll soon experience the joy of seeing your first seedlings pop their heads up above the soil, a magical moment indeed.
There's more advice on how to transplant seedlings in our guide, and check out Nicola’s monthly kits from The Floral Project as a great way to start growing your own flowers from seed.
Sophie has been an interior stylist and journalist for over 20 years. She recently trained to be a florist and launched The Prettiest Posy where she curates beautiful flowers for weddings and events.
