Pumpkin painting ideas: 15 ways to get creative and spin some Halloween magic
We've got all the pumpkin painting ideas you need. From monochrome and marbled to stencilled and traditional, who knew pumpkins could look so good!
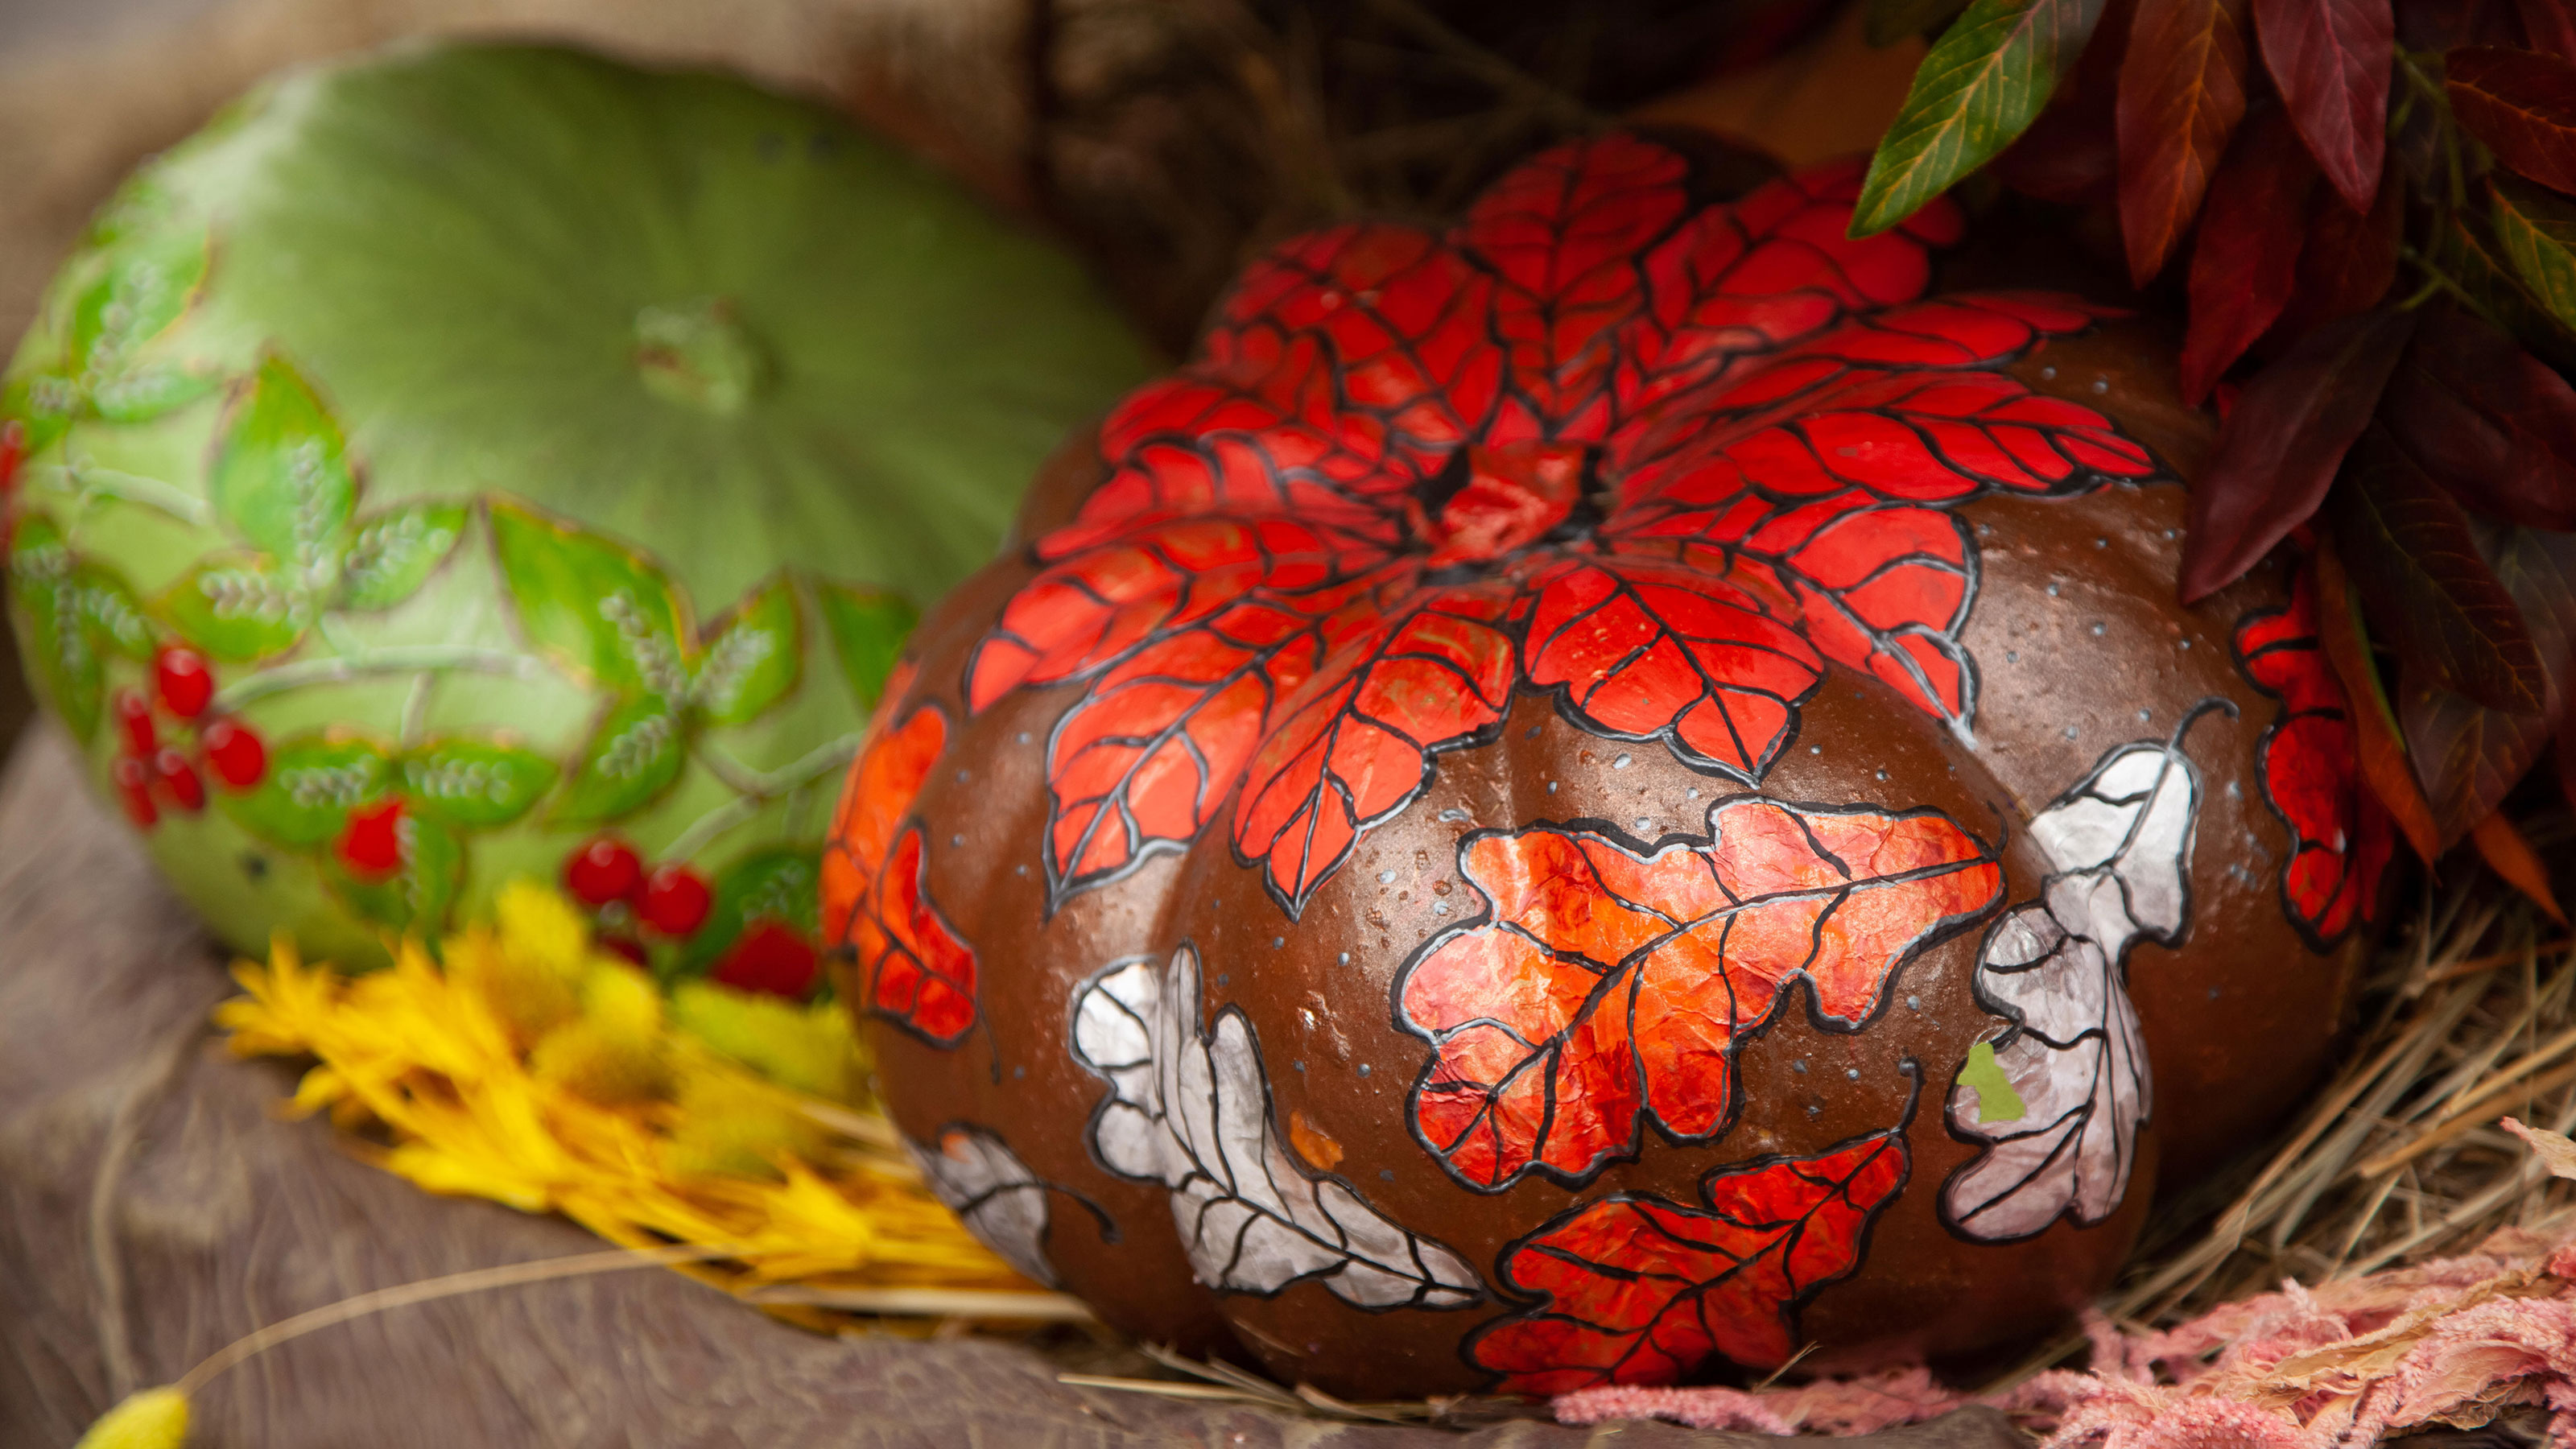

Halloween is a great time for a crafting project and our pumpkin painting ideas are an enjoyable activity for children and adults alike. It's a great alternative to carving pumpkins too, which can be messy and knives are never the best idea when children are involved.
You don’t have to paint a ghoulish face or Halloween witch on your pumpkin either. Every street has more than enough of these. So why not try something a little different for your outdoor Halloween decor ideas this year?
Transforming a few pumpkins with a decorative painted design is a perfect way to give your front porch or garden path an on-trend look for Halloween this year, too. Whether you opt for luxe metallics, pretty pastels or even marble effects, there's no limit to the original designs you can create.
Get creative with our fun pumpkin painting ideas
If you love the sound of pumpkin painting ideas or have tried it before but are struggling to think of a fun design to try, we've got plenty to inspire with our collection of original designs.
1. Opt for an abstract design
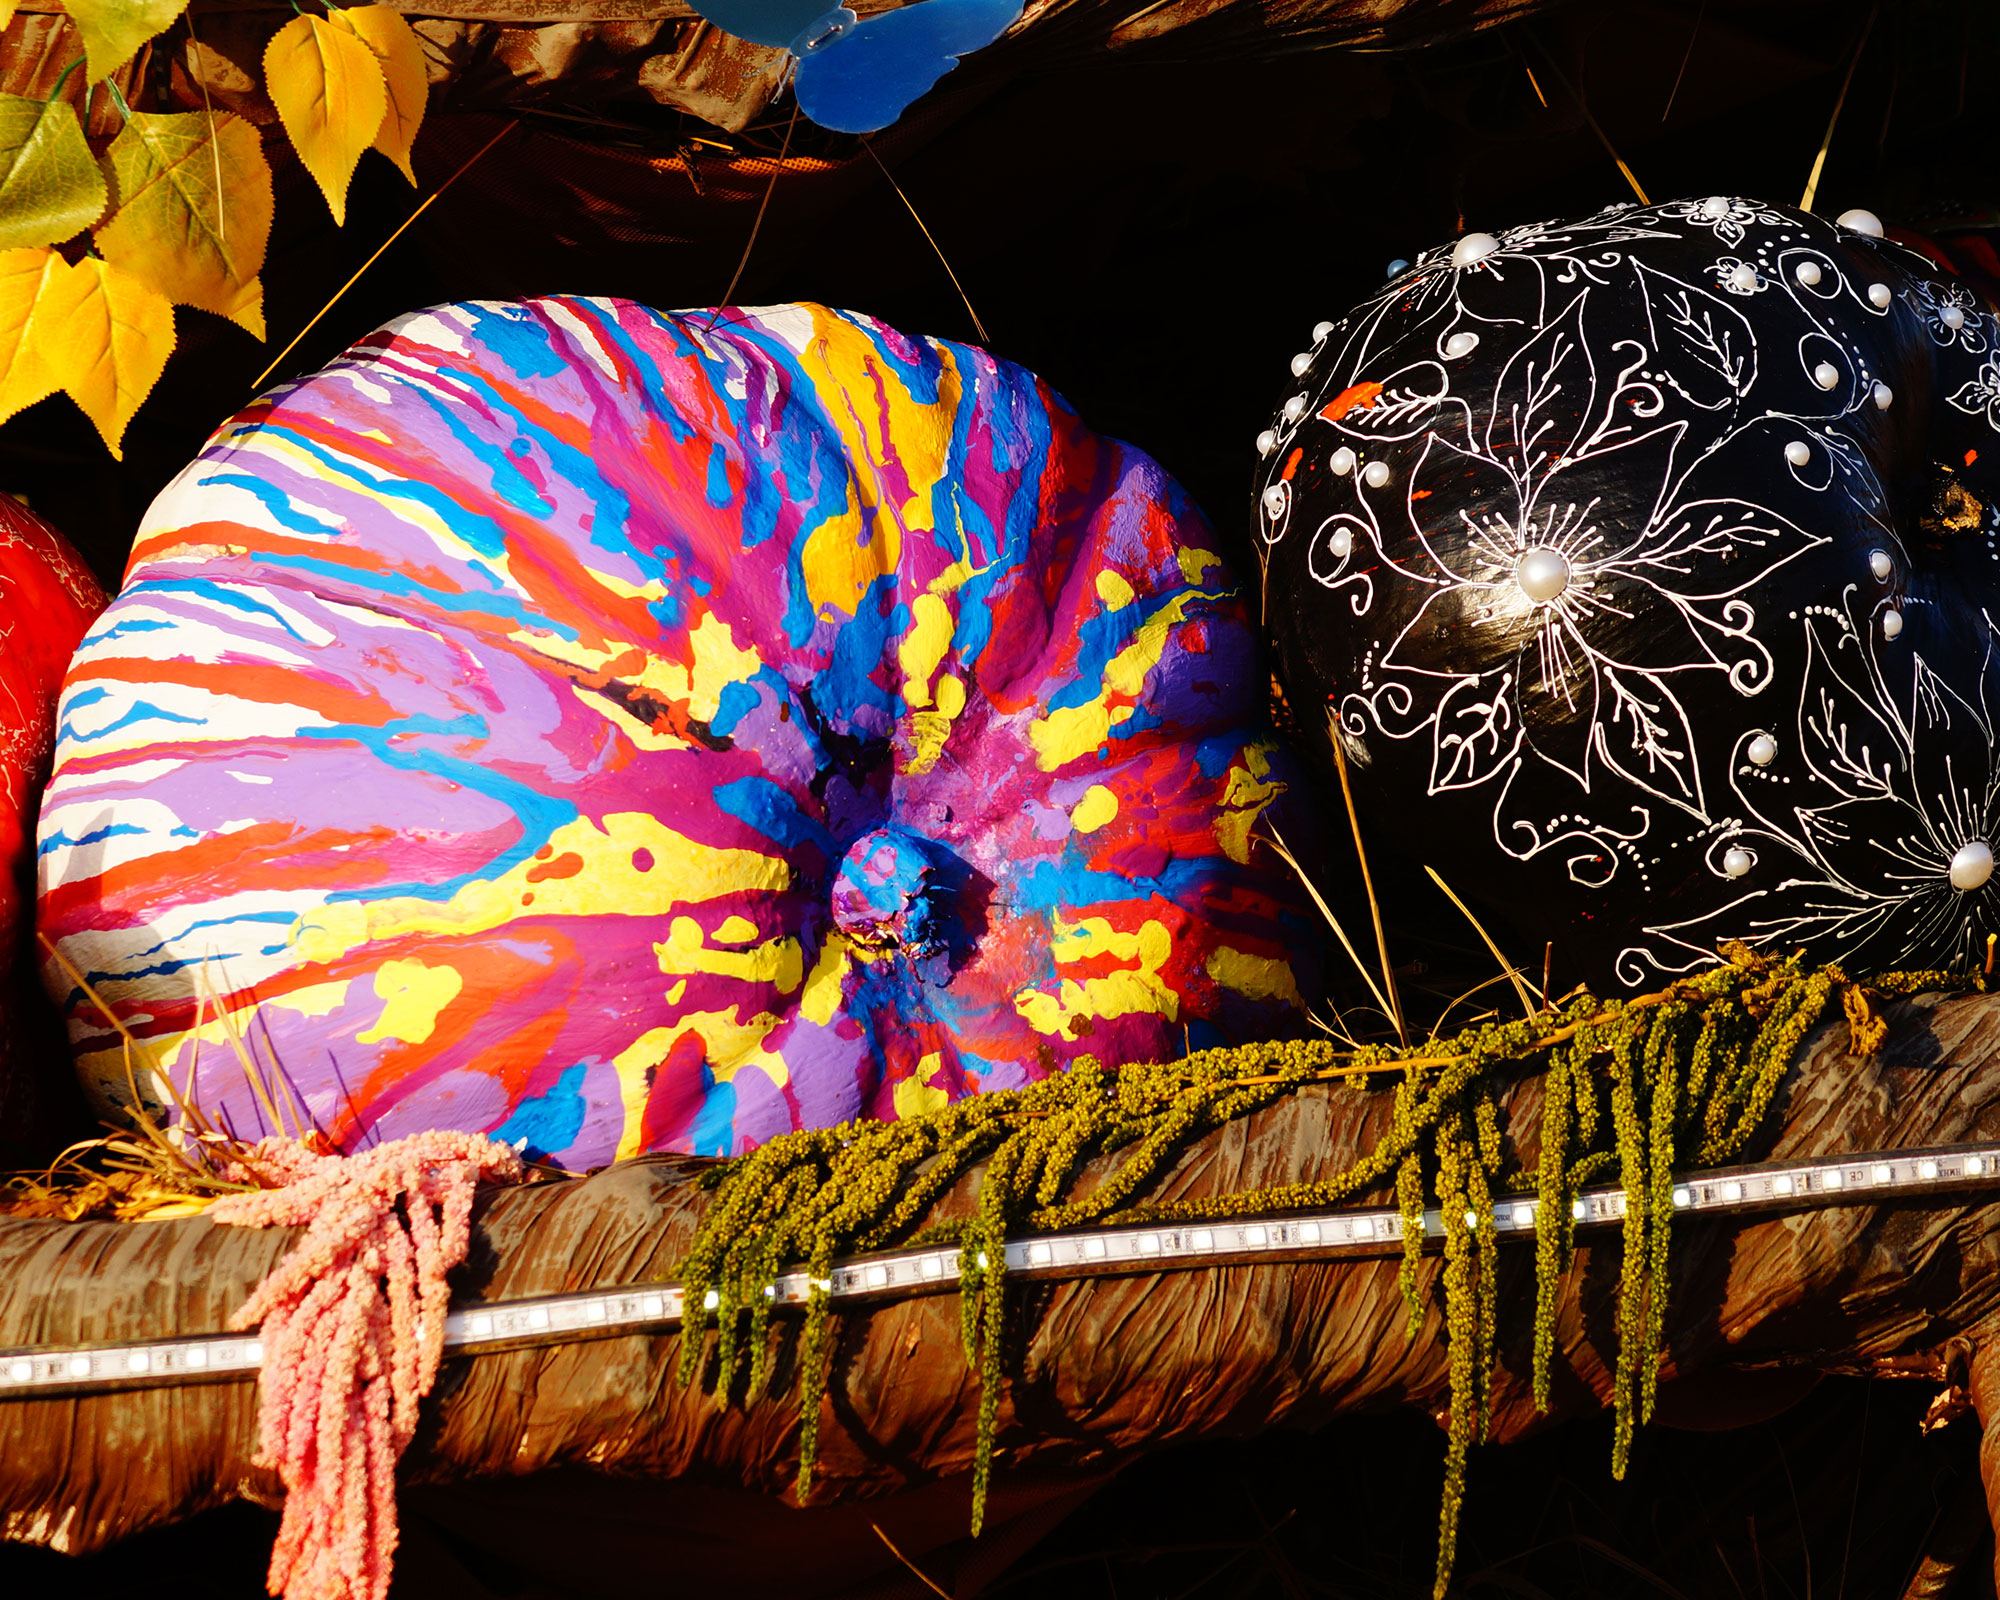
If you always struggle with how to carve a pumpkin properly, painting a colorful pattern on your pumpkin instead can be much easier and just as effective.
Try painting your pumpkin with abstract paint strokes or an interesting repeat pattern. The more colors you use the better the results will be as it's harder to see any mistakes you might make. But that's the joy of abstract - you can stipple and stripe, splash and speckle to your heart's delight.
Look for tubes of acrylic paint for the best results and if you're planning on using lots of colors buy a set. Alternatively if you're planning on doing intricate work, choose acrylic paint marker pens, which offer a good selection of permanent colors and precise application for adding details.
2. Choose a monochrome look
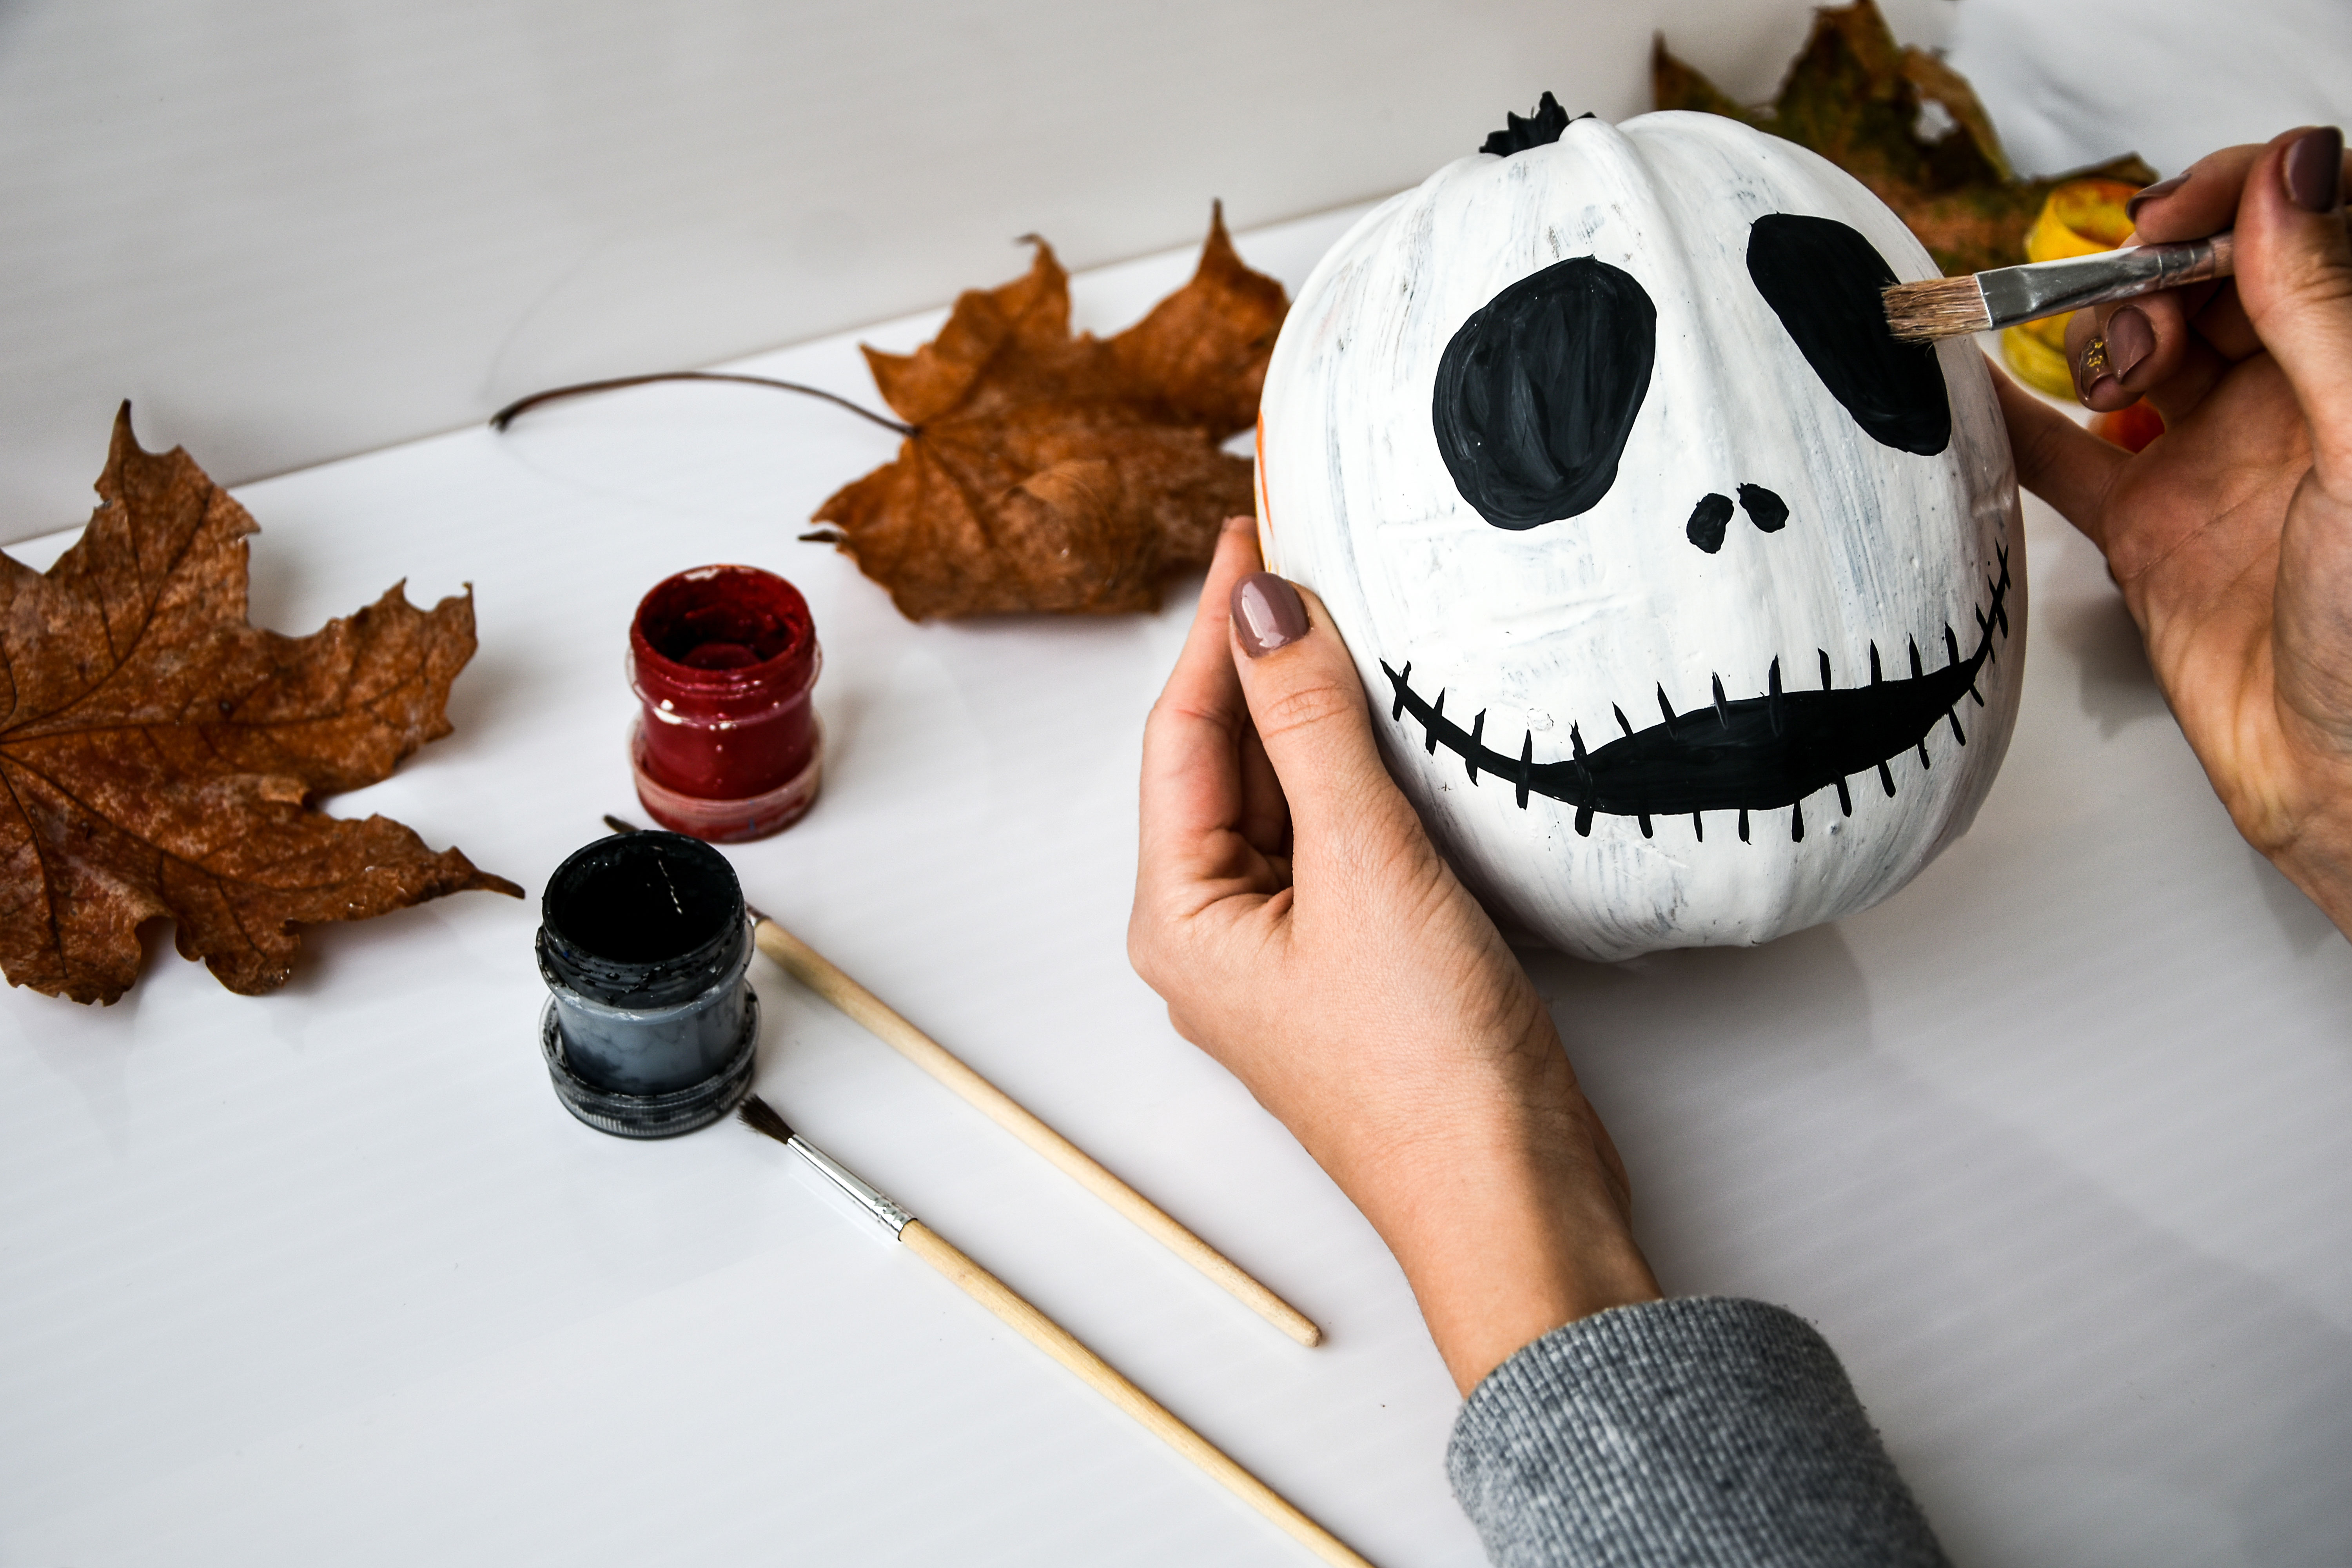
Opting for a simple monochrome look for your pumpkin painting ideas will create an instant touch of class, plus black and white works well with the majority of garden color schemes. And there's something even more spooky about a ghostly black and white painted pumpkin face than an orange one.
Choose white chalk paint and apply one or two coats depending on how opaque you want the finish to be. Add the face details with black paint or a marker pen as preferred. Keep the detailing simple for a professional looking result. Whether you stick to just black and white or incorporate a pop of blood red here and there, your pumpkin is sure to be the most eye-catching creation on the block.
3. Go for glam finishes
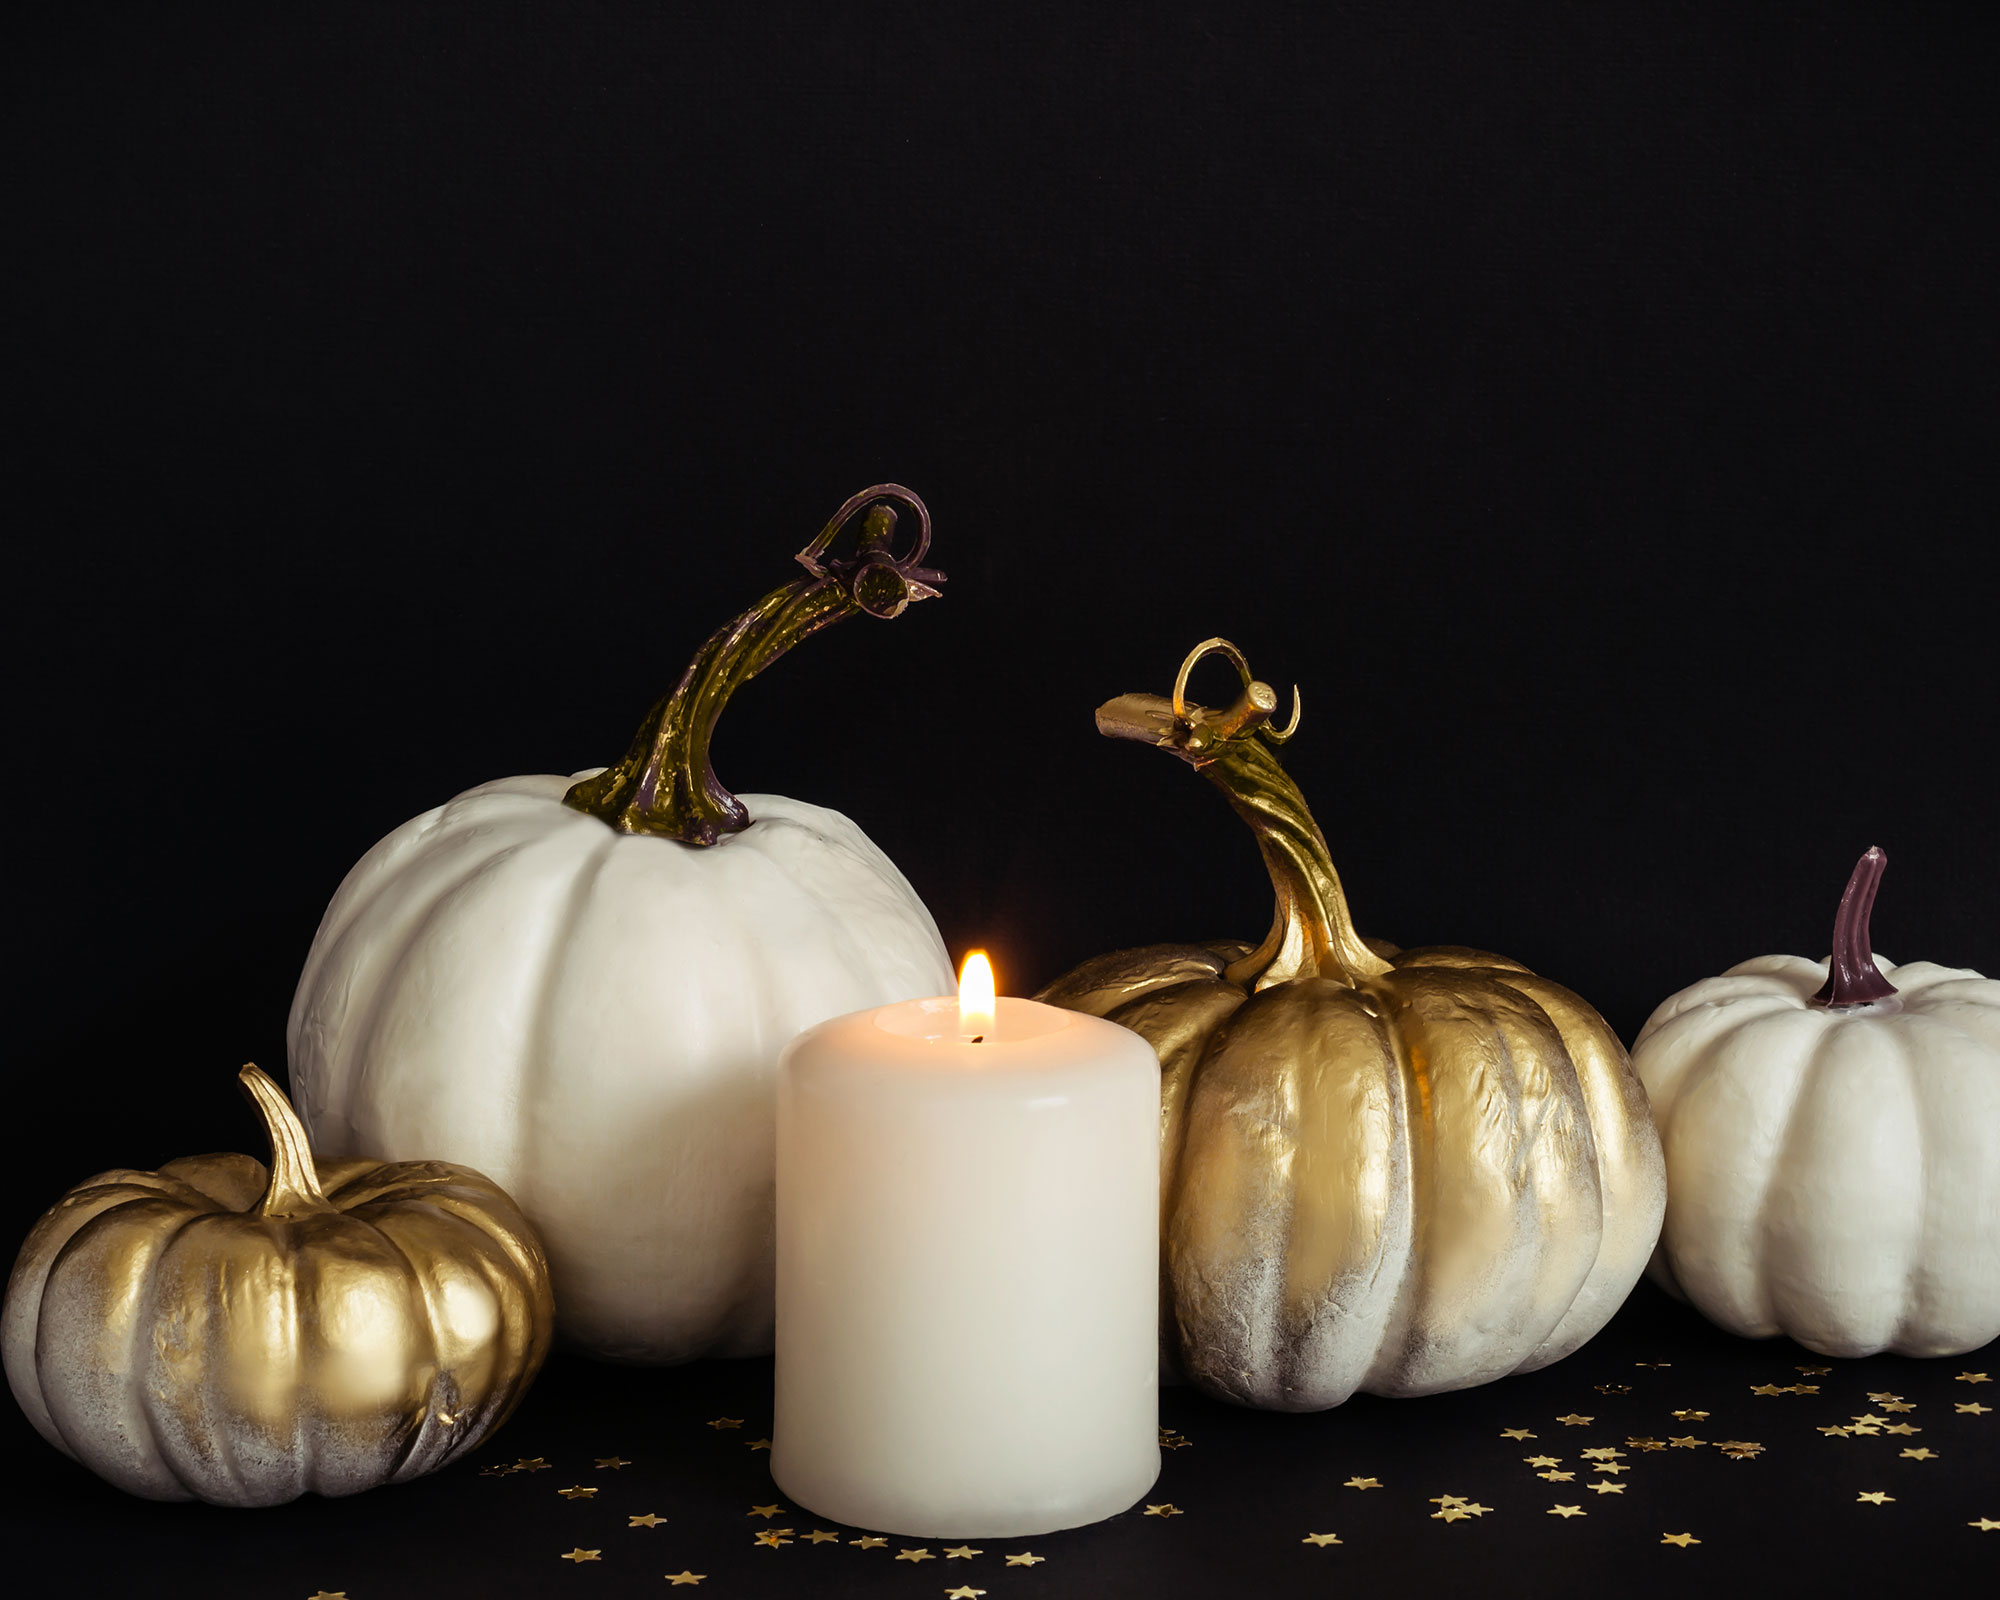
There is something Cinderella-ish about these white and ombré gold painted pumpkins. They're the perfect way to give your Halloween garden party ideas a luxe finishing touch.
It's easy to get this look too. Apply white chalk paint or gold acrylic paint to clean and dry pumpkins. You can also try using gold spray paint to get a fade out ombré effect. This is best done outside. Remember to tape off the stalks so they are left in a contrasting color, unless of course you want it all to match.
4. Keep it simple

If you've learned how to grow pumpkins this year and want to give them a quick and easy Halloween makeover, one of the simplest pumpkin painting ideas is adding small details such as bats or spiders. For best results use permanent marker pens like Sharpies for detailed work. Permanent markers are easy to work with when it comes to painting pumpkin skin.
As well as a selection of painted pumpkins for your Halloween decorations, why not add some pumpkin carving ideas to the mix for a little more variety, too? You can use a Sharpie pen to outline the sections of pumpkin you want to carve out.
5. Make a seasonal display
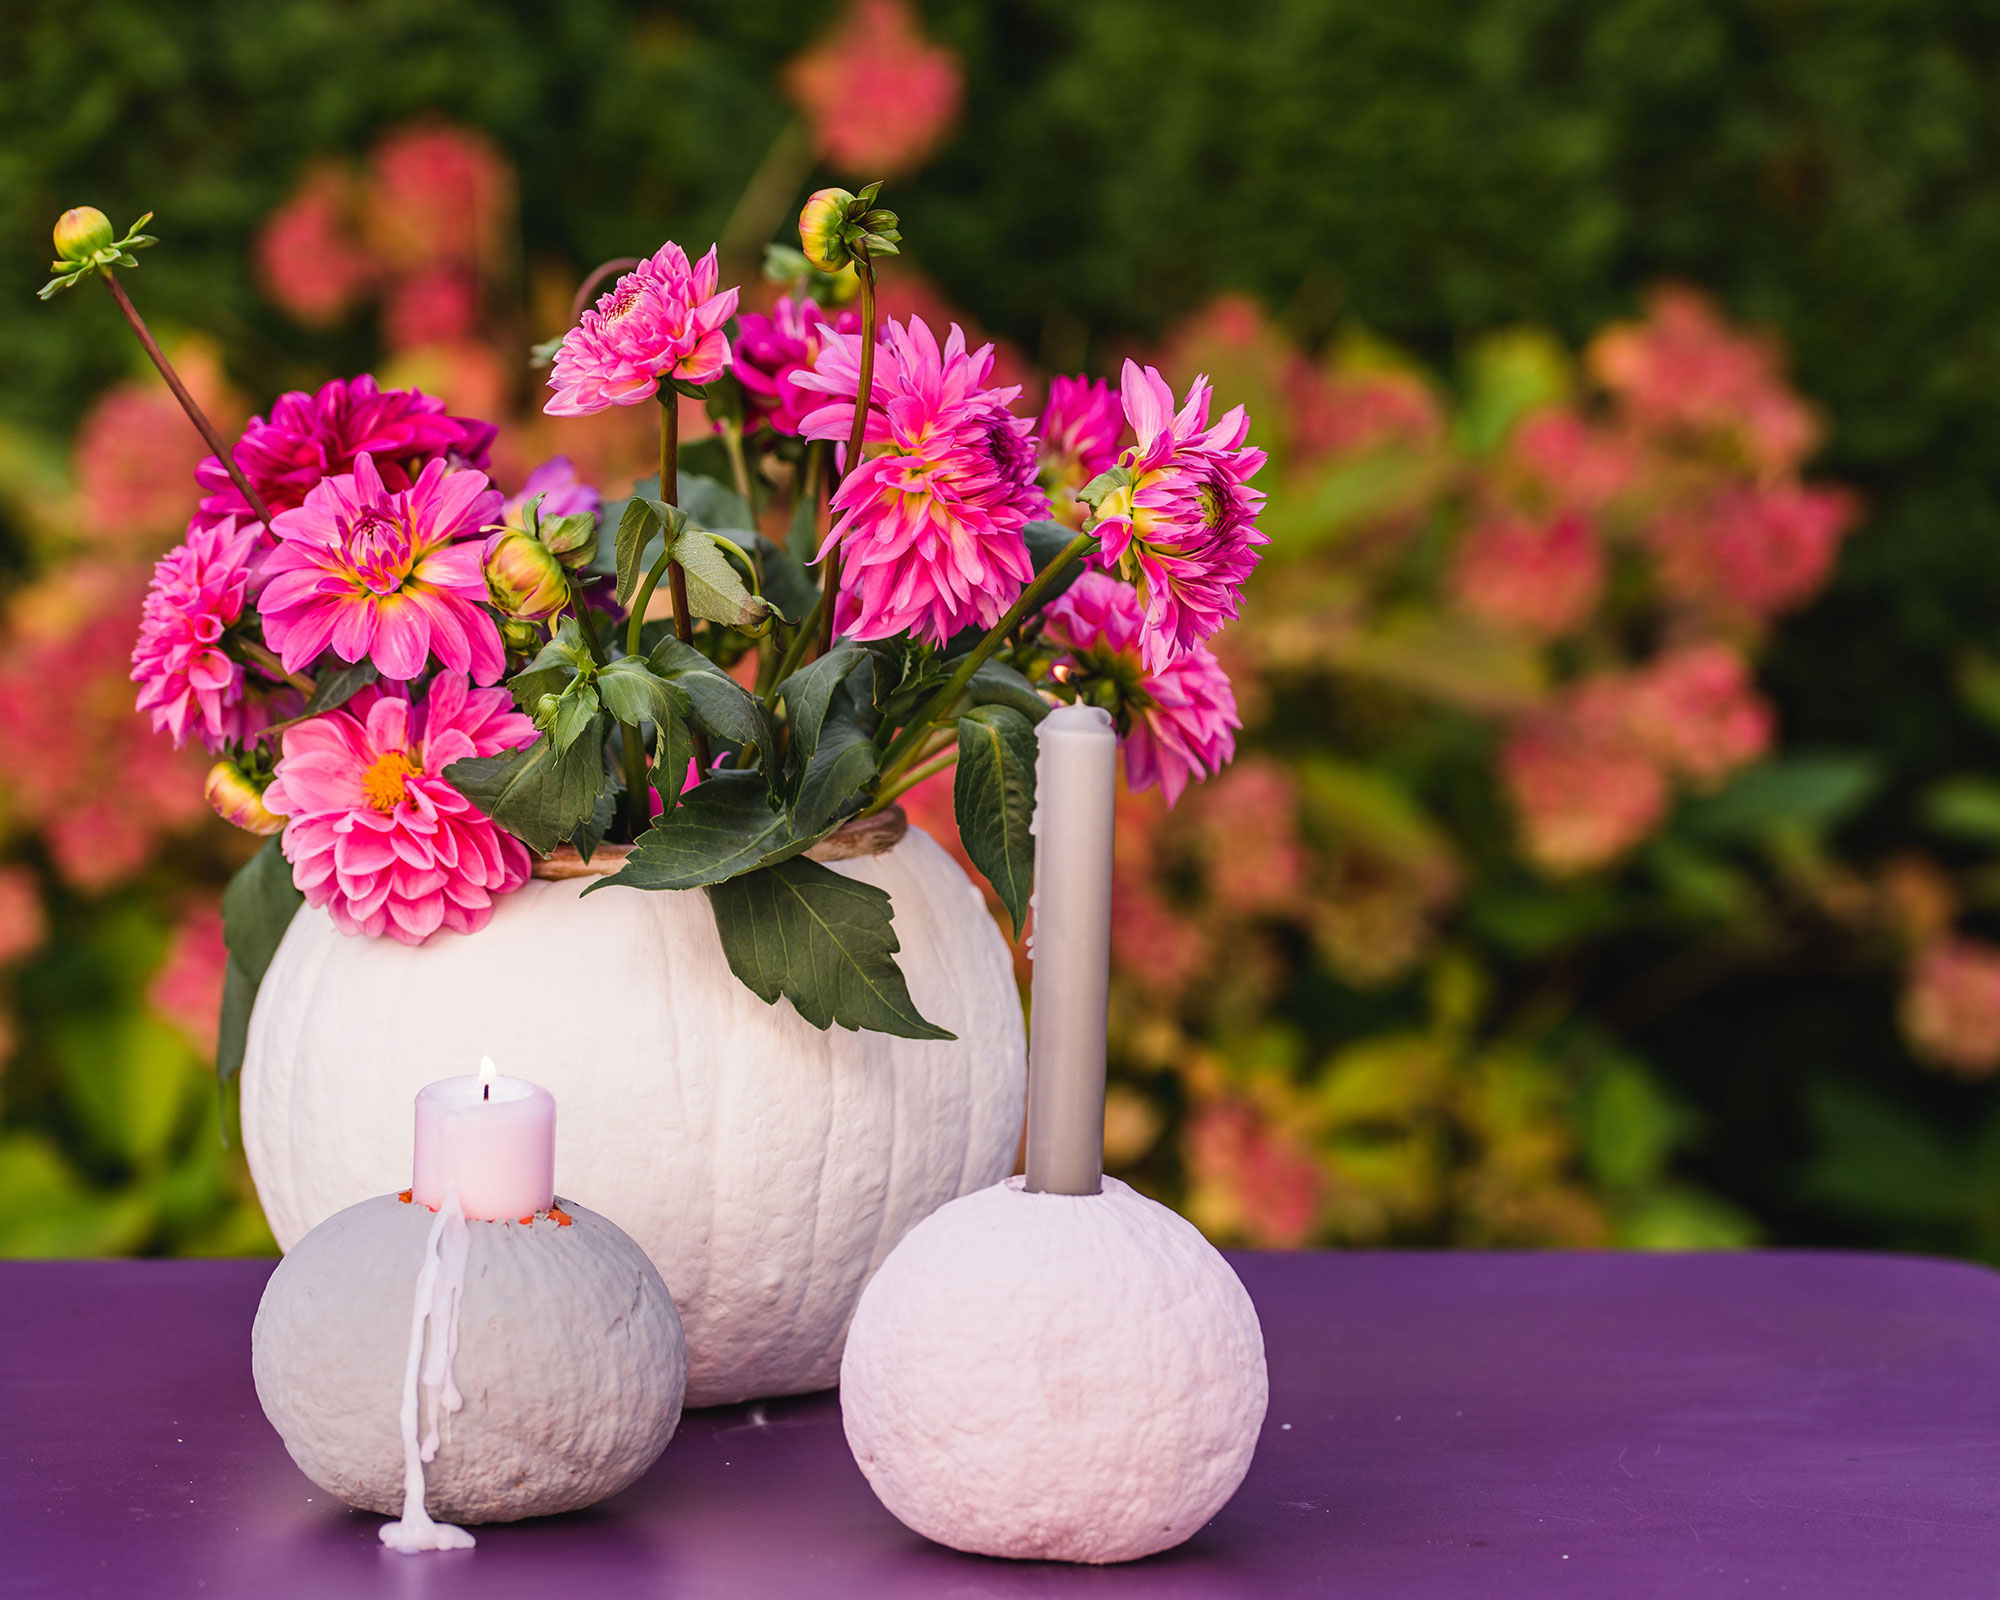
Pumpkins make great 'vases' for Halloween parties or to add a seasonal touch to everyday. Chalk paint in white or grey makes a nice neutral color for your design.
Simply scoop out the flesh and seeds from the pumpkin and carve out a 'well' shape that you can drop a container into. Depending on the size of your pumpkin this could be an empty tin can or a ceramic or plastic flowerpot. Fill with water and arrange your flowers - dahlias look great at this time of year.
Smaller pumpkins make great candle holders too. Make sure the candles are firmly inserted and that the base of the pumpkin is flat and sits level.
6. Stencil on a design
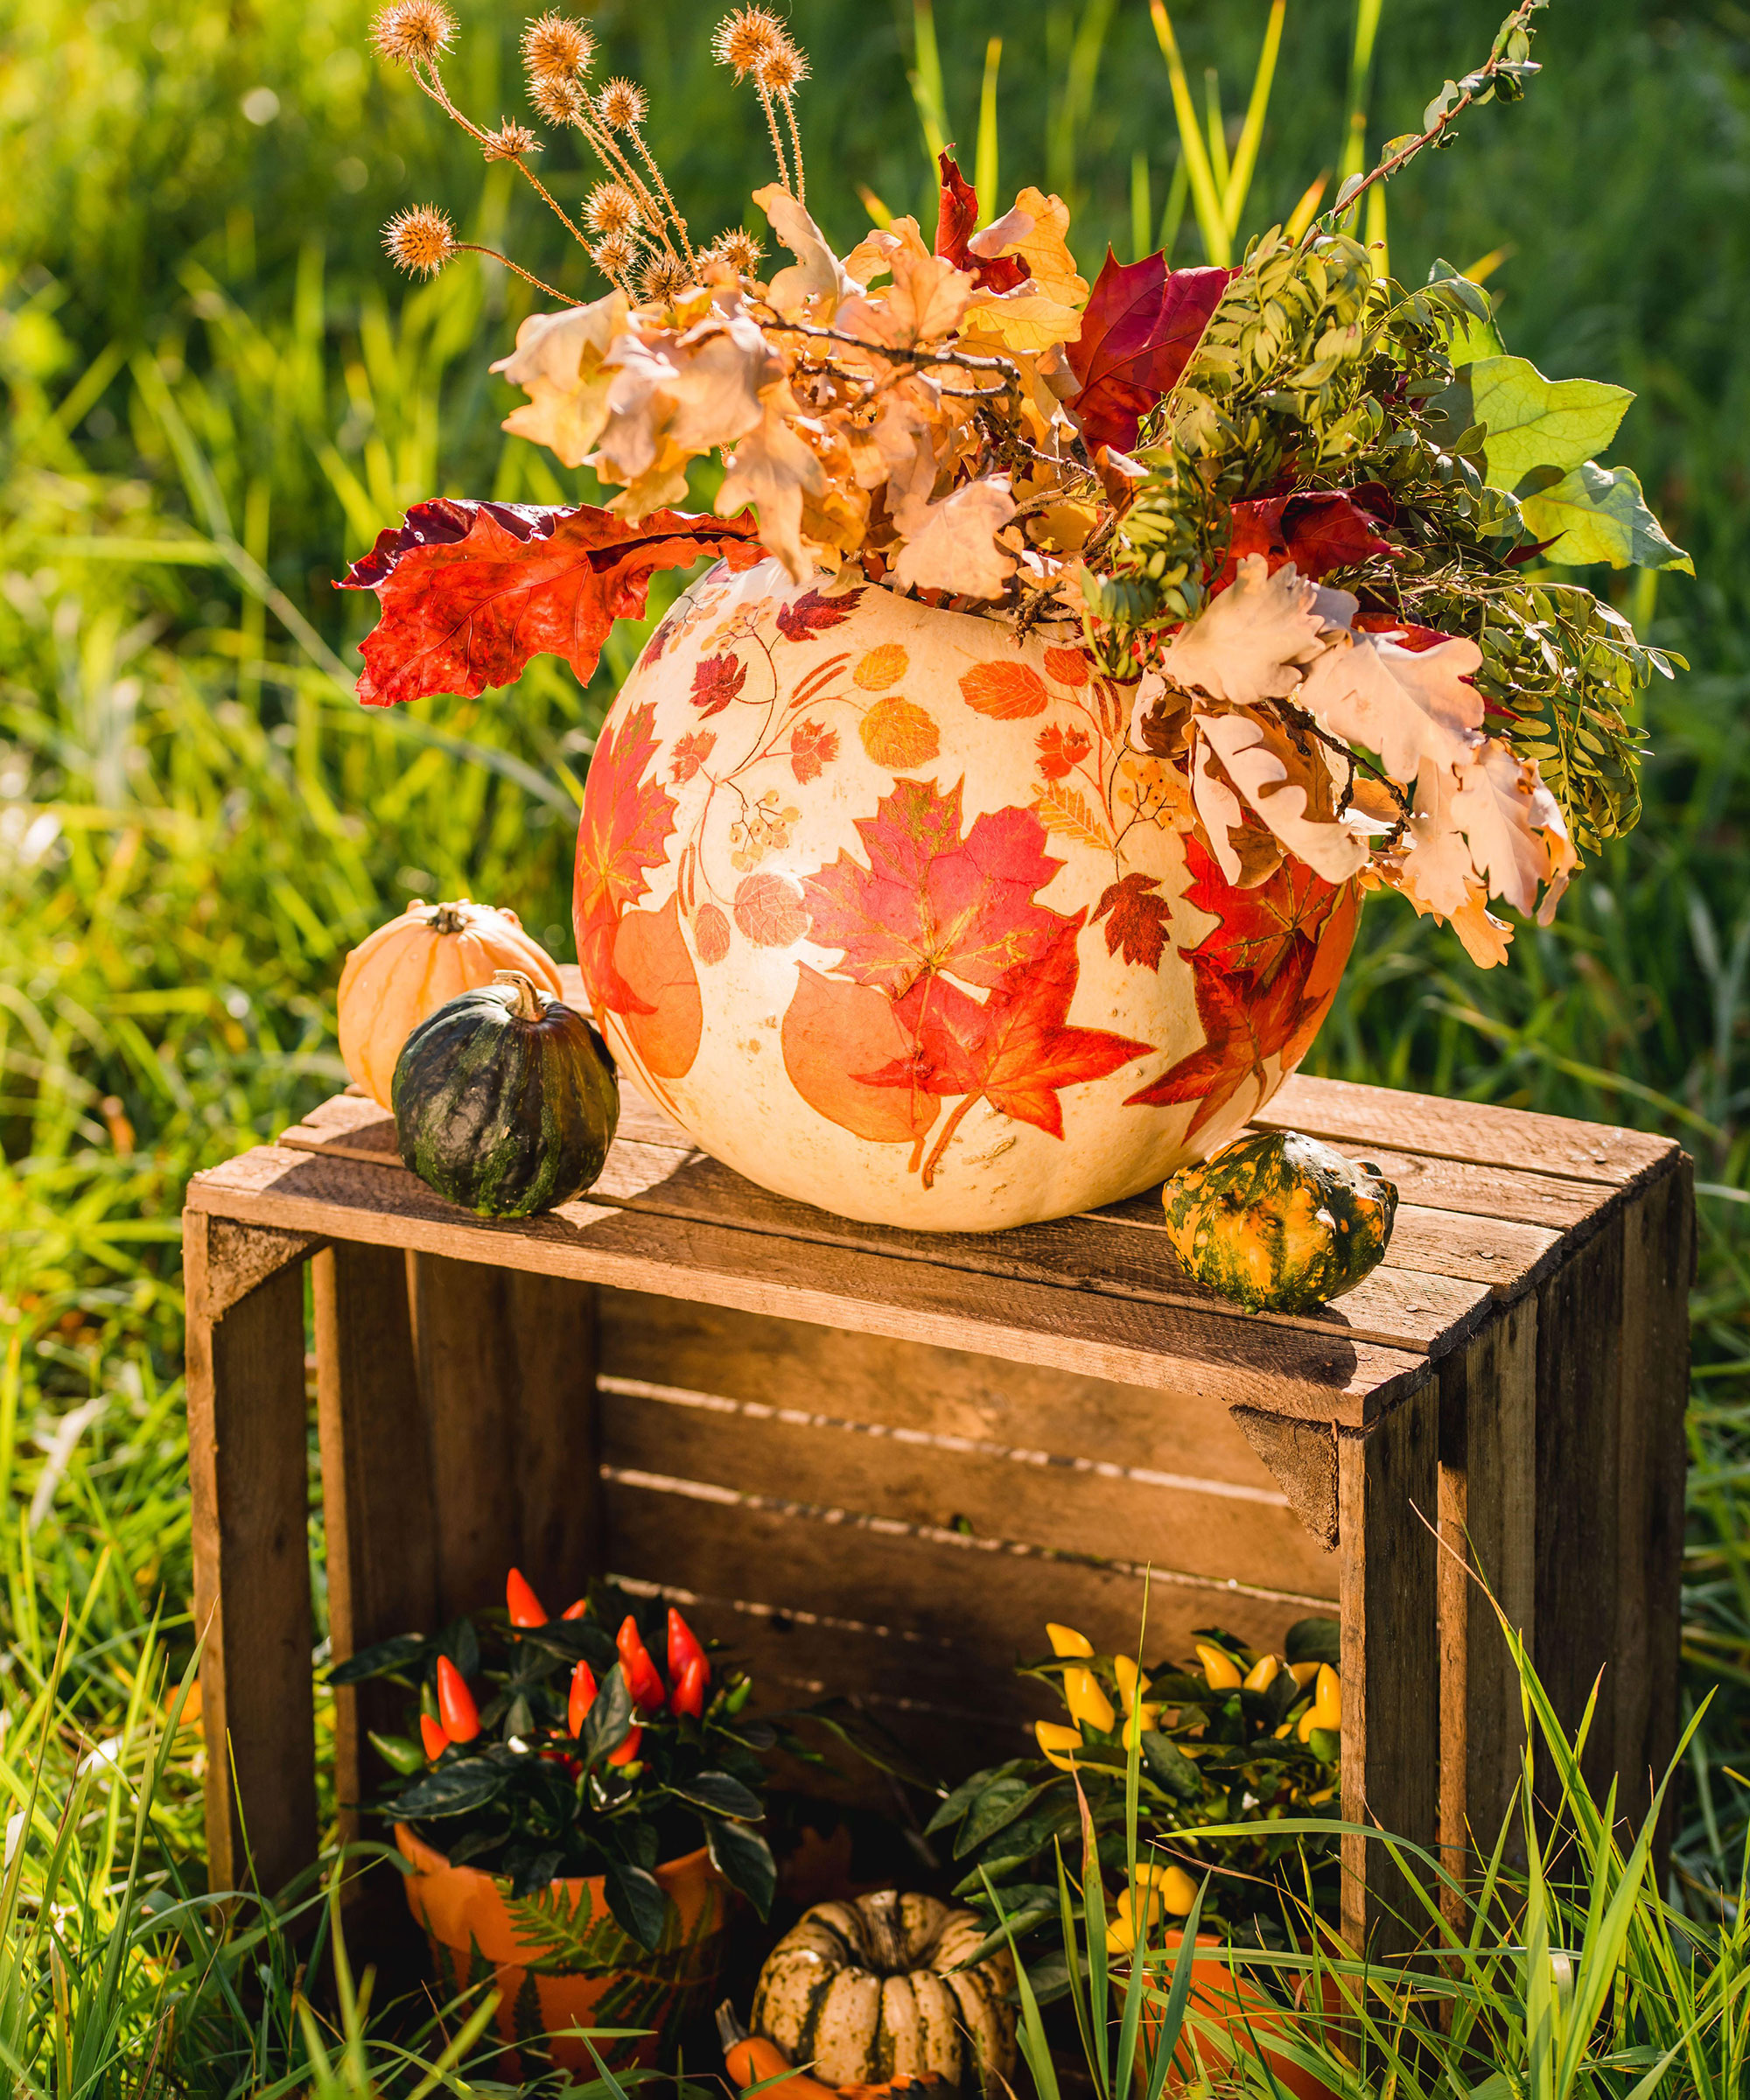
There are hundreds of free stencil designs online that you can use for pumpkin painting ideas. These leaves are so pretty and you can continue to enjoy this design long after Halloween is over. Create a display with seasonal foliage and it makes a great centerpiece for your outdoor dining ideas.
When you've found a stencil you like cut out your design from the paper and pin the outline left behind to your pumpkin with thumb tacks. Then start painting. You can also use the stencils for pumpkin carving.
If you're confident with a paint brush try painting your design free hand for a more one-off effect that's unique to you.
7. Create a marbled effect

This psychedelic marbling effect is one of the pumpkin painting ideas that's super-simple to do despite the fact it looks so professional. We think these stunning designs would make a striking display lined up alongside a garden path, creating some unique curb appeal in a flash.
To create this look, first paint your pumpkin white. Next drizzle a few different nail polish colours into a bowl of warm water and use a toothpick to swirl them around to create a marble effect. Do this as quickly as you can so the nail polish doesn't set.
Then dip the pumpkin into the water, holding it by the stalk, and watch as the nail polish clings to it and you are left with a super swirly design. Magic!
8. Drizzle paint colors
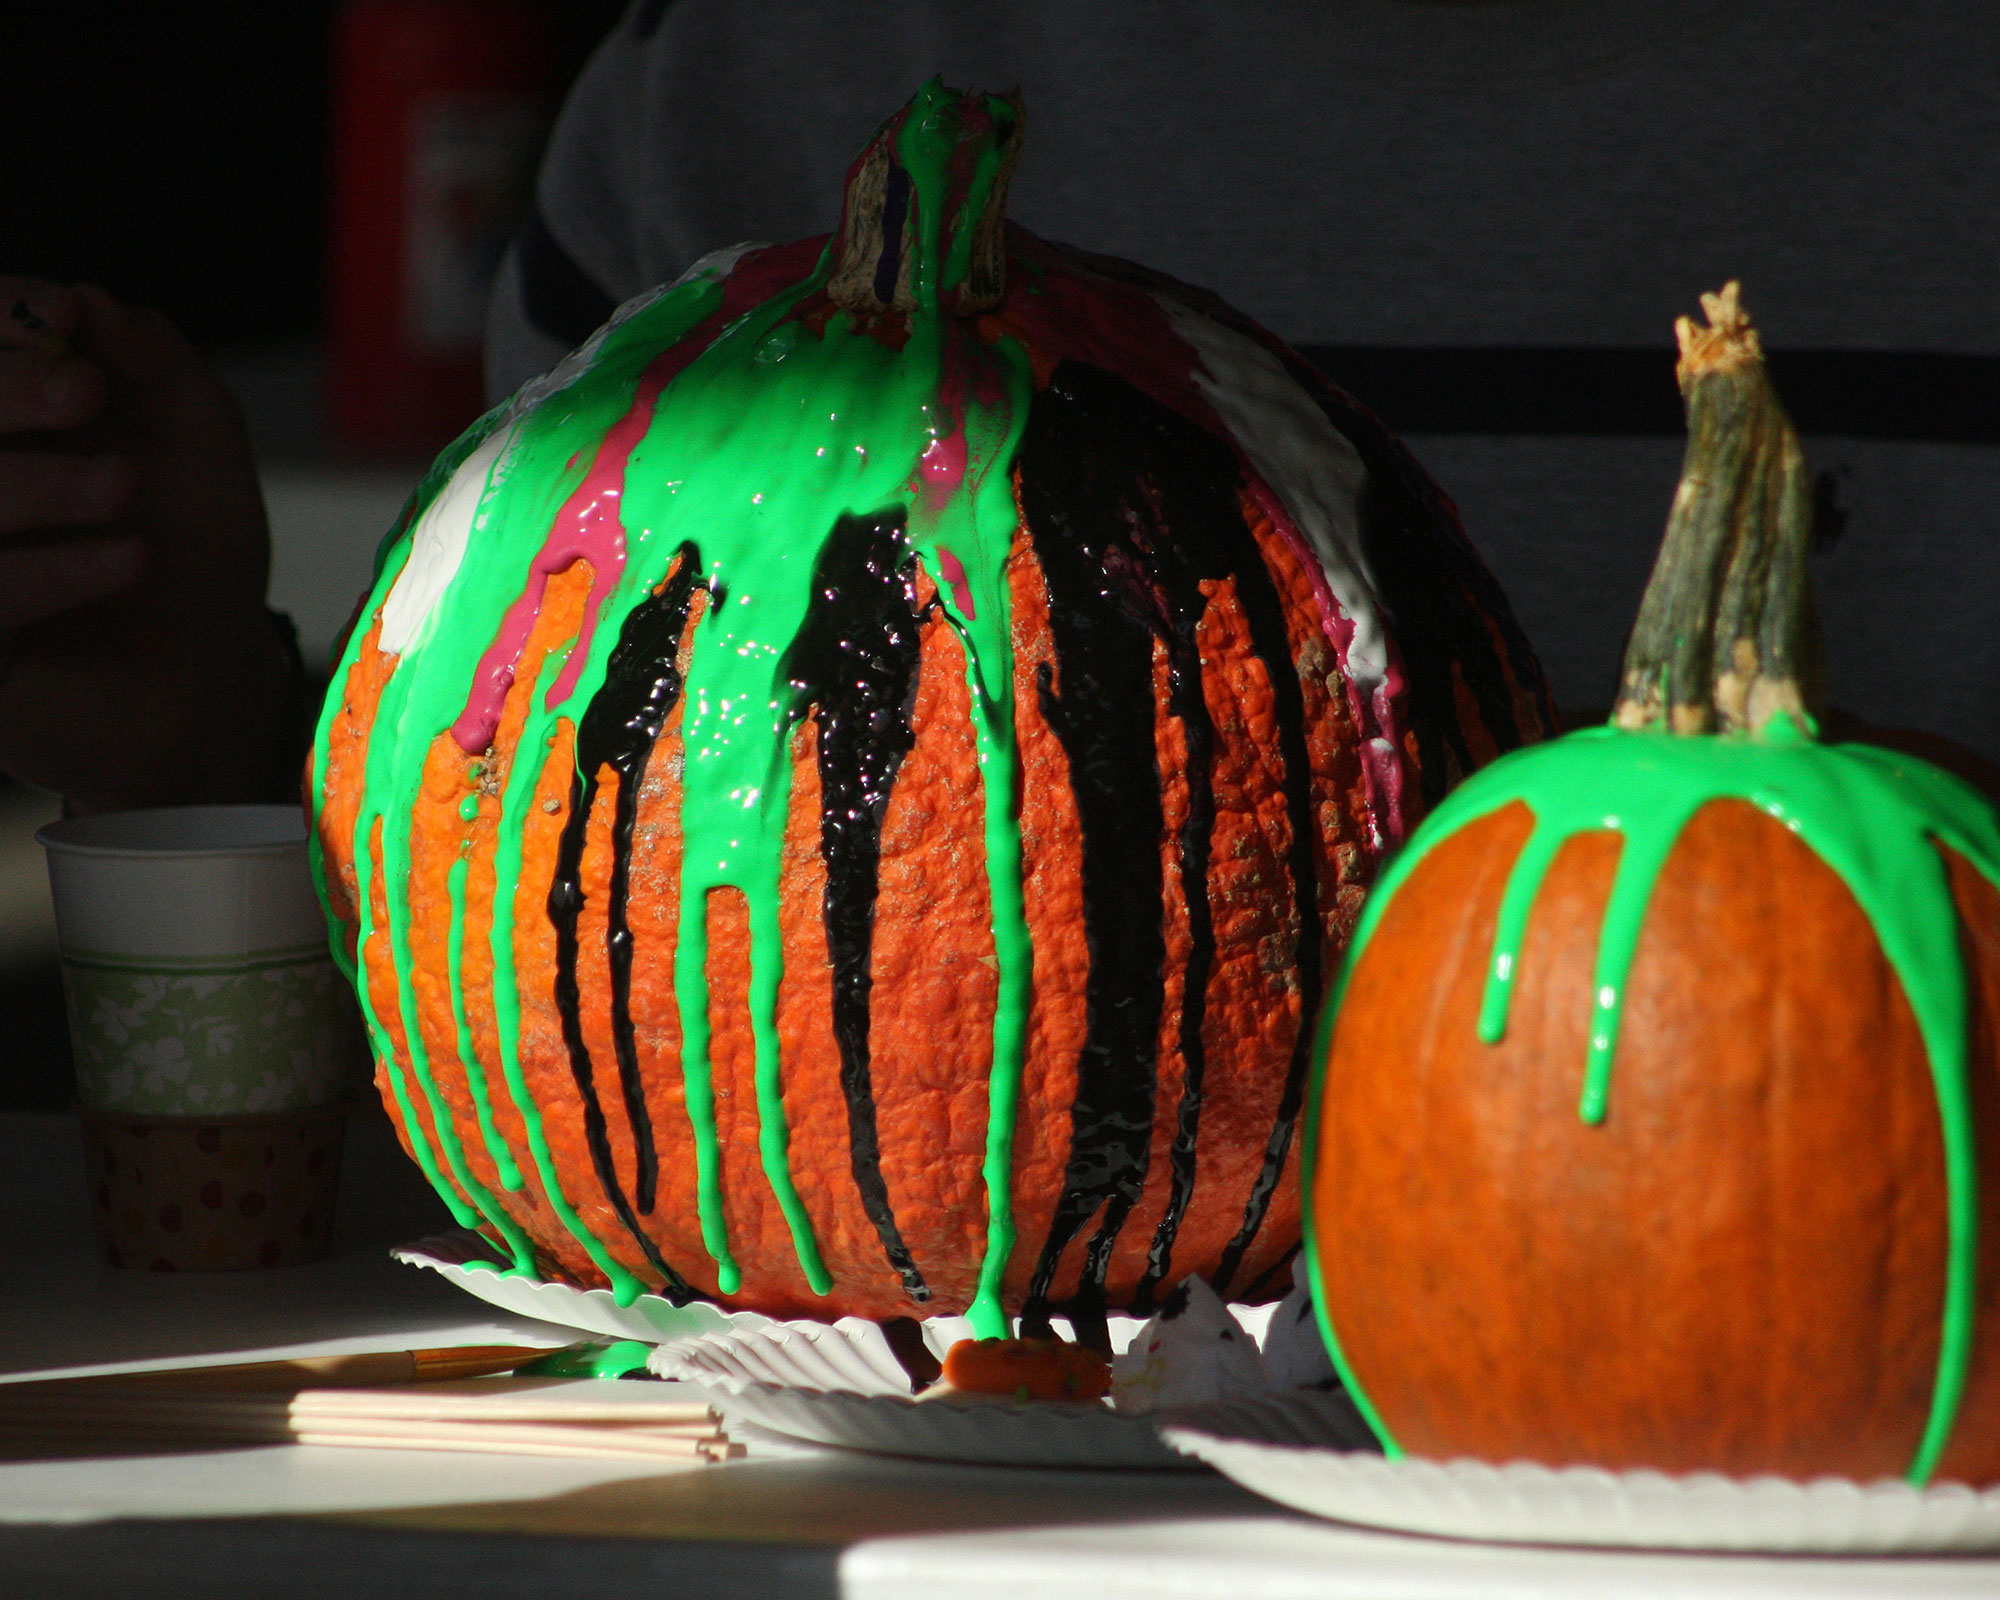
If you're looking for some garden activities for kids this weekend, these paint drip pumpkins are easy and fun to do. Arrange your pumpkins on a garden table or kitchen worktop and add a protective layer of plastic. Don't use newspaper as things will get messy - it will soak up the paint and stick to your pumpkins.
For this project choose acrylic paint or use up any old water-based household paint you may have left over. Use a plastic spoon to add paint to the top of the pumpkin. Using a spoon let's you control have much paint you drizzle over. Start sparingly and build up the effect you want - you can always add more if needed.
When the first coat is dry add a second or third color depending on the effect you want to achieve. If you prefer a marbled look, simply add your second colour of paint on top of the first one while still wet, so they mix together.
9. Use bold primary colors
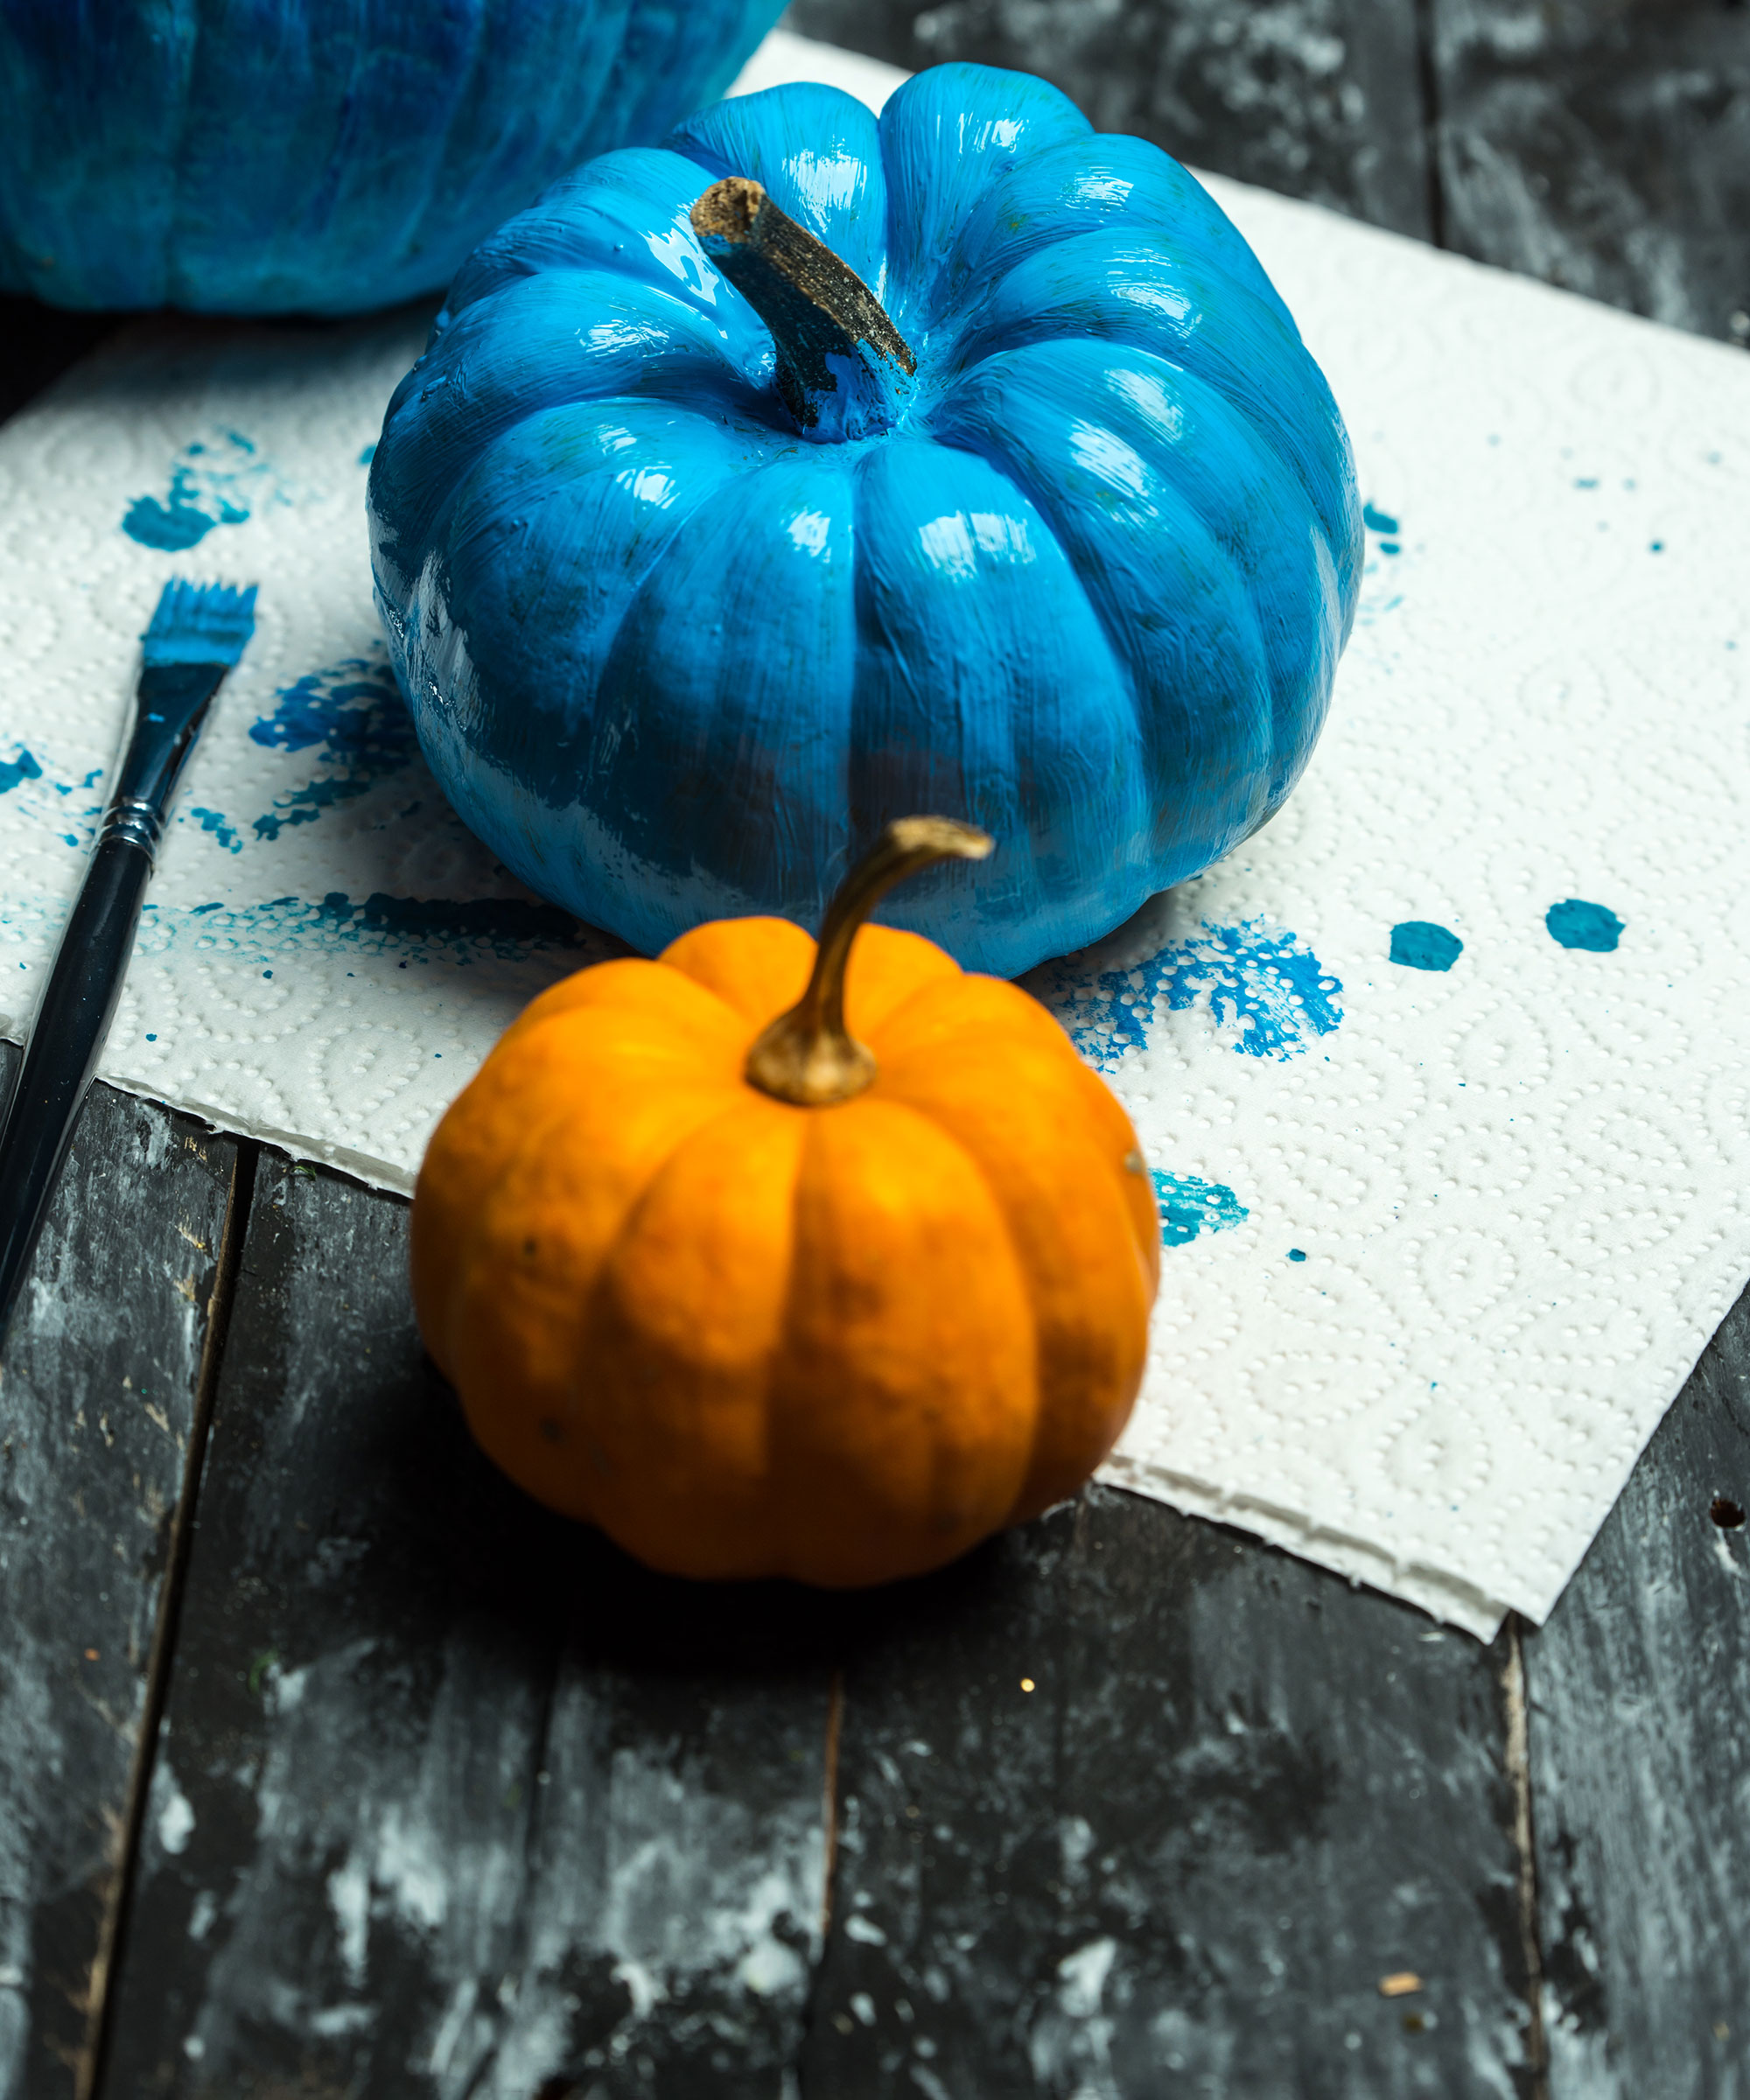
If you want a quick and colorful update for your front porch, go for a high gloss paint job like this one try using a spray paint (try Rust-Oleum) for fast results.
Place your pumpkin on a sheet of plastic. A coat of white primer provides a great base for your color and gives you a longer lasting finish. Spray on the primer according to the directions on the can.
After 20 minutes, start spraying the gloss colour of your choice (this one is Rust-Oleum 'Light Blue', available from Amazon) over the primer. Use a couple of light coats for best coverage. Apply a second coat within 48 hours.
Make sure your pumpkin is completely dry before handling.
10. Go traditional with a difference
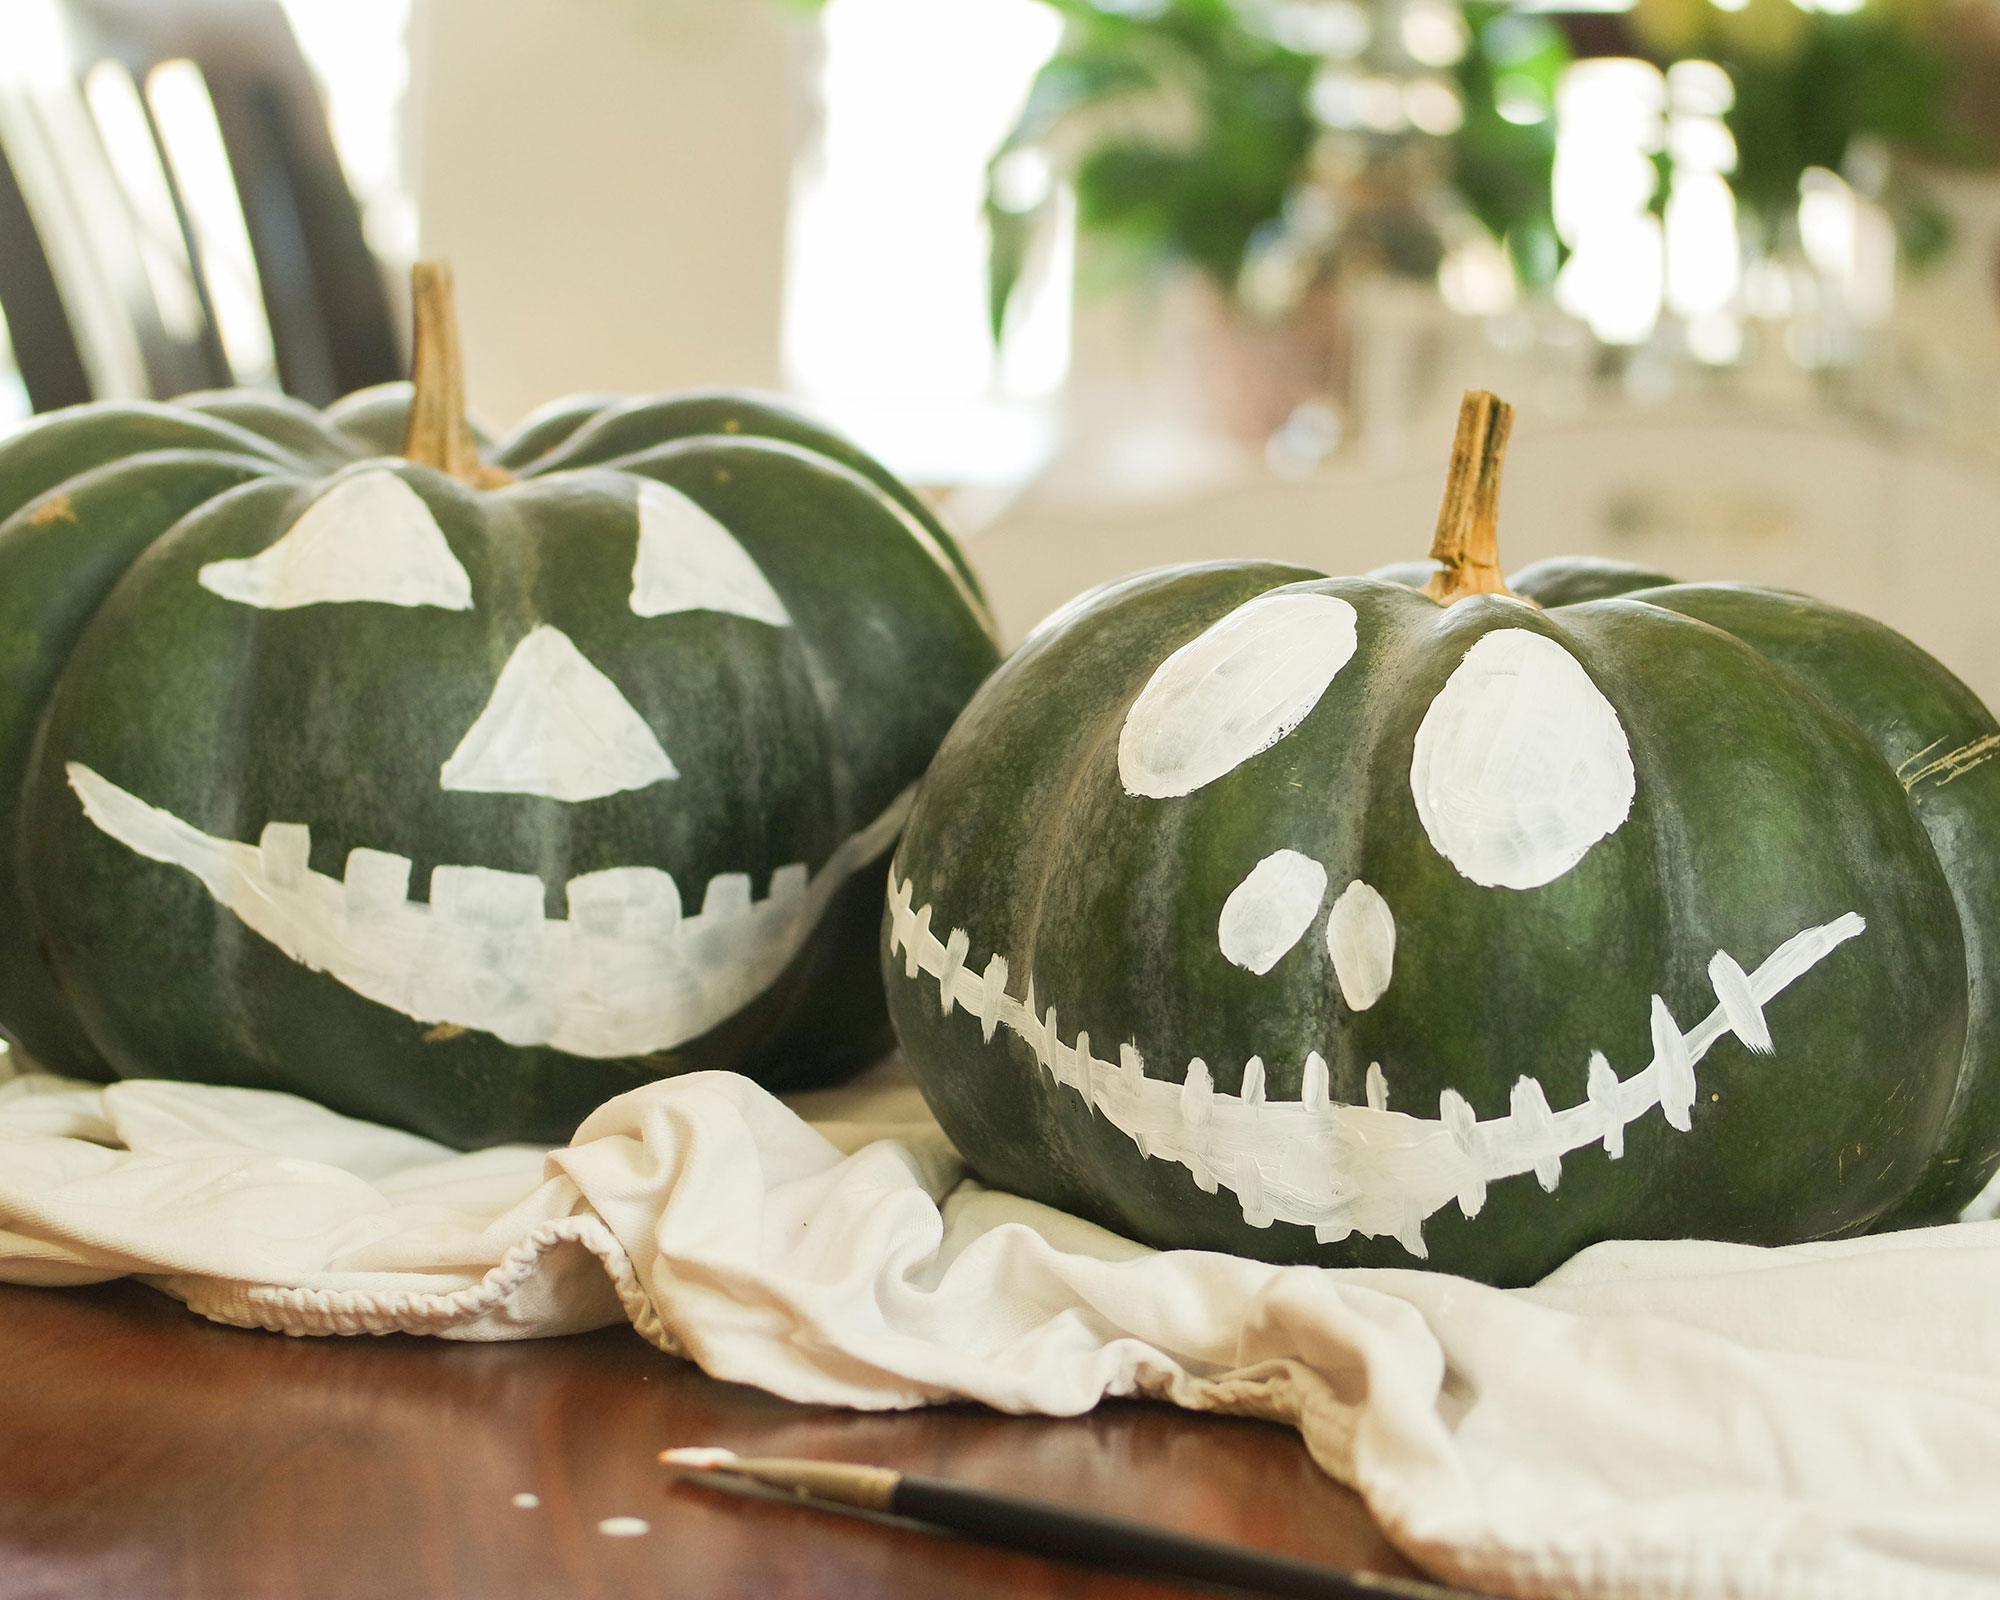
Although the shops are packed with orange pumpkins at this time of year there's lots of variety out there if you look a bit harder when it comes to finding different colors and shapes.
Kabocha squash are dark green and the good thing about them is that the insides are bright orange and delicious to eat. Choose them for your Halloween pumpkin painting ideas and you'll find they can look quite menacing, so perhaps smily faces are the way to go.
11. Design a special message
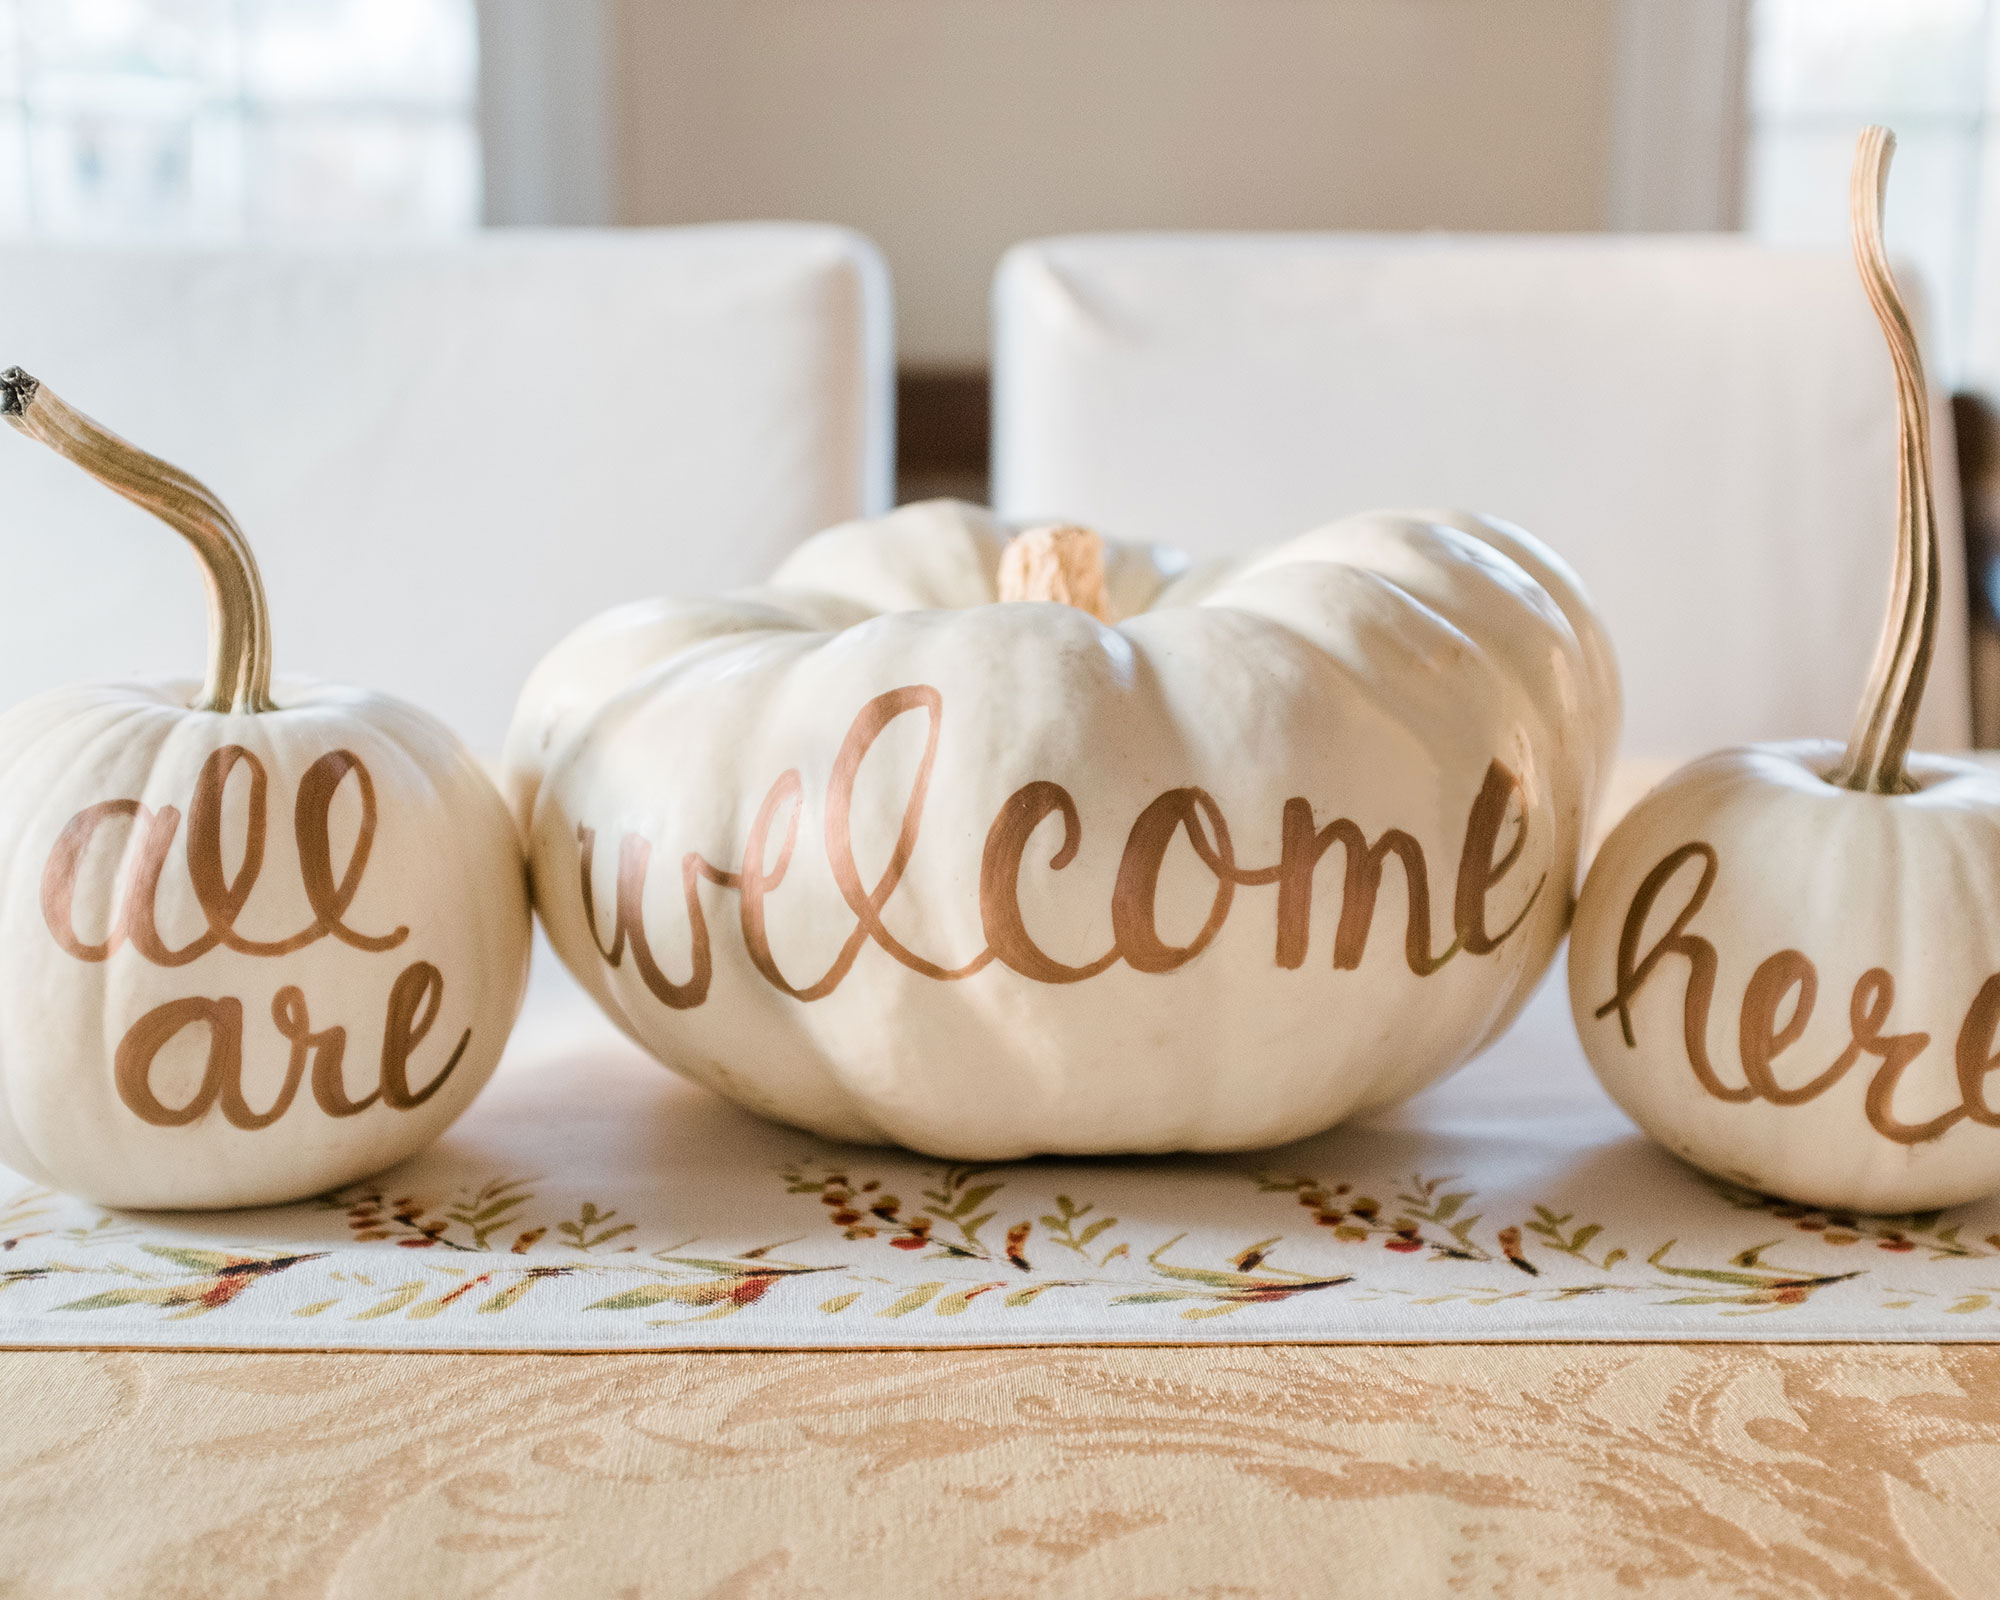
For an understated look that's perfect for creating a welcoming vibe in your front garden, paint your pumpkins with a cream color wash then add a personalized message with gold shimmer paint or a fine tipped paint pen. Don't forget to paint the pumpkin stalk gold to match.
First sketch out your design on paper with a felt tip pen to check the letter spacing on your layout. You can add a seasonal message and include your family name to welcome guests if you like. Play around with your handwriting until you end up with a calligraphy design you like.
Transfer the design to your pumpkin using a pencil. Choose the flattest part of the pumpkin with the least ridges for your lettering space. You can add tape to help keep your letters the same size or do it freehand if you're confident. Hold the pumpkin up at different angles to make sure your design is straight and once you're happy you can start painting.
Shake your paint pen hard and make sure the tip is saturated with colour. Follow your pencil outline, thickening each letter as you go rather than returning to do this later. Make sure each section is dry before you move on to the next one to avoid smudging the paint. Finally, check for any pencil marks you haven't painted over and rub them away with your thumb.
12. Add some glitz
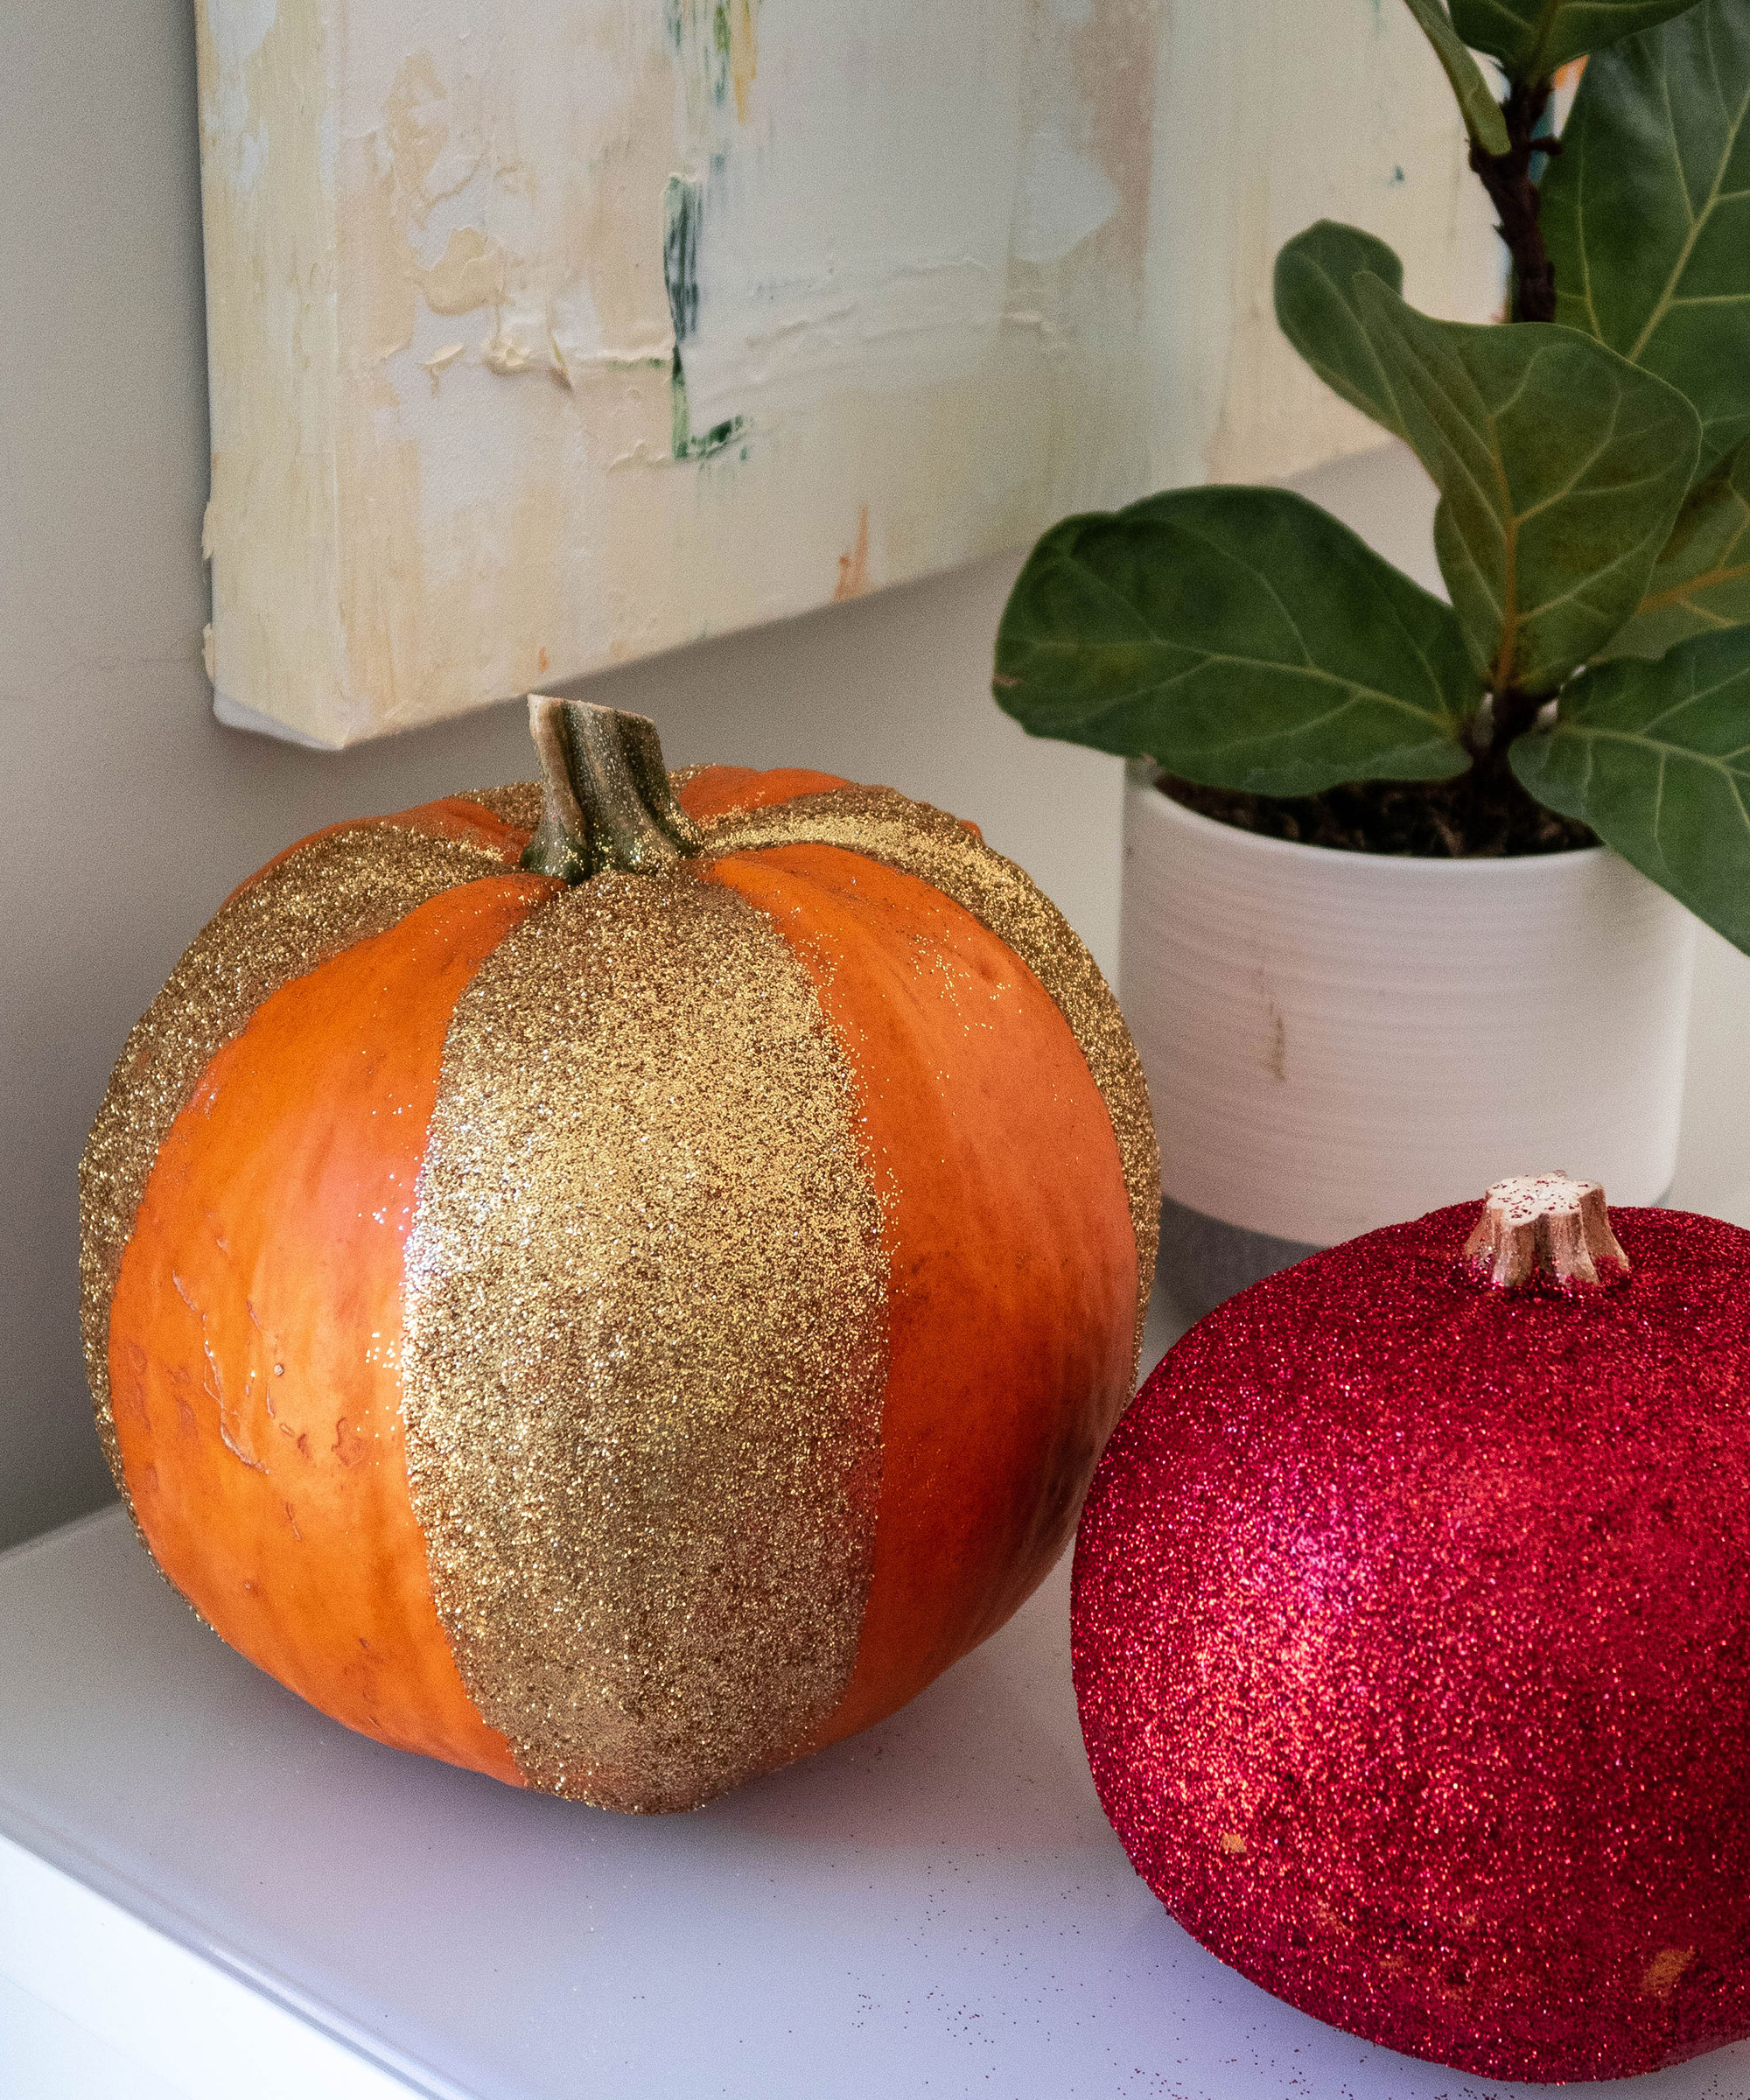
Create a design on your pumpkin such as this segment effect or alternatively decorate the whole pumpkin with glitter. Choose a multi-colored set of glitter shakers so you have plenty of options.
Use a paint brush to apply glue to the areas of the pumpkin where you’d like the glitter to stick to the design.
While the glue is still wet, shake the glitter onto the glued areas until it's fully covered. Do this over a large sheet of paper to catch the excess. Once the pumpkin has dried, shake it off and fold the paper so that the excess glitter falls to the middle and can be poured back into the container.
13. Make a seasonal decoration
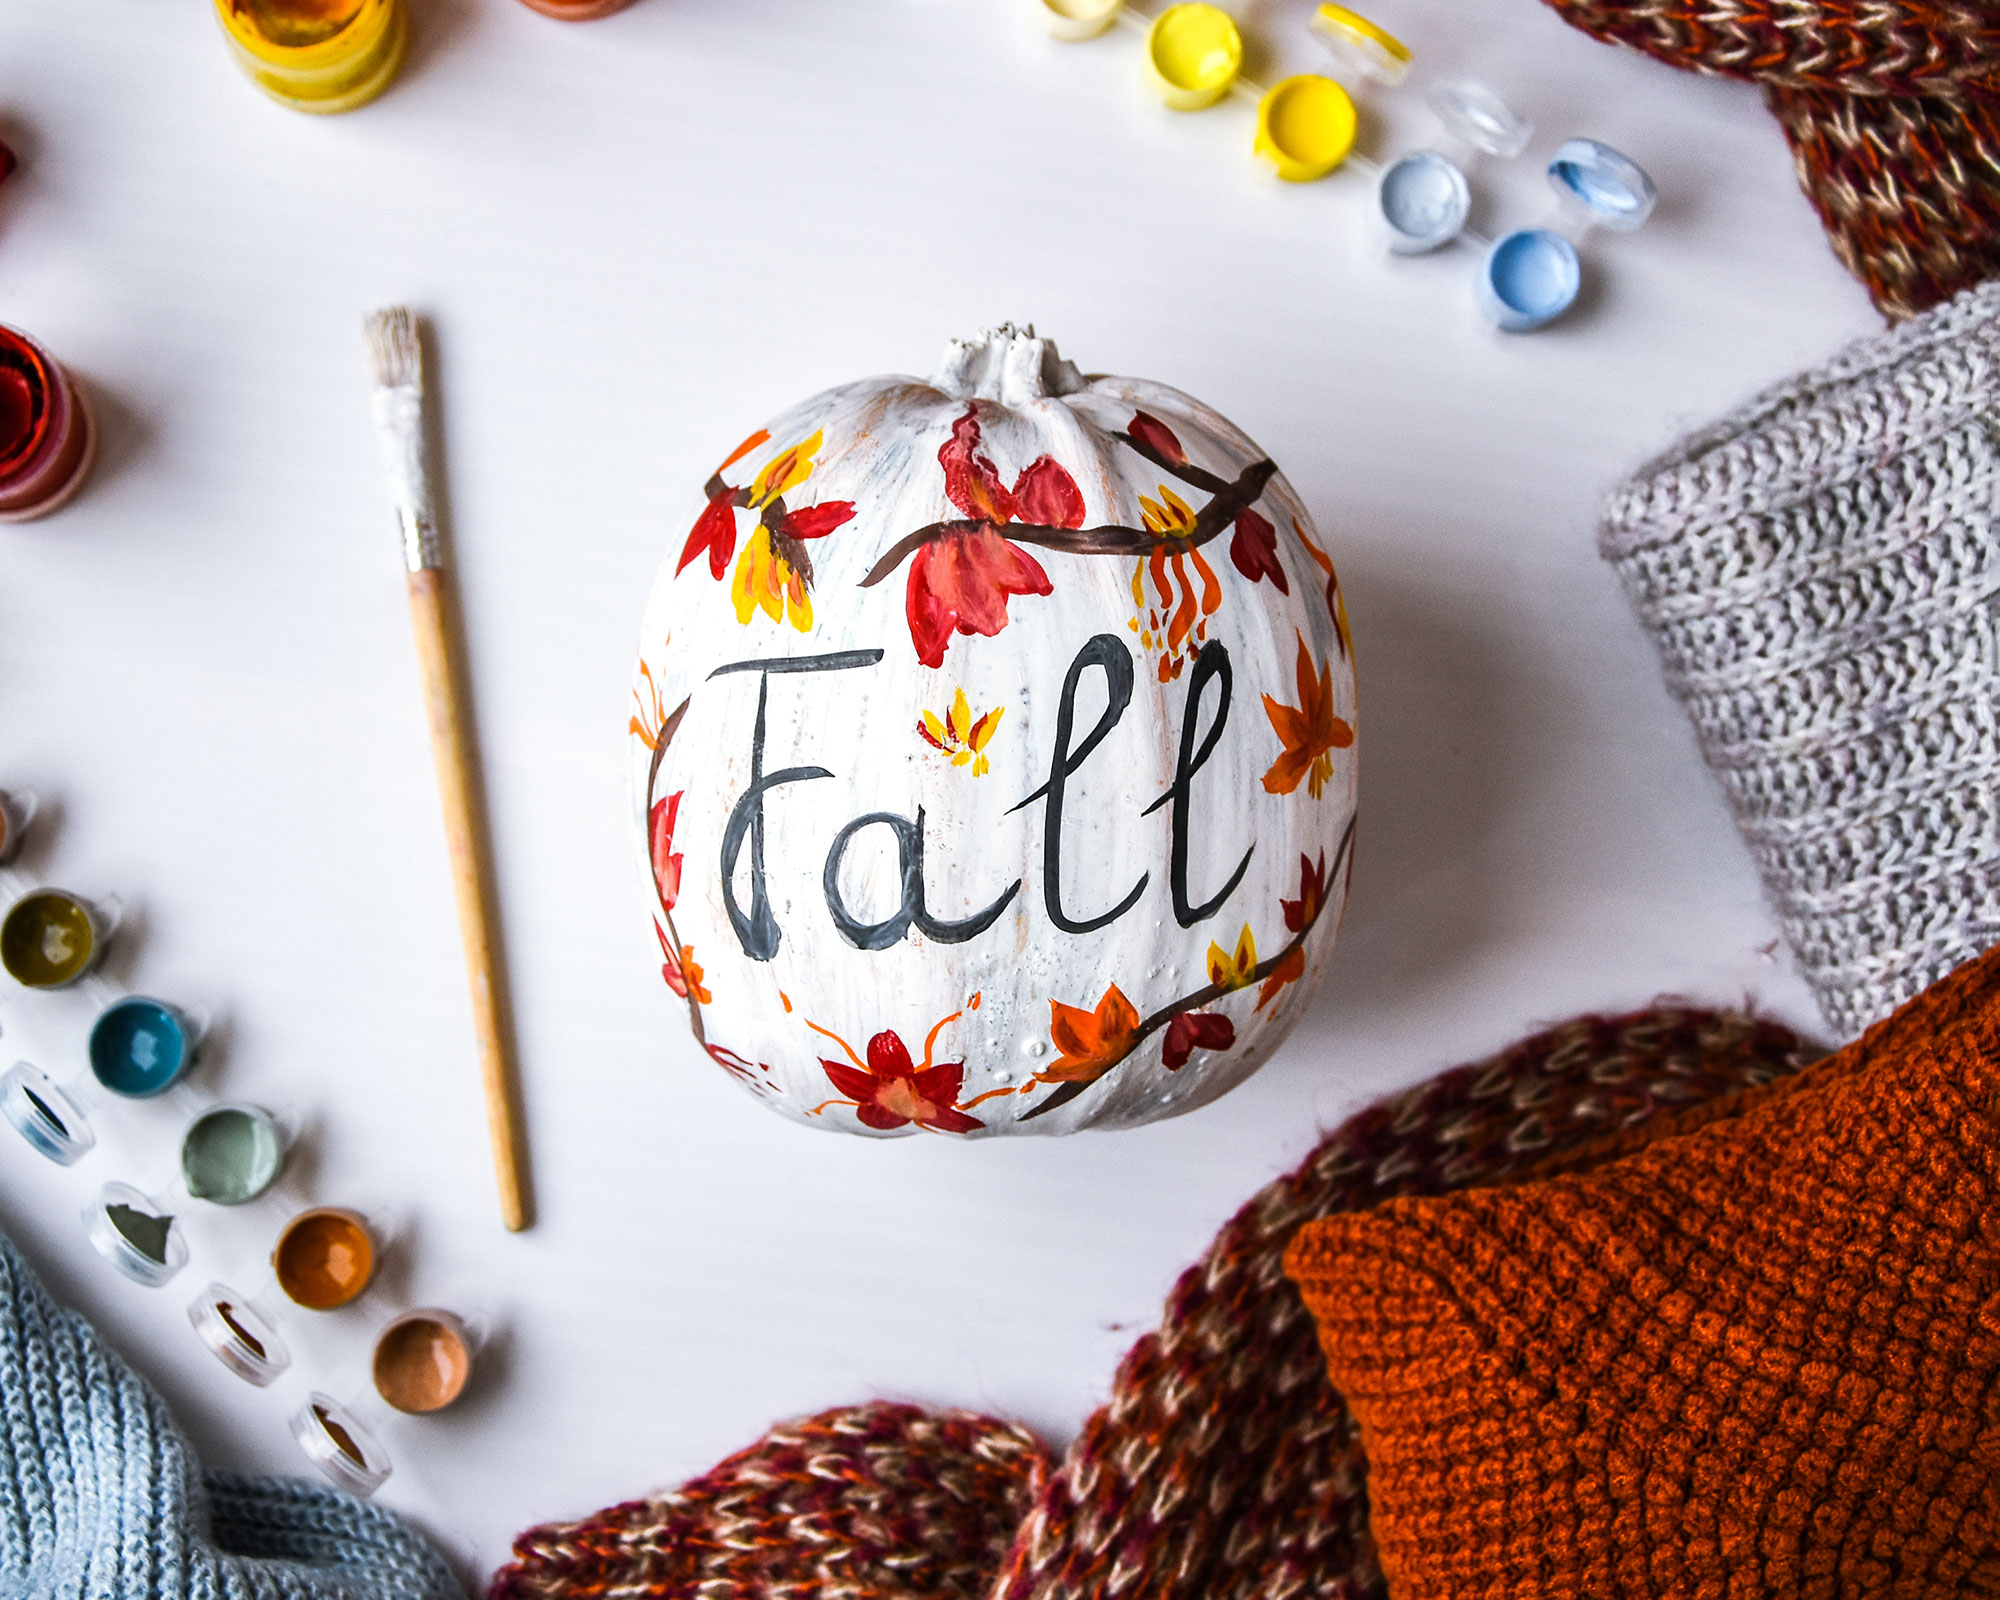
For this decorative pumpkin, be sure to sketch your design on paper first, especially as there are several elements involved. It's a great opportunity to test your freehand skills. Then etch out your design on the pumpkin using pencil.
You will need a selection of paint pens for this and it's best to work in one color at a time, so do all your gold, then the red, then the black and so on. You will need to allow plenty of time for a project like this as every color needs to dry thoroughly before you move on to the next one. But it will be worth it when you see the finished design taking center stage in your garden decor ideas!
14. Paint some happy faces
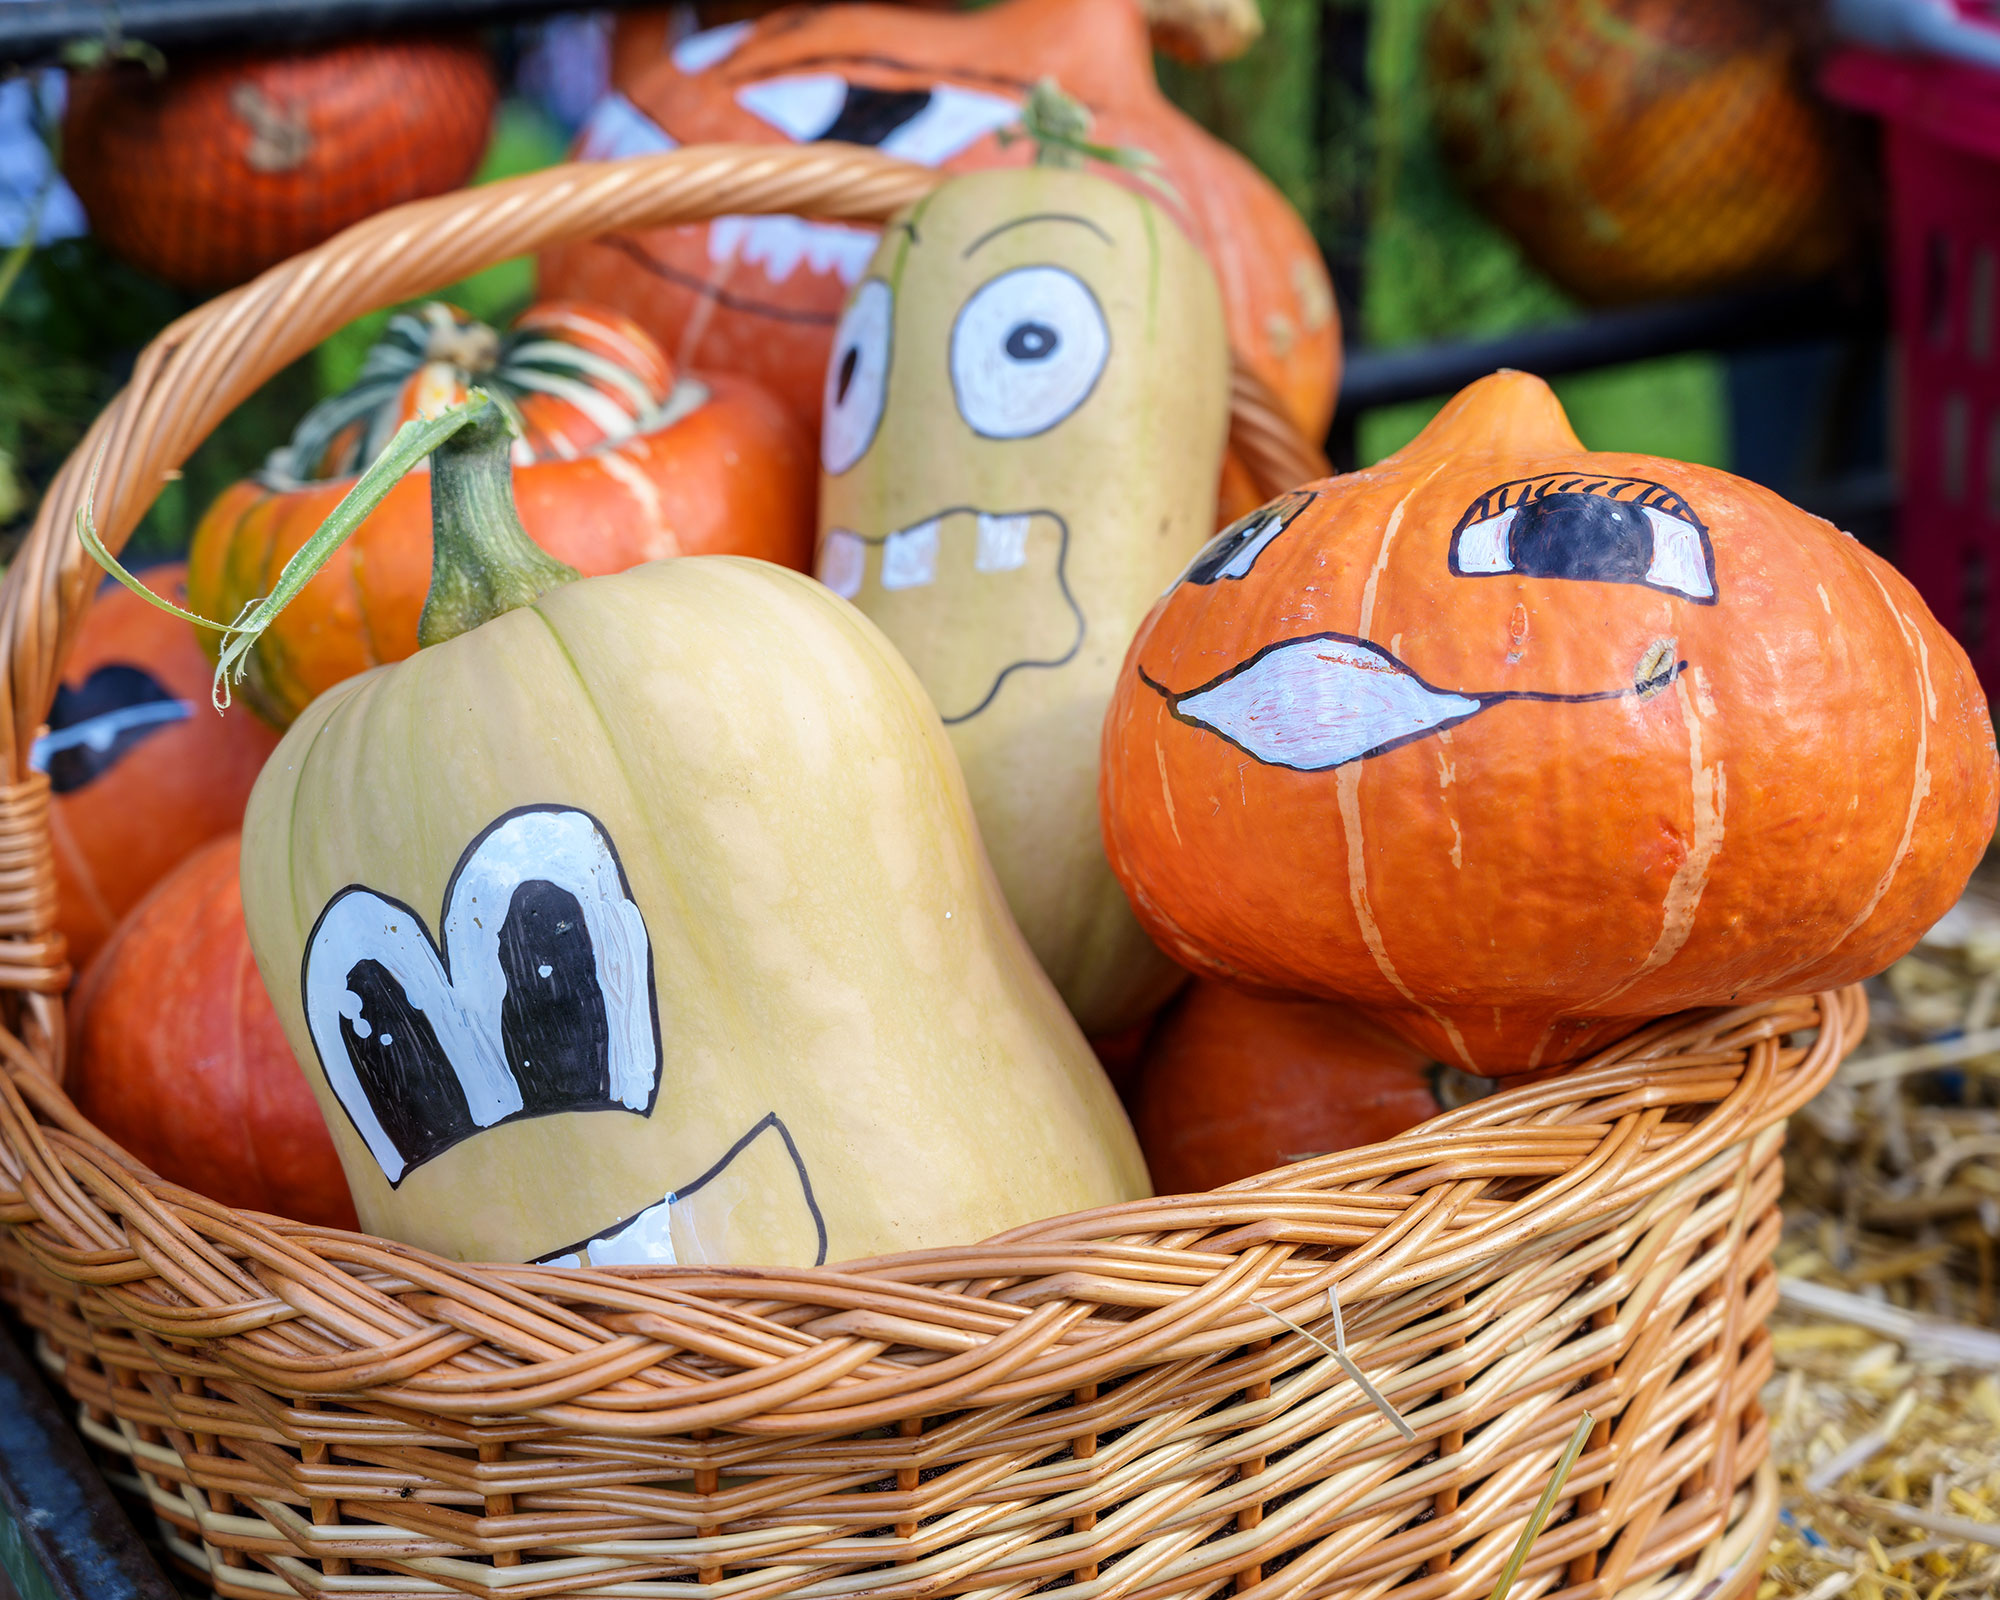
This is a great project to do with the kids, who will have great fun painting faces. If you've also been growing other seasonal veg such as butternut squash in your kitchen garden this year, why not add them to the mix too?
Make sure everyone sketches their designs on paper first, the transfers them to the pumpkins using pencils. You will need plenty of paint pens too so there are enough to go round.
Younger children might find it easier coloring in stencilled eyes and mouths instead of freehand drawing.
15. Customise your pumpkins
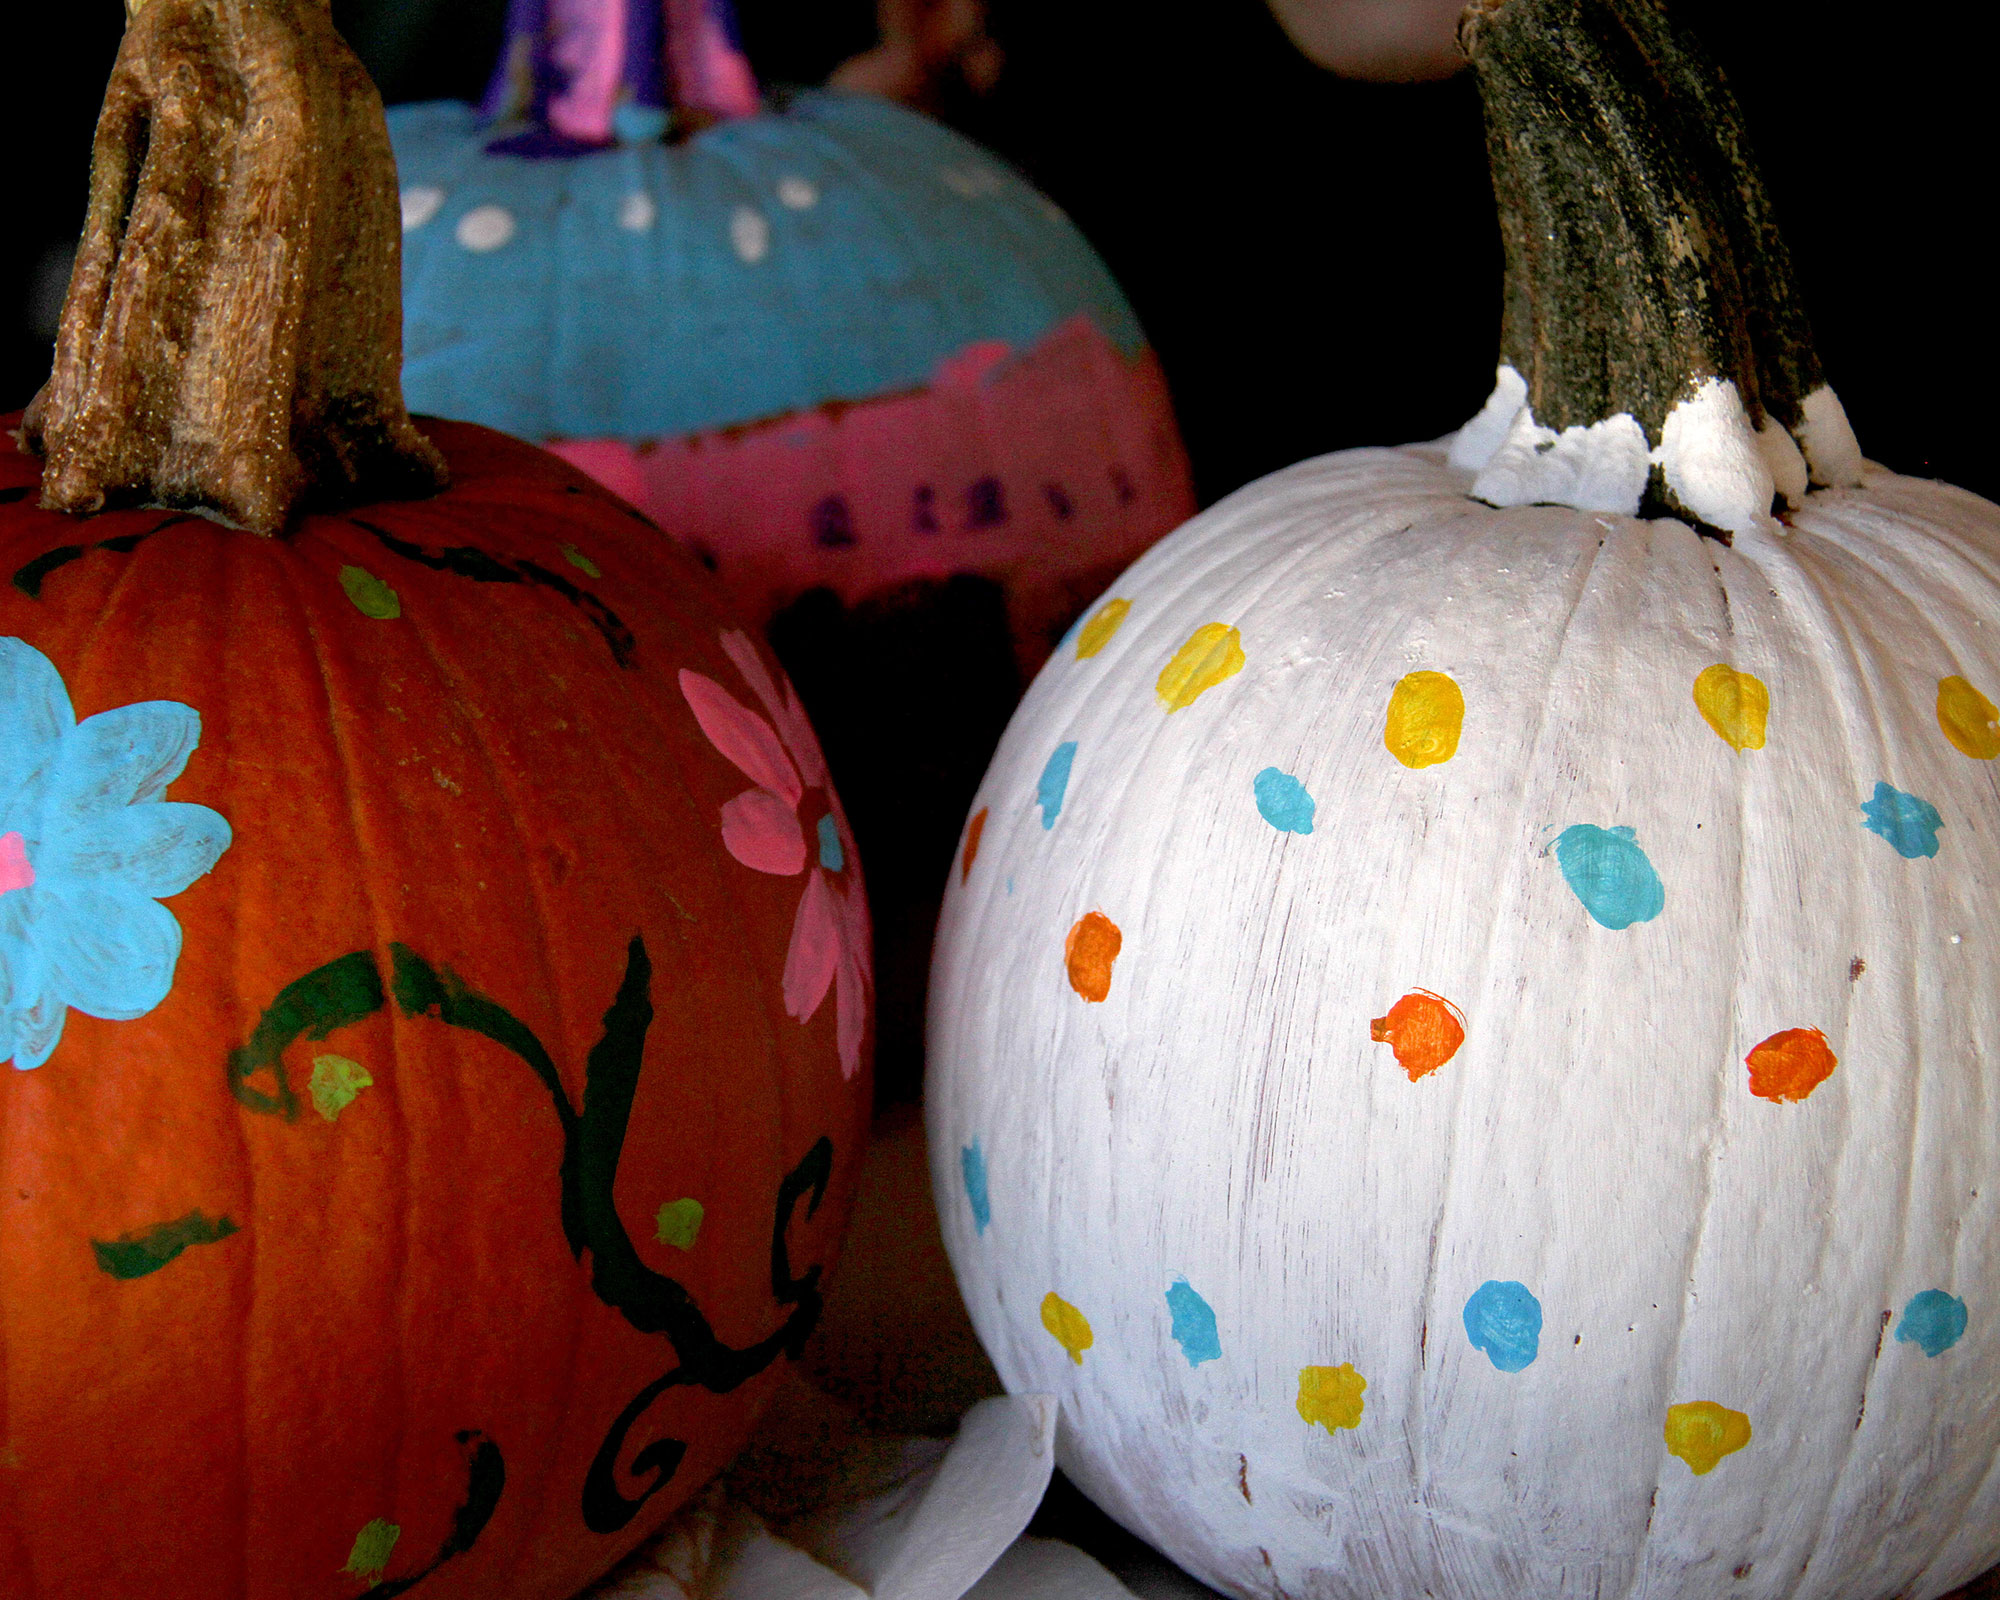
Sometimes nothing beats simply laying out some paints on a table and winging it by making up your designs as you go along. It's a brilliant option if you're looking for cheap garden ideas as you can make use of all those old tins of paint you have lying around in the garage.
You can't beat a simple polka dot pattern on a pumpkin, as it's something everyone can do whatever their age or ability. Stencilled daisies also look great and are easy to do, while stripy layers have impact as well. When it comes to creativity, this is your chance to shine!
What paints do you use to paint a pumpkin?
- Acrylic paint is a better option than oil-based paint for your pumpkin painting ideas. It's fast-drying, easy to use, and affordable. Because acrylic is water-based, you can wipe away any mistakes with a rag and start again. It also lets you apply multiple layers quickly so there's not too much hanging around. Choose chalky acrylic paint for a matte finish.
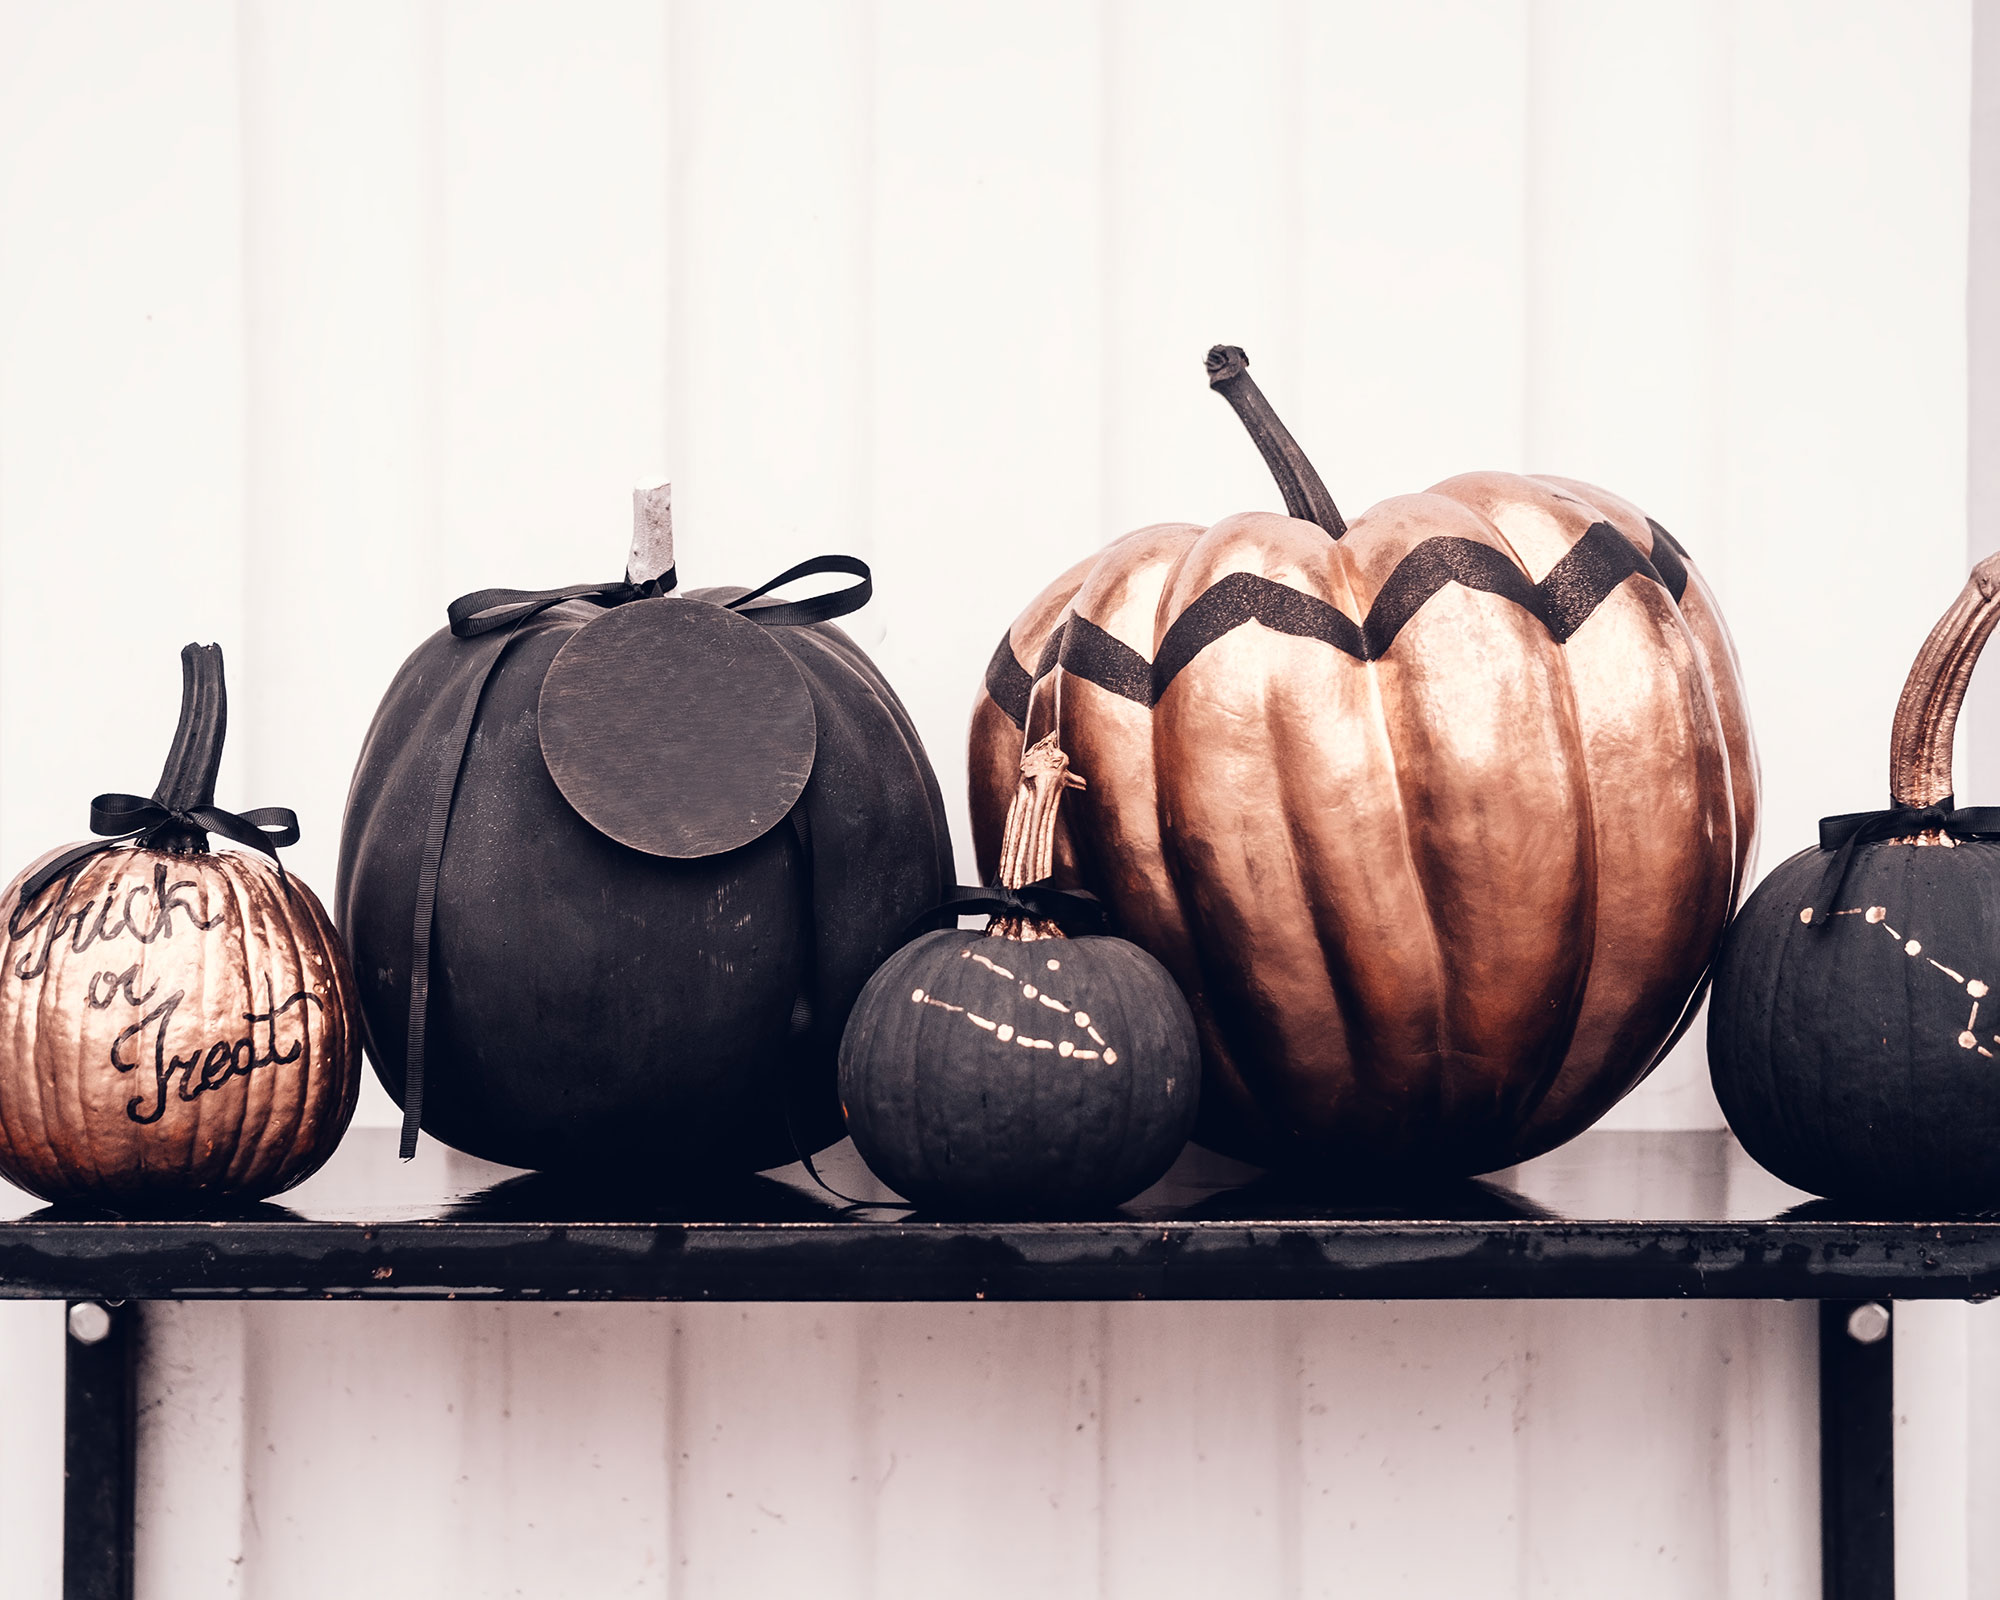
- Spray paint is durable and gives you the quickest coverage but you'll need to mask off any areas you don't want painted to stop it going everywhere. It's particularly good if you're looking for metallic shades of gold, silver and bronze. It's always best to use spray paint outdoors too because of the fumes.
- Acrylic-based paint pens and permanent markers like Sharpies are also a good idea for lettering and intricate detail work as it's much easier working with a pen than with a brush and they dry quickly. They are particularly good for painting facial expressions too.
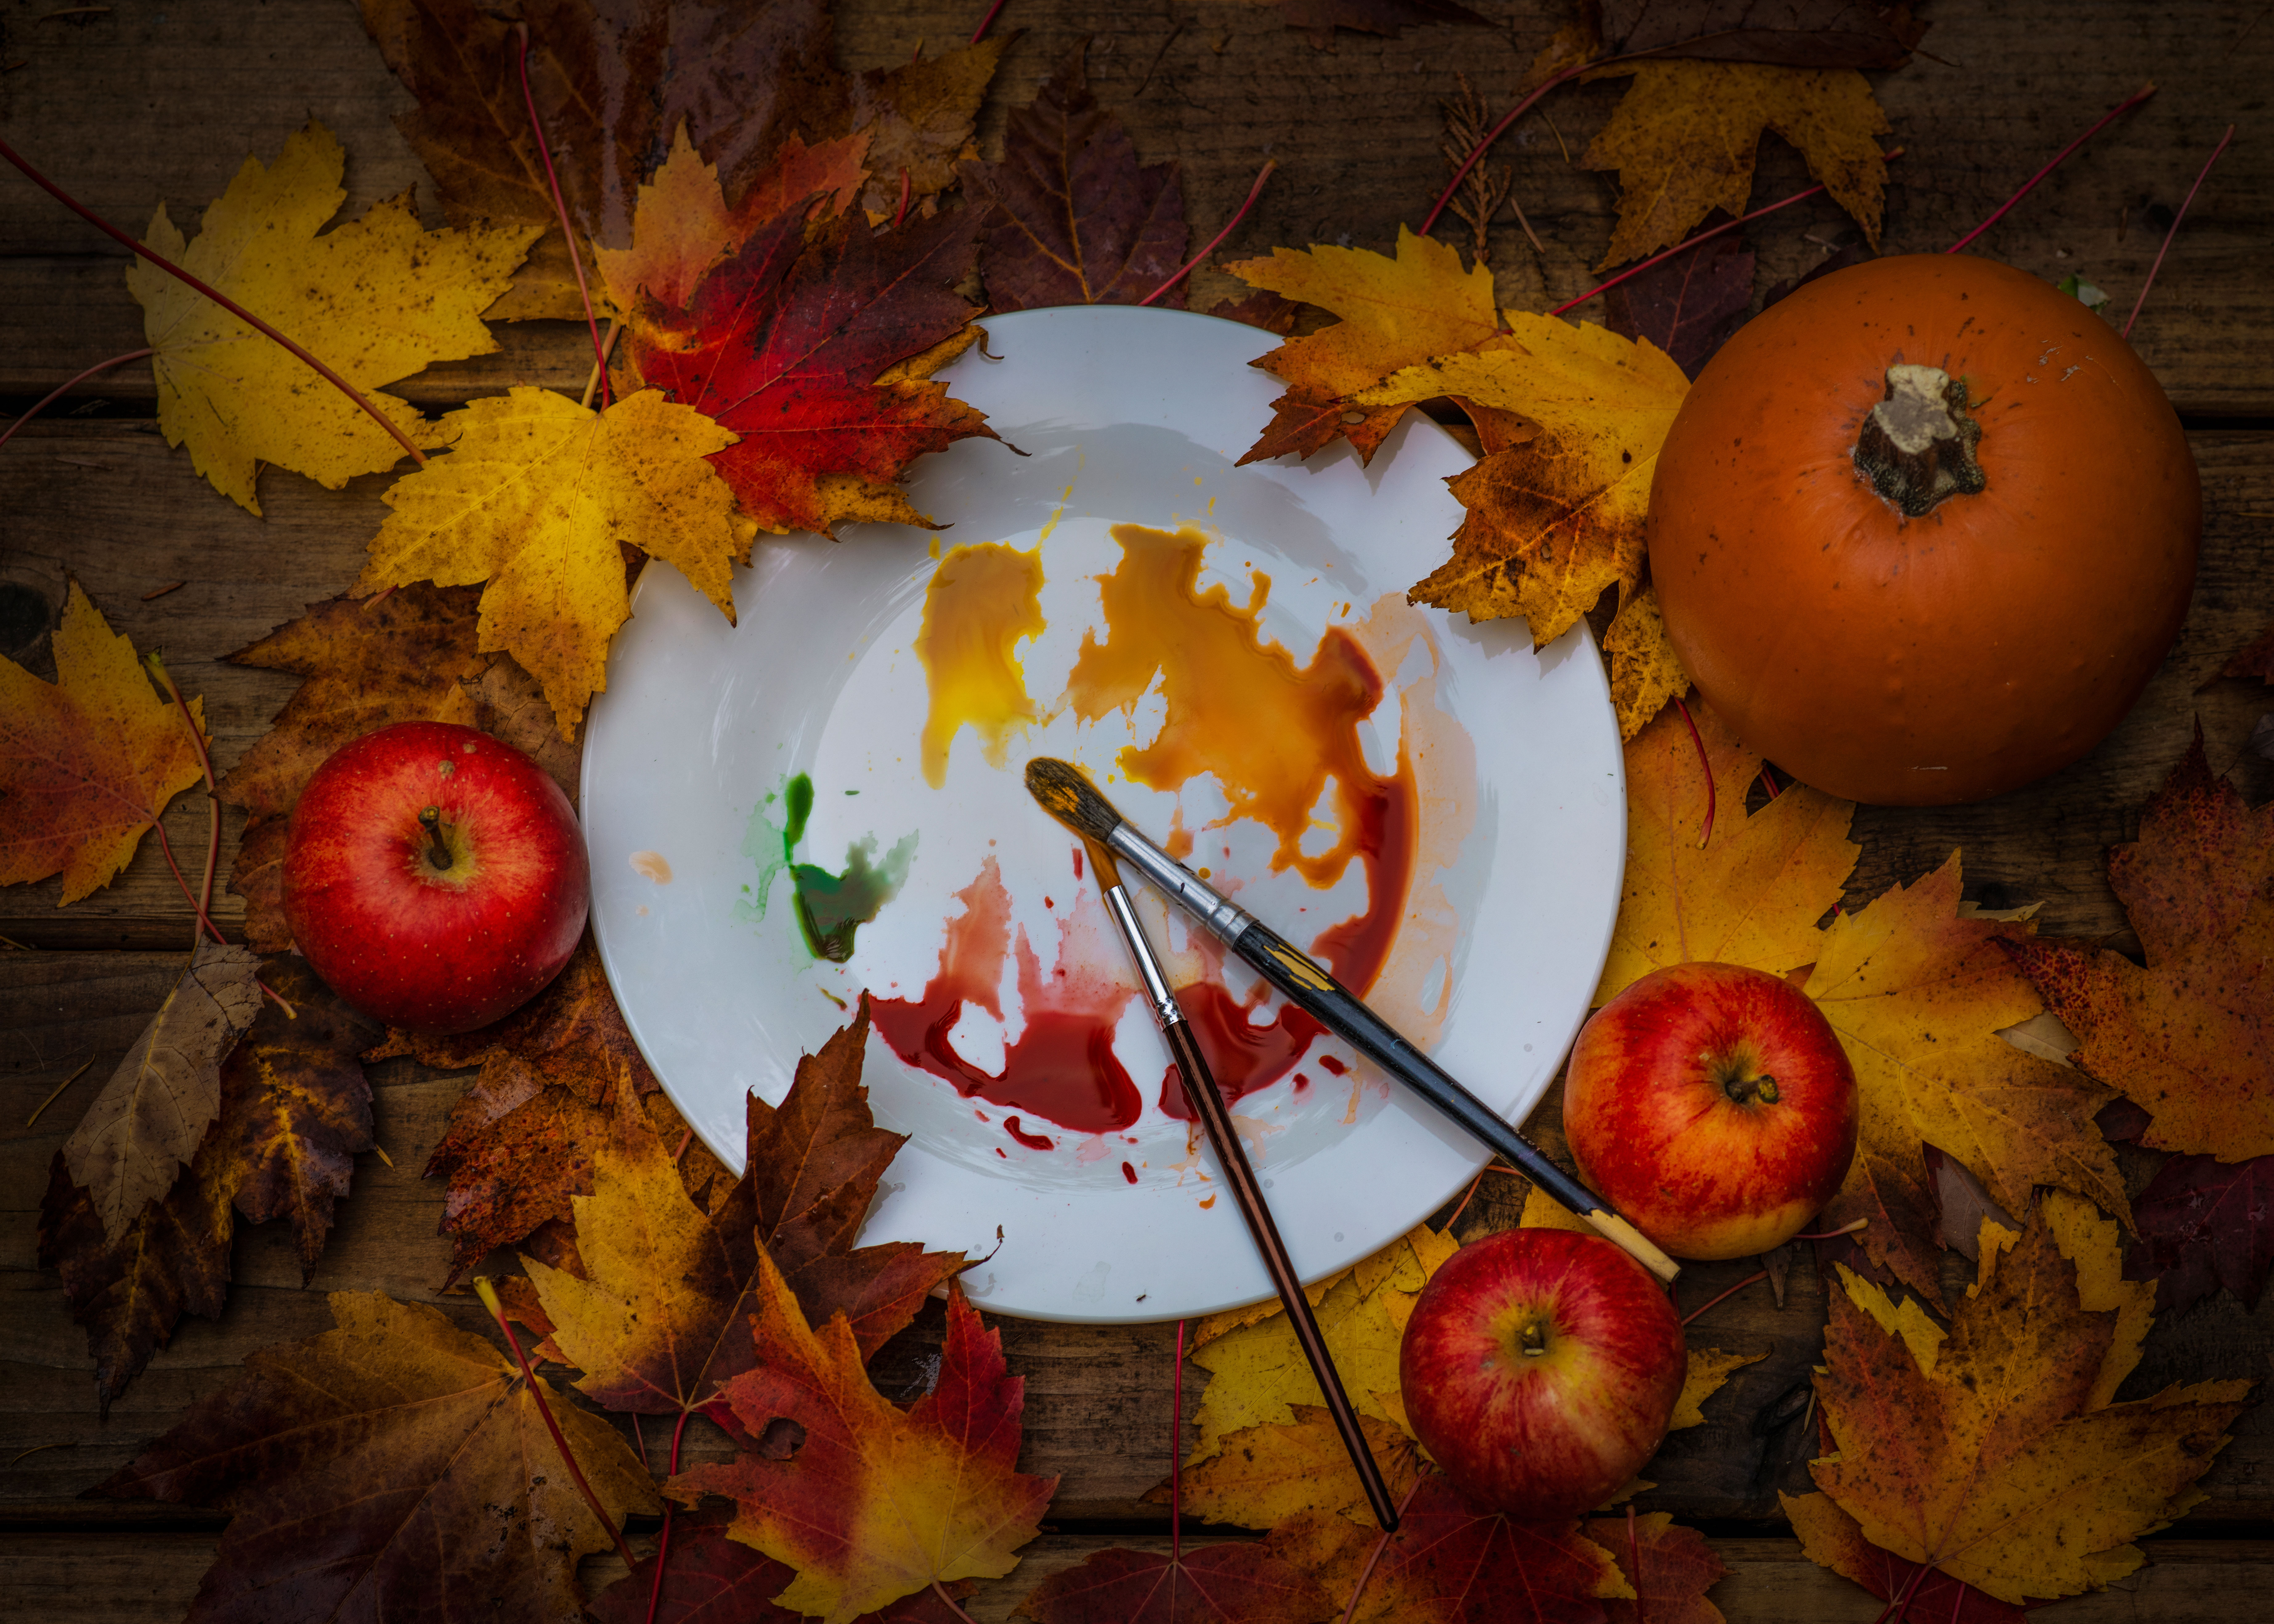
How do you prepare a pumpkin for painting?
If you're shopping for pumpkins look for ones that have a smooth surface and as few blemishes as possible. Pumpkins with dents and bumps will be harder to paint with a brush. Pick a pumpkin that is relatively fresh and won’t rot quickly. Then simply follow these quick instructions:
- Clean the pumpkin with a damp cloth, using a dab of mild detergent if it looks particularly dirty.
- Dab the pumpkin dry as much as you can with a kitchen cloth.
- Set it to one side to air dry completely before you start your painting project.
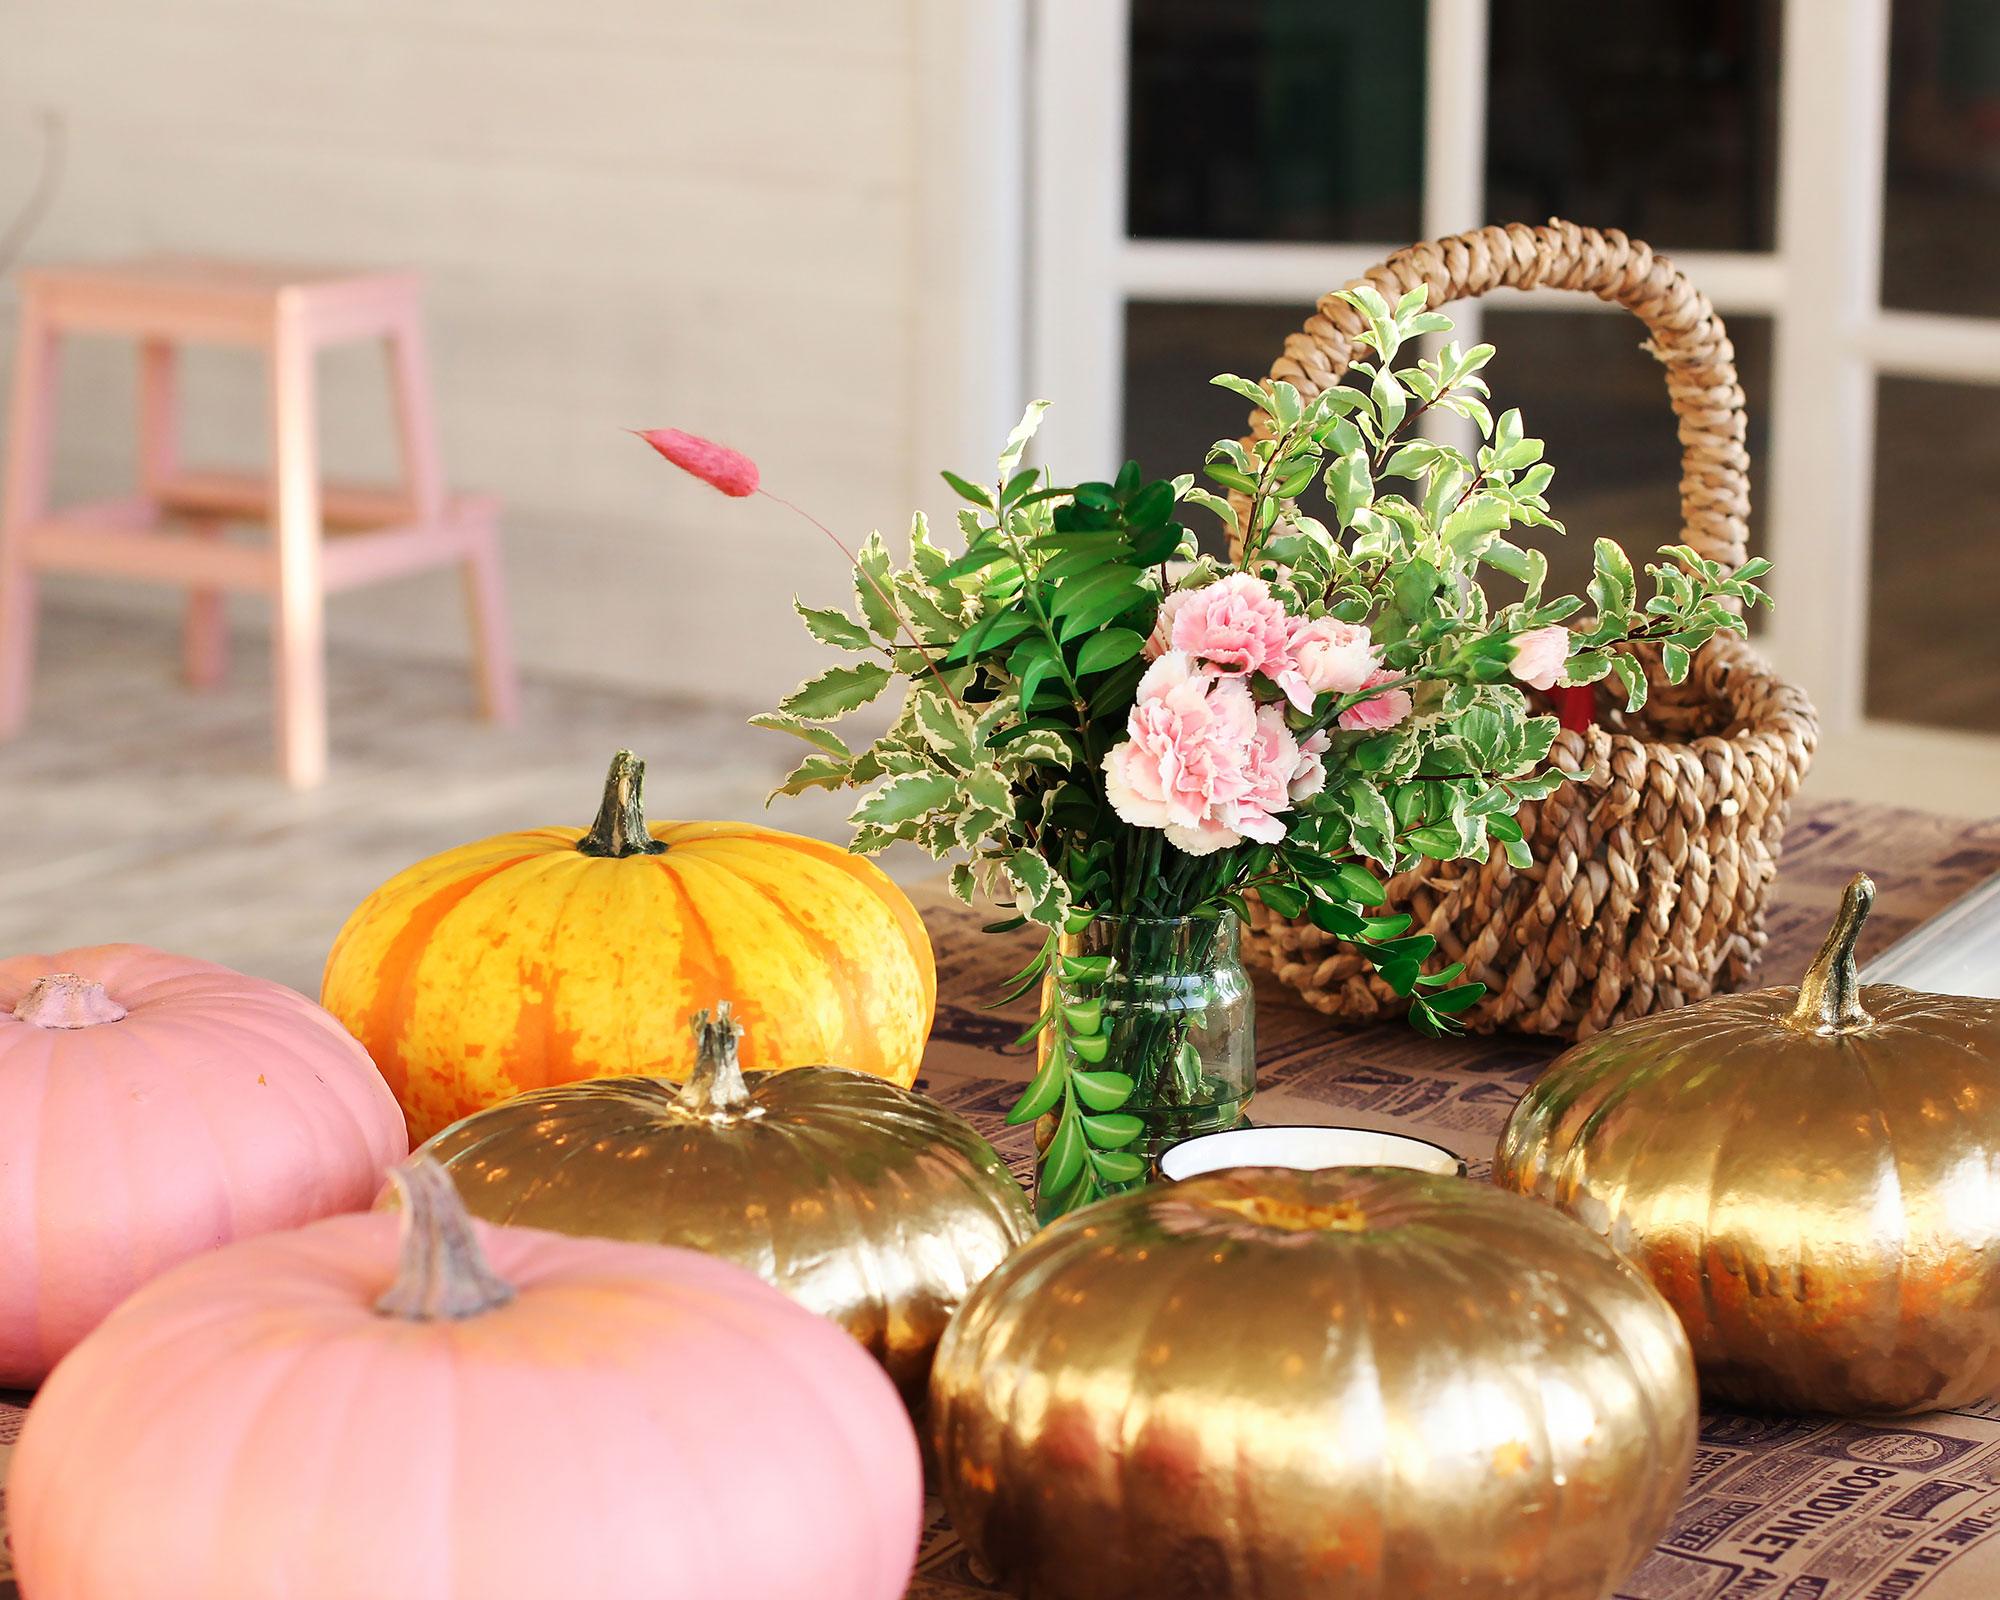
How should I decorate my pumpkin?
Once you've painted your pumpkin you'll need to add the finishing touches. You can simply use more paint in a different color to add lettering or illustrations. Or go for it and glow up your pumpkin with a range of accessories.
Tie ribbons around the pumpkin, dust it with glitter or sprinkles, or stick on appliqué accessories such as spiders or leaves.
The hot glue gun is your friend when it comes to decorating your painted pumpkin. It lets you easily add strips of sequins, buttons, beads or sewing trim along the grooves if you're going for a glam look, or string if you want something that will suit more rustic garden ideas.
But really it's up to you so just use your imagination and what you've got laying around at home to get creative!
Lifestyle journalist Sarah Wilson has been writing about gardens since 2015. She's written for Gardeningetc.com, Livingetc, Homes & Gardens, Easy Gardens and Modern Gardens magazines. Having studied introductory garden and landscape design, she is currently putting the skills learned to good use in her own space where the dream is establishing a cutting garden.
