Pumpkin carving ideas: 11 eye-catching designs to try this Halloween
These pumpkin carving ideas will provide all the inspo you need to create a unique decoration this fall
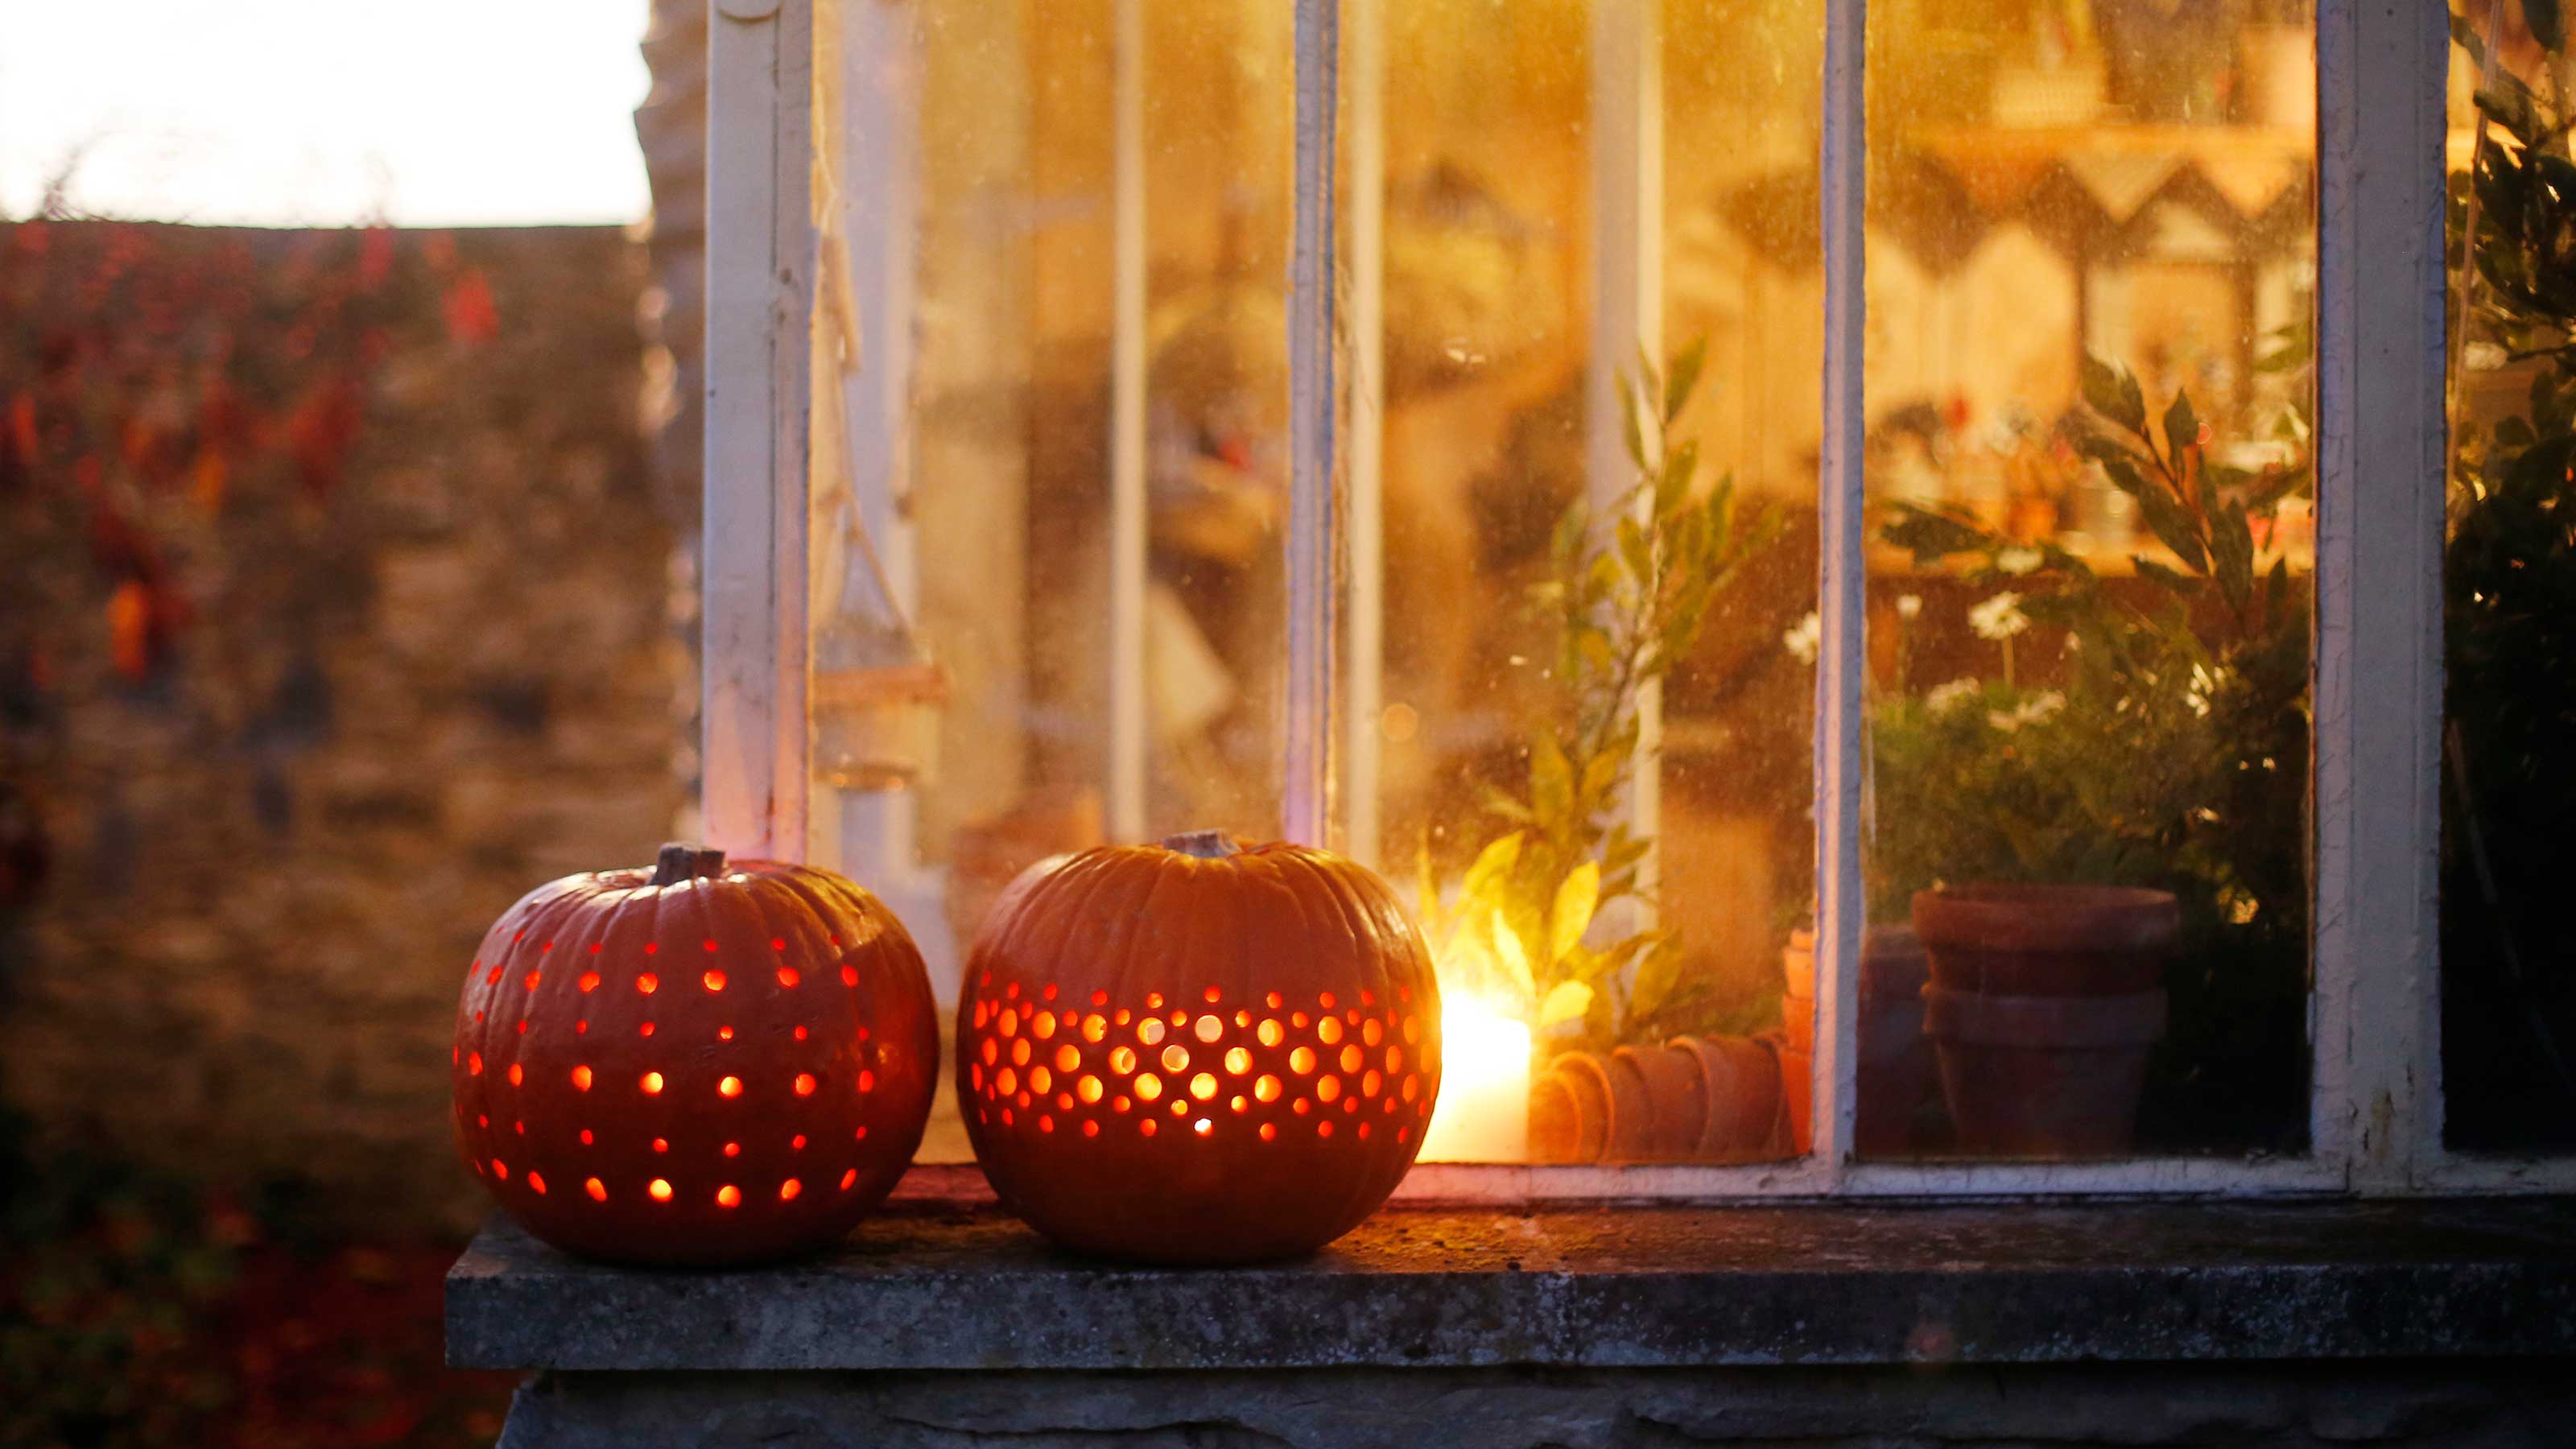

To really wow your guests this holiday season, you'll need some show-stopping pumpkin carving ideas. Luckily, we've got plenty of awesome looks to try.
When it comes to Halloween, we think you'll agree that a carved pumpkin is a must-have decoration. Whether propped onto a windowsill, beside the front door, or as a spooky centerpiece in your yard, they bring a warm, flickering glow that delights kids and grown-ups alike. And they're so simple – and affordable – to make at home. And tons of fun too!
Of course, a toothy grin is a quintessential look for a carved pumpkin. But there are lots of other styles you can try. With the right tools, there's the opportunity to really get creative – from creepy critters to pretty patterns. So why not try something a little different this year for your outdoor Halloween decor?
11 pumpkin carving ideas to give your spooky celebrations a lift
To help you get inspired for your own creation, we've rounded up plenty of pumpkin carving ideas to try at home. Whether you're looking for something scary or simply stylish, there's a pumpkin design for everyone.
1. Turn your pumpkin into an enchanting fairy house
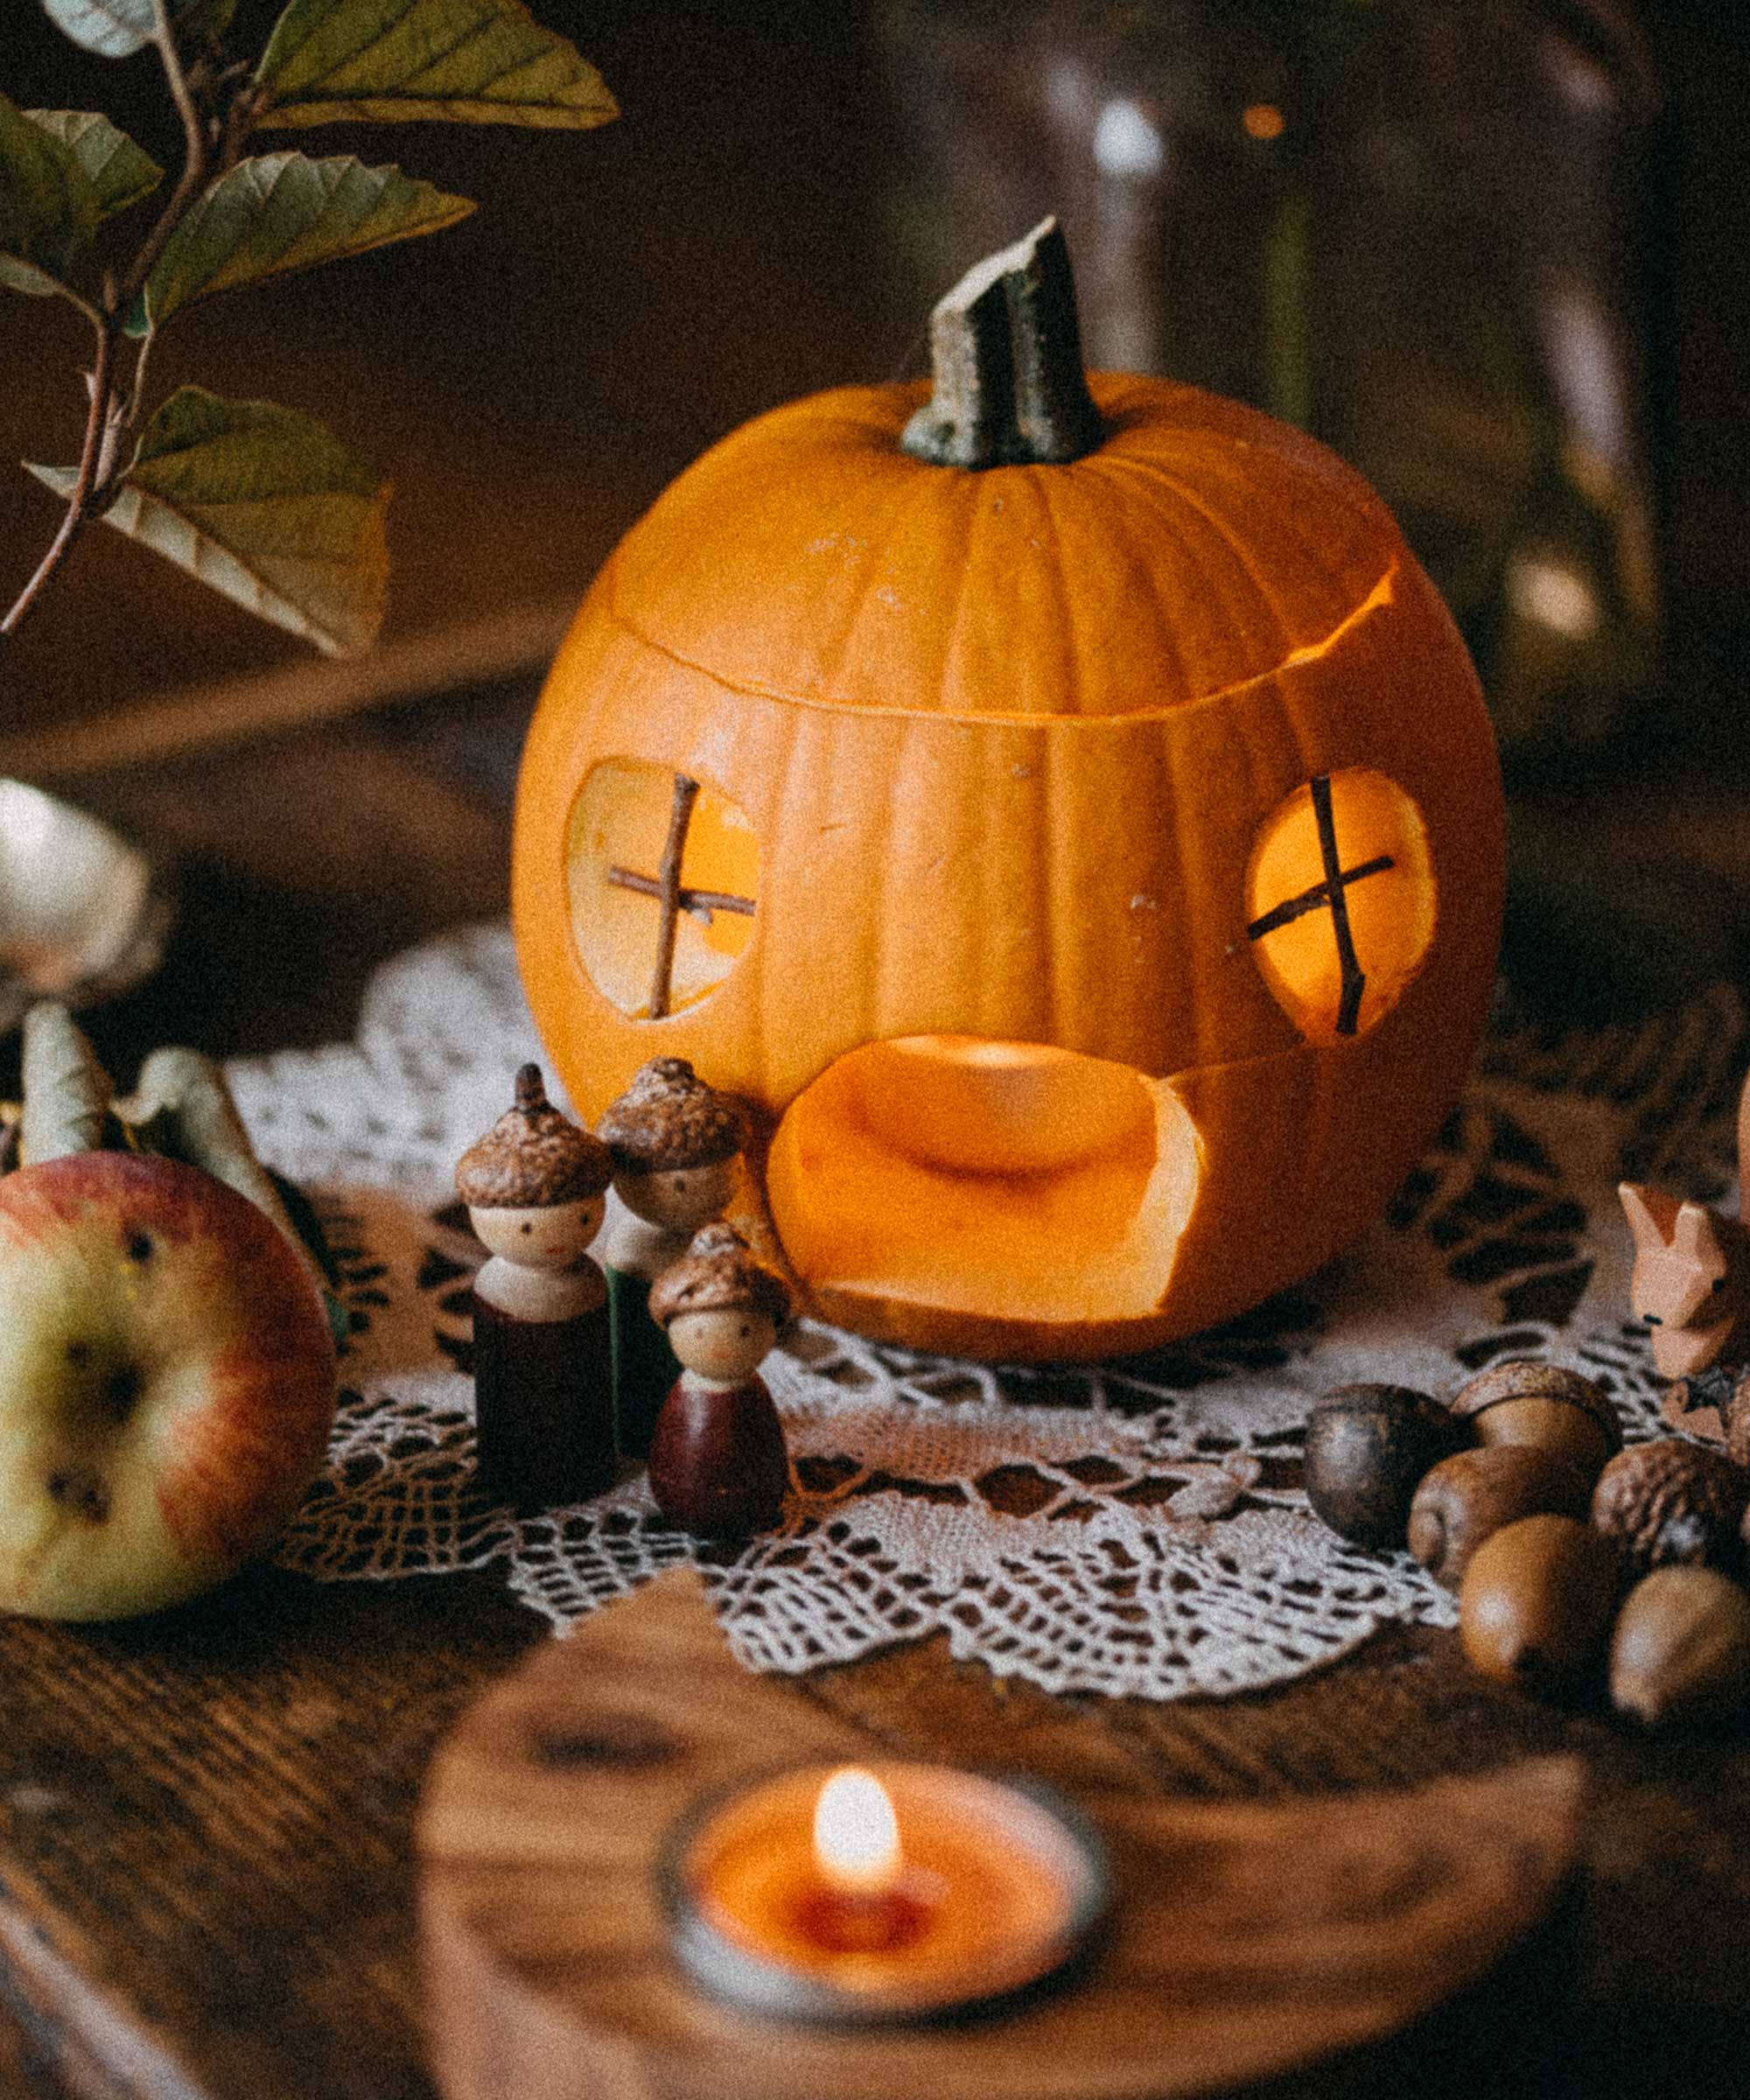
Keep your Halloween decor gentle with a cute pumpkin house
Carving your pumpkins into spooky Halloween faces can be a touch too scary for little ones. A charming pumpkin house like this one makes a lovely alternative.
Cut out windows and an arch for the door, then push small, criss-crossed twigs into the design to create windowpanes. Pop a candle inside (LED ones are always safest, especially around small children), and you can all sit back and watch the magical glow.
Looking for more garden activities for kids? You'll find lots in our guide.
2. Combine different sizes for a fun effect
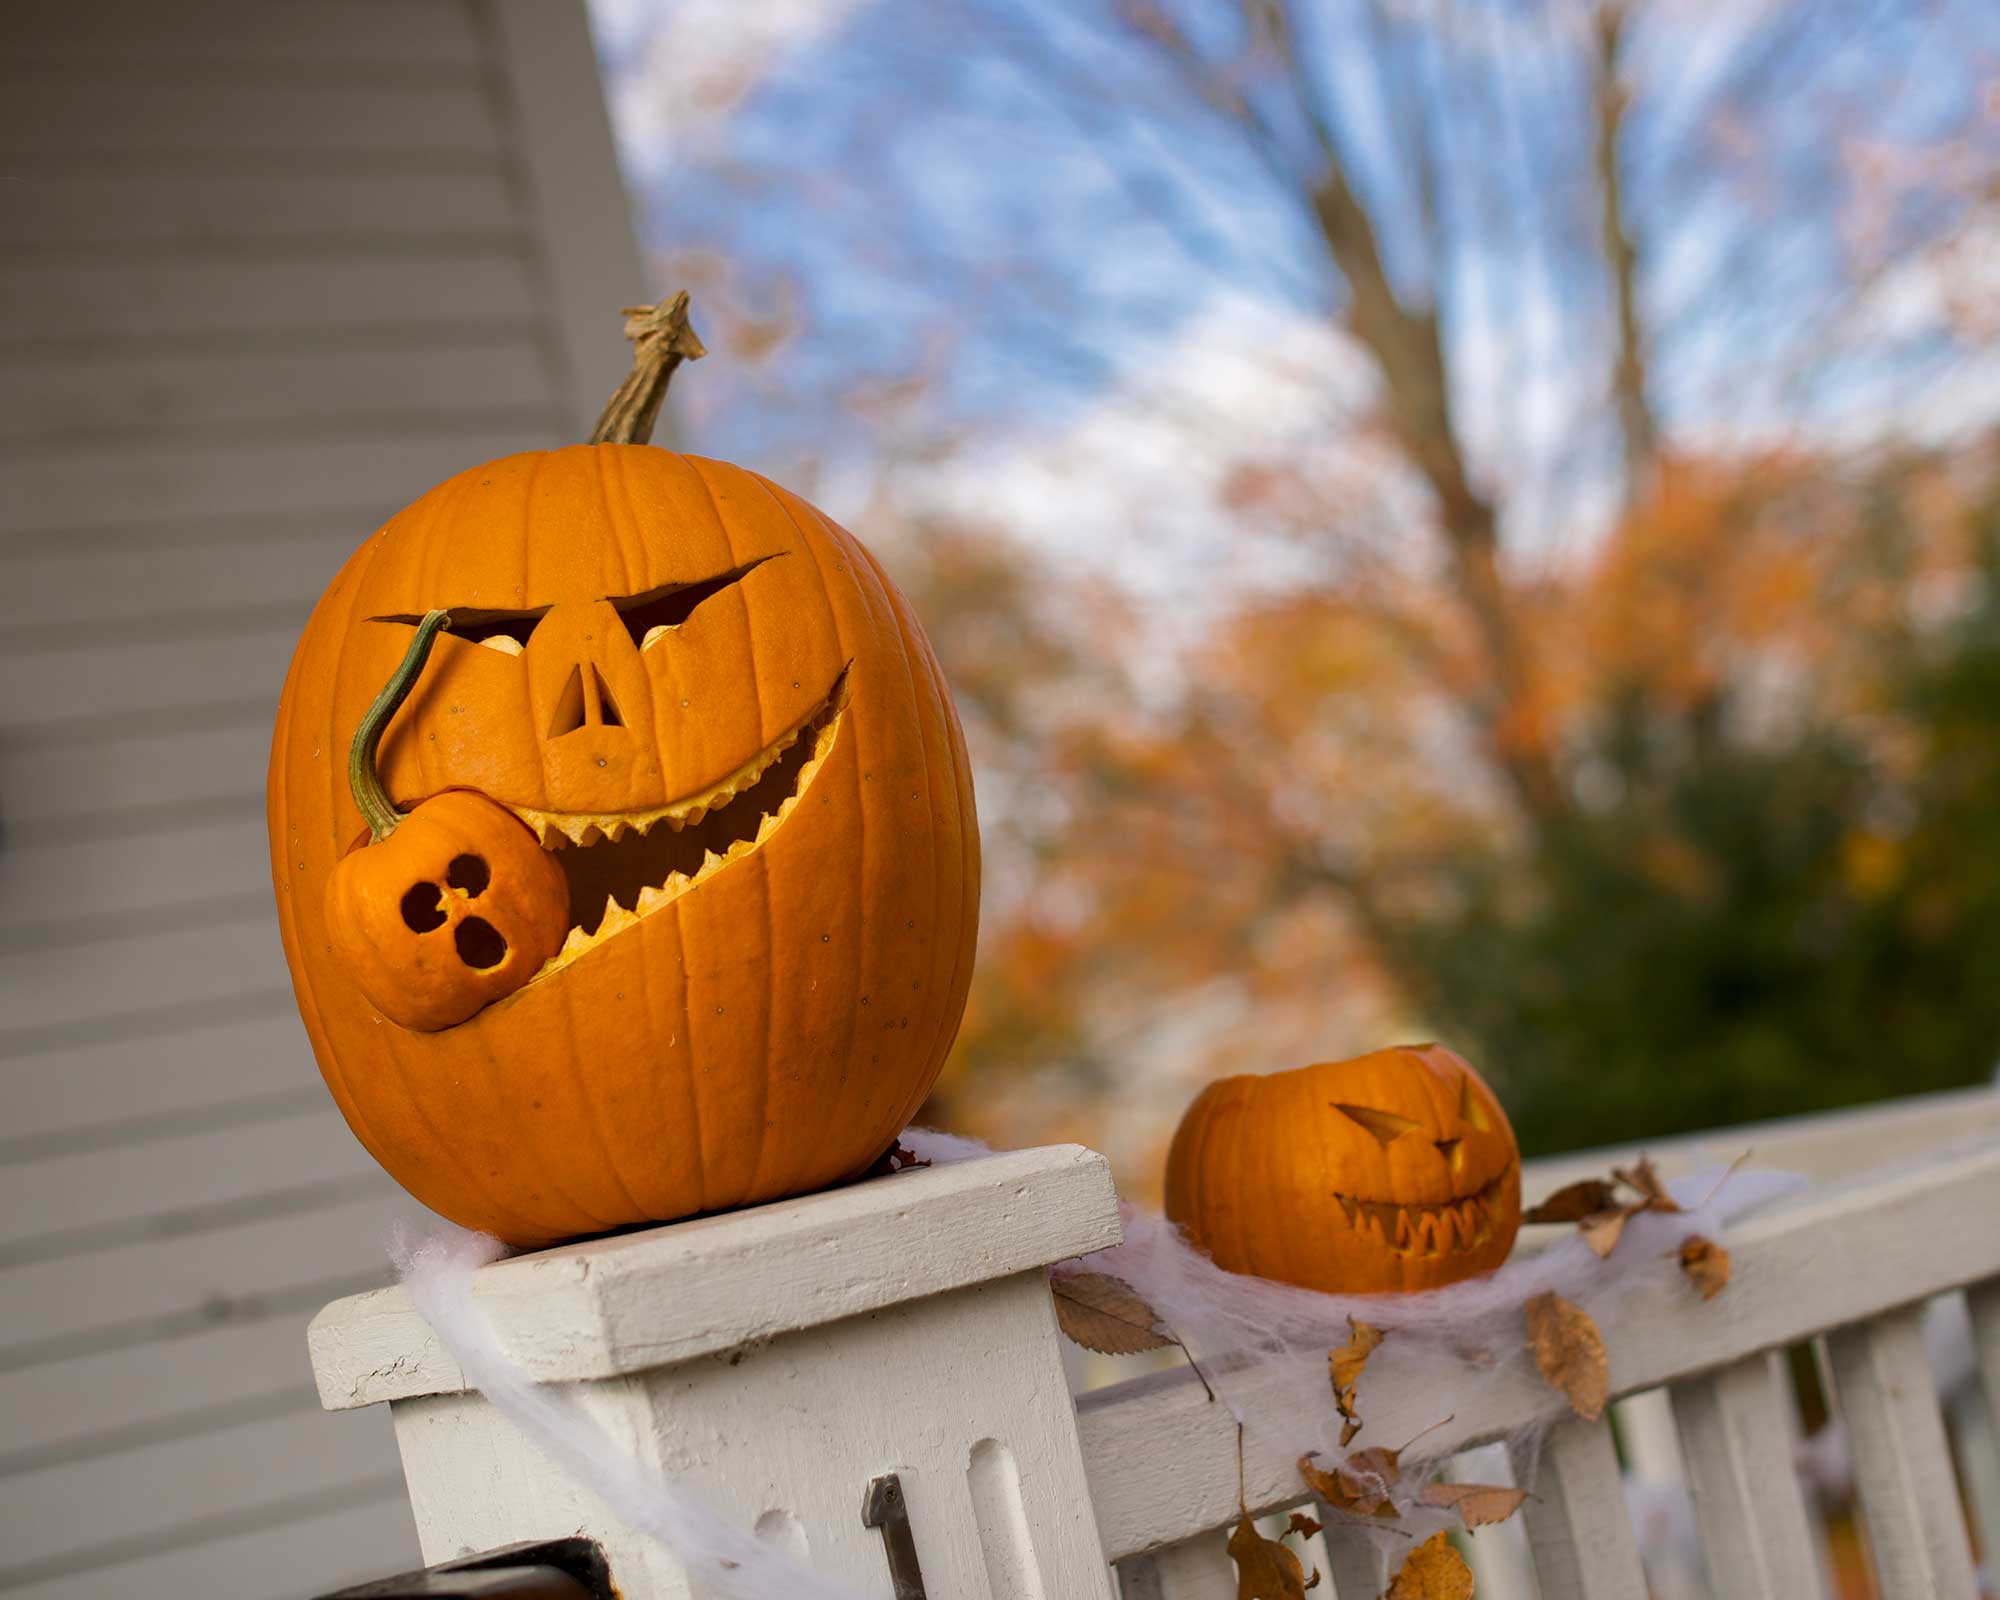
Up the fun factor with little and large pumpkins
'If you are looking to make a great display you could look at using a variety of designs for your pumpkins, from giant pumpkins to munchkins,' says Liam Lapping of Flowercard. At this time of year, there tends to be plenty to choose from in grocery stores.
Simply clustering a range of sizes, colors and styles together looks visually impressive, but you can also combine them into one design like this one shown above. It's a super fun idea that is bound to make visitors laugh – perfect for pepping up your Halloween porch decor.
3. Celebrate fall with a leafy pattern
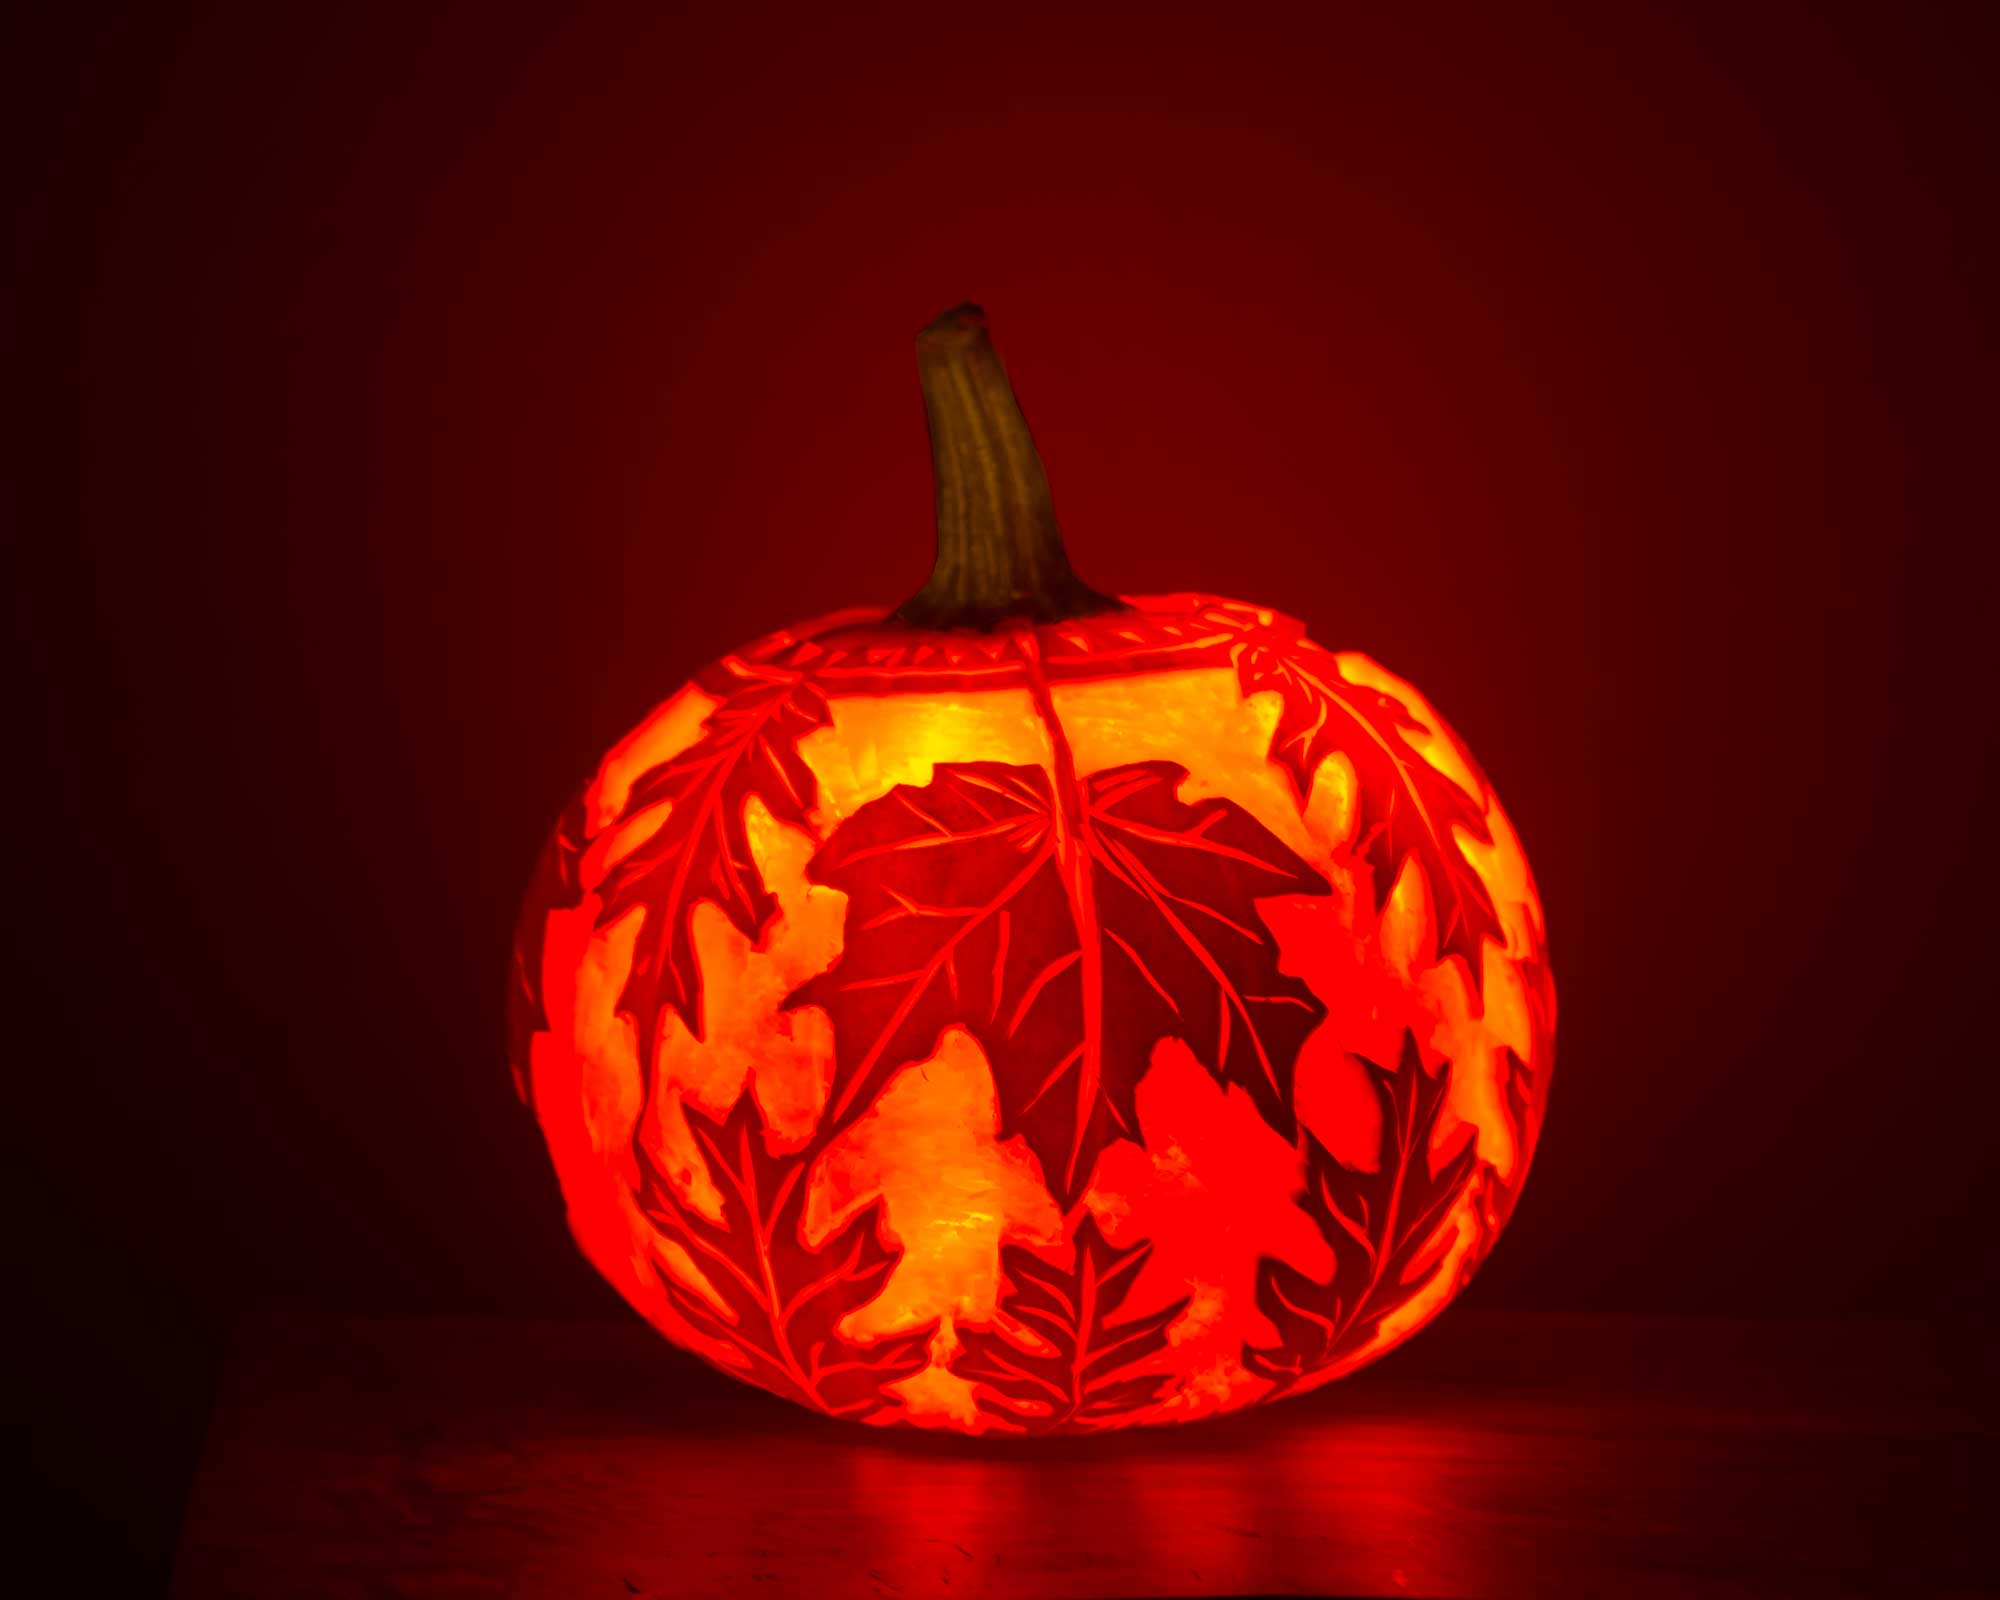
Try something a little more elaborate this season
If you're looking for sophisticated pumpkin carving ideas, this design might be for you.
Covered in a pattern of autumnal leaves, it will make a show-stopping focal point for any outdoor dining scene – perfect for an autumnal dinner party.
To achieve the look, you'll need to carve out different depths of your pumpkin without cutting all the way through (the uncarved areas will make the shapes of the leaves). For this, you'll definitely need the right tools, so it's worth investing in a special pumpkin carving kit (try Amazon for a wide range).
Bear in mind that such an intricate design will be more time-consuming than simpler styles, but the results will be worth it.
4. Go simple and chic with polka dots
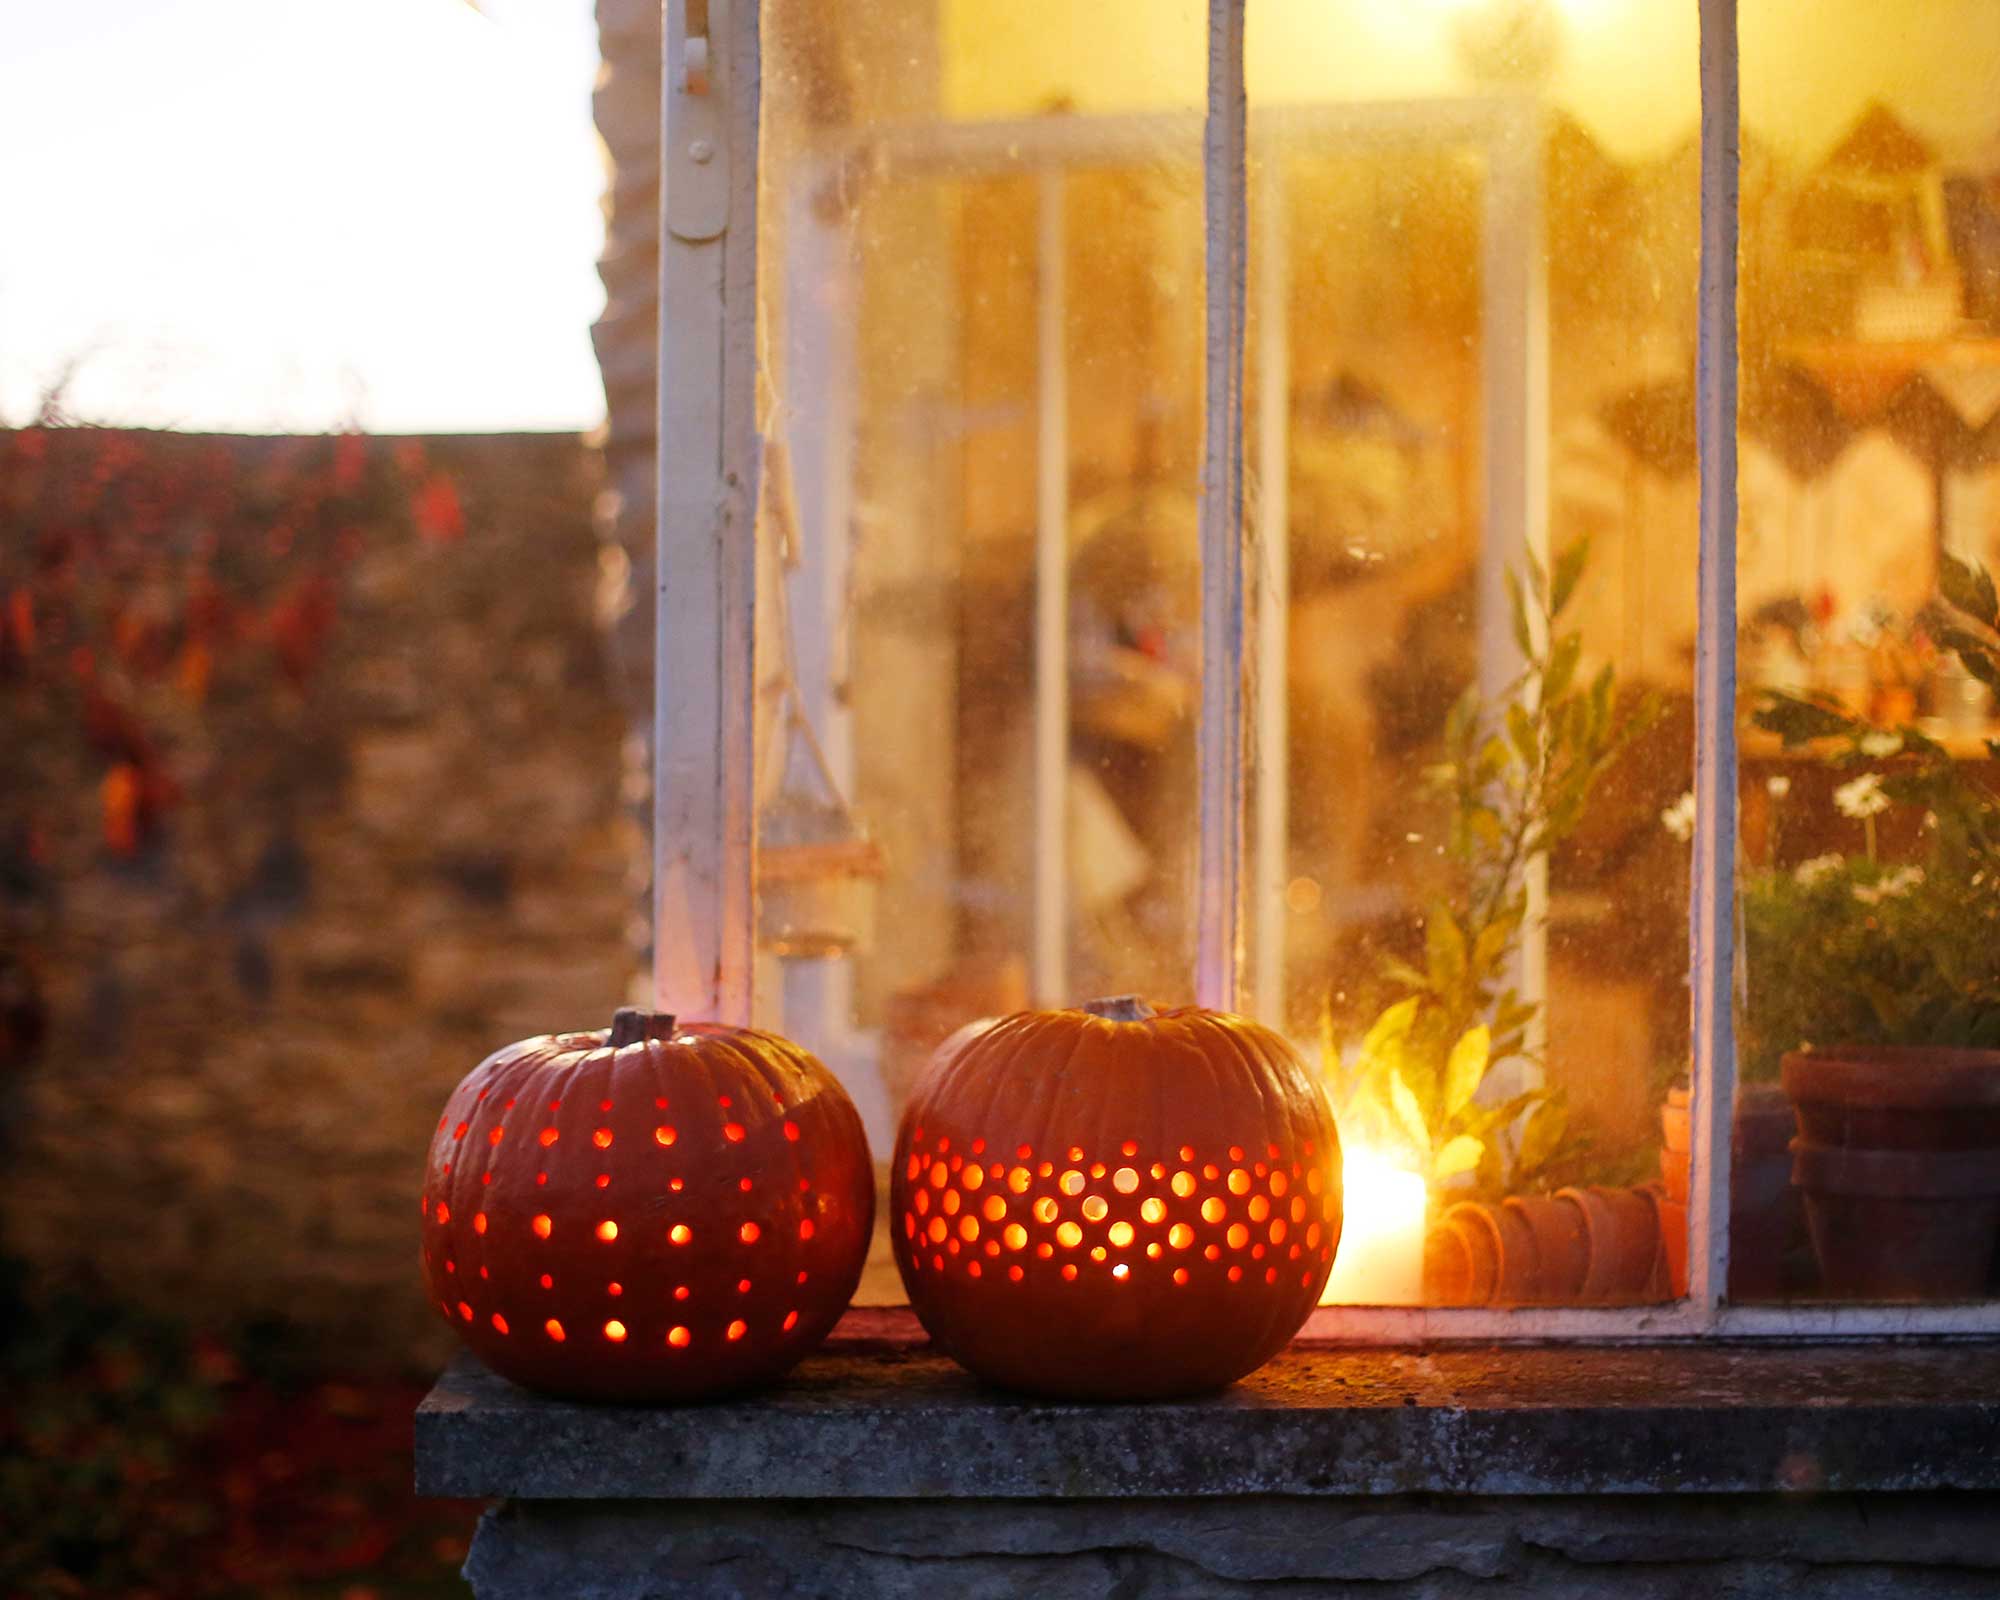
Power tools are useful for creating neat patterns
Looking for easy pumpkin carving ideas that don't sacrifice on style? A simple polka dot design is a winner in our books and will brighten up any porch or windowsill.
Don't try to tackle this look with a knife. To get perfect circles, a power drill is your friend. As Jeni Wright of Lowe's demonstrates, you can make different-sized holes with different-sized drill bits. 'You can create patterns, you can spell out words – it's all up to you,' she says. The best part is it's super quick to do – all the more reason to make more than one.
If you want more ways to boost your windows outside of the holiday season, our window box ideas have plenty to inspire.
5. Add plenty of character to your jack-o'-lanterns

Bring your pumpkins to life with different expressions
If you're a stickler for tradition, then you'll probably want to incorporate a Halloween face in your pumpkin carving ideas. But, traditional doesn't have to mean basic.
By switching out the classic triangular nose and eyes with more characterful shapes, you'll give plain old pumpkins a whole new lease of life. Think wide eyes, jagged smiles, cheeky grins: mix up the expressions to up the fun factor.
Just remember to go in with a plan – drawing the design on first will make the carving process much easier. You can find more tips on how to carve a pumpkin in our guide.
6. Carve a spooky message

Greet trick-or-treaters with a glowing pumpkin
Greet your guests with a Halloween message – 'Boo!', 'Trick or treat', or 'Welcome' are classic choices. Keep it simple and let the words do all the talking, or add extra decorative features such as these ghosts, or perhaps a pattern of stars.
Alternatively, how about carving out your own name? Make one for all the family and pop them pride of place – perhaps along a low garden wall – for a personal touch.
7. Use to display an autumnal bouquet
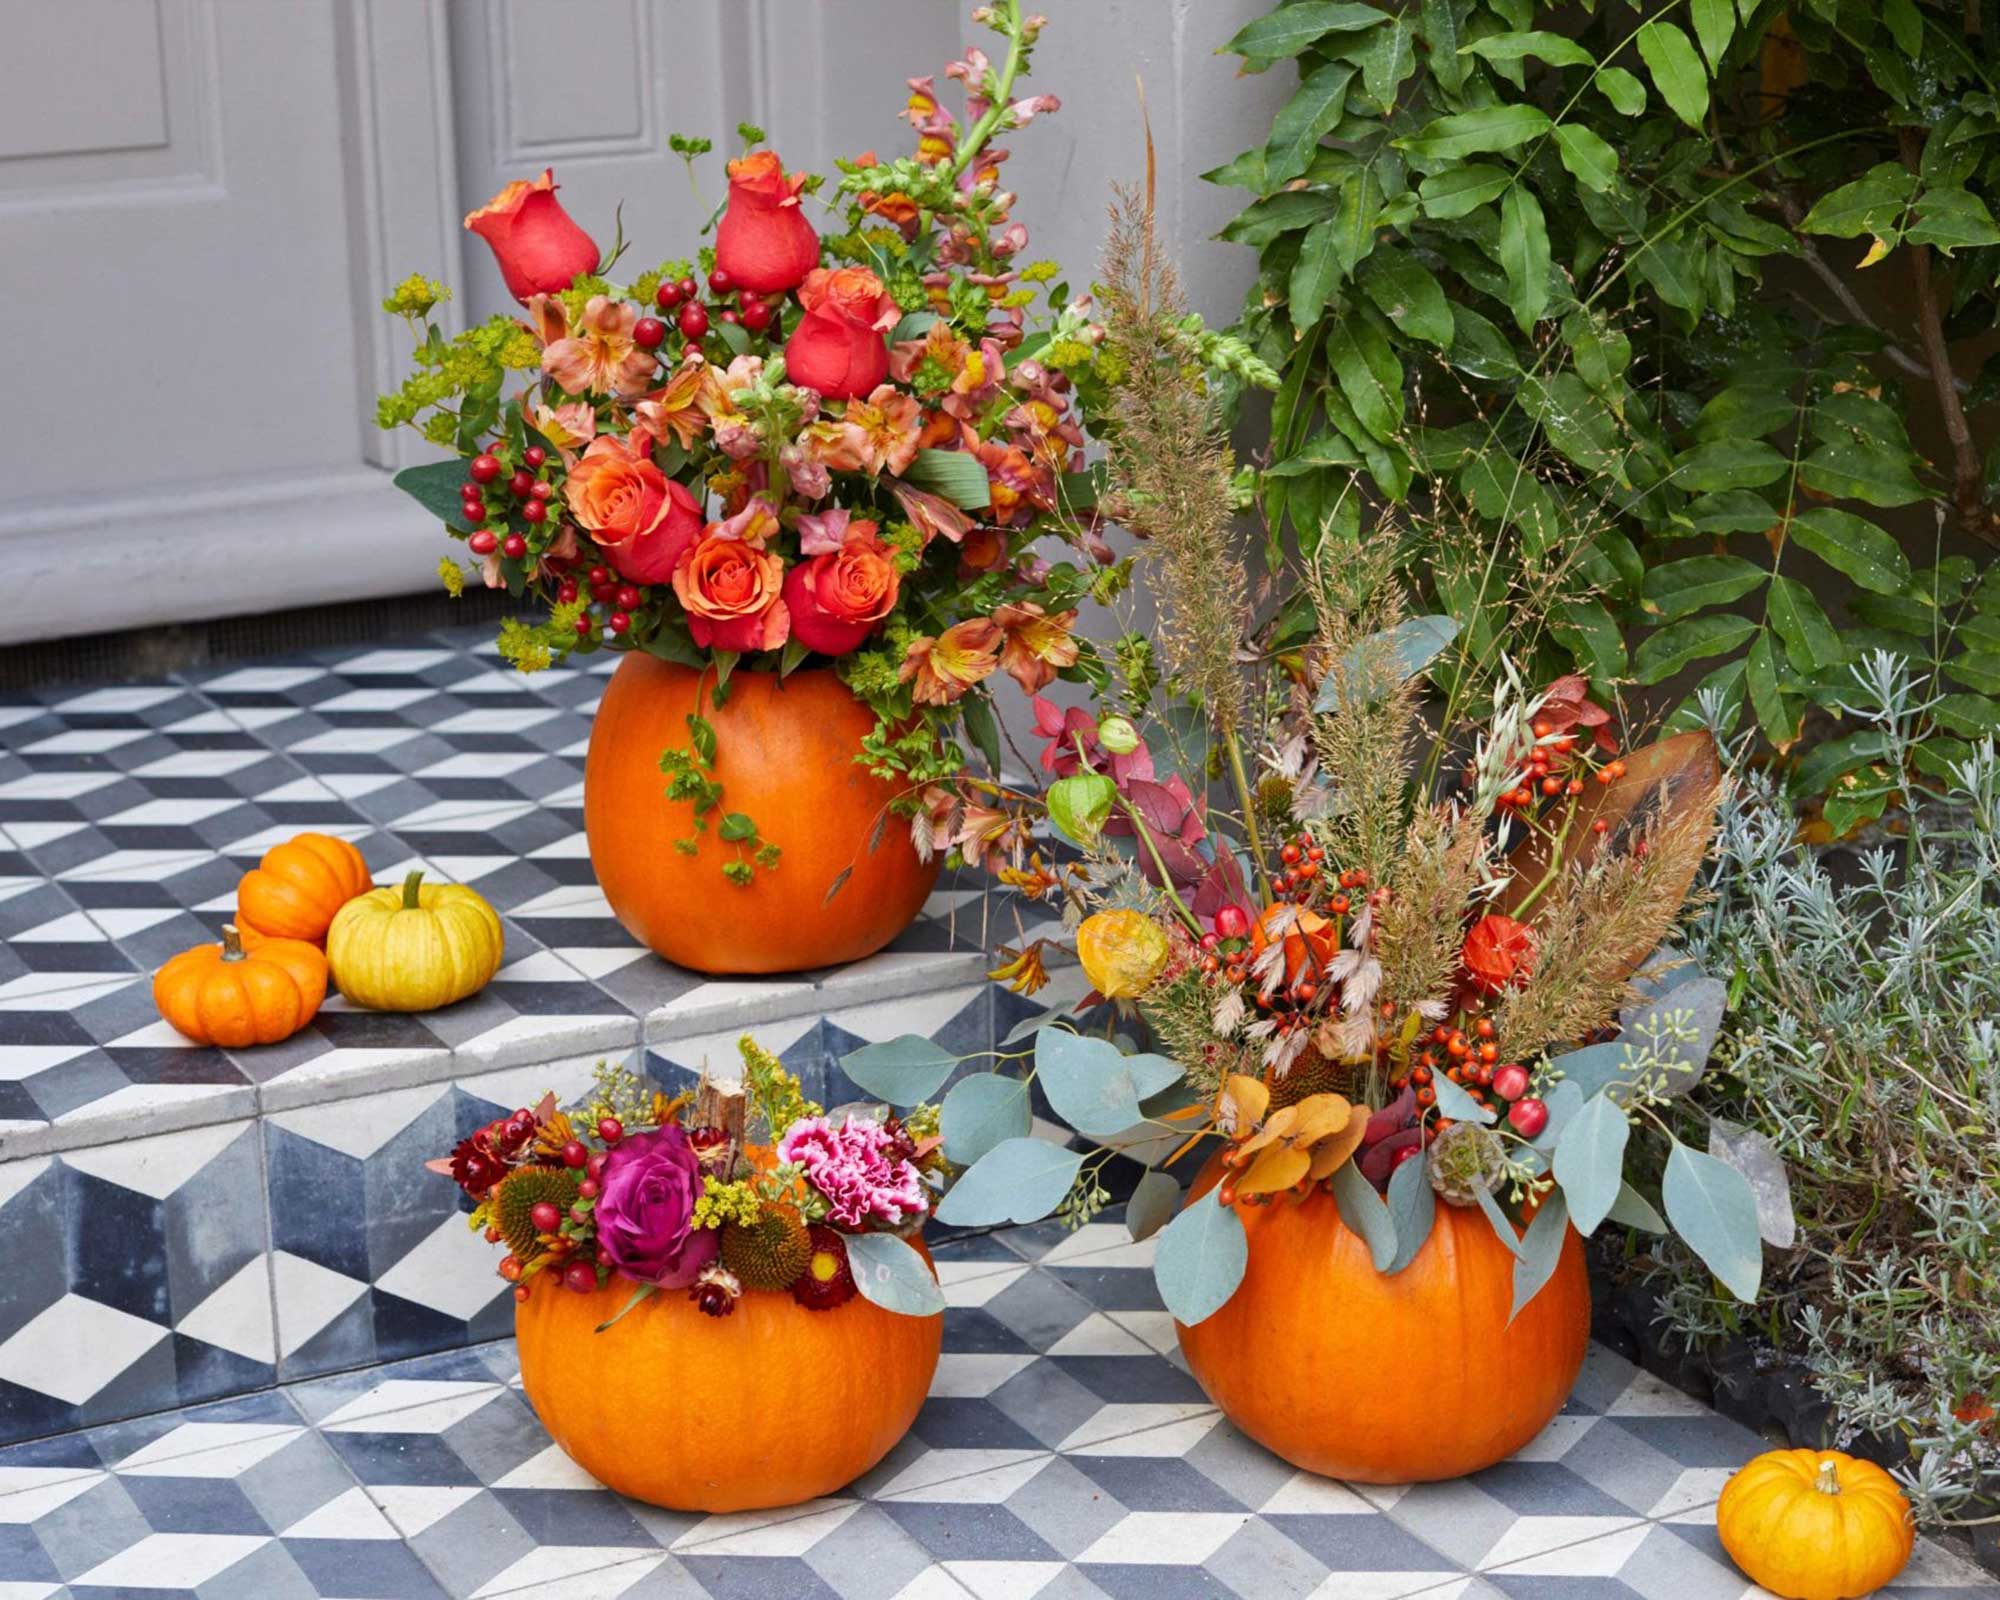
These pumpkin vases are perfect for displaying seasonal flowers from Bloom & Wild
Pumpkin vases are taking social media by storm. We're not surprised – this twist on a traditional carved pumpkin is a gorgeous way to display an autumnal bouquet. Plus, they're so simple to make.
Bloom & Wild explains all you need to do to make one for your home:
- Cut out the stem of the pumpkin and create a big enough opening to fit your flowers.
- Scoop out the pumpkin.
- Fill the pumpkin with water or add wet floral foam if using.
- Add and arrange your flowers.
'Pumpkin vases are a fun autumnal alternative to a classic vase,' says floral stylist Amelia Christoffers. Once filled with your seasonal blooms, pop in the center of an outdoor dining table, or arrange a cluster beside the front door for extra wow factor.
You could even opt for a white pumpkin or give it a lick of paint to fit your theme further.
8. Or, go the other way and gross out your guests
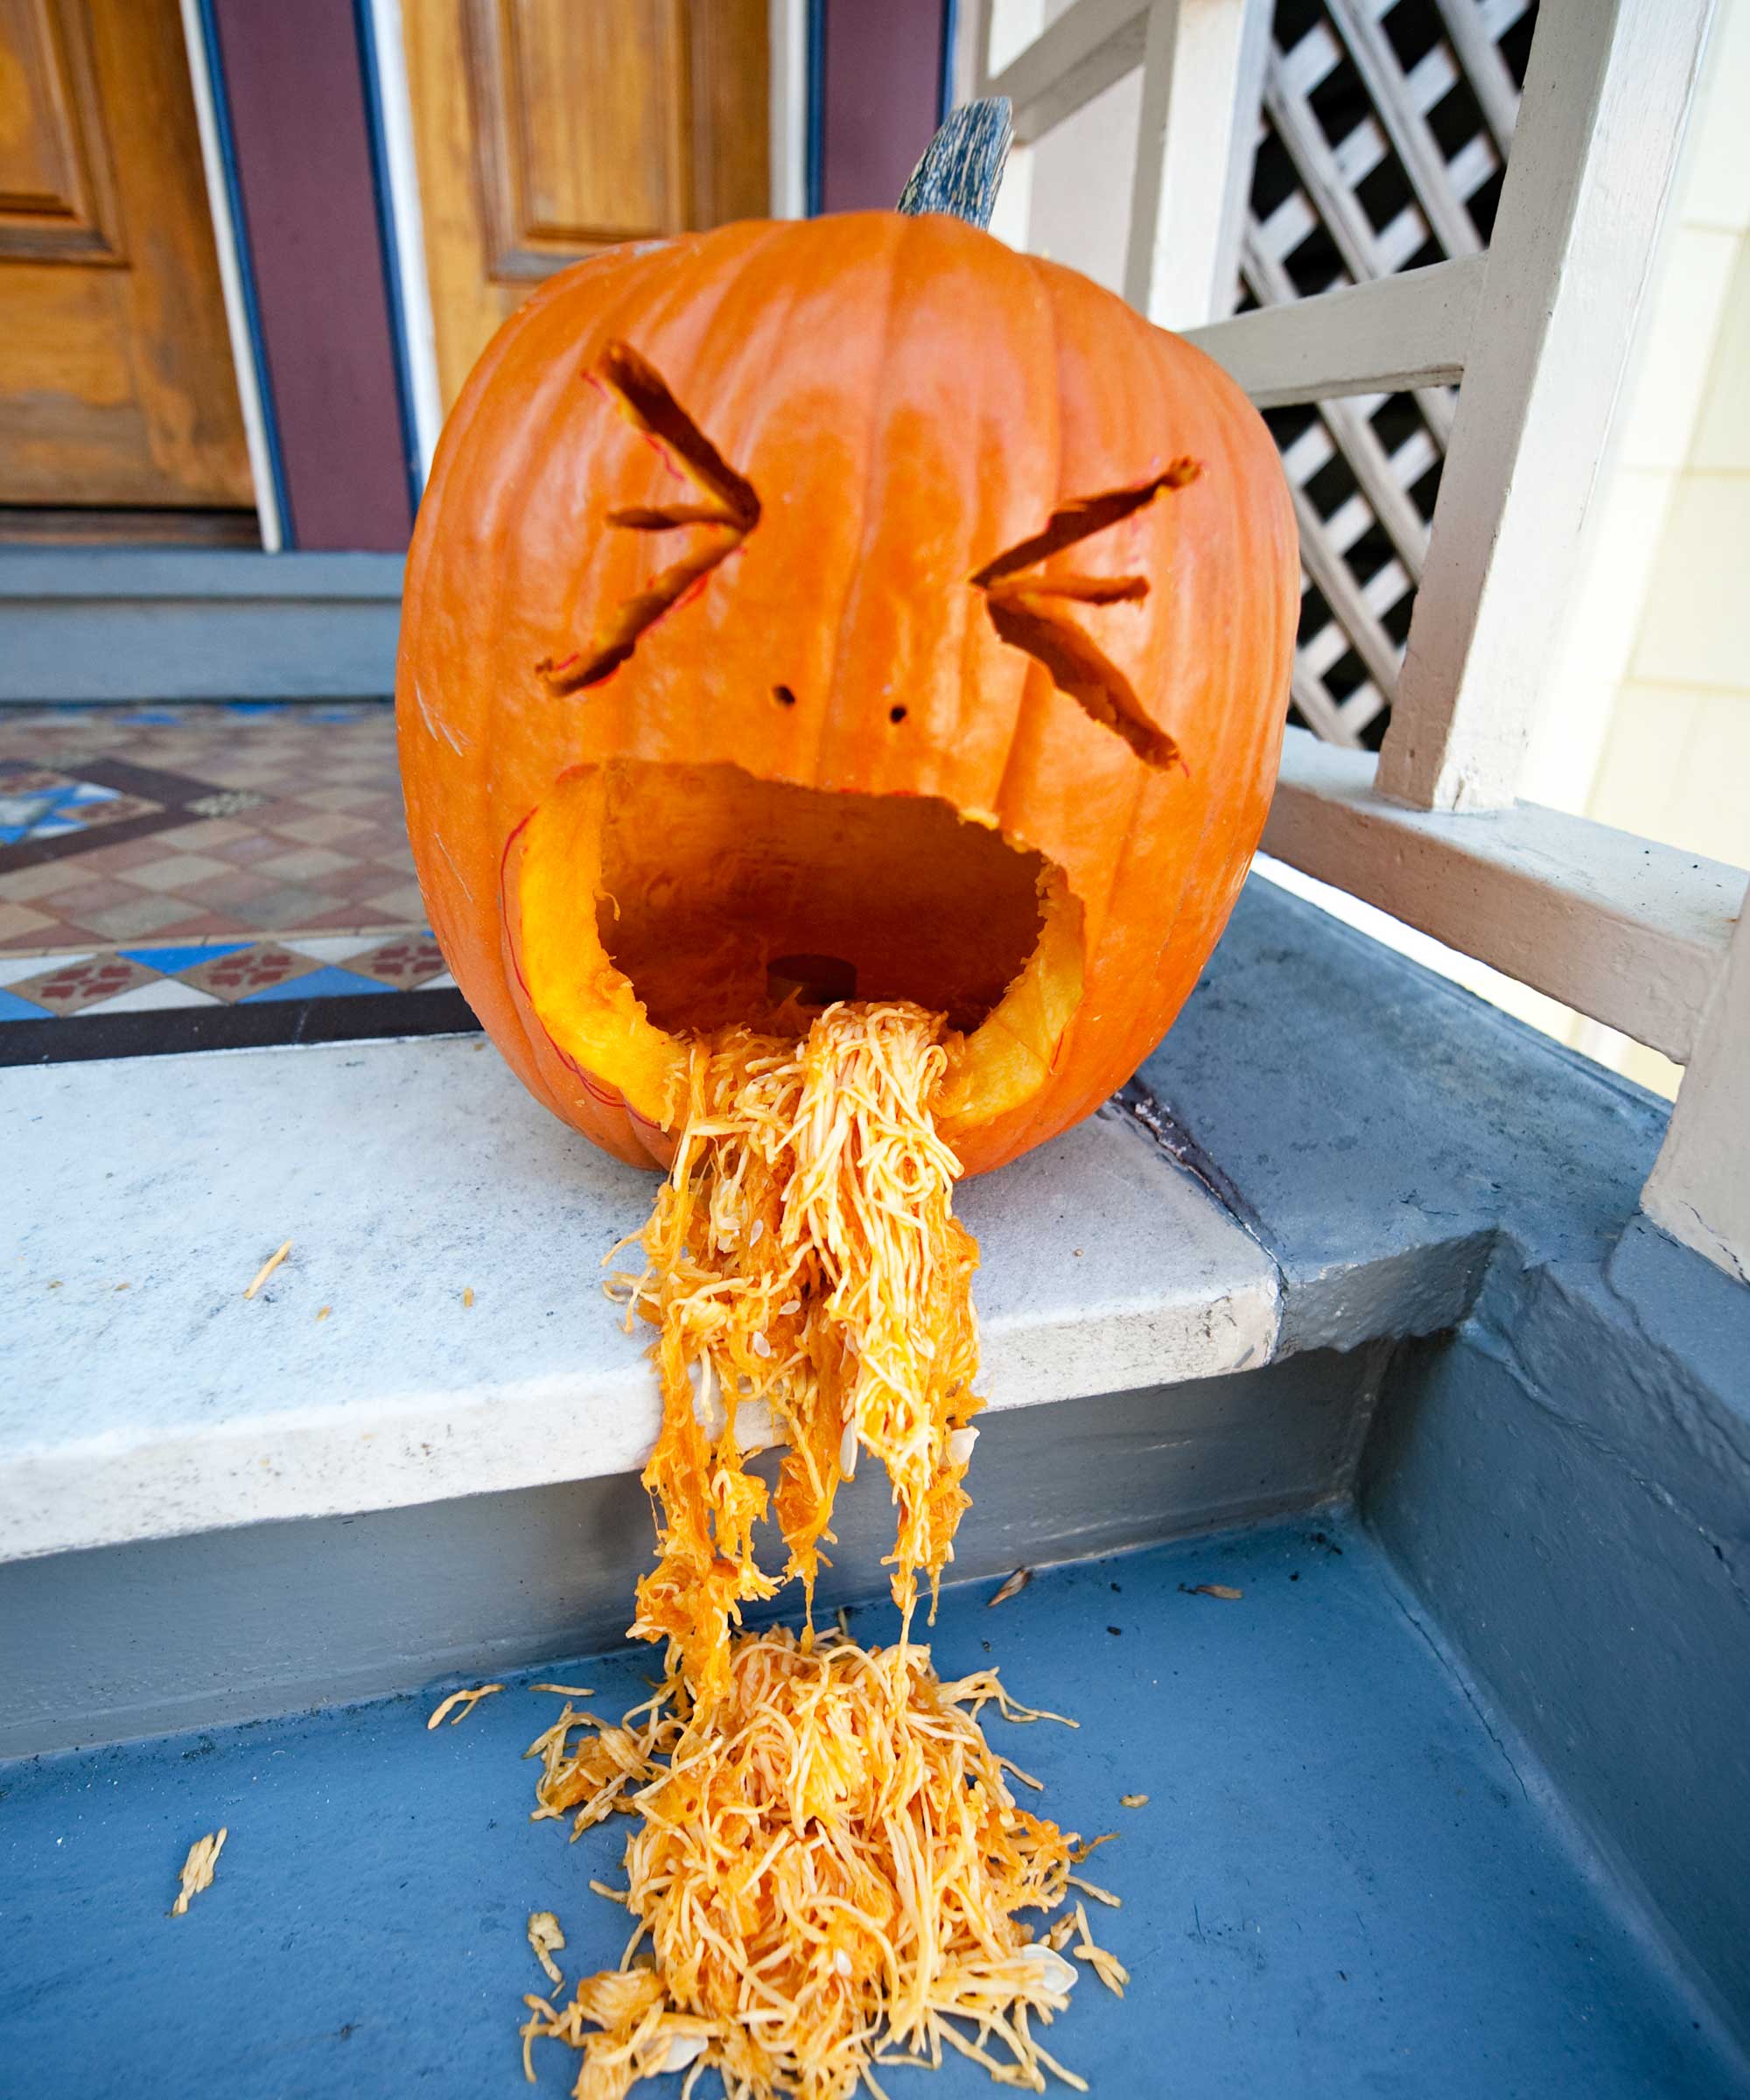
A puking pumpkin will make onlookers giggle
This puking pumpkin is bound to make the kids laugh! It's definitely not an elegant look but fun nonetheless, and it puts all those stringy pumpkin innards to good use. Just be careful where you place it to avoid unwanted stains.
Swap out the guts for guacamole and surround with crudités and chips and you've also got a suitably gruesome feature to add to your Halloween buffet.
You can find more garden party ideas for the rest of the year in our guide.
9. Opt for an owl
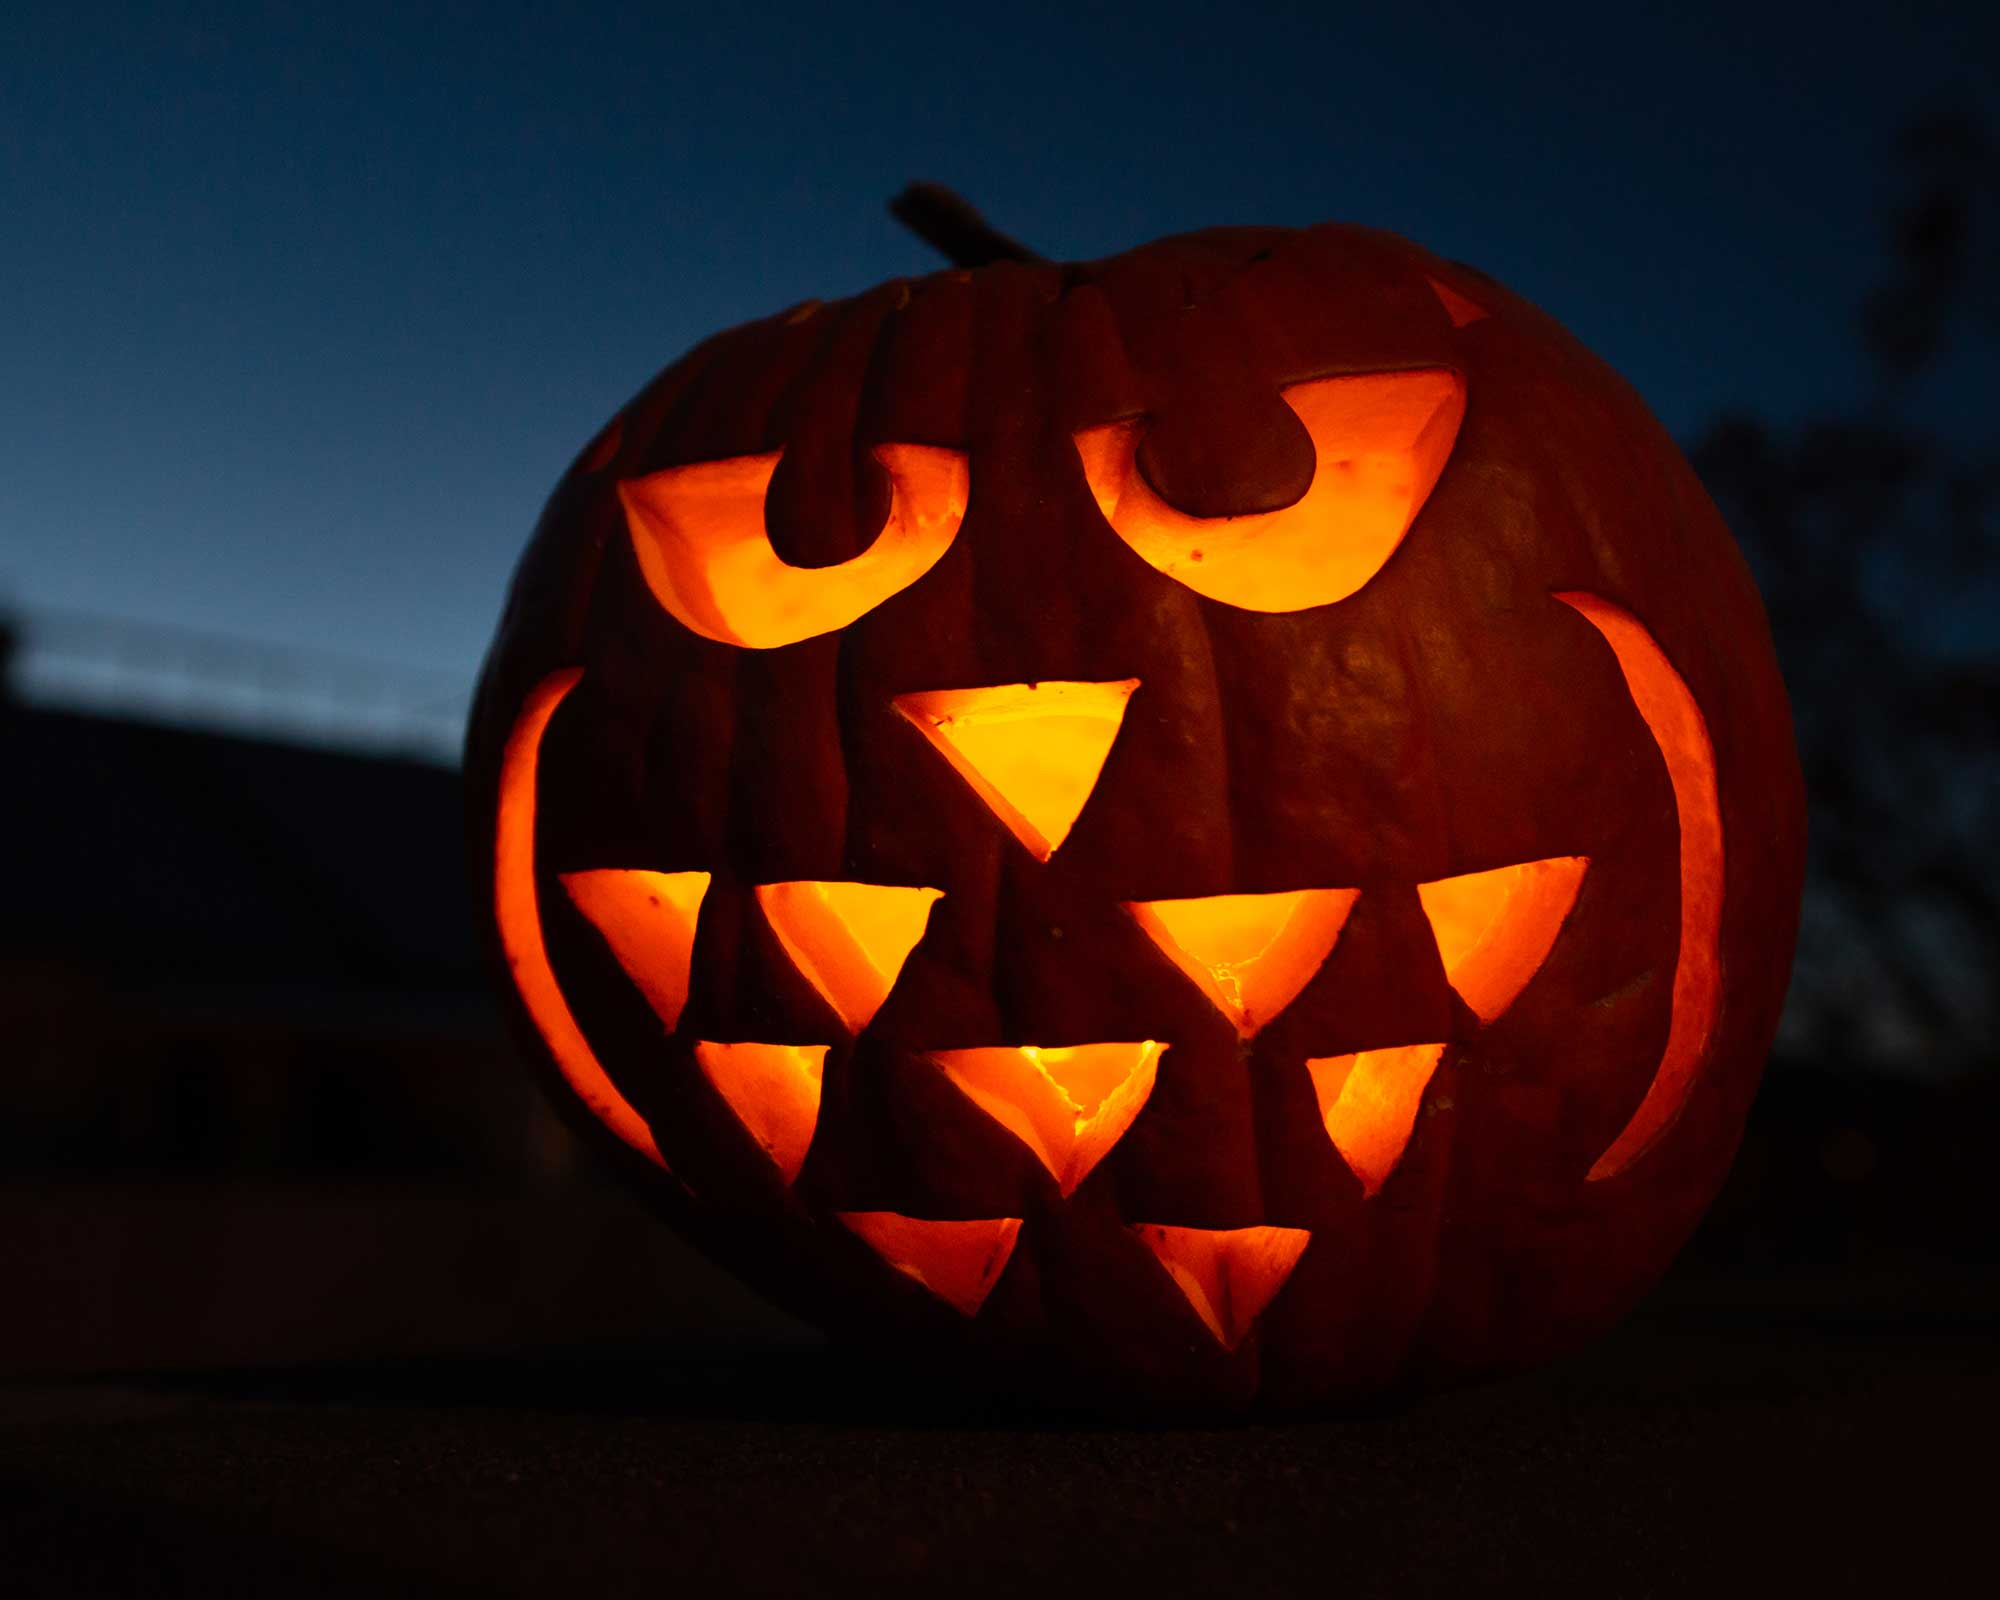
A design like this is easy to create
The hoot of an owl is a classic spooky sound for Halloween, so why not turn your pumpkin into one of these wise creatures? A design like this is actually really straightforward but looks hugely effective when lit up.
All you need to do is carve out a bunch of triangles to make feathers and a beak, a couple of curves either side for wings, and two eyes. Add an outdoor LED candle and position on a fence post or wall for an eye-catching and eerie scene.
10. Give your pumpkin toothpicks for teeth
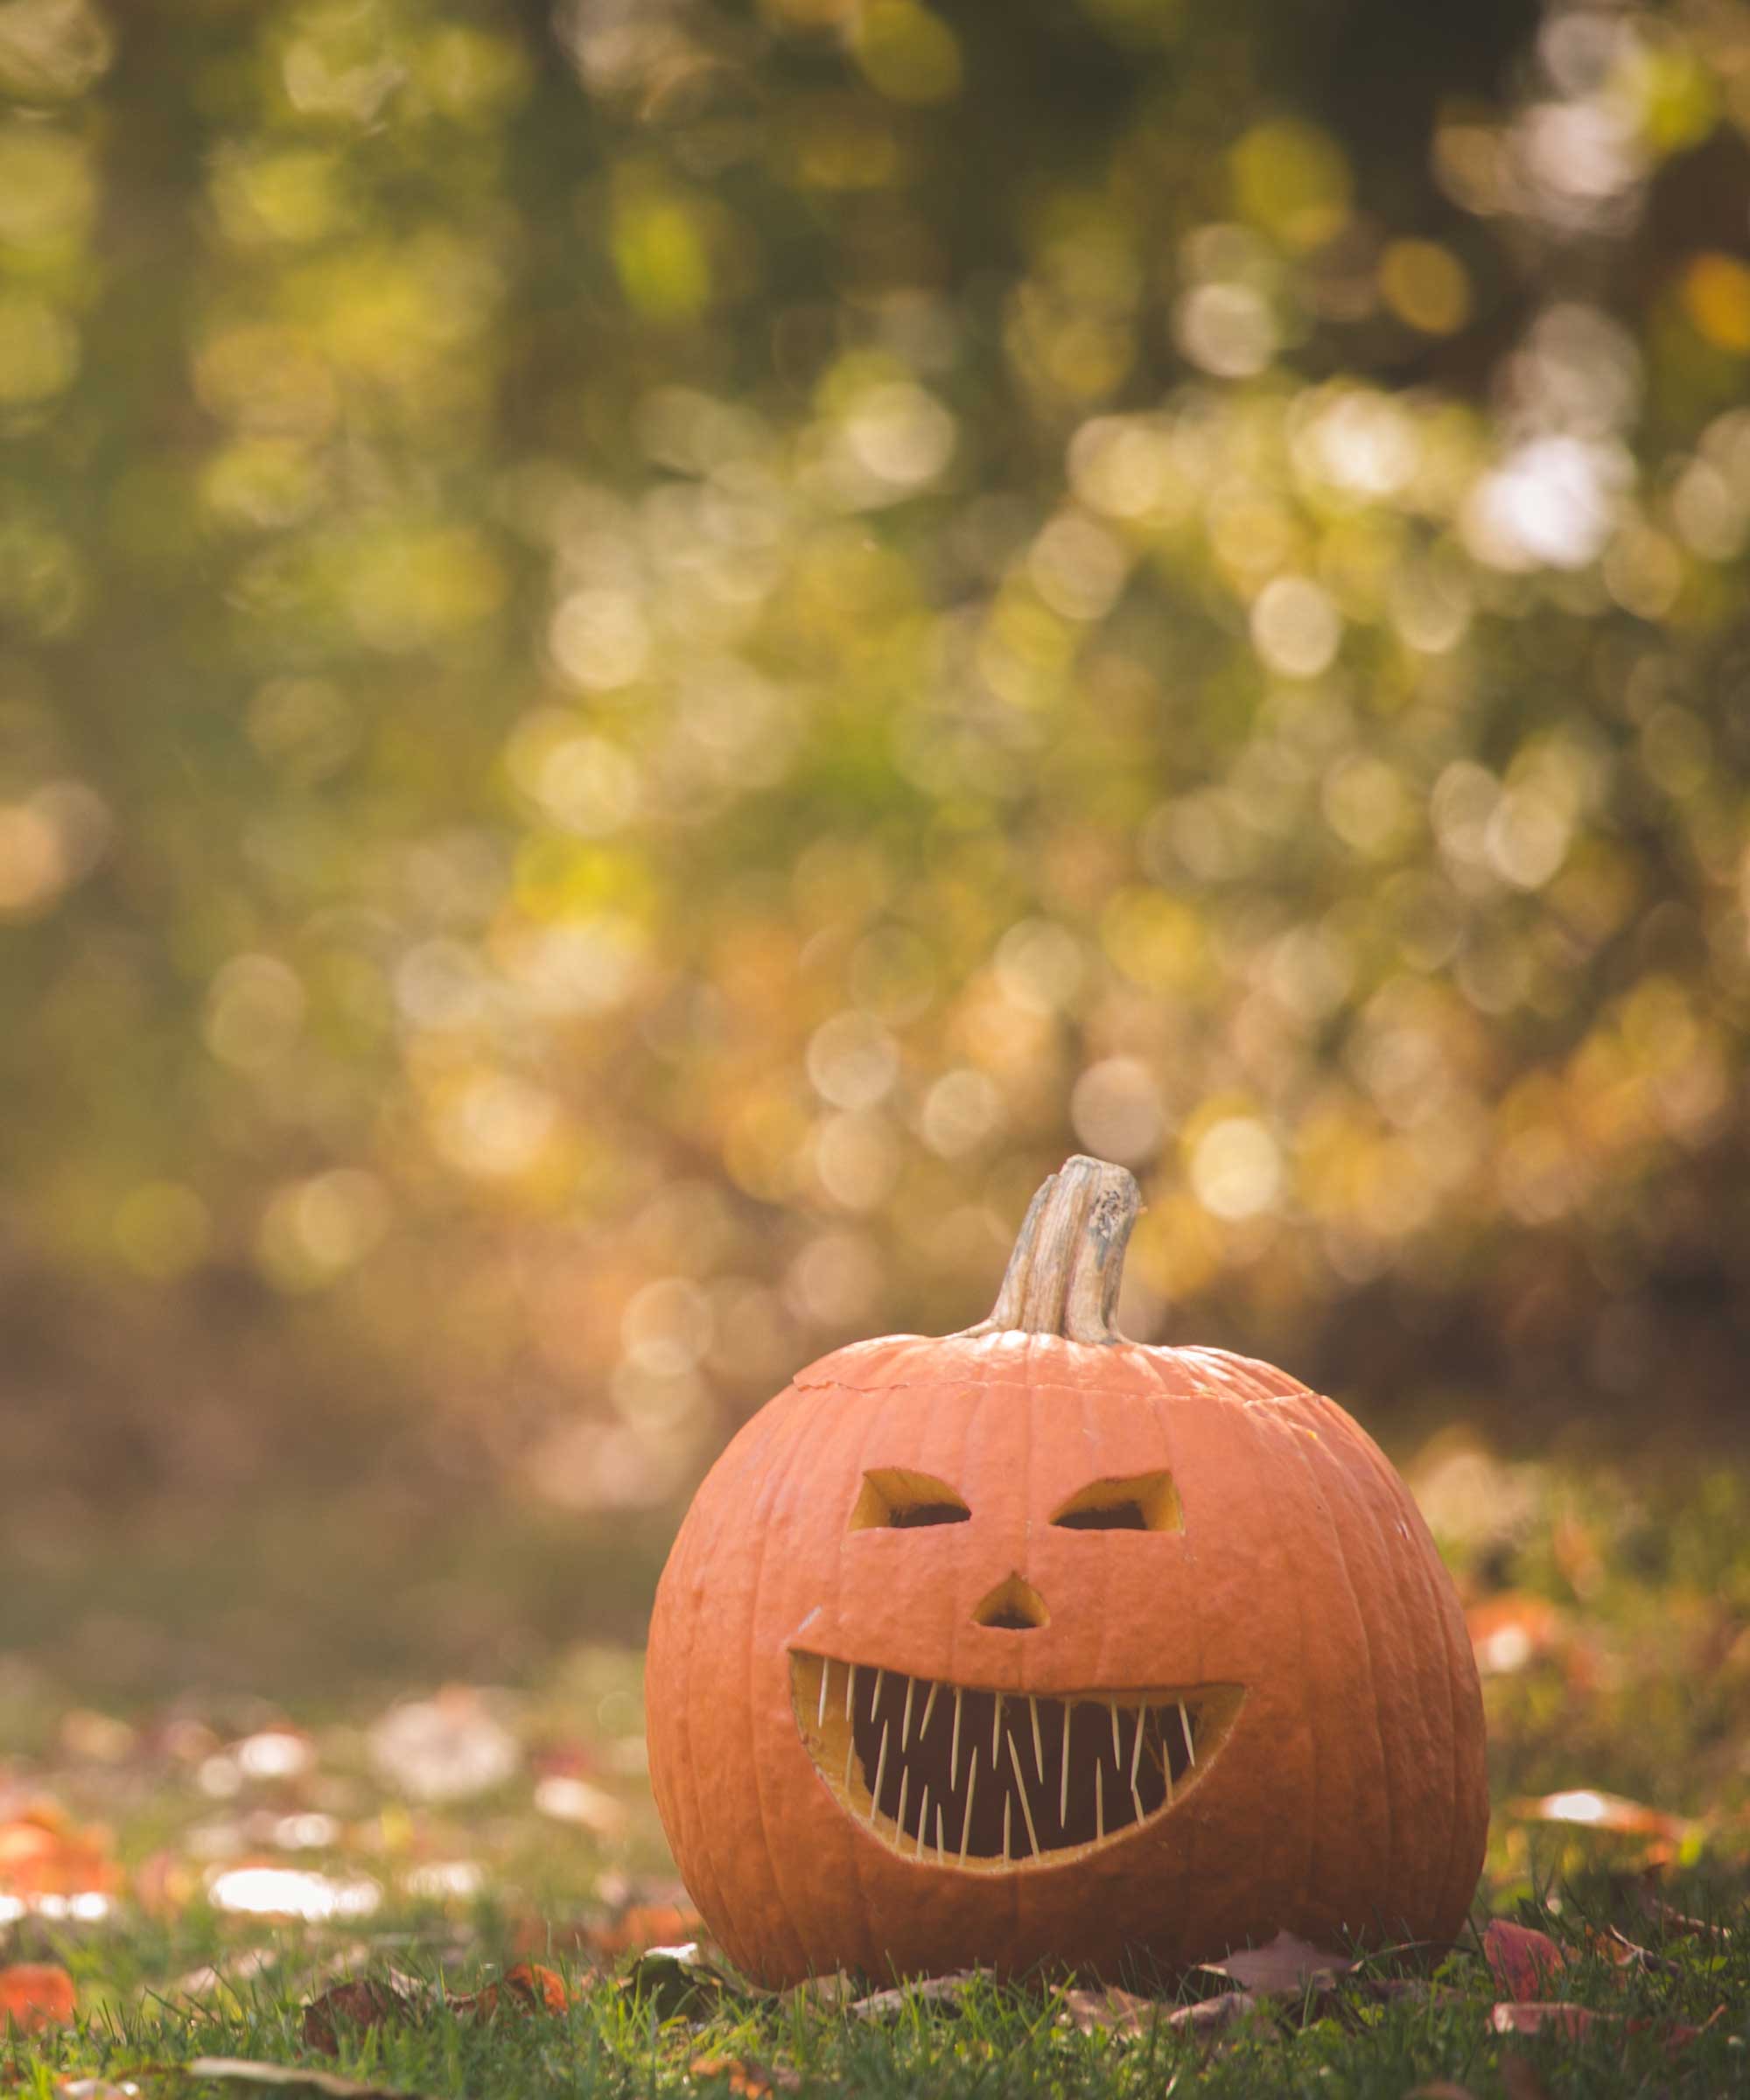
Terrible teeth up the fear factor for this pumpkin
You can make all sorts of striking effects with pumpkins as they are, but sometimes a little extra help can go a long way. And in this case, we're talking about toothpicks.
If you're not too handy with carving tools or are short on time, this is a great way to elevate even the simplest of designs. Simply poke them all along the edges of your pumpkin's mouth to give it terrifying teeth – the more the merrier.
Toothpicks can also come in handy if you accidentally cut off too much of your design – simply use one or two to discreetly stick pieces back on.
11. Choose a bewitching bat design
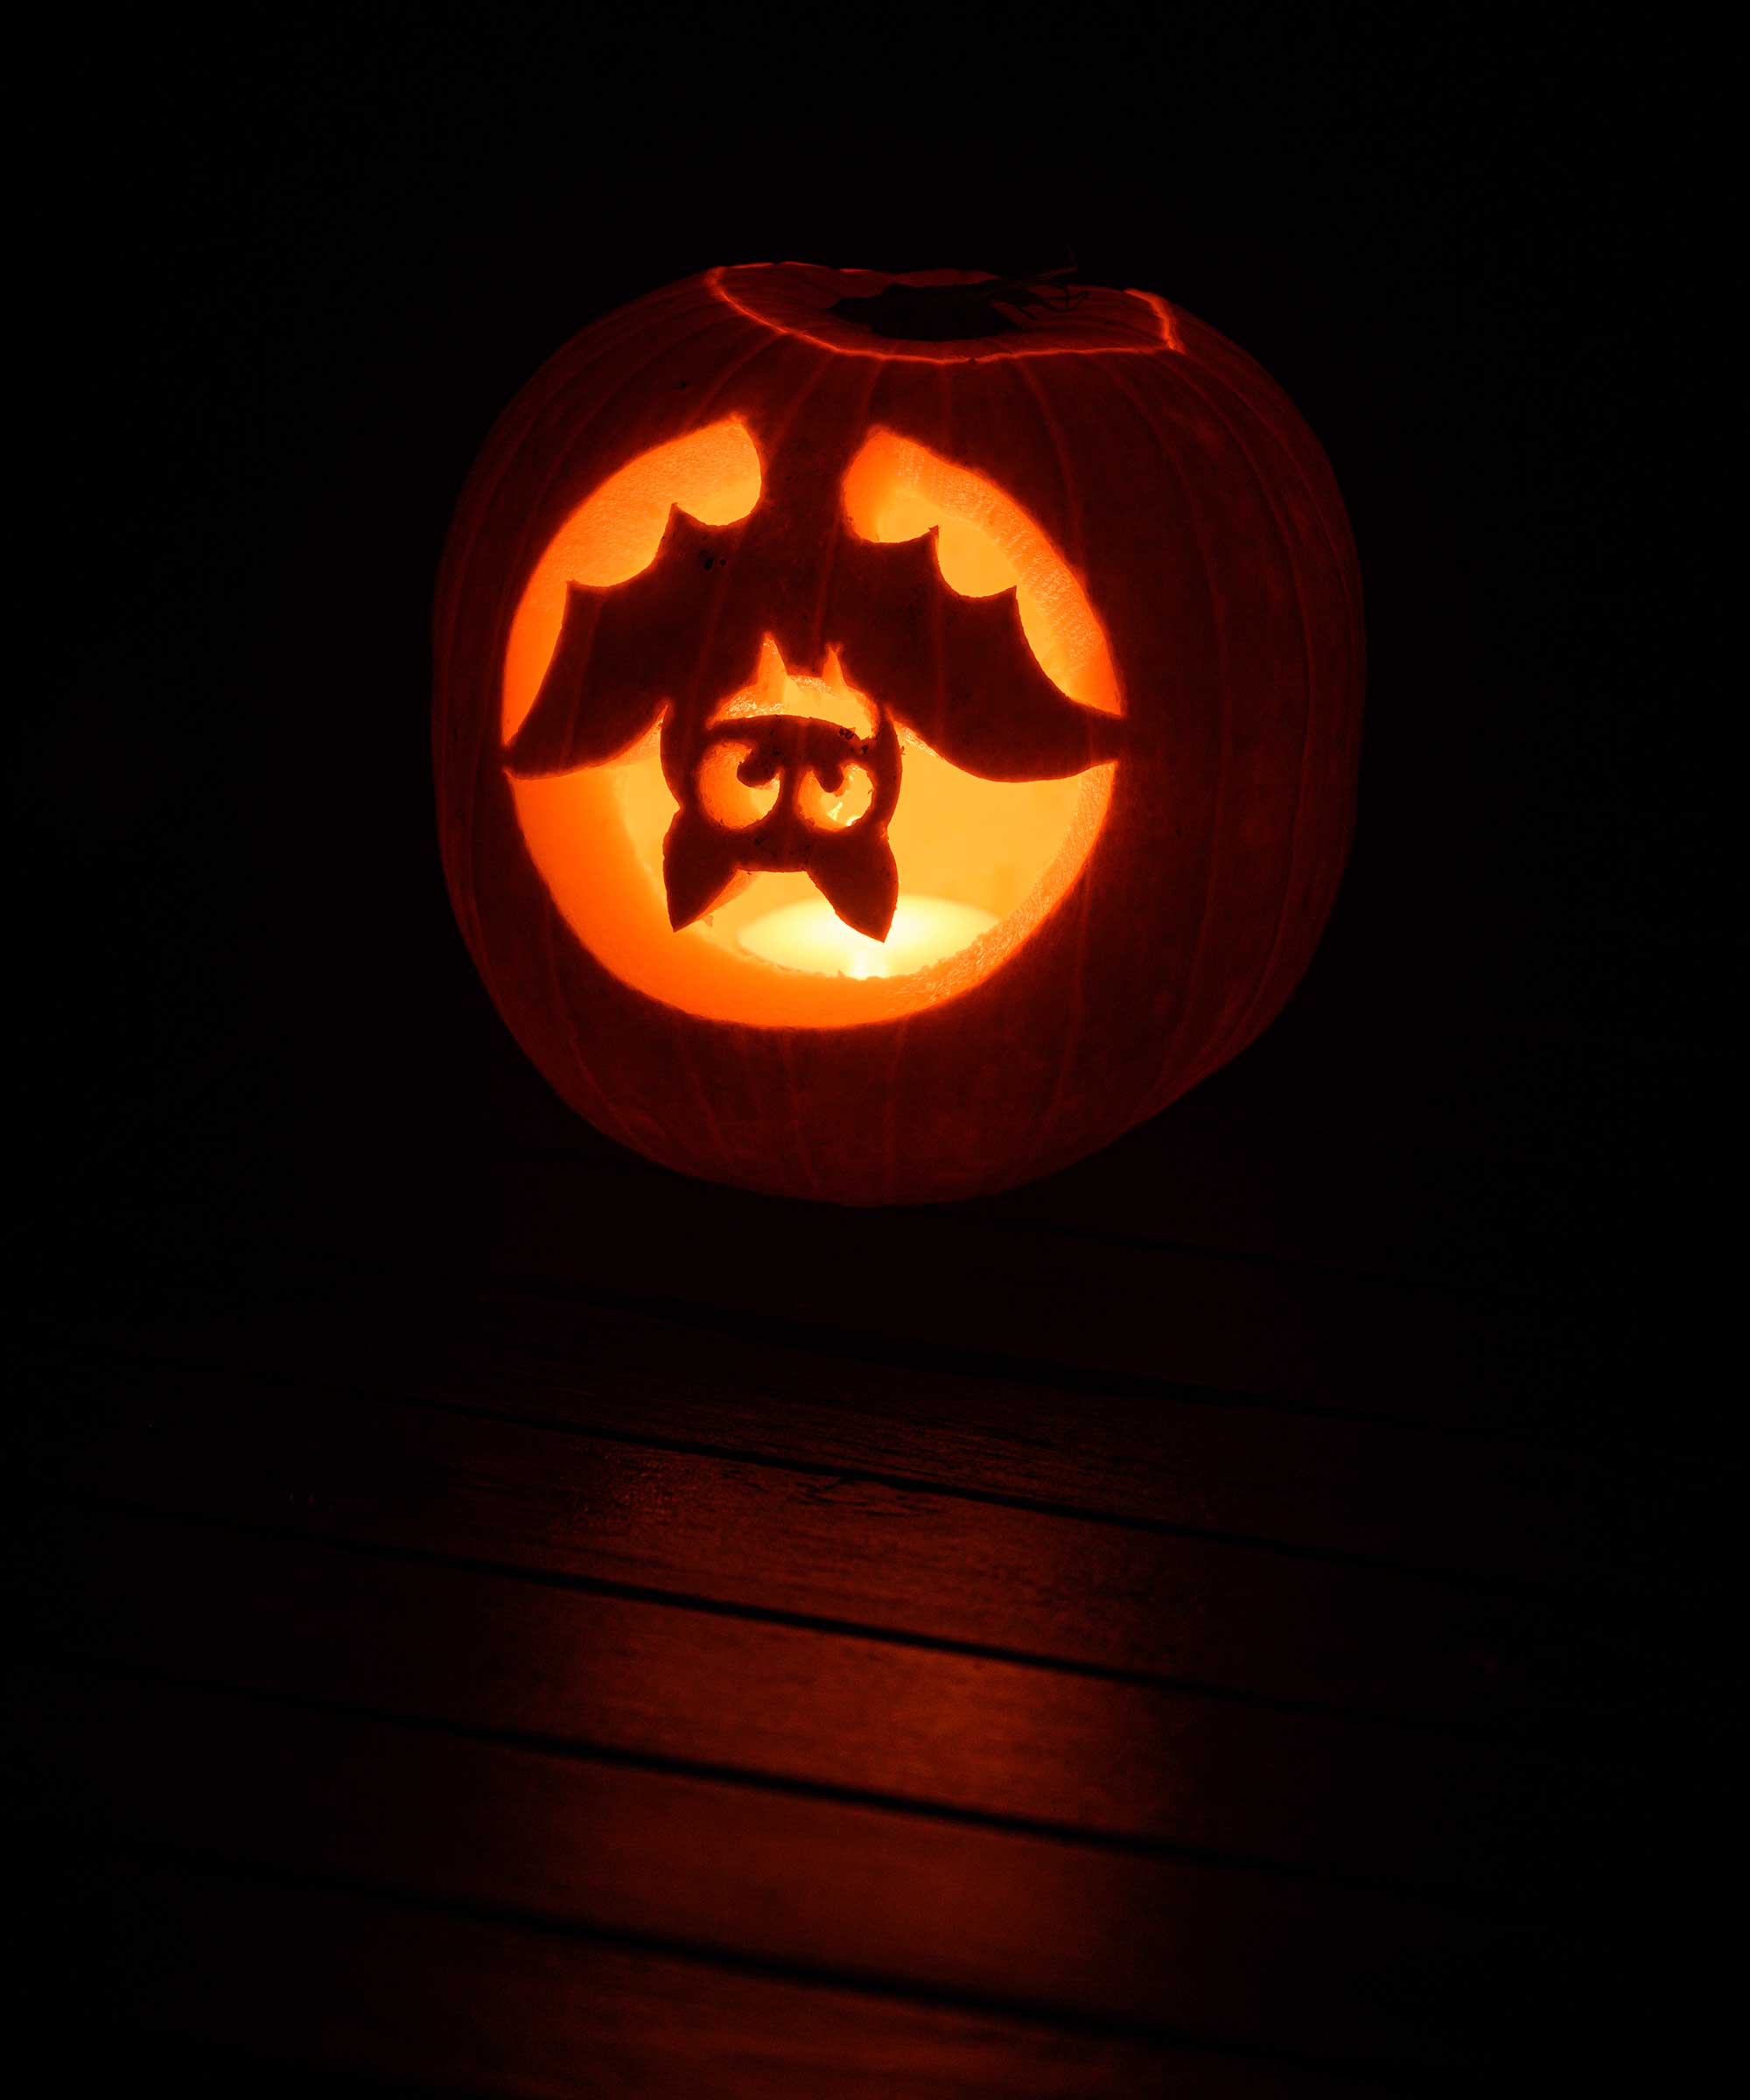
Carve out a Halloween critter
Whether you're setting the scene of a haunted house, gothic mansion, or vampire's castle this Halloween, it wouldn't be complete without some sort of bat decor.
Carving these creepy critters into your pumpkins is one fun way to do this – we love the cheeky expression on this one's face. You can also cut out bat-shaped decorations from black card and hang them from your pergola or gazebo for a budget-friendly way to continue the theme.
How do you make carving a pumpkin easier?
You don't have to be an artist to carve a beautiful pumpkin. However, there are some tricks that will make the process easier.
Firstly, you'll definitely want to make sure that you have the right tools to use. A small, serrated knife or mini-saw is a must, but for more intricate patterns a pumpkin carving kit is your best bet. Look for ones that include tools for finer detailing. For speedy results, a power drill can also be a worthwhile addition to your kit, especially if you are looking to make patterns with a series of circles.
It's also a good idea to go in with a plan. Draw out your design beforehand on paper before copying it onto your pumpkin with a marker pen. You can also find templates online that can be printed out.
Make cleanup easy too, by carving your pumpkin outdoors and putting down a protective layer first. Use something that can be thrown away afterwards, such as old sheets of newspaper.
Remember, safety first. Leave the carving part to the adults, and always practice fire precautions if choosing to light your finished lanterns with real candles.
- Our garden decor ideas feature has lots more stunning styles for outdoor celebrations.
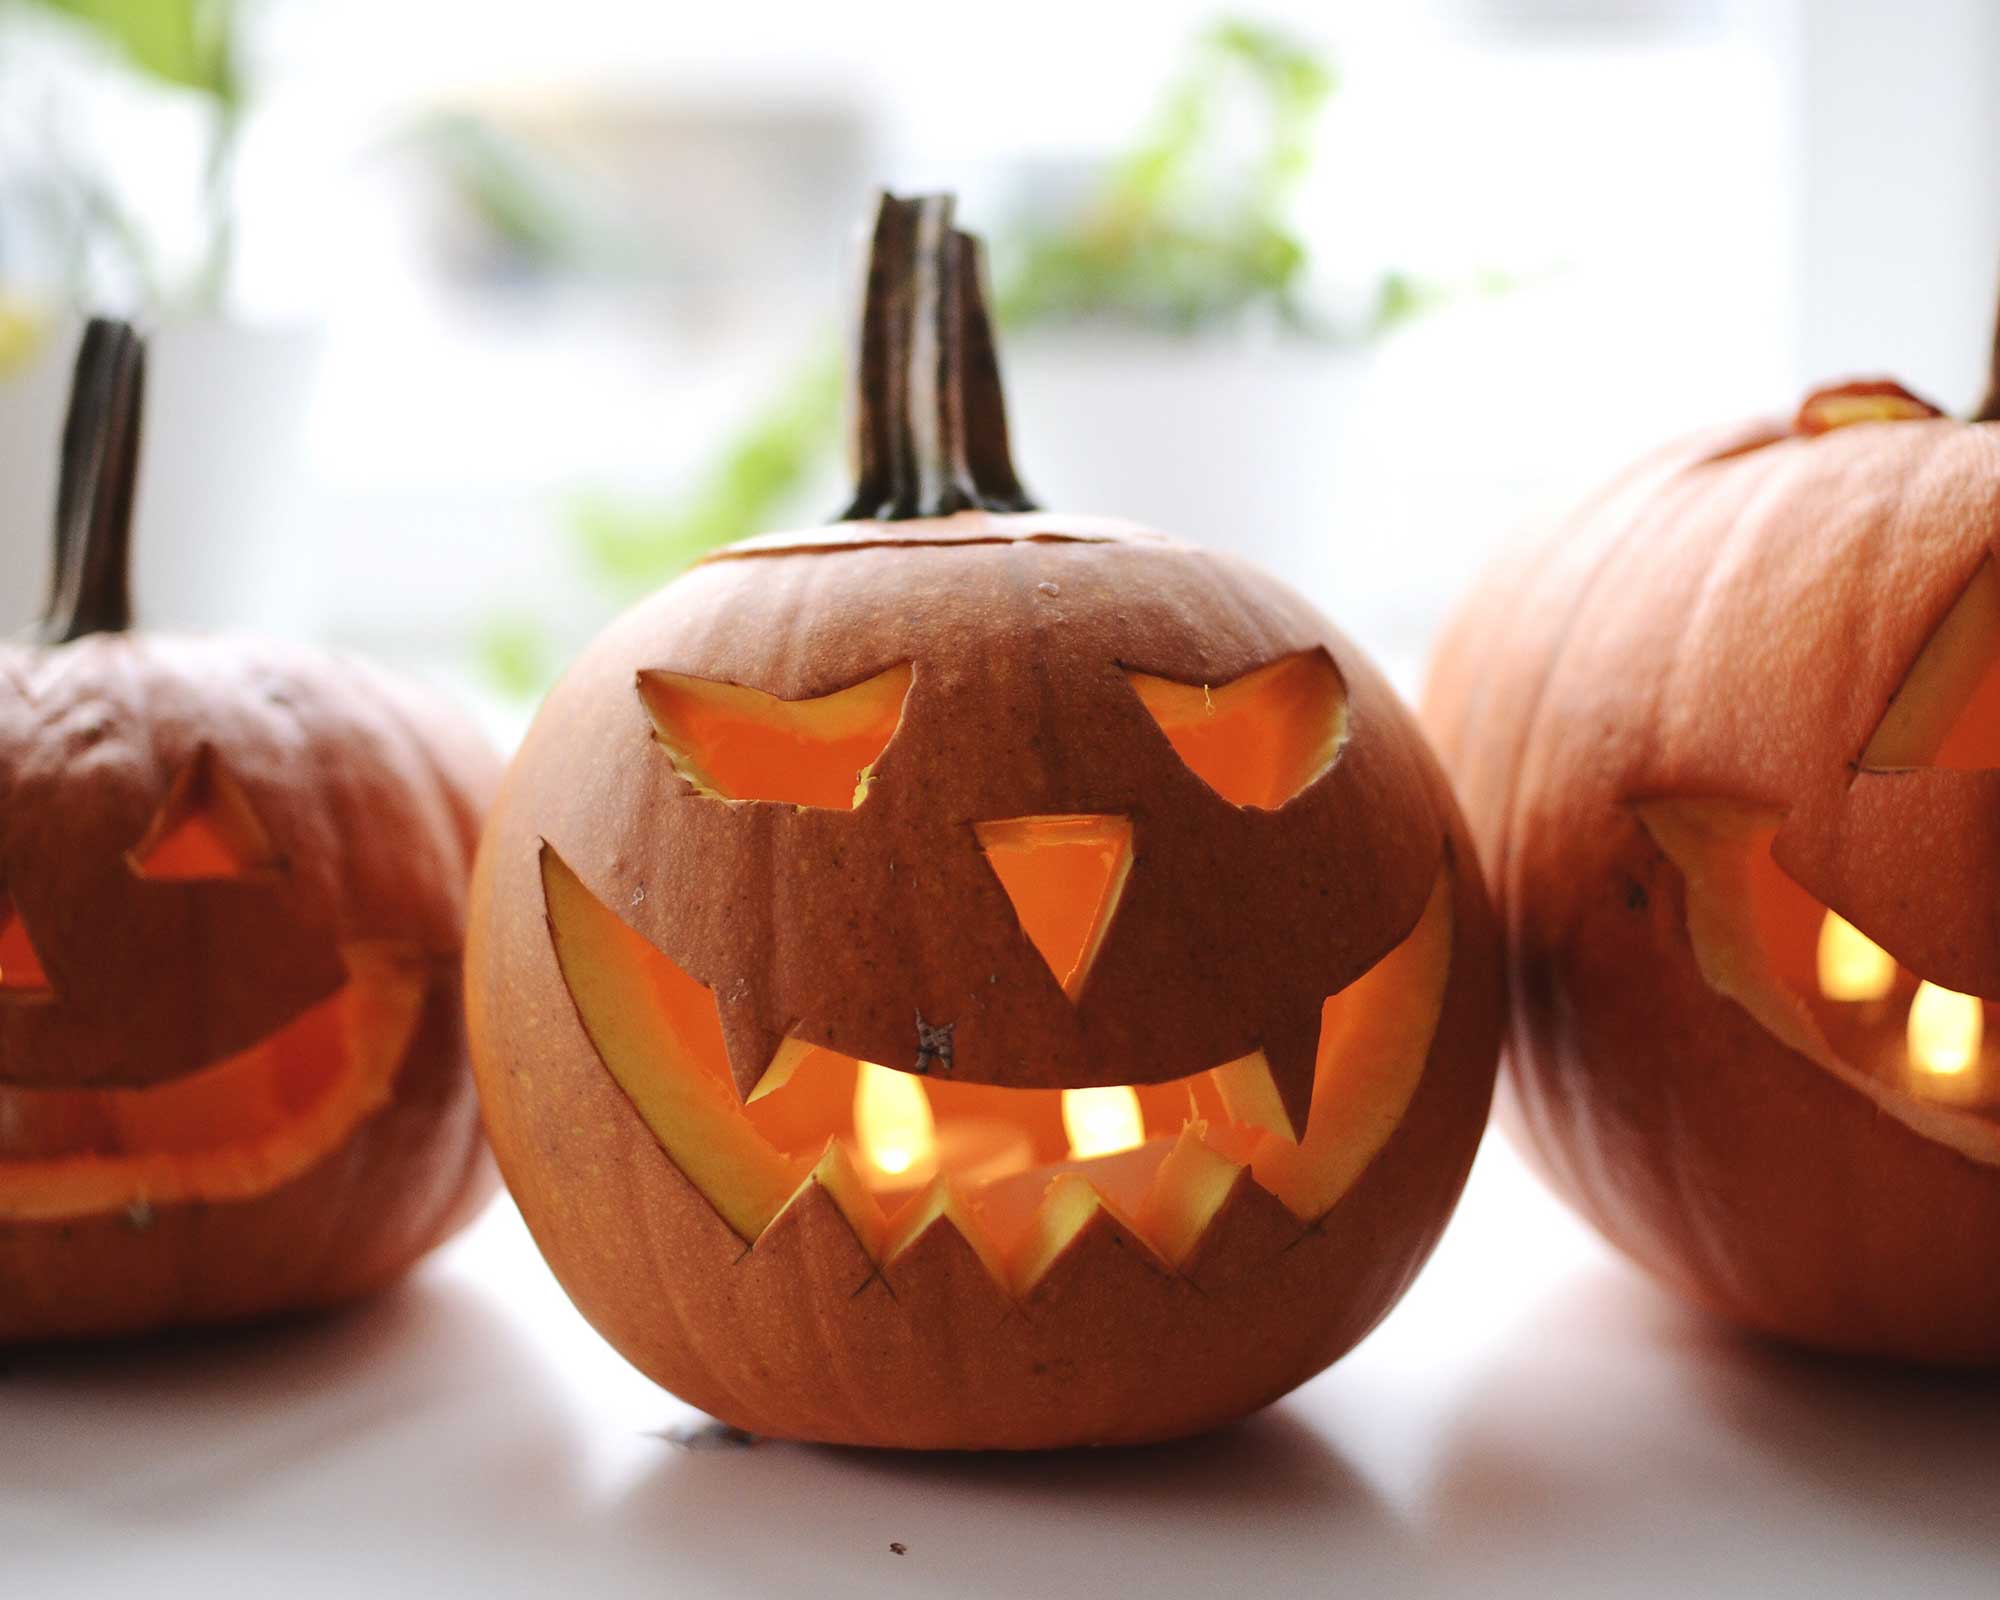
Draw your design on your pumpkin before you start carving
How long will a carved pumpkin last?
Carving a pumpkin for Halloween is exciting, but don't get ahead of yourself by doing it too early. After all, over time they'll start to wither and rot, and you'll want it looking its best on the big day.
Once carved, they tend to last around three to five days, depending on the temperature. If you live in a colder region they can last longer, but it's still best to only carve them just a day or so before Halloween for the best effects.
If you want to make your pumpkin last longer, you can try this tip from the team at WD-40. You may think of WD-40 as a lubricating spray or a rust remover but it can also repel insects from your pumpkins and keep them fresher for longer. 'Simply engage the wide spray nozzle and apply a thin layer of the formula all over the pumpkin,' they say. However, this is one for LED candles only: 'The WD-40 formula is flammable so we don't recommend using it on pumpkins that will be placed near a flame.'
We've got plenty more tips on deterring insects from your yard, including guides on how to get rid of ants and how to get rid of fruit flies.
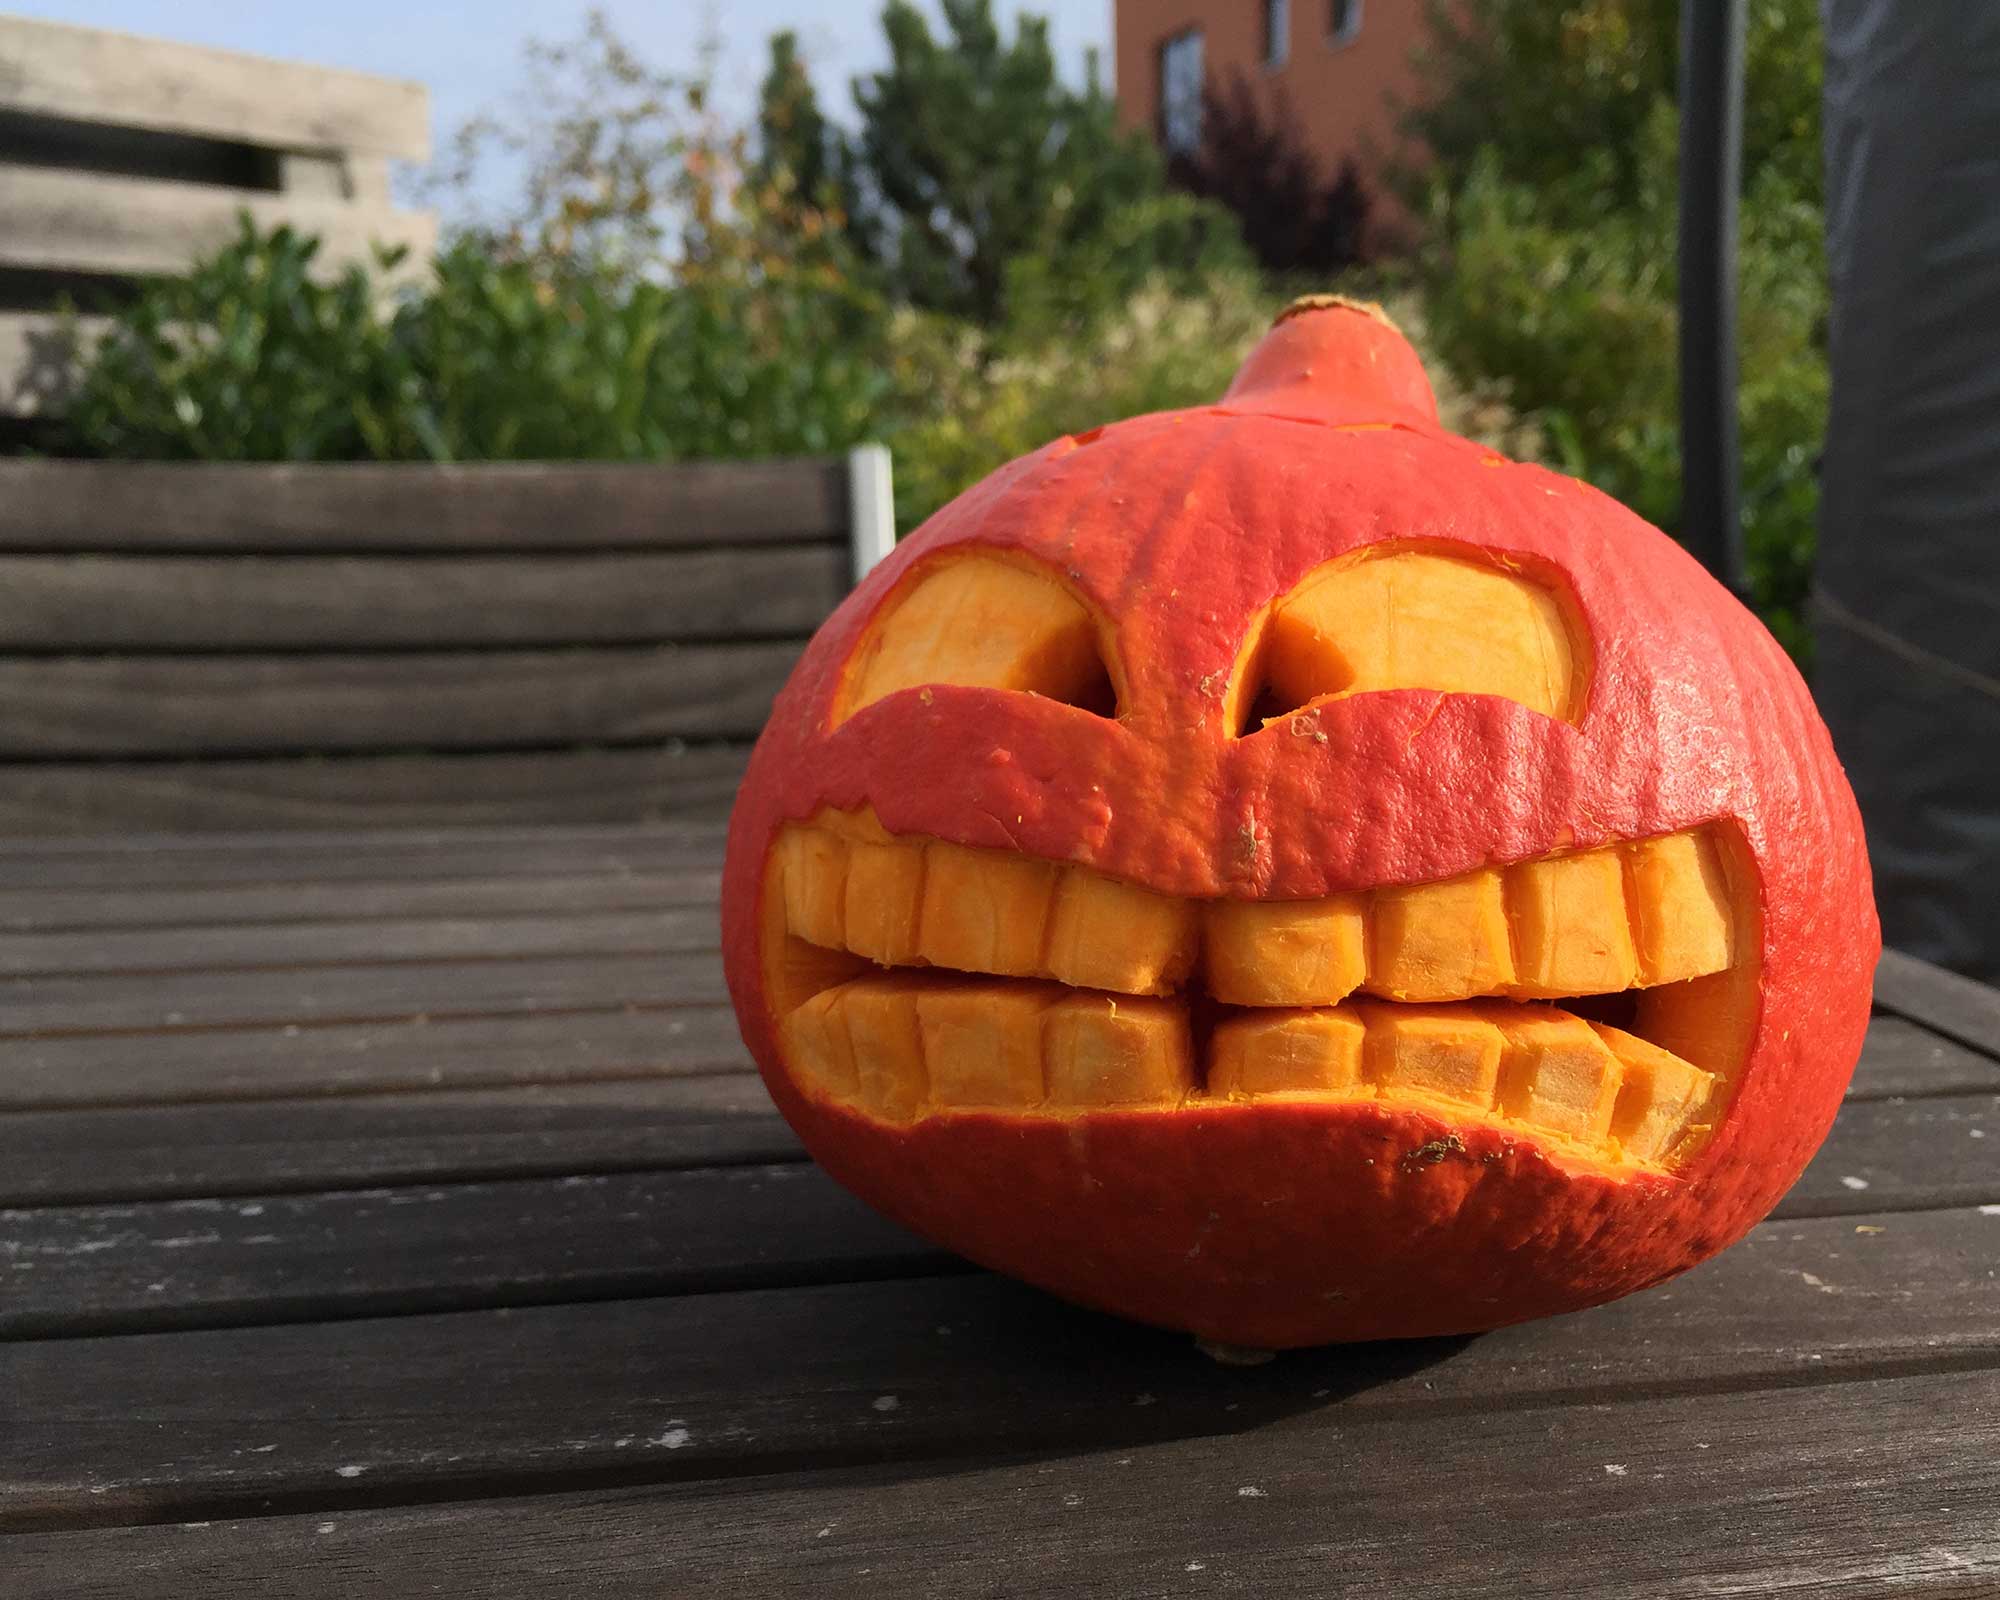
Shaving parts of your pumpkin can create striking effects
How do you carve a pumpkin without cutting it?
You can make stunning effects when carving a pumpkin by shaving off layers of the skin instead of cutting into it. This involves making some sections thinner than others from the outside, using a linoleum block cutter, a clay loop, or a wood-carving tool. Light will filter through the thinner areas, creating a warm and beautiful glow.
Make sure to hollow out the inside of the pumpkin thoroughly first so that you're working with a thin shell. Popping an LED tea light inside as you work will make it easier to get the desired effect.

The garden was always a big part of Holly's life growing up, as was the surrounding New Forest where she lived. Her appreciation for the great outdoors has only grown since then. She's been an allotment keeper, a professional gardener, and a botanical illustrator – plants are her passion.
