Worm composting: a practical guide on how to do it and why it's good for your garden
Want to get the lowdown on worm composting? Our guide has everything you need to know
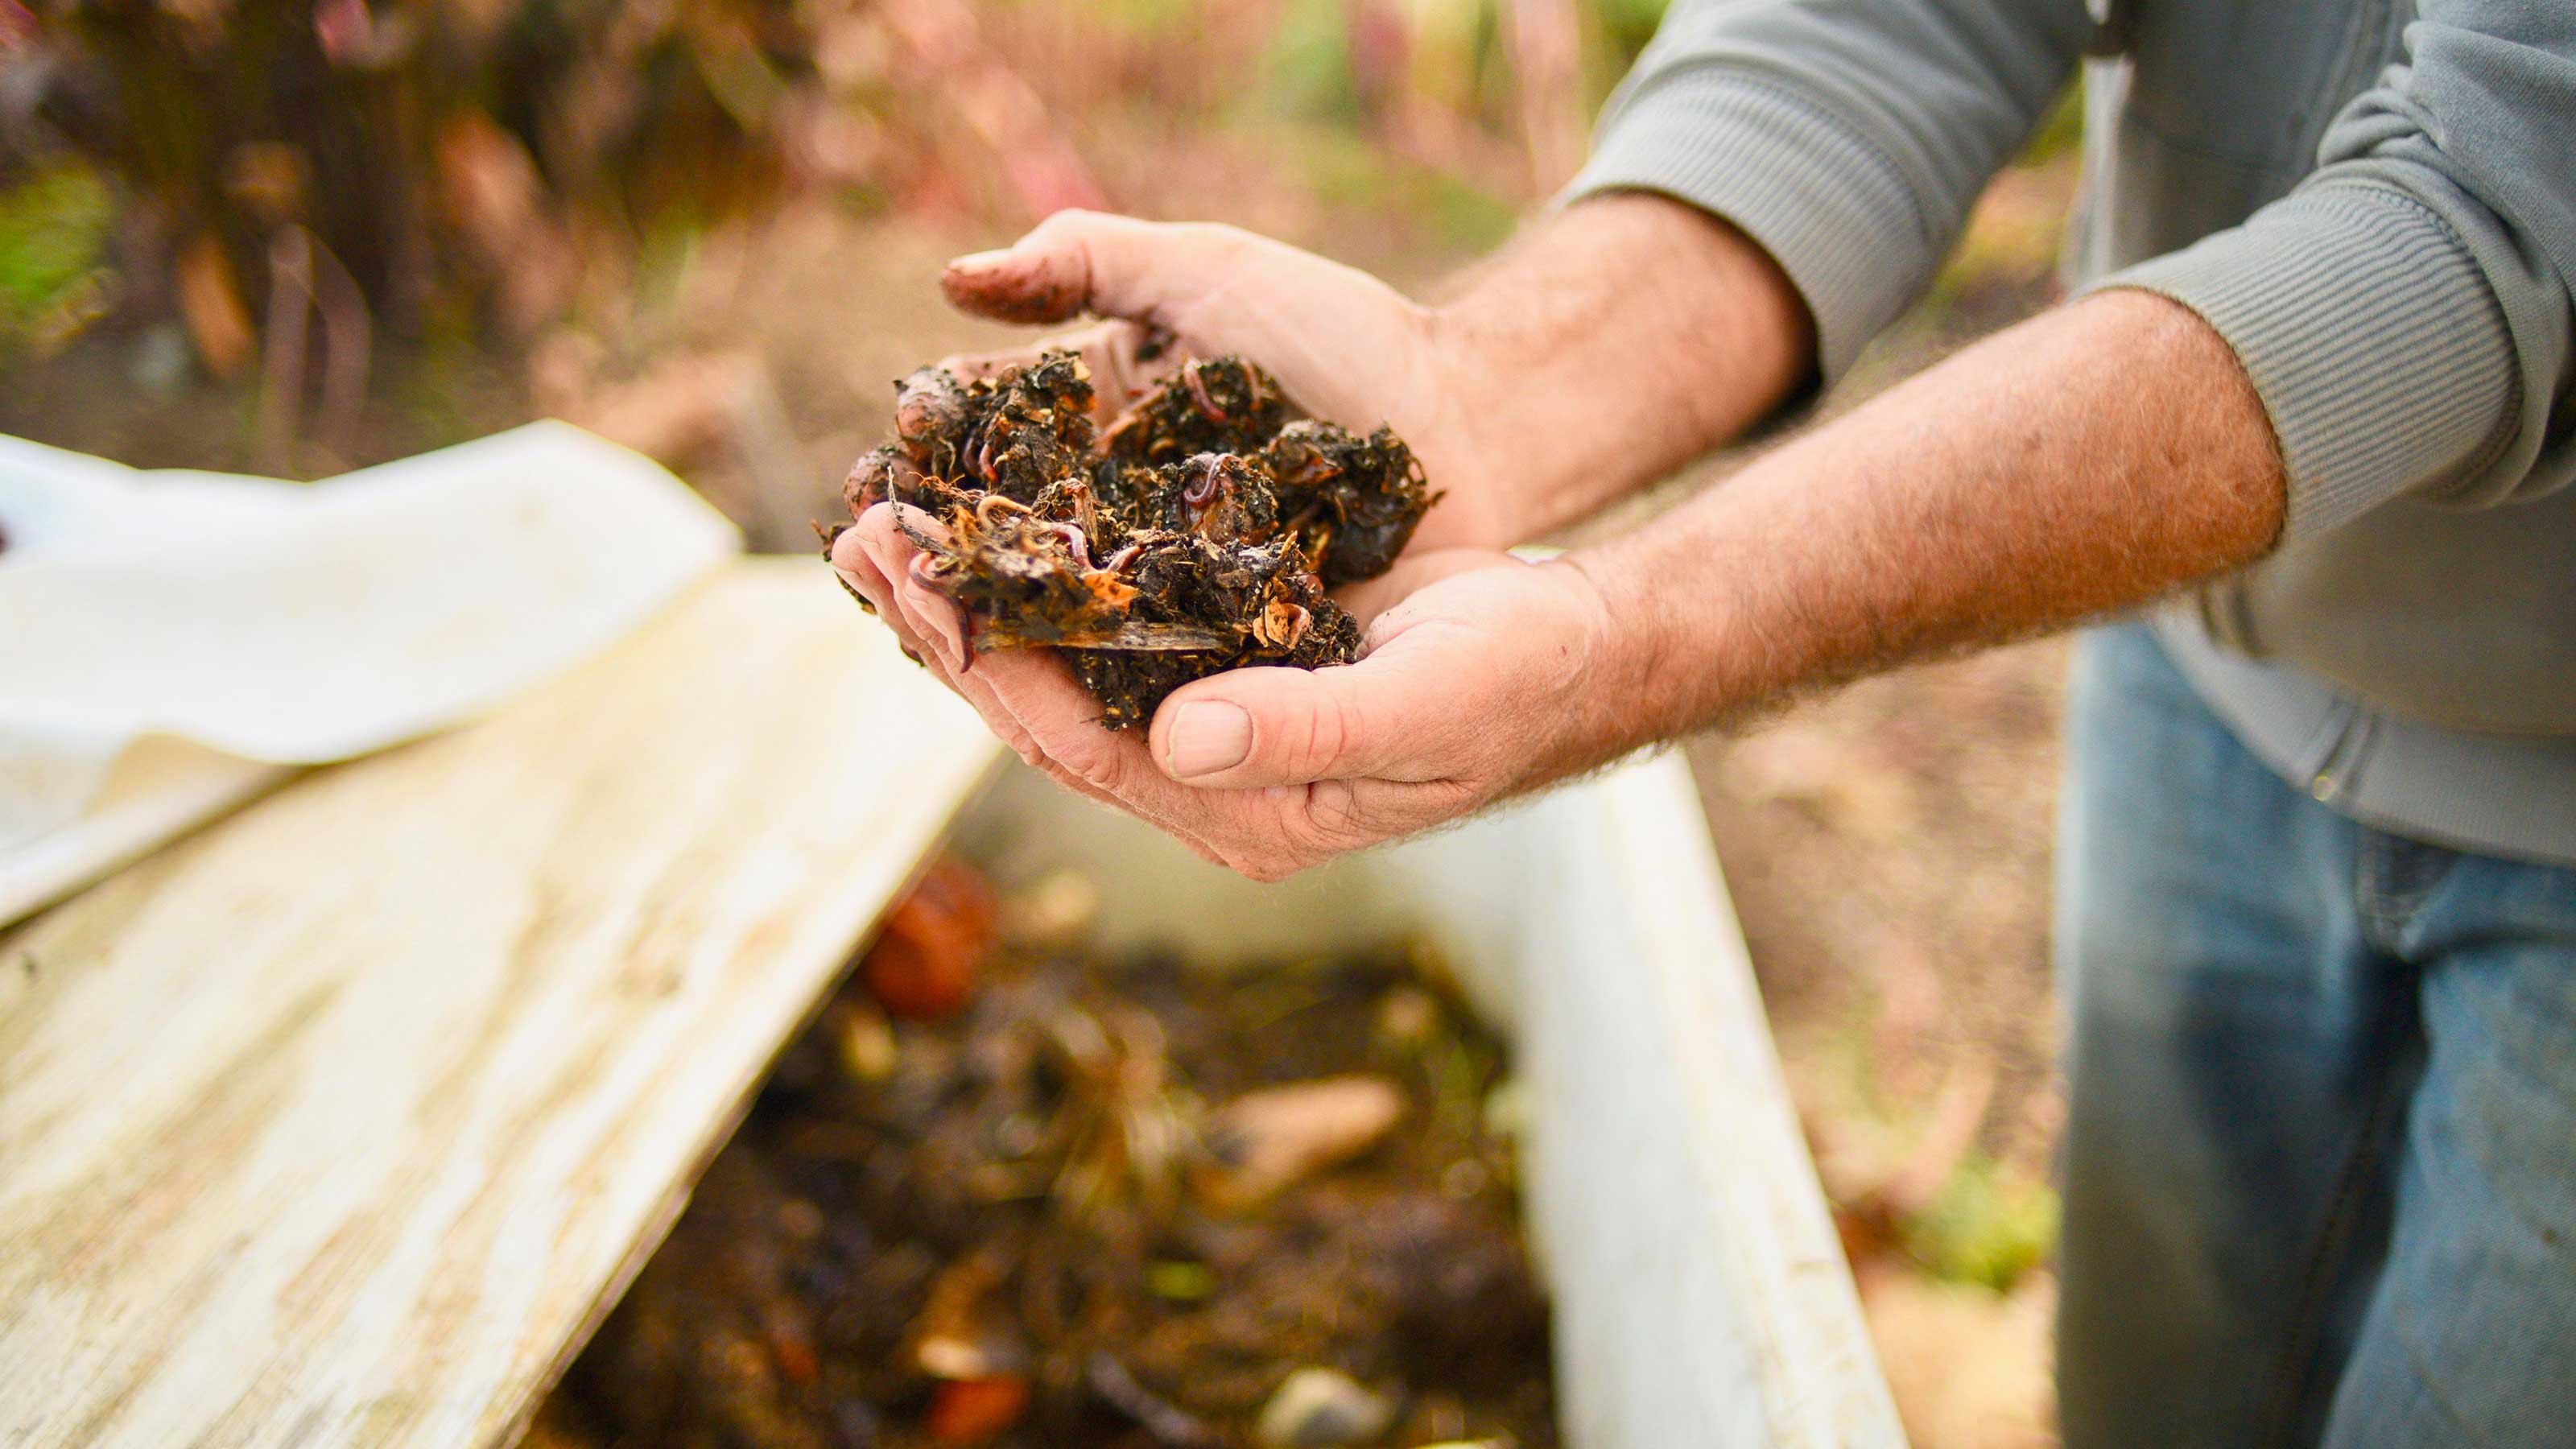

Have you heard about worm composting? It's simple to do, doesn't take up much space and provides super-fast results, so it's no wonder it's becoming an increasingly popular approach.
If you've already learned how to compost the usual way, then worm composting isn't too dissimilar. It recycles old food scraps by turning them into a nutrient-dense material that's perfect for giving your garden borders a boost. The difference is, rather than waiting for all the odds and ends to rot down naturally, the resident worms do all the hard work. They eat, digest, and pass the waste quickly, to create what's known as vermicompost or worm castings – worm manure. Liquid can also be collected from the bottom of a wormery which, when diluted, can be used as a liquid fertilizer.
But how do you get started, and how do you maintain it? We've put together an easy guide that will take you through all the steps of worm composting, so you can have a go in your backyard.
What are the benefits of worm composting?
First up, why is worm composting so good? Well, there are a few reasons...
If you want to give your plants a helping hand without splashing out on bags of compost from the garden center, then making your own – whatever kind – is definitely worth trying. But there's an environmental reason for composting too. Throwing food waste in the trash is a big cause of greenhouse gases: it creates methane and nitrous oxide as it rots down in landfills. According to the experts at The Urban Worm, these gases are 31 and 310 times stronger than carbon dioxide respectively. Discarding food scraps to a wormery will break the waste down whilst producing far less greenhouse gases. So, if you're a fan of sustainable gardens, this is an excellent option to try.
Worm composting is also a good choice for those who are looking for small garden ideas. A wormery is small, contained, and – if looked after properly – won't smell. You can even have a wormery underneath your kitchen sink if you want. They don't have to be expensive either. You can buy pre-made bins for under $100/£100 (complete with tap for draining out liquid), or even make your own from a plastic storage container.
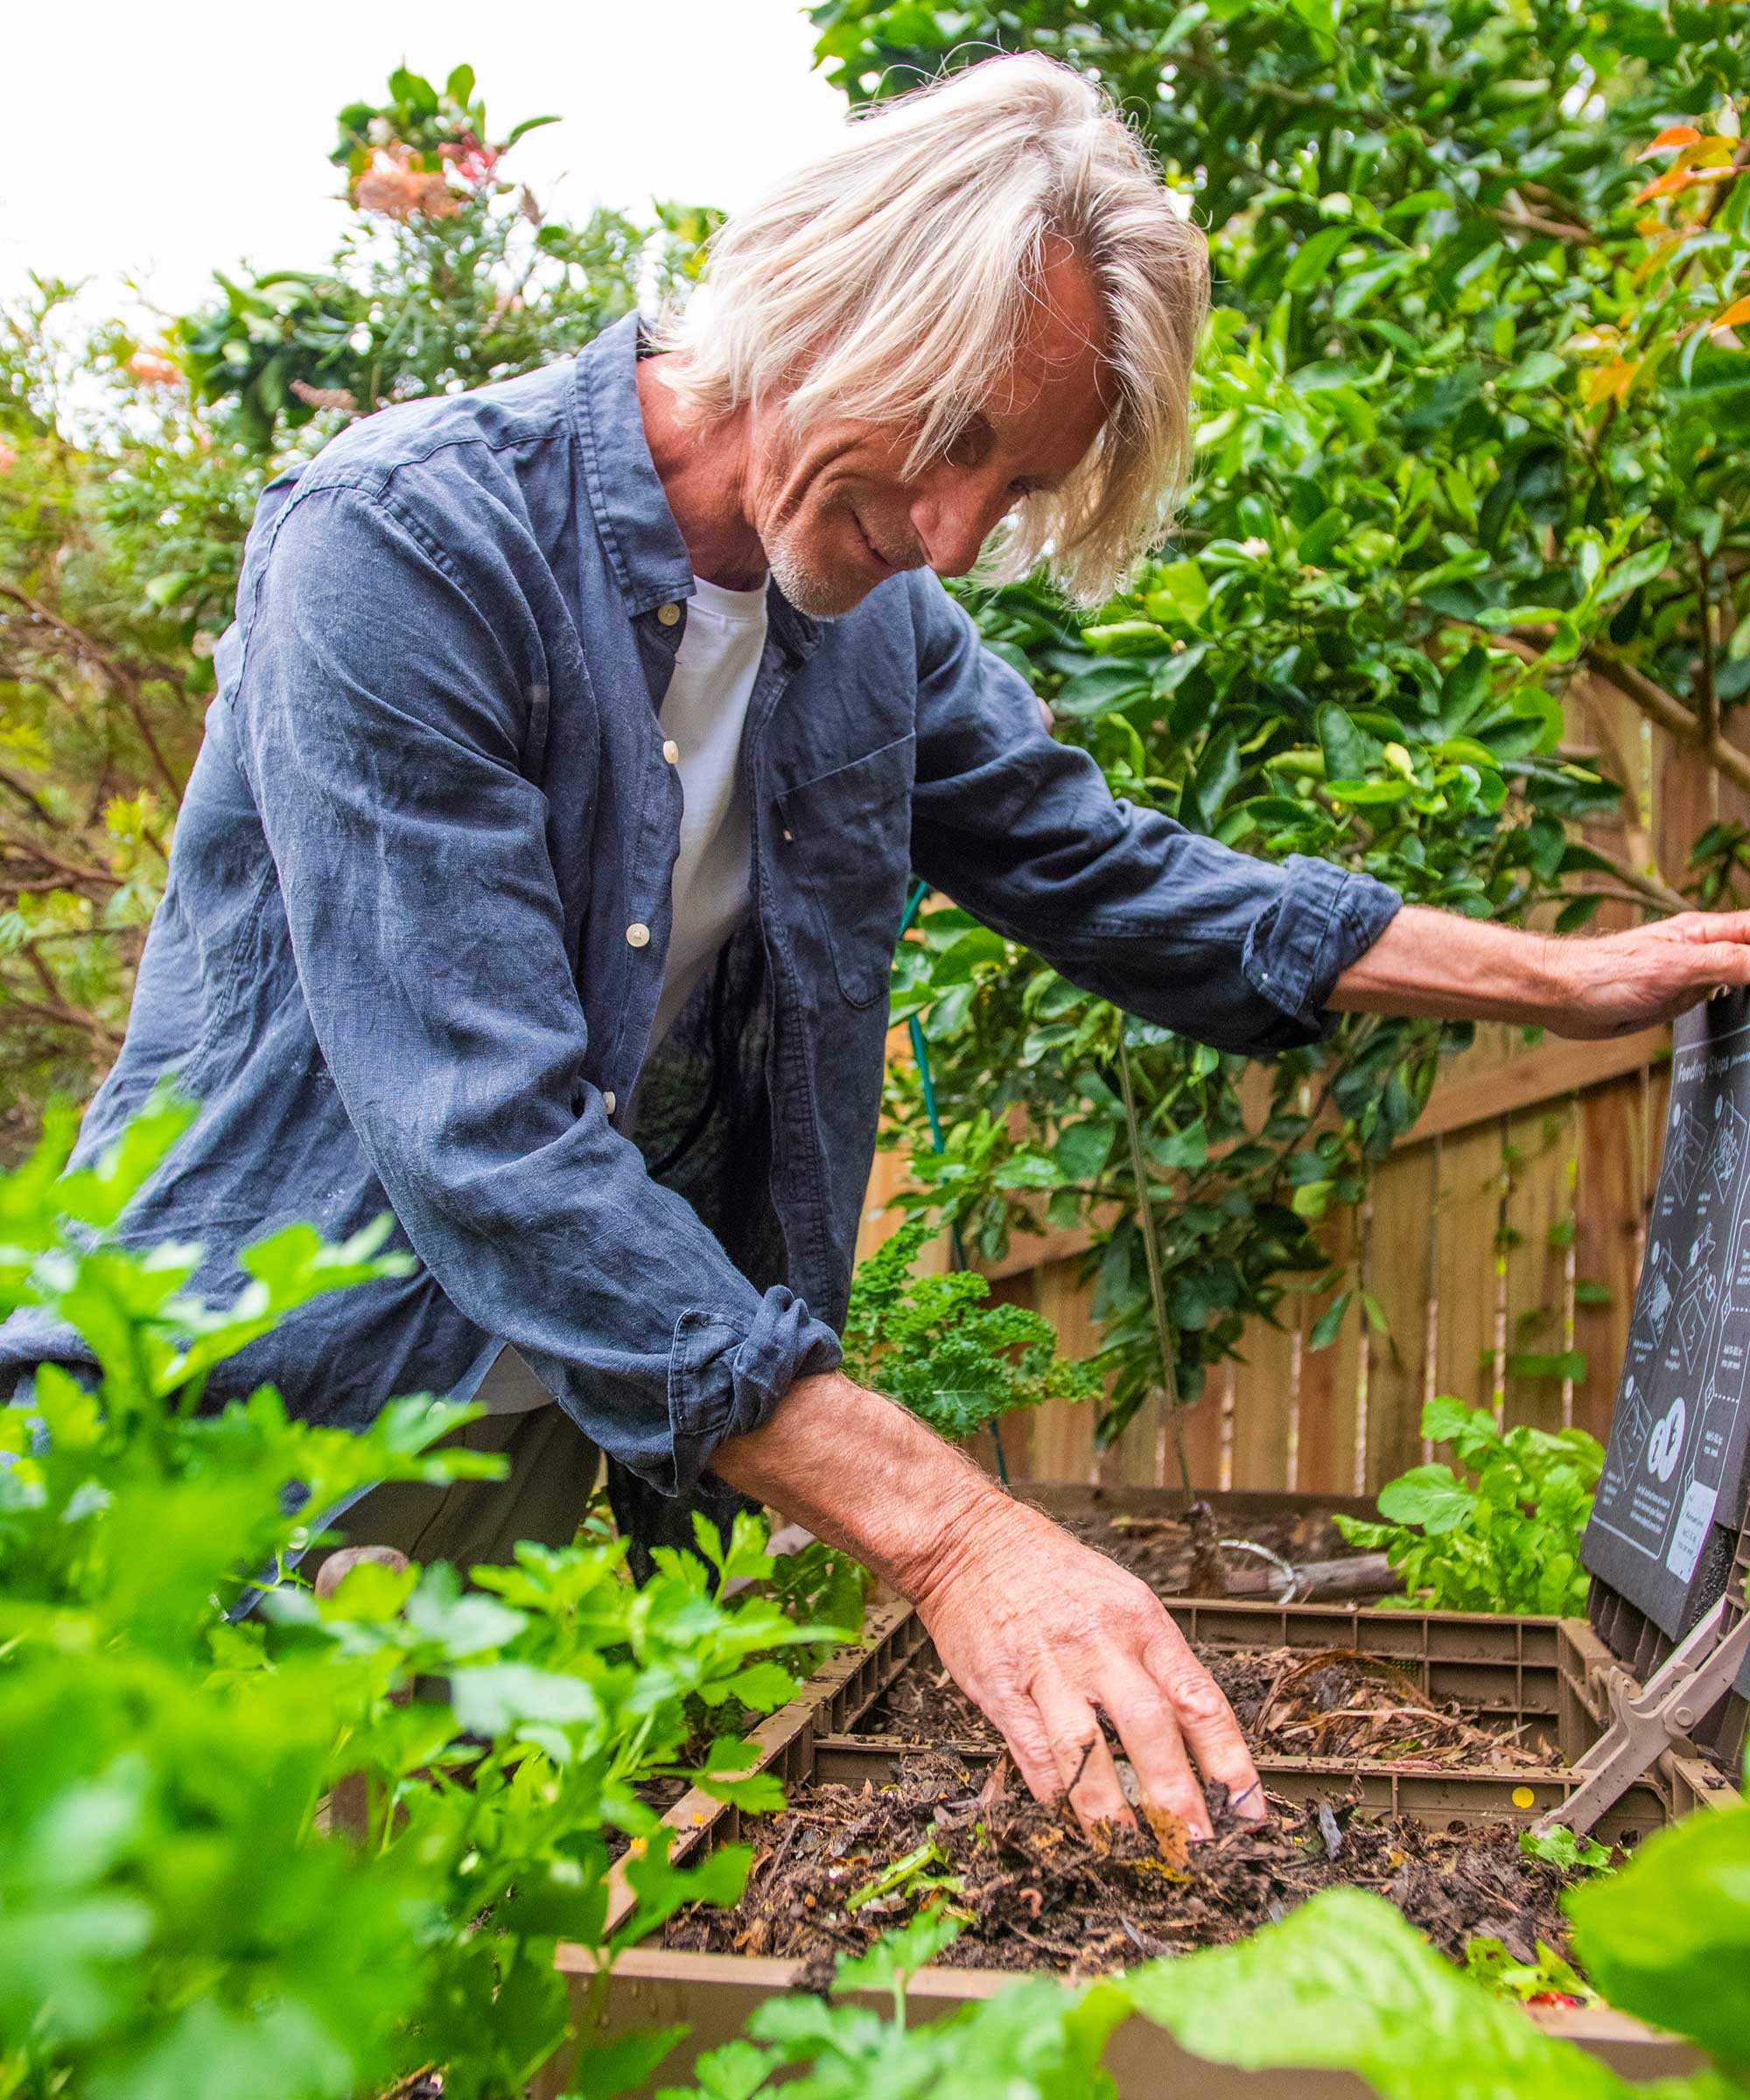
The Subpod compost systems double up as seating when closed
What's more, the compost produced by a wormery is great stuff. As worm composting expert Heather Gorringe from Wiggly Wigglers says in her useful video guides, it's rich in phosphorous and nitrogen, and can be used in pots or when planting out. It can also be used as mulch. Plus, worms are the 'fastest natural composters on the planet,' she says, eating half their body weight every day. 'They'll eat up kitchen waste before it starts to smell or attract anything yucky,' she adds. Of course, it's free of chemicals too, so is ideal for organic gardening.
The liquid produced by a wormery – called leachate (although some people call it worm tea) – can also be used as a fertilizer (as long as it is odor-free). As the RHS explains, it needs to be diluted with water at a rate of 1 part liquid to 10 parts water before being used in this way. Some gardeners suggest to avoid using it on edible crops, however, as it can carry toxins. Alternatively, you can create a different type of worm tea from the vermicompost by steeping it in water overnight in a bag made from an old t-shirt, a sock, or cheesecloth.
- You can find out more ways to benefit your garden with our ultimate guide to mulching.
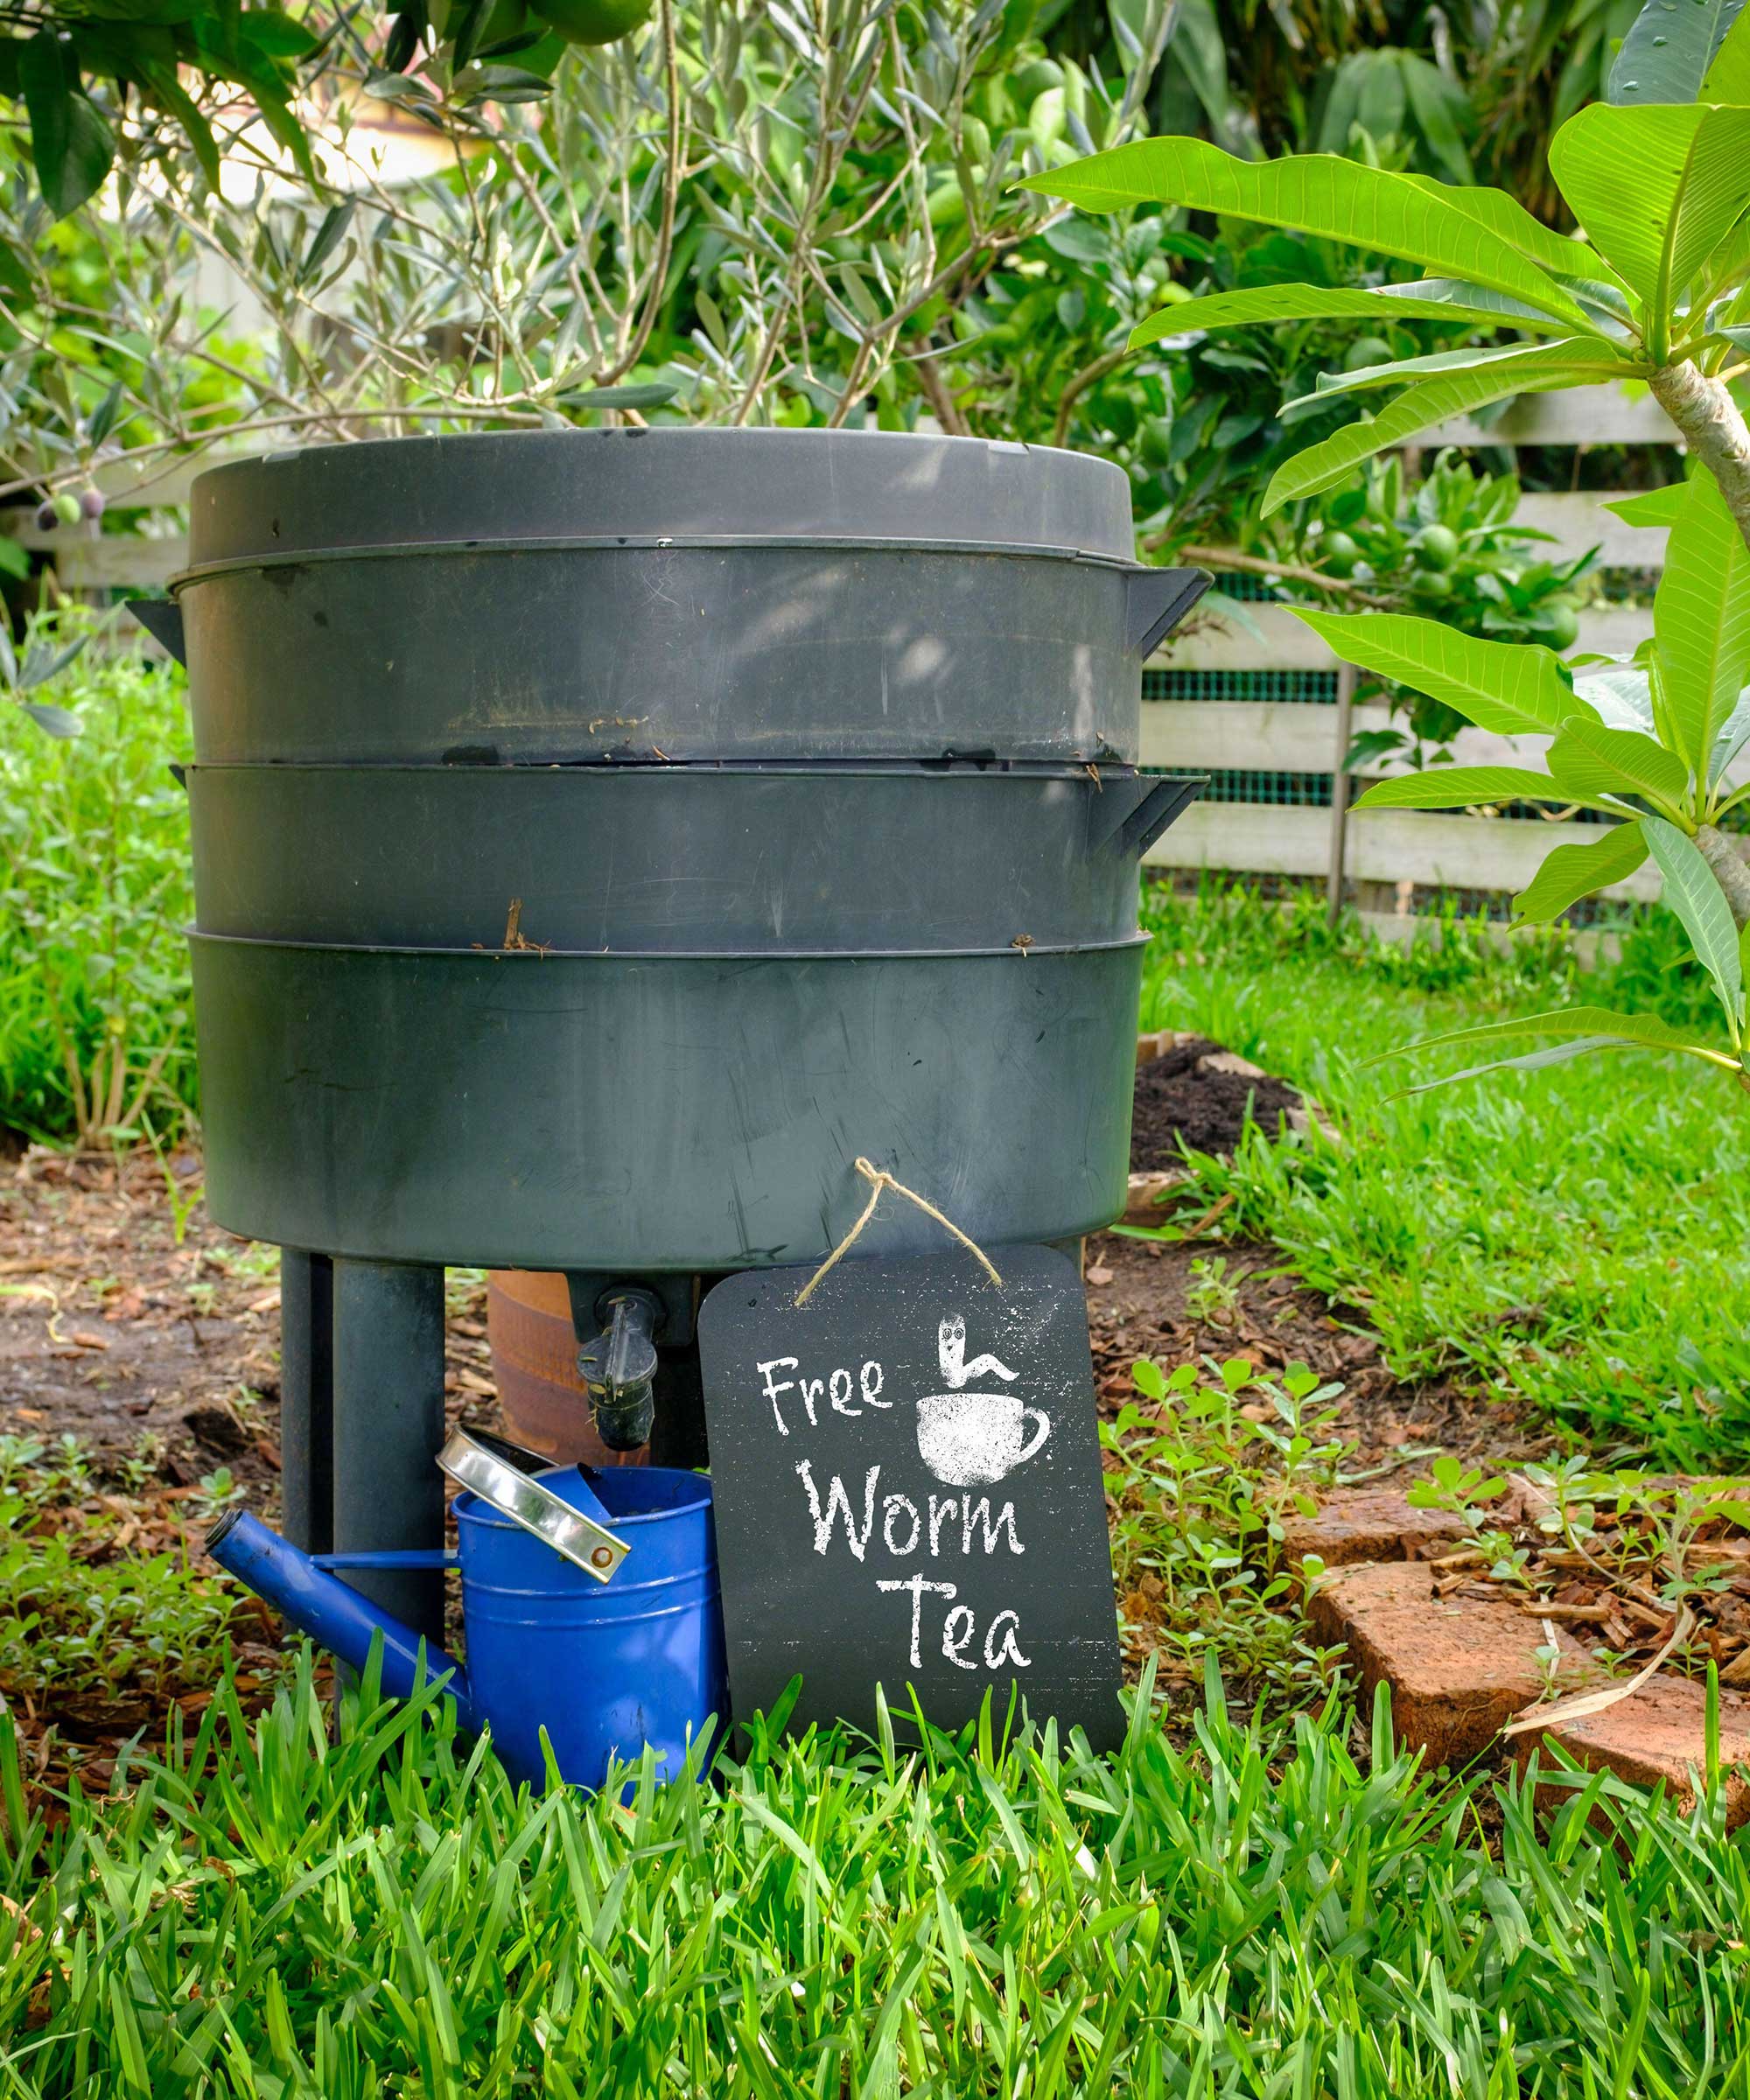
Some people call the liquid excess from a wormery 'worm tea' – when diluted it can be used to fertilize plants
How do you get started with worm composting?
Like the idea of worm composting and fancy giving it a go? Here's how to get started:
- Grab your worm composting container. There are lots of designs available, but note that stacking ones are useful when it comes to emptying the compost without disturbing the worms. If you are making your own (rather than using one that's purpose-made from a shop) avoid using a clear container as worms like the dark. You will need to drill holes around the top of the sides and also in the bottom to allow oxygen in and excess liquid out.
- Place a 3.25in (8cm) layer of moist bedding material, such as old compost or coir, in the bottom of the container. As the RHS explains, this creates a humid area in which the worms can burrow and begin to digest their food.
- Carefully add in the worms.
- Cover the worms with a layer of kitchen waste – not too much to start with – no more than 3.25-4in (8-10cm).
- Add a layer of newspaper, hessian, or cardboard and pop the lid on.
- Leave it for a week or so to let the worms adjust to their new home before adding more waste.
Worms prefer temperatures between 64-77ºF (18-25ºC), so if you can, move your wormery indoors over winter, either into a utility room or shed. If you don't have space to move your wormery, insulate it instead using an old blanket, straw, or even bubble wrap.
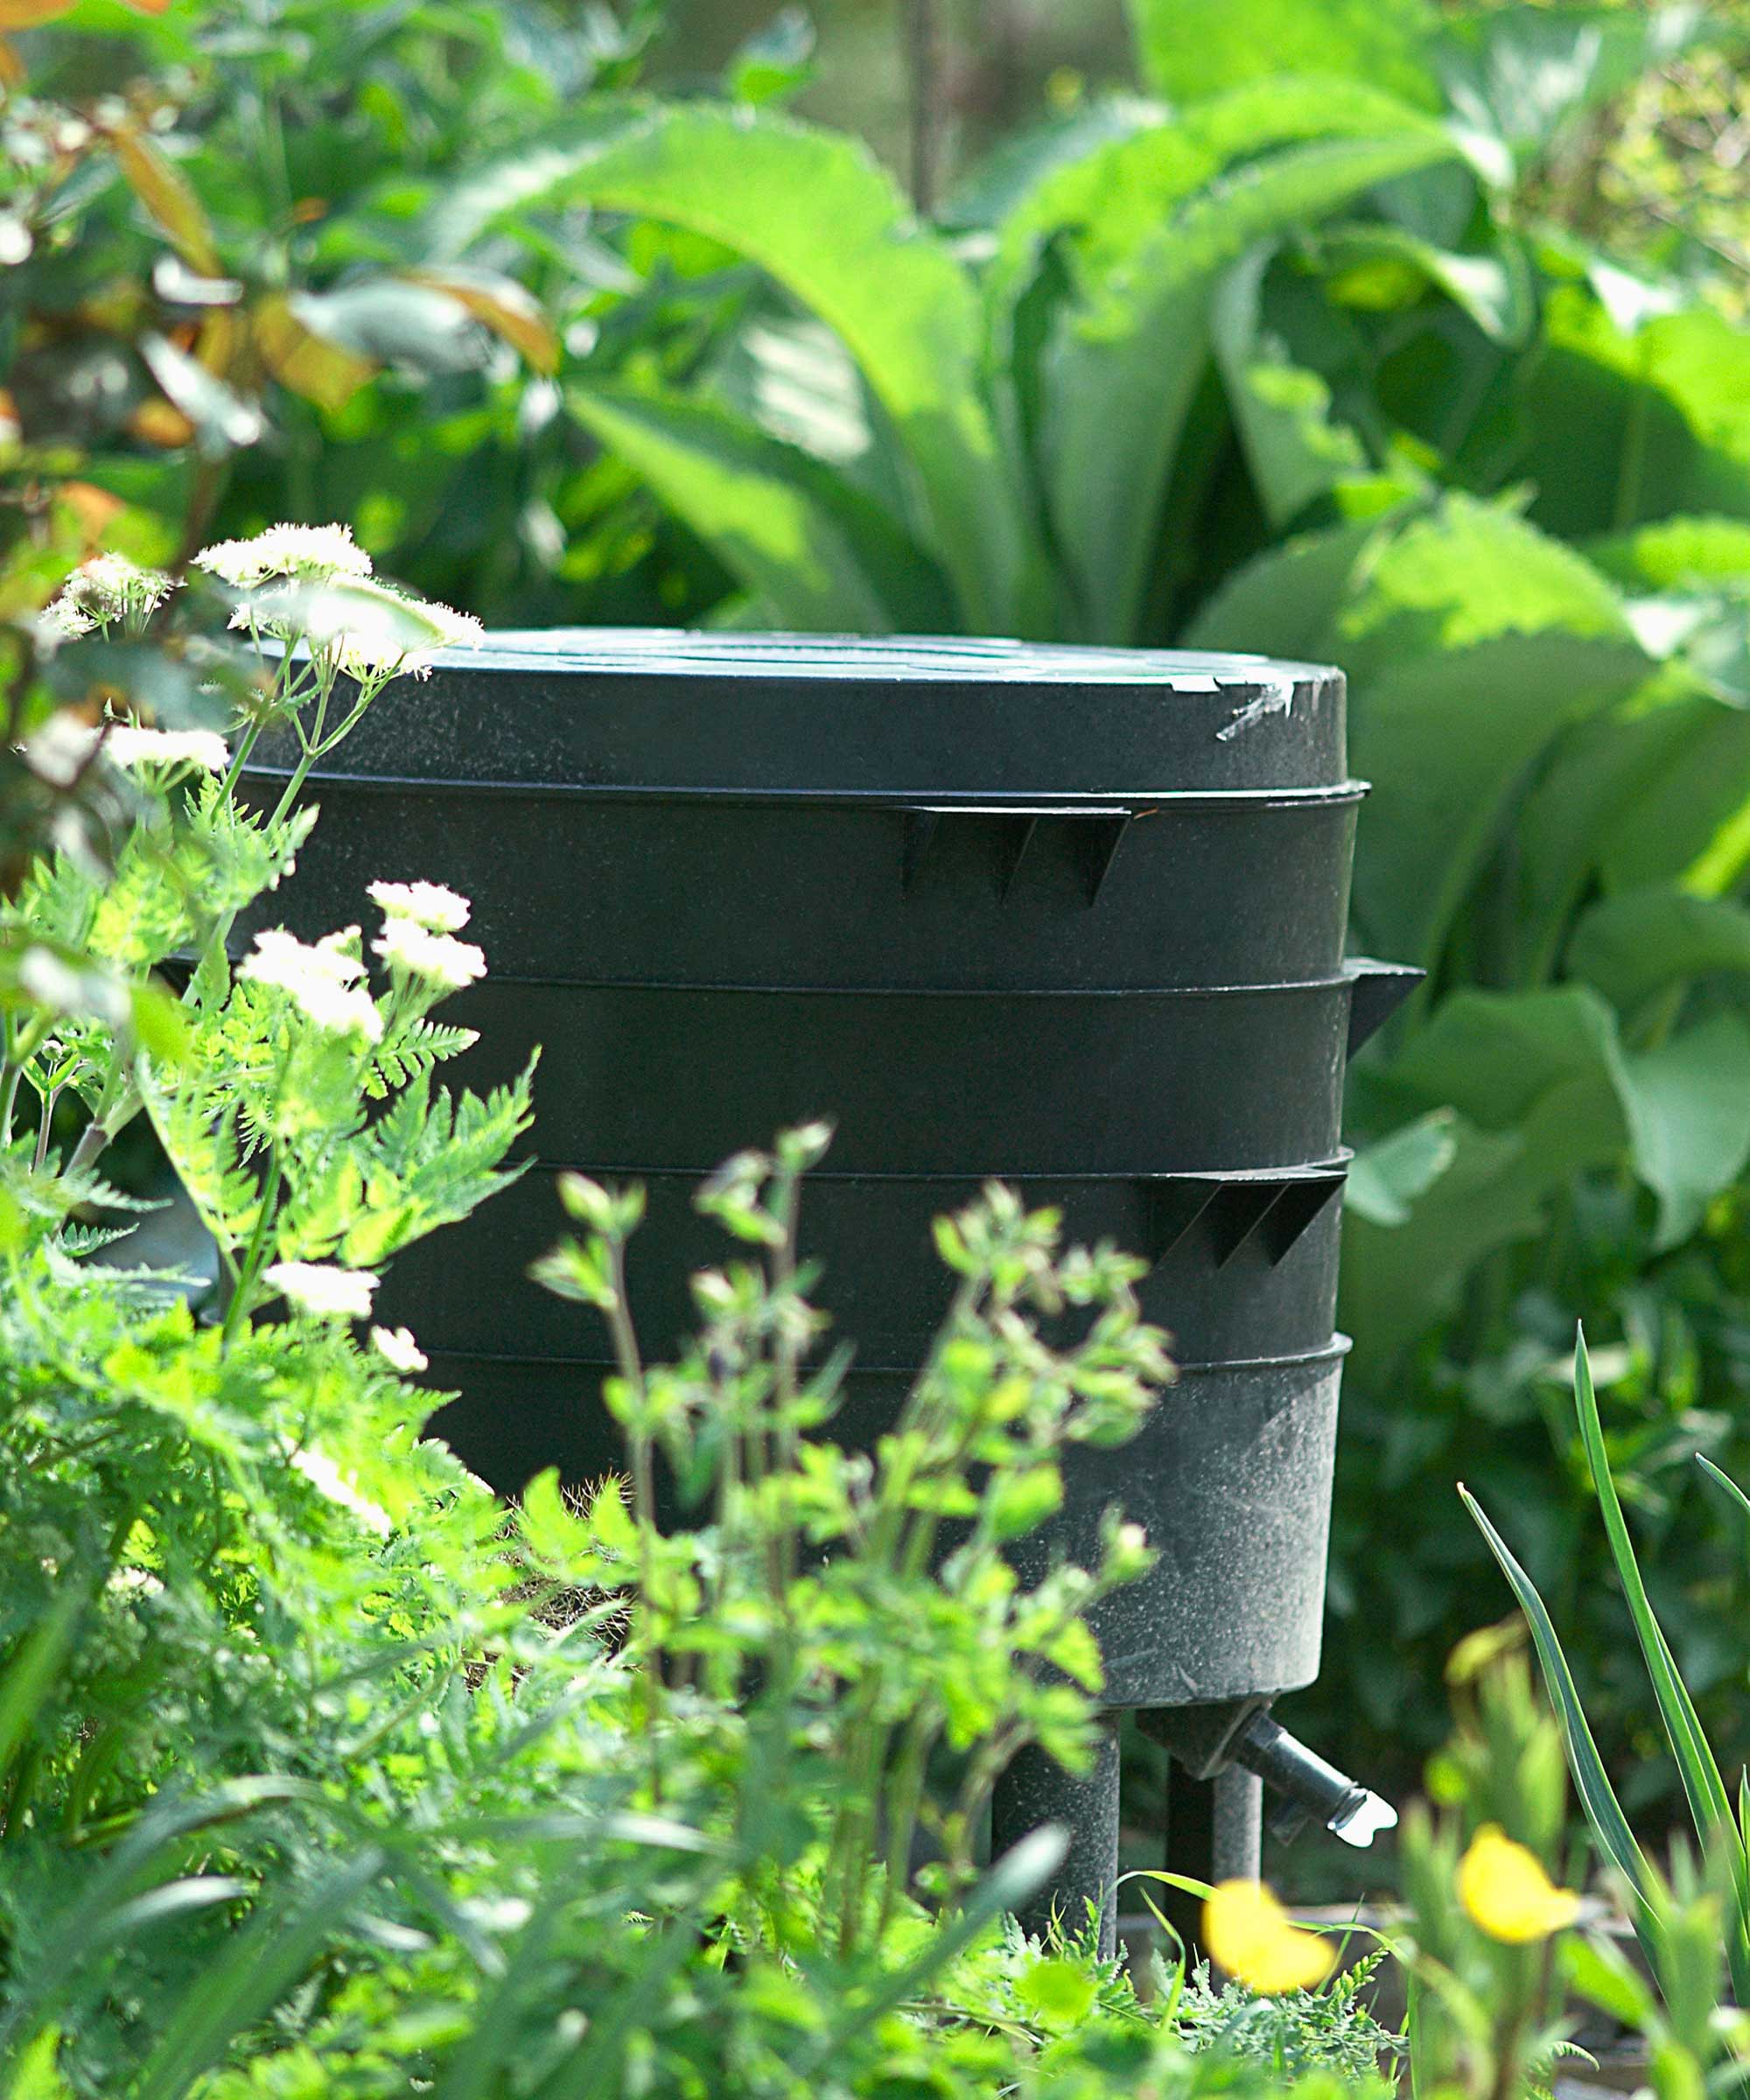
A stacked wormery makes it easy to harvest the compost
What worms can you use for composting?
There's no need to go hunting for worms – best garden spade in hand – in your garden or local park. Regular earthworms aren't the type you want when it comes to composting. Instead, you'll need what's known as brandling worms, which thrive in rotting vegetation. You can buy these from good garden centers or worm composting specialists online.
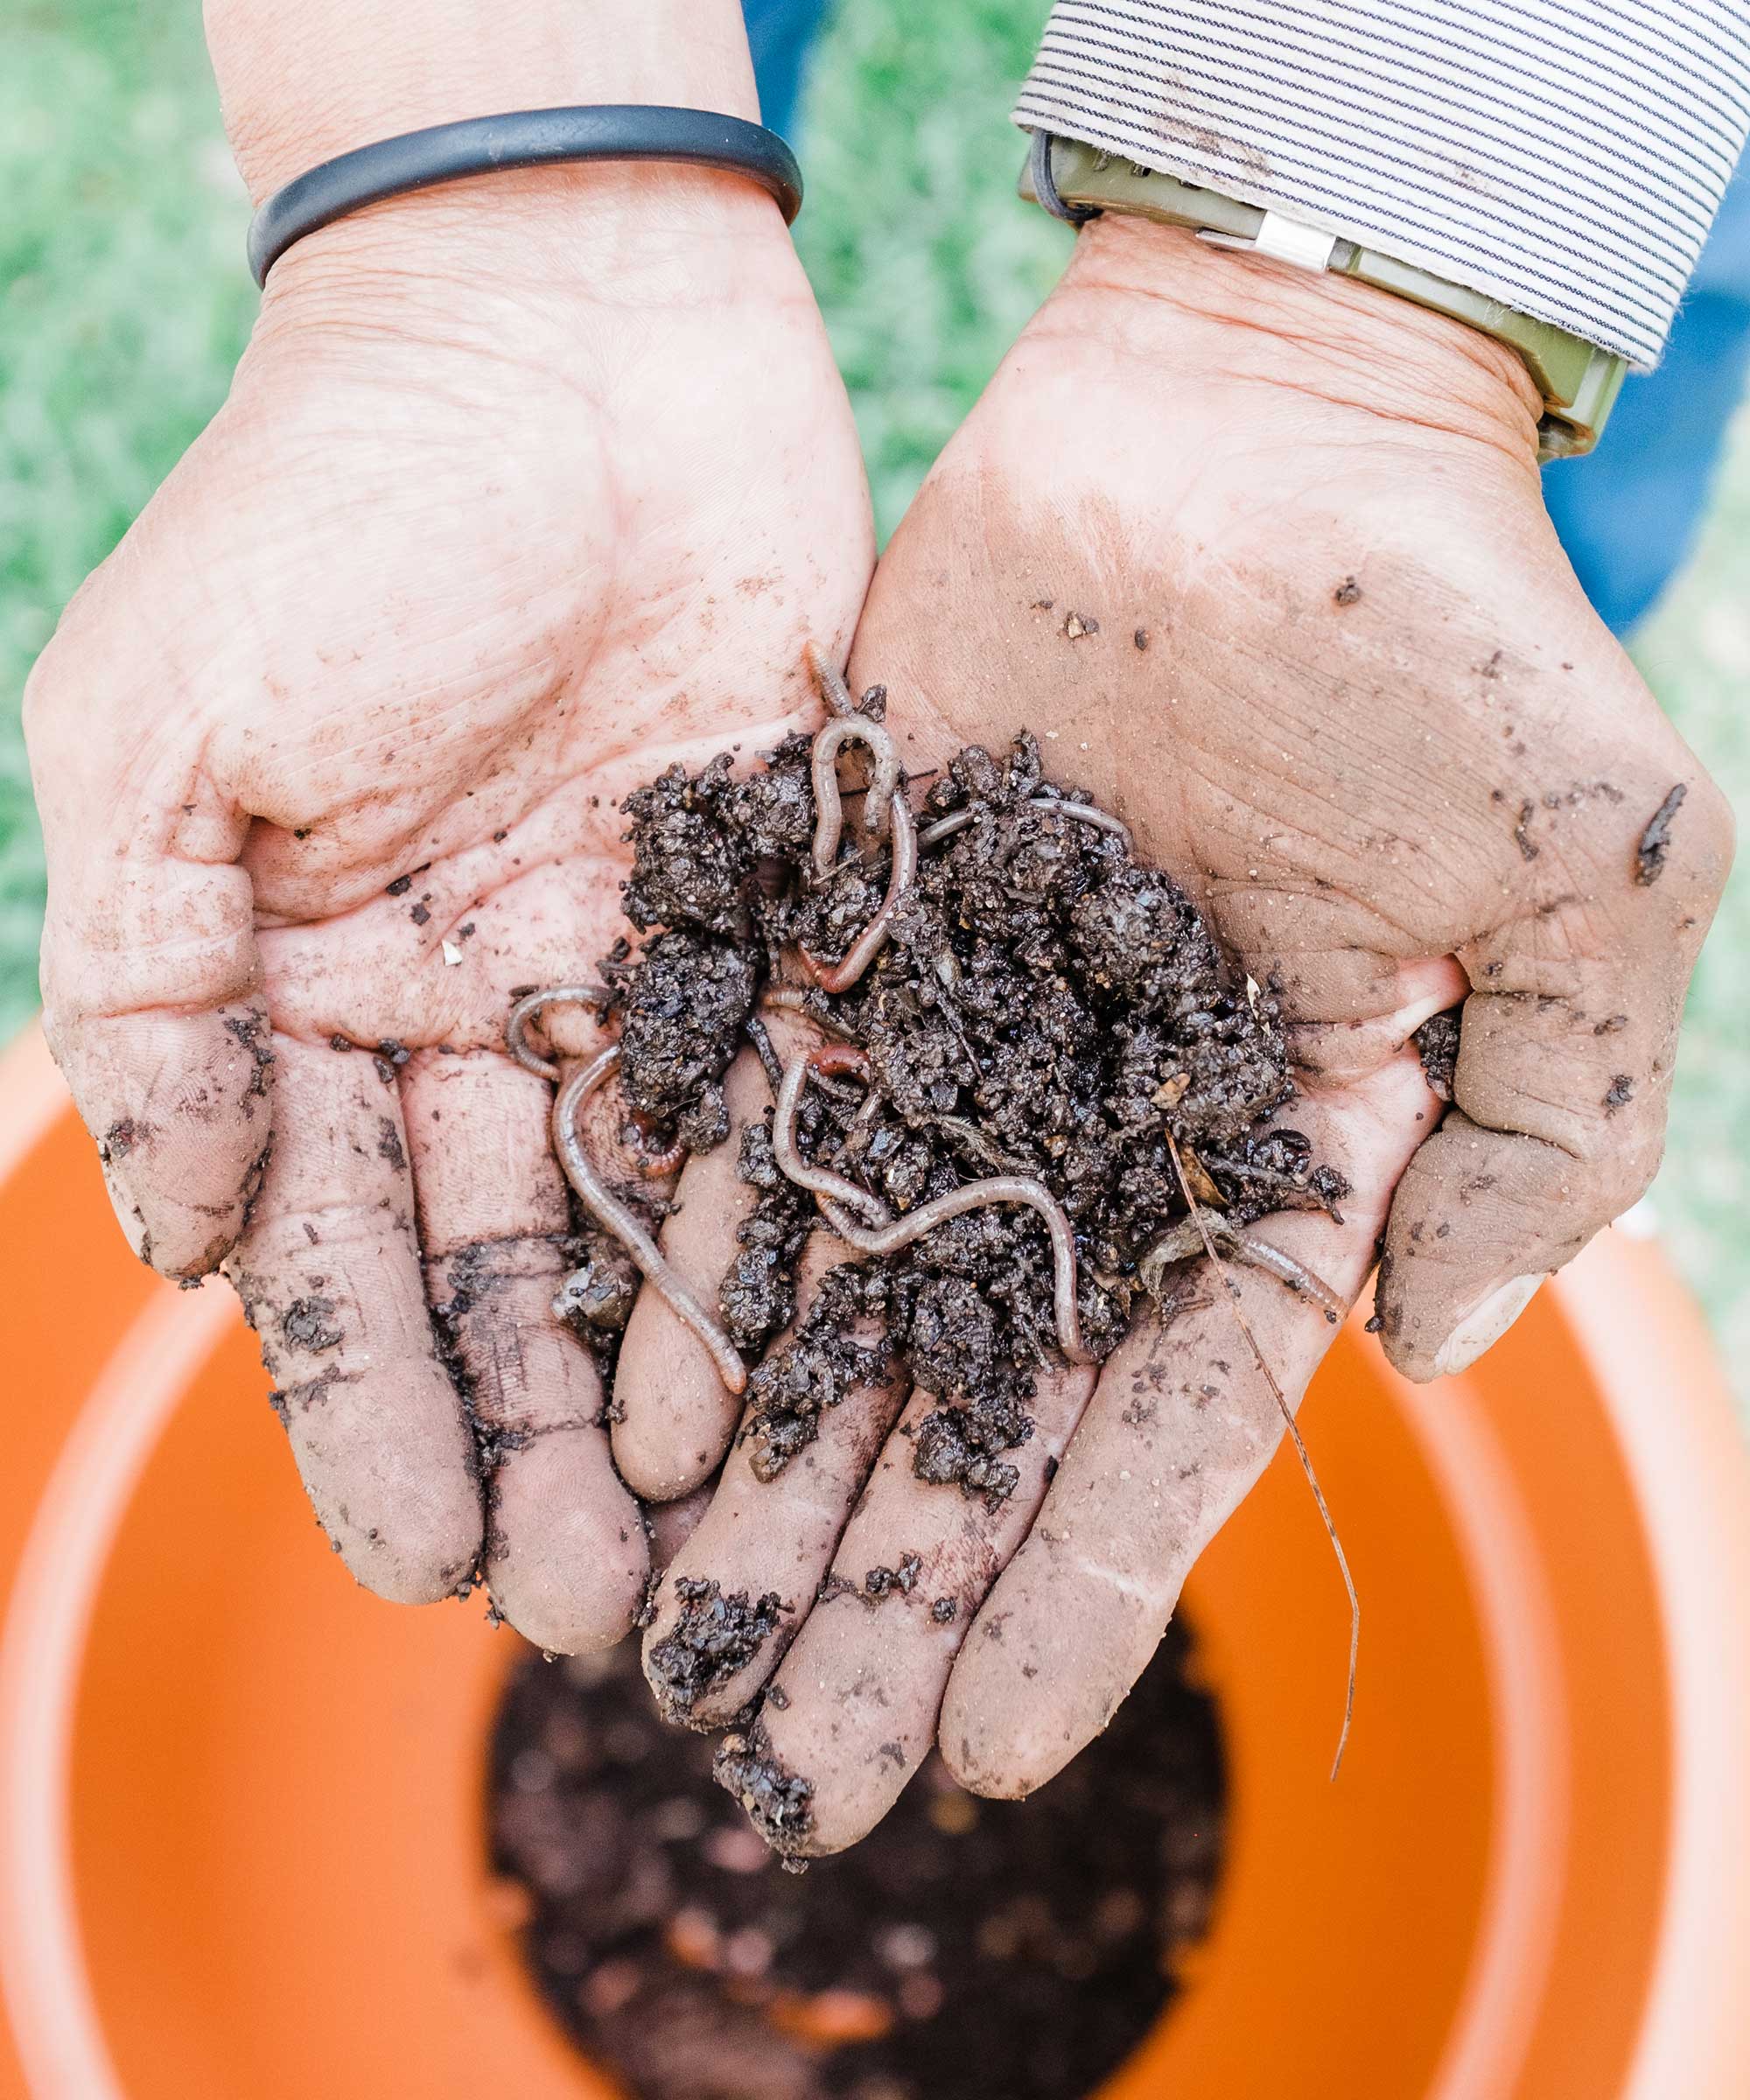
Brandling worms are much more effective at producing compost than earthworms
What can you put in a worm composting bin?
There are some dos and don'ts with what to put in a regular compost bin, and it's the same for worm compost bins too.
Veggies, fruits, carbohydrates such as bread and pasta, egg shells, tea bags and coffee granules are all great additions, as is old newspaper and cardboard. For the fastest results, chop everything up into smaller pieces before adding, and be careful not to add too much at a time. Bear in mind that worms don't like their living conditions to be overly acidic. If you're adding onions and citrus fruits, it's good practice to add a bit of lime too to balance the pH levels, as suggests Heather Gorringe from Wiggly Wigglers.
Avoid meat (and bones), dairy, oils, weeds, and chemicals. Large amounts of green or woody waste should be avoided too, as this can overwhelm the wormery. If you have lots of garden waste, consider adding one of the best compost bins to your yard to go alongside.
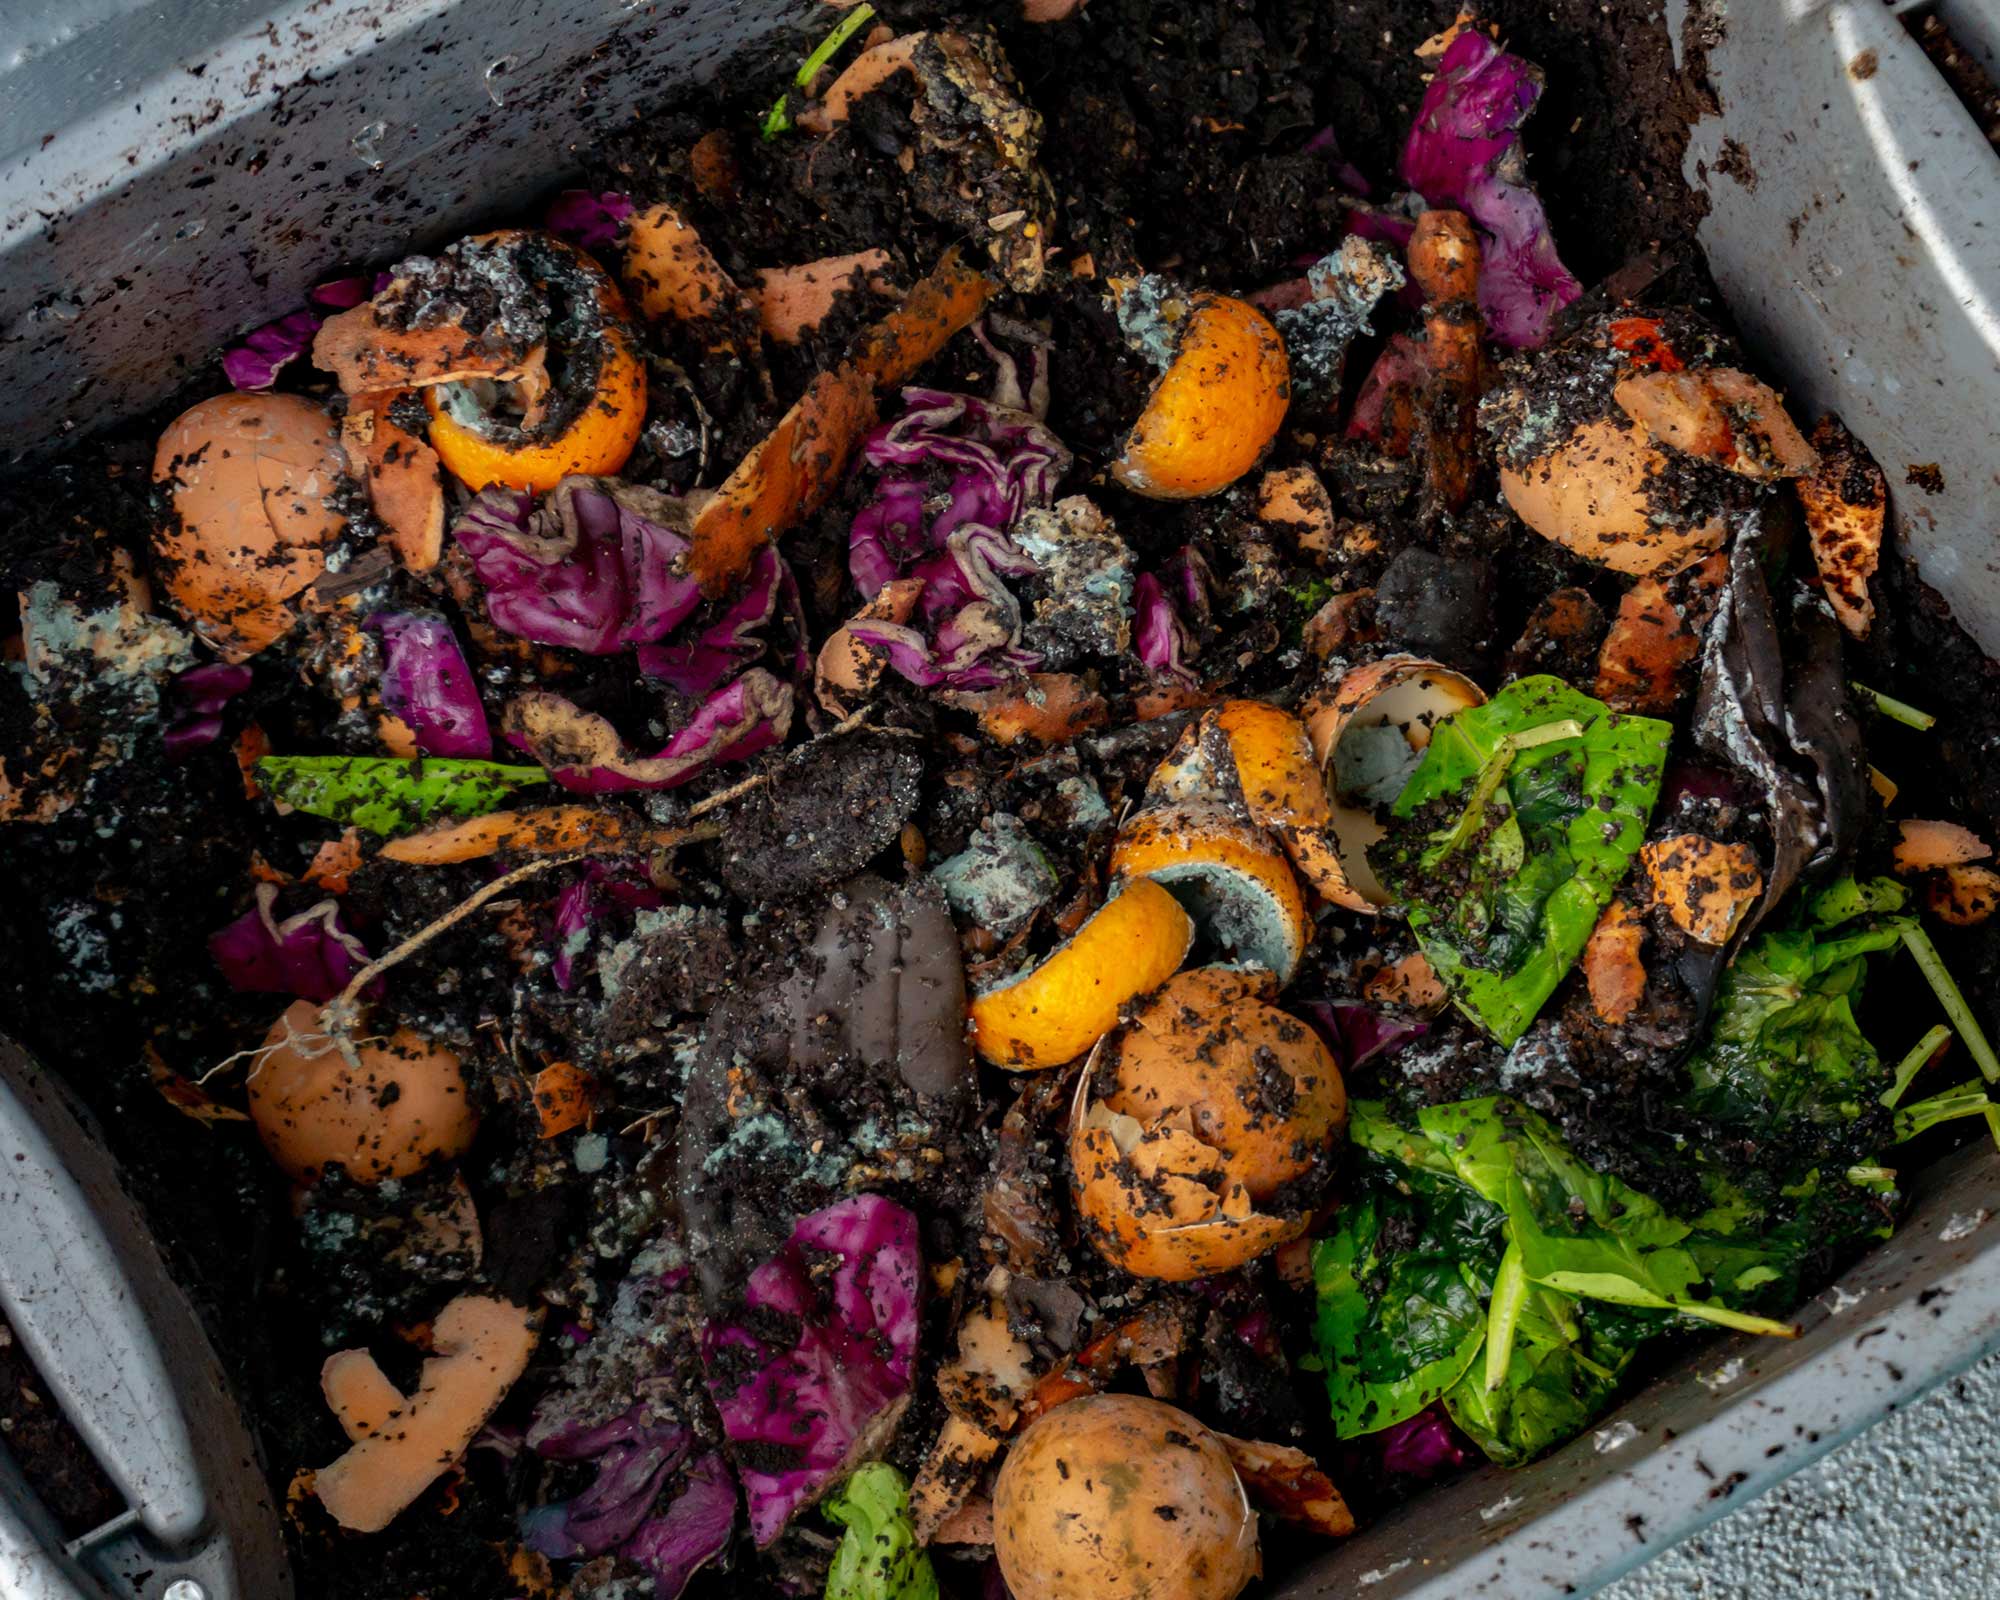
There is plenty of kitchen waste that is suitable for worm composting
How long does it take for worms to produce compost?
Depending on the size of your wormery, the amount of worms, and the quality of food that you're feeding them, it can take a mere 2–3 months for enough compost to be produced for harvesting. It will be a rich brown color and have a crumbly, earthy texture.
If you have a stacked wormery, then the harvesting process is simple – your worms will have moved up to a higher level, leaving a lower level filled with compost which can simply be removed. If you have a more basic structure, you'll need to tip out the contents onto a plastic sheet. The Urban Worm suggests to form small mounds from the compost – the worms will migrate to the bottom of the piles to avoid the light. You can then collect the top layers of compost, before returning the worms to the wormery and starting afresh.
Looking for another fast way to recycle food scraps? Our guide to hot composting is well worth a look.
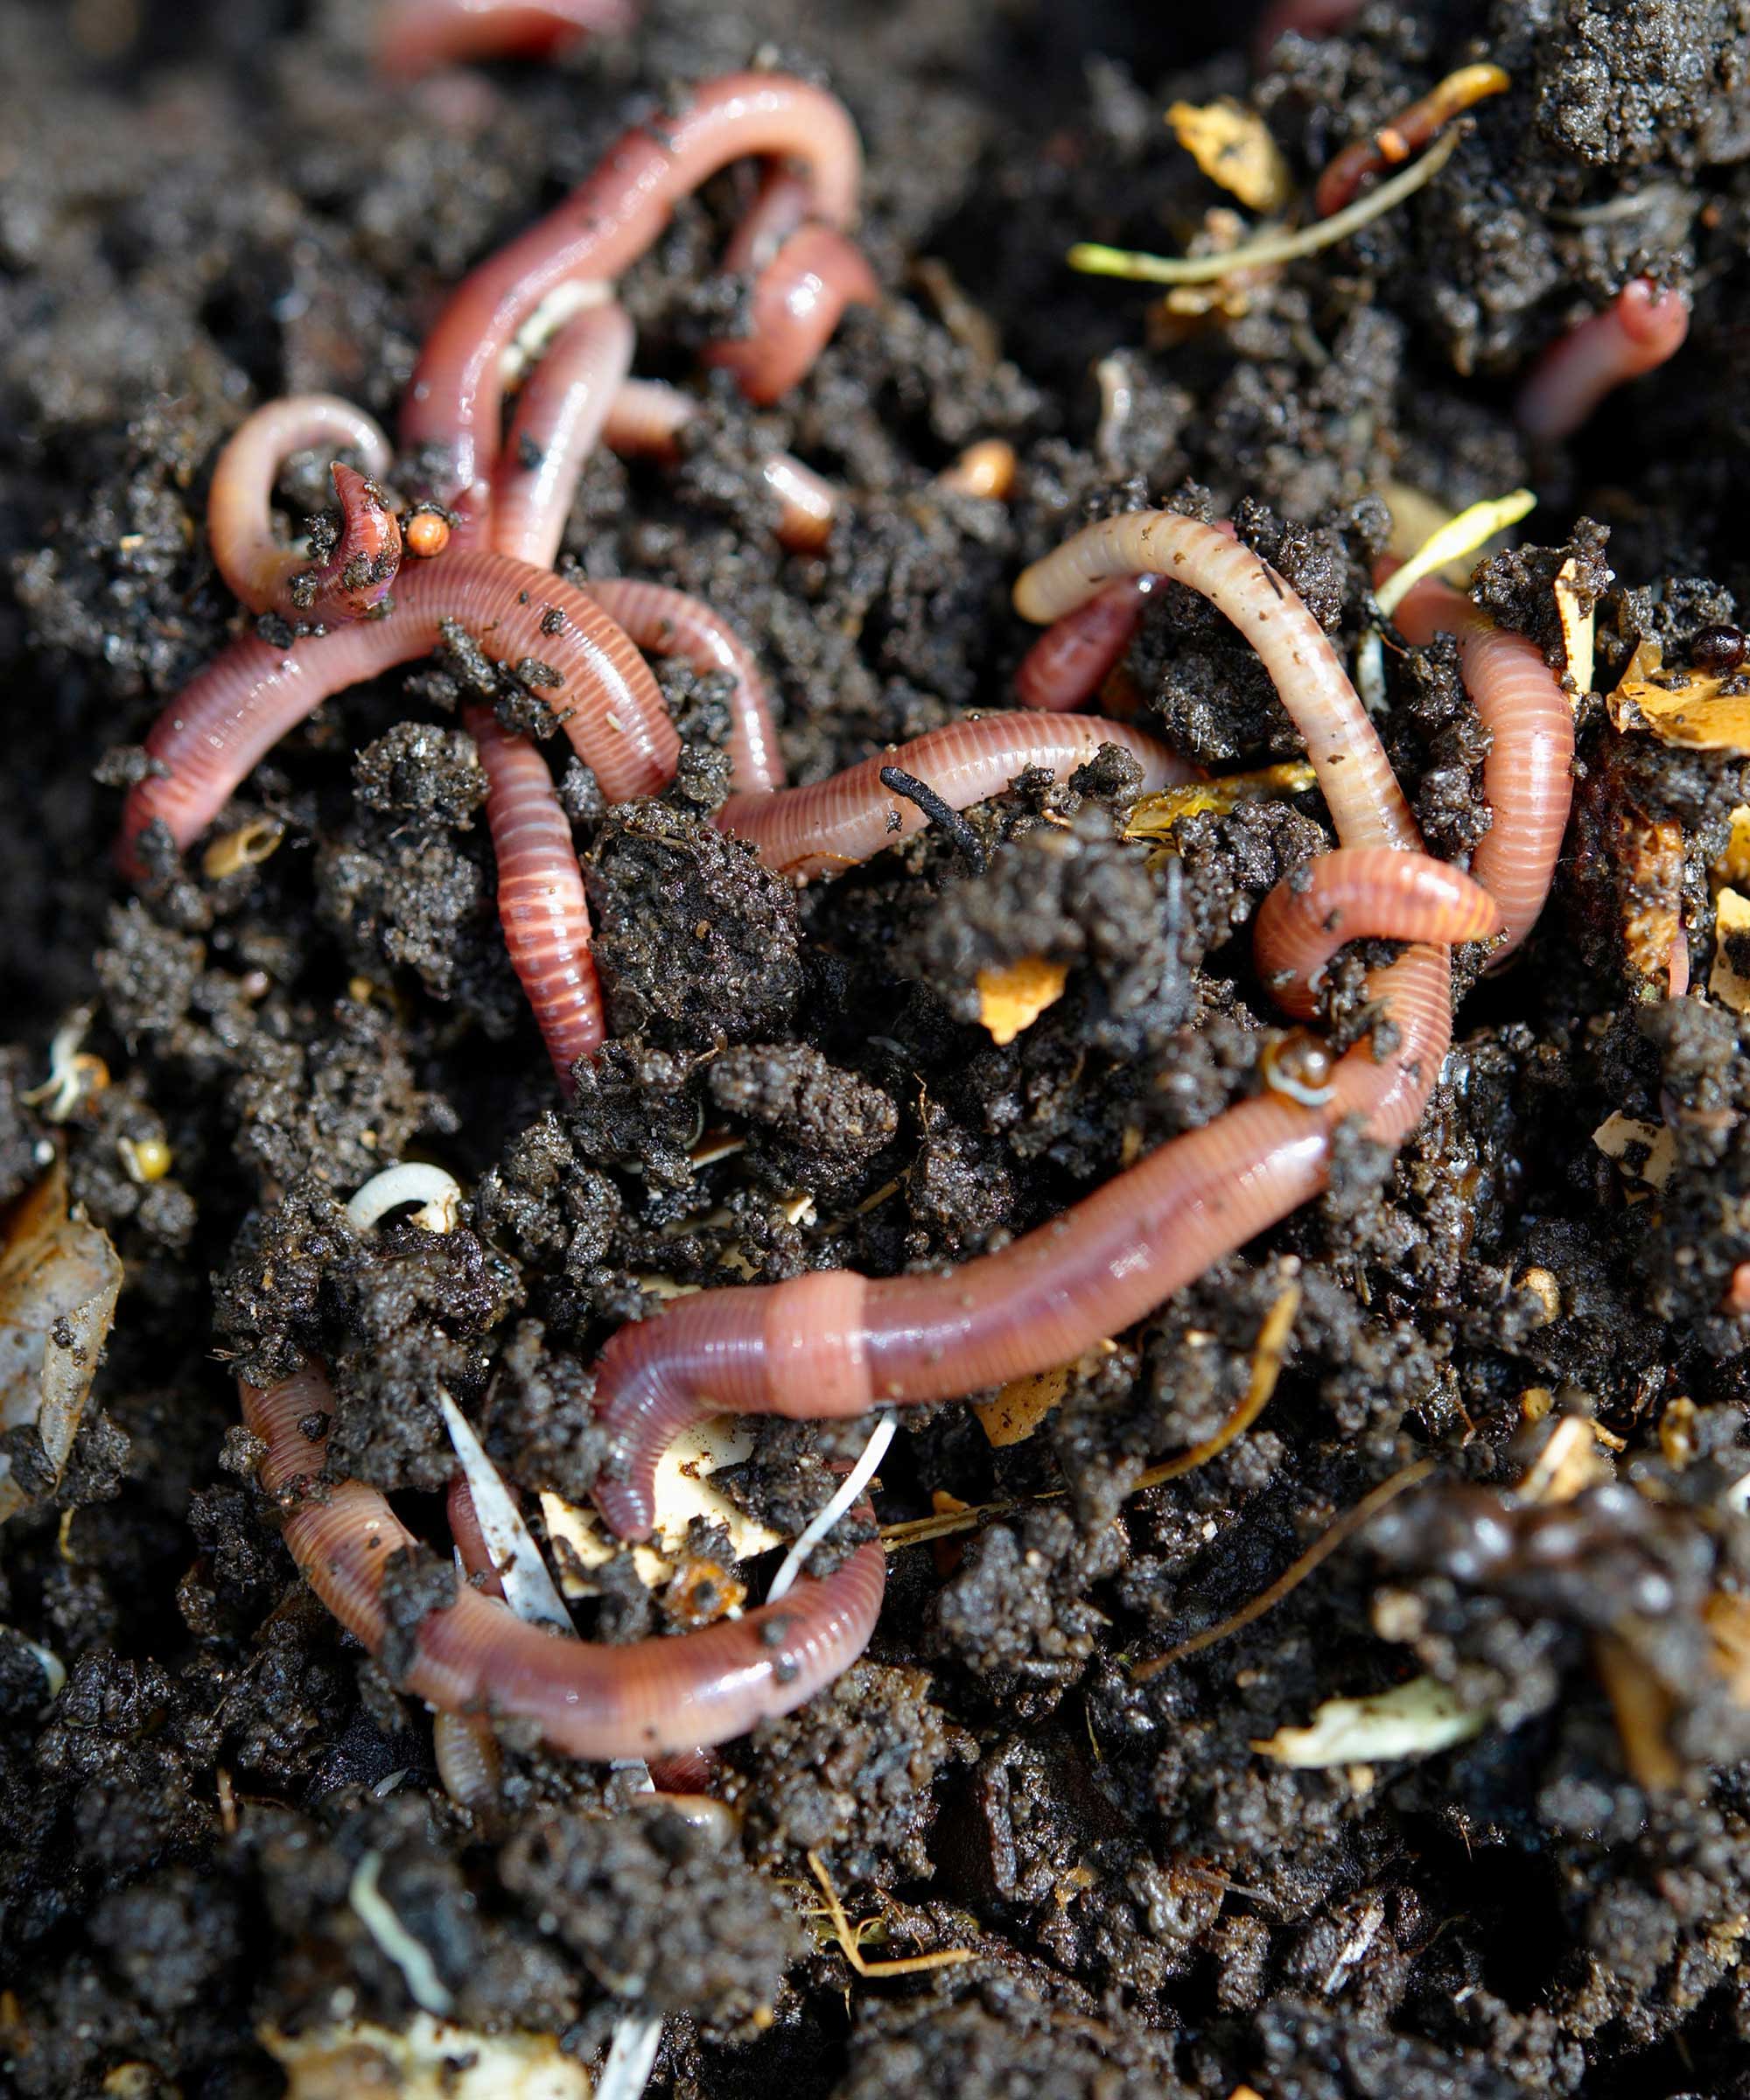
Worm composting is affordable and sustainable

The garden was always a big part of Holly's life growing up, as was the surrounding New Forest where she lived. Her appreciation for the great outdoors has only grown since then. She's been an allotment keeper, a professional gardener, and a botanical illustrator – plants are her passion.
