Winterizing hostas: tuck up your precious plants to keep them protected
Follow our expert tips on winterizing hostas and make sure yours get the TLC they need to see them through a cold snap
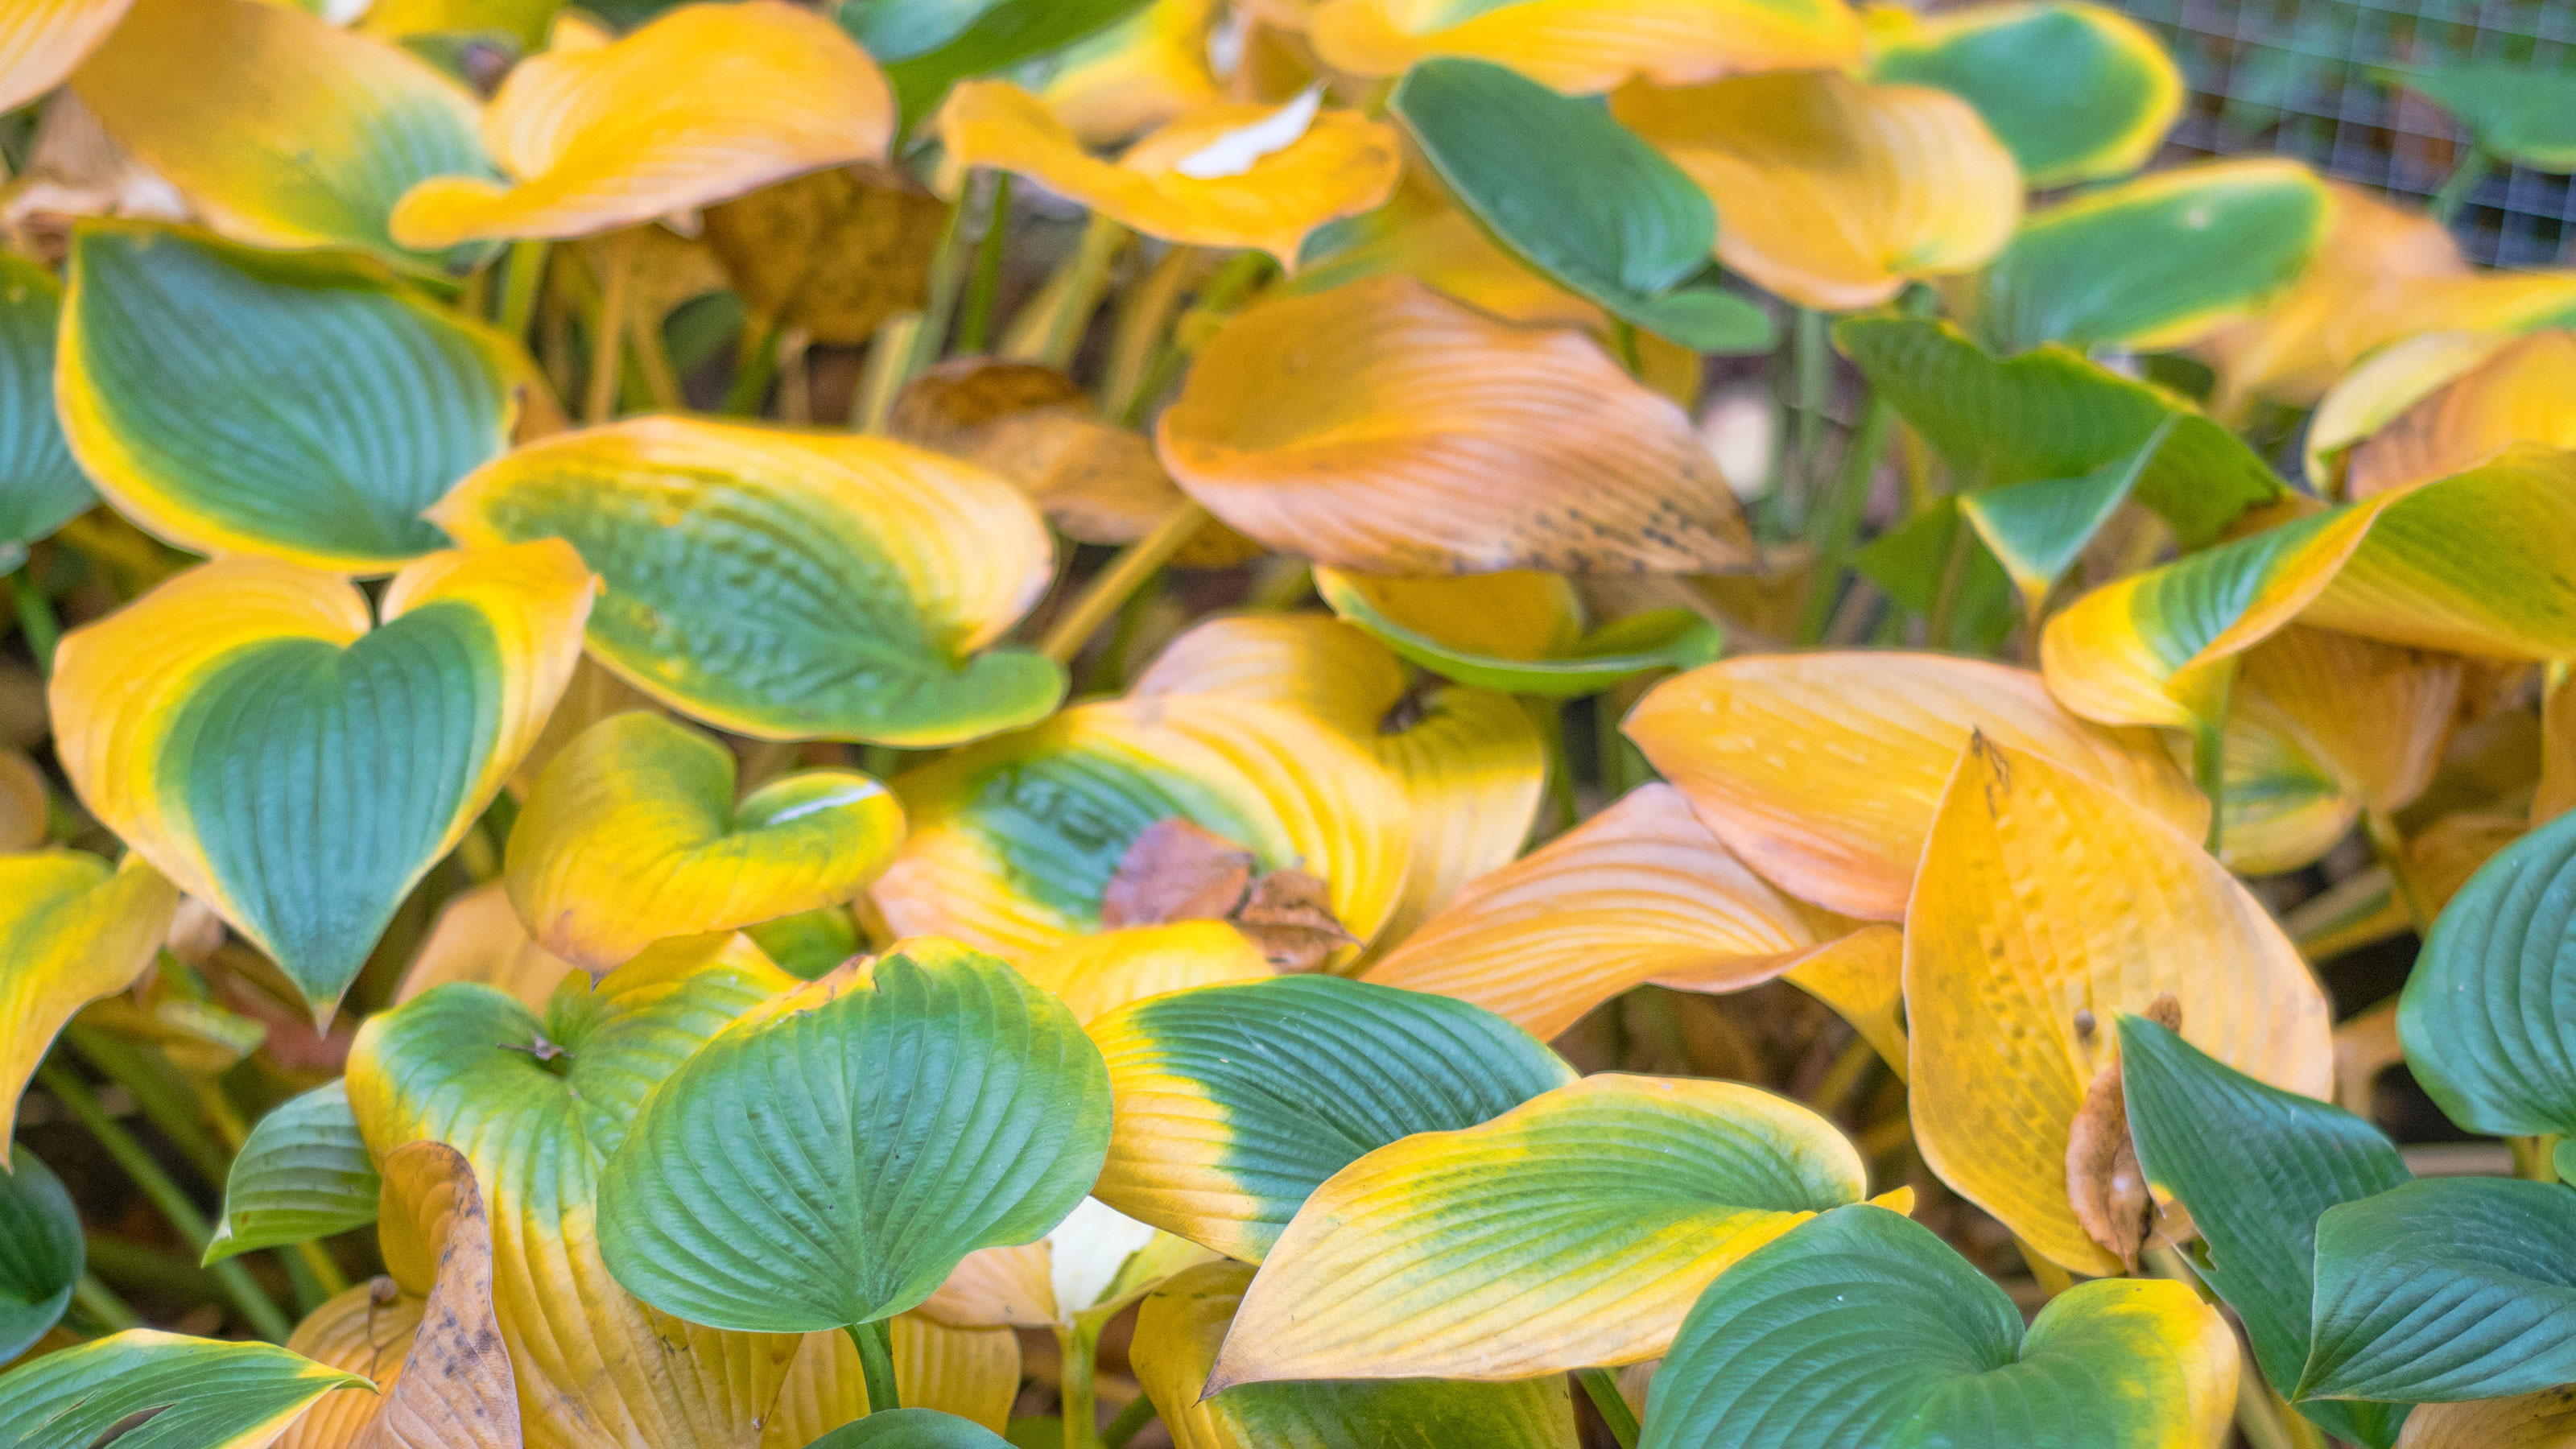

When it comes to winterizing hostas the advice is pretty straightforward as they're tough little customers. They die back in fall and live through winter in a dormant state, with a profusion of fresh green shoots popping up the following spring.
Although they are hardy and survive just fine it can help to add a layer of mulch to insulate them if you live in a cooler region. There's lots more you can do to ease their passage through chilly winters too as damage can occur, even to established plants.
Your starting point is a simple grooming routine in fall. In addition they thrive best in a consistent soil temperature, so there's alternative advice here depending on whether you're growing them in the ground or plan to keep them in containers.
When it comes to hostas care, make sure you are on top of your game so these super-attractive plants thrive in your yard whatever the season.
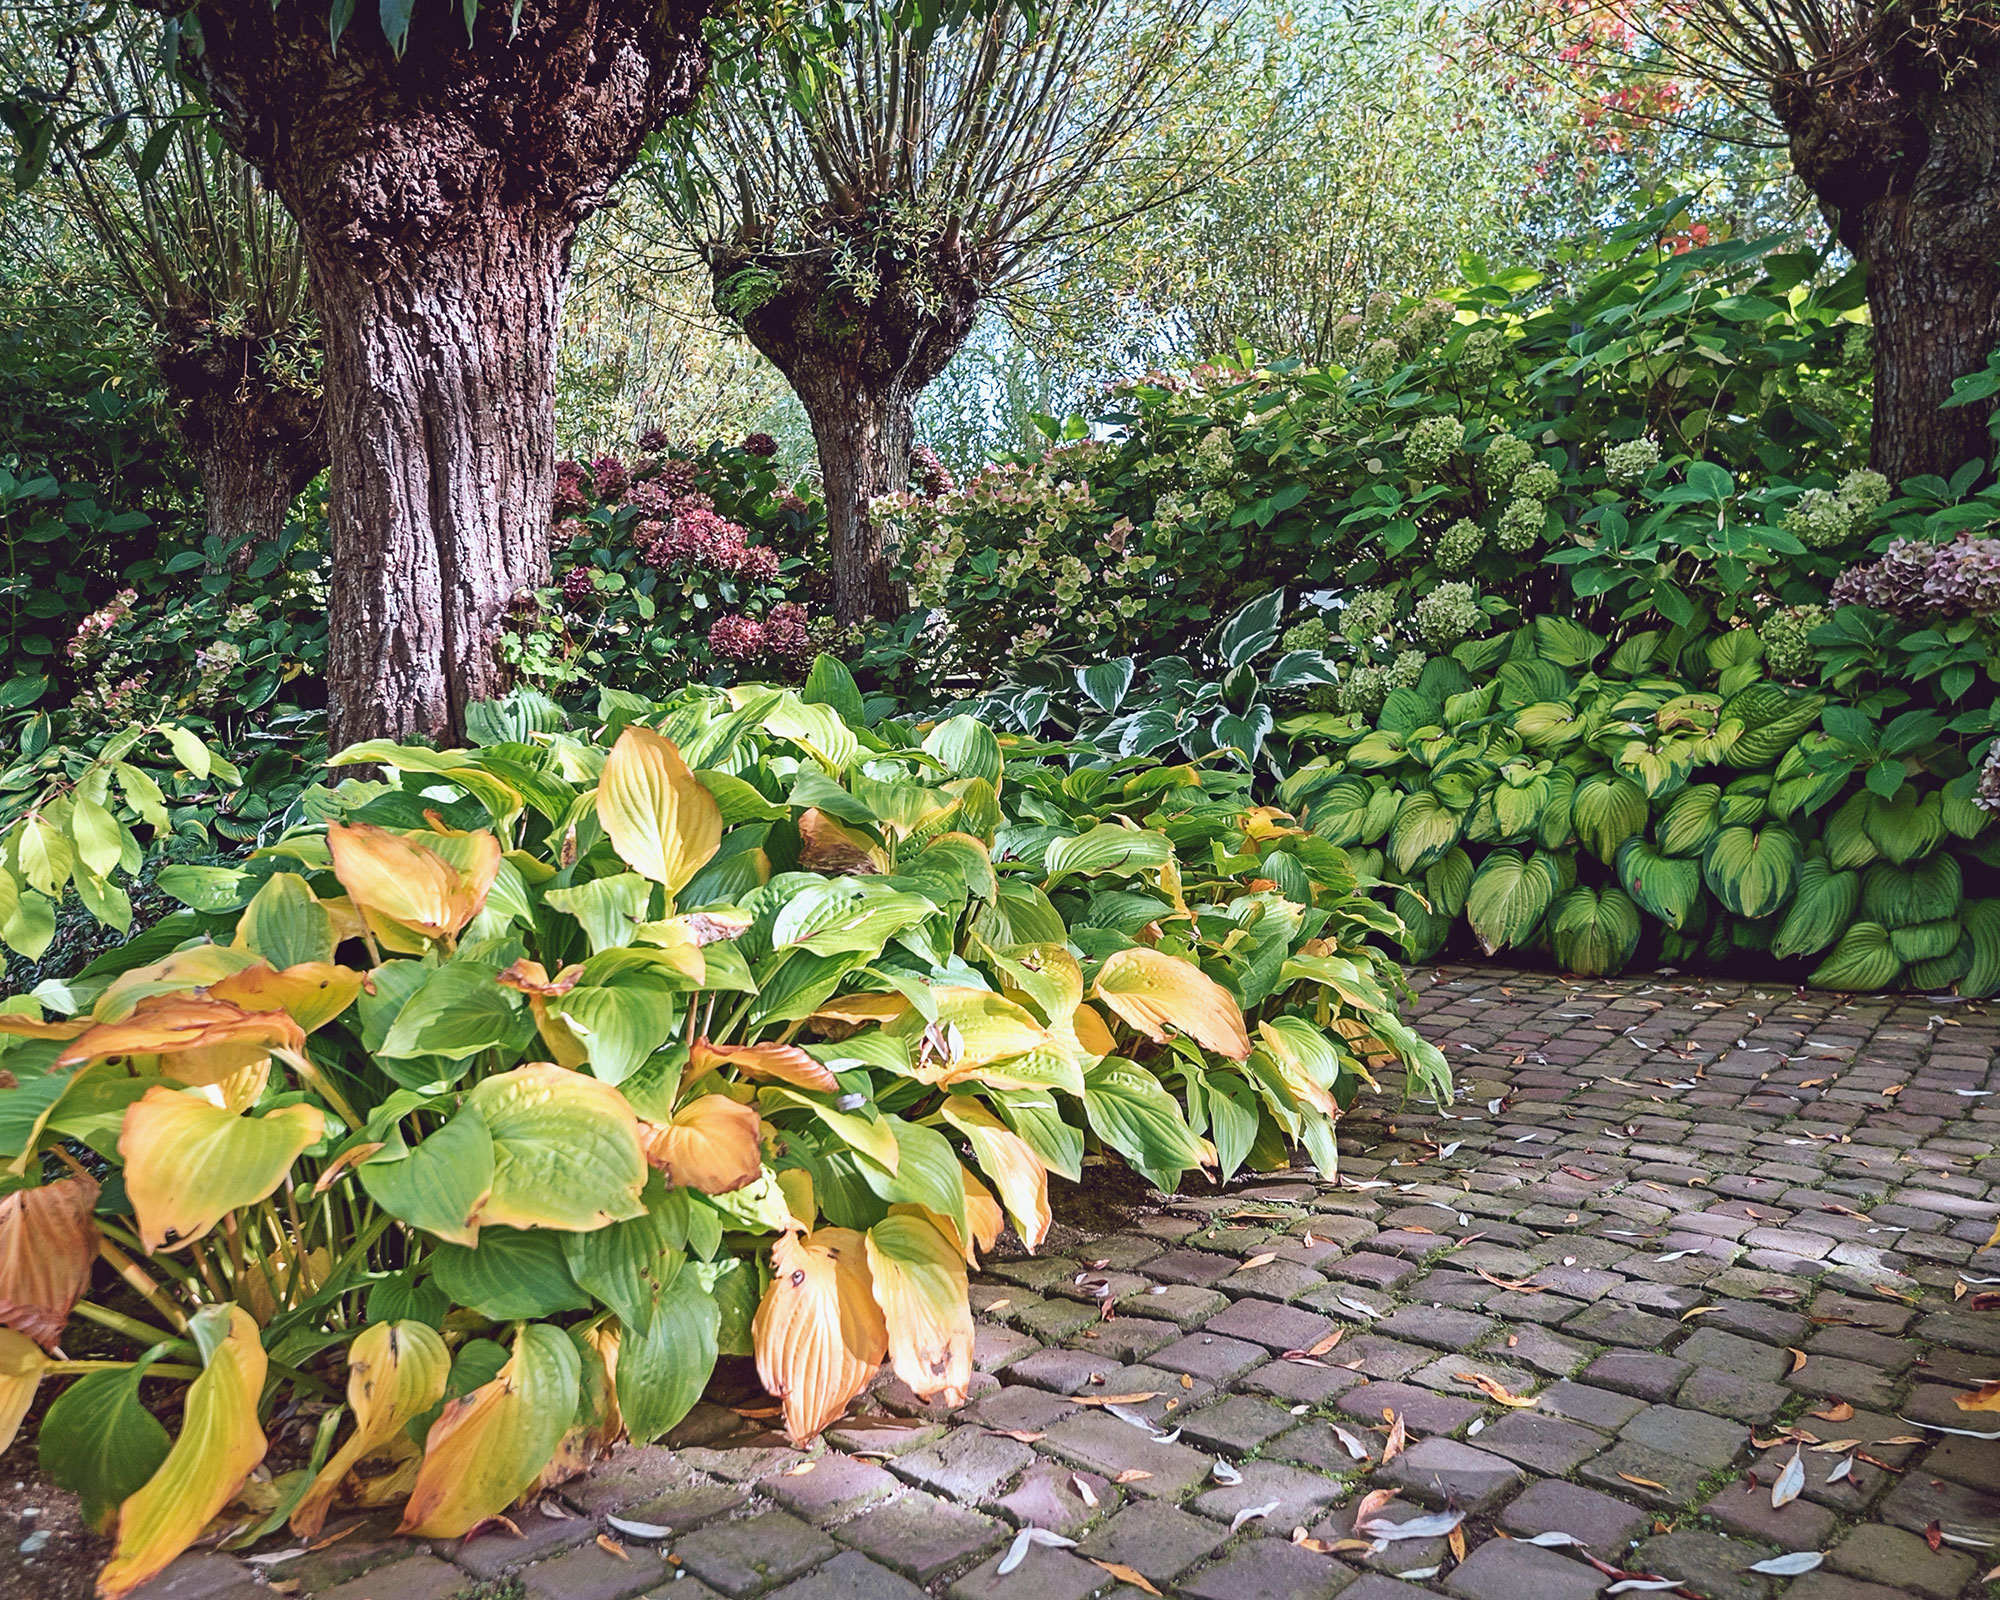
Hosta plants need tidying up ahead of winter
Follow these 3 simple steps for winterizing hostas
'Hostas are hardy plants so should survive most of what winter throws at them,' says Amateur Gardening expert Ruth Hayes. Hardy in USDA zones 3 to 9, they can survive low winter temperatures when planted in the ground, but protecting plants from frost is always a good idea to ensure they don't get damaged in colder regions.
There are a few key winter garden jobs you can do to give your hostas the best possible chance of surviving a cold snap.
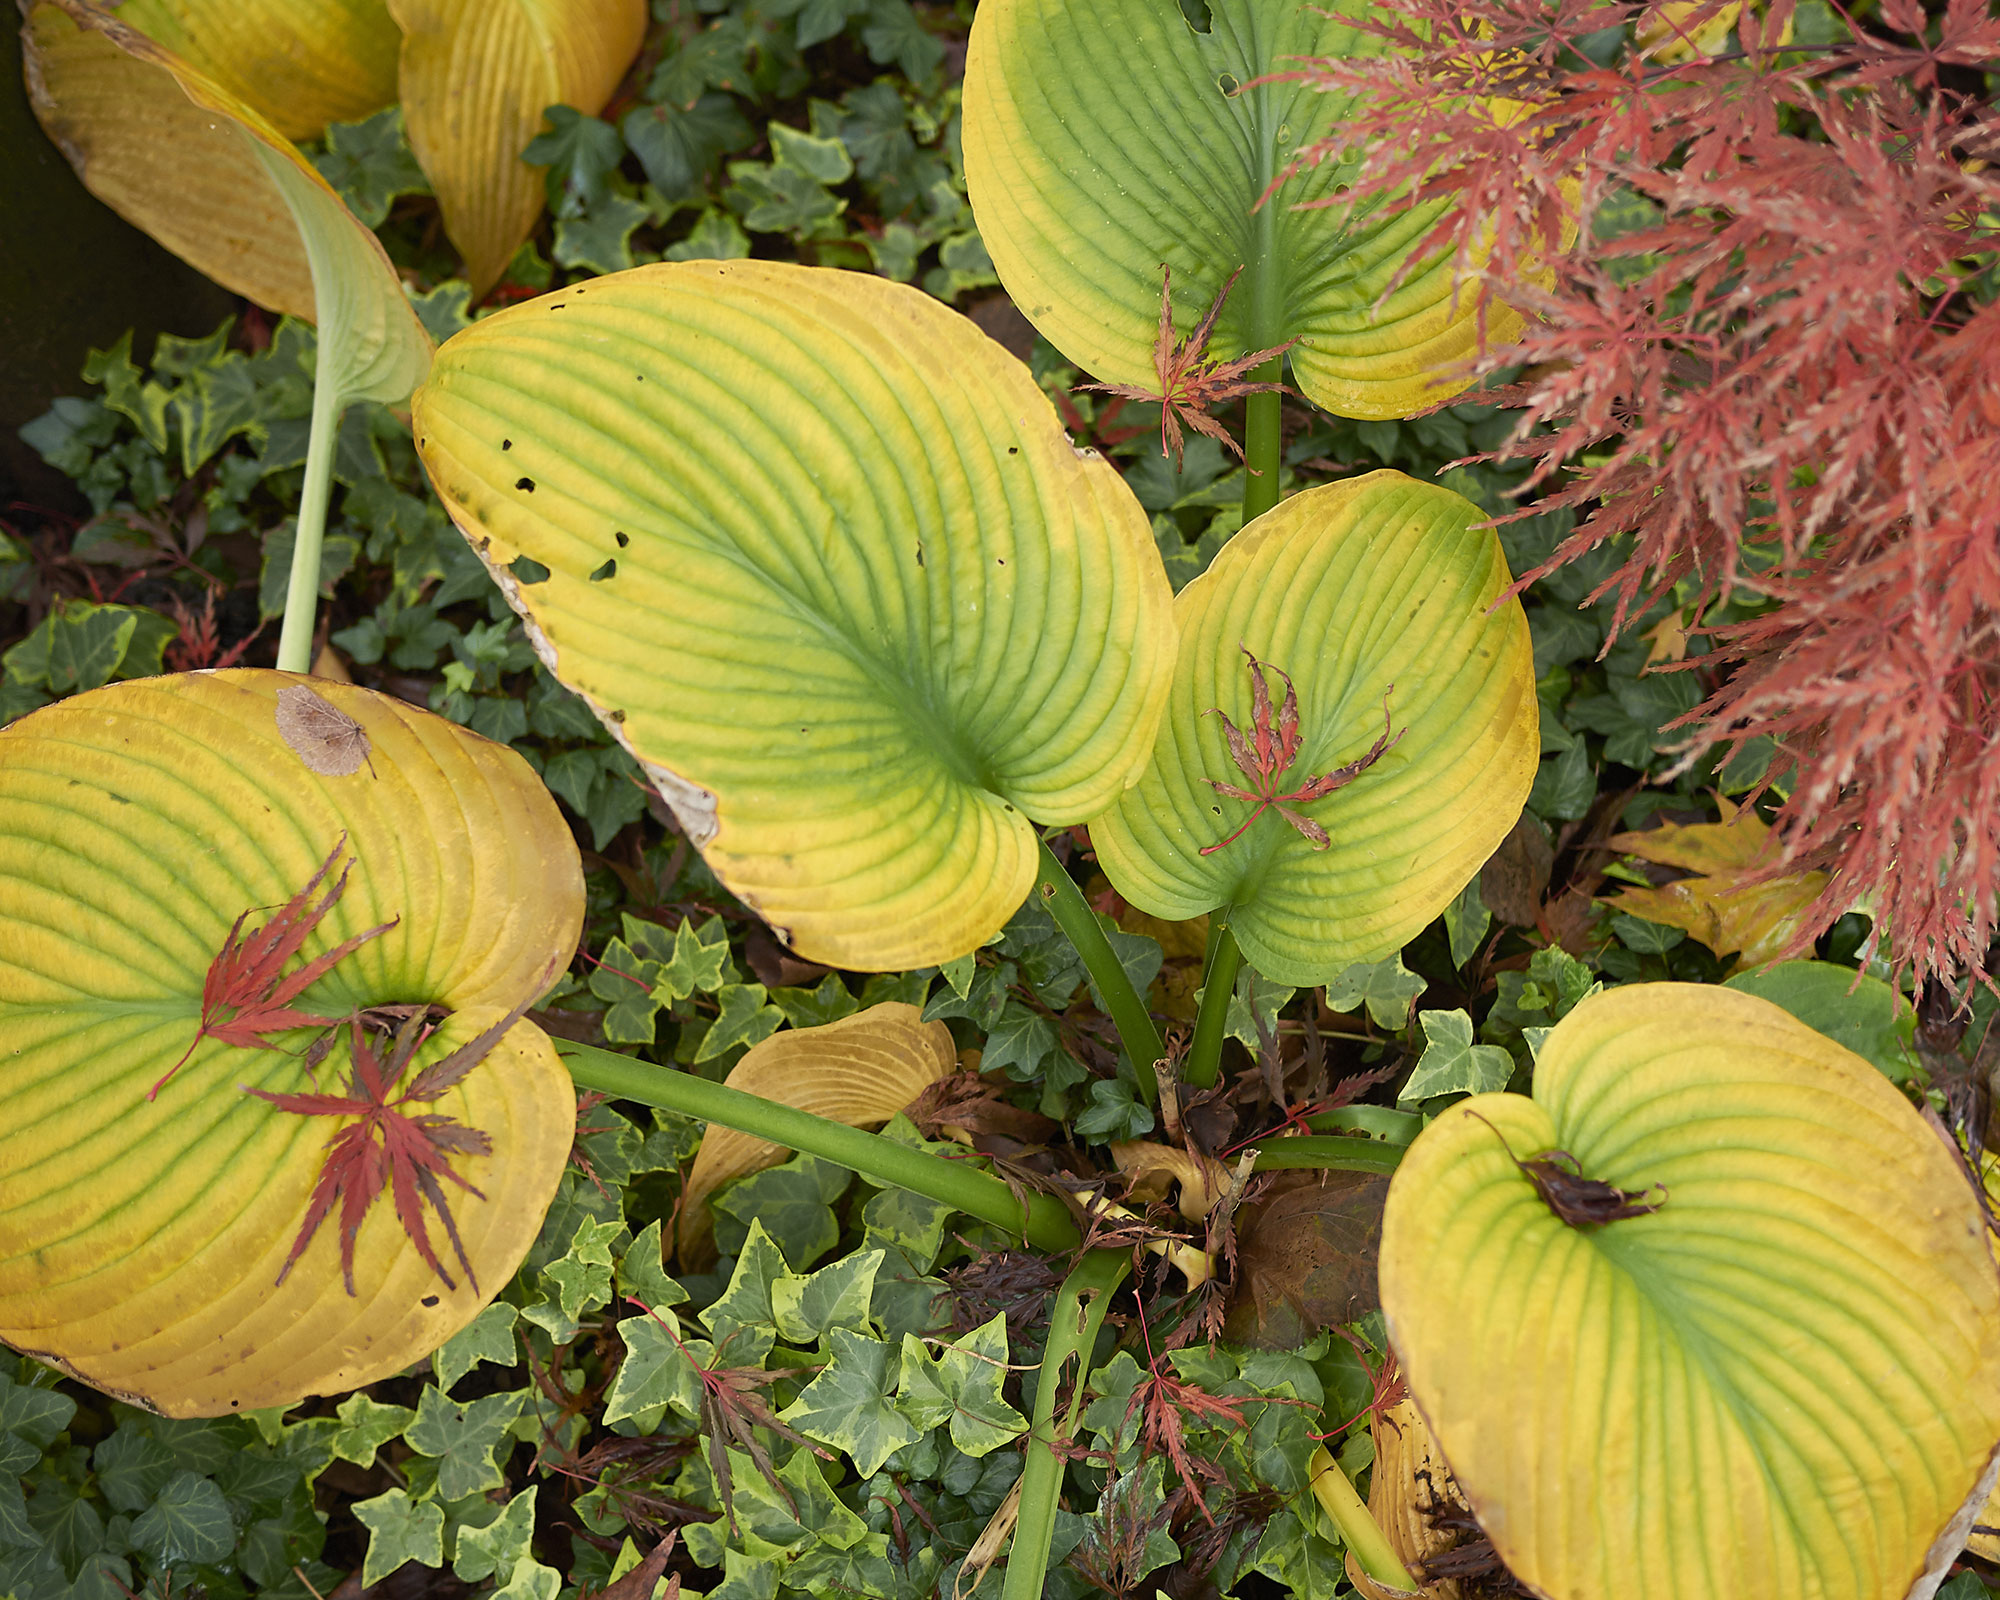
As hosta leaves start to yellow it's time to get your secateurs out
1. Stop feeding your hostas in late summer
As you head into late summer stop fertilizing hostas so they no longer continue to produce new leaves. If you carry on feeding your plants any tender new leaves that result will be susceptible to frost damage. It can also make the roots and crown vulnerable. If the soil around your hostas is dry though continue to water it.
You can start feeding hostas again in spring with a general granular feed or two or three doses of liquid feed during the growing season.
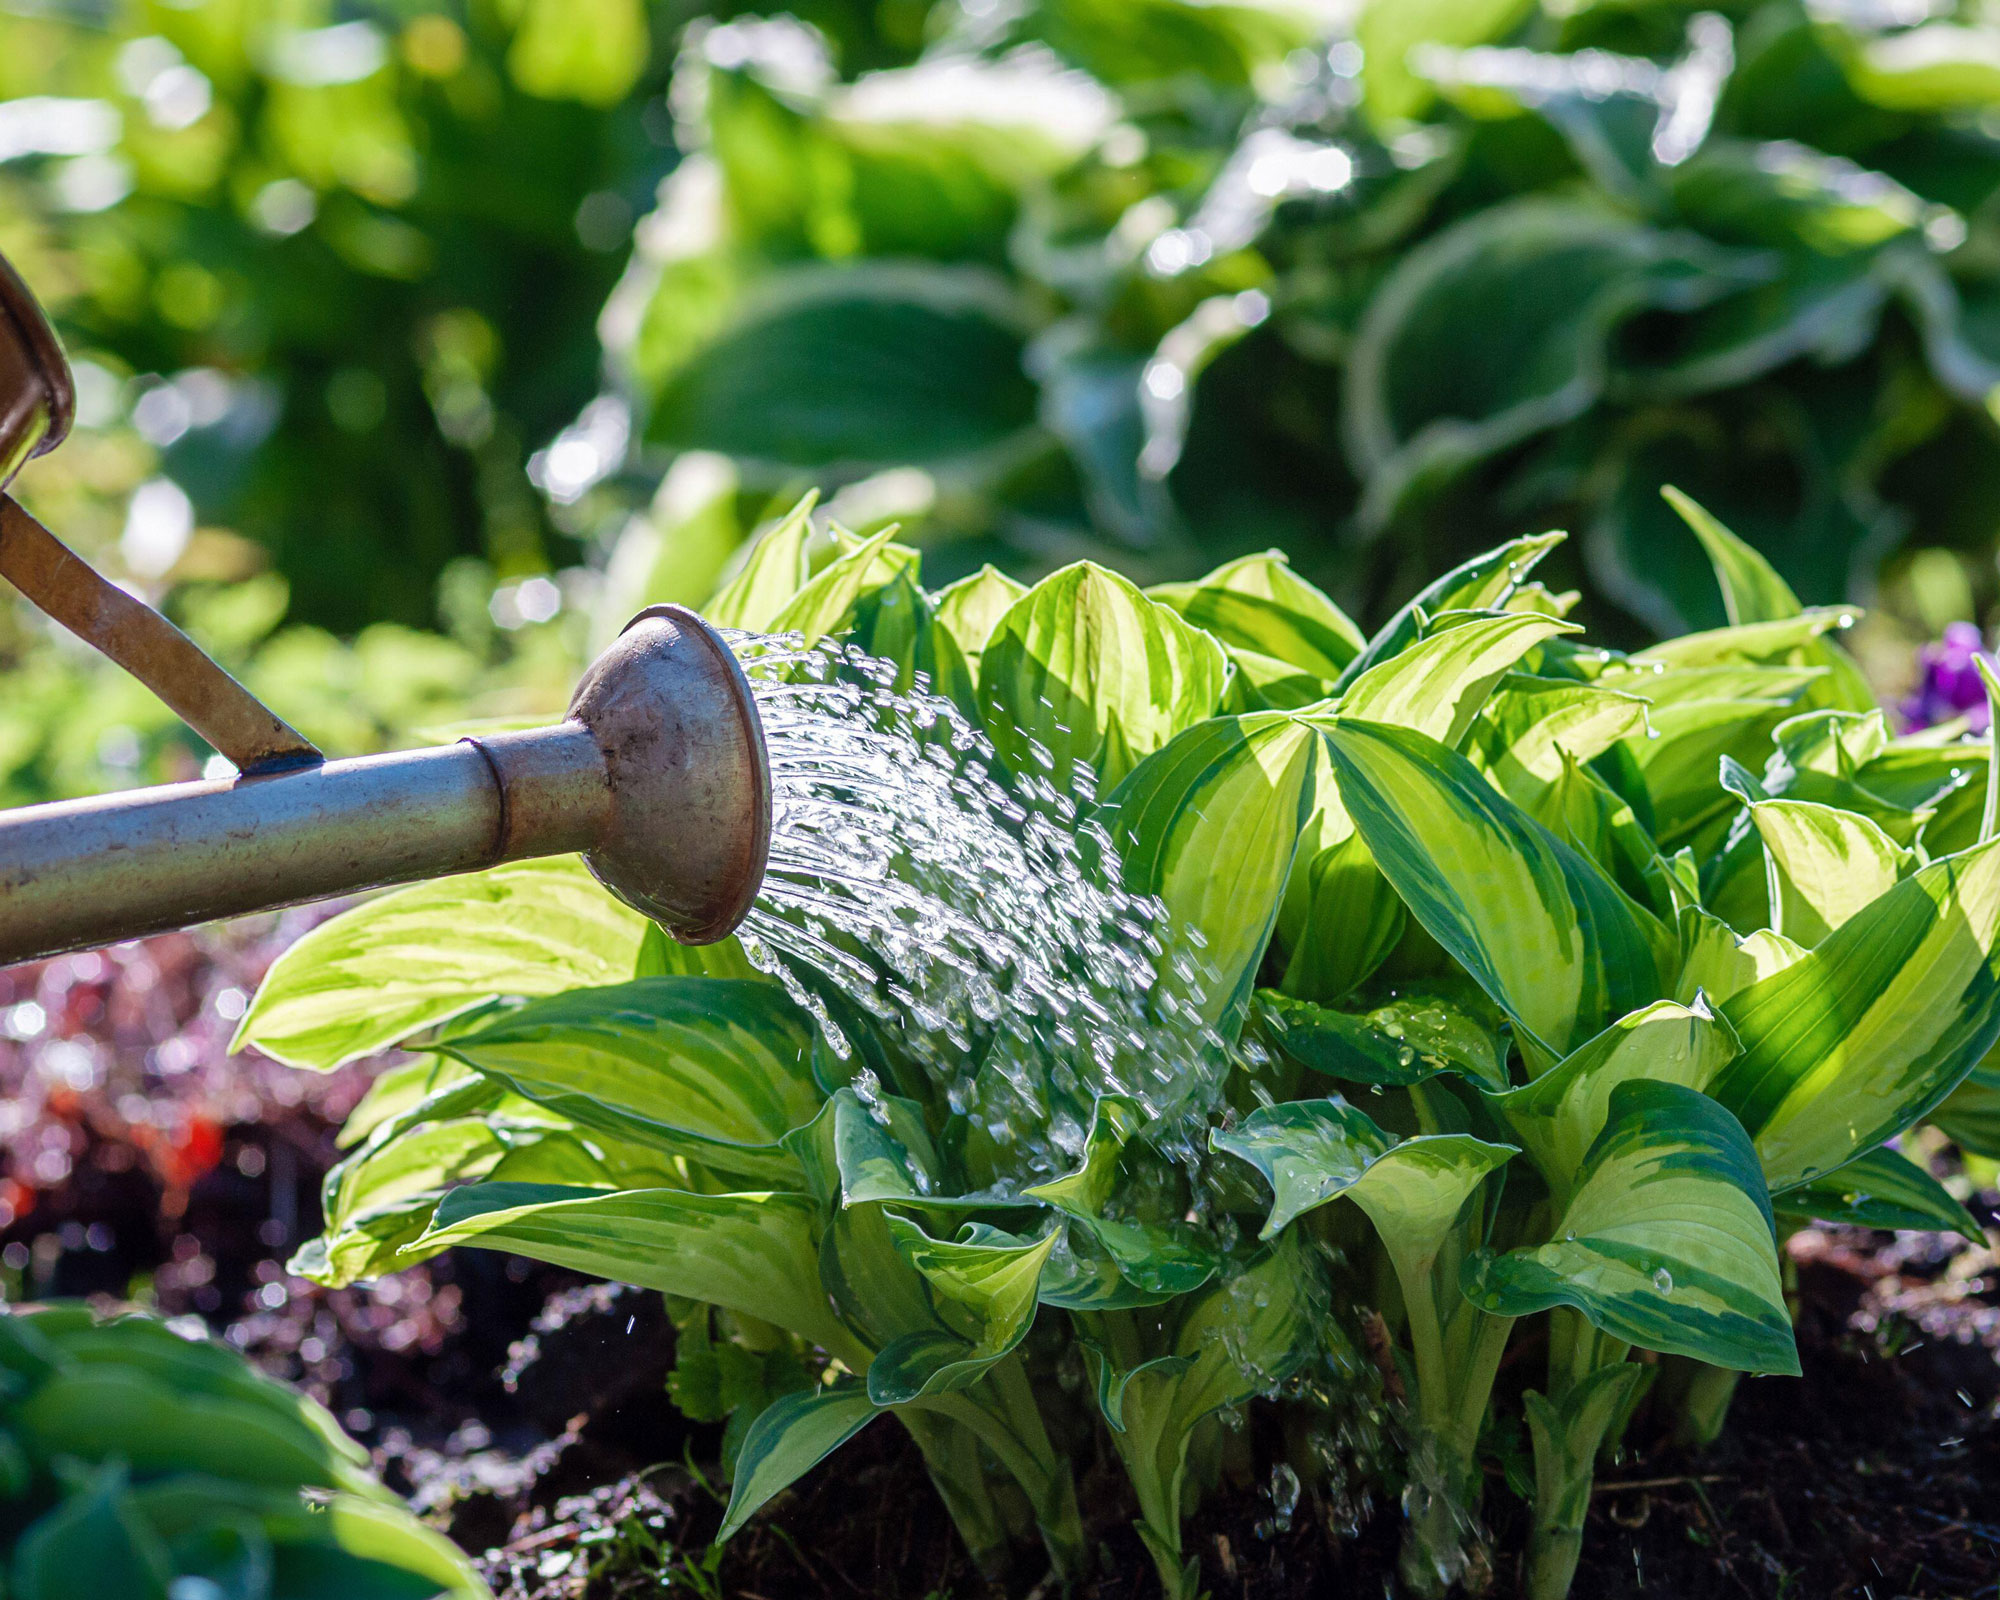
Ease off the feeding in good time for winterizing but keep the soil around your hosta plants moist
2. Trim back any decaying foliage
By late summer you will probably have noticed the leaves on your hosta plant are drooping, wilted and yellowish-brown in color. New leaf production from the crown of the plant eventually stops too. Now is the time to trim off all dead foliage to prep your plant for winter.
The build-up of decaying leaves is both unsightly and detrimental to the health of your plant. If left, the old leaves will rot and can cause disease. 'Cutting back any dead foliage also helps remove slugs, snails and their eggs. It also reduces the risk of fungal diseases thriving on the decaying material,' says Ruth Hayes.
Use sterilized pruning shears (or secateurs) to clip the leaves back hard. Once you've removed the dead material then mulch over the root area with well-rotted compost, manure or bark chippings.
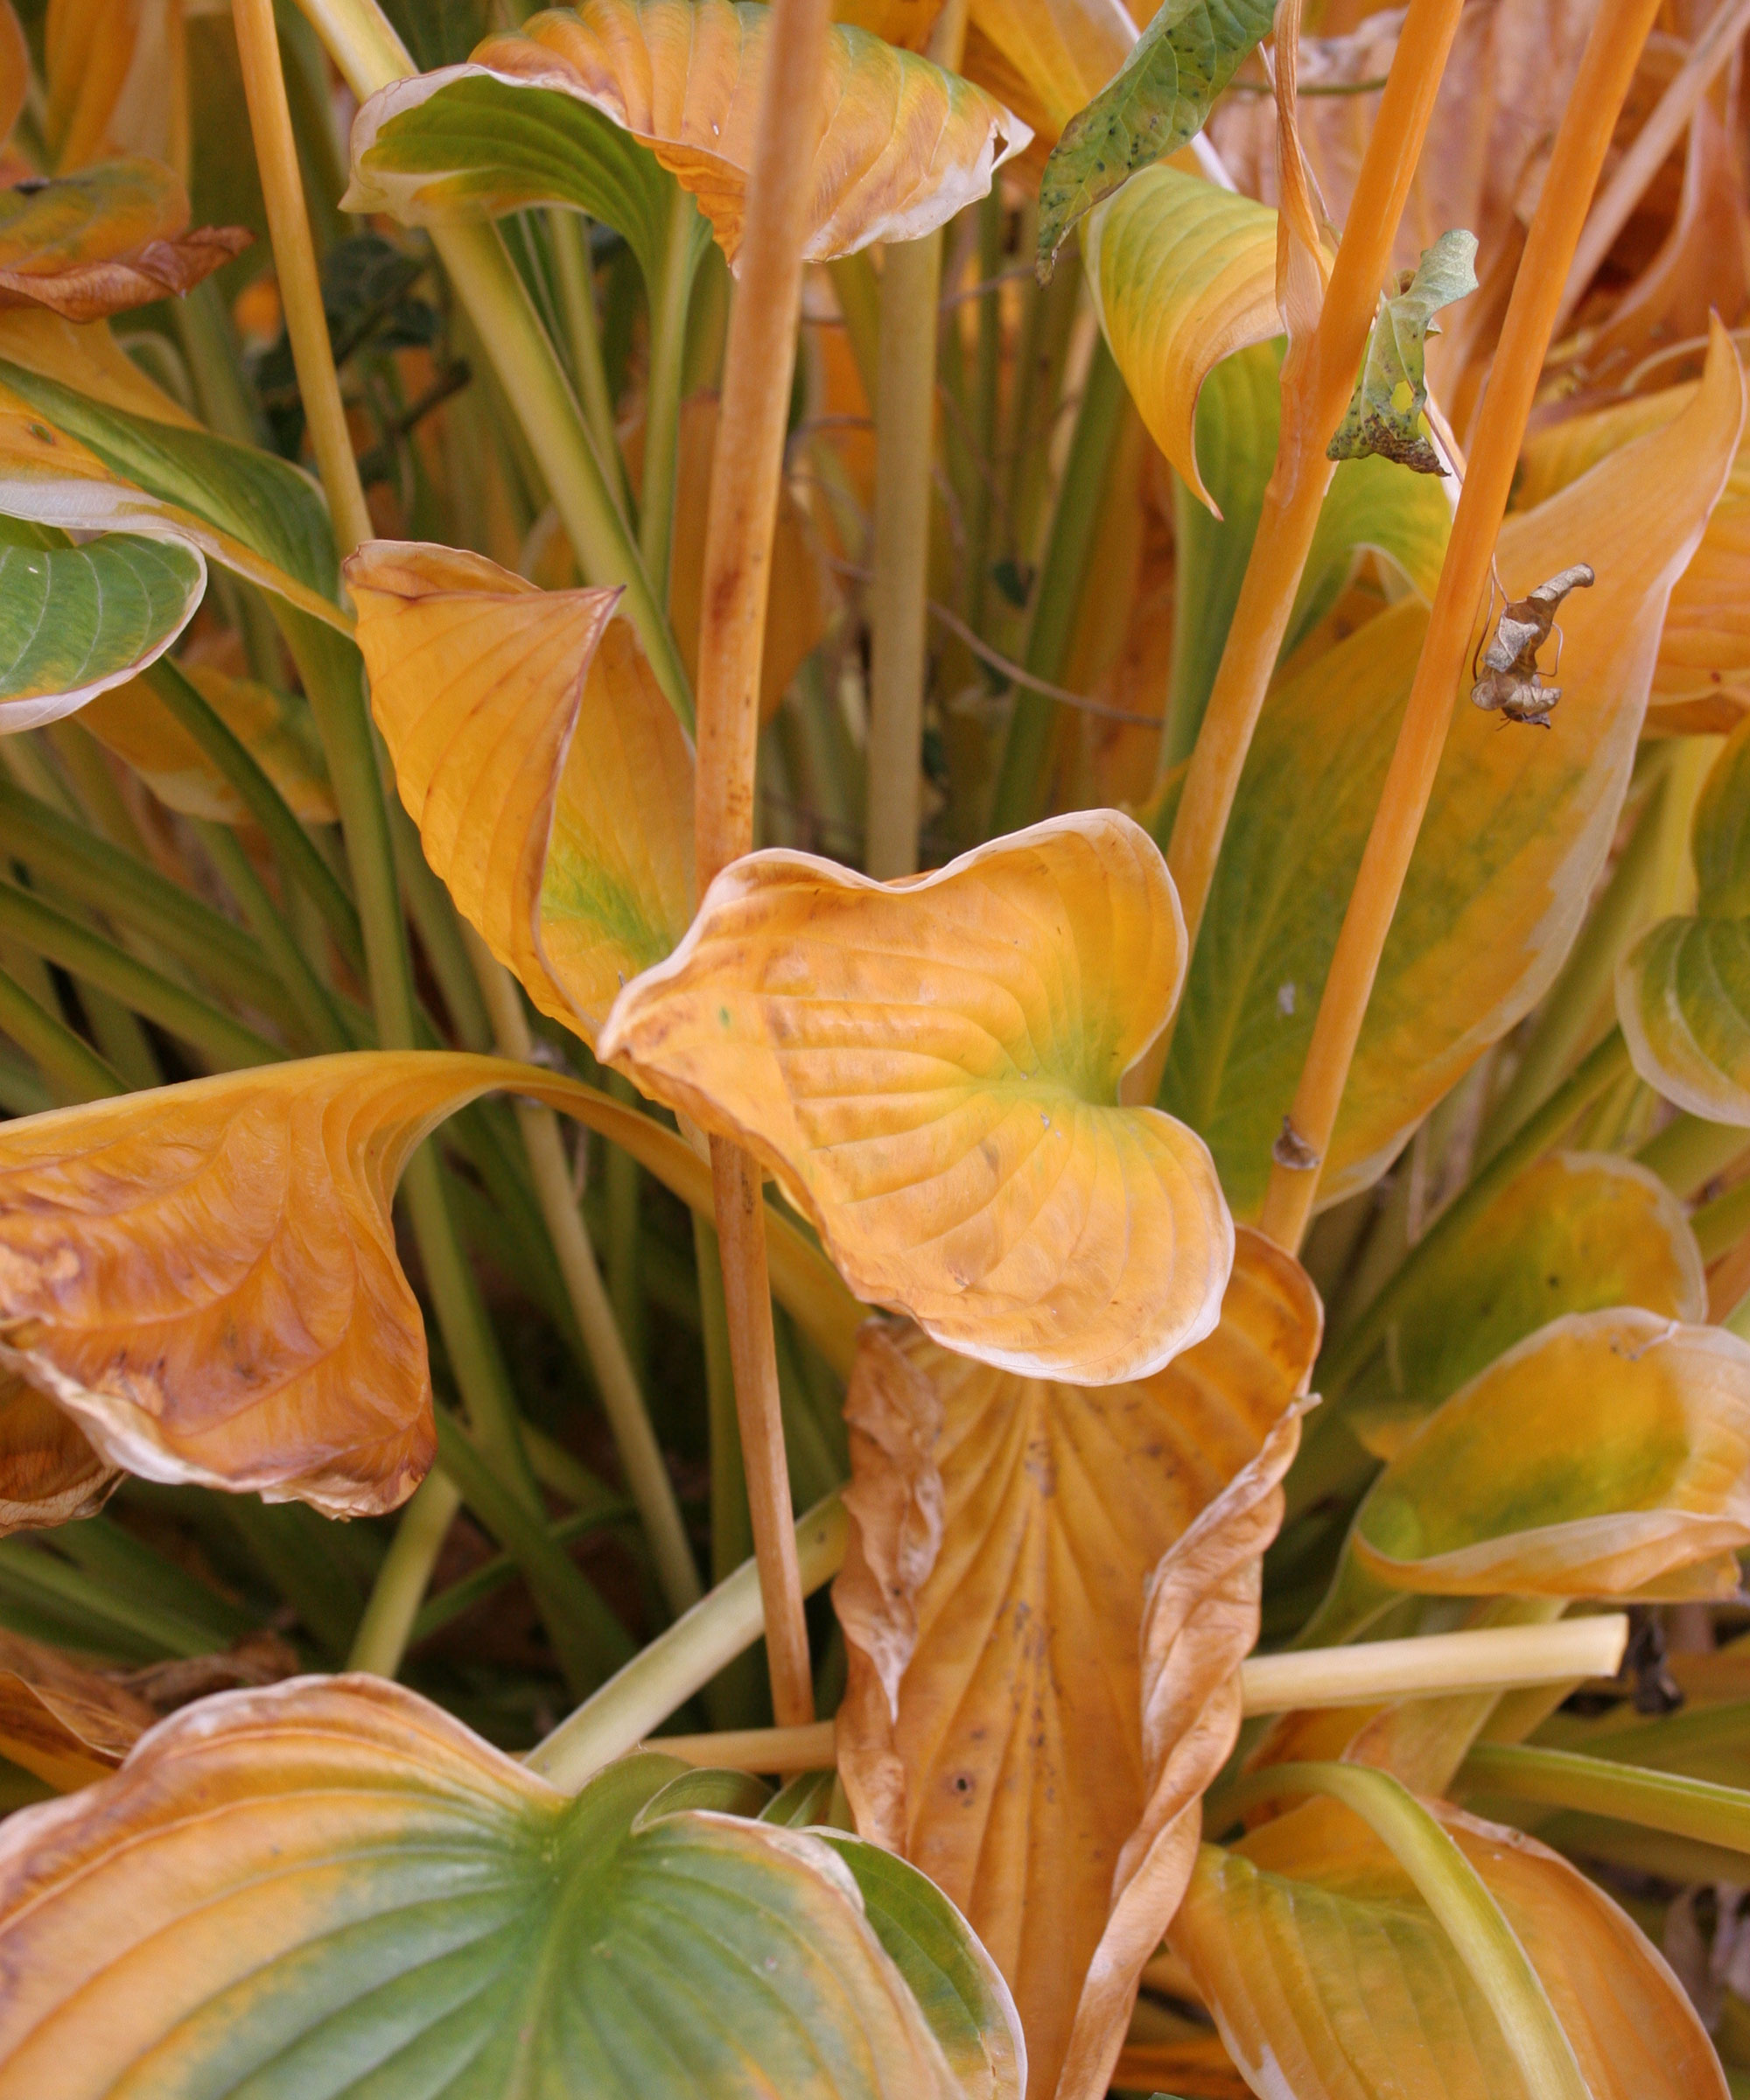
Trimming back dead and dying foliage is key to keeping your hosta plants healthy
3. Mulch your hostas for winter
If frosts and prolonged periods of cold are common in your region, in fall it's time to tuck up your hostas under a protective layer of mulch as a precaution in case the ground freezes. This helps to insulate the soil and protect the crowns of your plants, which are more exposed now their leaves have been trimmed back. Mulching to a depth of around 4in (10cm) offers the best protection from plummeting temperatures.
Make sure you remove this layer of mulch in spring as soon as things start warming up and you're sure there's no longer any danger of frost, especially if you see green shoots coming through.
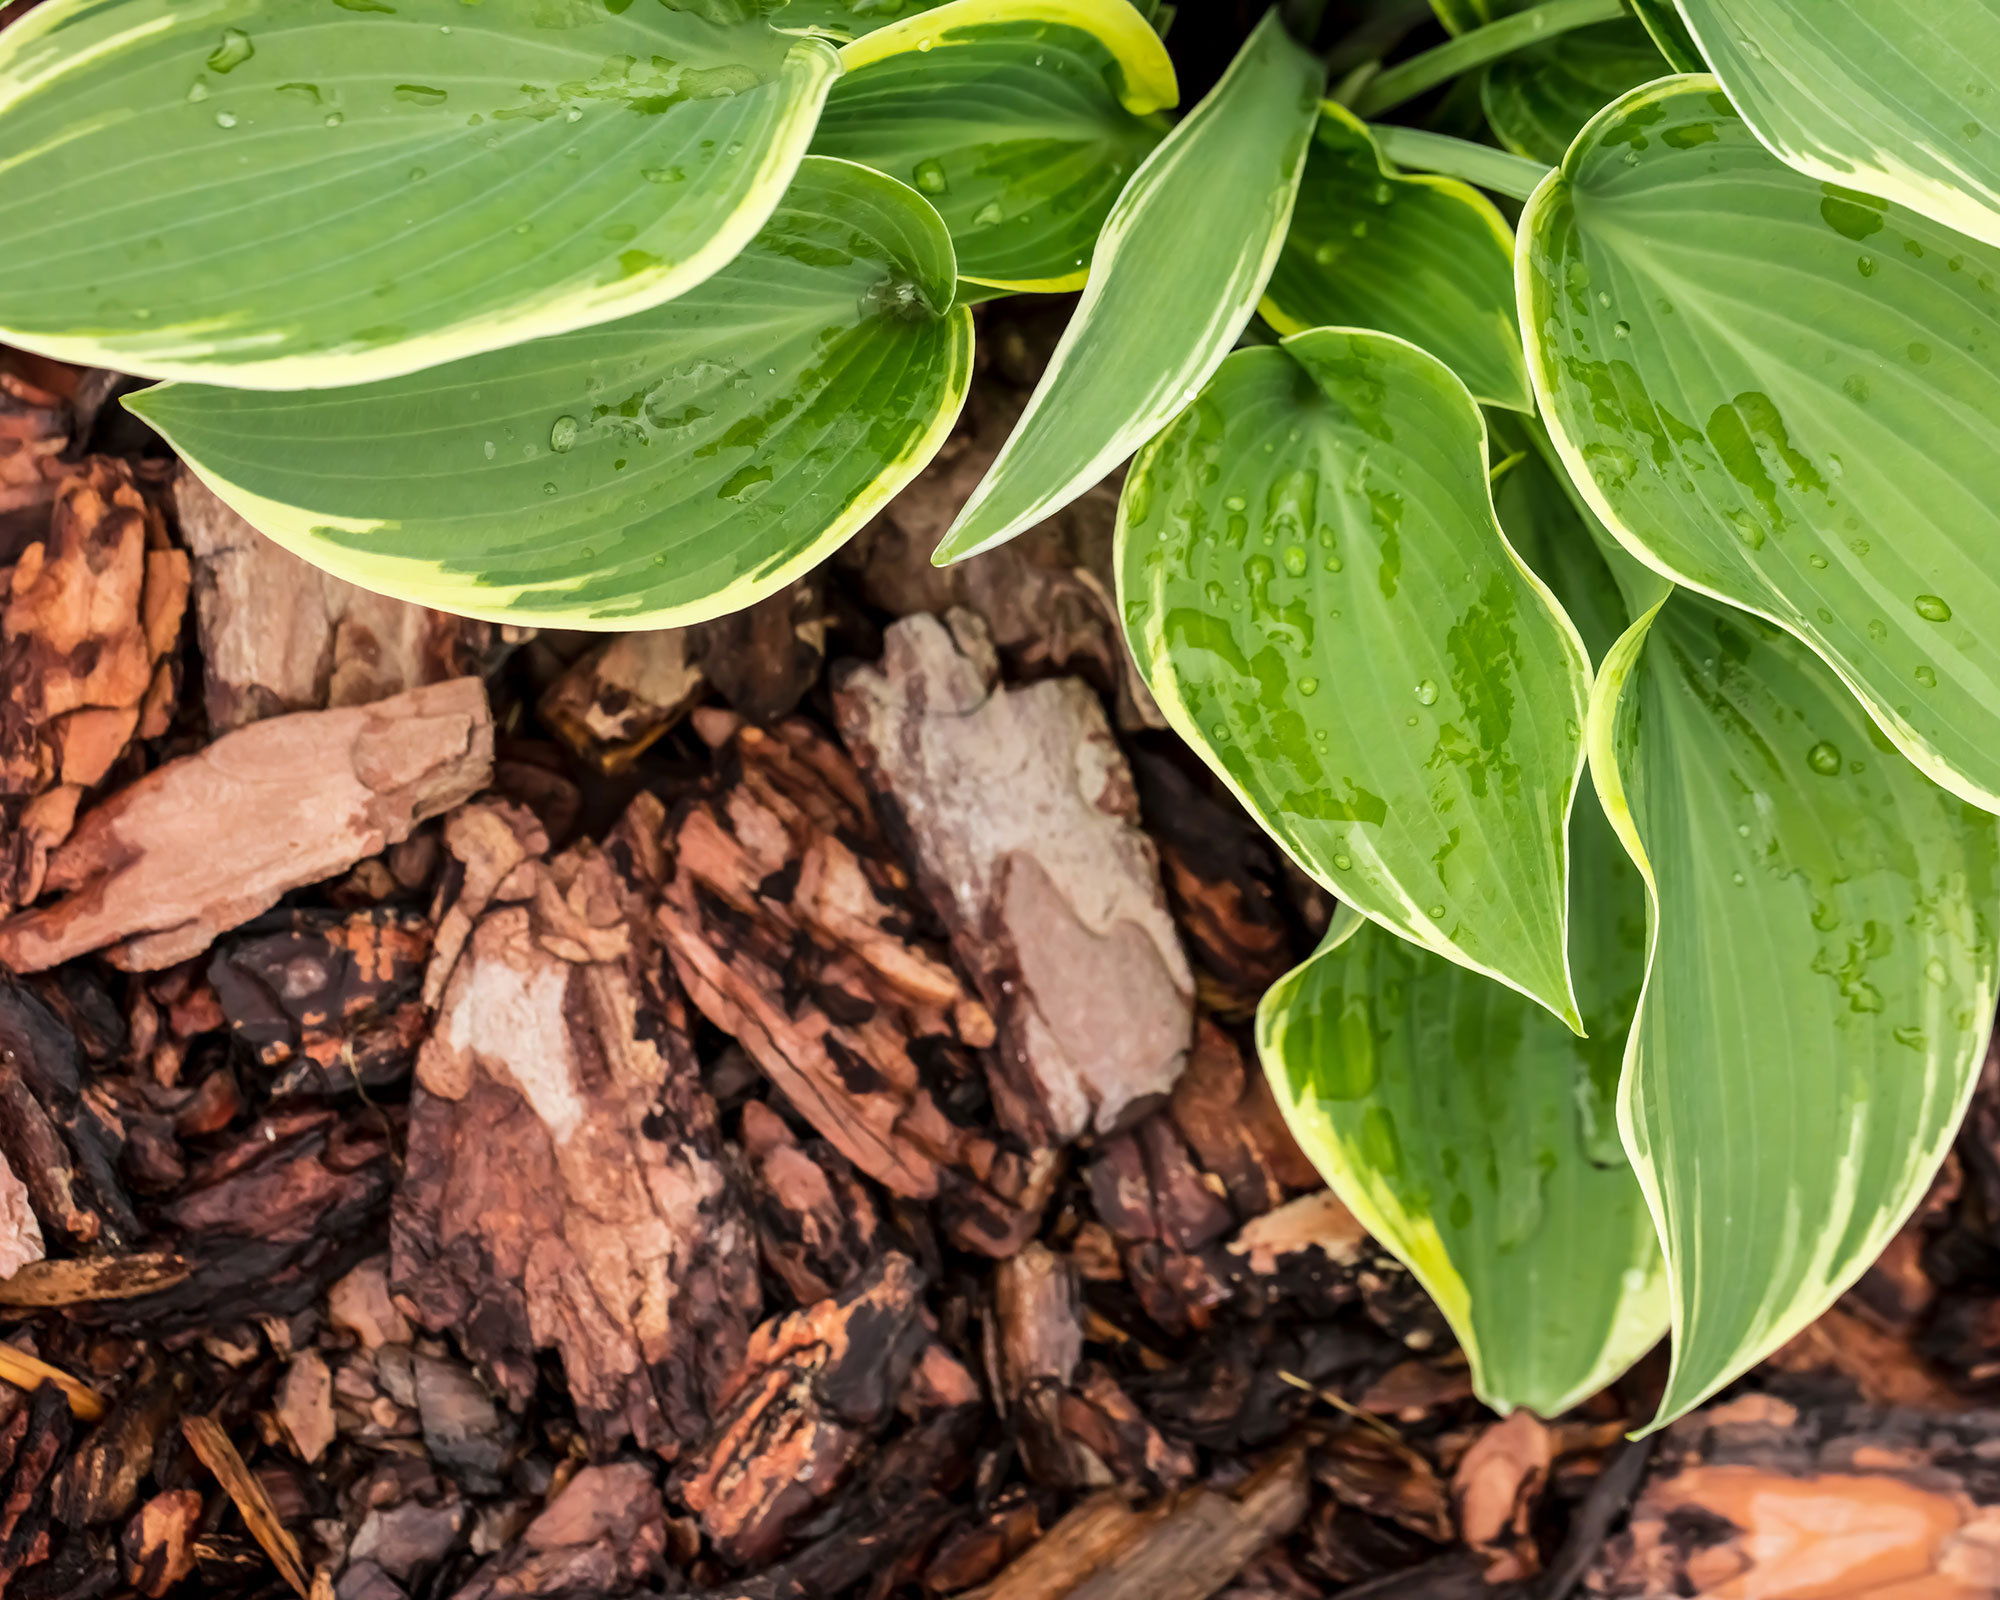
A layer of protective mulch keeps hosta plants cosy when temperatures start to drop
How do you winterize hostas in pots?
If your hostas are in pots as part of your container gardening ideas you will need to protect them from extreme weather conditions and excess moisture.
Hostas in containers will be subjected to wind-chill temperatures far more extreme than their fellow hosta plants experience in the ground, while moisture can also collect in garden planters, which can cause roots to rot. If this water freezes the crown of the hosta can then be pushed up out of the soil once it thaws.
When temperatures drop, move potted hostas somewhere warmer such as a garage, shed or under a deck to protect them from wind-chill. Alternatively position them against a house wall that's warm. Keep an eye on them and if the soil dries out completely water your plants sparingly. It's all part of finding out the best ways to protect plants from winter.
In early spring you can move your plants outside during the day so they get more light to encourage green shoots then return them under cover again at night when temperatures drop.
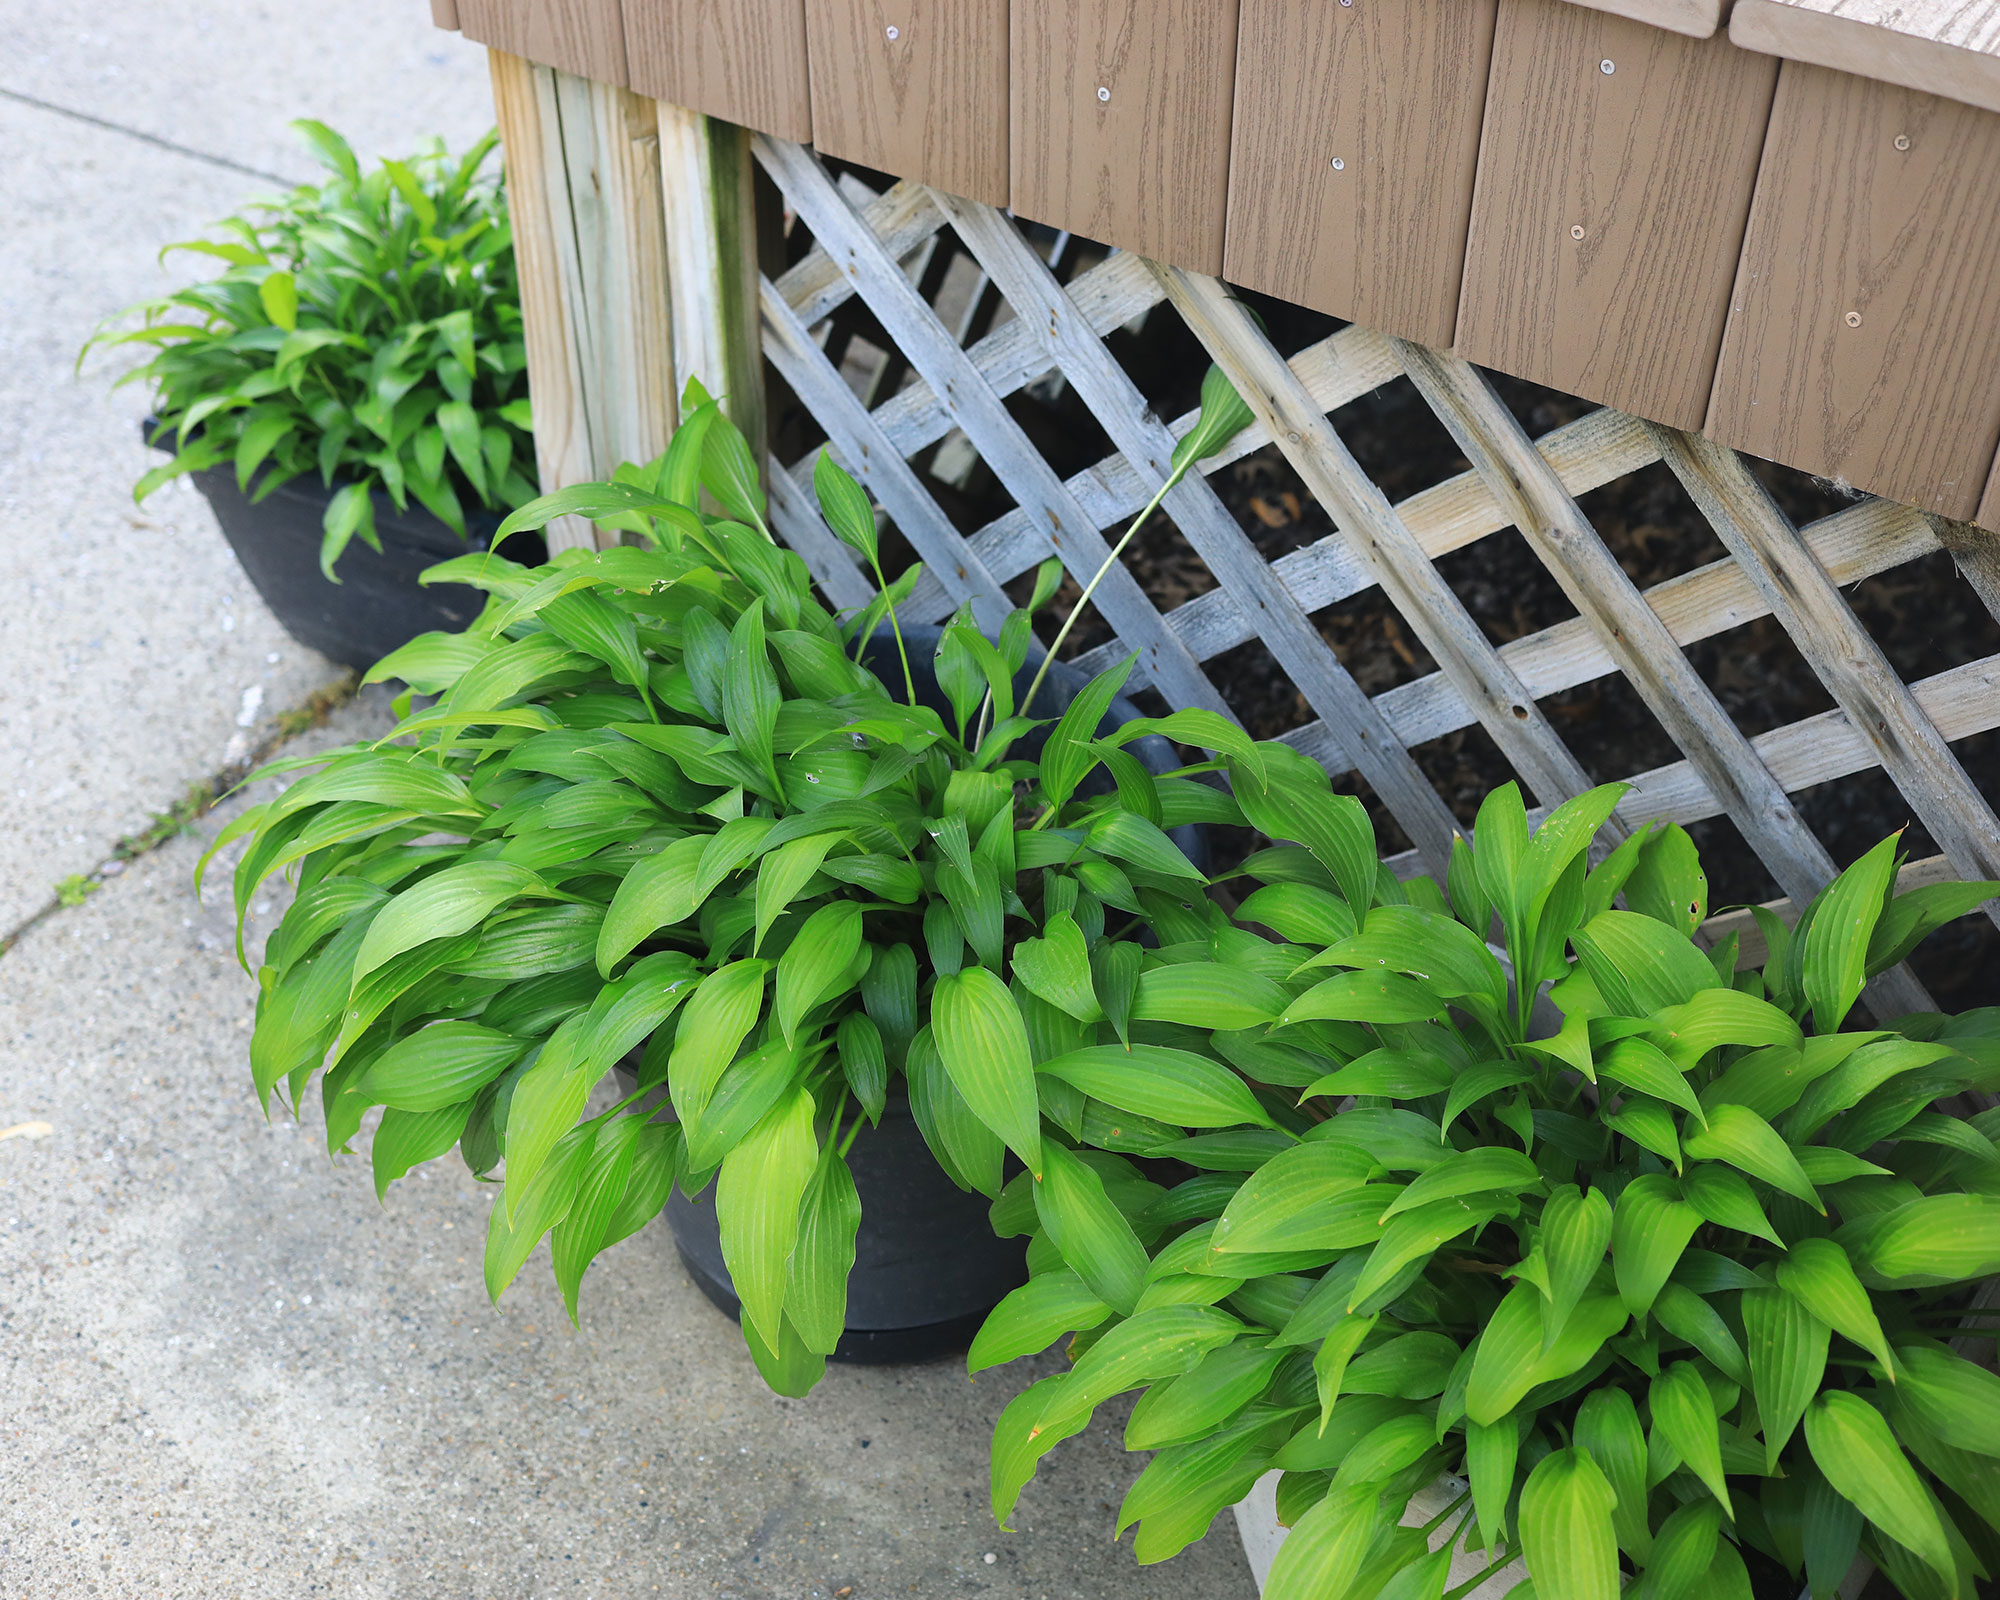
Push hosta plants up against or under your deck as it's the perfect spot for winterizing them
Is it true you can bury hostas in pots?
Yes, you can bury hostas in pots as an alternative to moving them under cover. If you live in a region that experiences cold winters and you plan to keep your hostas in pots outdoors rather than moving them to a sheltered spot they can be buried in the garden up to the rim of their containers, then covered with mulch.
Choose a protected spot near the house or in the overhang of garden buildings. Dig a hole in the ground that is large enough to hold your potted hosta. If you have lots of potted hostas the easiest solution is to position them all together.
Make sure you get your plants sunk into the ground before it freezes. Then add a protective layer of mulch such as shredded bark to cover the crown of each plant. It needs to be at least 4in (10cm) thick to be effective when winterizing hostas.
'It's also a good idea to mark where the plants are growing with a label so you don't accidentally dig them up in winter,' says Ruth Hayes.
When spring arrives, first remove the layer of mulch then transfer the pots back to their original spot in time for those first green shoots breaking through.
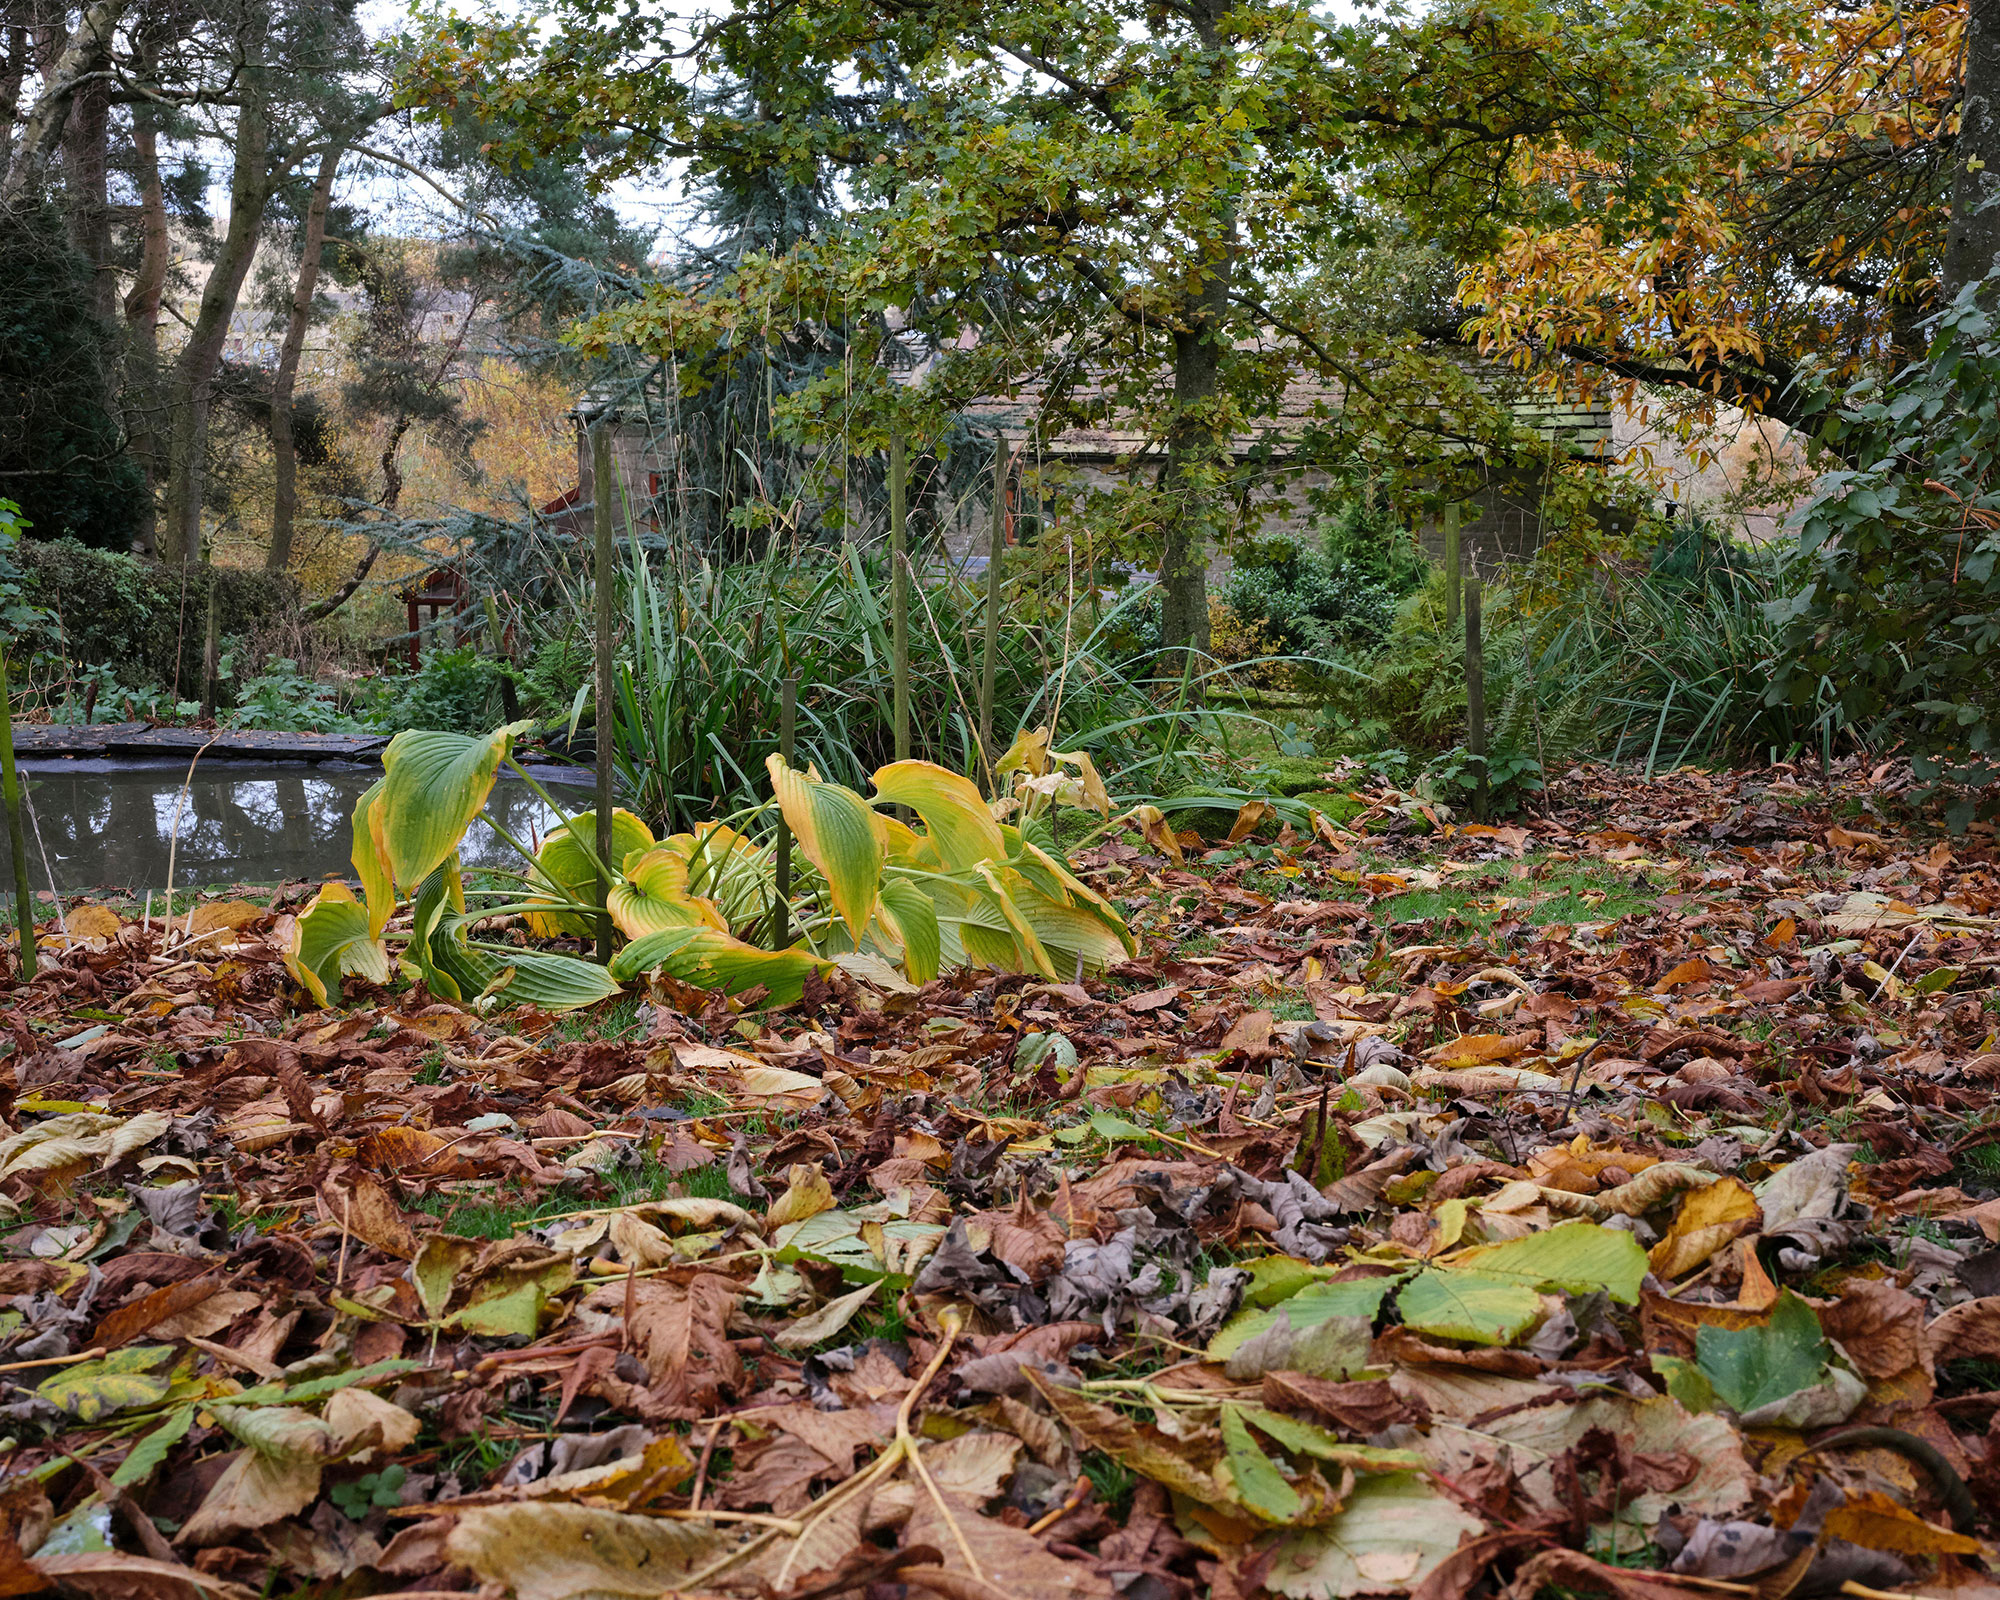
Make sure you get hosta pots dug into the ground before the big freeze
Does my hosta need repotting before winterizing?
It's entirely up to you whether or not you repot at the same time as winterizing hostas. It's a good idea to treat hostas to a soil upgrade if they have been in the same compost for a couple of years. If you're repotting and a big fan of dividing perennials use this opportunity to multiply your hostas. You can divide hostas at any time from spring to fall.
The good news is that very little, if anything, needs to be done to your hosta as they are all absolutely hardy. 'We take off the dormant leaves, reduce the size of the plant if needed and repot in fresh compost,' says Tim Penrose, owner of hosta specialists Bowdens. 'We also put a protective layer of bark on the top to keep the hosta nice and cozy.'
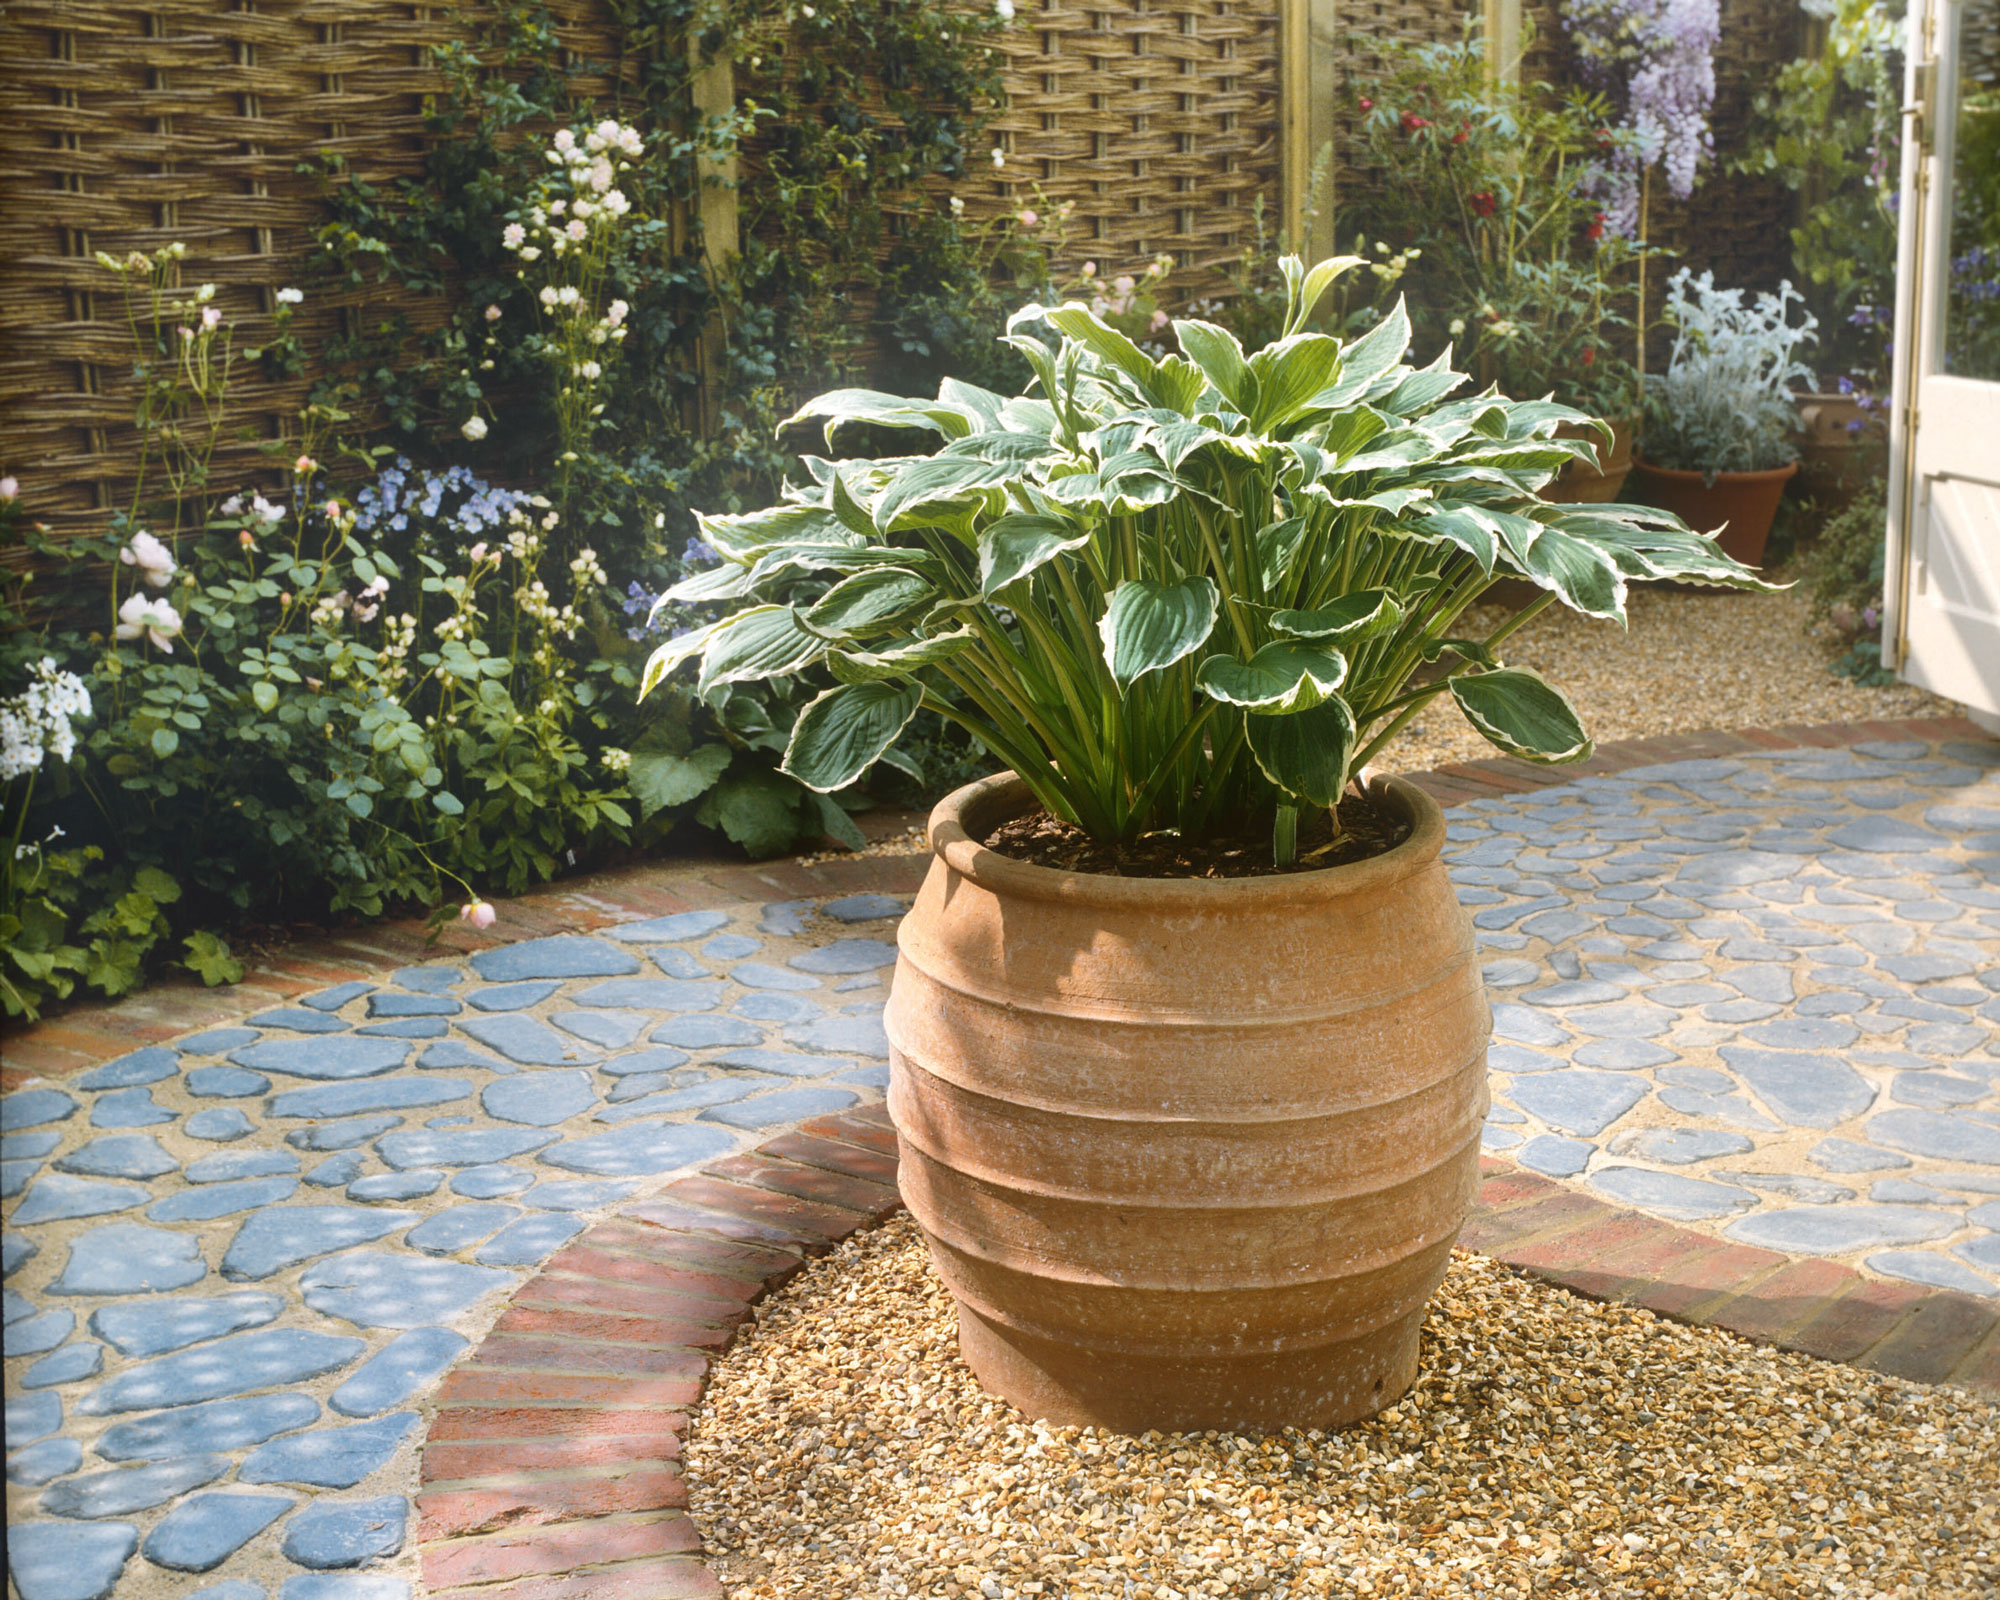
If your hosta plant has been in the same pot for a couple of years it's a good idea to repot it ahead of winter to give it a boost

Lifestyle journalist Sarah Wilson has been writing about gardens since 2015. She's written for Gardeningetc.com, Livingetc, Homes & Gardens, Easy Gardens and Modern Gardens magazines. Having studied introductory garden and landscape design, she is currently putting the skills learned to good use in her own space where the dream is establishing a cutting garden.
