What to plant in February: 10 options for borders and pots
Our top ideas for what to plant in February will ensure your beds, borders and containers are looking their best for the warmer months ahead

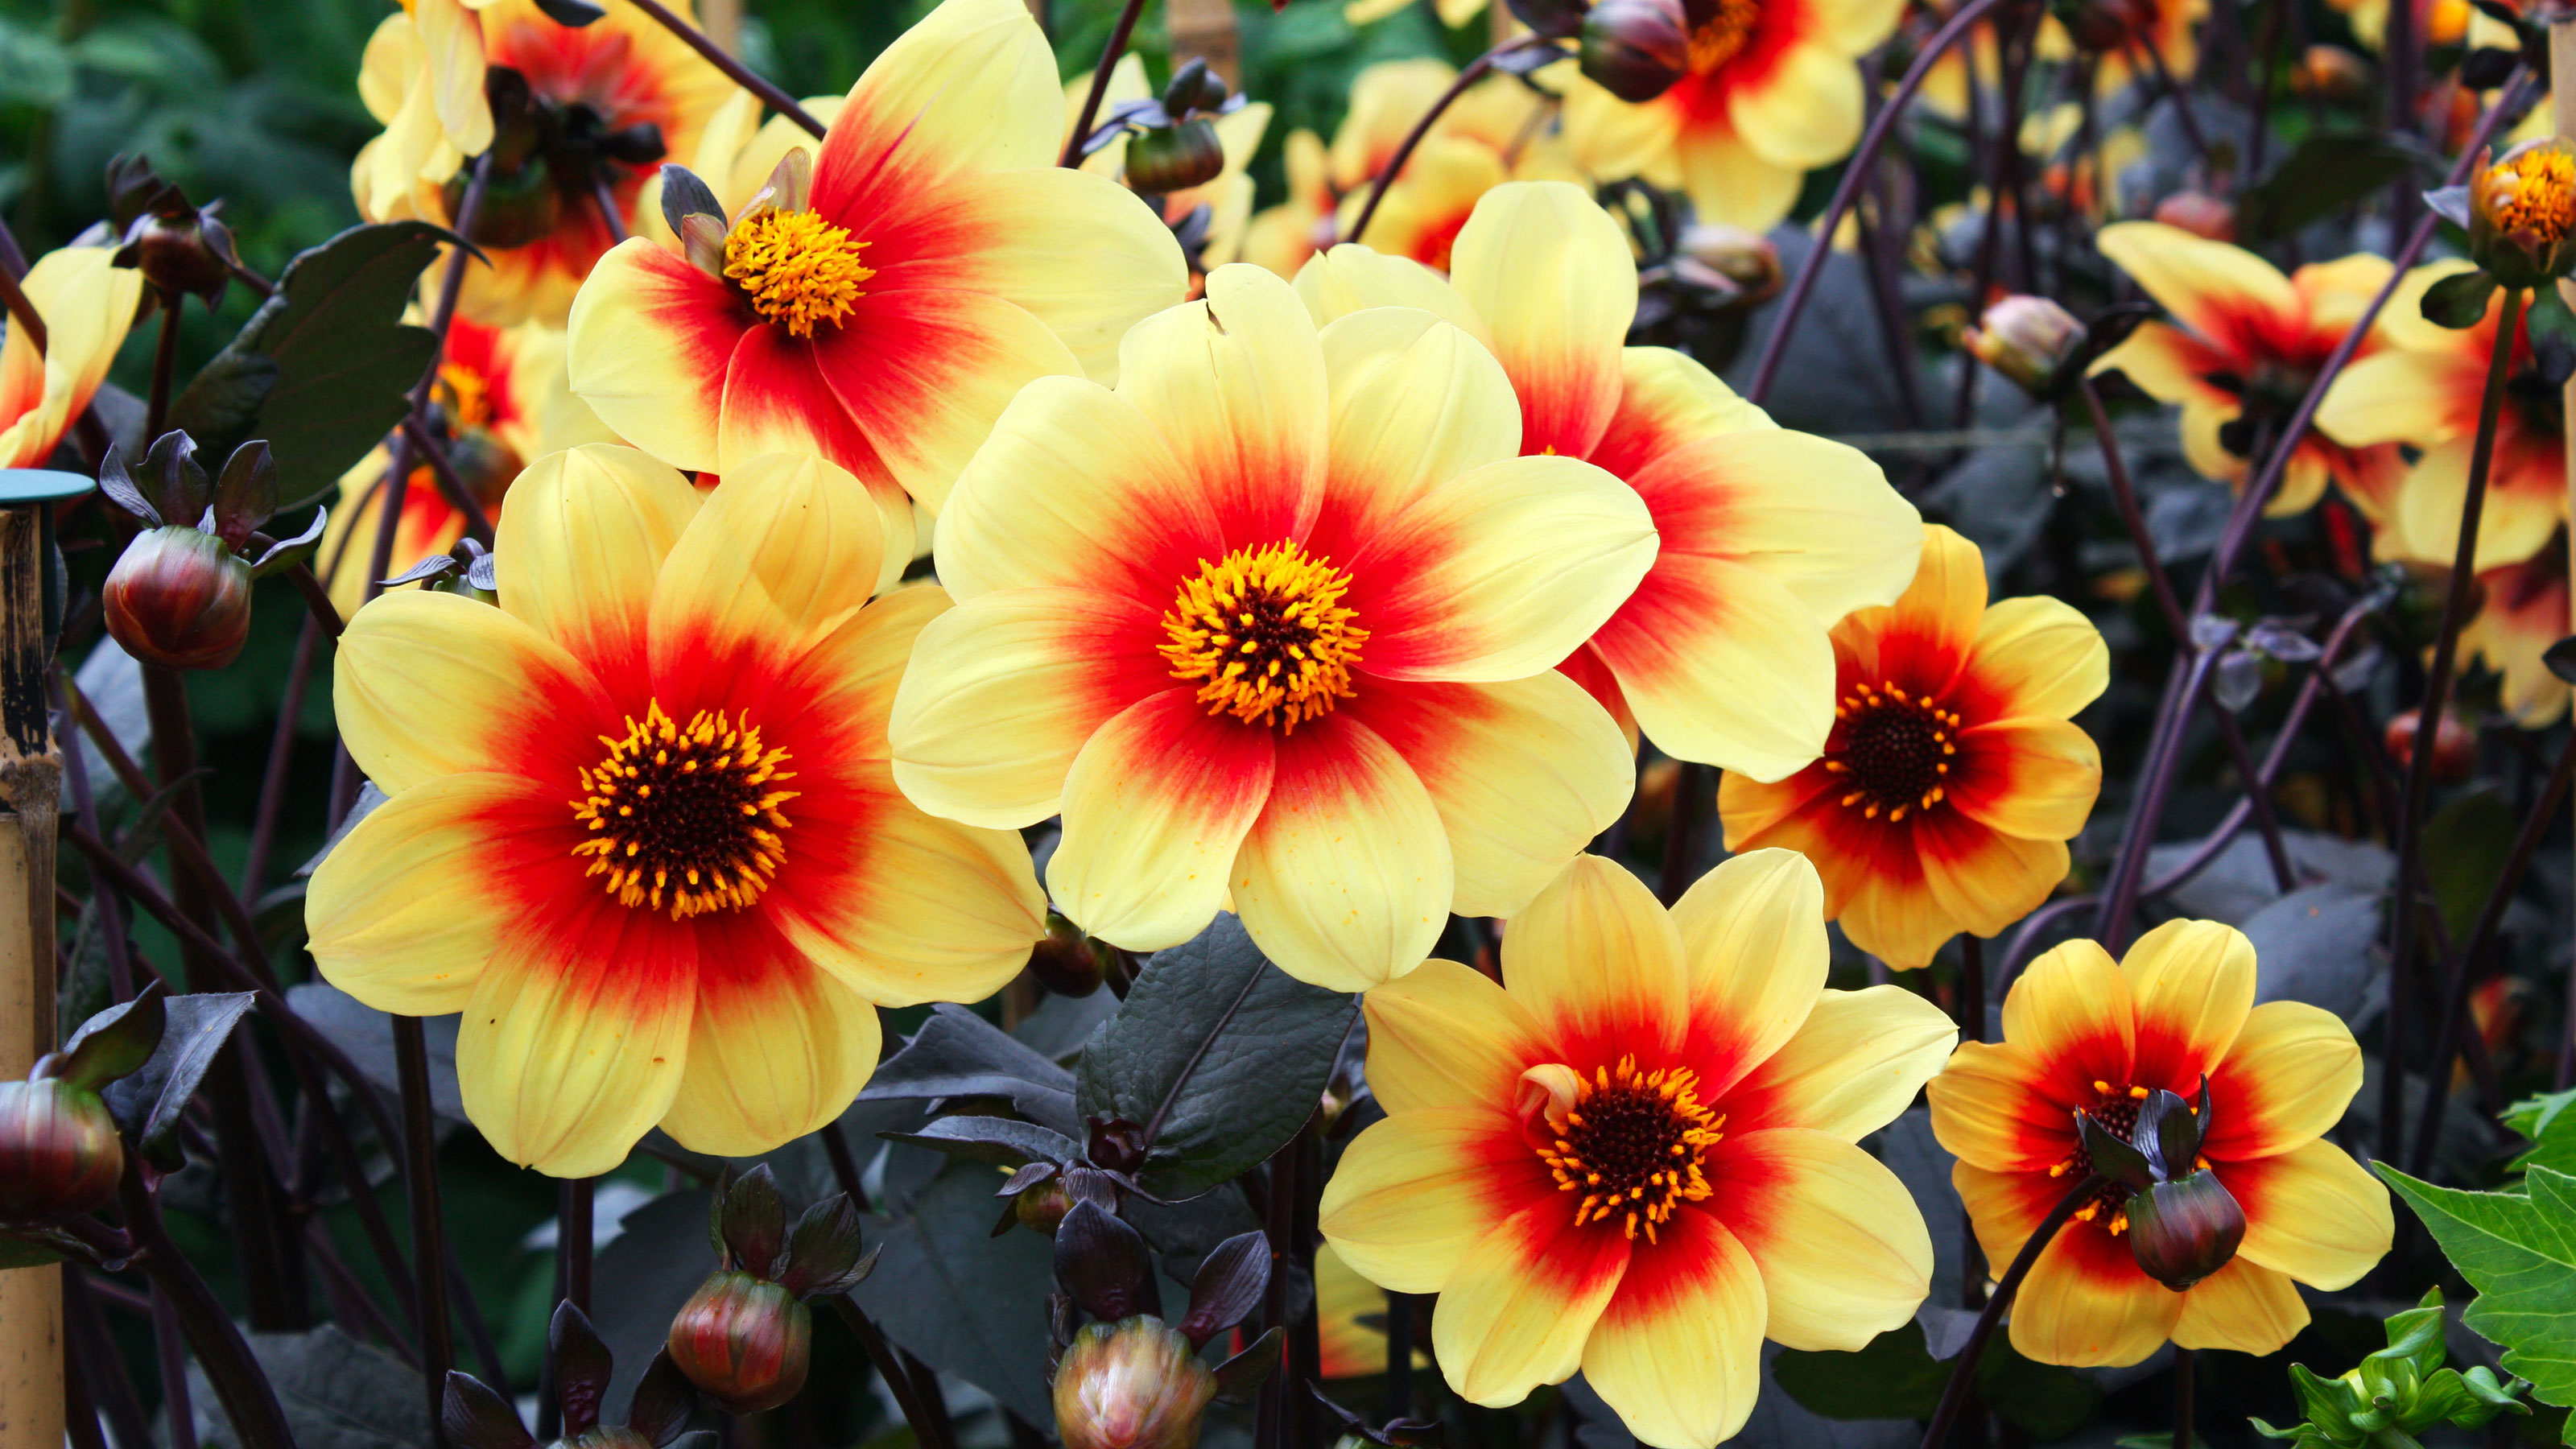
You are spoilt for choice when deciding what to plant in February, as spring is just around the corner and by the end of the month we will hopefully be enjoying some warmer days.
However, don’t throw caution to the wind just yet, as the second month can also be one of the most brutal in many areas, making saturated and frozen soil unworkable and tearing through carefully nurtured young plants and seedlings.
Luckily, there are plenty of seeds you can plant in February and grow in your greenhouse or on a warm, light windowsill indoors before potting them into larger pots where they can grow until they are large and strong enough to be planted out later in spring.
By learning what to plant when, you can get the best results and ensure your garden is blooming and beautiful in summer.
Make the most of early spring with our list of what to plant in February
Get your plot in the best possible shape for the months ahead with our list of what to plant in February. From roses to hollyhocks and lilies to bare root trees, there are plenty of beautiful options.
1. Roses

Where many plants drift in and out of fashion, roses alway seem to stay top of the pops and are an ideal choice for what to plant in February if you want guaranteed scent and color this summer.
We are on the cusp of spring, which means we are coming to the end of the bare root planting season. You may still be able to buy bare root plants online, but garden centres and internet retailers will have lots of container-grown roses to offer.
With Valentine's Day fast approaching, why not opt for a stunning red variety? Popular varieties include the crimson ‘Thomas a Becket’ shrub rose, the sweet ‘Thinking of You’ hybrid tea, ‘Crimson Shower’ rambling rose and the large-flowered wild rose R. Moyesii ‘Geranium’.
If border space is in short supply, you could opt for a dwarf rose such as ‘Dwarf Fairy’ and include it in your container gardening ideas instead.
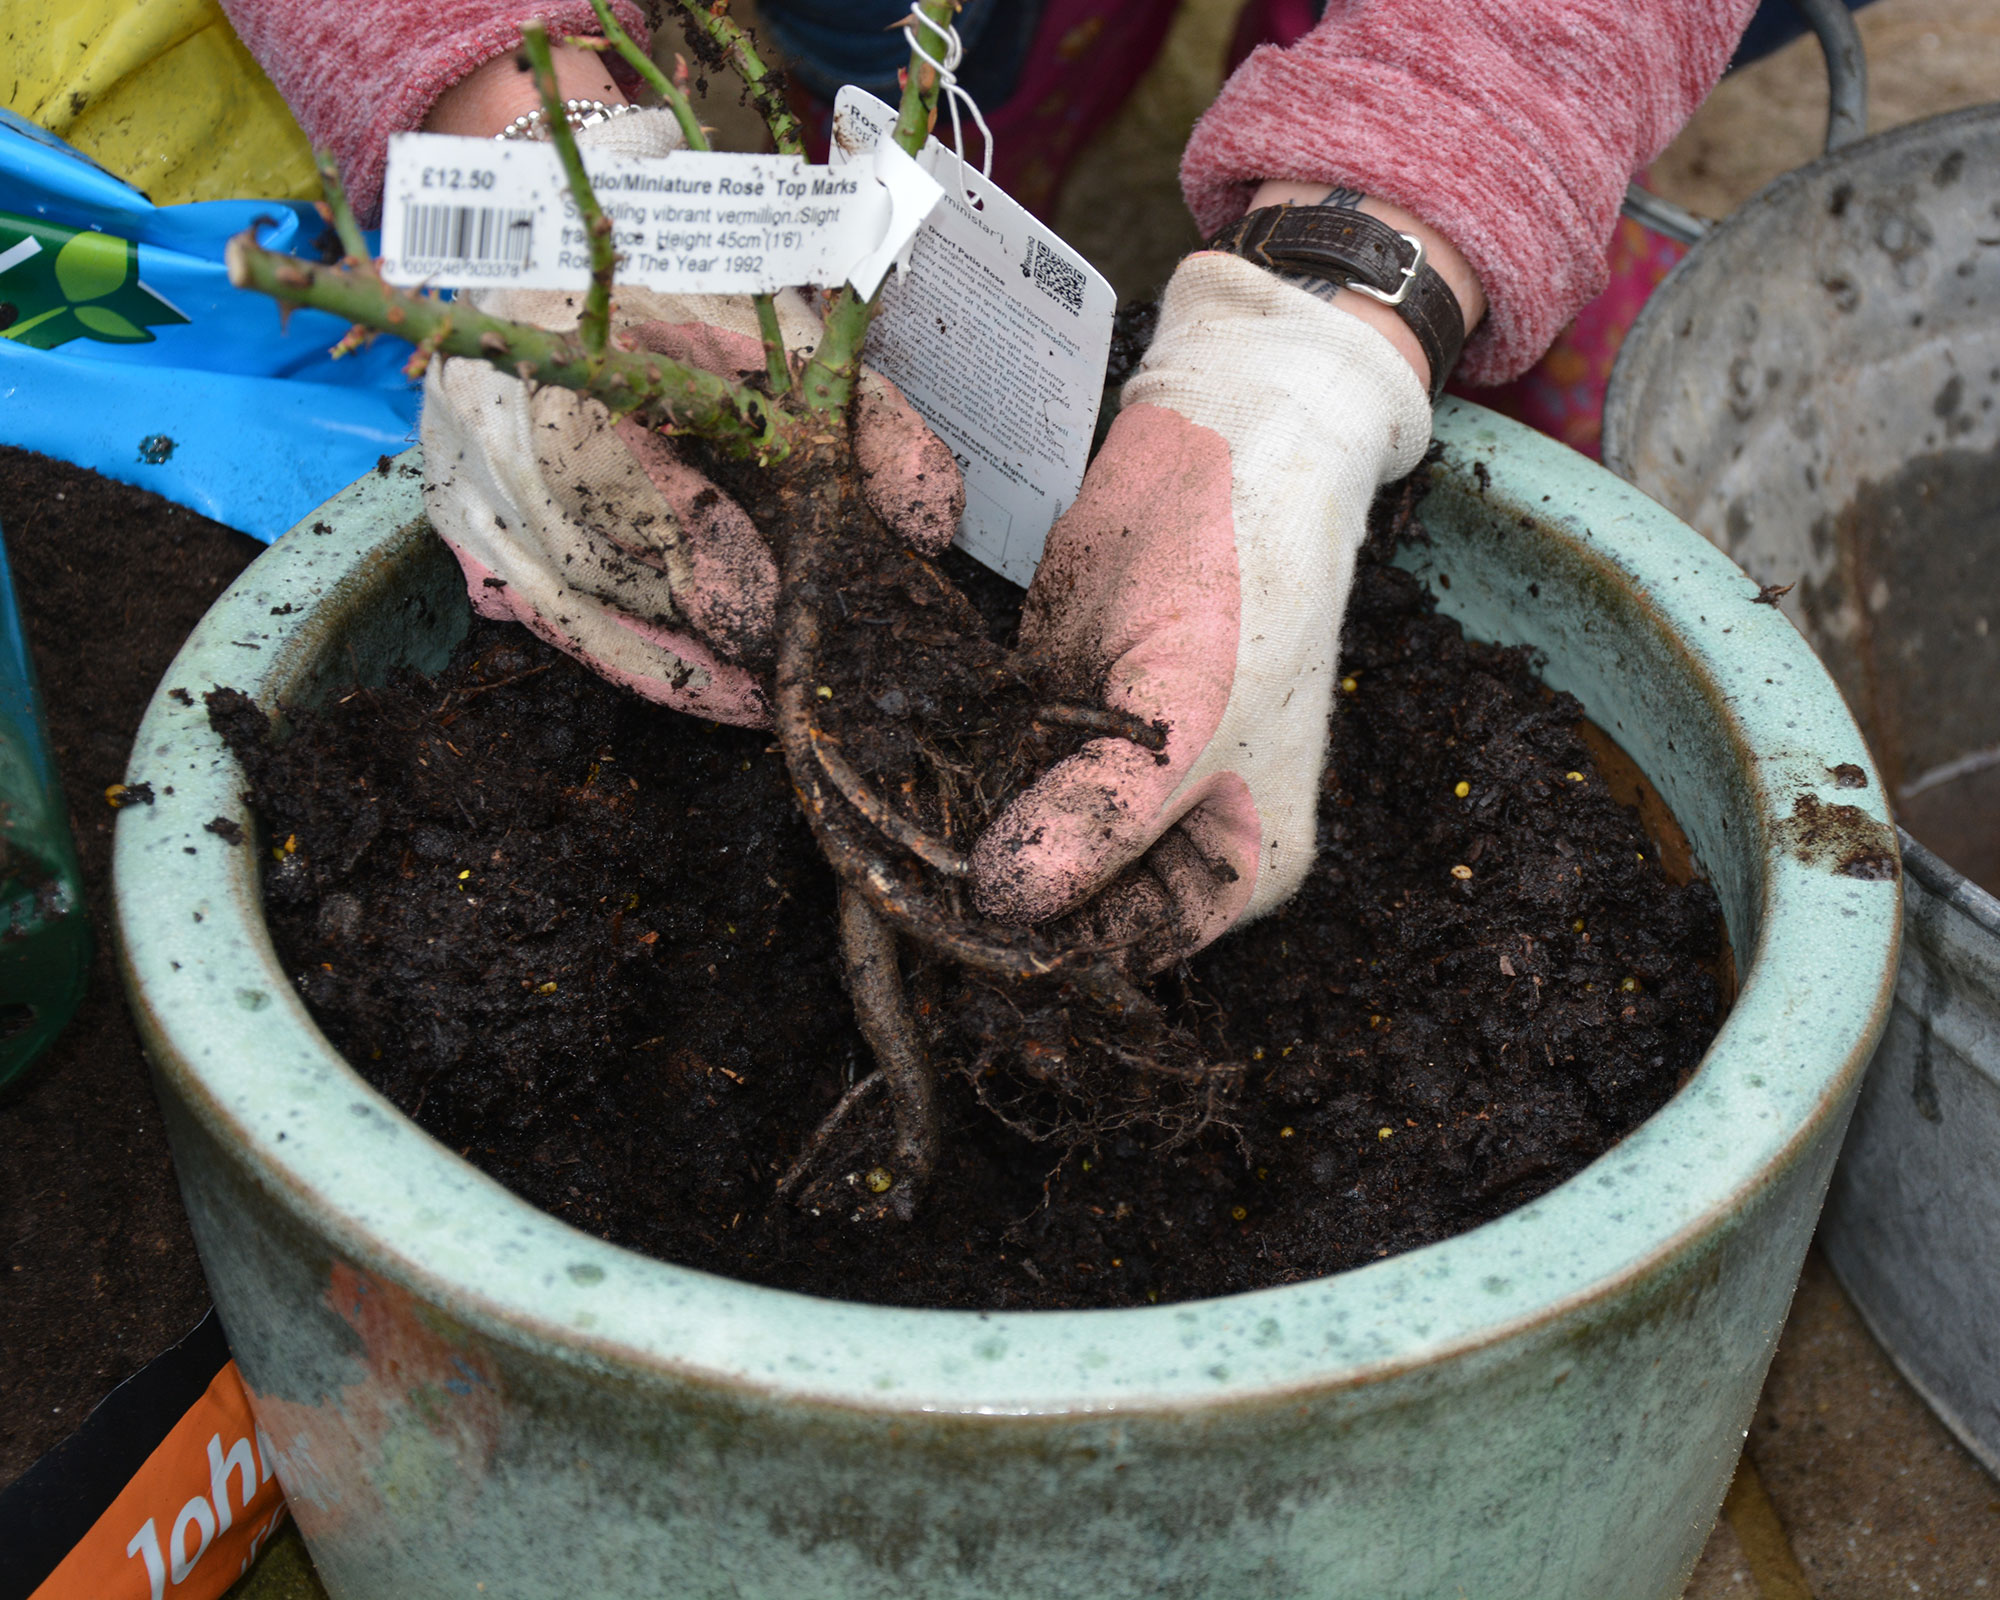
Once you have decided what type of rose to plant, whether a bare root or container-grown plant, always stand their roots or container in water for at least 30 minutes beforehand, so they are thoroughly hydrated.
The planting hole should be large enough to accommodate all the roots and you should add some well-rotted farmyard manure and compost. Set the rose in the centre of the hole so that the graft (the knobbly point where the main stem meets the rootstock) is just above soil level.
Scatter some bone meal or root booster around the roots and then infill with soil and compost, firming it down as you go. Water generously and mulch with more manure.
Top tip: If you are planting a rose where they have grown before, be wary of replant disease that causes a plant to fail to thrive. It can be avoided by replacing the soil with fresh or burying the roots inside a buried cardboard box that will degrade over time, giving new roots the chance to get strongly established.
You can learn more about how to grow roses in our dedicated guide.
2. Cosmos
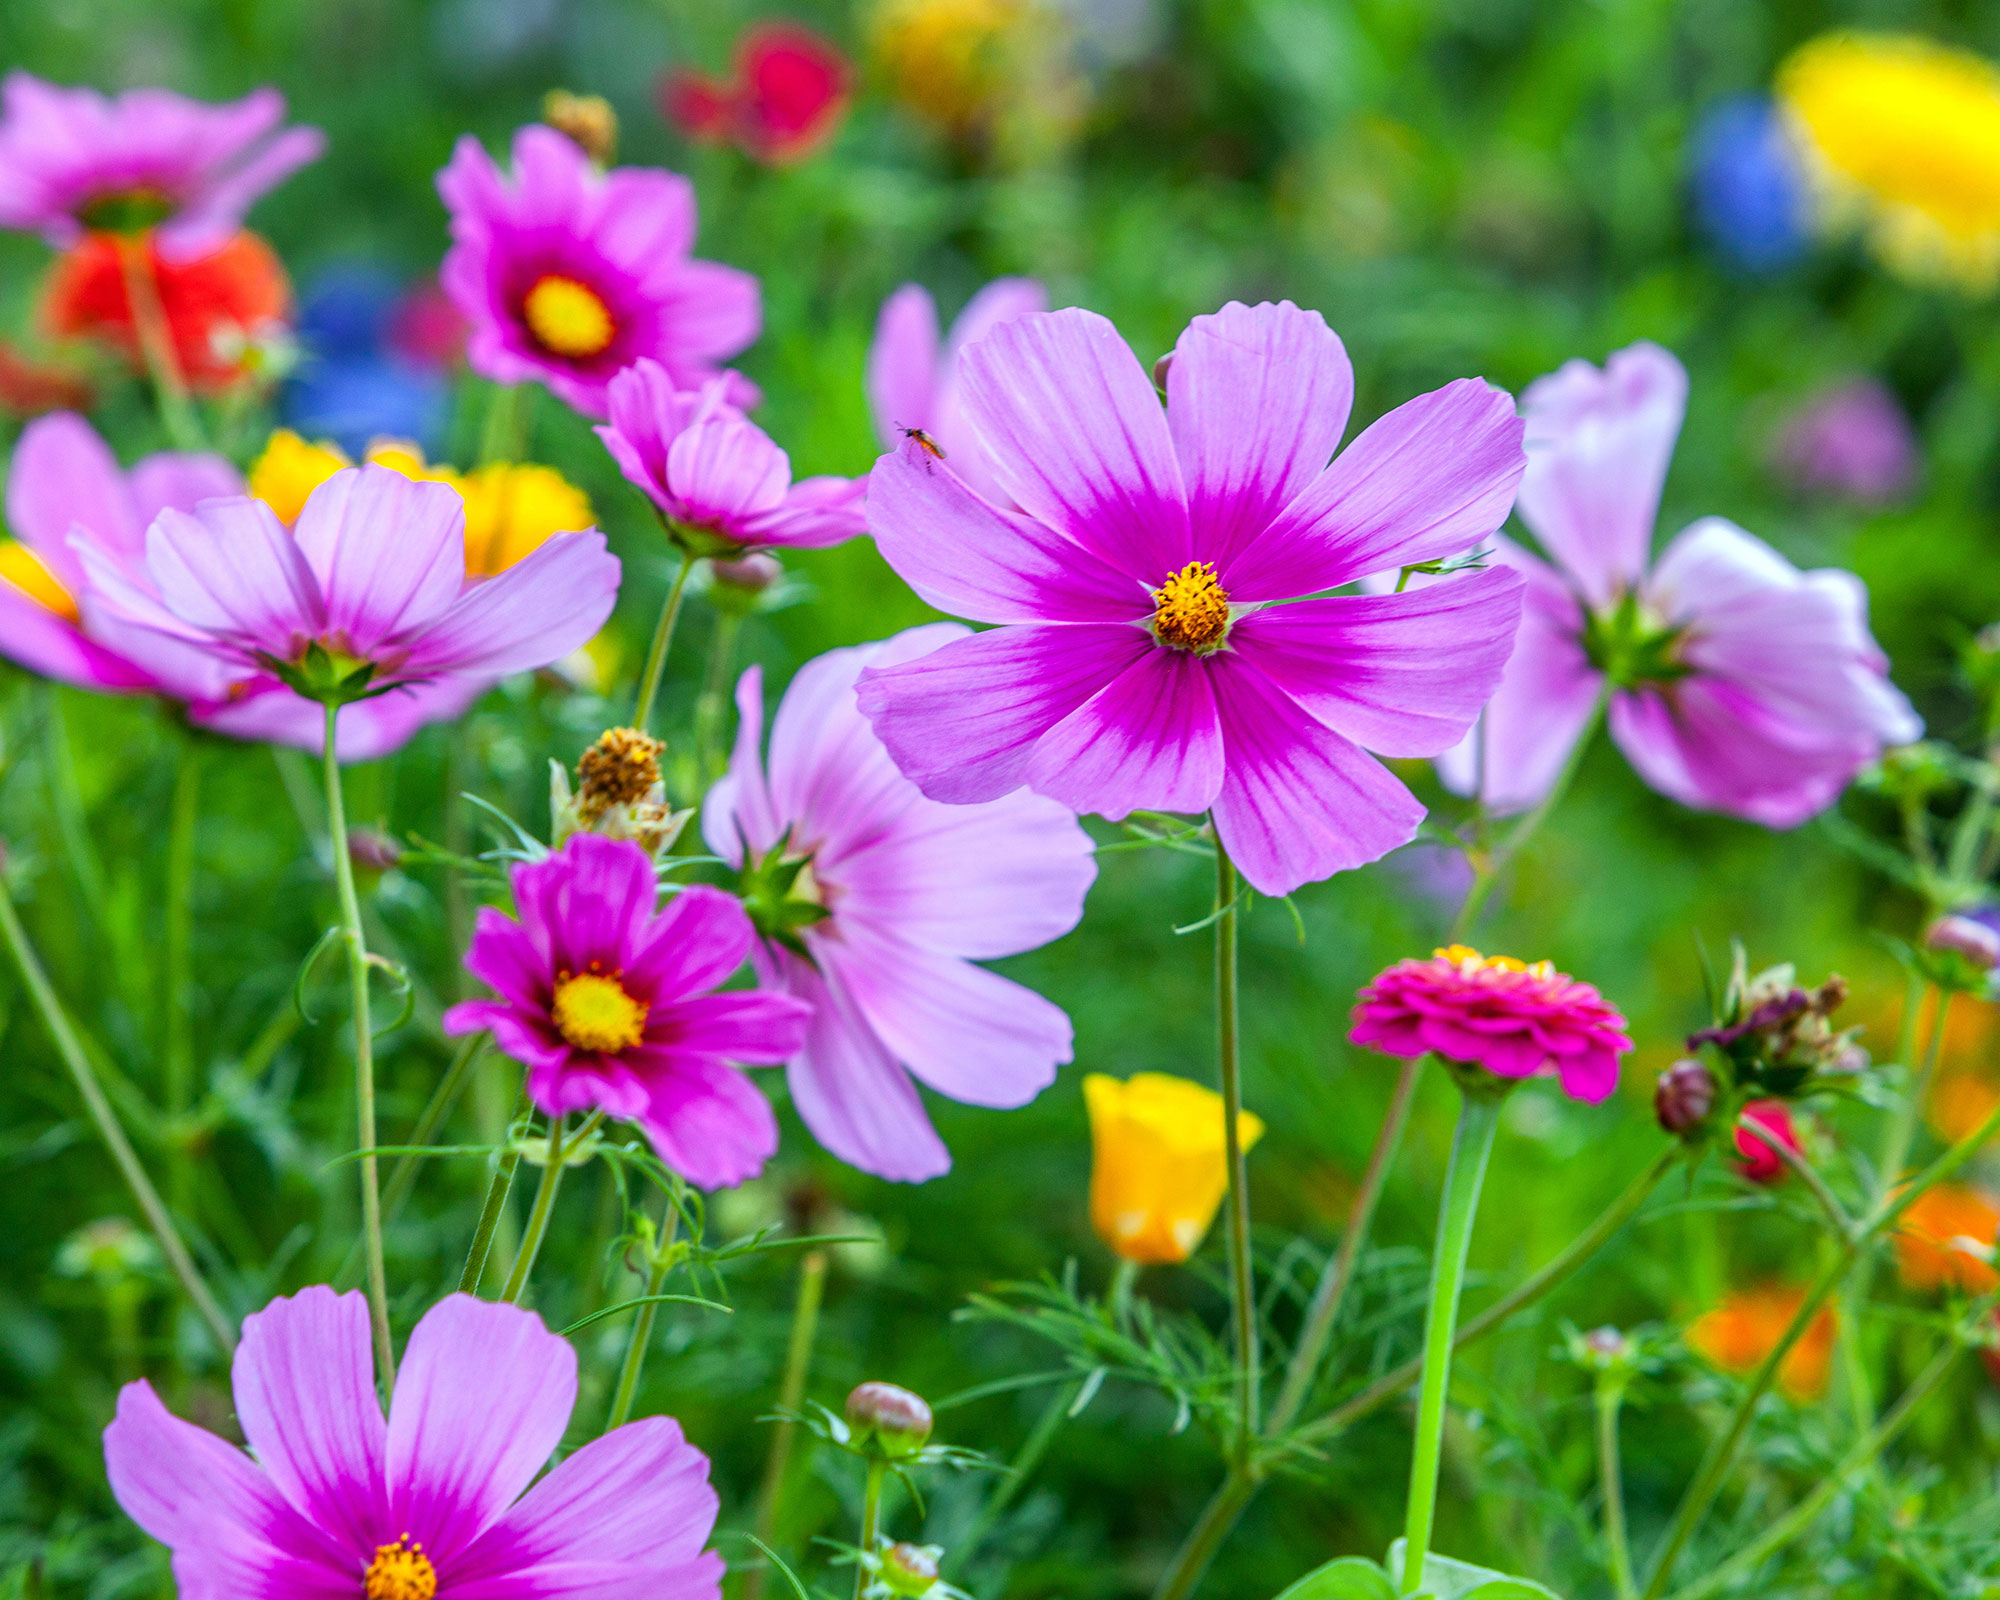
Who doesn’t love Cosmos bipinnatus? Easy to grow and with a long flowering season, they are a must-have for a bright summer garden and were voted gardeners' most popular flower of 2021.
Cosmos come in a huge range of colors, from pure white and pastel shades to fiery red and orange and vivid pink. They are bush plants with attractive leaves and the petals can be broad, like sunflowers, or tubular.
They hail from Central and South America so won’t survive the cold, wet winters of the UK, but they will flower all summer and well into the autumn if planted in a sheltered sunny border.
Popular as summer bedding, they can be bought as young plants in multi-packs in late spring, but you can save yourself money and have a wider selection of varieties to choose from by learning how to grow flowers from seed.
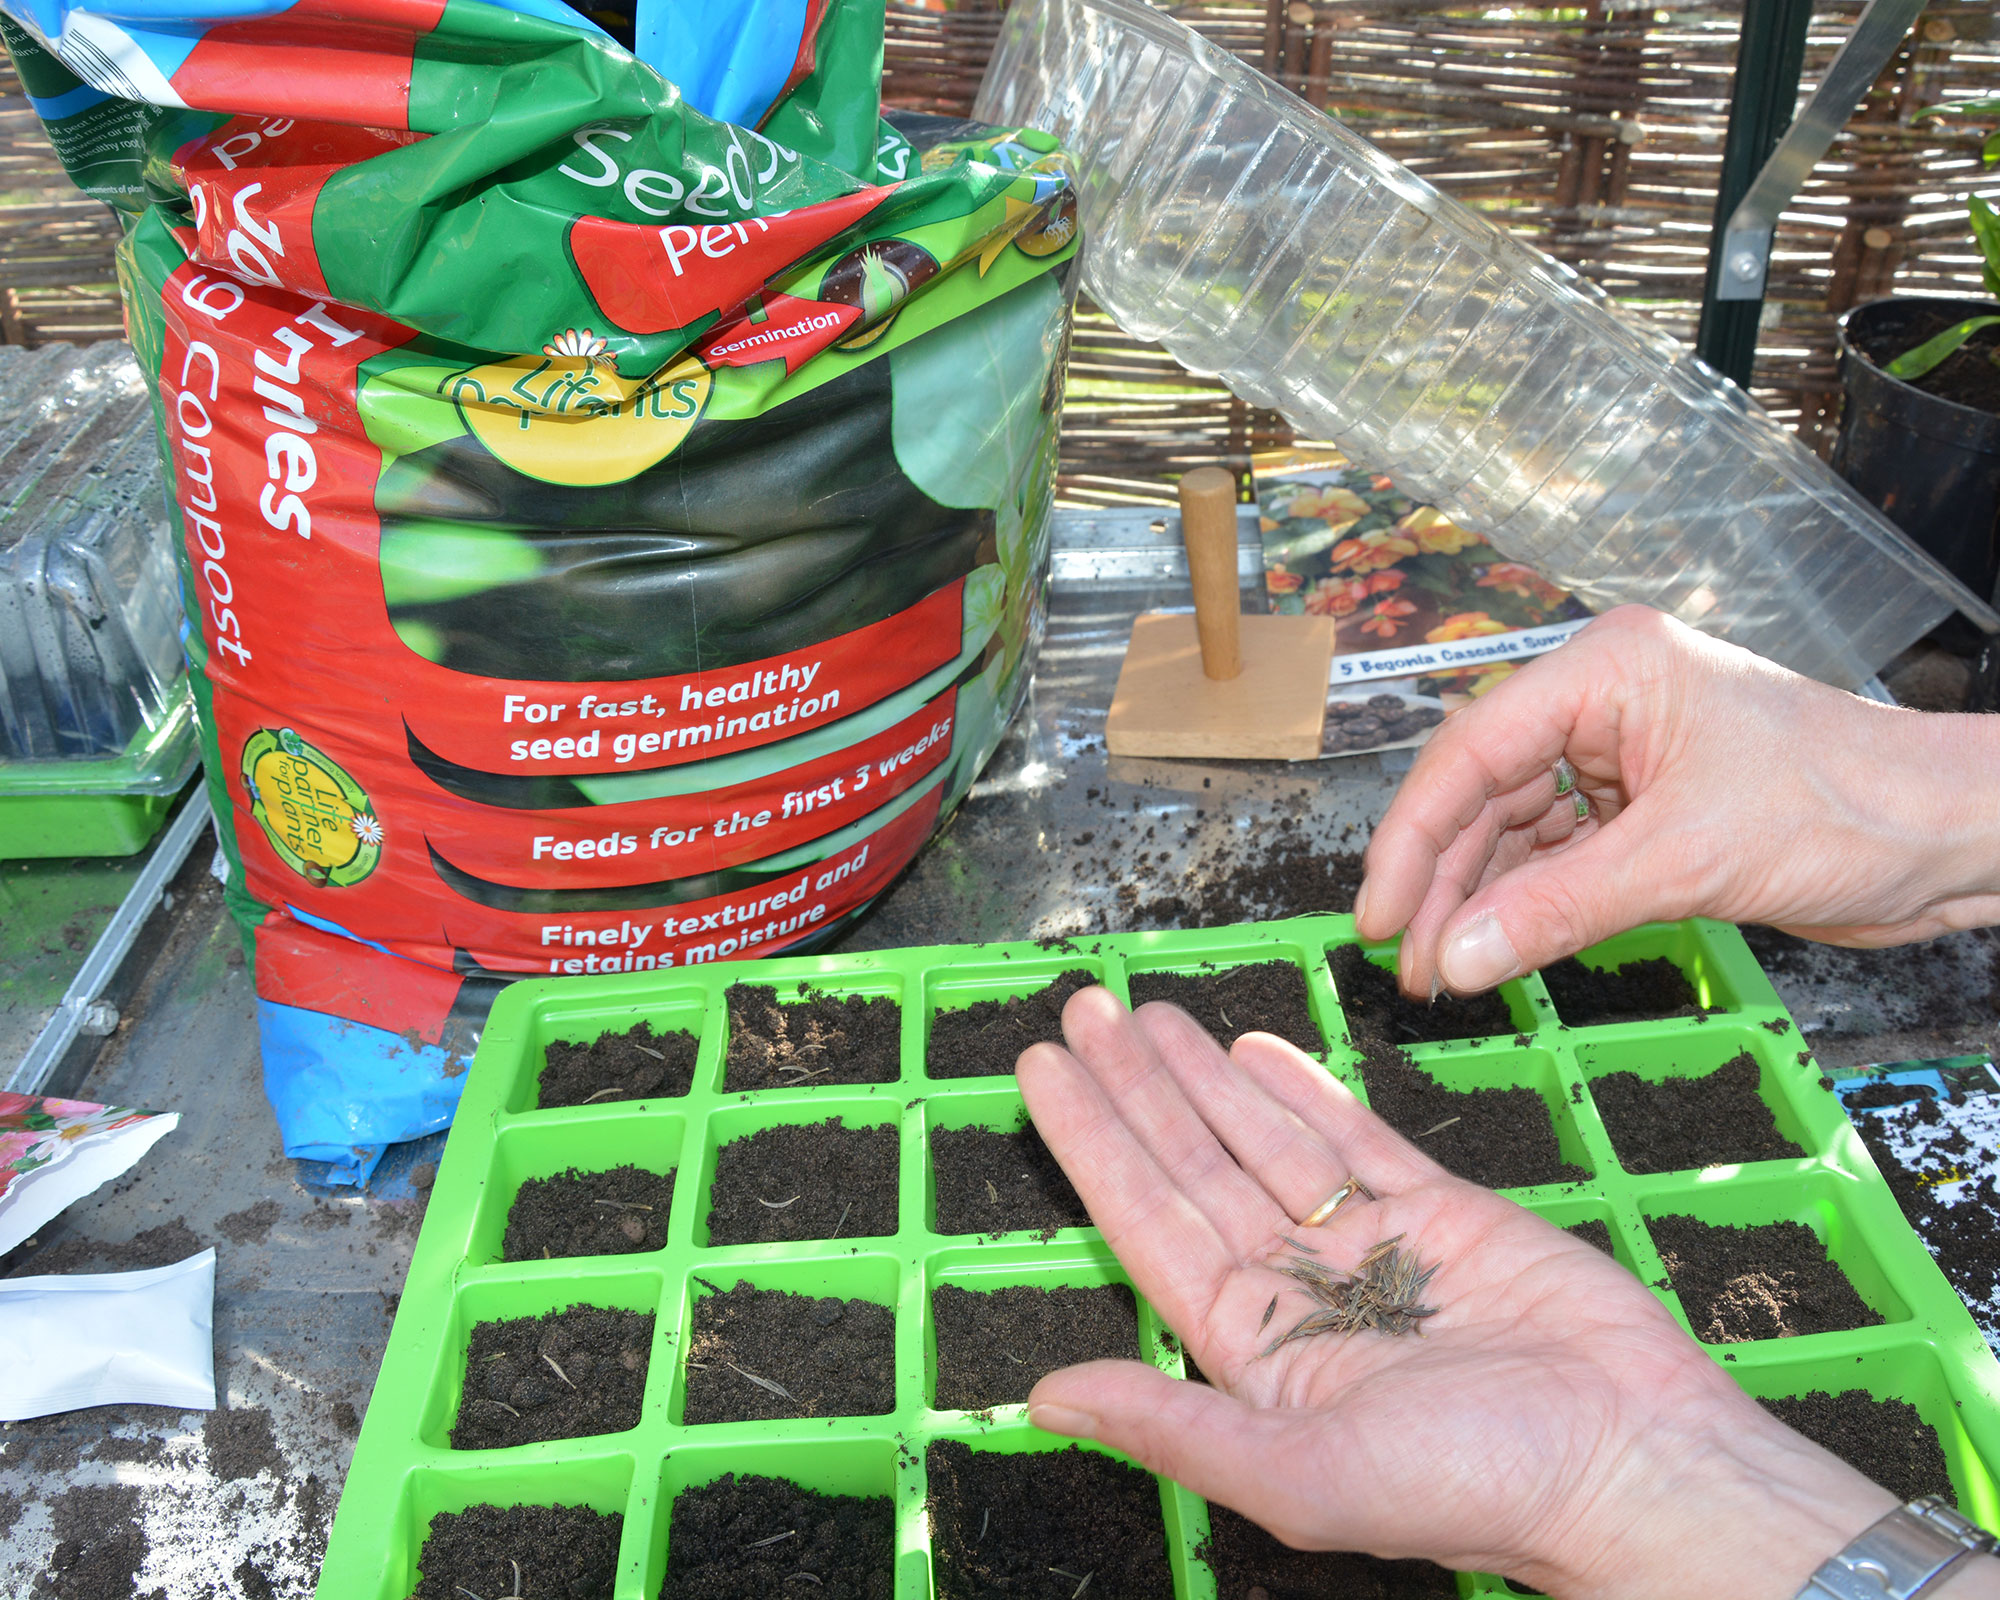
Start them now in pots or trays of seed and cuttings compost. Simply scatter the long seeds thinly on the top of compost that has been tamped flat to create a stable germination surface and dampened with fresh tap water. Then cover with a thin layer of compost, add a label and a lid and set them on a warm, light windowsill.
Germination takes 2-3 weeks, and once the seedlings appear remove the lid to let air circulate around the plants as they grow. Good airflow helps prevent fungal problems killing the delicate seedlings and you can help them further by watering from the base, keeping the growing leaves dry.
Top tip: When your plantlets are large enough to transplant, move them into individual pots of potting-on compost.
3. Mistletoe
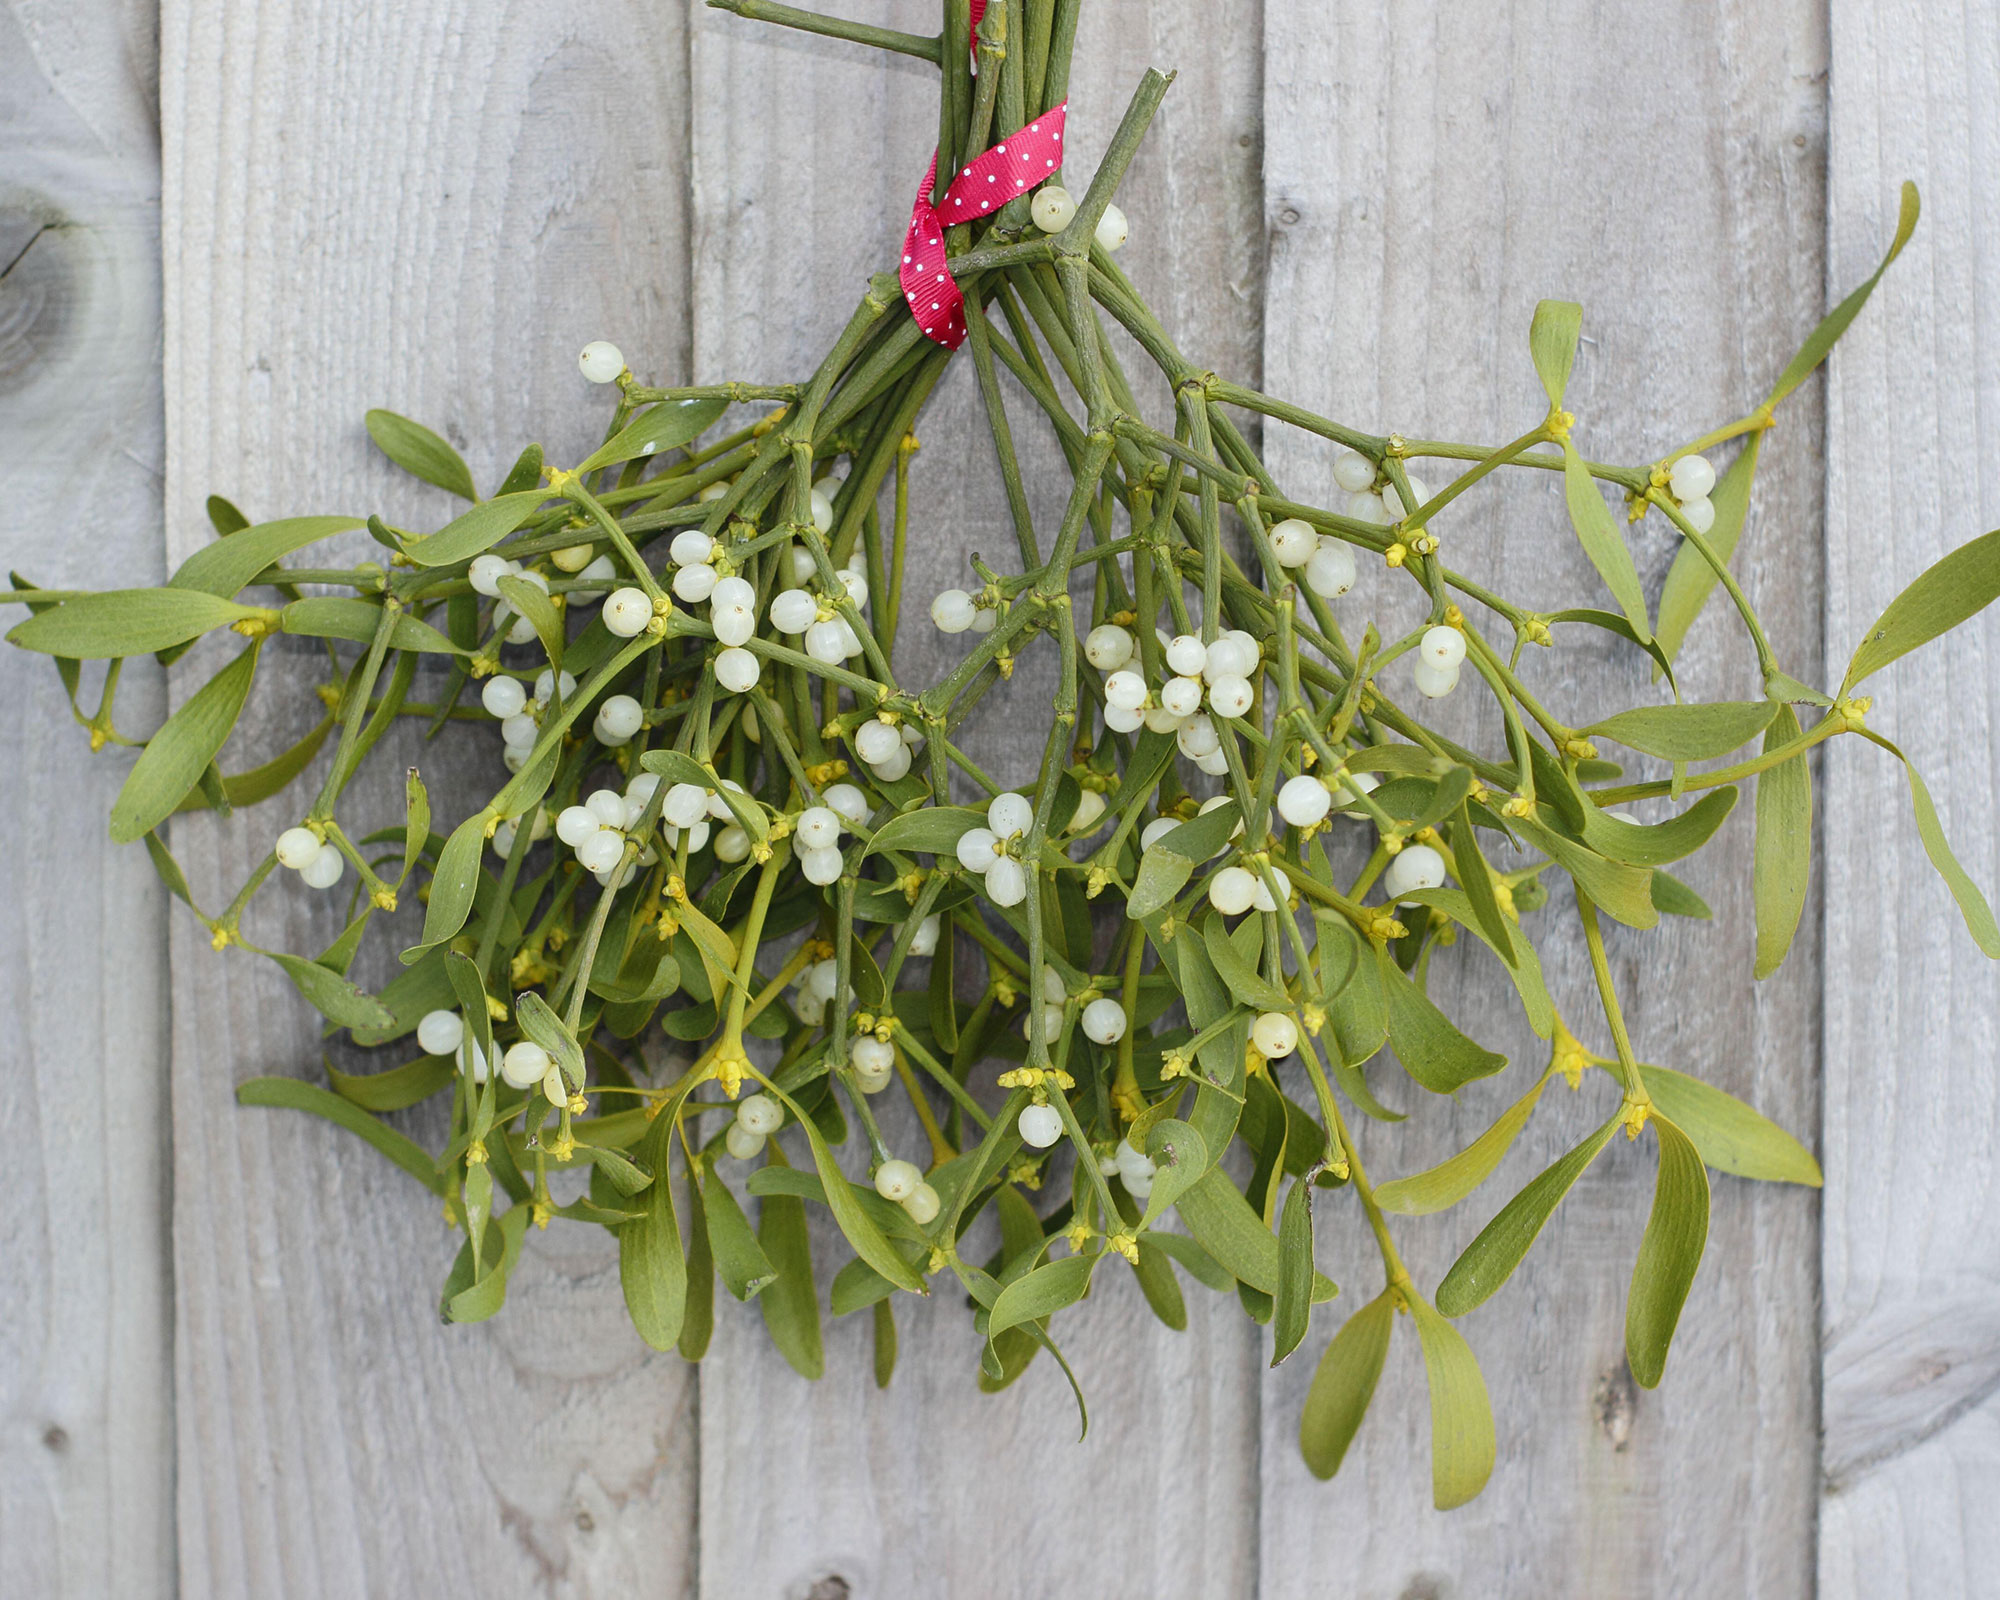
Wreathed in myths and legends, mistletoe is one of the UK’s most symbolic plants. It is semi-parasitic, so while its leaves create some energy via photosynthesis it gets most of its nutrients by sinking its roots into the trees on which it grows.
Apple, lime, hawthorn and maple are its most popular hosts and you often see huge clumps of it growing at the top of tall lime trees, out of the reach of human hands.
Mistletoe is, of course, best known as a popular stop-off for amorous couples during the festive season when it is hung in dark and interesting corners of the home.
We buy or forage for it in December, but it is a top choice for what to plant in February.
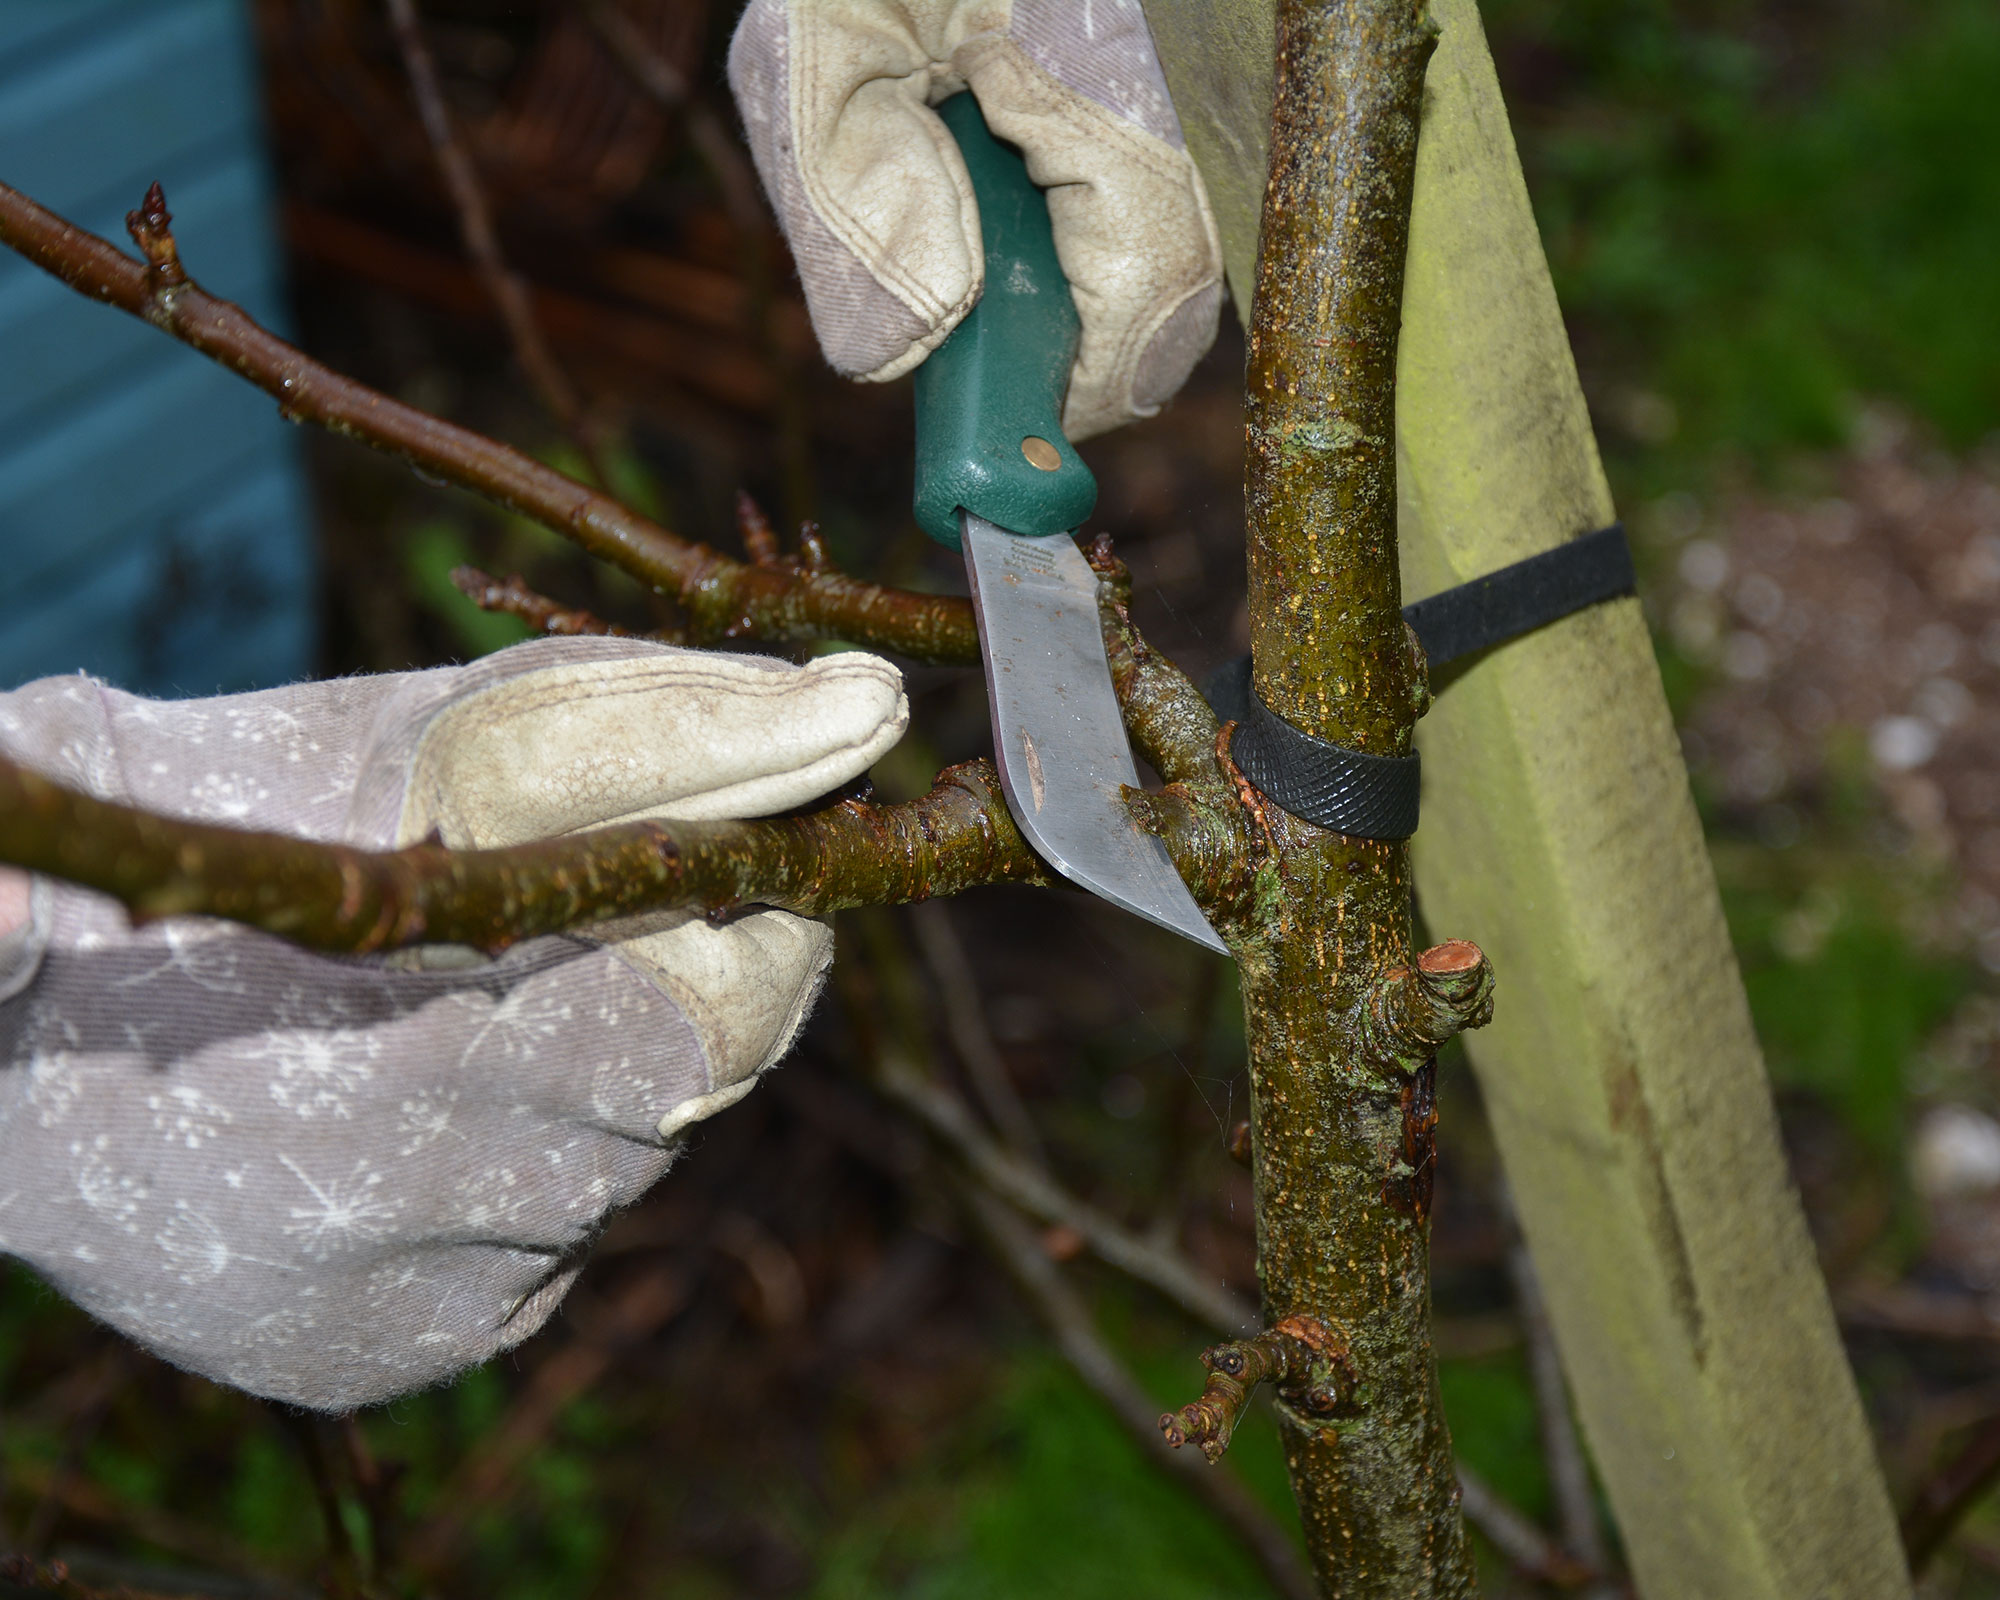
To get started, you'll need to salvage some of the healthiest berries from last Christmas’s sprig (rummage in the compost heap if necessary) or carefully pick a few of the pearly fruits from sprigs growing near home.
Then make small, shallow cuts in an appropriate tree in your garden and squish the berries open, releasing the seed-containing goo within. This should then be carefully pressed under the flap of bark.
Alternatively, look for natural cracks and crevices within the bark and squish the mistletoe's seedy goo in there.
Then wrap the berry-filled nicks in Hessian to protect them from birds and wait – it can take around five years to produce a clump mature enough to produce berries.
Top tip: Only the female plants produce berries so it’s wise to sow a number of seeds in different places to be sure you end up with plants of both sexes.
4. Hollyhocks
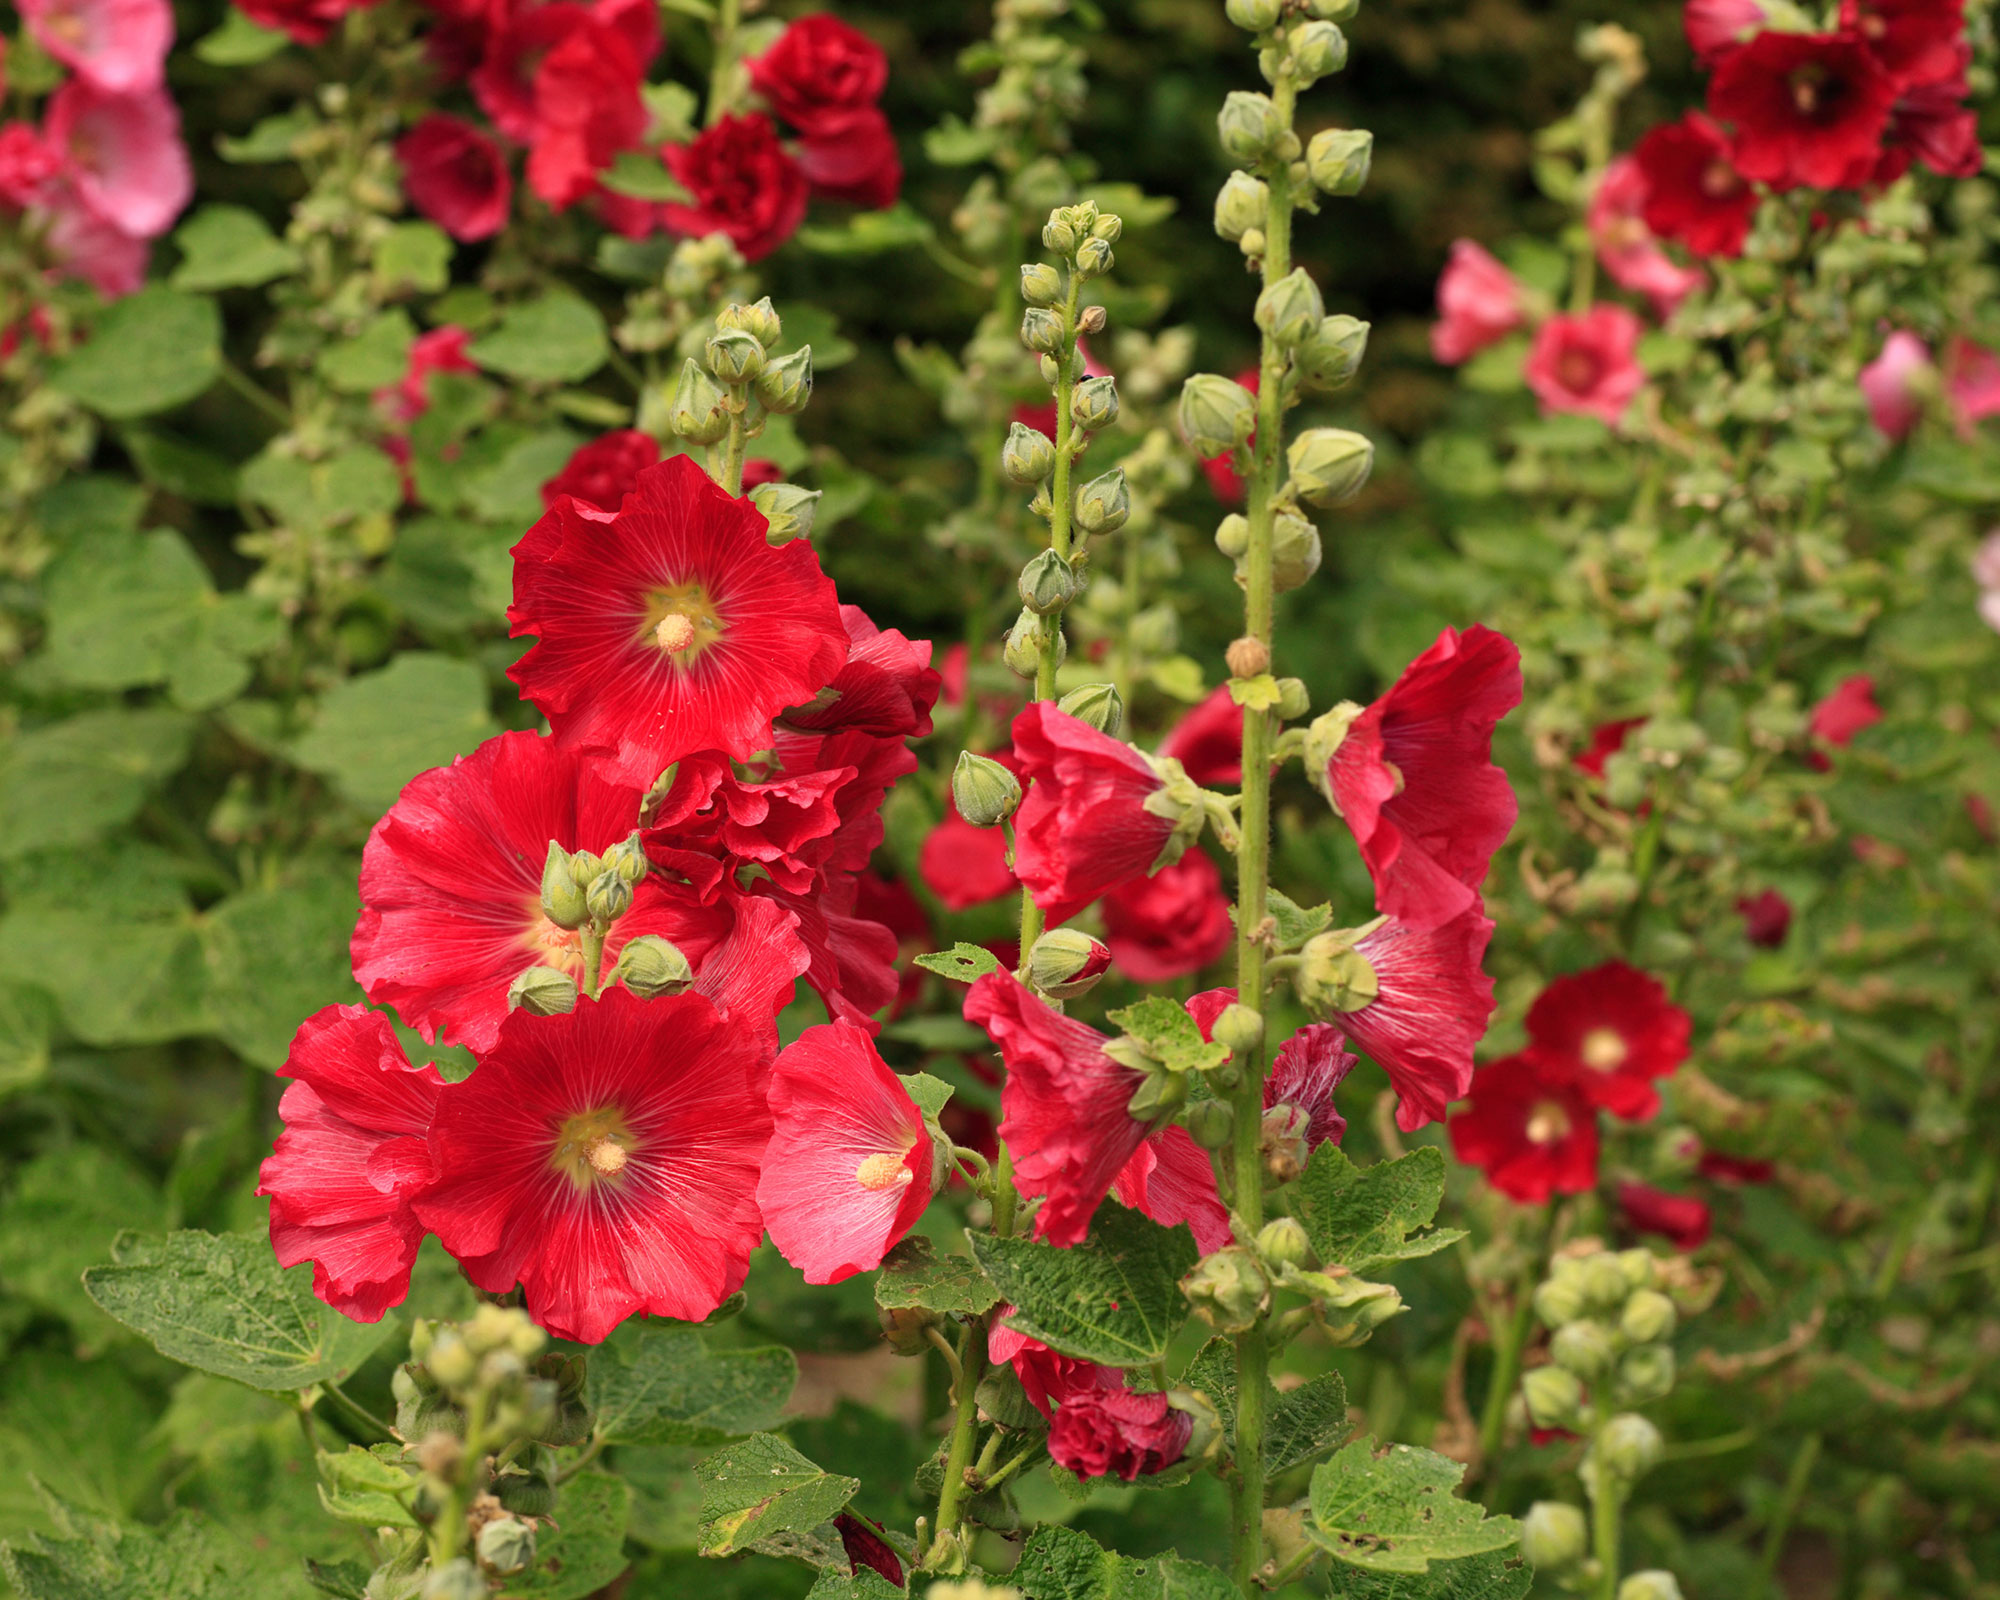
One of the best cottage garden plants, hollyhocks are known as ‘the backbone of the garden’ for a reason. These statuesque beauties tower over other summer flowers adding height and colorful definition. Having said that, dwarf varieties are widely available and look lovely set towards the front of garden borders.
You can sow hollyhocks in February and these hardy perennials will flower in summer – in fact our spring-sown plants often bloom well into November!
Sow undercover for the best results, scattering the large seeds thinly onto seed compost that has been tamped flat and dampened with fresh tap water. Cover with a layer of vermiculite or compost, add a lid and germinate on a light windowsill. The seedlings can be potted on into individual 3in (7cm) pots when they are large enough to handle safely.
When planting outside, don’t put your young hollyhocks in soil where they have not grown before and give each one plenty of room.
Top tip: Hollyhocks are vulnerable to the fungal disease hollyhock rust that shows itself as unsightly orange pustules on the leaves and stem. Although it can be treated with fungicide, rust is so common it is best to replace all your plants after a few years and start again with new healthy stock. If you want to try and beat it organically, follow our solution for rust in hollyhocks.
5. Bare root trees
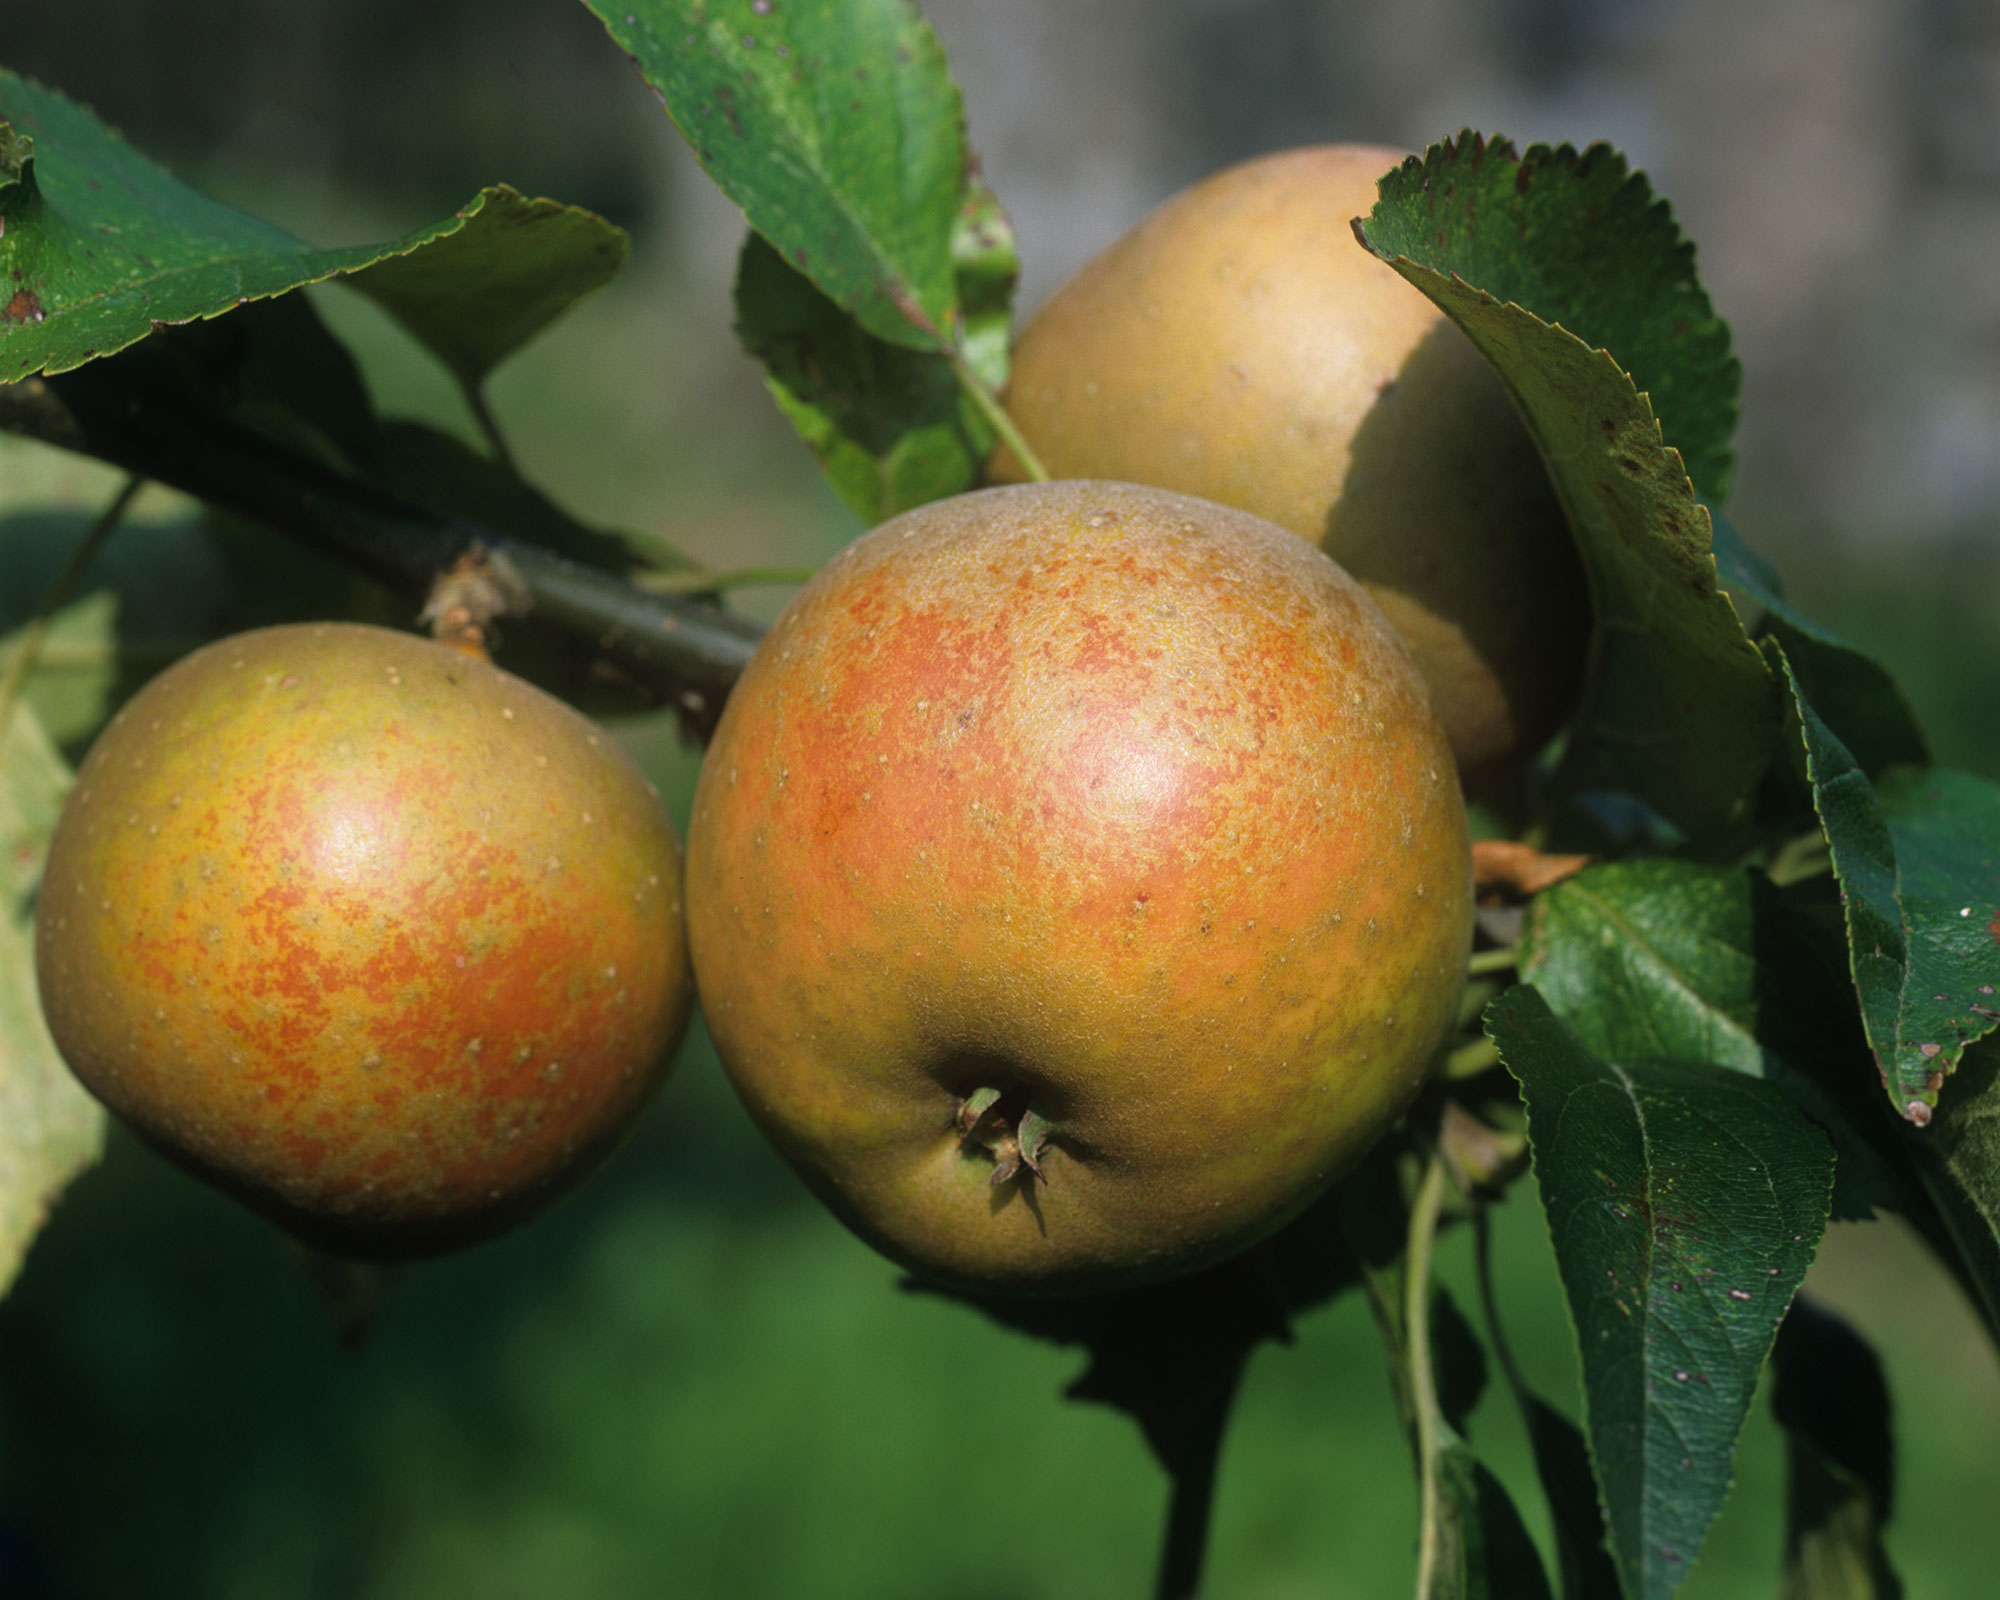
Planting bare root trees is incredibly easy and an economical way of adding to your plant stocks. Have a look at your garden and see if there is anything you need to add before the bare root season draws to an end for the year. Just make sure you get planting as soon as you can once your purchase arrives, keeping the roots cool, shaded and damp in the meantime.
If you are unable to get your tree or shrub in place because the soil is frozen or waterlogged, dig a temporary trench and ‘store’ it there until the site is ready. This is called ‘heeling in’ and you can leave bare root plants there for several months if necessary.
Help your plant get established by adding bone meal, root food or mycorrhizal fungi to the planting hole. The latter are symbiotic organisms that take sugars from the roots and exchange them for nutrients and moisture in the soil.
They are really only necessary in poor and overworked ground; soil that has been enriched with organic fertilizer and well rotted manure and compost should contain enough goodness to help the tree or shrub thrive.
Top tip: Check newly planted trees and shrubs after frosty nights. Freezing conditions can cause soil to crack and loosen, destabilising the roots, so tread it back down if necessary. There's more advice on how to protect plants from frost in our guide.
6. Dahlias
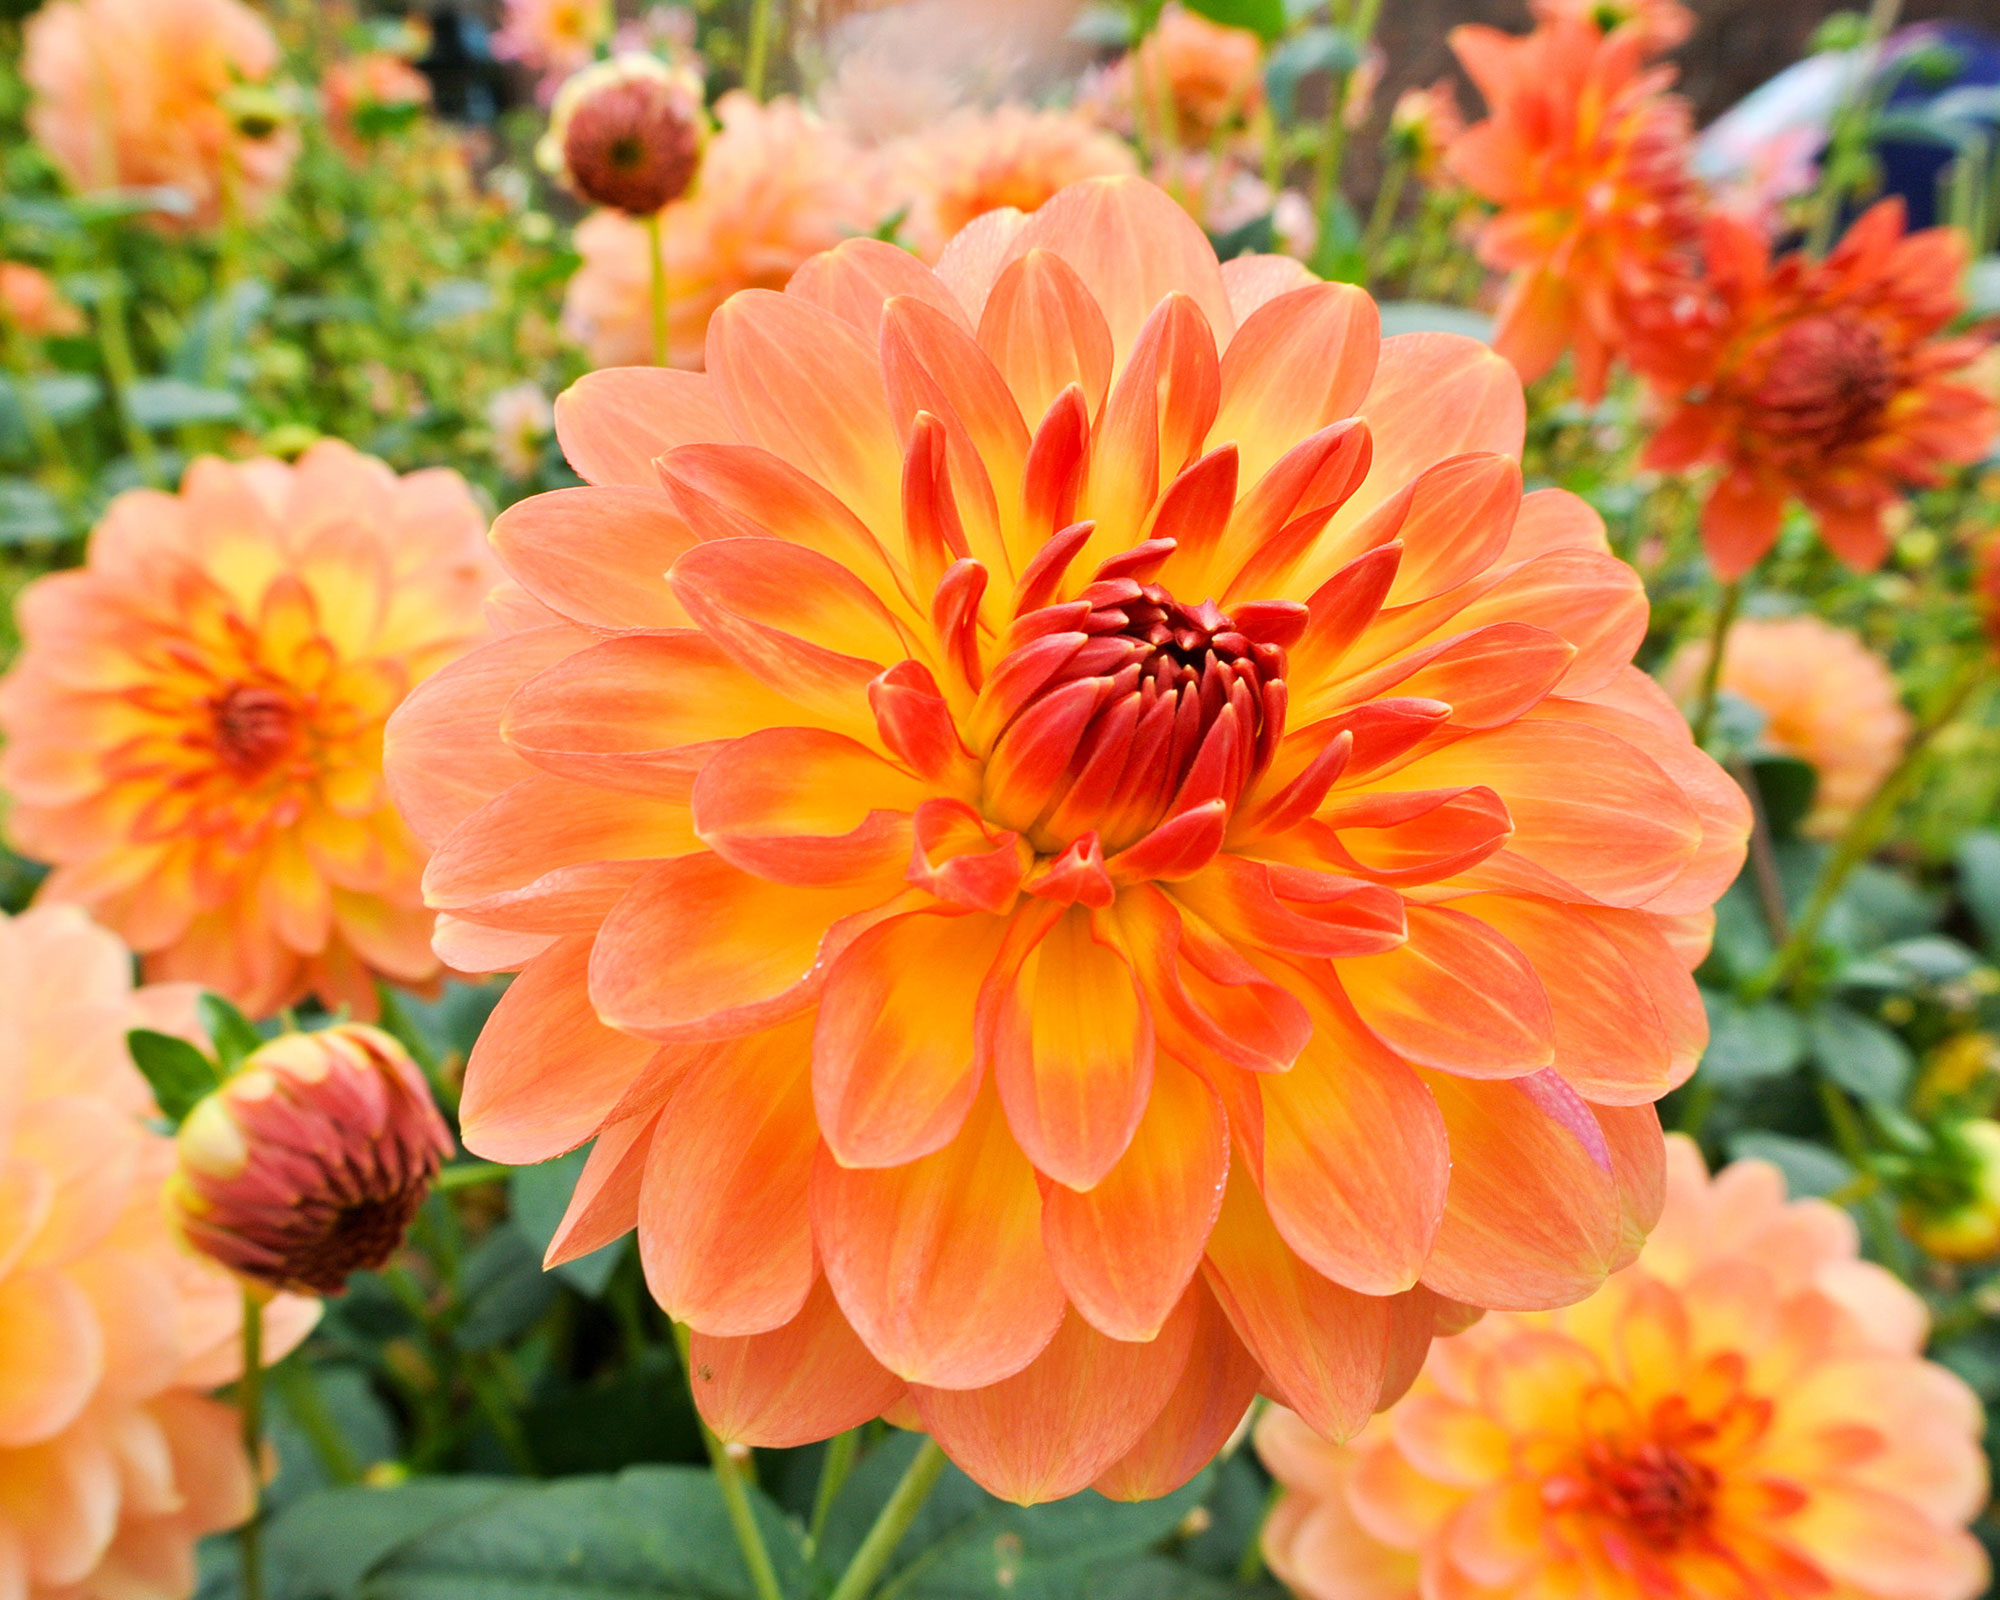
Dahlias are the stalwarts of our summer and fall gardens and for all their glamor, it's very easy to learn how to grow dahlias successfully.
Although it’s still too cold to plant out dahlias in the may areas, including the UK, their tubers are one of the things you can plant in February undercover so they are ready to go when the soil warms up.
Dahlia tubers look like a bunch of brown carrots and should feel firm to the touch. Discard any that are soft or rotting. Whether you are reusing last year’s tubers or starting new ones, it is a simple process.
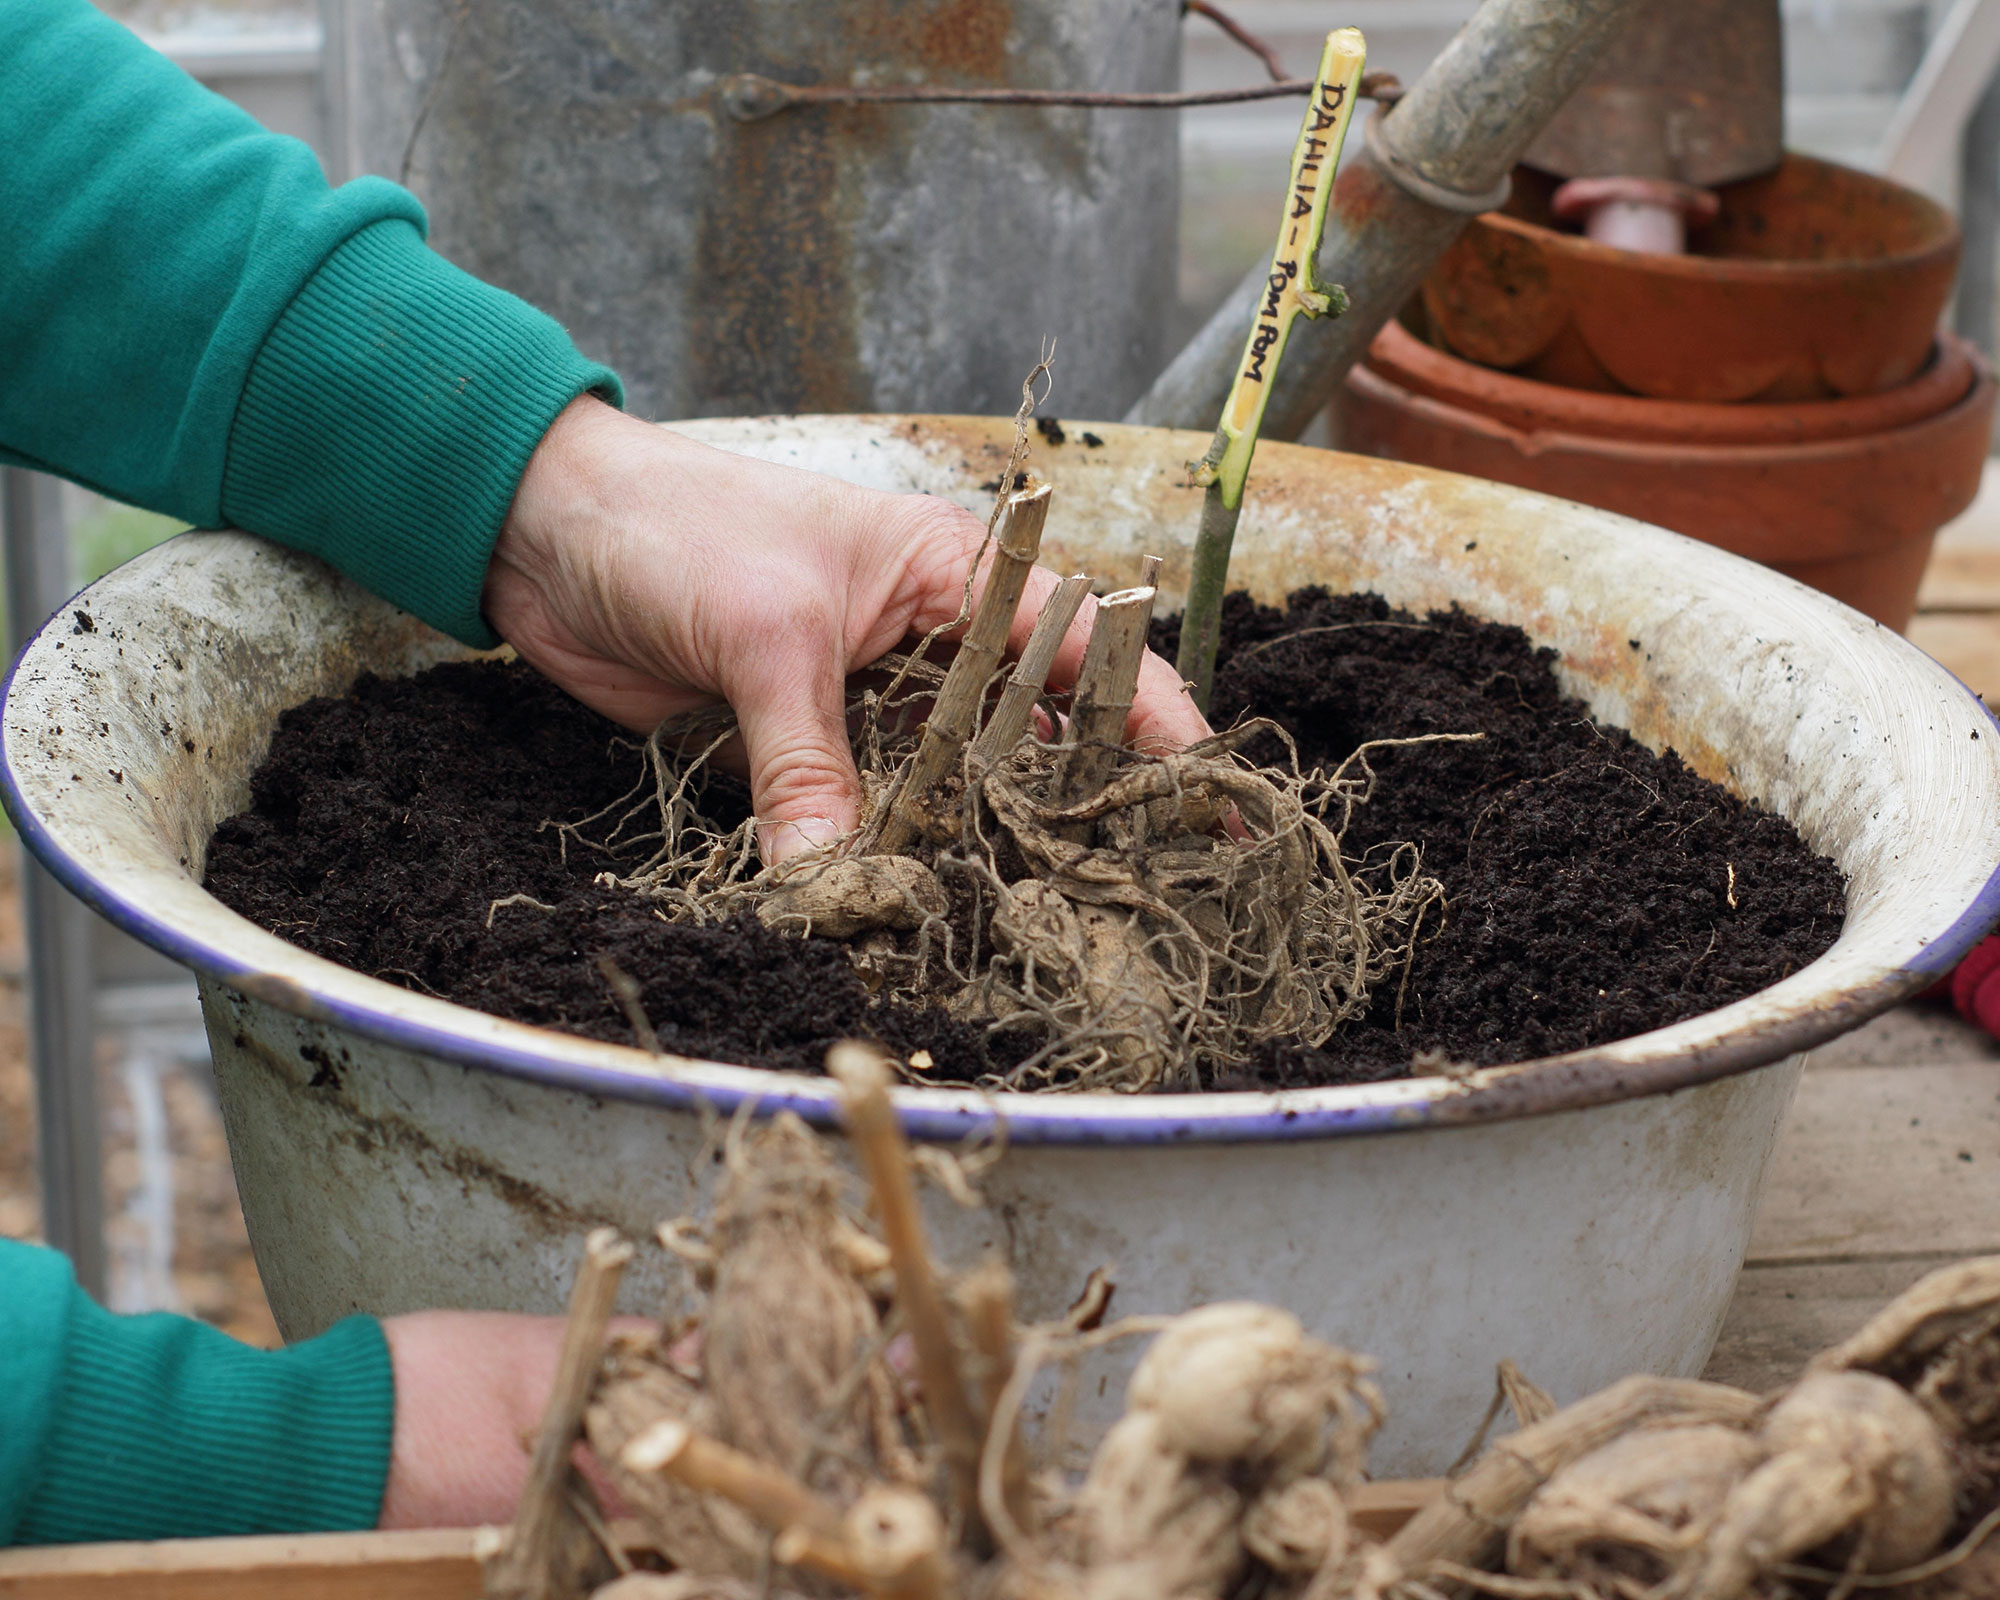
Place the dahlia tubers in large pots of multipurpose compost, keeping the old stalks attached and above soil level, then dampen lightly and set them in a frost-free, light greenhouse or on a light windowsill.
Shoots will soon appear. Make sure these stay free of hungry snails and sap-sucking pests such as aphids – you can find out how to get rid of aphids in our guide. Keep the tubers undercover until May, when they can be planted out.
Top tip: When the shoots from the tubers have reached 3-4in (7-10cm) long, carefully remove two or three at the base, dip the cut ends in hormone rooting compound and pot up in seed and cuttings compost. They will soon grow to form new plants.
7. Lilies
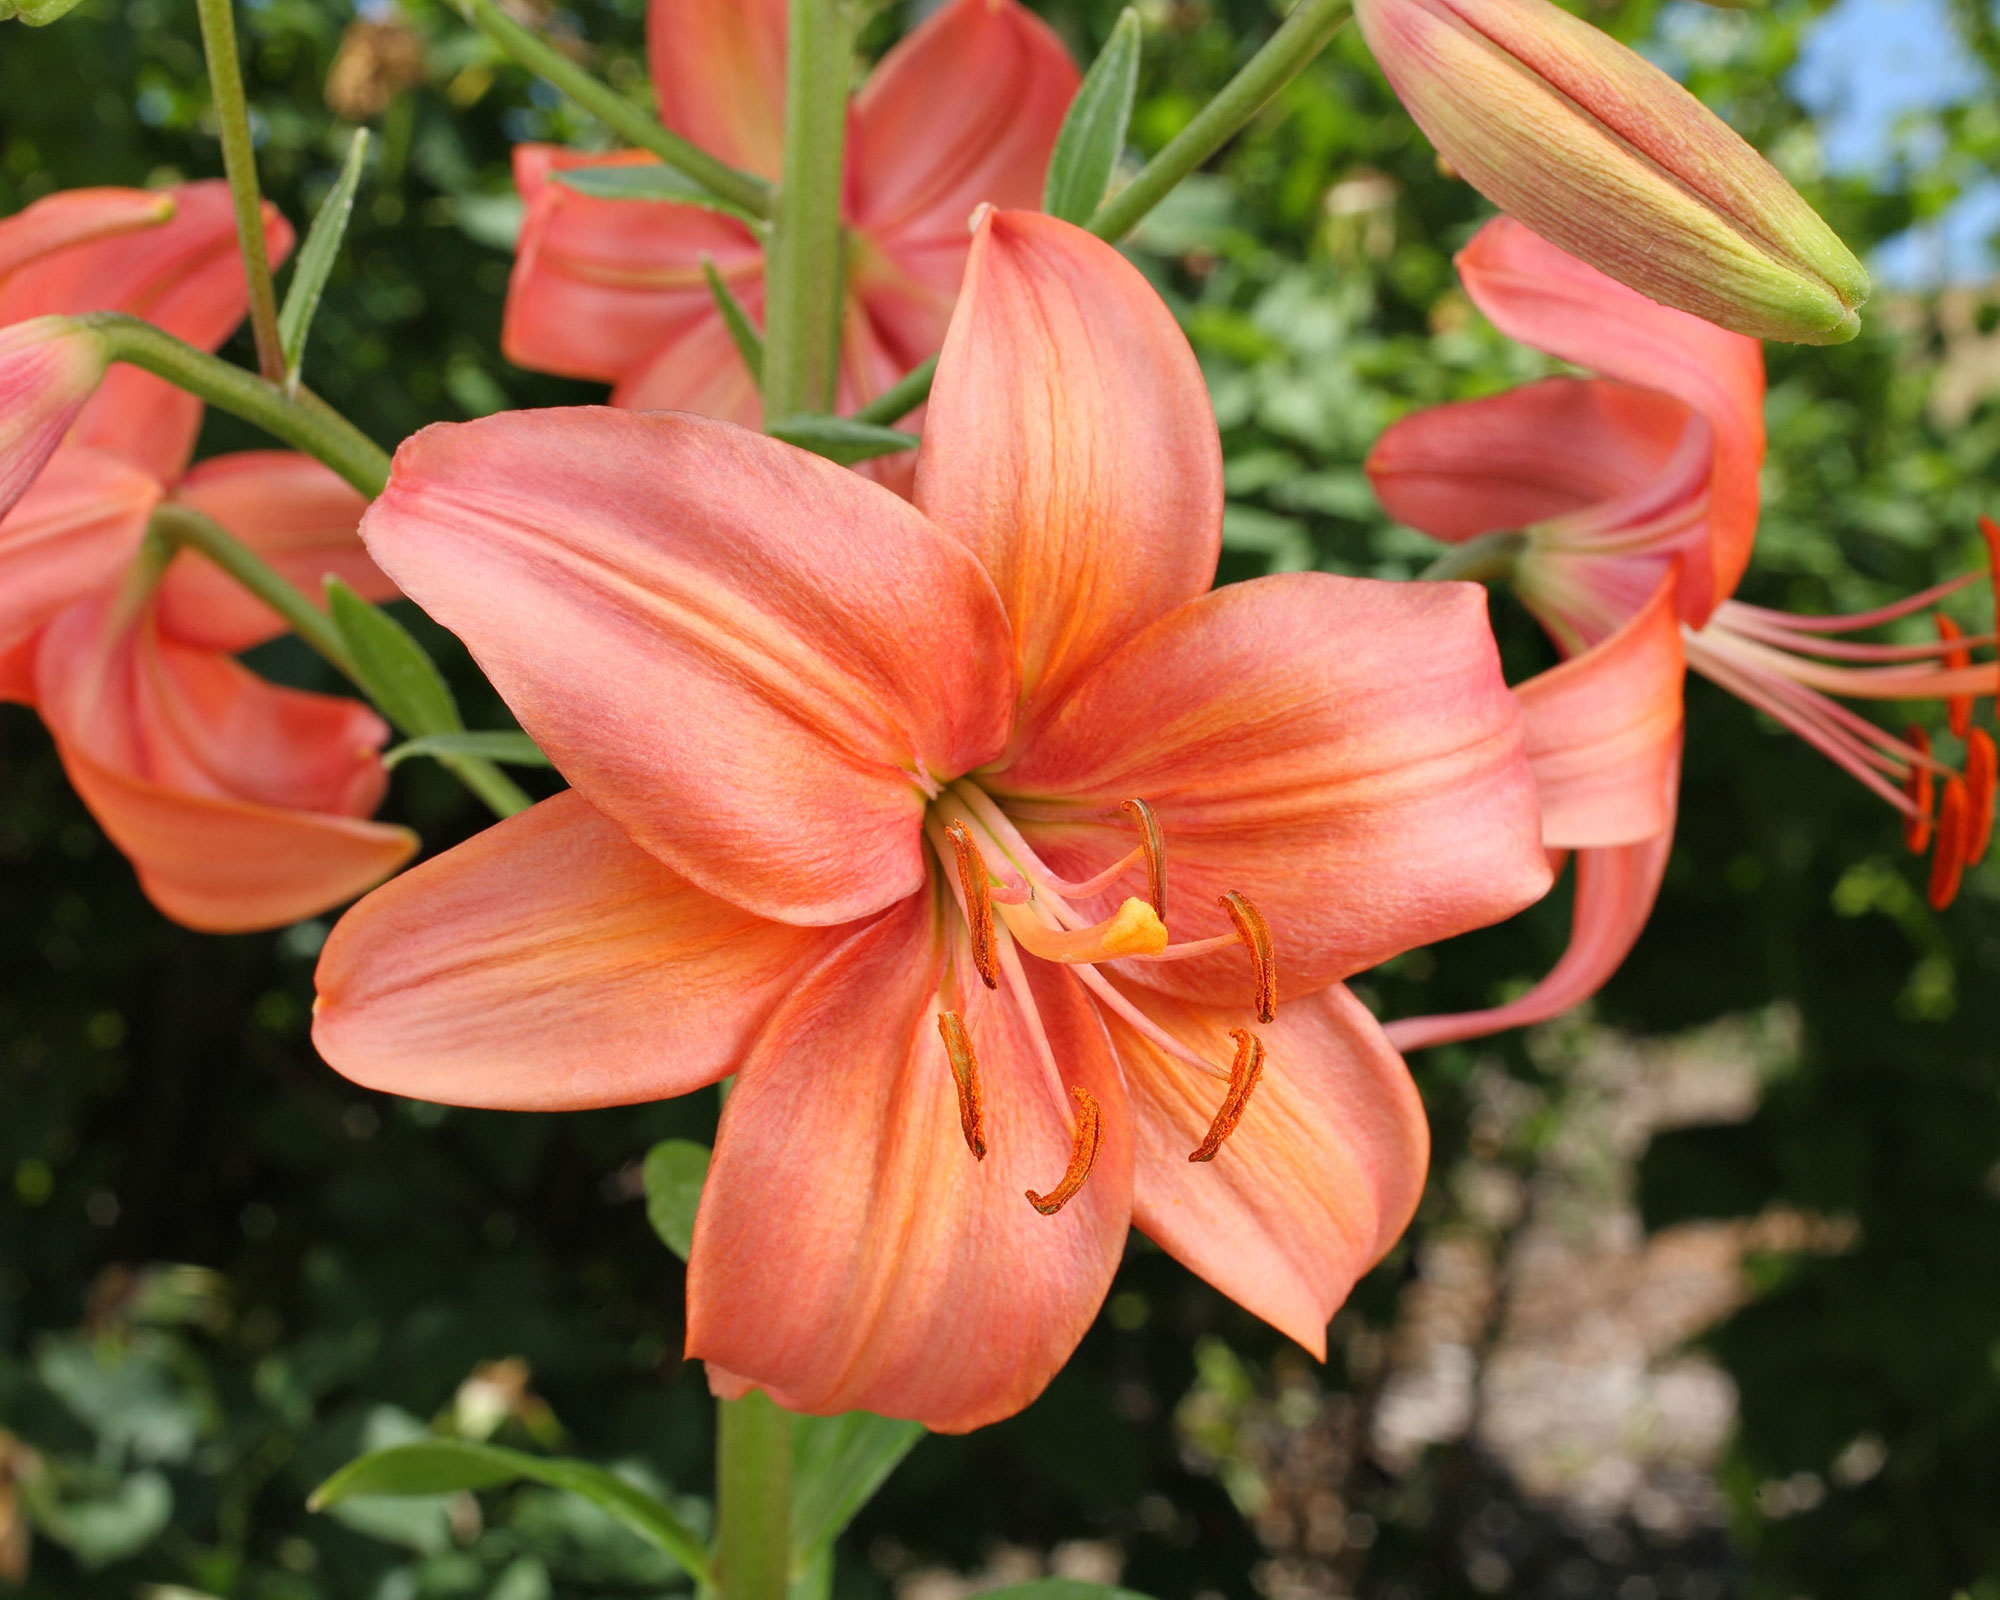
If you want to inject some glamor into your garden, you should consider learning how to grow lilies. These opulent blooms brings structure, scent and a blast of the unusual to flowerbeds and containers.
Despite their glamorous appearance, they blend in well with more traditional garden flowers and are extremely versatile, happy to grow in pots as well as in the ground.
They like free-draining soil types, as bulbs and corms are prone to rotting in heavy, wet conditions. You can lighten your soil by digging in some grit or plenty of well-rotted organic matter (compost or manure) before planting.
Whether planting bulbs in the ground or in pots, water them well after planting. Remember that these plants can get top-heavy as they grow, so you will need to stake them, especially in windy areas.
Top tip: If you have pets, bear in mind that lilies are one of the plants that are poisonous to cats. All parts of lilies are extremely toxic to cats and can cause kidney failure – even licking lily pollen off fur while grooming can be fatal. If you suspect your cat has eaten any part of a lily, contact a vet immediately. One solution is to buy pollen-free varieties such as ‘Bentley’, ‘Elodie’, ‘Lily Ann Marie’s Dream’ or ‘Lily Flore Pleno’.
8. Perennials
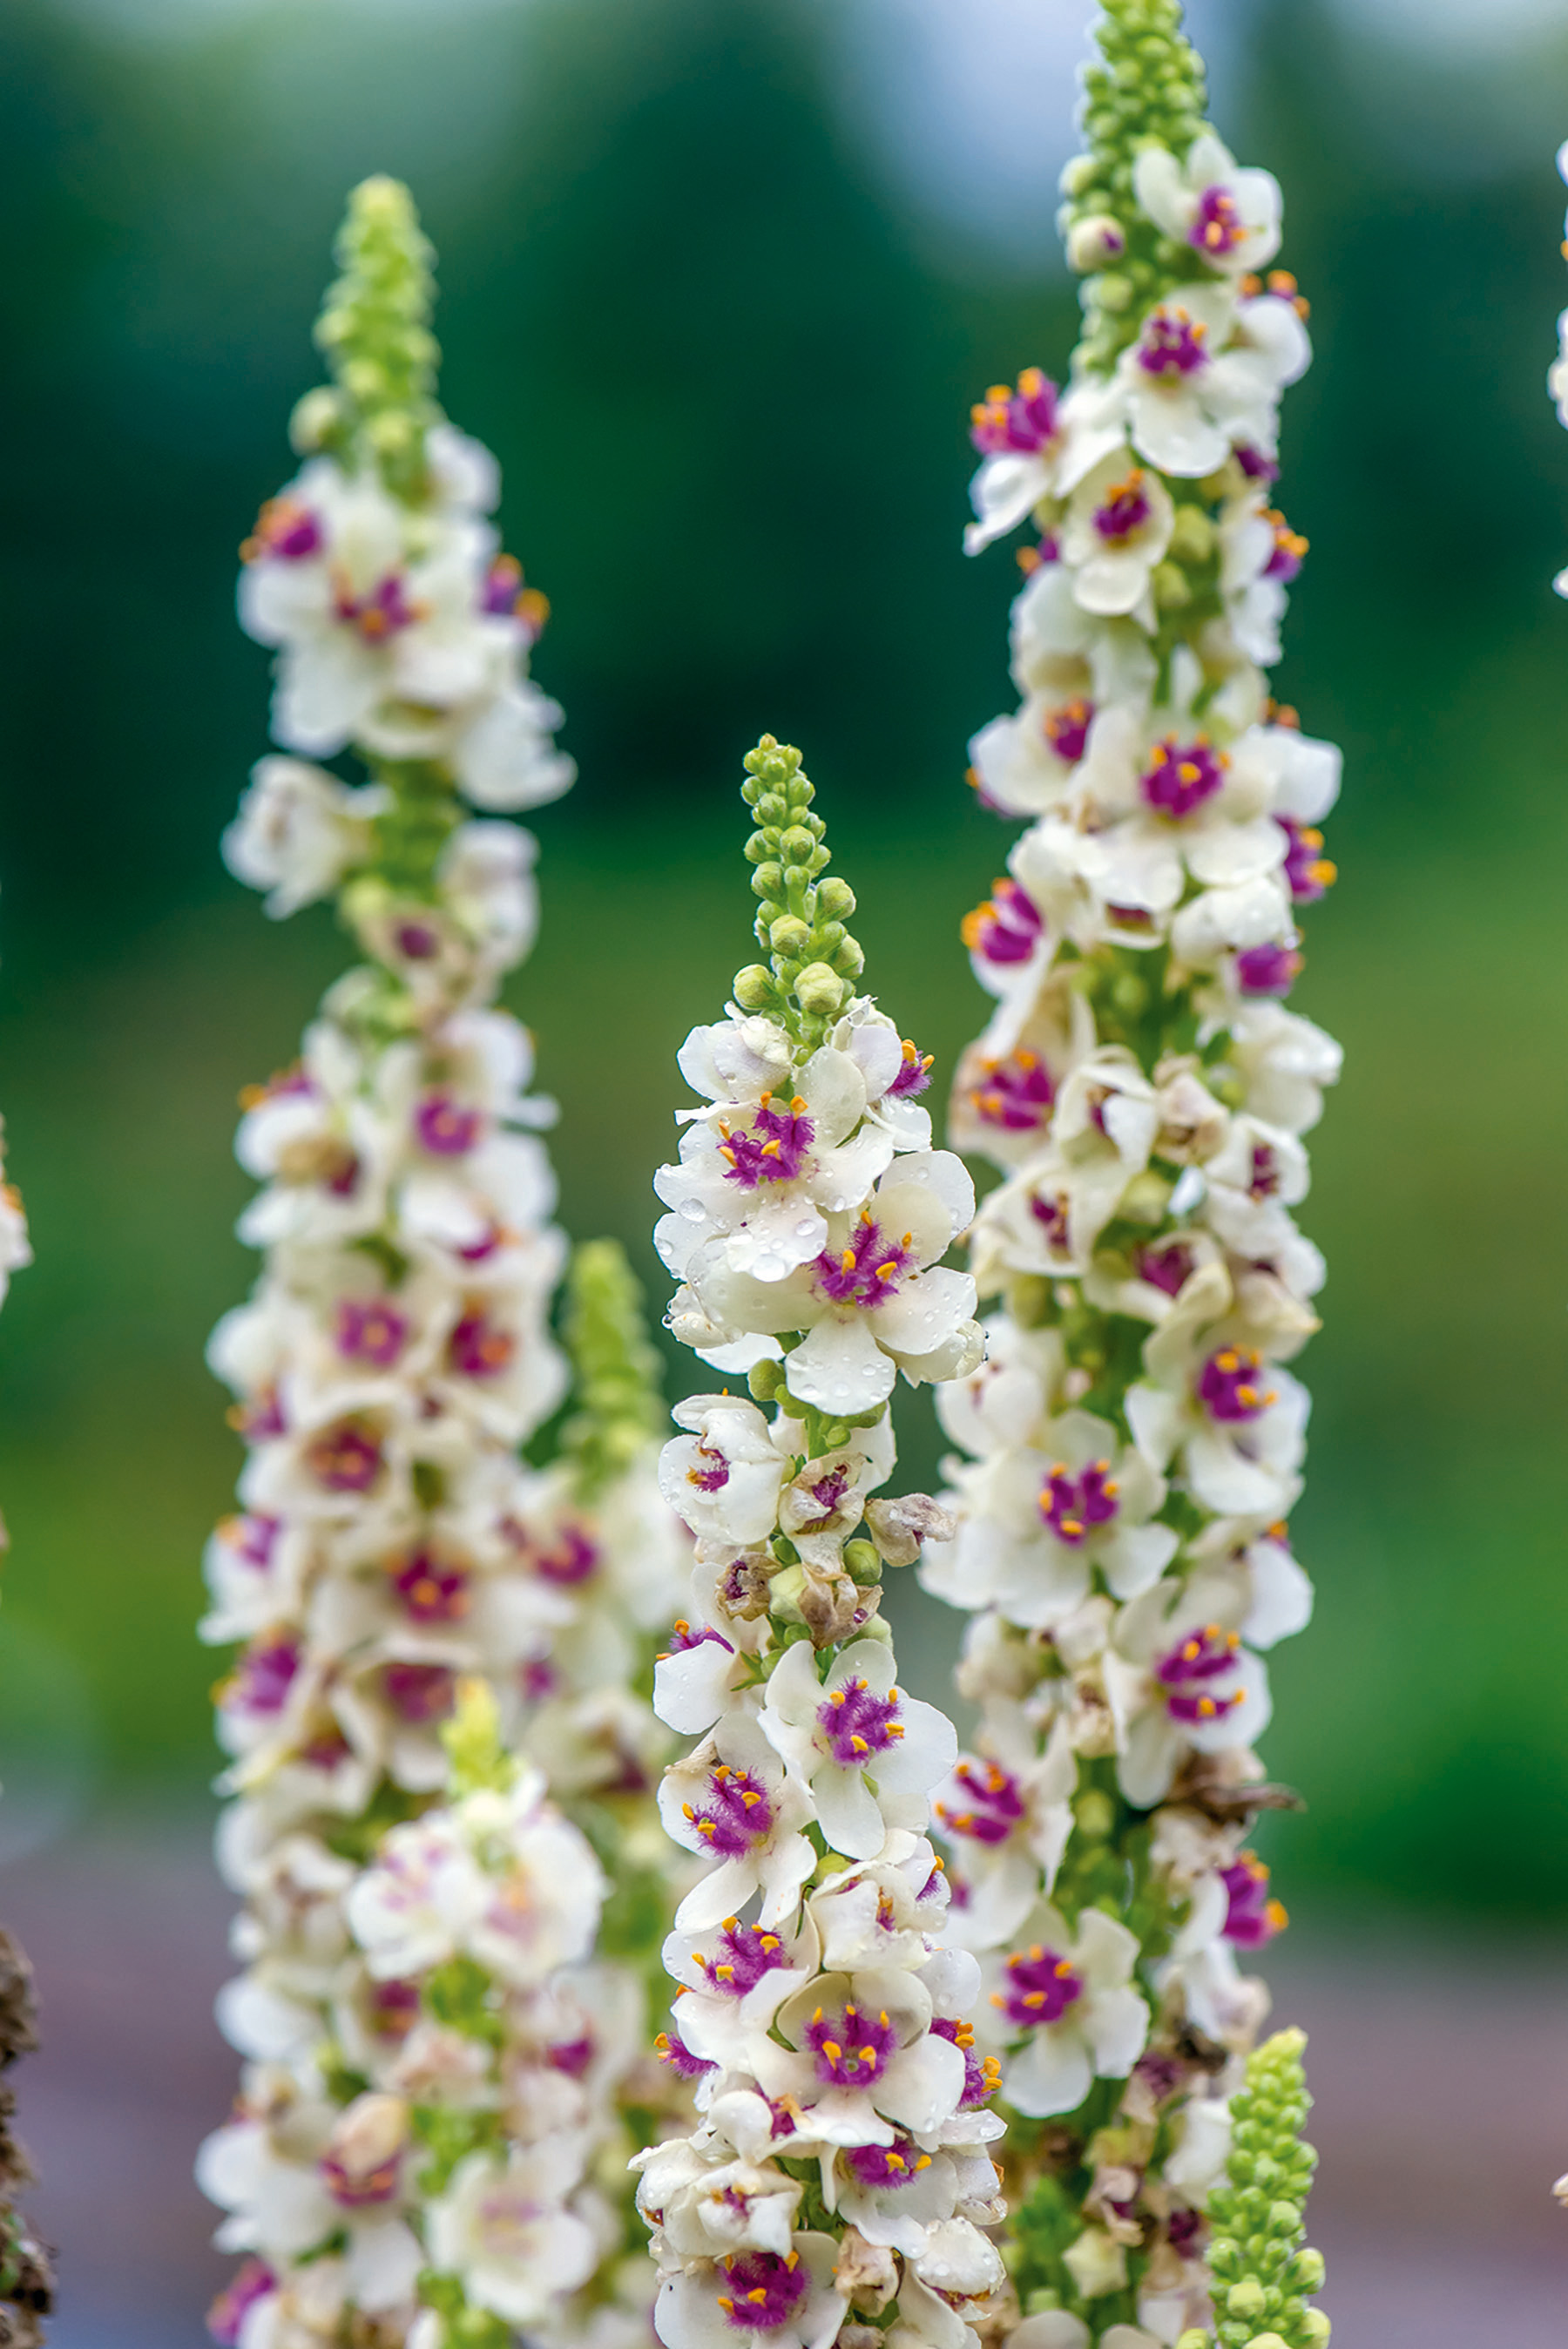
As long as the soil isn’t frozen solid or rained into a saturated quagmire, perennials are one of the options for what to plant in February. When buying perennials, choose plants with buds rather than flowers, as they should provide a long-lasting splash of color well into fall.
Follow these quick tips for planting your perennials this month.
- If you are filling a border with perennials, start by sitting them on the soil in their pots and move them around until you have an arrangement that looks good. Place taller ones towards the back, smaller ones at the front.
- Stand the plant in water so the rootball gets a good soaking and dig a hole as deep as and slightly wider than the pot containing the plant.
- After standing plants in water as long as possible, slide the roots from their pot and carefully tease out any congested or circling ones.
- Place the rootball in the hole and infill with soil and compost. Firm it down to support the plant and remove any air pockets.
- Watering plants well is key. In very dry conditions, create a ‘moat’ of soil around the plant so the water is contained and won’t immediately run off.
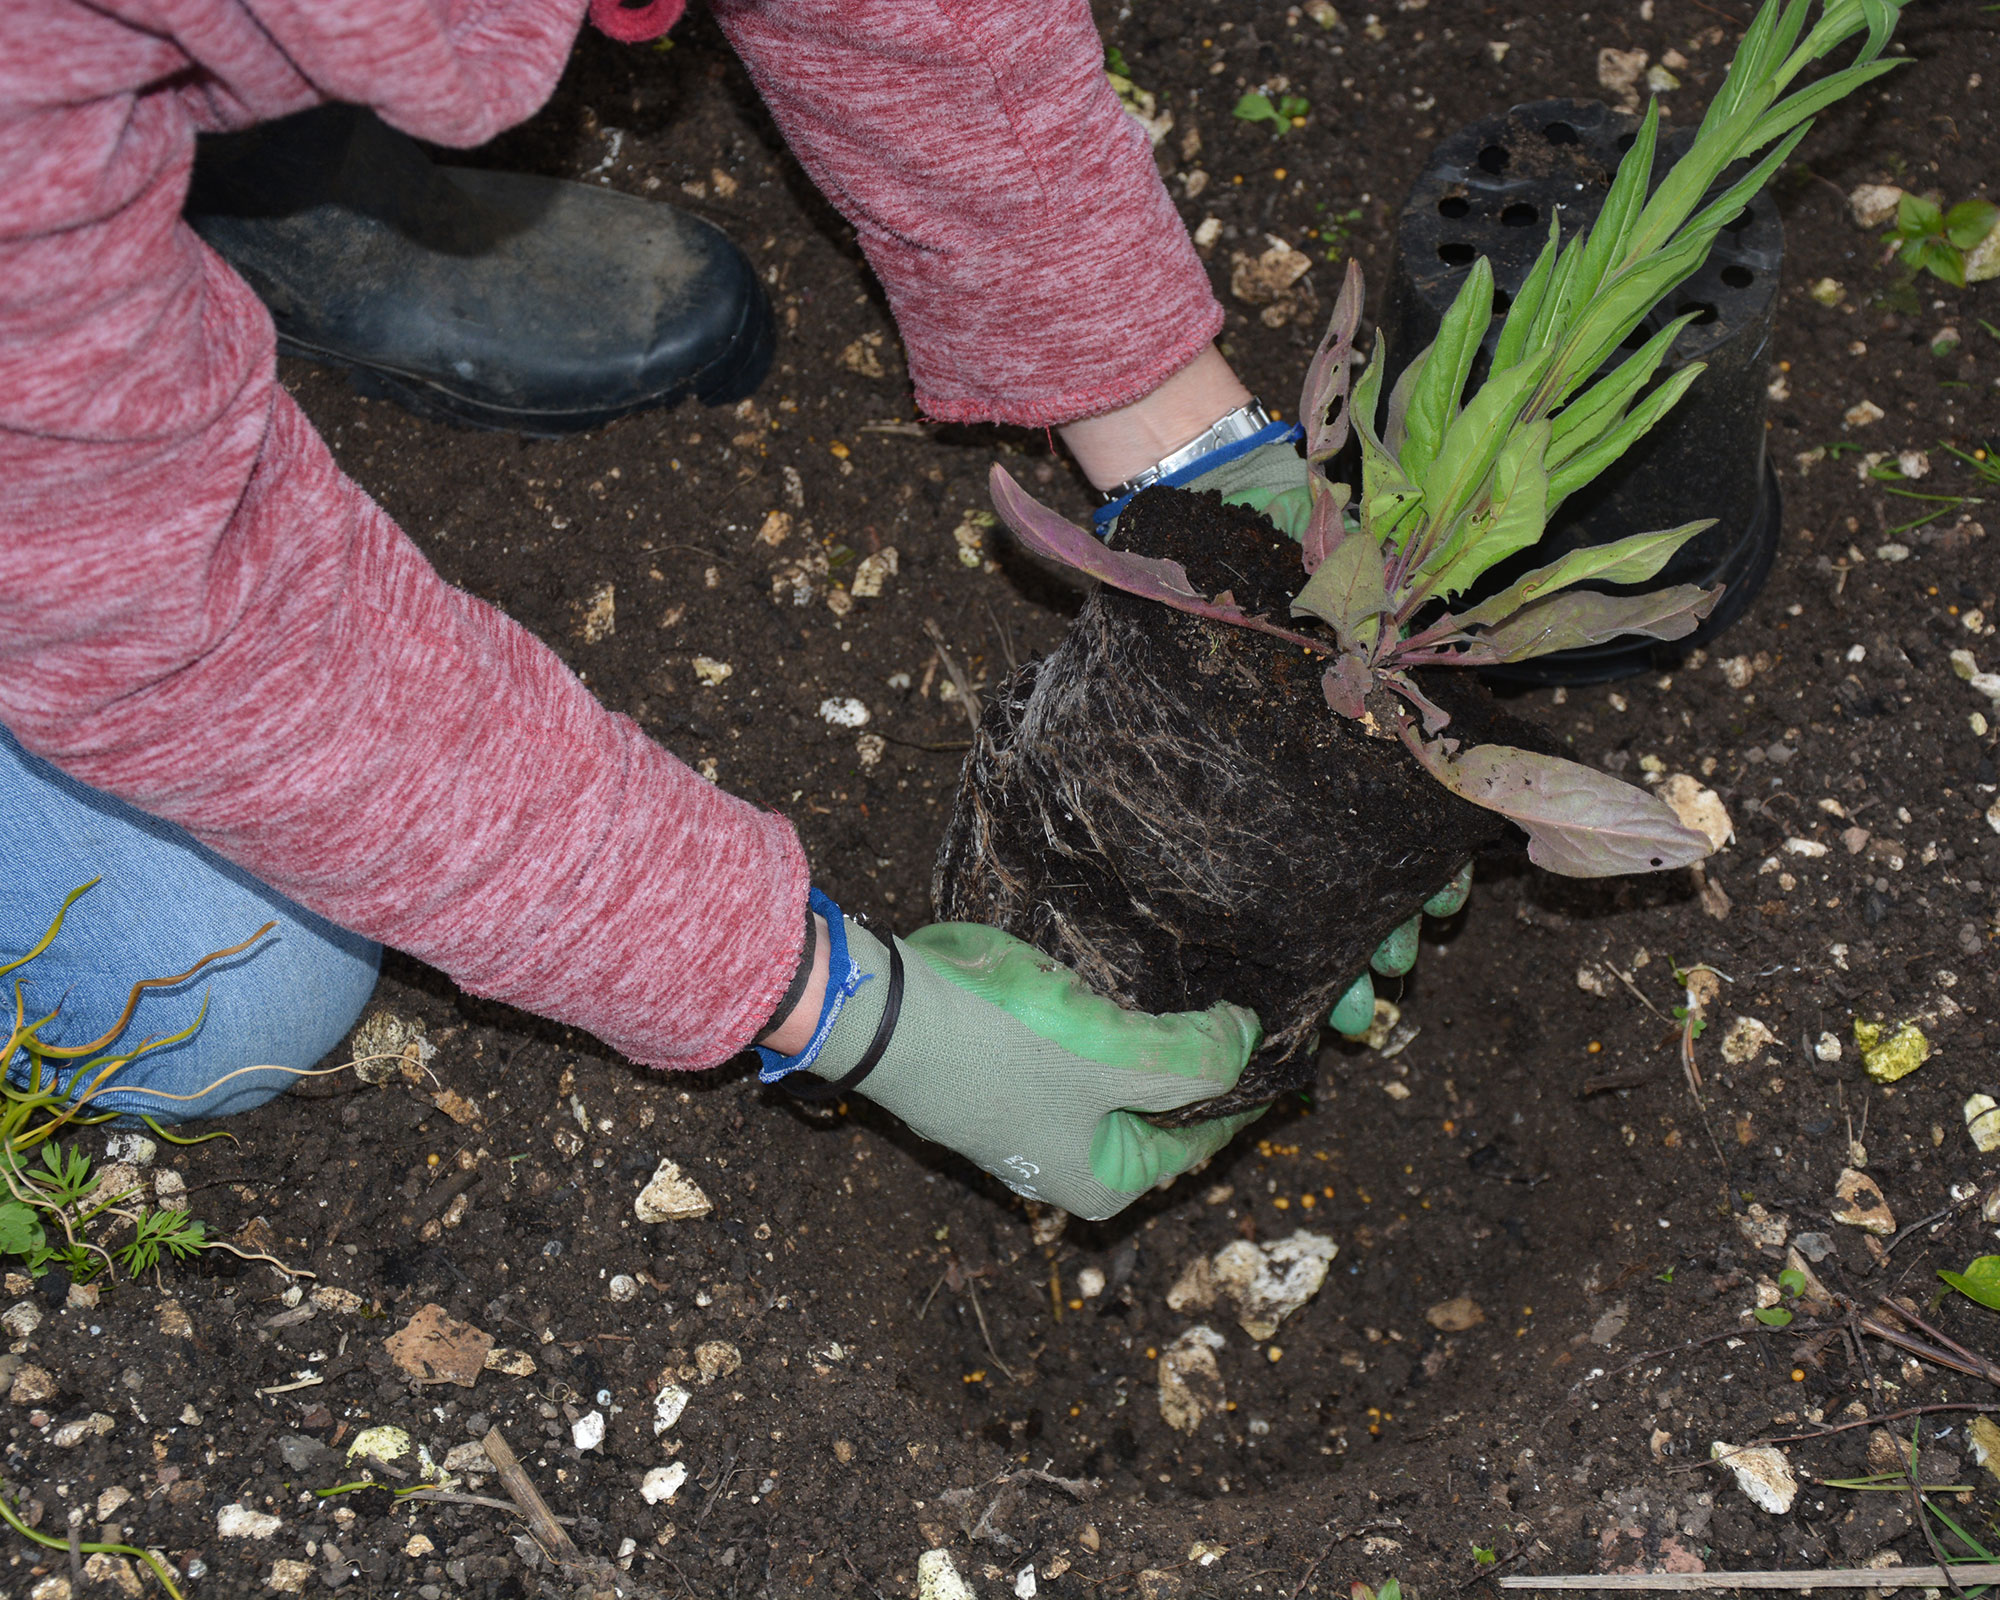
As always when planting, don’t cram too many plants close together. They need space to grow and thrive, so check their labels to learn their optimum height and width. Once planted, water regularly and check for pests and other problems.
Top tip: Rough up the inner edges of the planting holes to make them porous and avoid creating an impermeable ‘bucket’ that will drown the trapped roots. This is especially important with sticky clay soils.
9. Cerinthe major
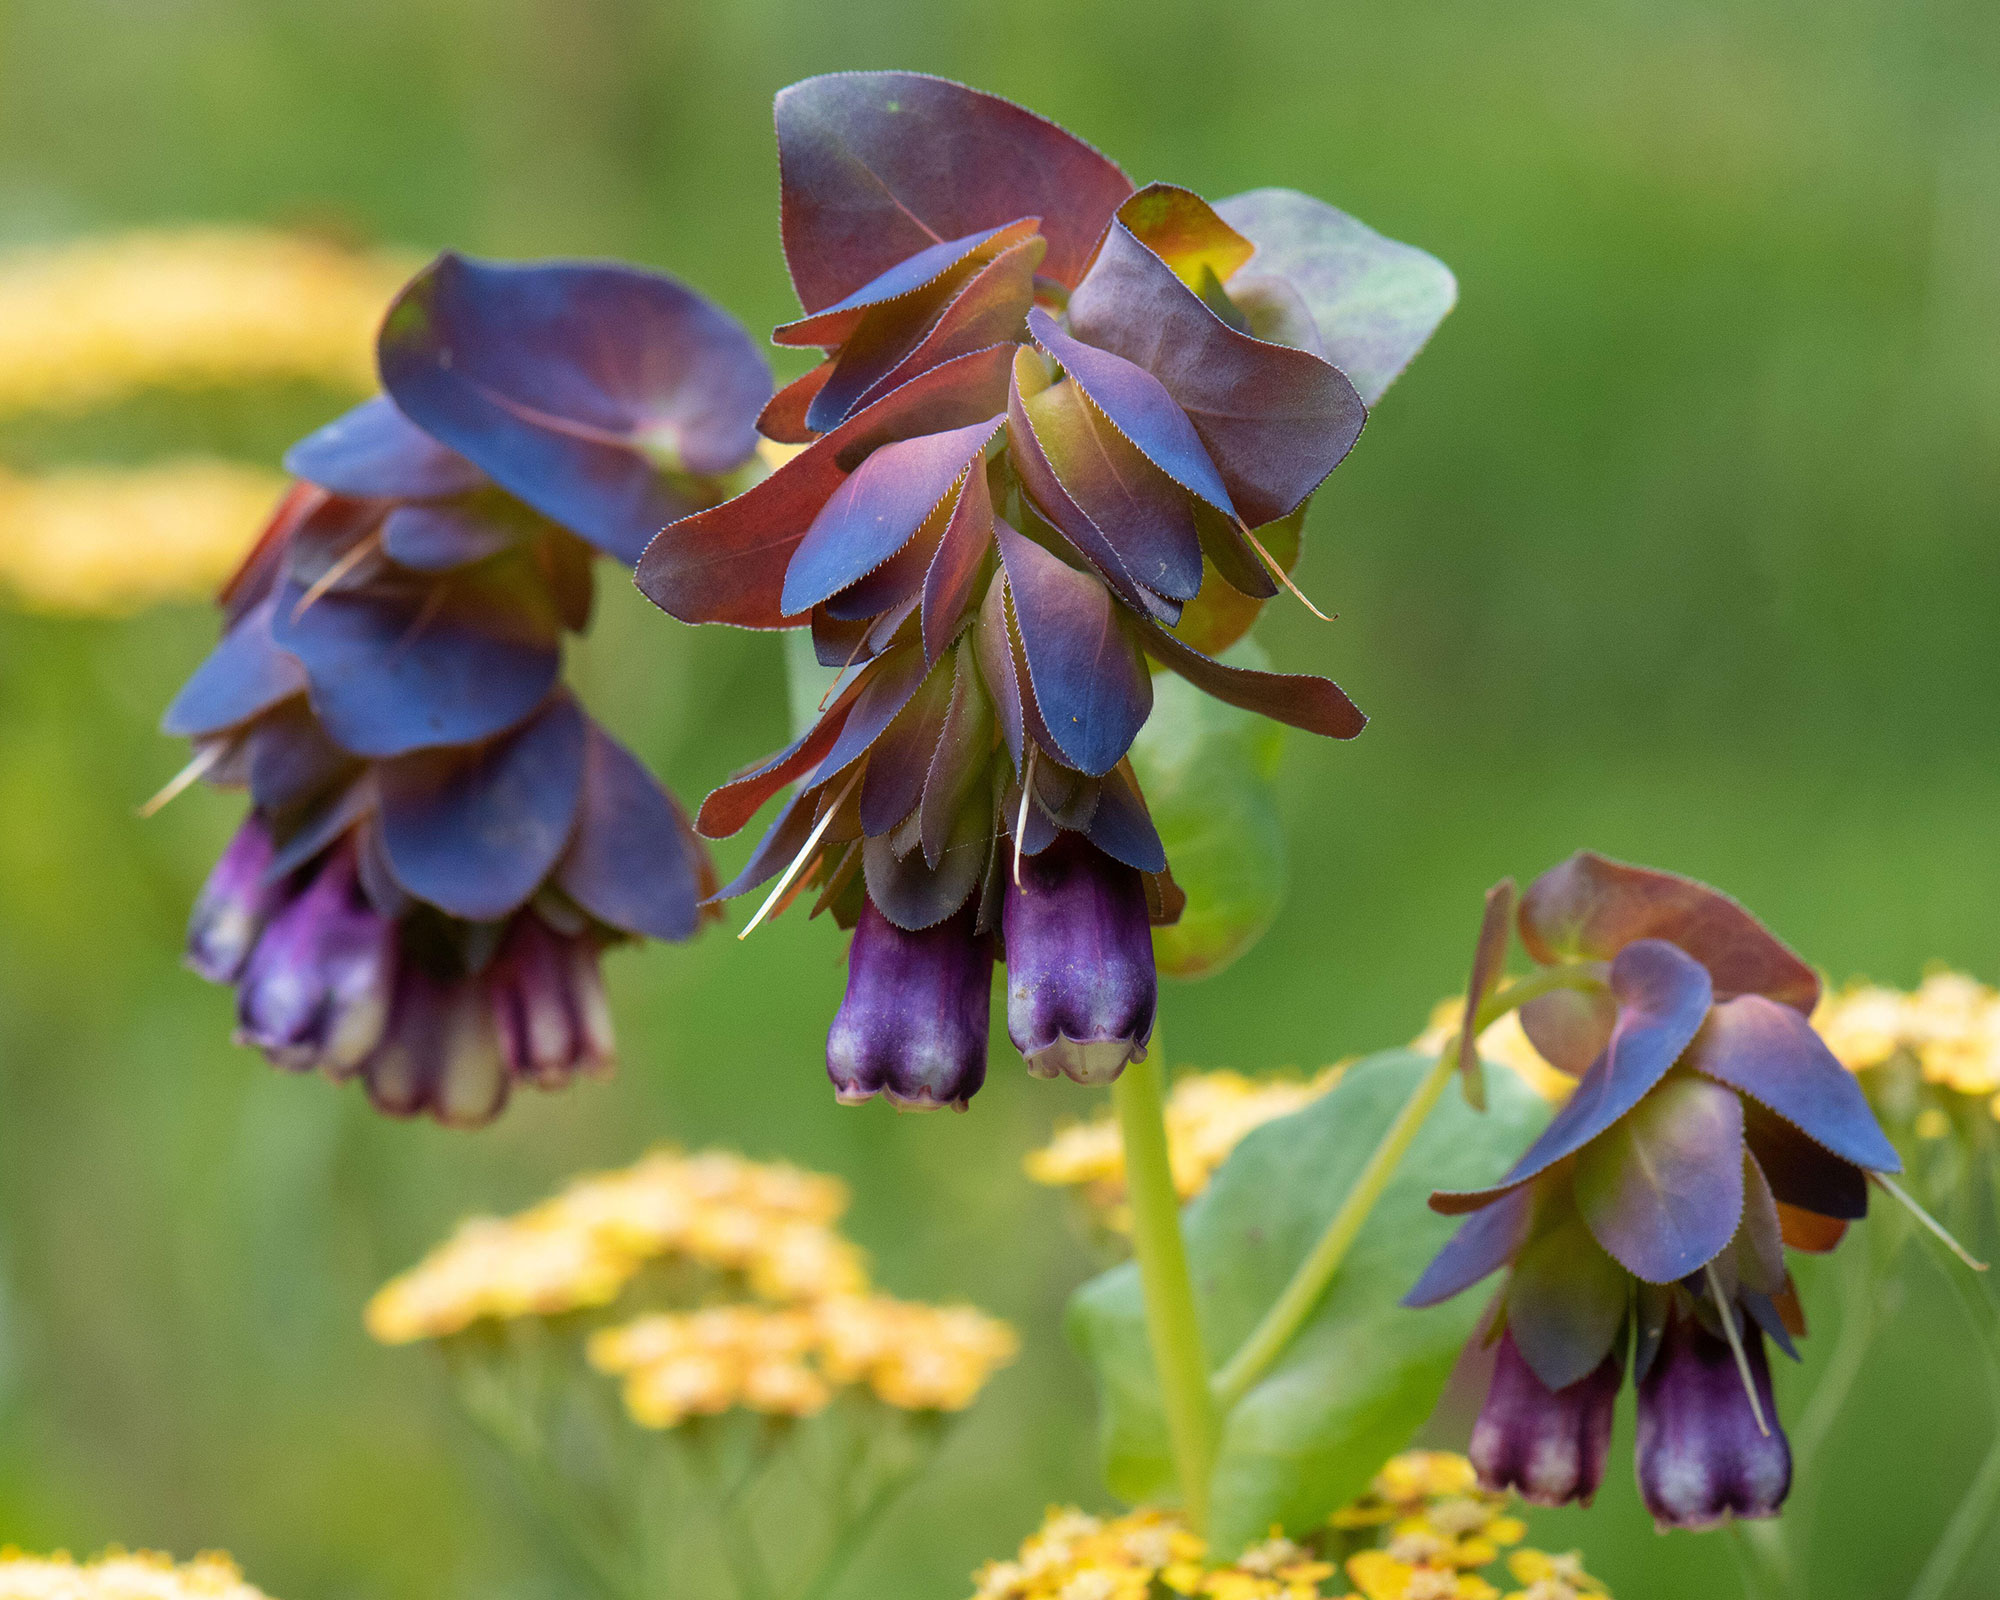
Easy-to-grow hardy annuals last for just one summer, but will self-seed with abandon for future years. One of my favorite options for what to plant in February is Cerinthe major, or honeywort. It's probably the best all-round hardy annual and a top plant for pollinators.
Its large, triangular seeds are easy to sow and the plant looks so unusual and attractive it will become the talking point of your borders. The meaty leaves are a pretty silvery green and the flowers are unlike any other; drooping purple bells held in place by wider blue-green bracts.
The seeds are robust enough to withstand the weather so you can sow them outside in February. Create a seedbed by removing stones, old roots and weeds from the soil then raking it until you have broken it up and created a fine tilth with the texture of crumble topping.
Water the area and scatter the seeds as thinly as possible. Don’t worry if they fall close together as Cerinthe seeds are large and easy to move and the seedlings can be thinned out and relocated when they are large enough.
Cover seeds with a thin layer of soil, label the seedbed and protect with a pepper spray or pest deterrent.
Top tip: Cerinthe self-seed really easily so in late summer, watch for ripening seeds and collect them to sow where you want them to grow in your garden.
10. Begonias
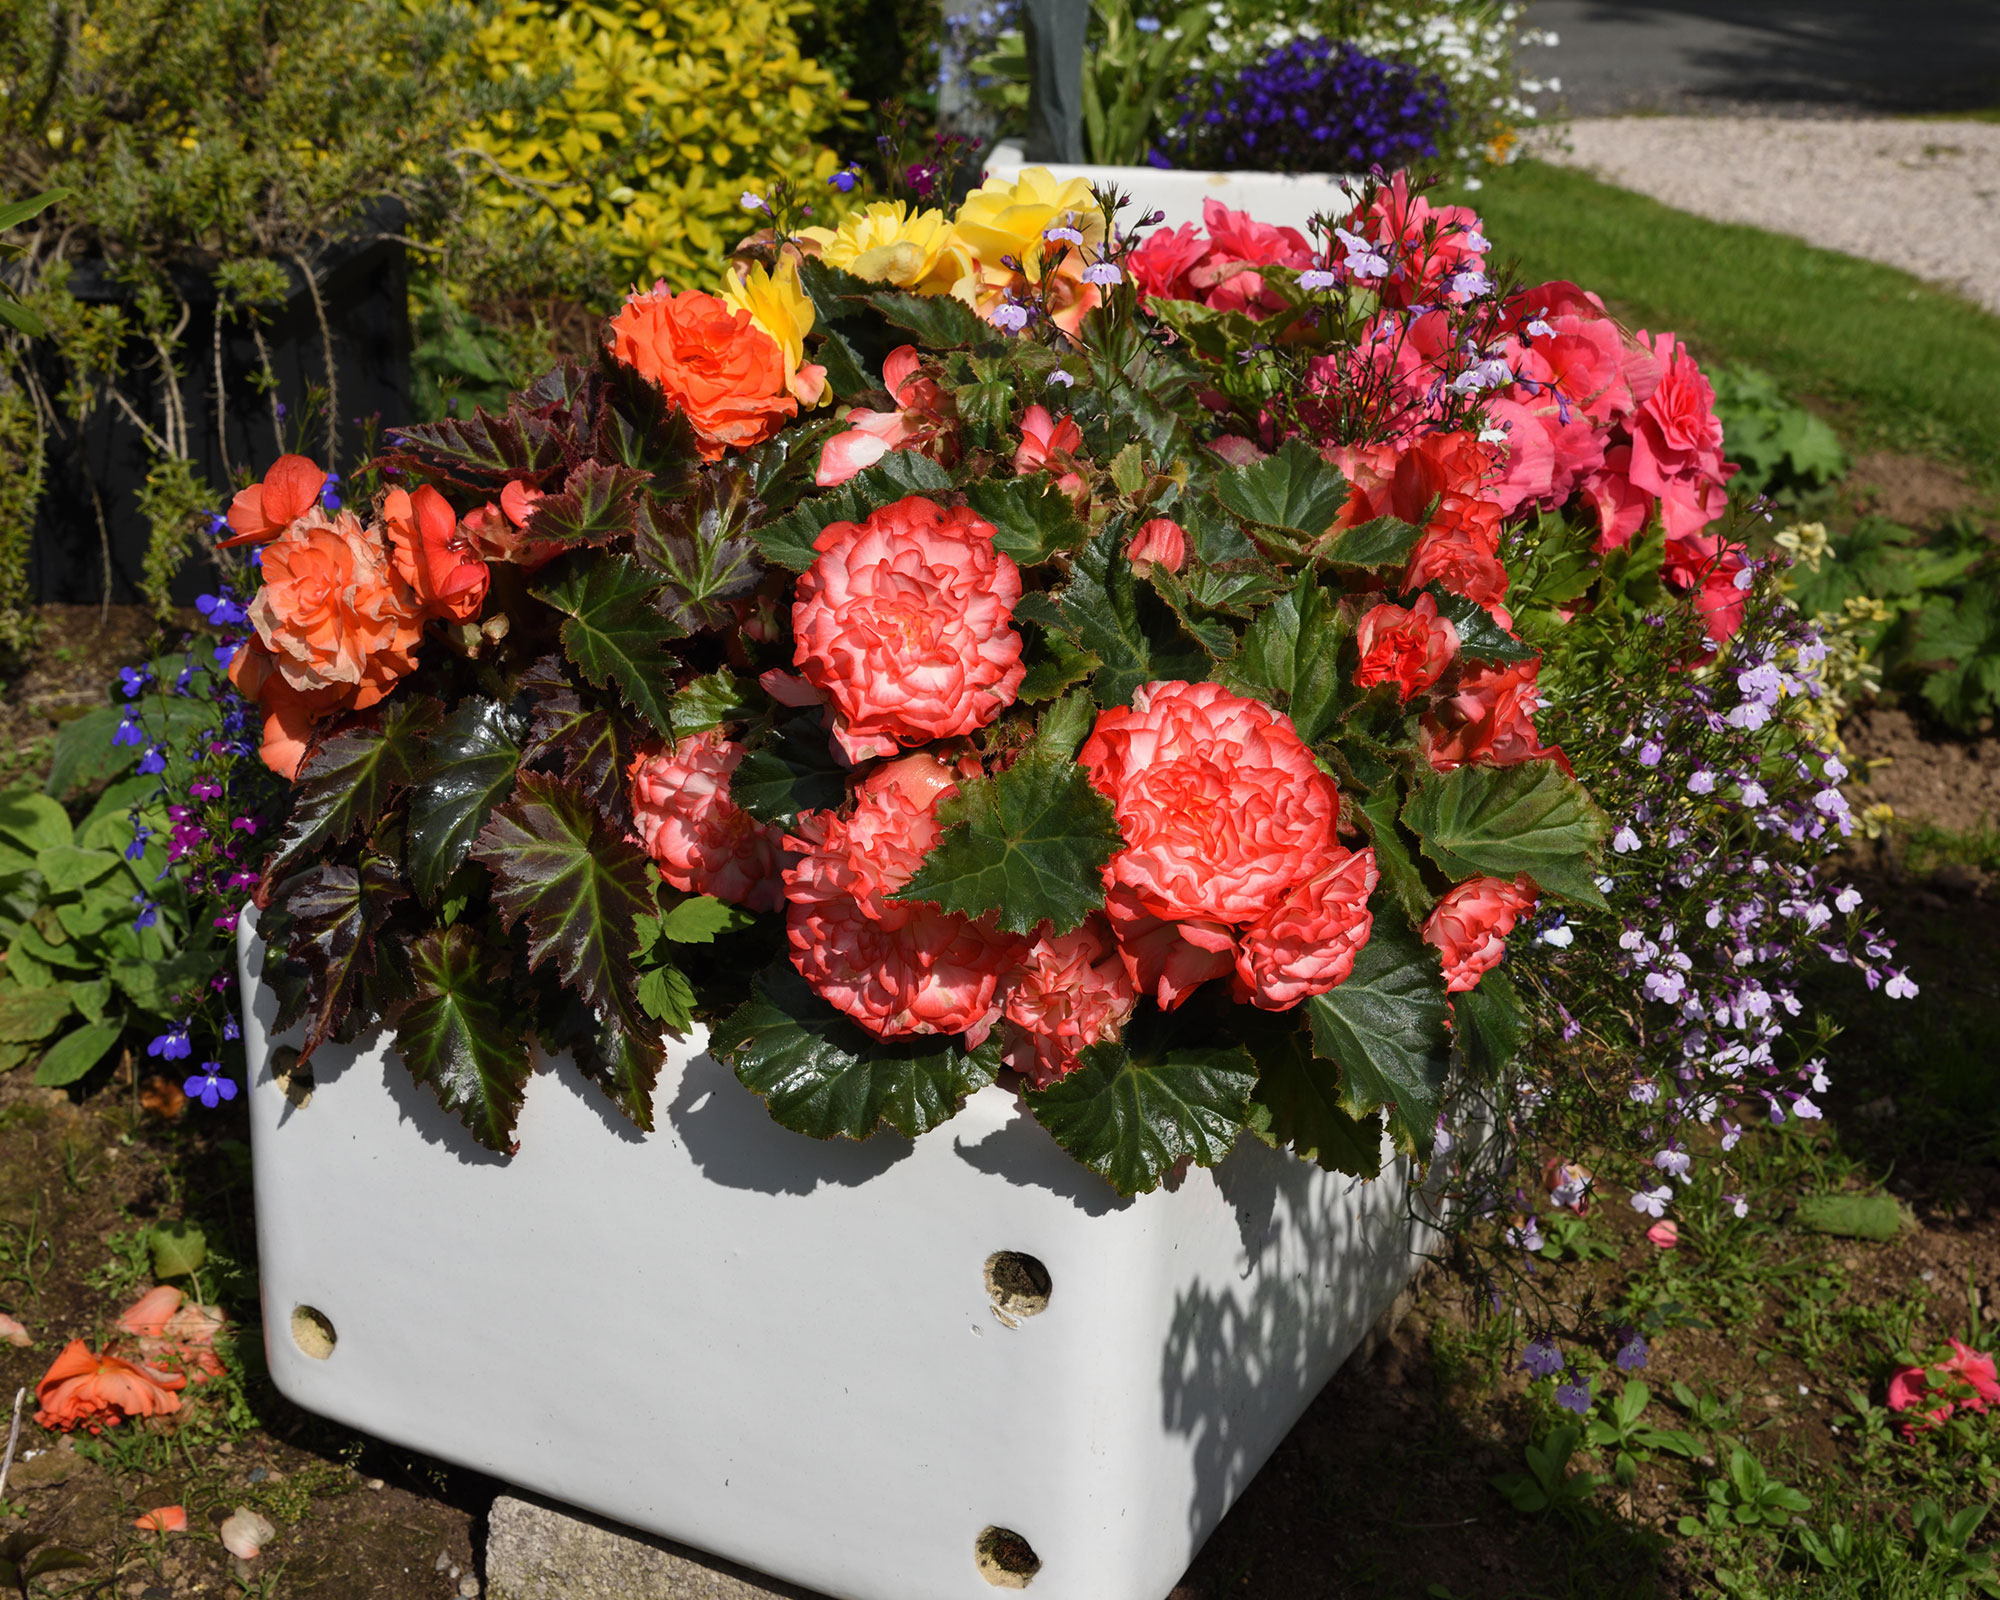
Tuberous perennial begonias are the stars of the summer’s hanging baskets, containers and borders, and as our guide on how to grow begonias shows, they are remarkably easy to cultivate.
Although they are tender and should be overwintered somewhere frost-free, they are in fact not particularly fussy and in the right situation will flower from summer right through to the first frosts.
These are the big, blowsy begonias that produce a wealth of blooms in all colors from deep pink to the palest apricot and yellow.
Some varieties are trailing, which makes them perfect for hanging baskets, window box ideas and tall containers, while others are more upright, providing mounds of color for borders and containers.
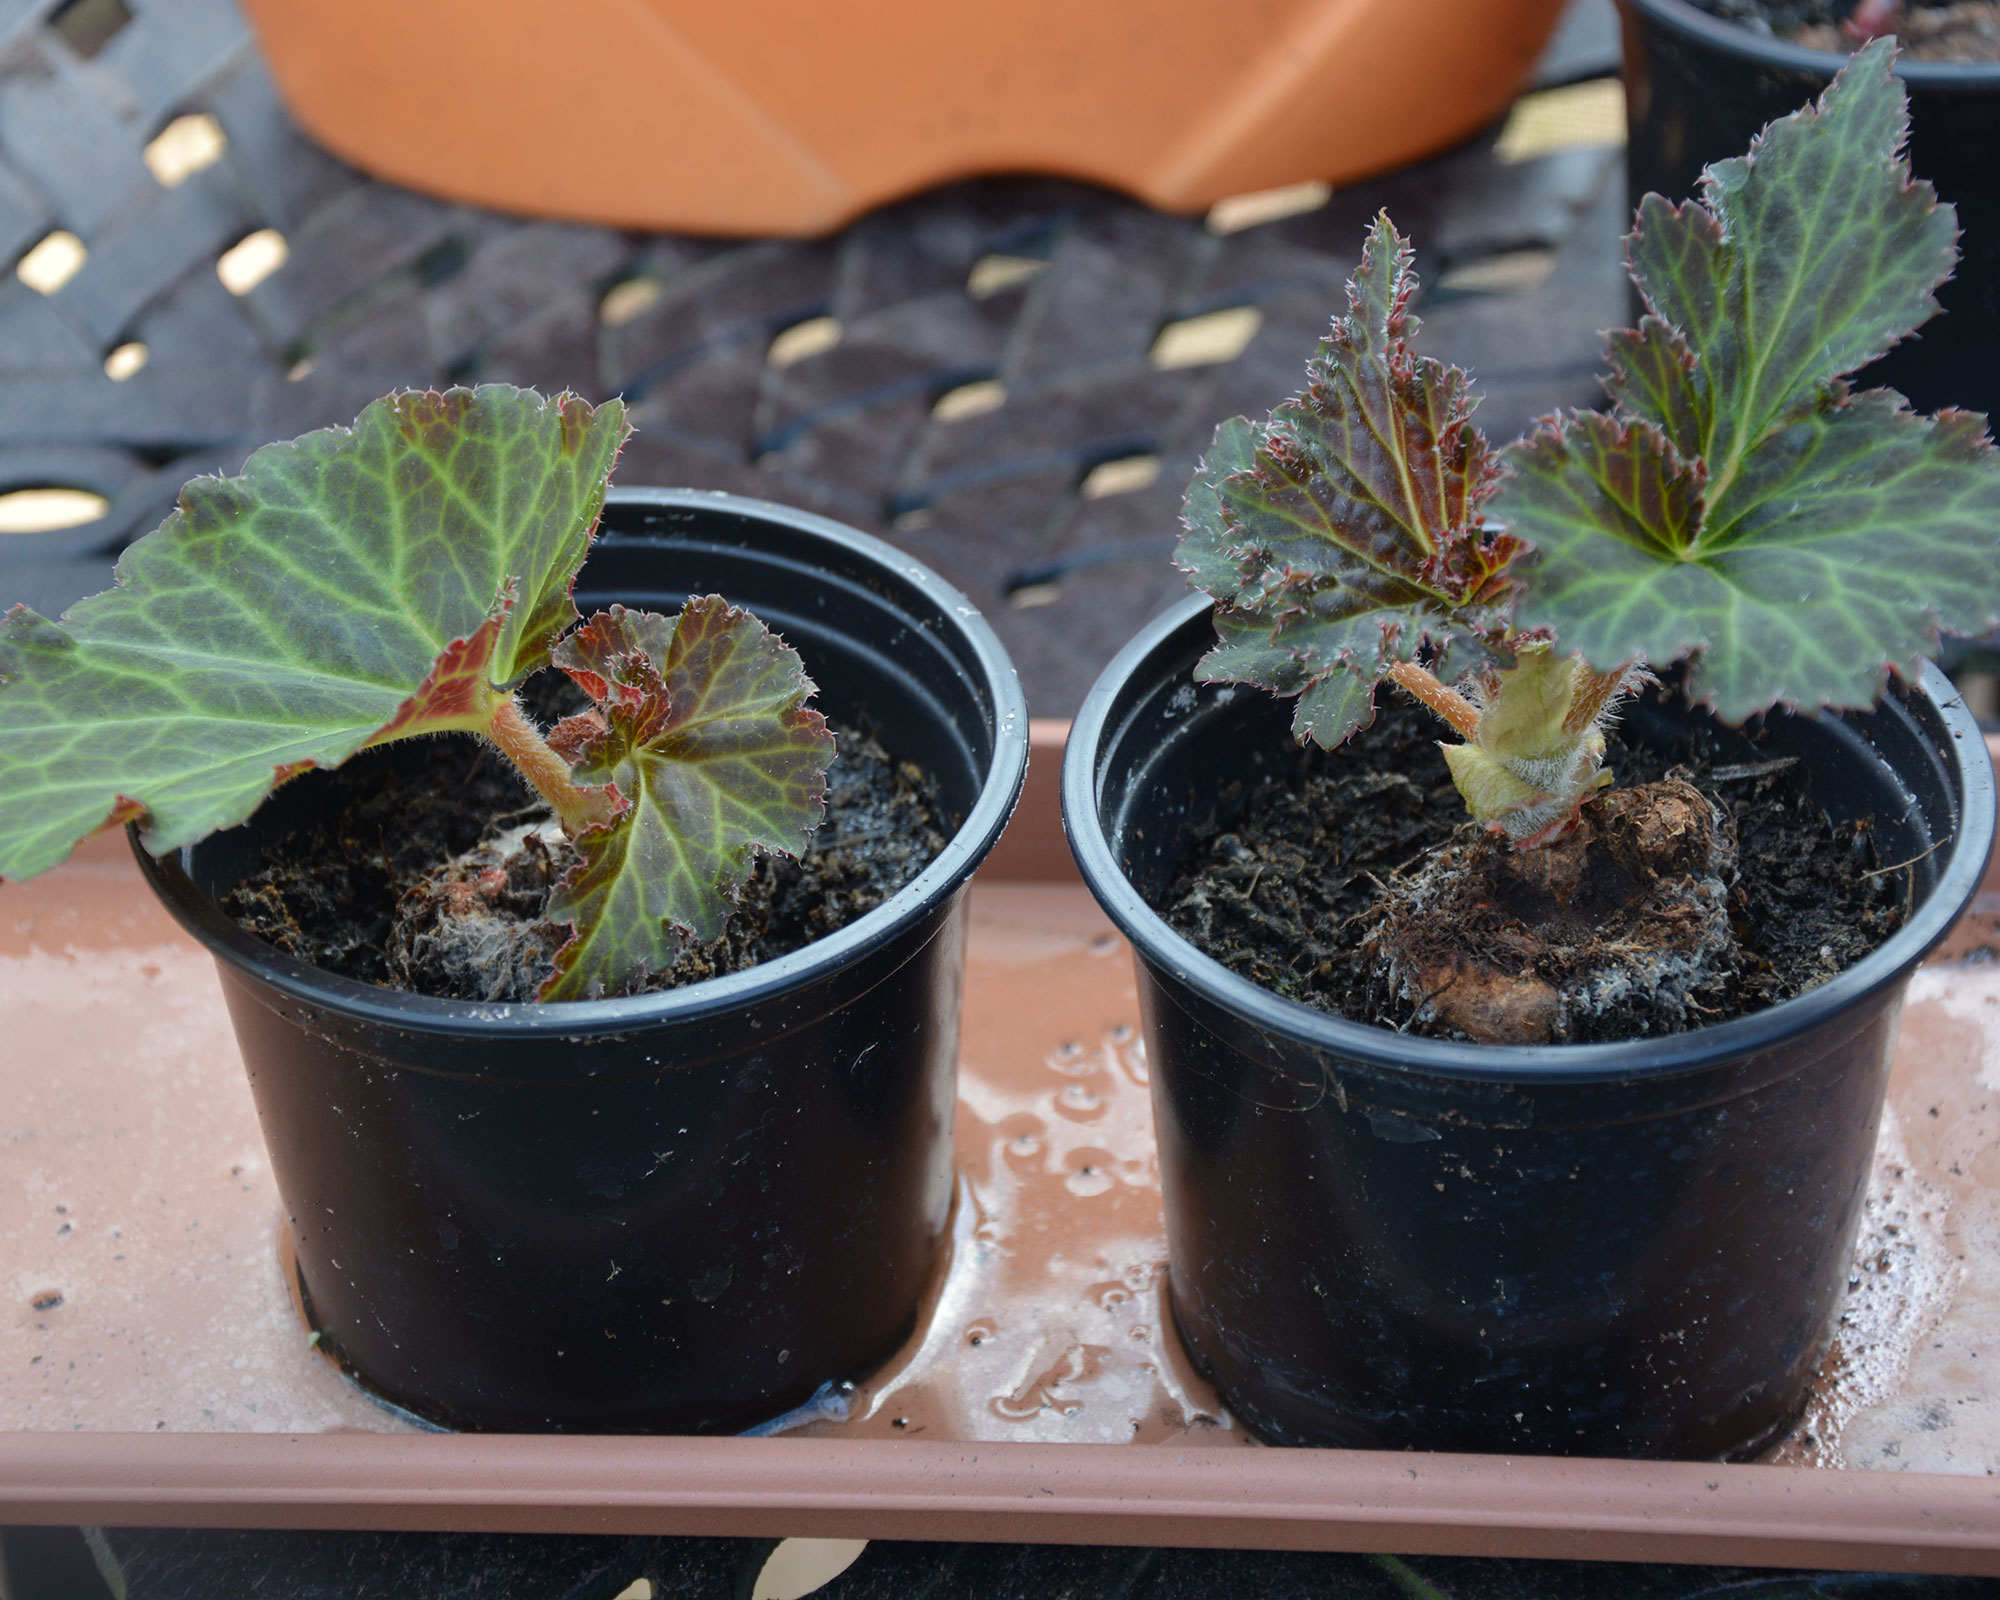
Between now and early April, fill pots with dampened multi-purpose compost and nestle the tubers into the top, their hollow sides facing upwards. You can also completely cover them with compost to encourage wider rooting.
Place them somewhere light and warm – a windowsill is ideal – and keep the compost damp. Leaf shoots will soon start to appear and the tubers can then be planted up into individual 4-5in (10-12.5cm) pots of John Innes No 2 or multi-purpose compost.
The plants can be moved on again into larger containers or hanging baskets after they have been hardened off and the threat of frost has passed.
Top tip: If your tubers produce lots of shoots, divide them with a clean, sharp knife making sure each division has at least one shoot. This will give you even more plants for your money.
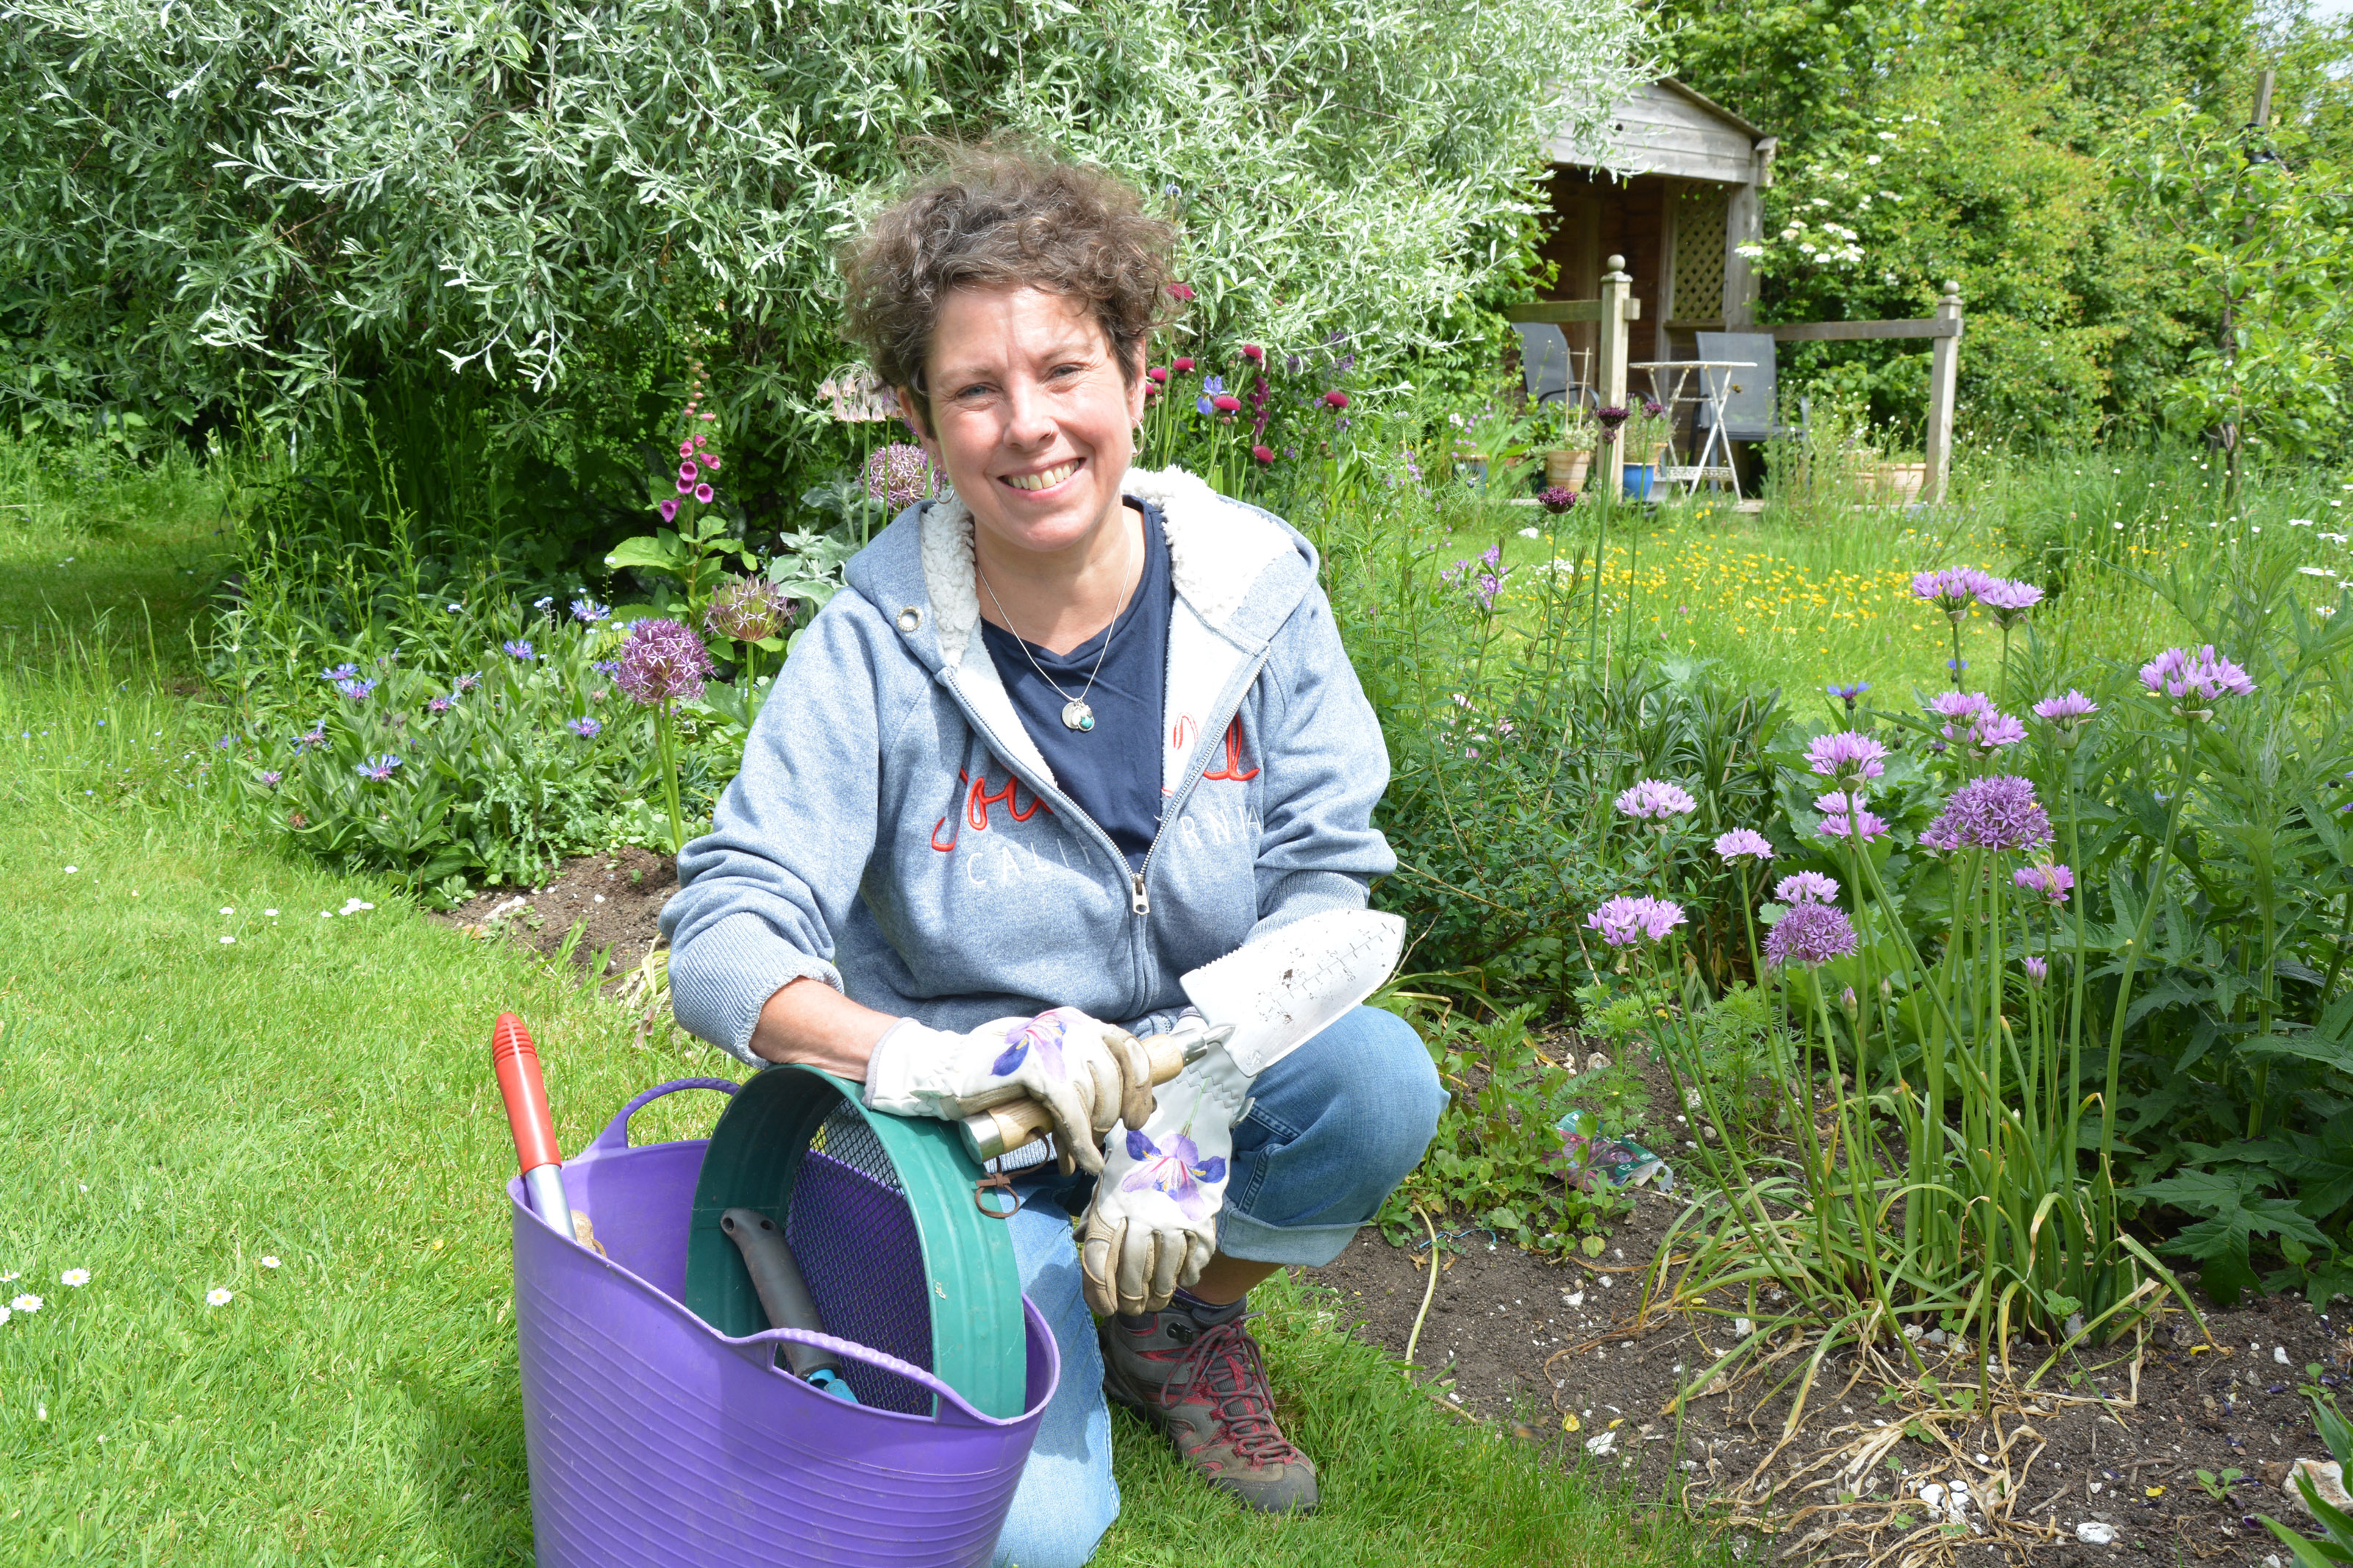
Ruth is the gardening editor of Amateur Gardening magazine and spends her working days carrying out, writing about and photographing the tasks the readers should be carrying out each week, as well as testing many of the new products that arrive on the gardening market. She is horticulturally trained, with a qualification from the Royal Horticultural Society.
