10 shade sail mistakes: experts reveal the most common pitfalls
These experts share the most common shade sail mistakes to watch out for when installing these much-loved outdoor living accessories
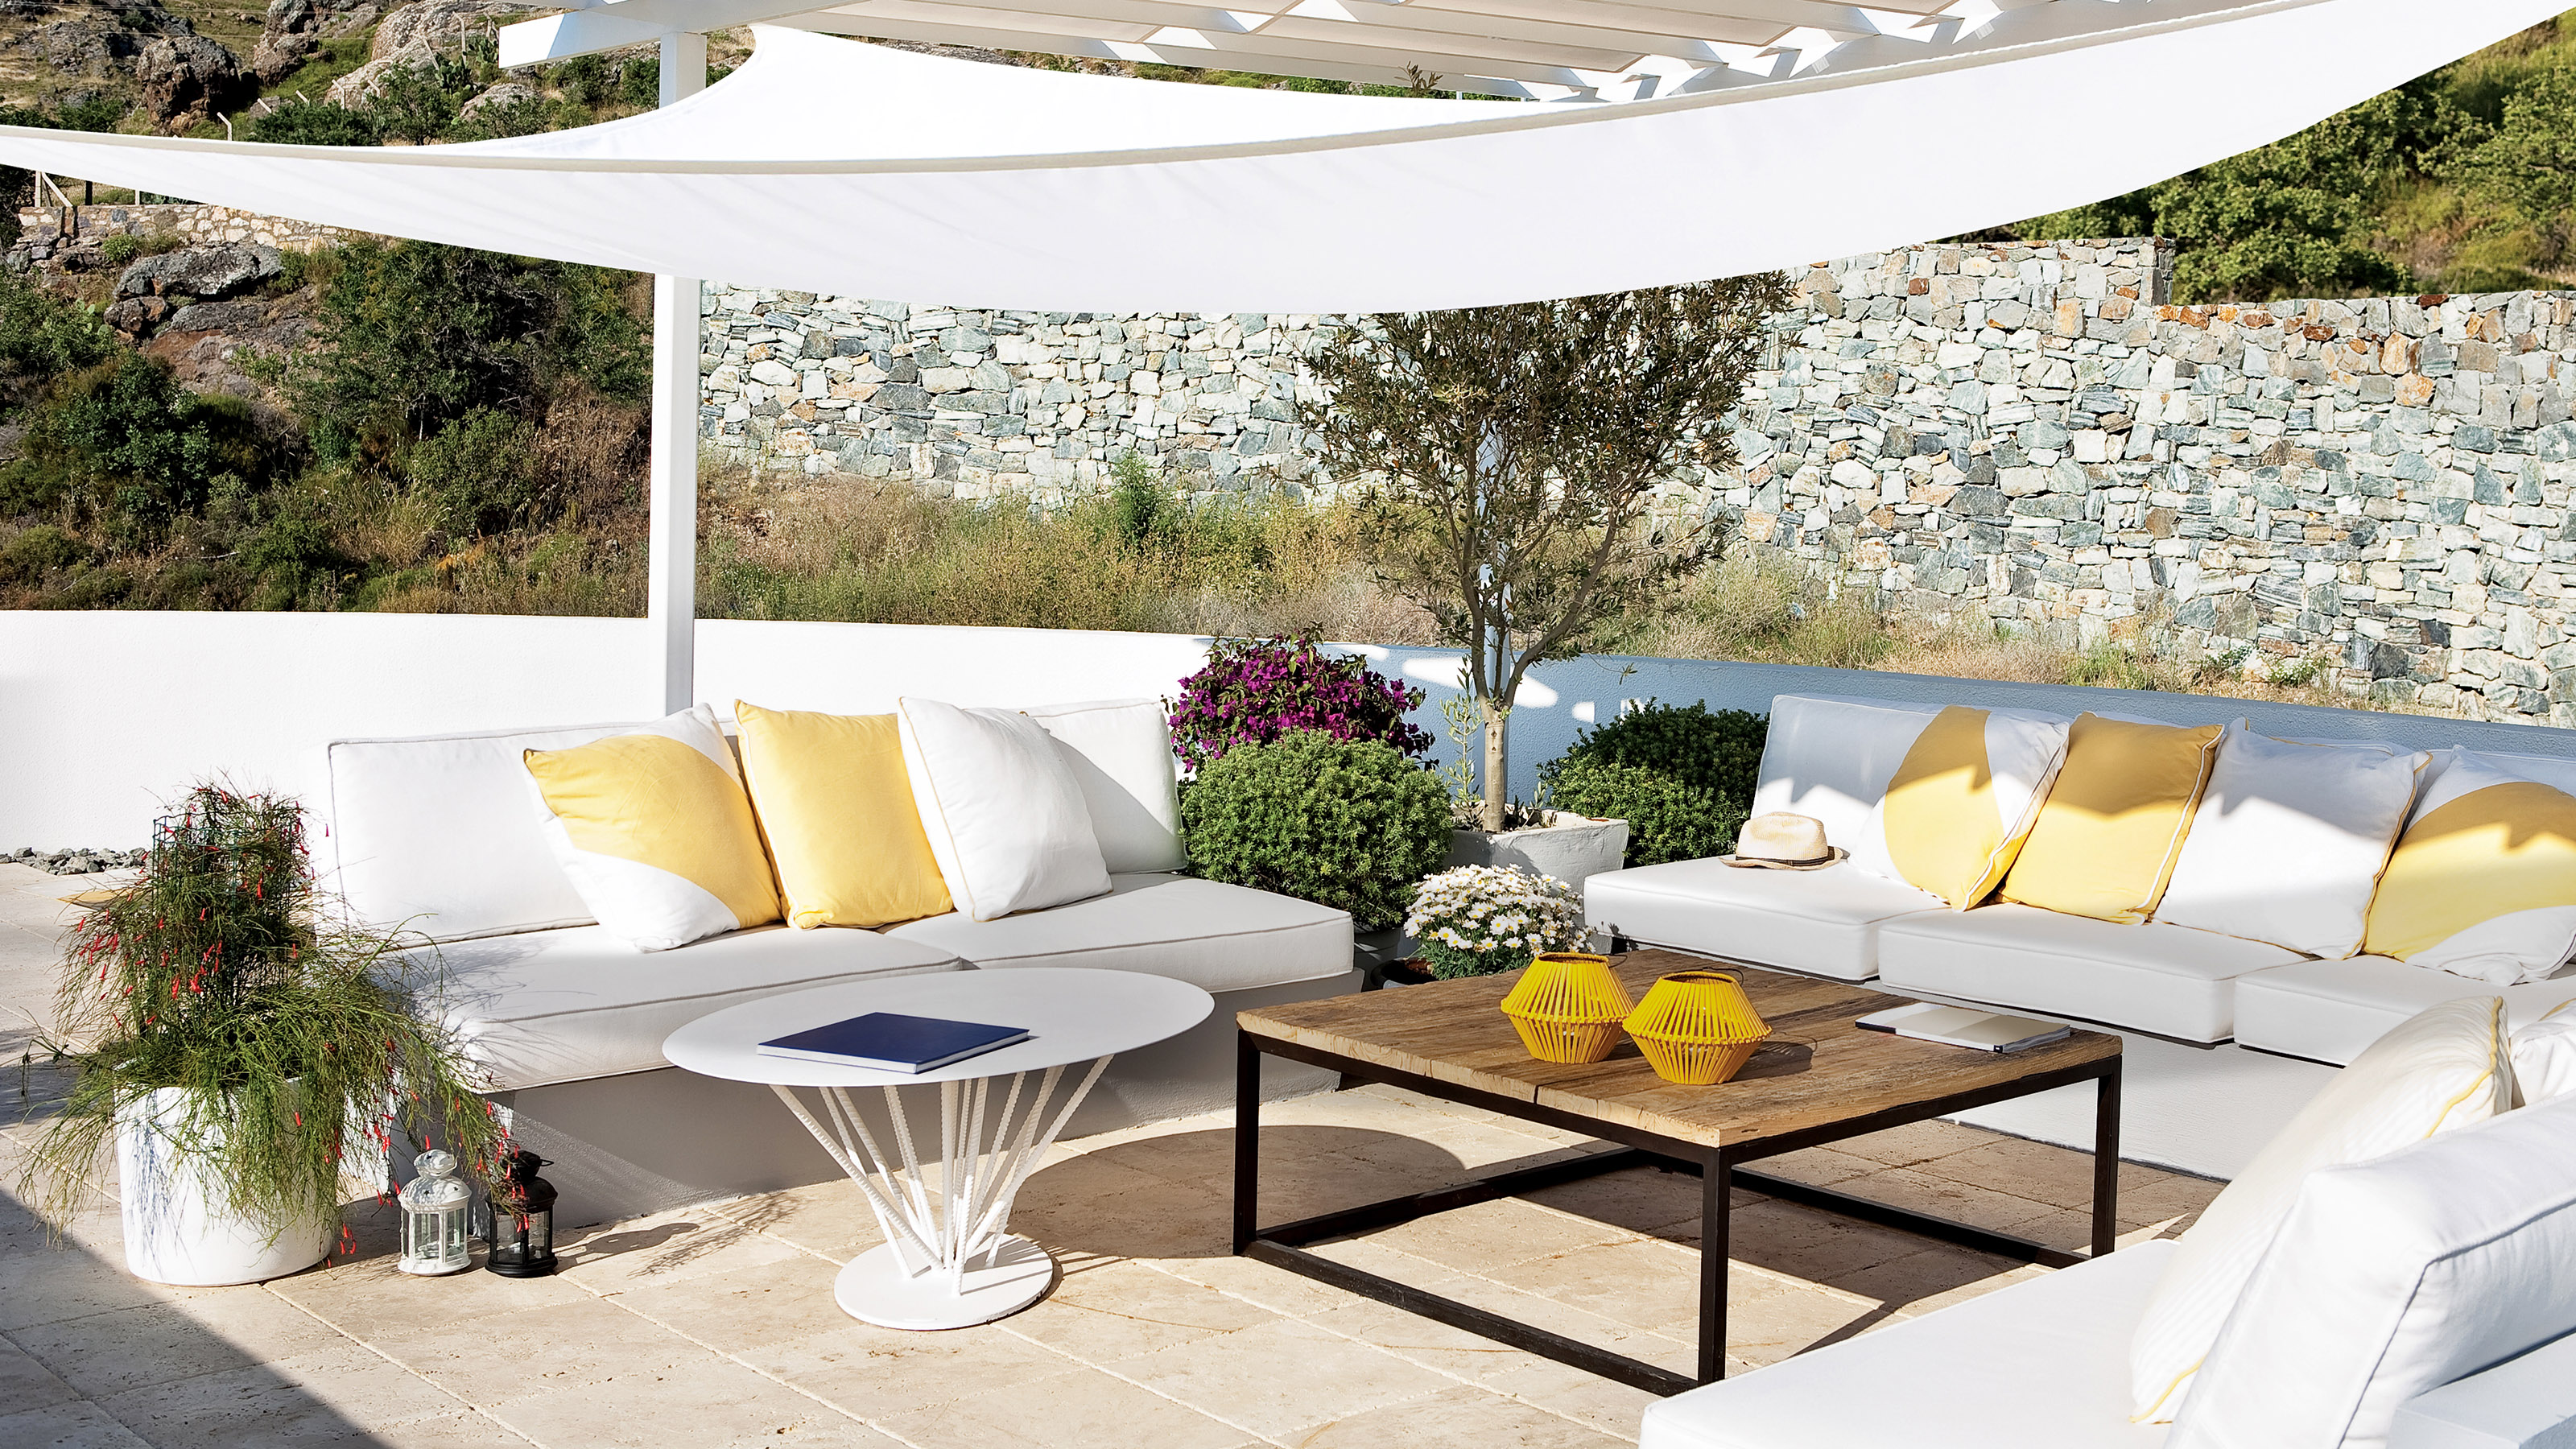

If you're considering adding this cool accessory to your backyard, be sure you know the shade sail mistakes to look out for before you invest in one. Don't wait until you get yours home before discovering that the size or shape you've chosen isn't optimum for your space.
Equally, you don't want to spend time picking out the perfect model for your needs, only to fall into the common pitfalls of poor installation! Putting your shade sails up incorrectly can lead to all sorts of issues from sagging sails to rainwater disasters.
Thankfully, these experts have shared the most important shade sail mistakes to steer clear of so it will be smooth sailing when creating shade ideas for your patio.
Stay cool and composed by avoiding these shade sail mistakes
Shade sails ideas are a brilliant option for any backyard, and are less expensive than awnings and pergolas for providing much-needed shade during hot spells. They also have the added benefit of not being a permanent garden fixture, so they're ideal for rental properties as they can be taken down and re-homed quickly.
Despite their many plus points, there are still some shade sail mistakes that you need to know about before making a purchase.
1. Investing in something too small
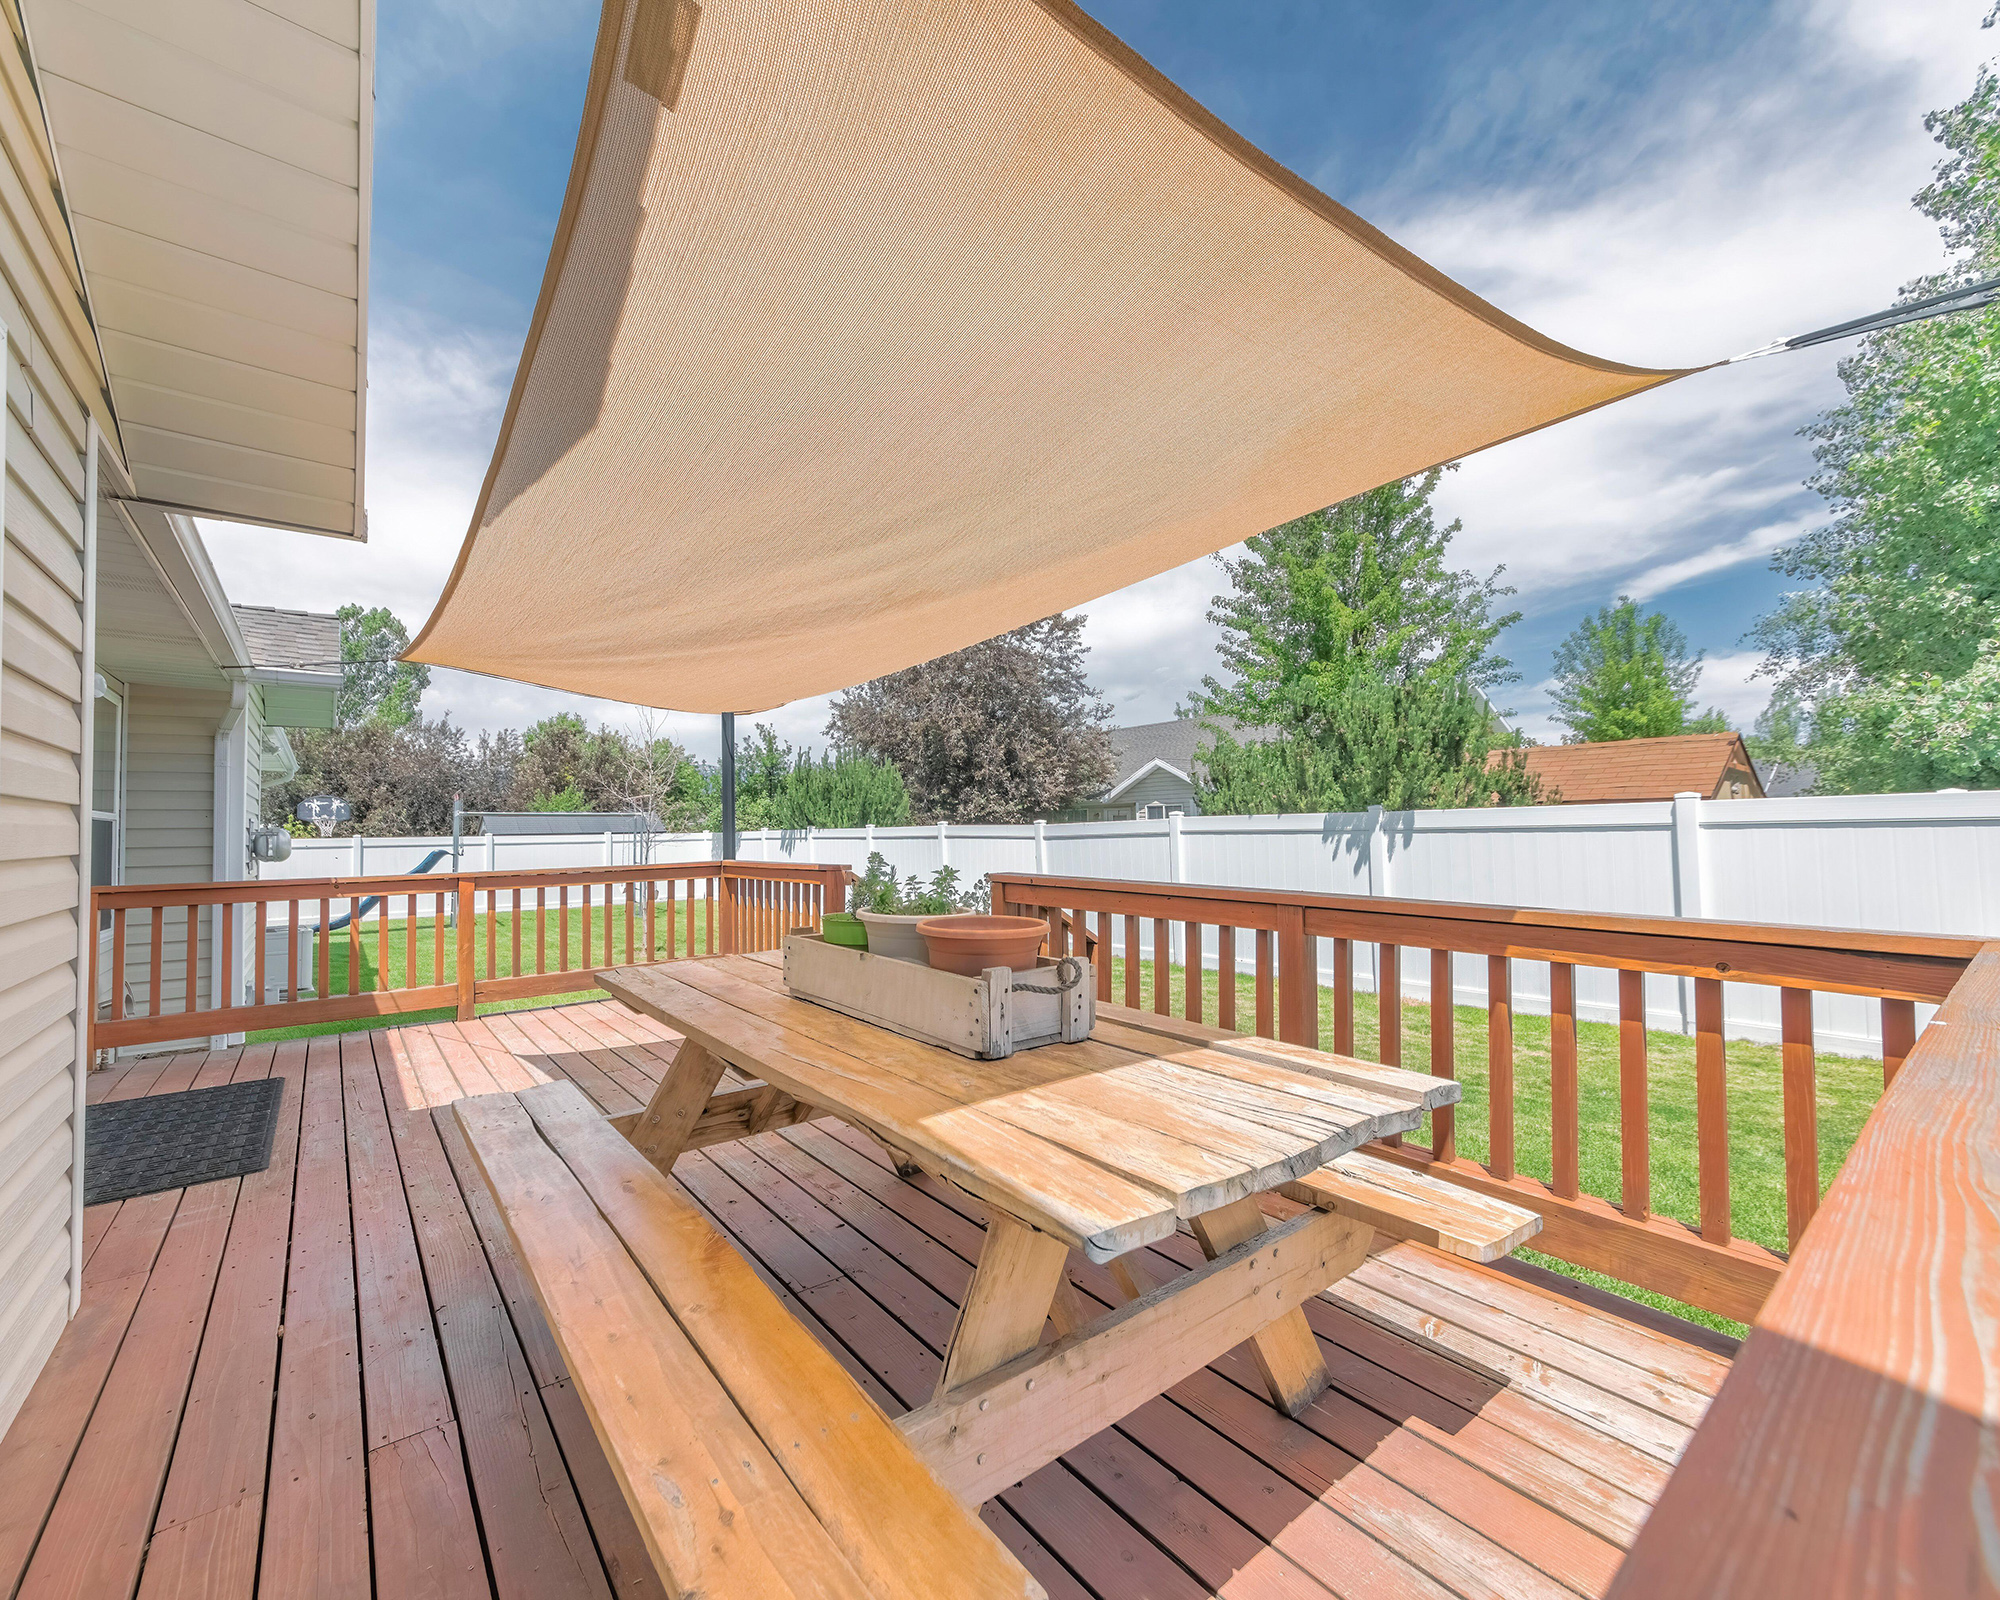
Ensure you measure up properly to get the best size for your space
Whether you're new to shade sails or not, it can be hard to know exactly what size to go for. Often we are looking for a smaller deck shade idea for a certain area rather than something to shade the entire garden.
You will want to measure up the desired area itself, as well as the distance between the fittings and your posts, to ensure that you will be able to attach your shade sail safely when it arrives. The material of your shade sail should begin a foot from your anchoring point.
Chris Bonnett, founder of Gardening Express advises: 'Don’t choose a shade sail that just fits the area you need to cover. Always opt for something slightly bigger, otherwise it will be too small to offer good coverage.'
2. Installing your shade sail too flat

'Shade sails are a great option to create some respite from the heat in a sunny garden. There are things to be aware of though, including the shape and how you fix it in place,' says Chris.
And making your shade sail completely flat is a big no-no according to Chris. Think about it, you've never seen awning ideas which are flat, and for good reason. 'If you have different heights, it allows the wind to go through and will avoid the build up of rainwater,' he says.
Fiona Jenkins, Gardening Expert at My Job Quote, further adds: 'Avoid positioning it flat with a dip in the middle as it will collect rainwater and dirt. To maximize the visual appeal and reduce the pressure from gusts of wind, use a mix of high and low fixing points. Check the sun’s direction during the hottest part of the day, so you can find the best angle for your shade sail.'
3. Using weak fixing points
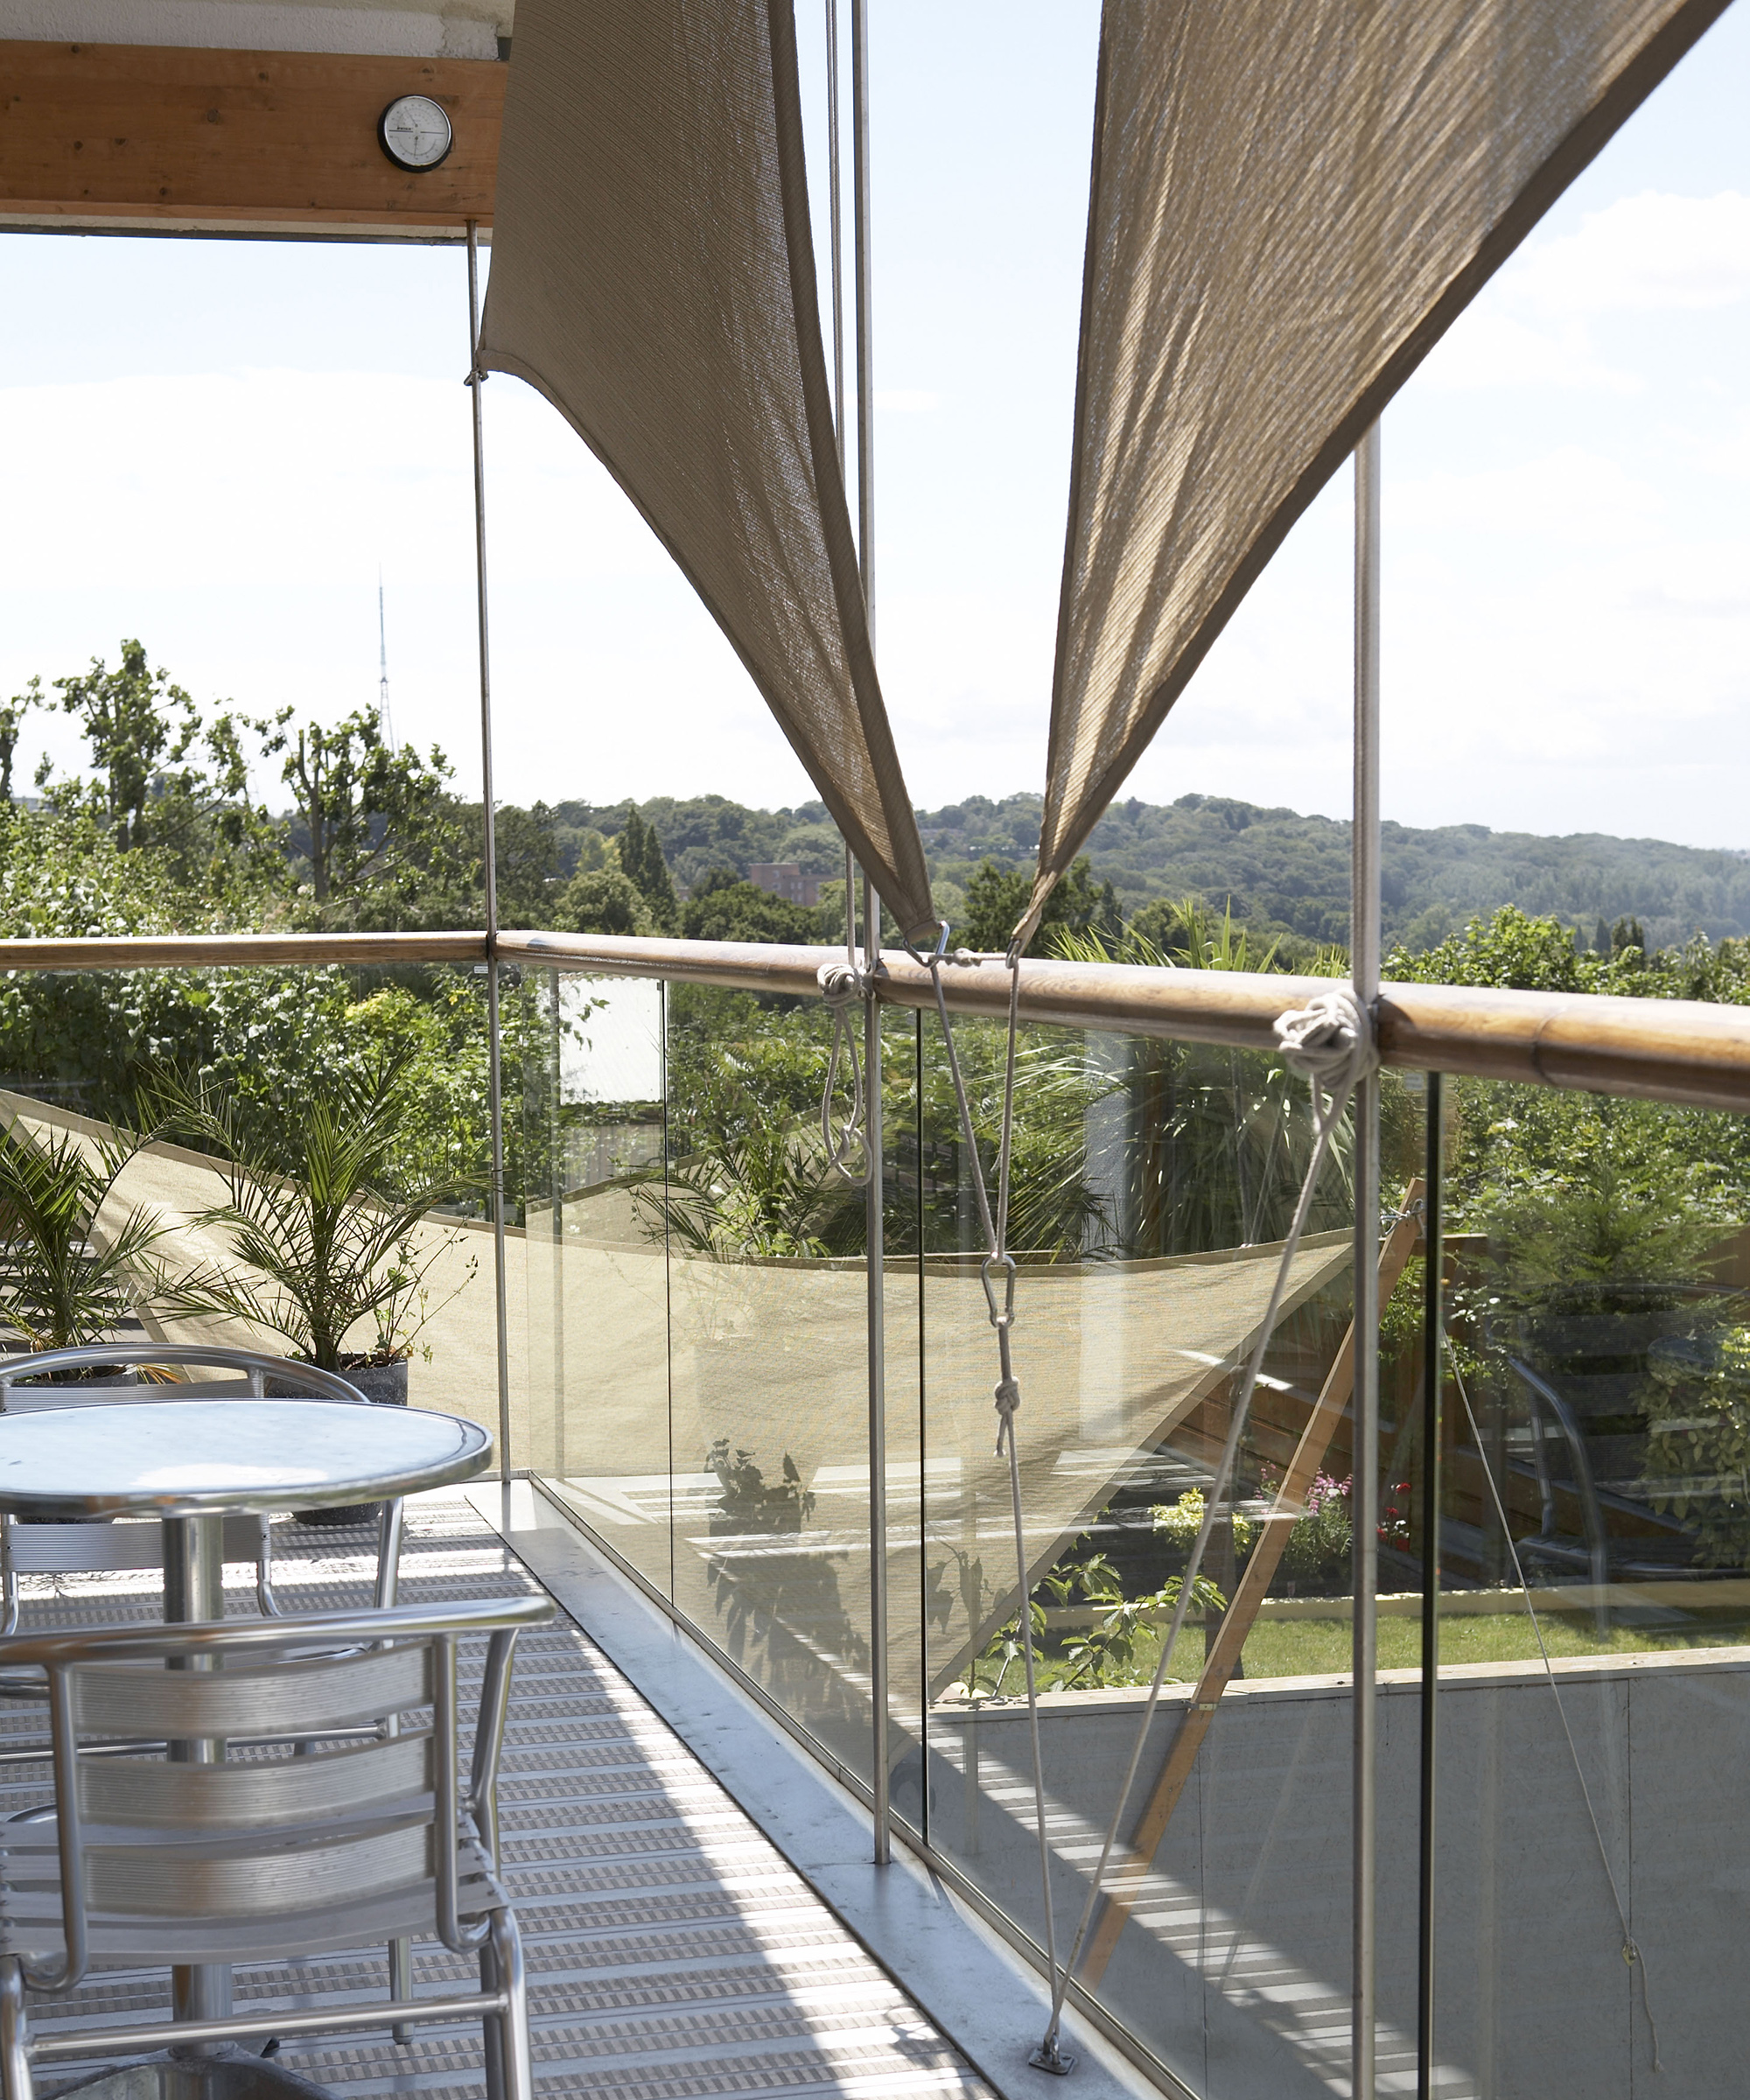
If you want your shade sail to last, use sturdy fixtures
'A poorly mounted sail will lead to sagging and potential problems. Ensure the posts are strong and buried deep enough to manage the weight,' advises Chris Bonnet. You could use existing fixed structures like a fence post or a sturdy pergola as one of the anchoring points for your shade sail.
Fiona Jenkins tells us that when it comes to fixings for your shade sail, not all are suitable for long term, outdoor use. 'Choose heavy-duty and weatherproof fixings made from galvanized or stainless steel. Hooks are easiest for taking the sail up and down regularly, whereas carabiners will keep it more secure in windy weather,' she says.
4. Buying a shade sail with no UV protection
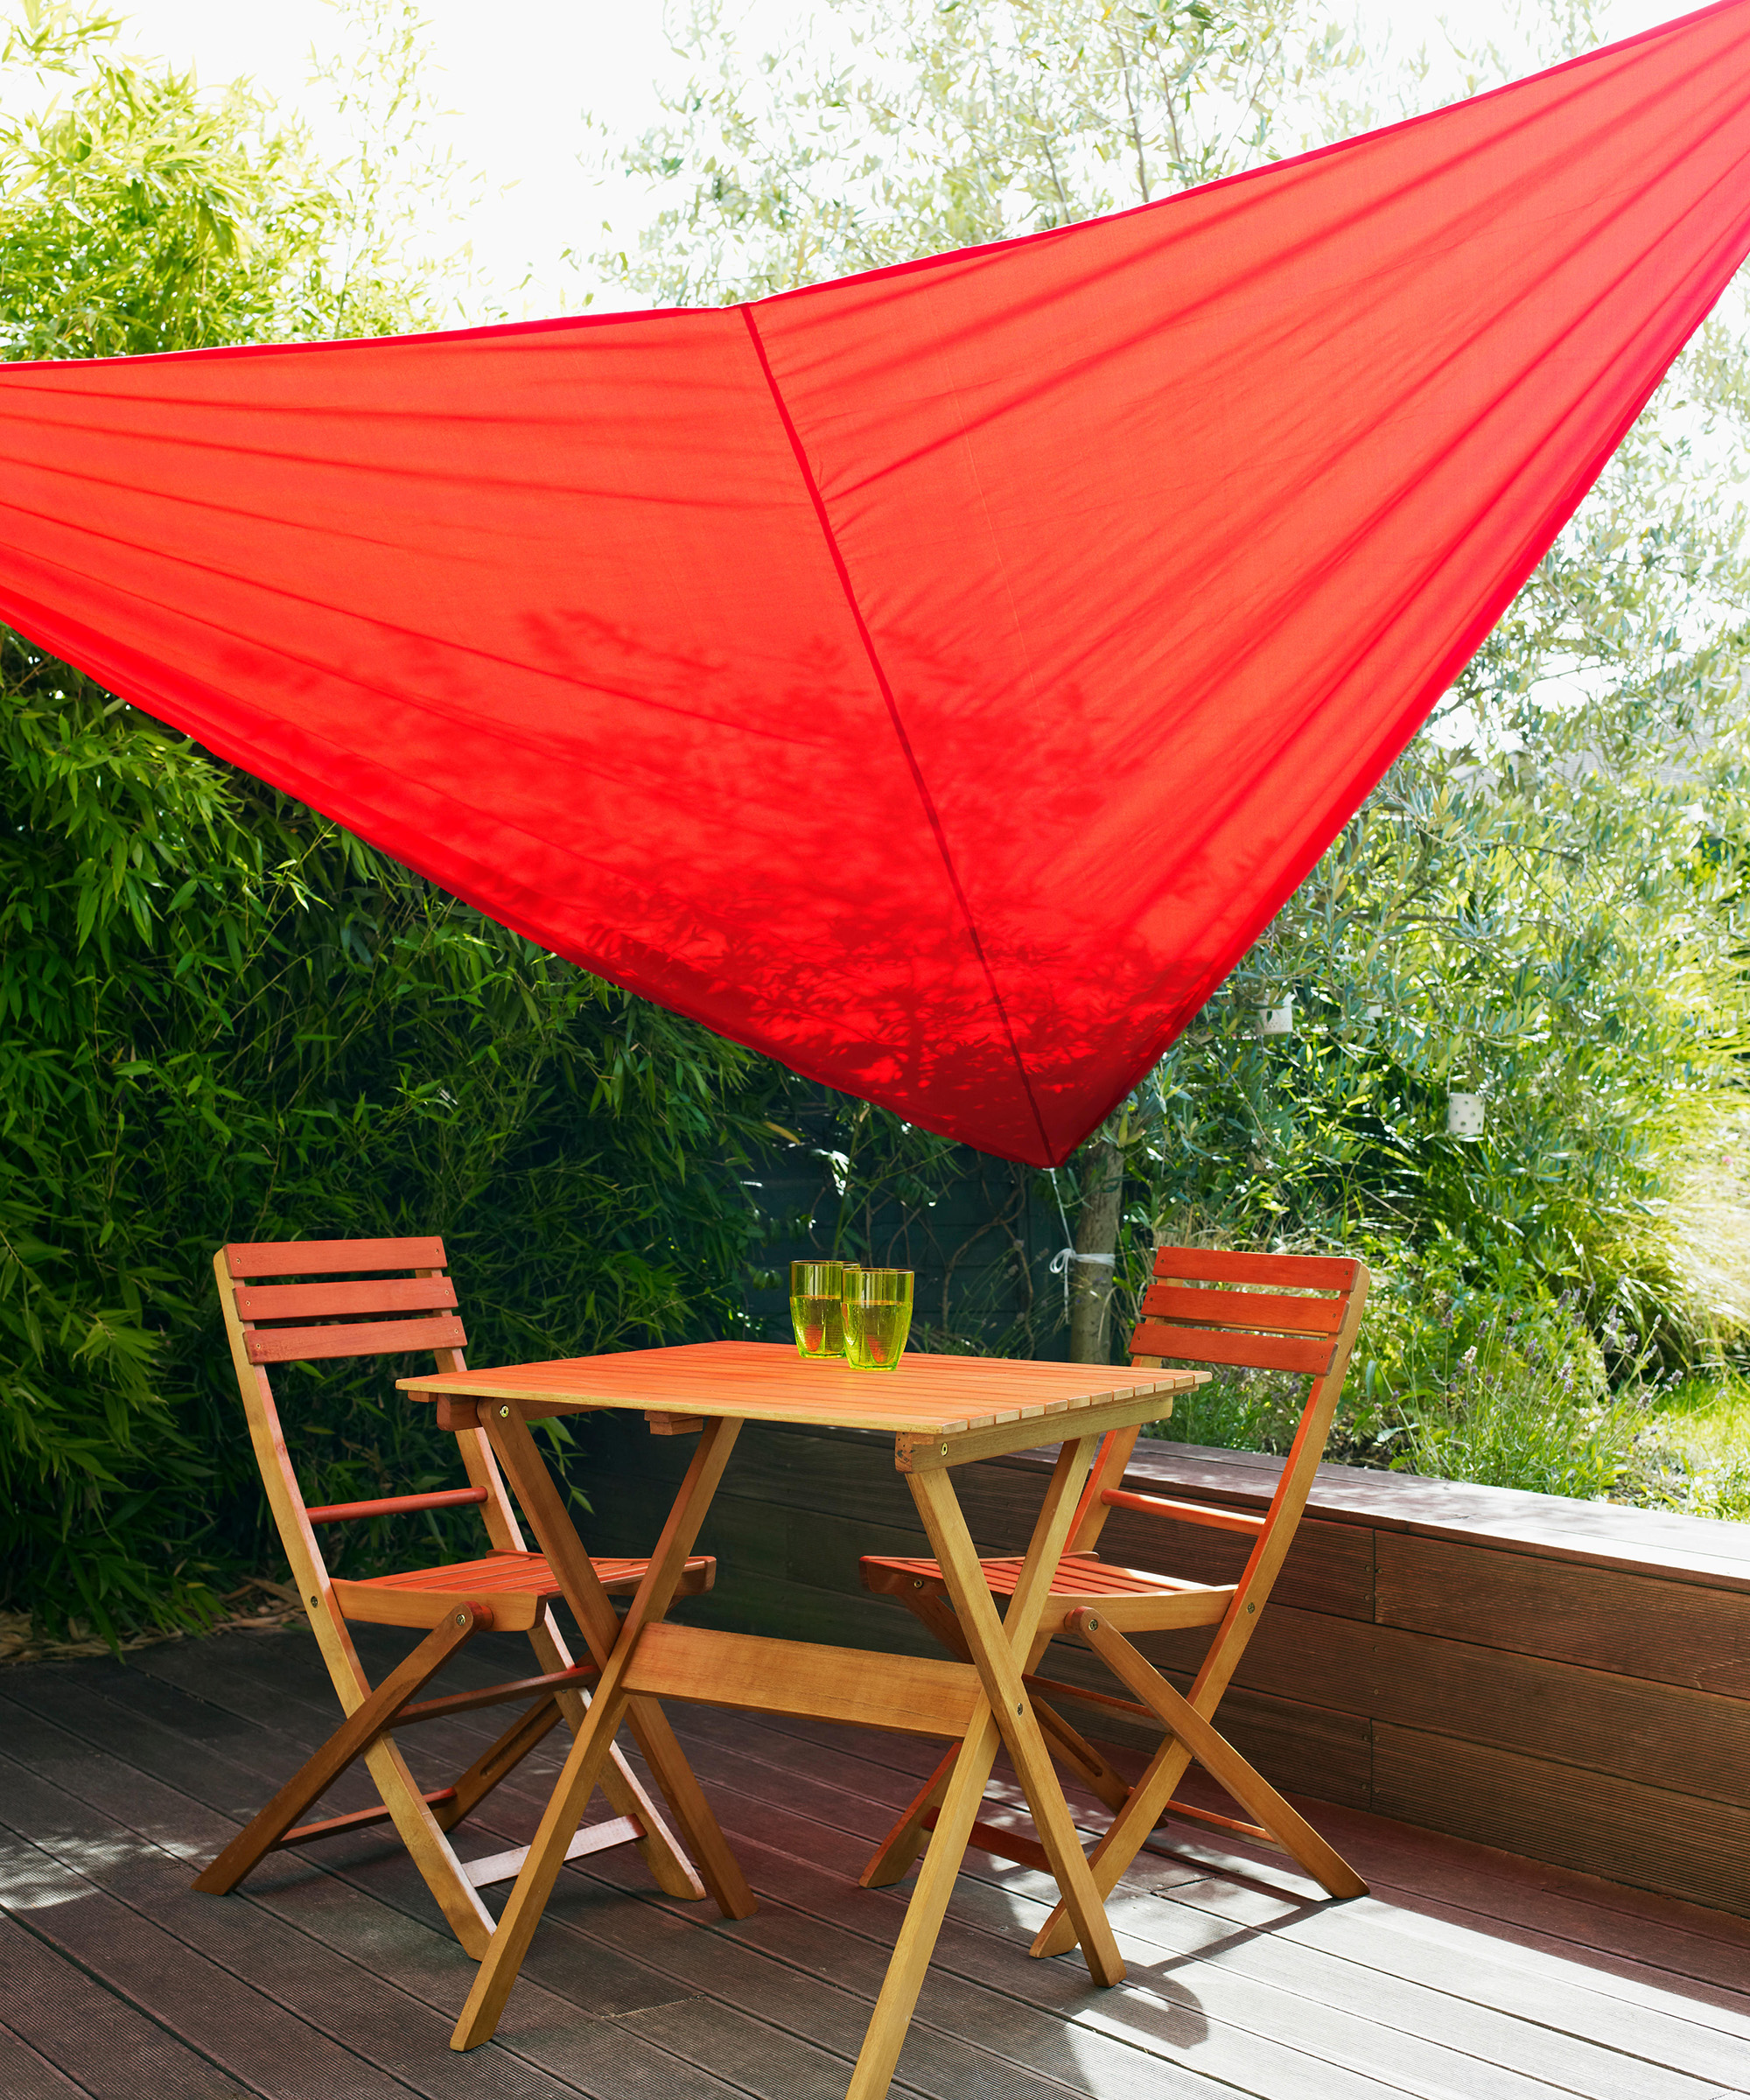
The darker the shade sail the greater the UV protection
Knowing what color canopy is the coolest doesn't necessarily answer the question of what will give you the most sun protection. A common shade sail mistake is not choosing an option with sun protection when it's vitally needed.
Those of us with sun-sensitive skin will have doubtless fallen into the trap of thinking that because we are sitting in shade, we won't burn. But when the sun rays are high, and if the shade doesn't offer UV protection, then disaster can strike.
So if sun safety is an important factor for you, choose a darker fabric for your shade sail or a model which has been approved by a reputable organization for UV protection.
5. Trying to cover a large area with a single sail shade
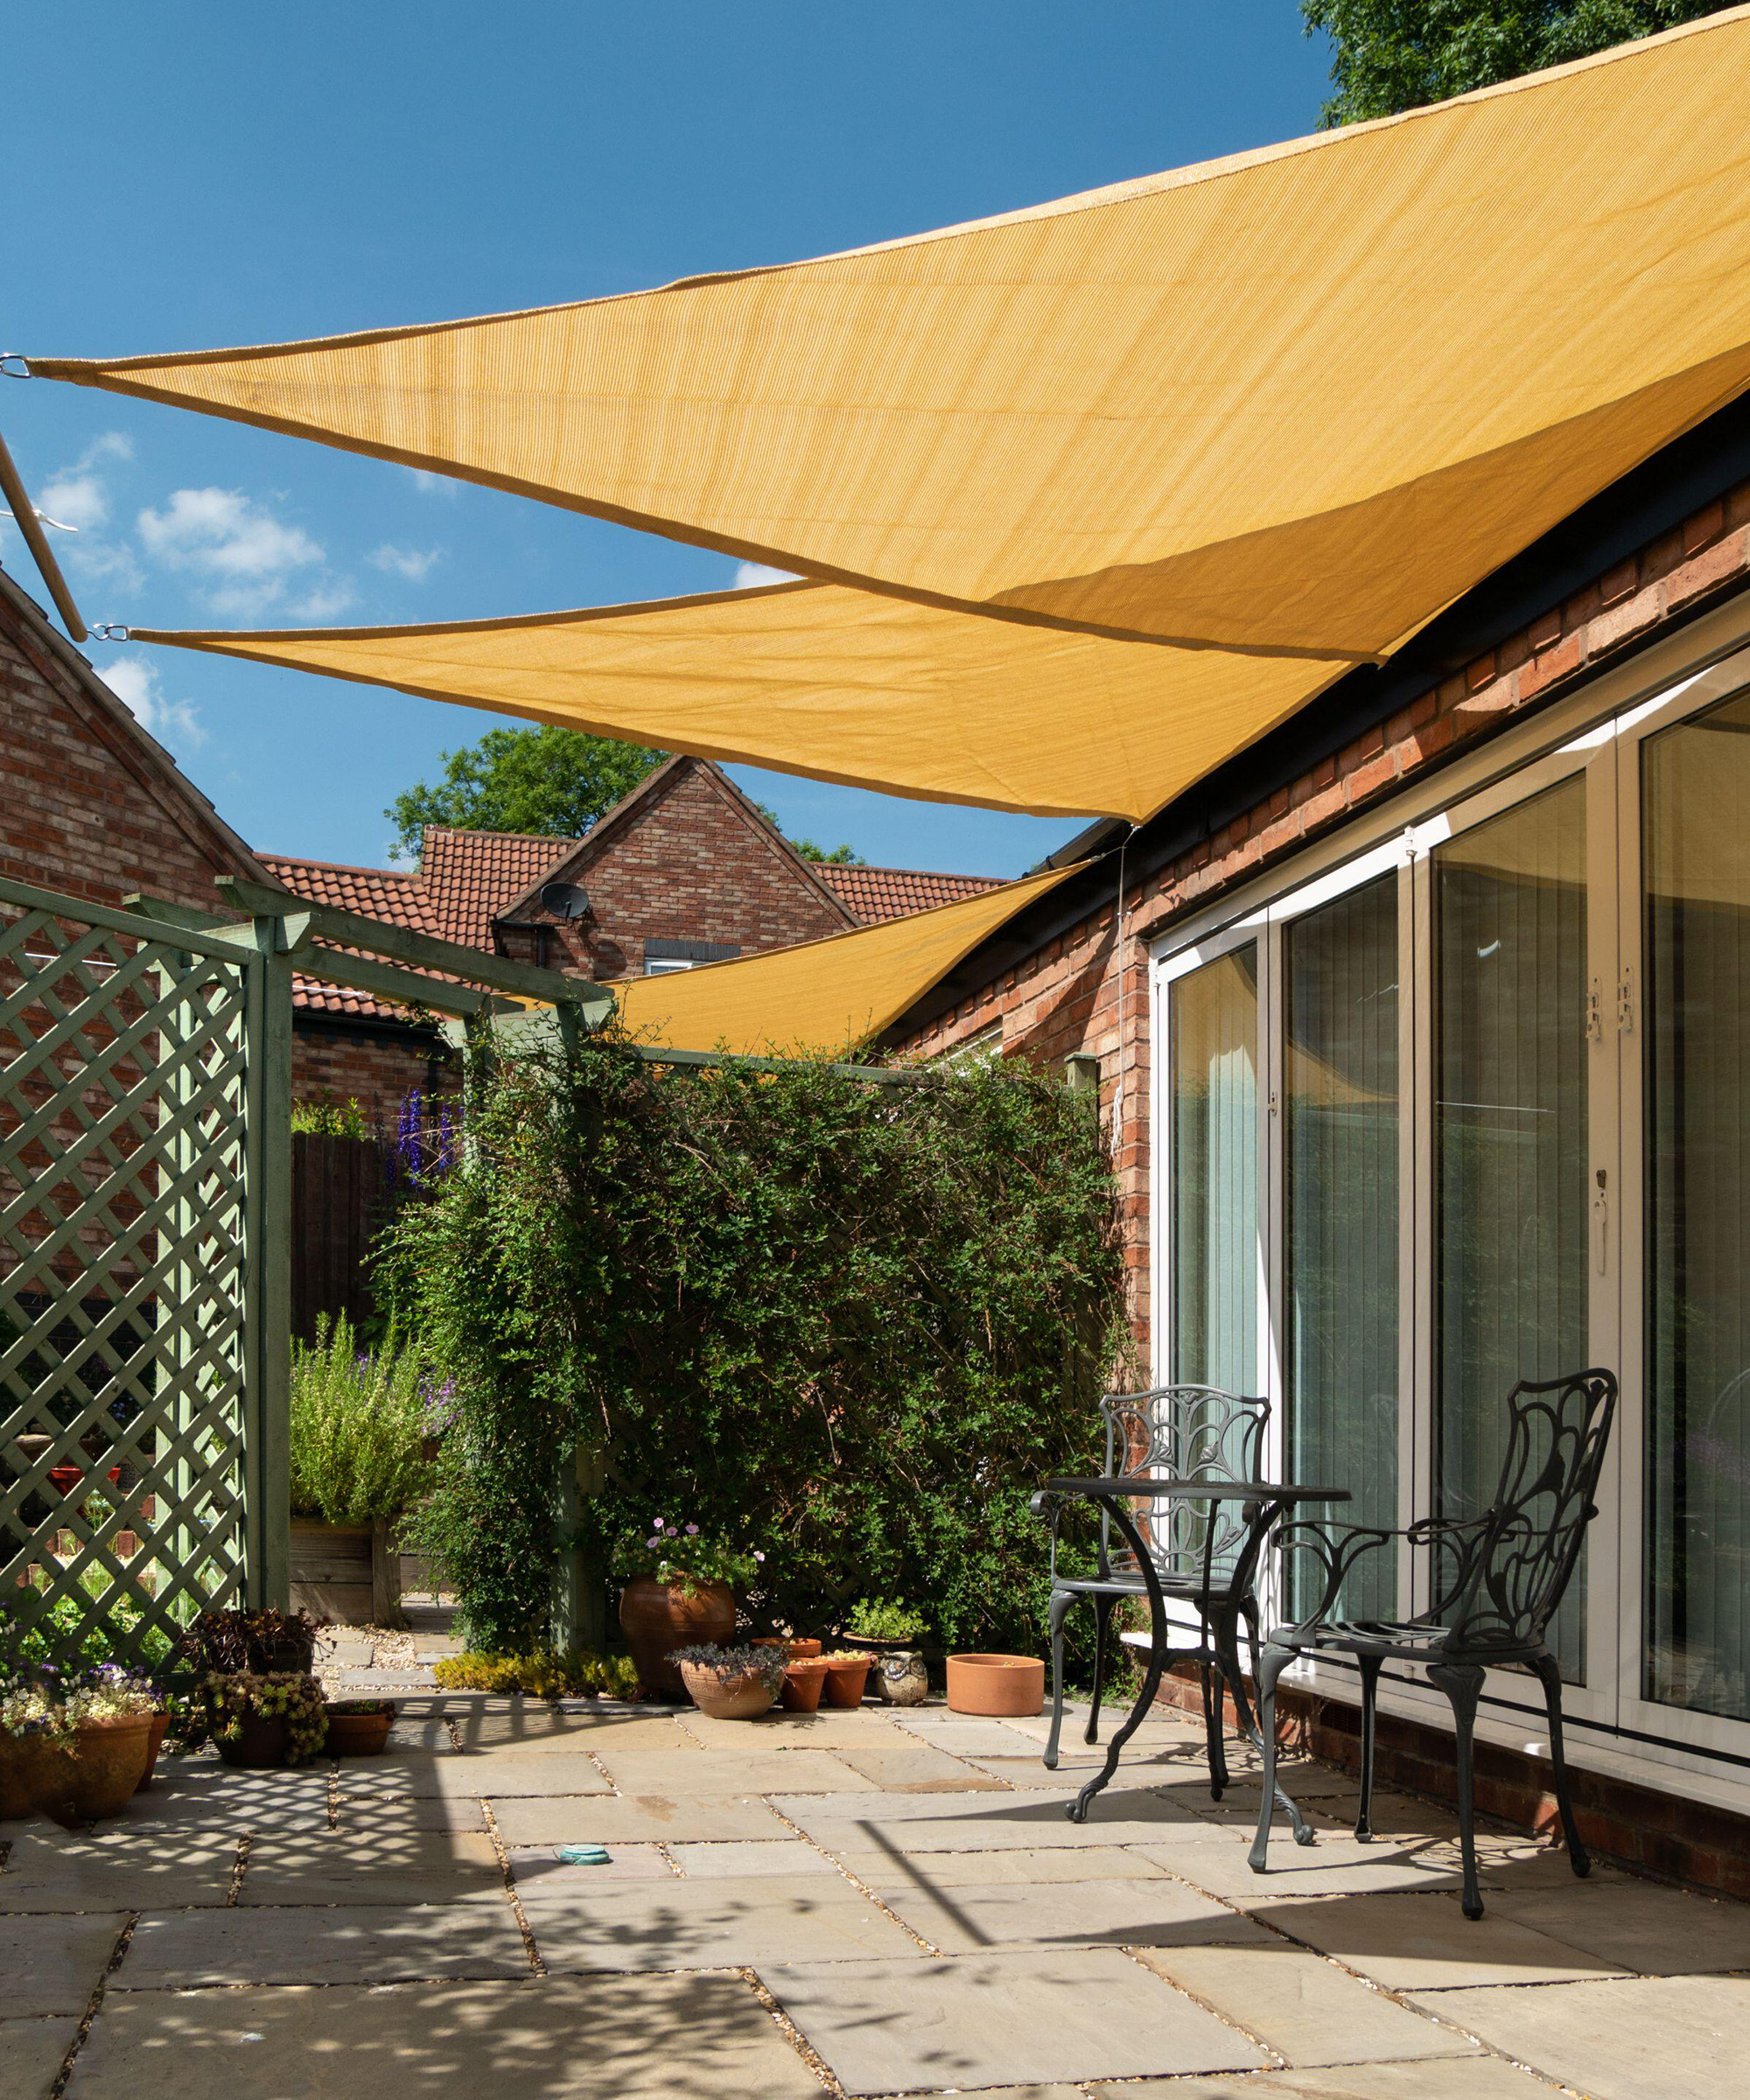
Multiple shade sales can work better than a single large model
'If you’re wanting patio cover ideas for a large area, you might be better using multiple sails rather than one large one,' says Fiona Jenkins, 'this will make angling and tensioning much easier.'
You'll also be able to remove pieces if there are occasions where more sun is needed. Bear in mind that multiple sails layered over one another won't be great for keeping the area underneath dry, as rain will likely find its way through the gaps between the sails.
6. Not considering your patio shade needs
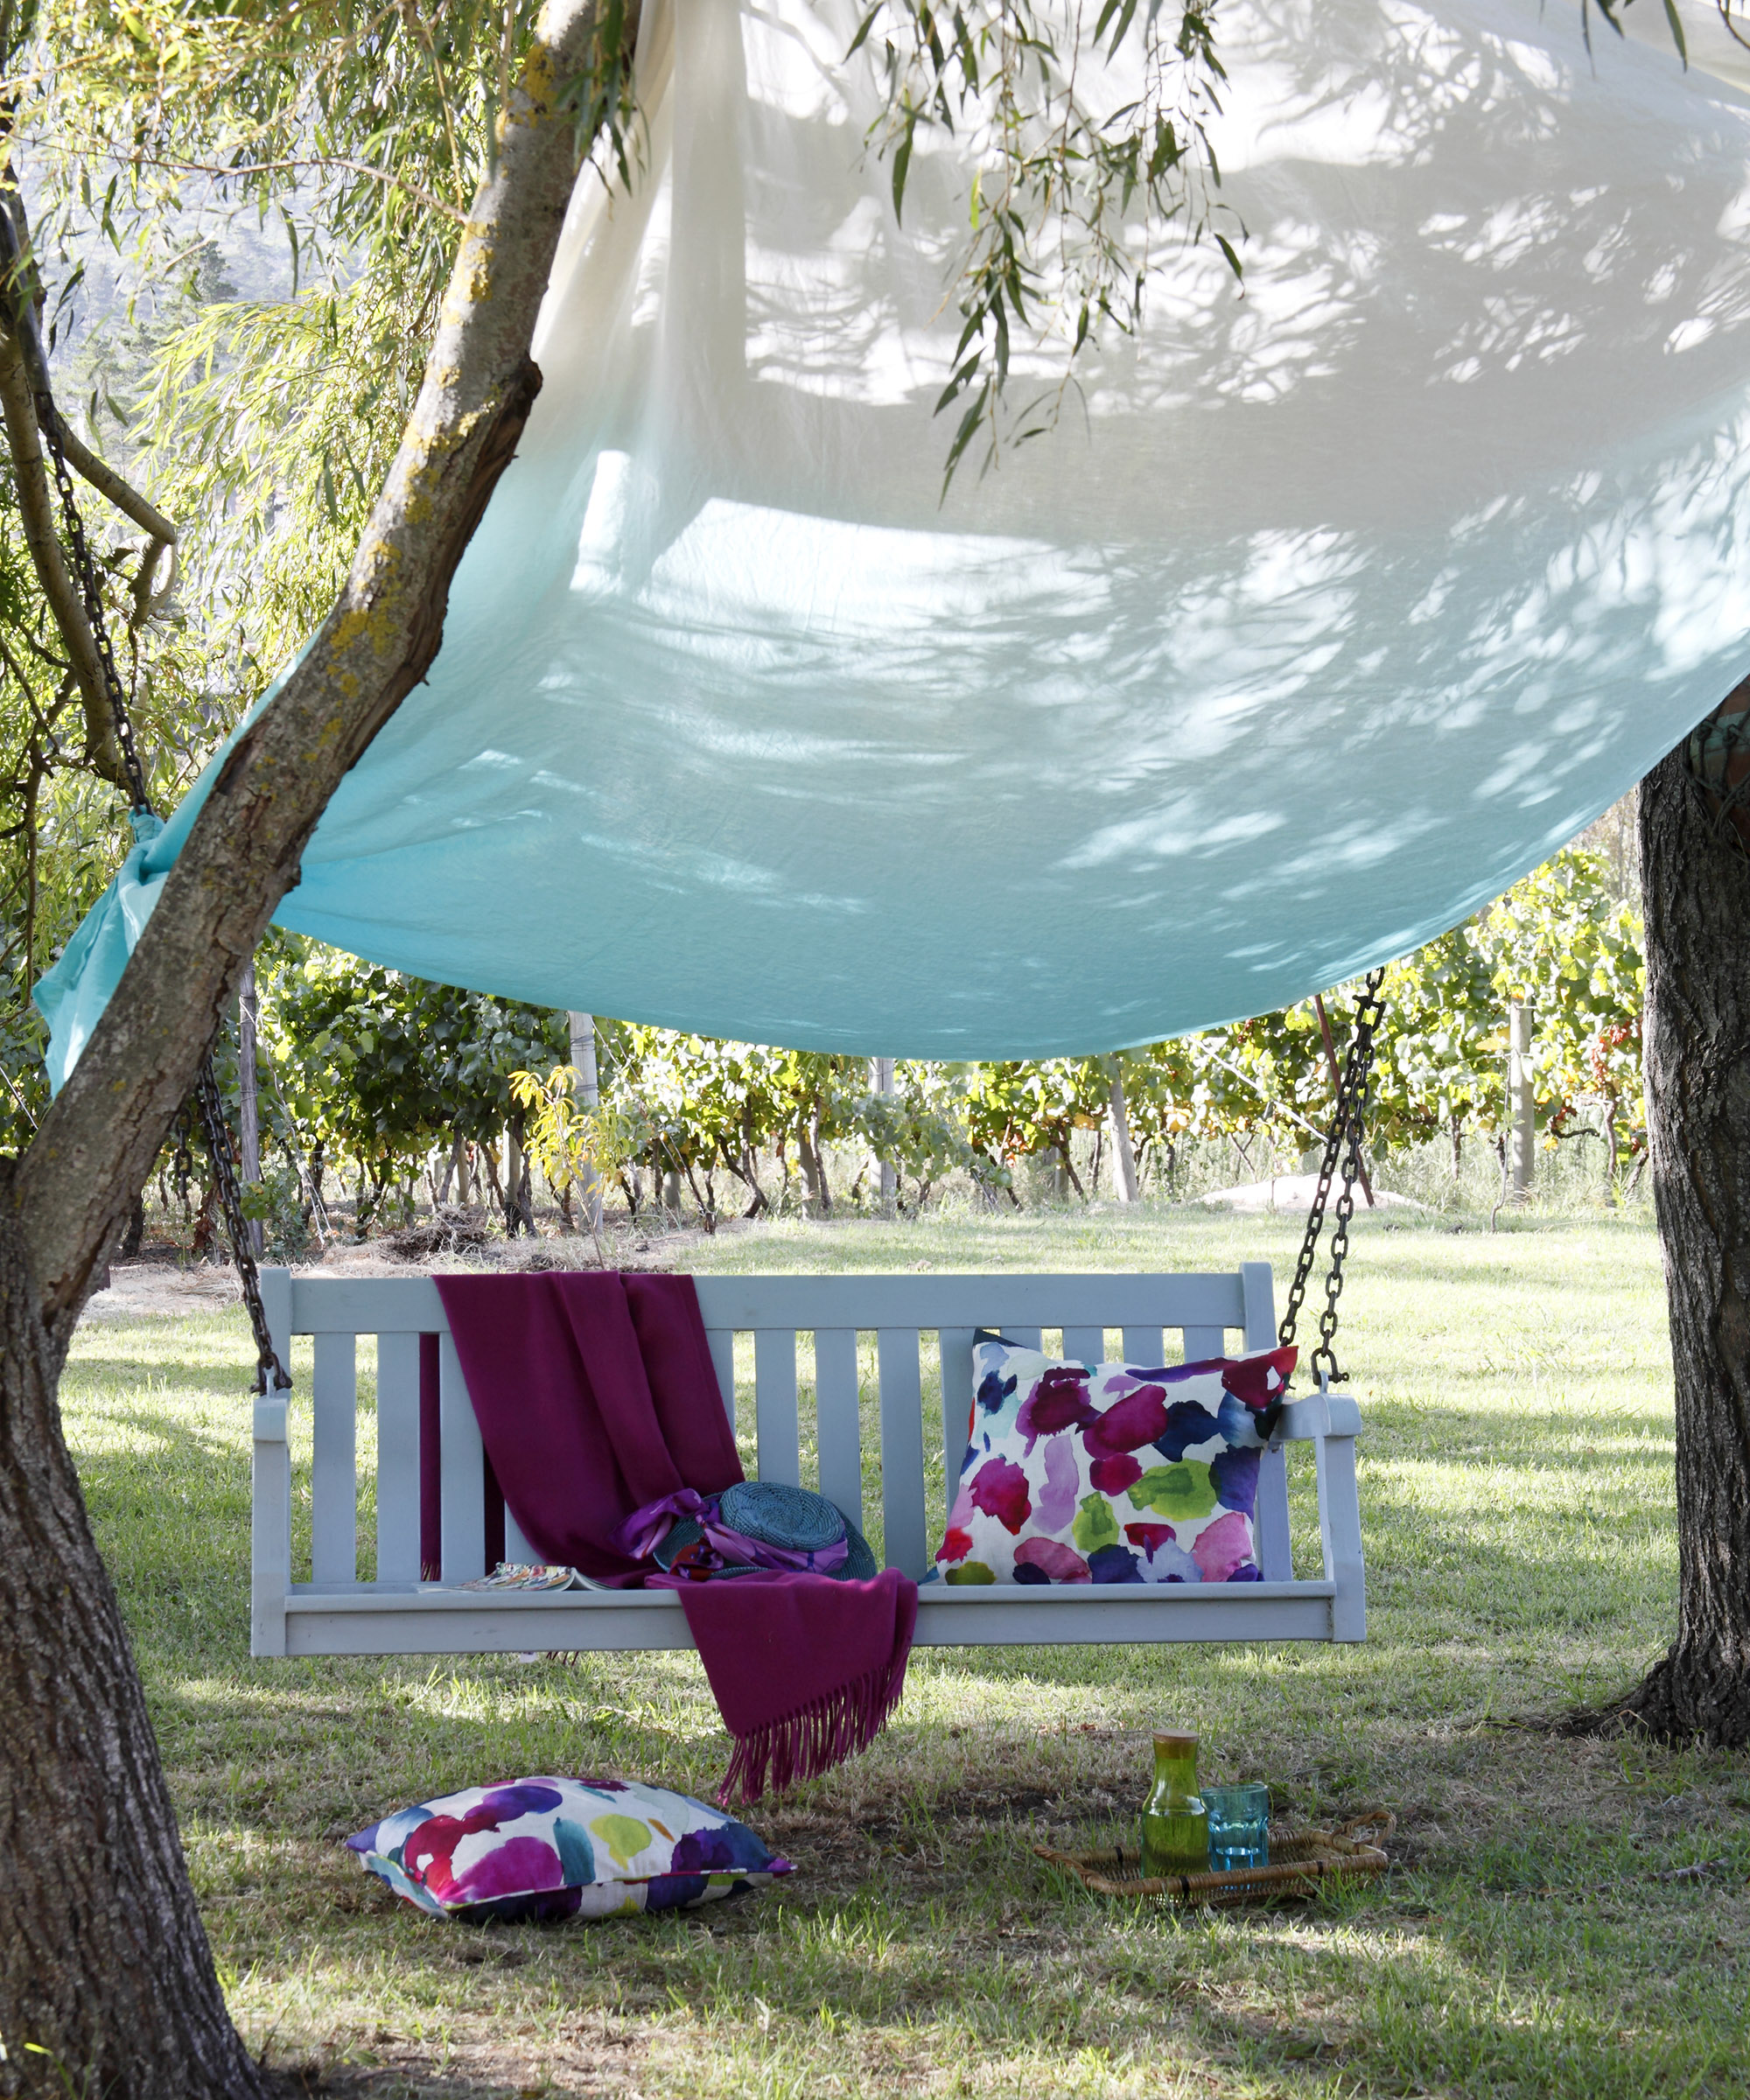
Makeshift shade sails can be put up less securely for non-permanent features
'Not all shade sails are the same quality. Materials tends to be either waterproof or breathable, so you’ll need to choose a type that best suits how you intend to use it,' explains Fiona.
'For sun and rain protection, a synthetic sail may be best. But whatever type you go for, check it has a high ultraviolet protection factor (UPF) to make sure it blocks the sun’s harmful rays.'
If you live in an area with little rainfall then a waterproof model won't be necessary. And you could even get creative with cheap garden shelter ideas such as a DIY shade sail made from a draped sheet.
7. Opting for the wrong shape sail shade for your space
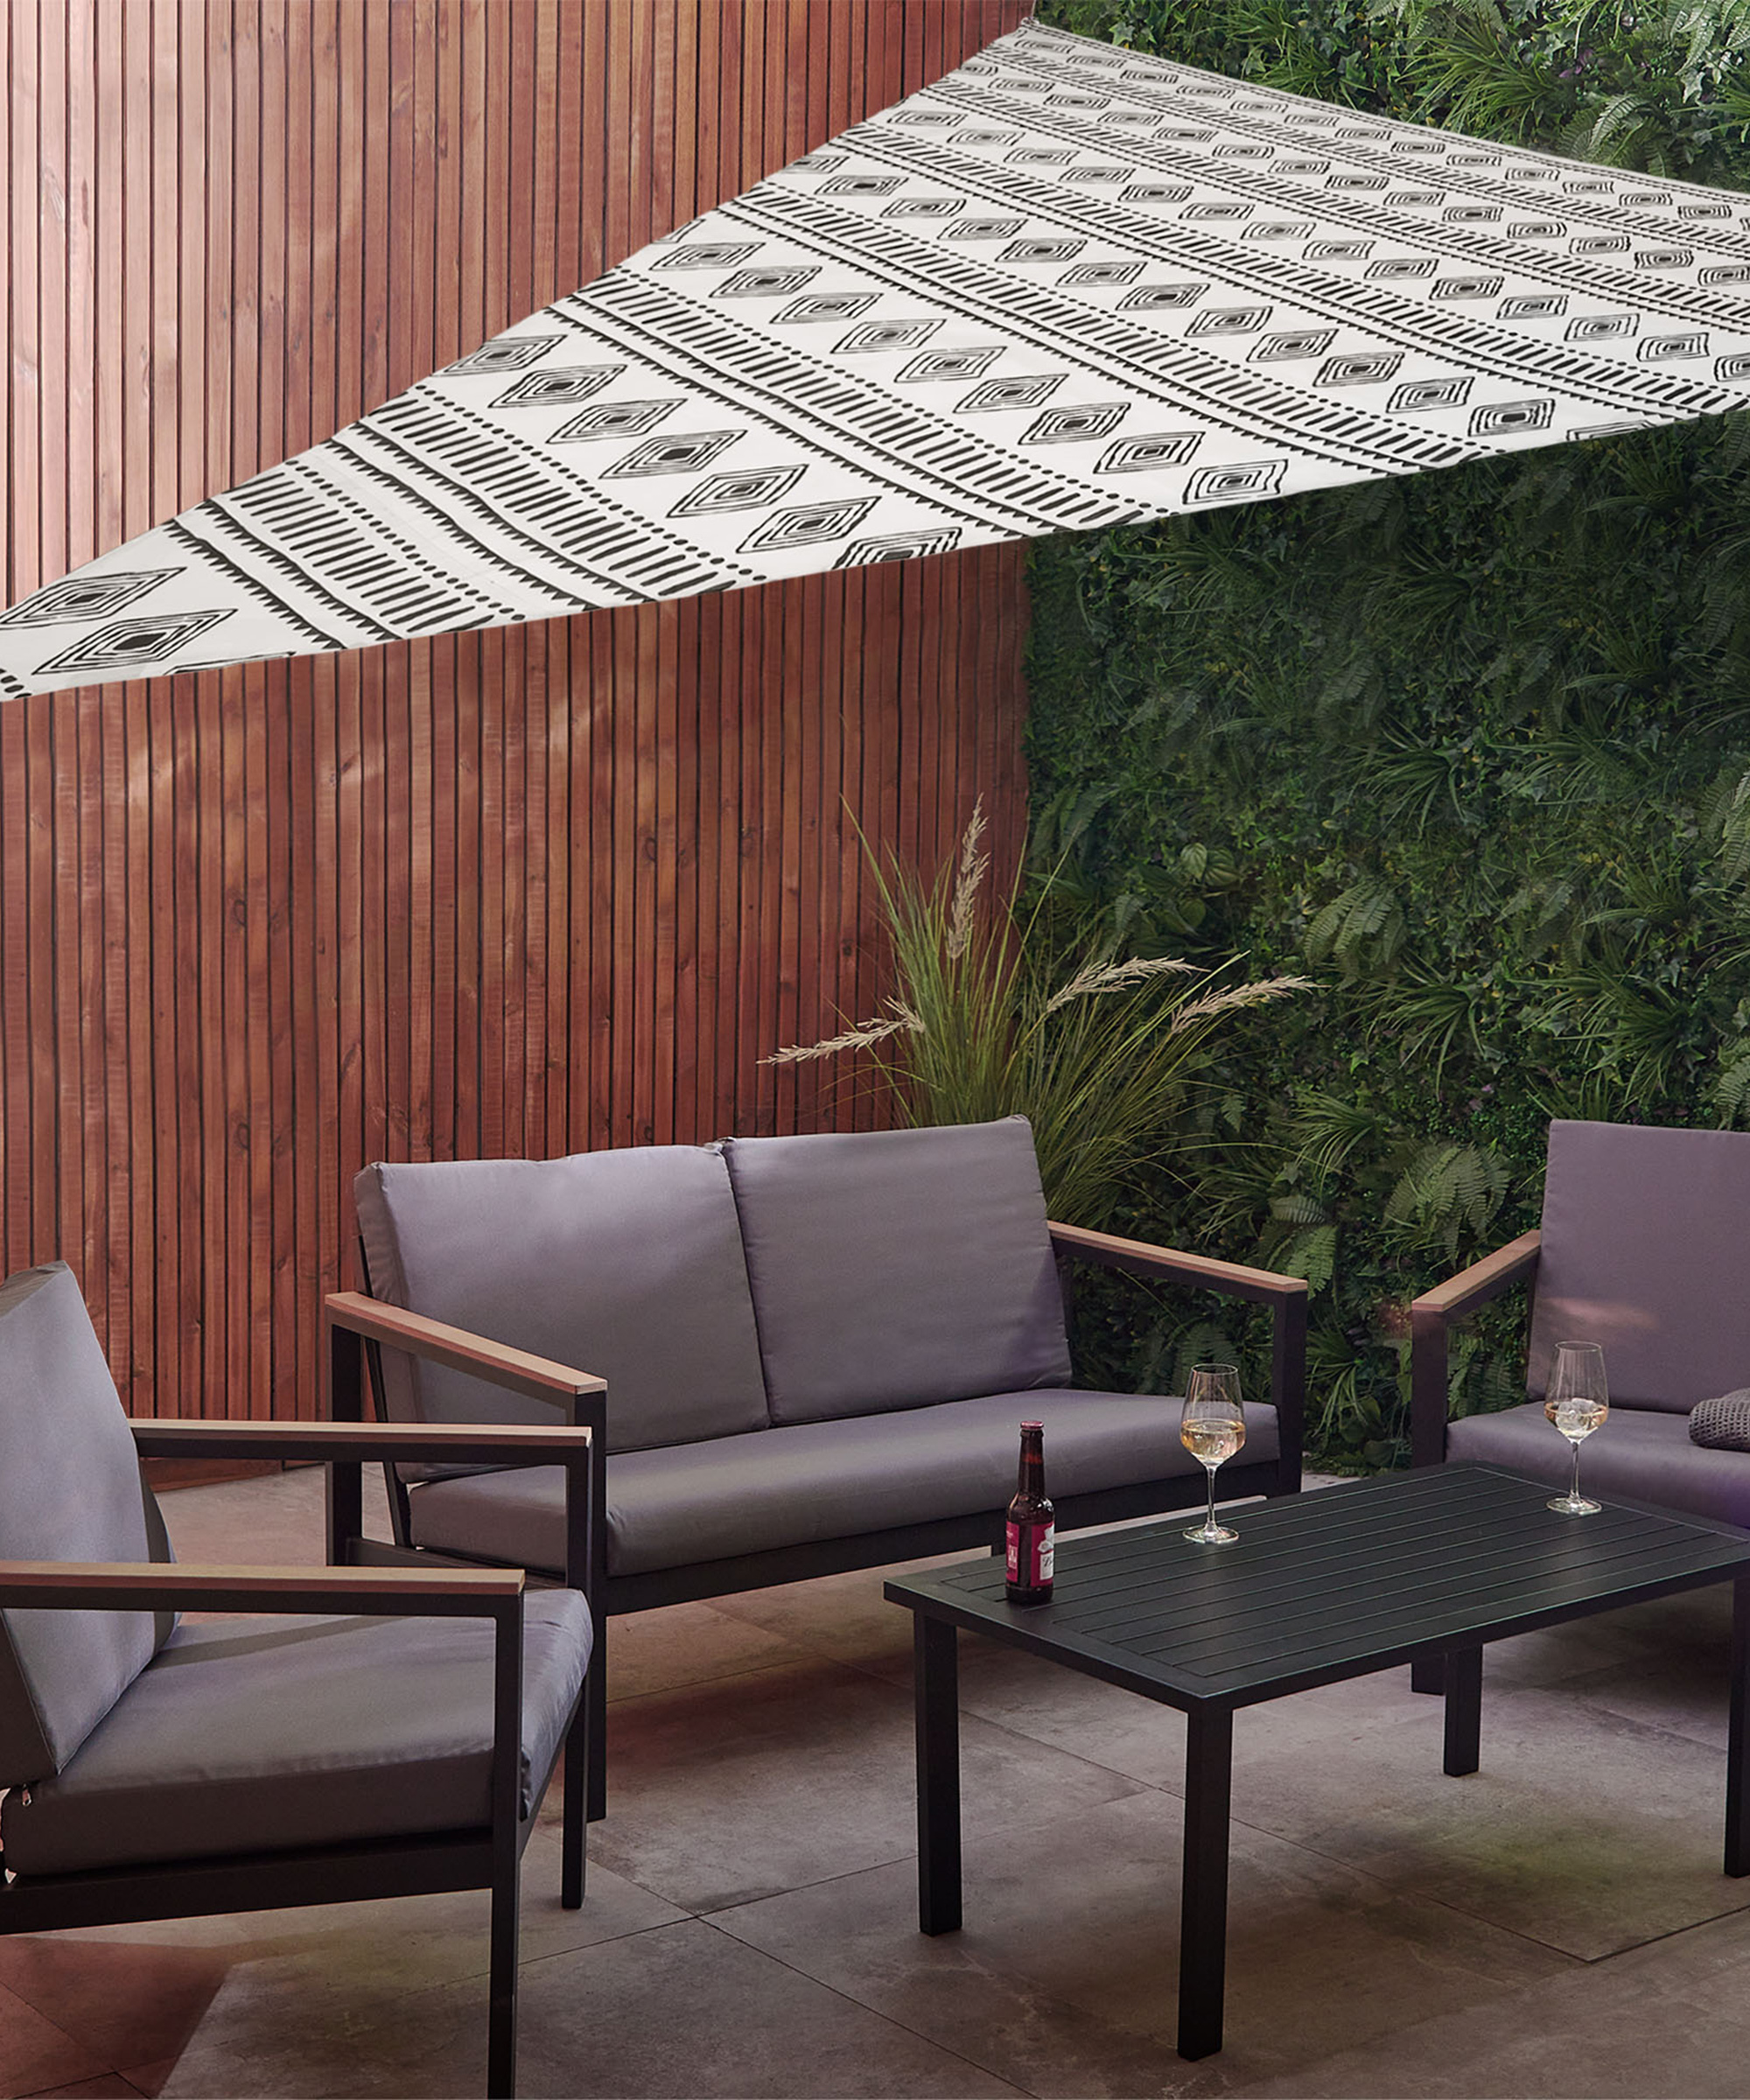
It helps to consider the shapes of shade sails in three main categories. They are square, rectangular and triangle shaped. Triangle shapes can then vary from equilateral and right-angled options. Right-angled triangle options are great for shading a corner of a patio, or attaching to an exterior wall of the house and a perpendicular boundary wall or garden fence.
'Rectangular sails provide the most coverage, however, triangular sails are aesthetically pleasing and suitable for small patio ideas,' adds Sally Beaumont, Outdoor Living Buyer at VonHaus .
8. Not planning the placement carefully
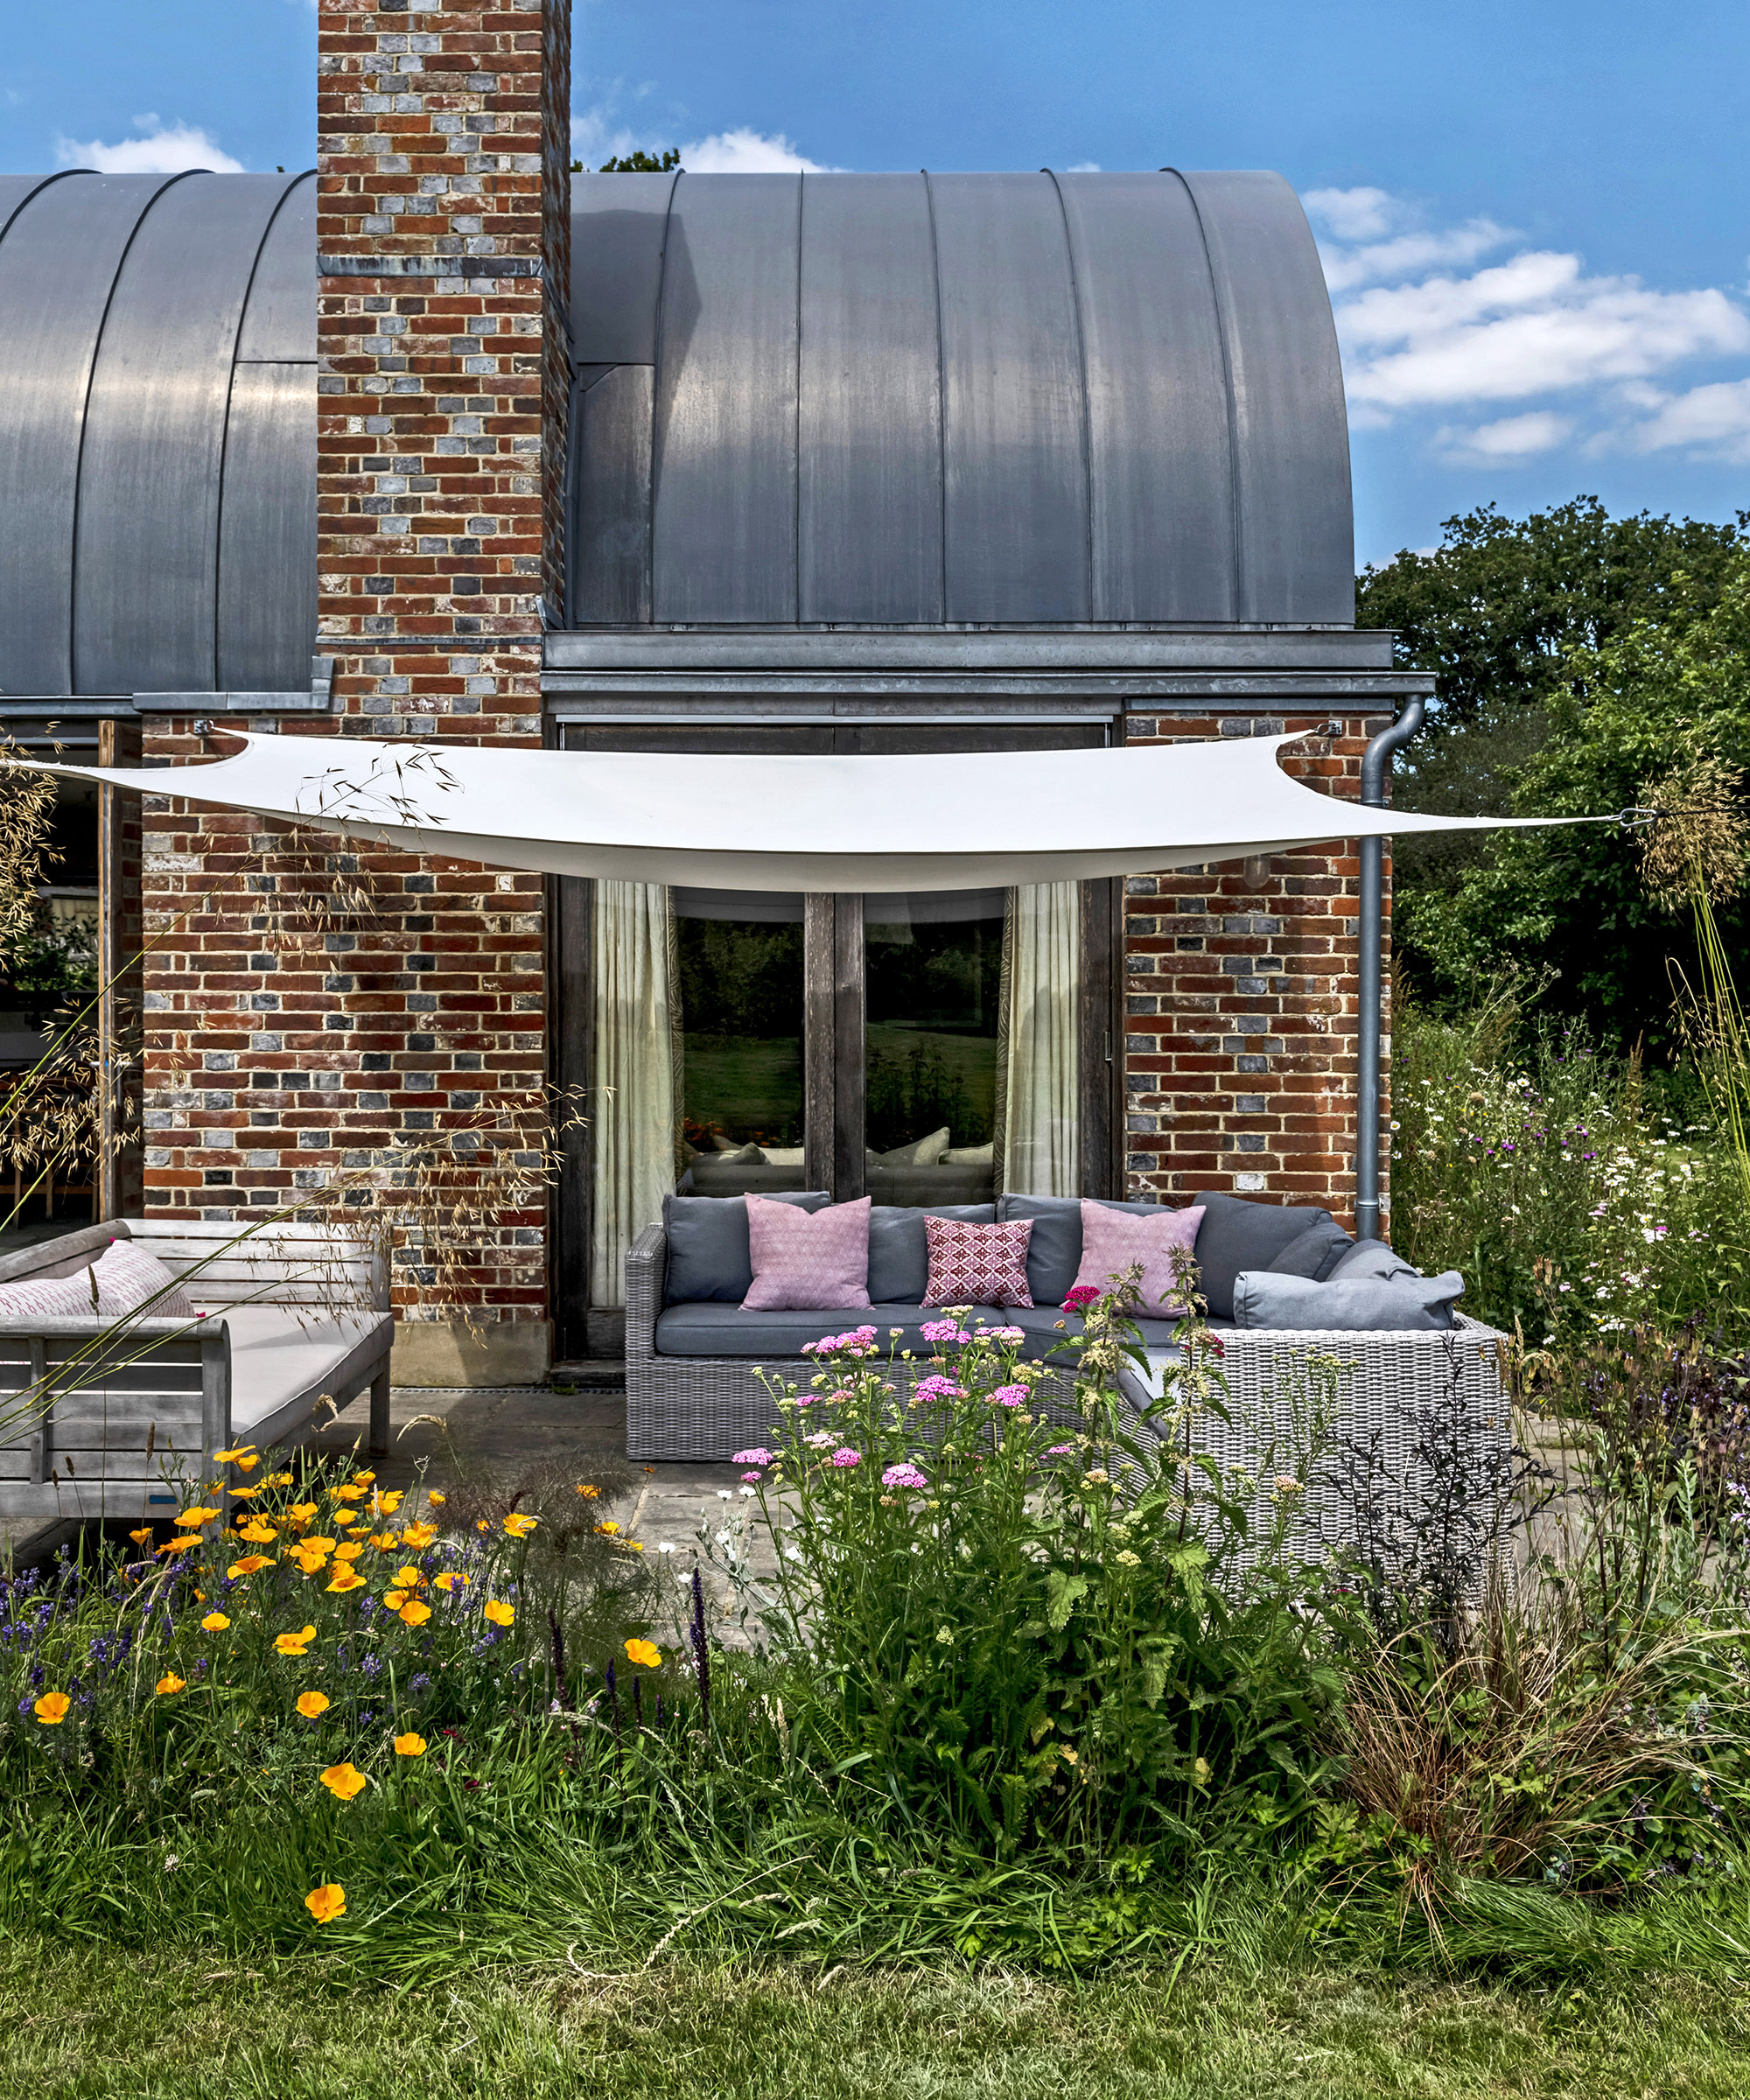
A simple rectangle can work well for a rectangular deck next to the house
You might assume that positioning a shade sail is as simple as placing it over the area that you want to cover, as you would with one of the best gazebos. Well, the experts will tell you that this also falls under the category of common shade sail mistakes.
'The most important thing to consider when positioning your shade sail is the sun’s direction and the path it will take throughout the day to ensure you are adequately protected during the peak sunlight hours of 12pm-3pm,' says Sally.
'You may also need to consider angling your shade sail in order to get the sun coverage right where you want it. I'd advise that you put up your shade sail during the brightest part of the day. Or at least when the area you are shading is at its sunniest. This way you can ensure that you are getting the coverage you want, at the time of day that you want it.'
Fiona Jenkins rightly reminds us that although shade sails help you enjoy the garden in any weather, you do need to position it away from barbecues and fire pits for safety.
9. Not keeping your shade sail taut
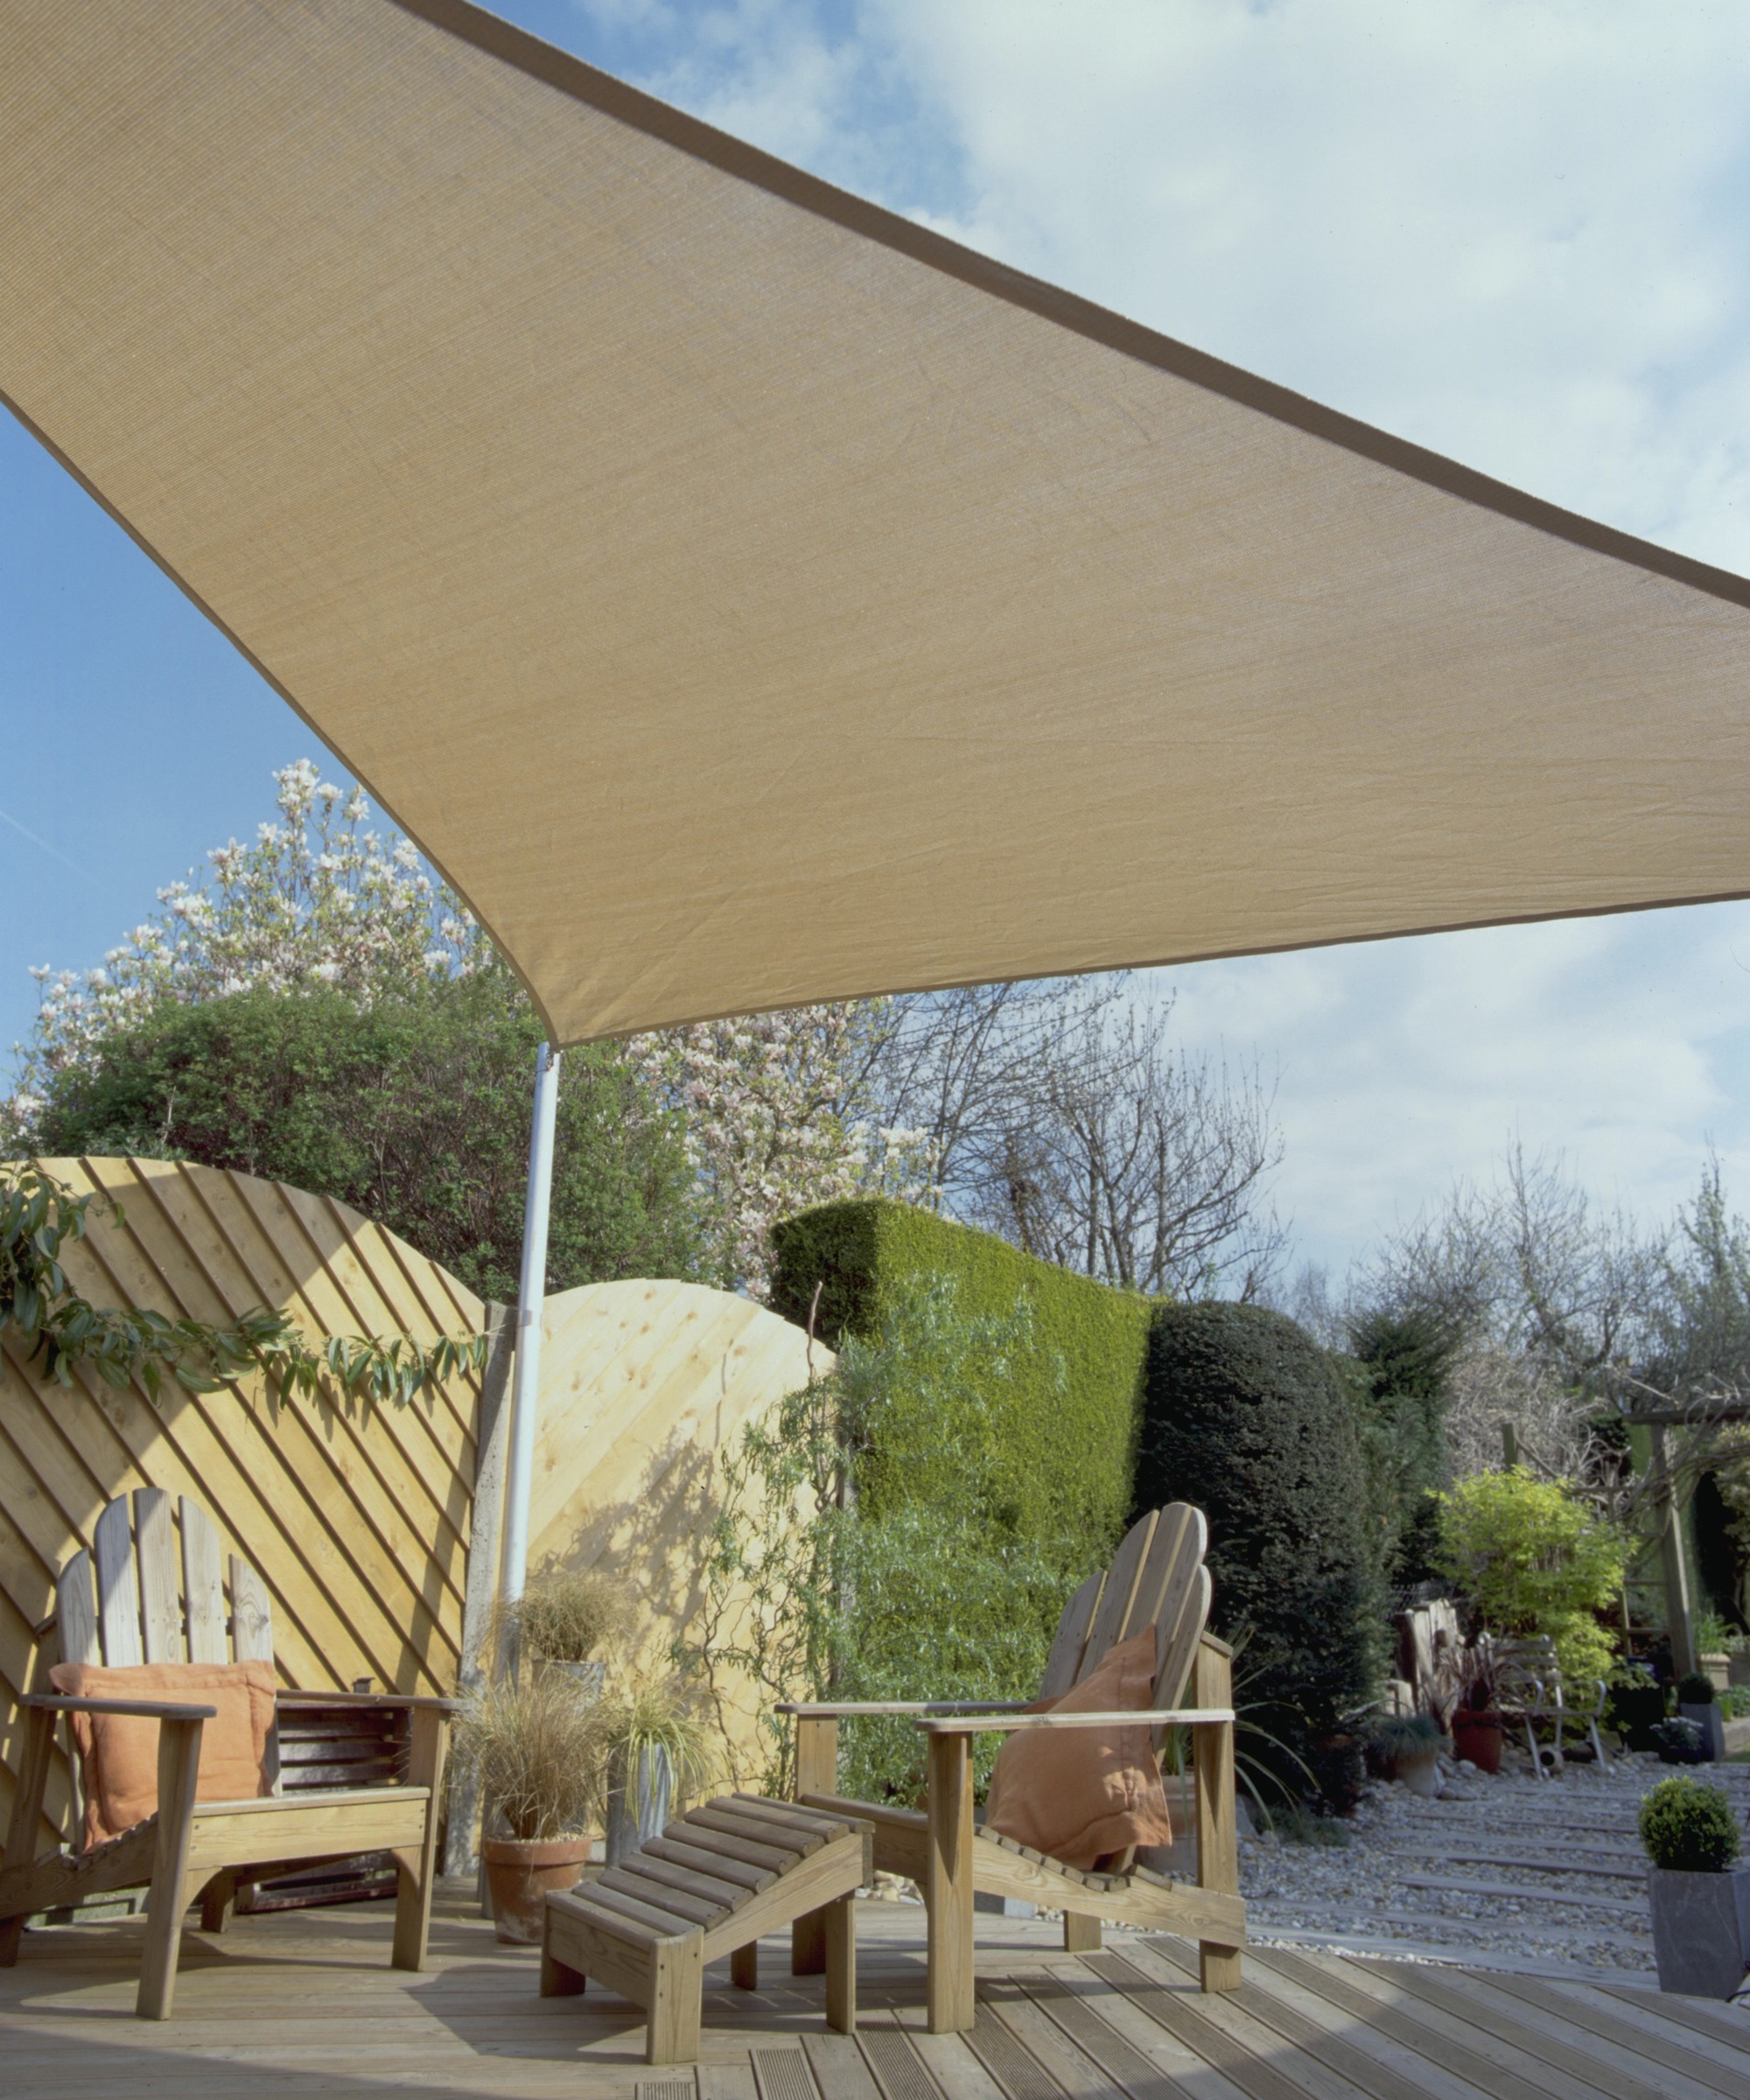
Triangle shade sail shapes are best for smaller backyards
Unlike sturdy shade fixtures like garden arbors, shade sails rely on having sturdy anchor points to keep their structural integrity. 'A shade sail needs to be properly tensioned,' Fiona urges. 'So, make sure that any posts, walls and fences you’re using to fix the sail are strong and stable.'
A drooping or sagging shade sail won’t deliver as well as a taut one, and it may even get damaged by an errant gust of wind. Ensure you install it tight enough to ensure it’s flat, but don’t over do it as you might damage the fittings. Check the tension once a month and adjust if required.
10. Expecting your shade sail to last forever
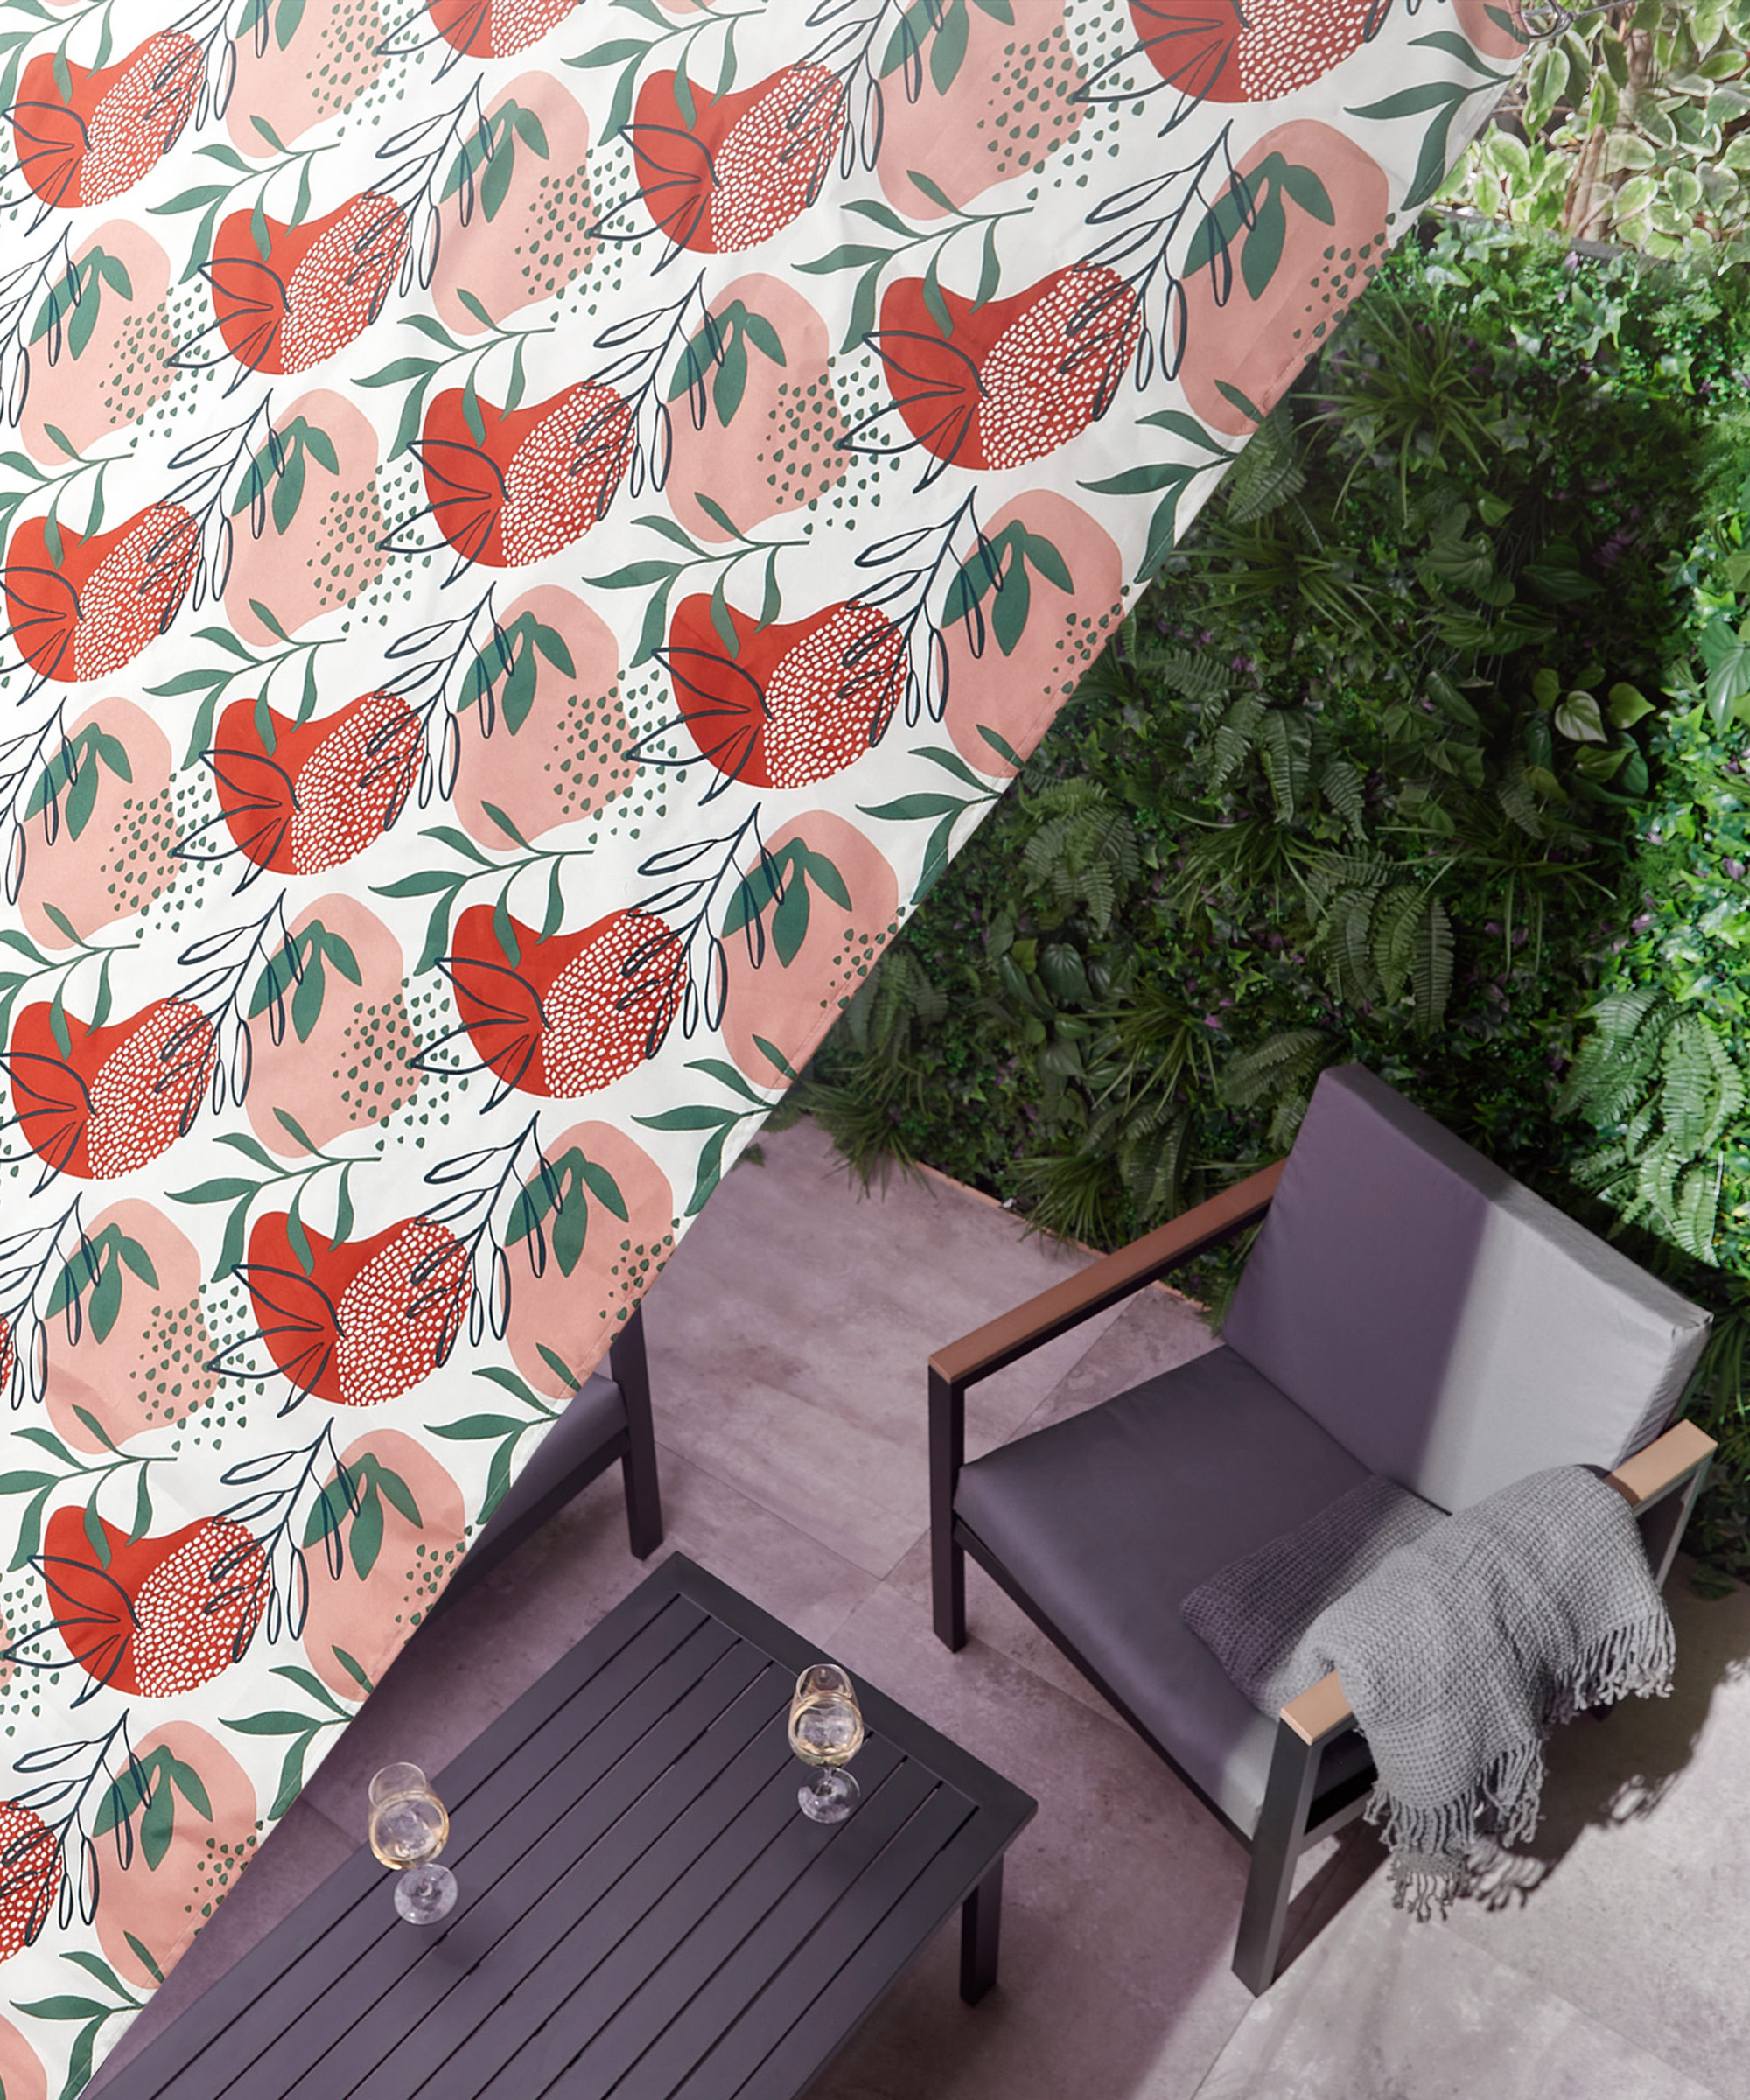
‘How long your shade sail will last will depend on how well it is maintained and cared for,’ explains Evie Lane, gardening expert at Primrose. ‘The material it is made of and the weather that it will be exposed to will also play a part.
'On average, you can expect a sail shade to last between three to five years, but this lifespan can decrease if it's subjected to strong winds and heavy rain regularly. If this is the case, consider taking down the sail shade until the weather improves.’
How should you measure up for a shade sail to avoid mistakes?
‘There are two important measurements when installing a shade sail,' explains Claire Maclean, Founder Director at Clara Shade Sails. ‘First, the distance between the fitments, and second, the height of the posts. The distance between your chosen fitments should match the size of your sail. Adjustments can be made to a certain degree with the type and amount of fitments and/rope you decide to use, but the closer you can get to the right size, the better.
'Many of our customers have more than one fixing point on the vertical to allow them to move the slant of the sail up and down according to the position of the sun. When the sun starts to go down, then you can lower one side of the sail to maintain shade for longer.’
Coverage from the sun at its highest point is also a consideration, particularly if you're using your shade sail to protect plants from heat. ‘Measure the area you need to cover,’ says Nadia McCowan Hill, Wayfair’s Resident Style Advisor, ‘bearing in mind that when the sun is at its hottest, it will be directly over you.’

Teresa has worked as an Editor on a number of gardening magazines for three years now. So she is lucky enough to see and write about gardening across all sizes, budgets and abilities. She recently moved into her first home and the garden is a real project! Currently she is relishing planning her own design and planting schemes. What she is most passionate about when it comes to gardening are the positive effects it has on our mental health to grow and care for plants, as well as being great for the environment too and help provide food and shelter for wildlife.
