Rubber plant propagation: the easy way to get more houseplants for free
Follow these simple tips for rubber plant propagation and you'll soon increase your houseplant stock


If you're already the proud owner of a handsome rubber plant, you'll be pleased to know that rubber plant propagation is super-easy so you can soon have lots more to keep it company. As well as being a budget-friendly way to increase your houseplant collection it's also rewarding to nurture your own baby plants and share them among friends.
Rubber plants are one of the most popular houseplants around and never go out of fashion. They're easy to look after, too, and those big glossy leaves are a stylish addition to any interior.
They deserve to take center stage in your houseplant collection as they're one of the best indoor plants around so find out now how to get more of these lush plants.
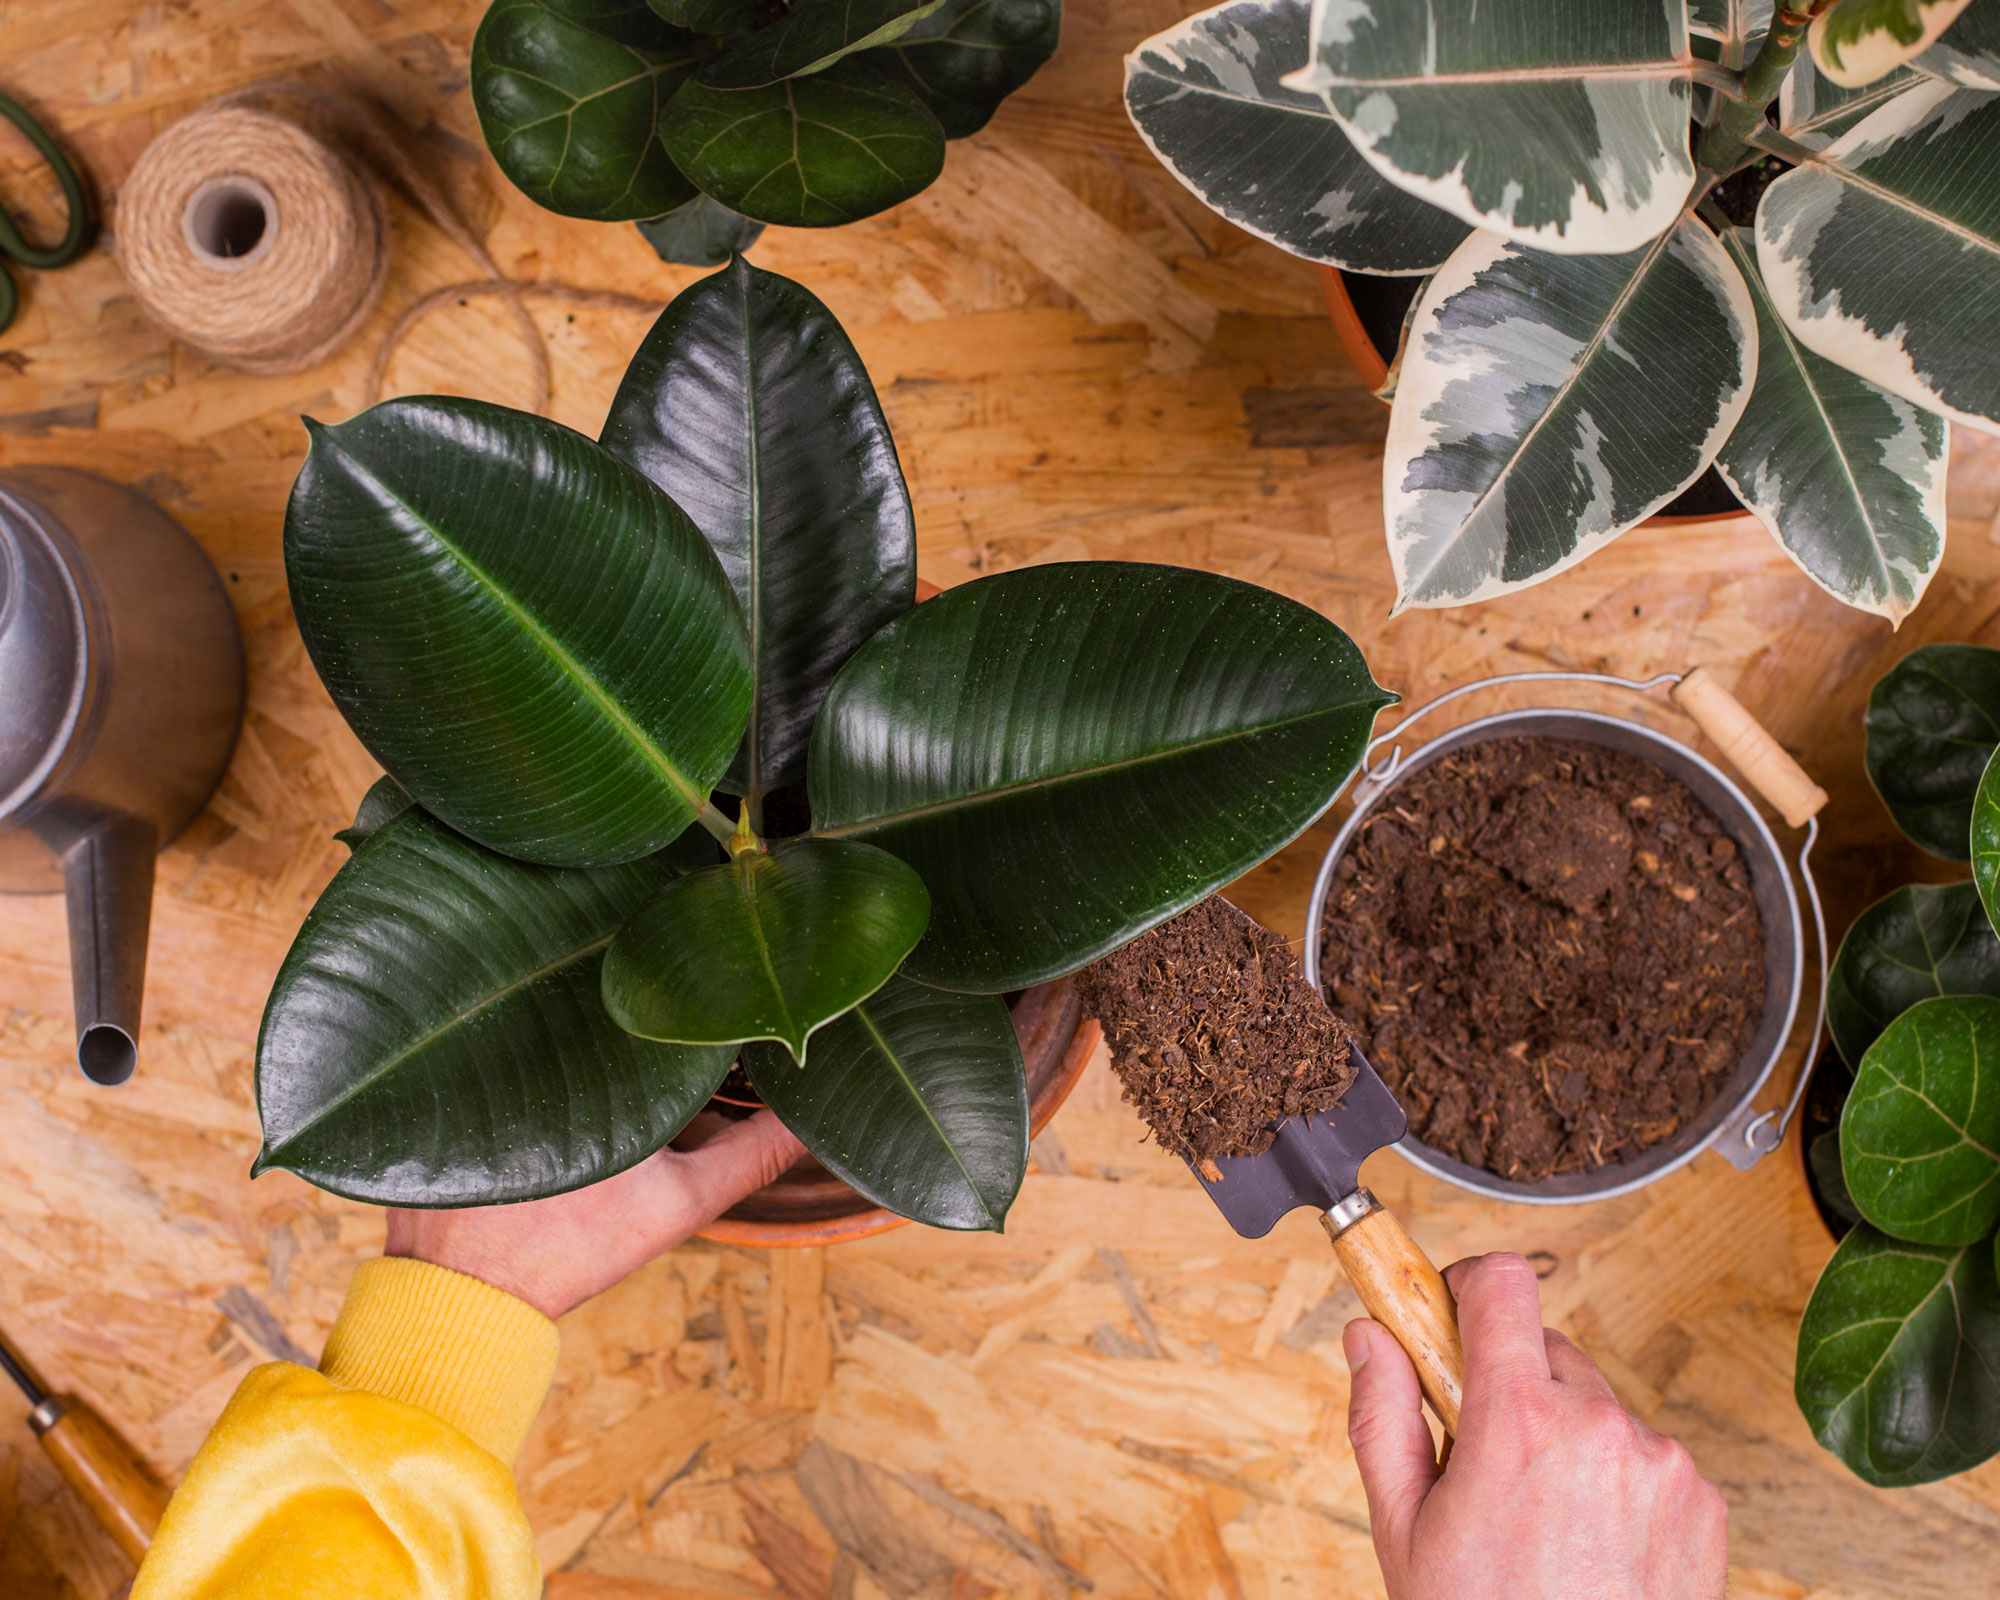
Rubber plant propagation in 4 easy steps
The good news is that rubber plant propagation is easily done from cuttings so you will soon be able to share around your new plants.
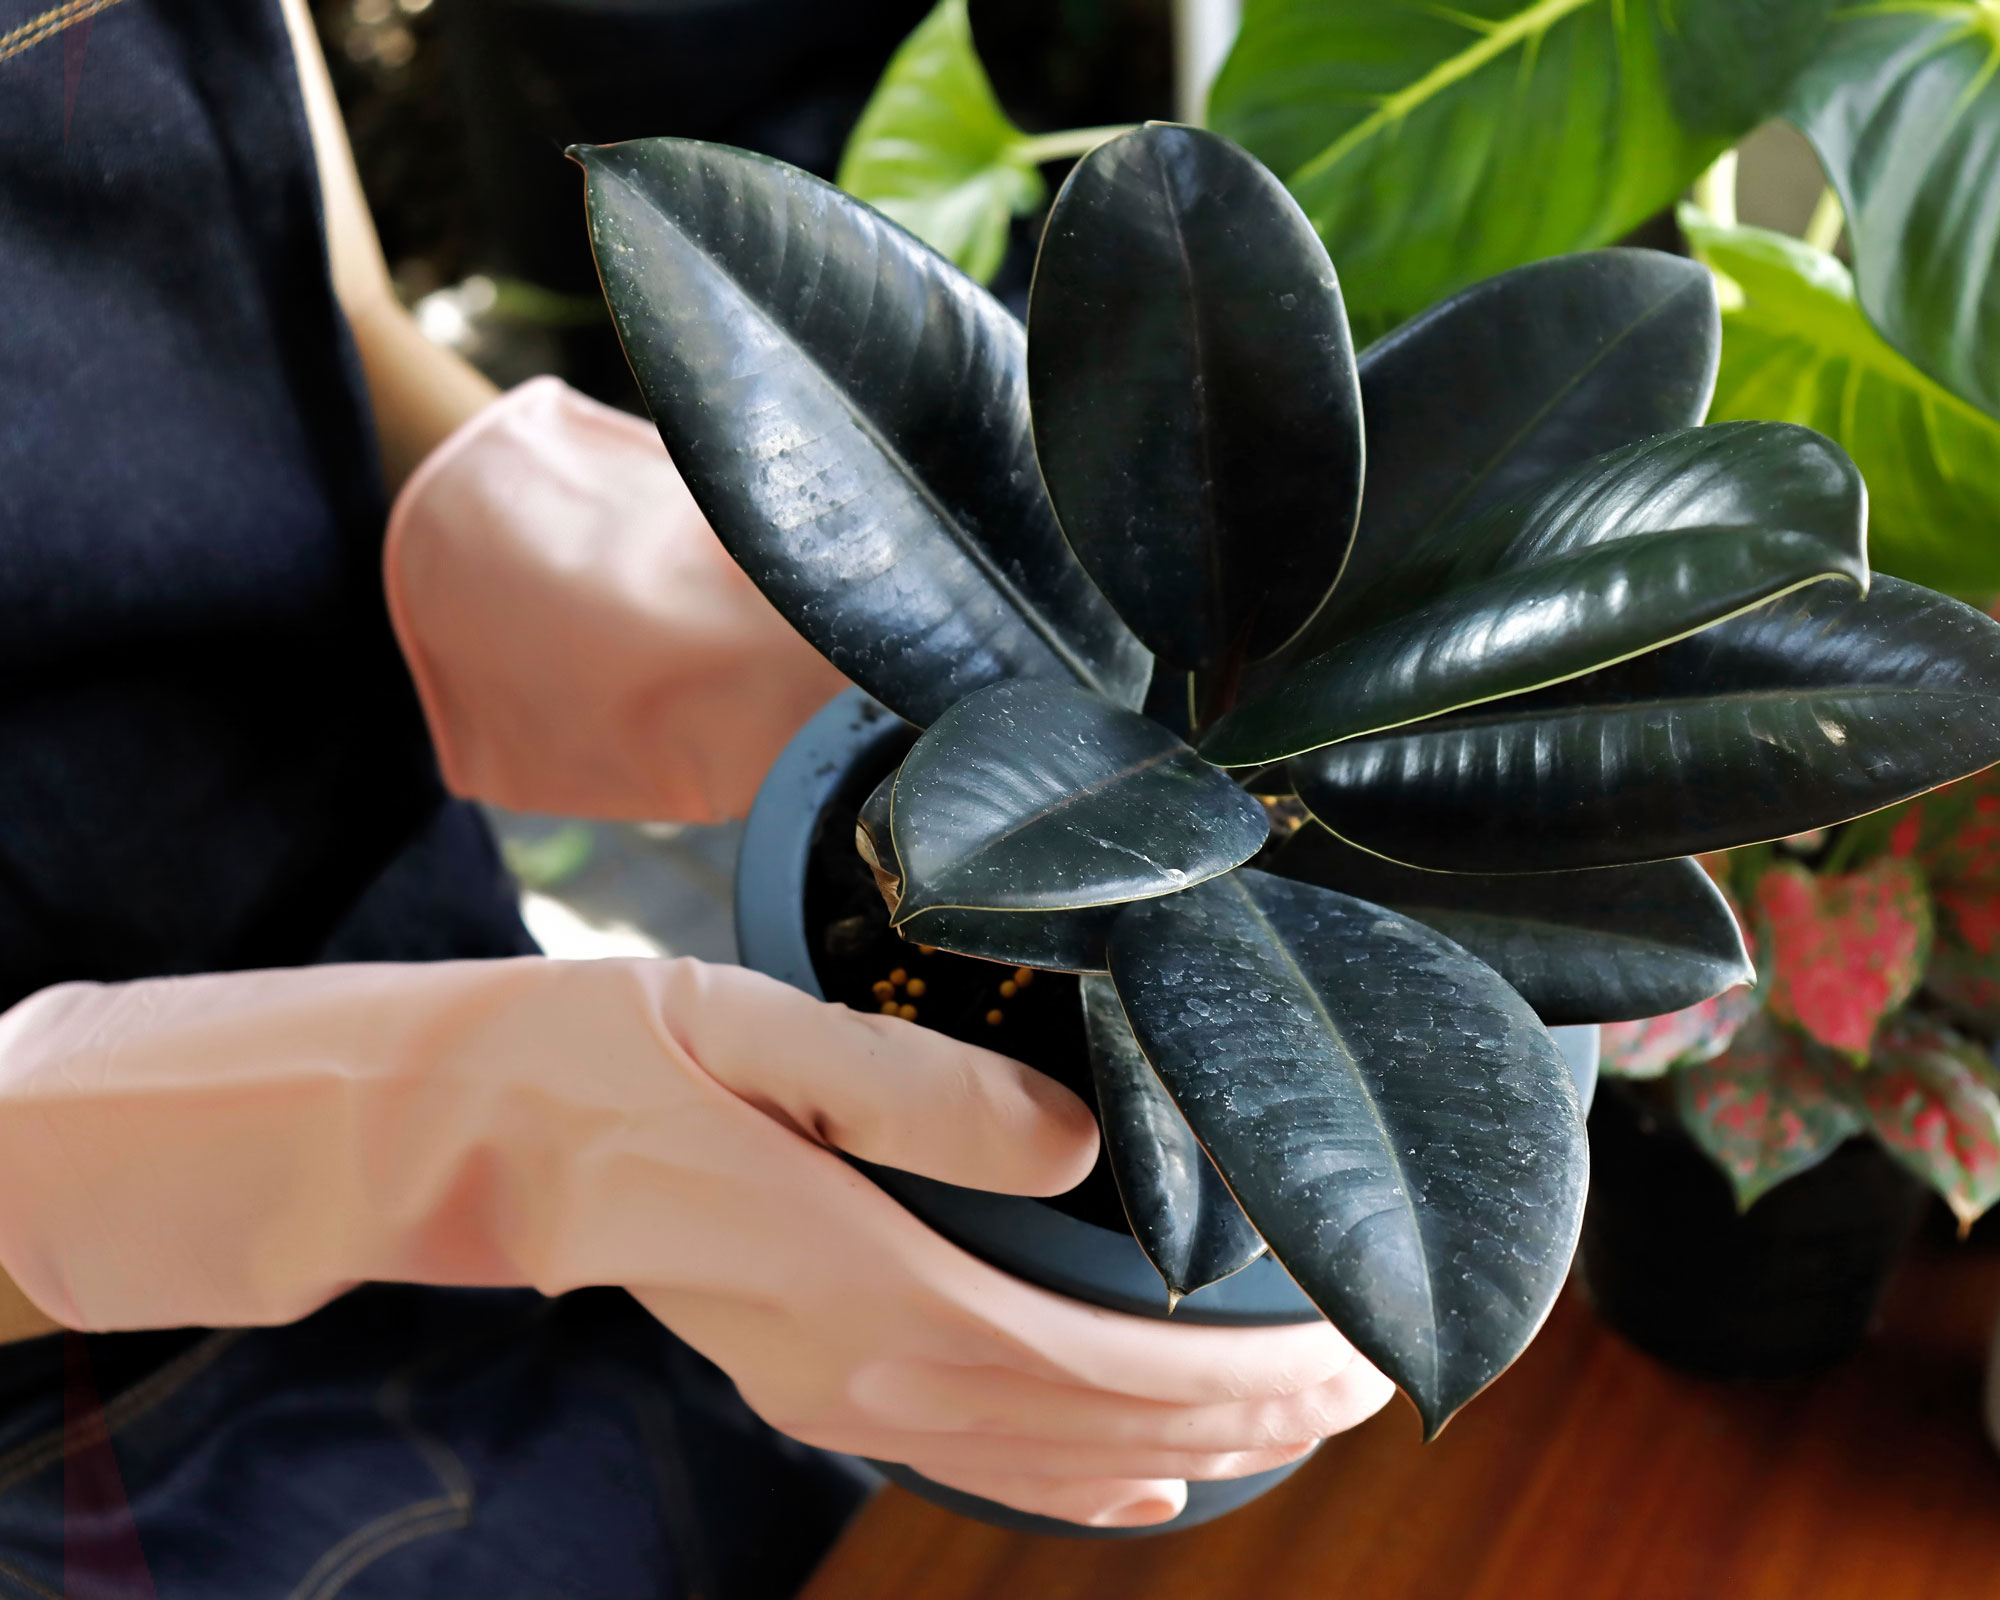
Propagating rubber plants can get messy though once the sap starts to leak when the stems are cut. The latex-rich sap of the rubber plant is mildly toxic to humans and pets, and can cause skin irritation.
When propagating a rubber plant, be careful the sap doesn't come into contact with your skin. It's a good idea to wear protective gardening gloves while taking cuttings and protect the work surface too.
1. Make the cut from your mother plant
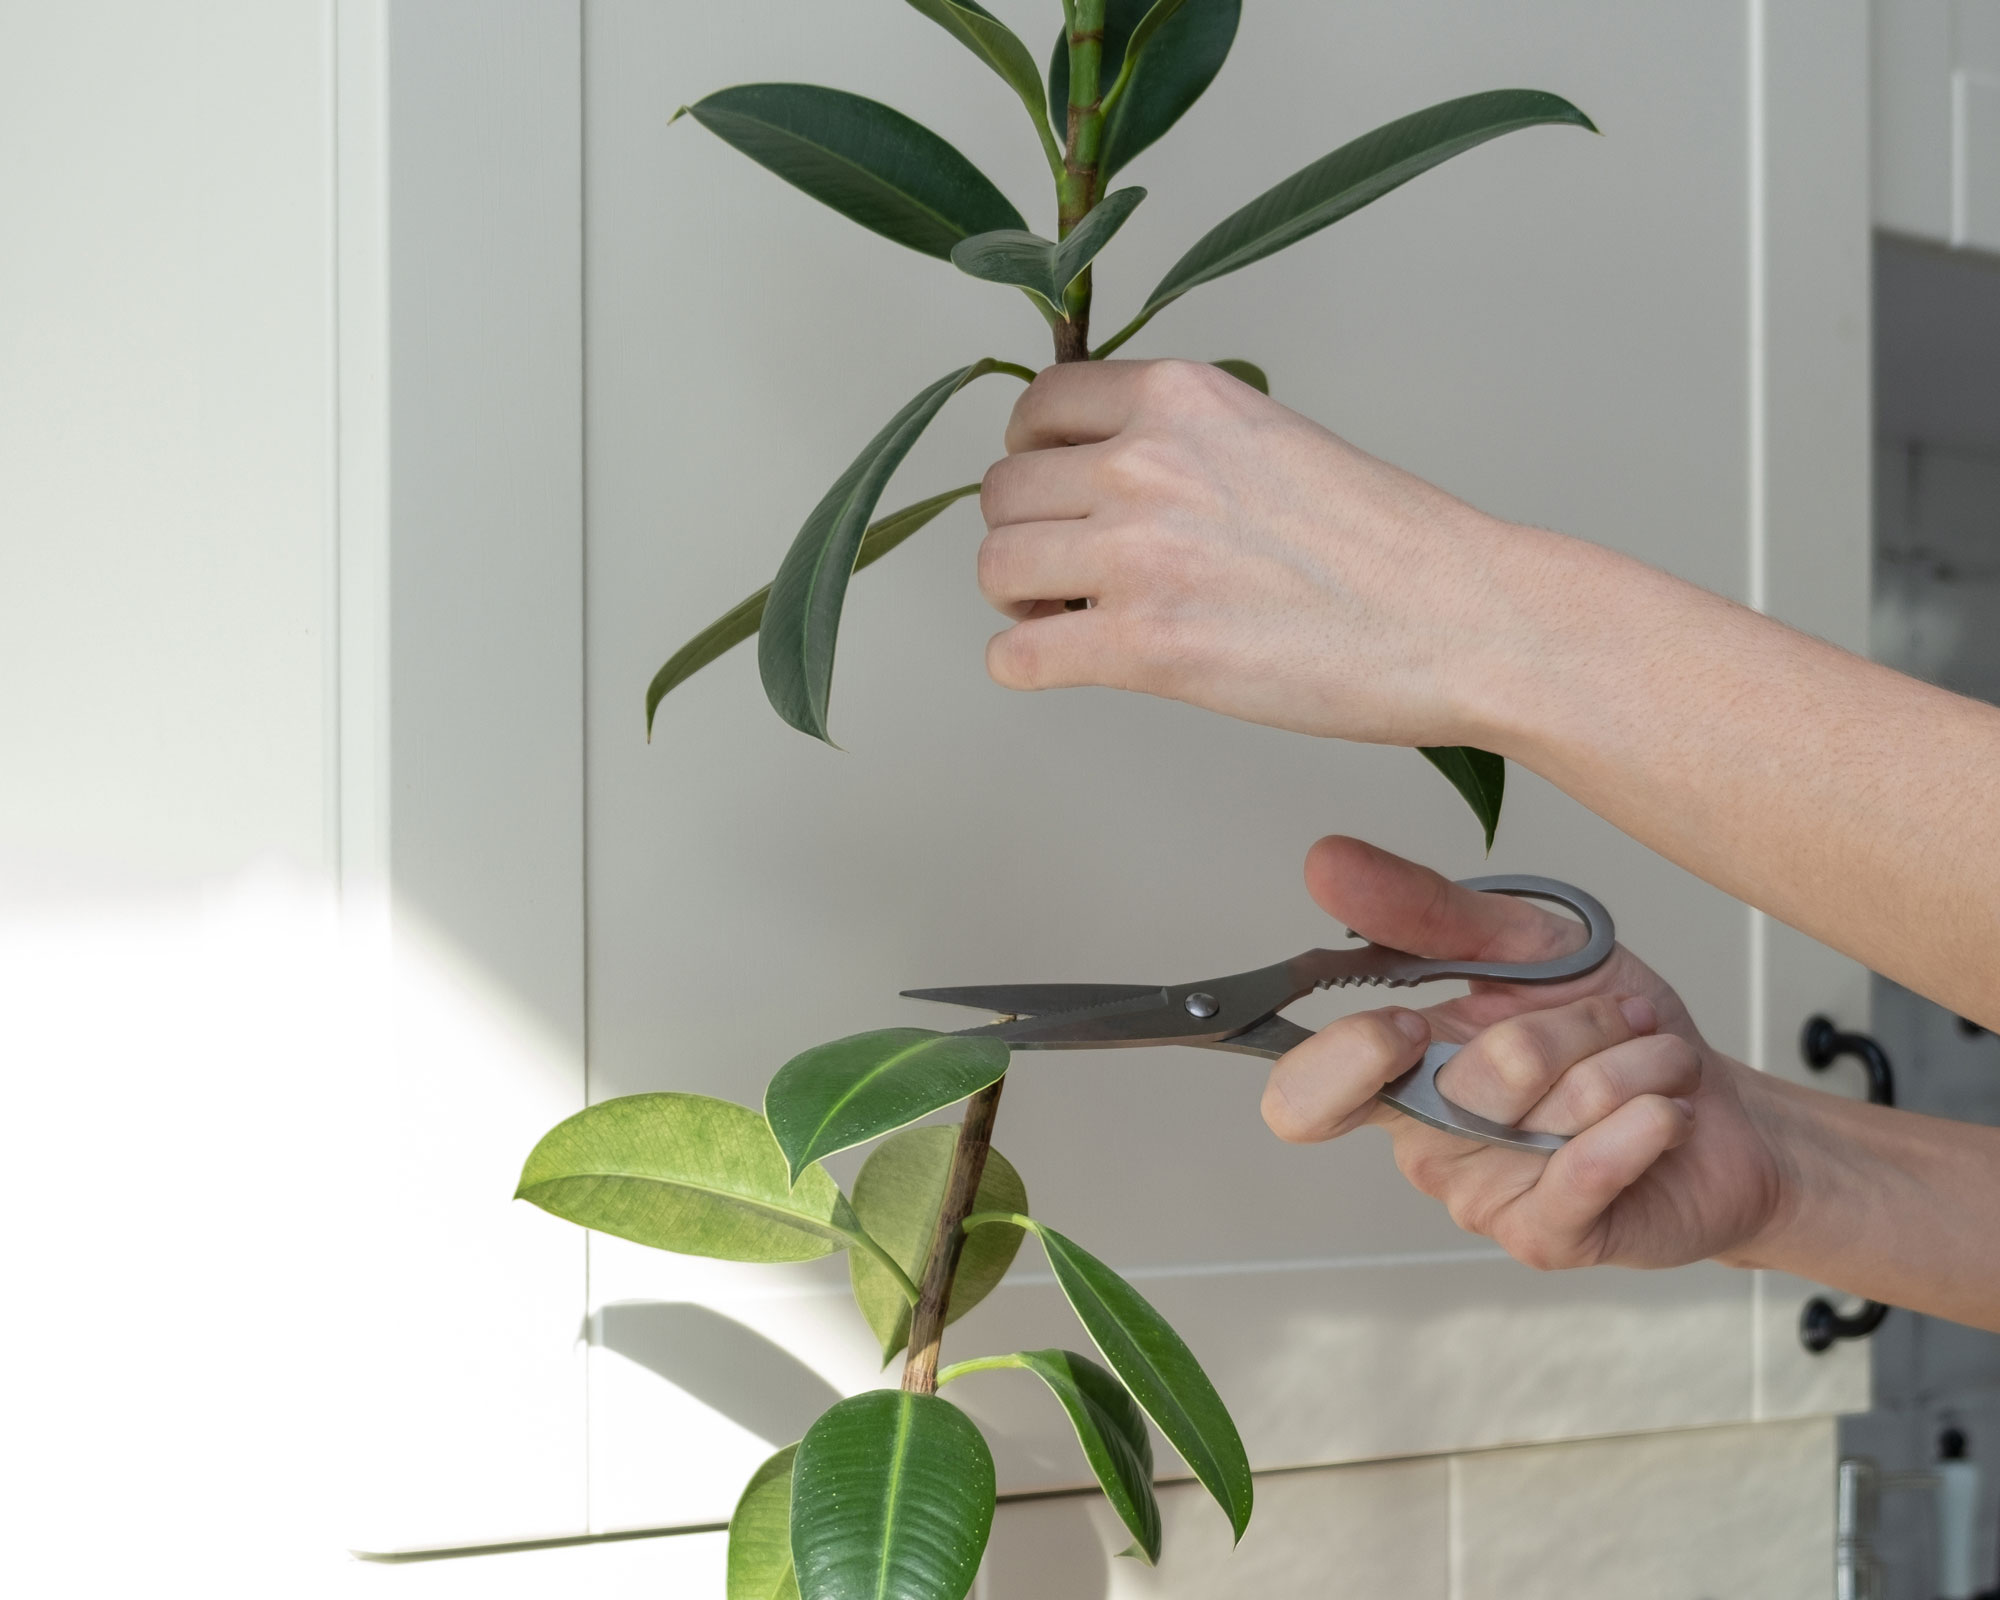
Look at your rubber plant and decide where to take the cutting from. Leggy, elongated stems are a good option. Choose a healthy stem with blemish-free leaves.
Before you make any cuts, work out where the leaf nodes are, as this is where the new roots will eventually grow from.
Cuttings for rubber plant propagation should be about 6in (15cm) long and have at least four leaf nodes for the best chance of success.
Using a sharp knife or the best secateurs make a cut just above a leaf node and one inch below a node.
2. Get the cutting ready
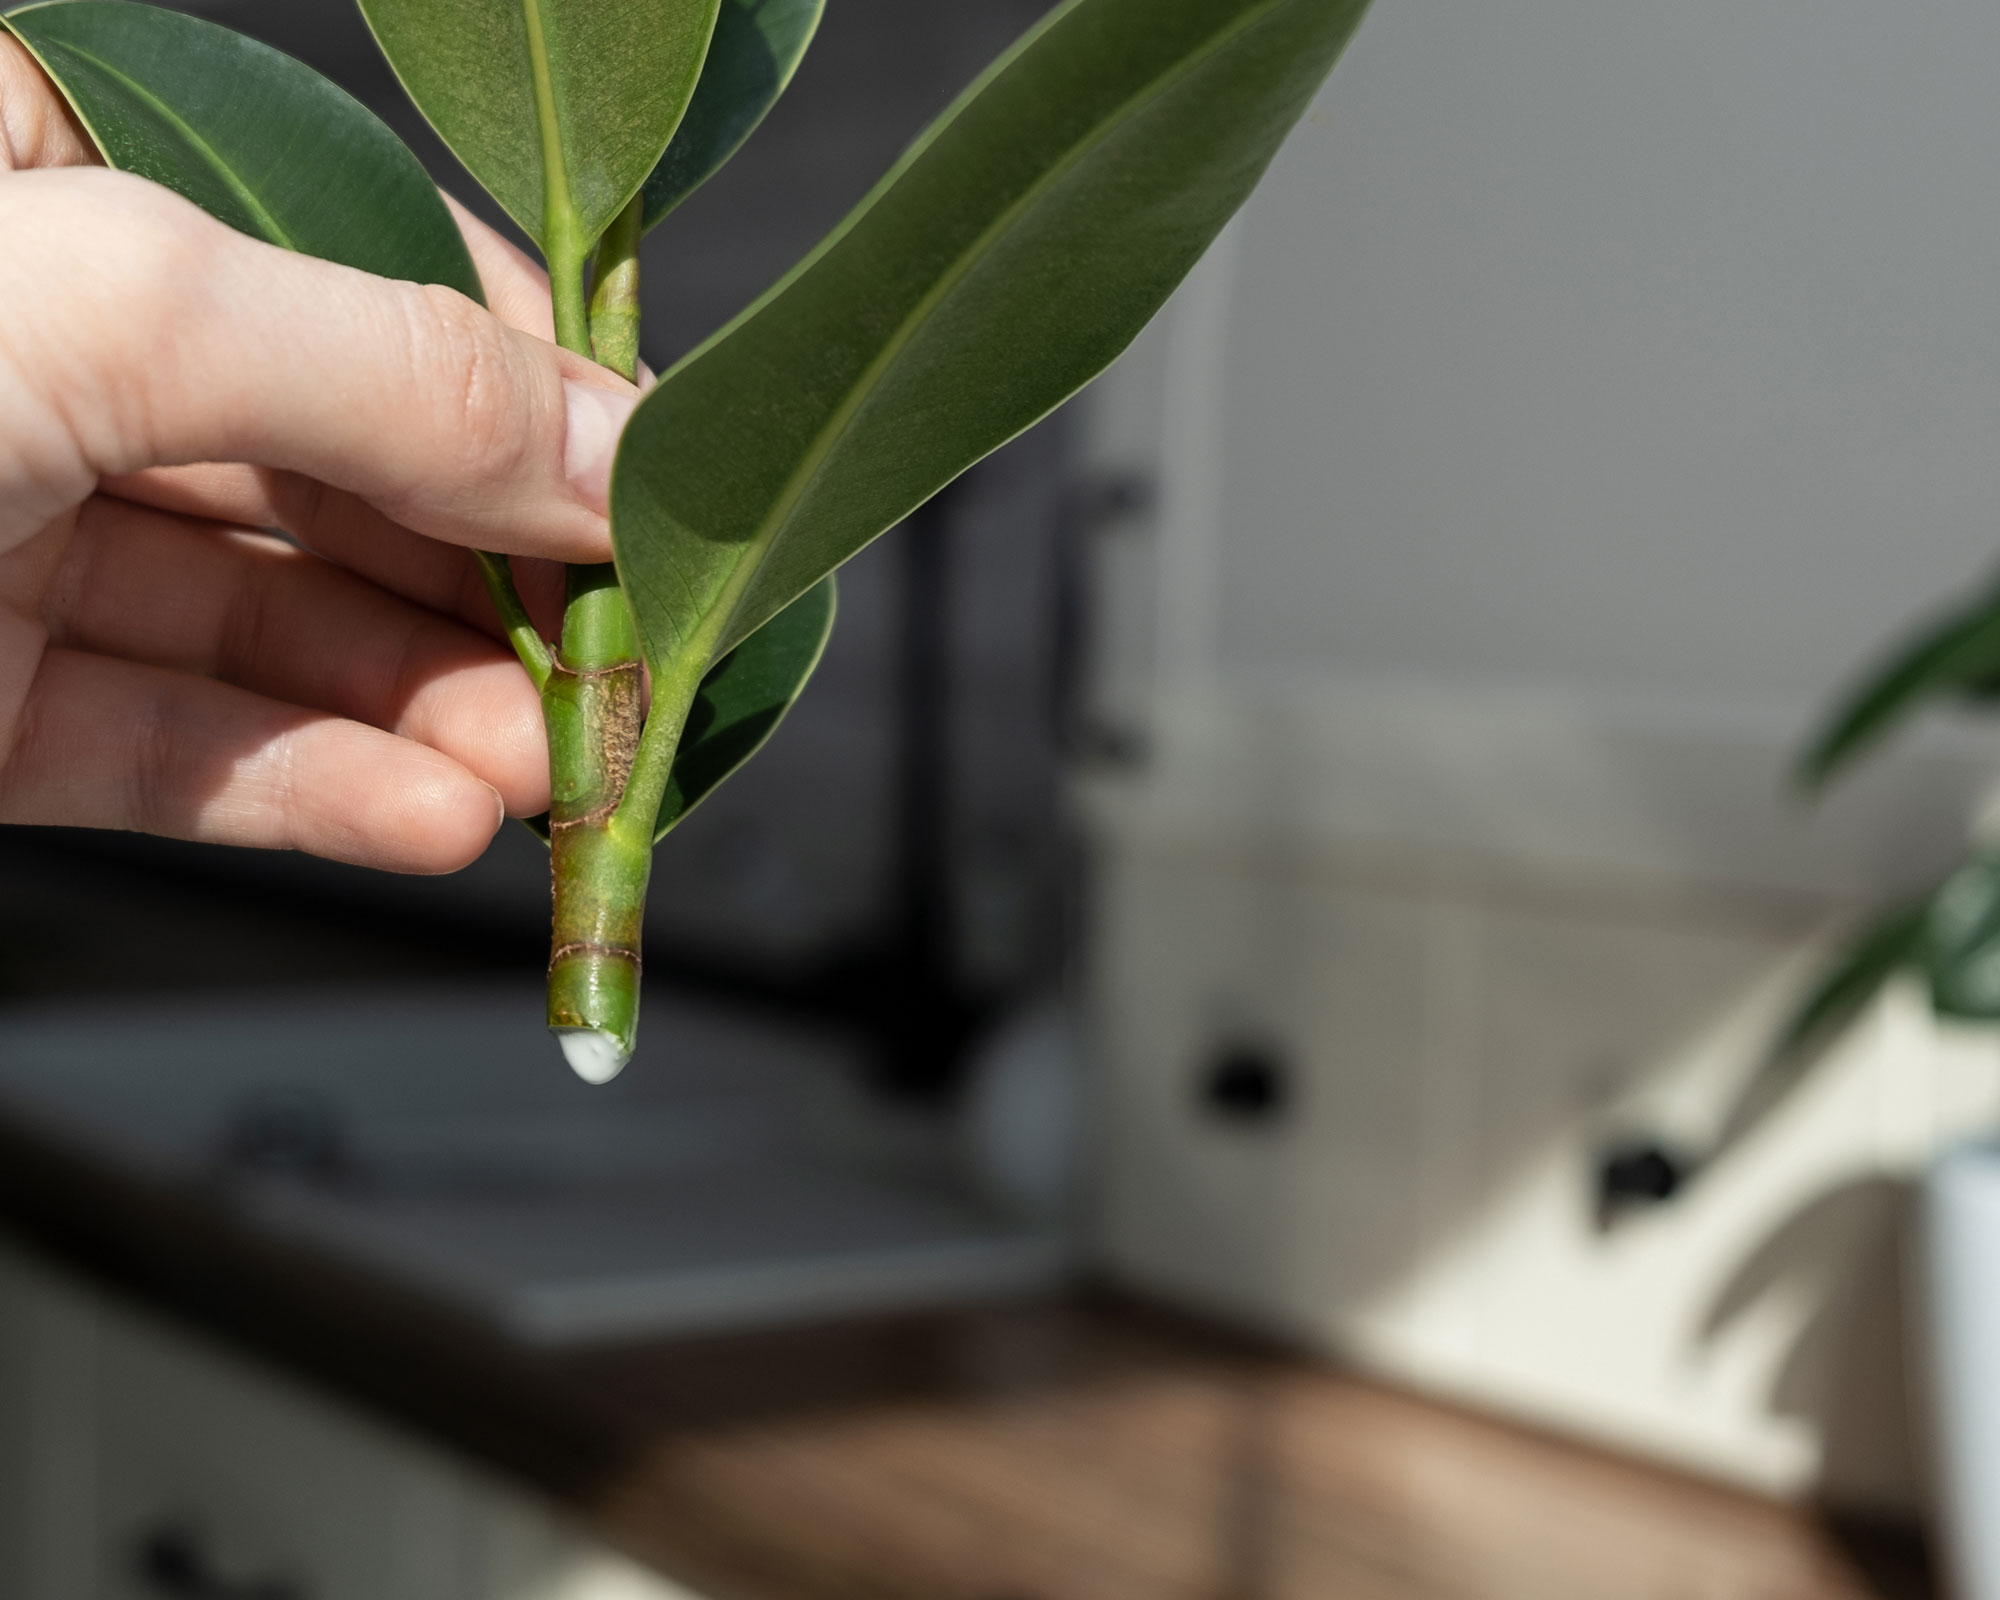
If the cutting is dripping sap, gently pat the cut end of the stem with a paper towel until it stops. Remember to wear gloves for rubber plant propagation just in case.
Remove the bottom leaves from each stem, ensuring that at least one leaf remains at the top of each cutting. Put the cutting in water for 30 minutes.
If the leaf is large you can roll it to form a cylinder, keeping the waxy side outermost, and secure with a rubber band to help reduce moisture loss.
3. Plant up the cutting
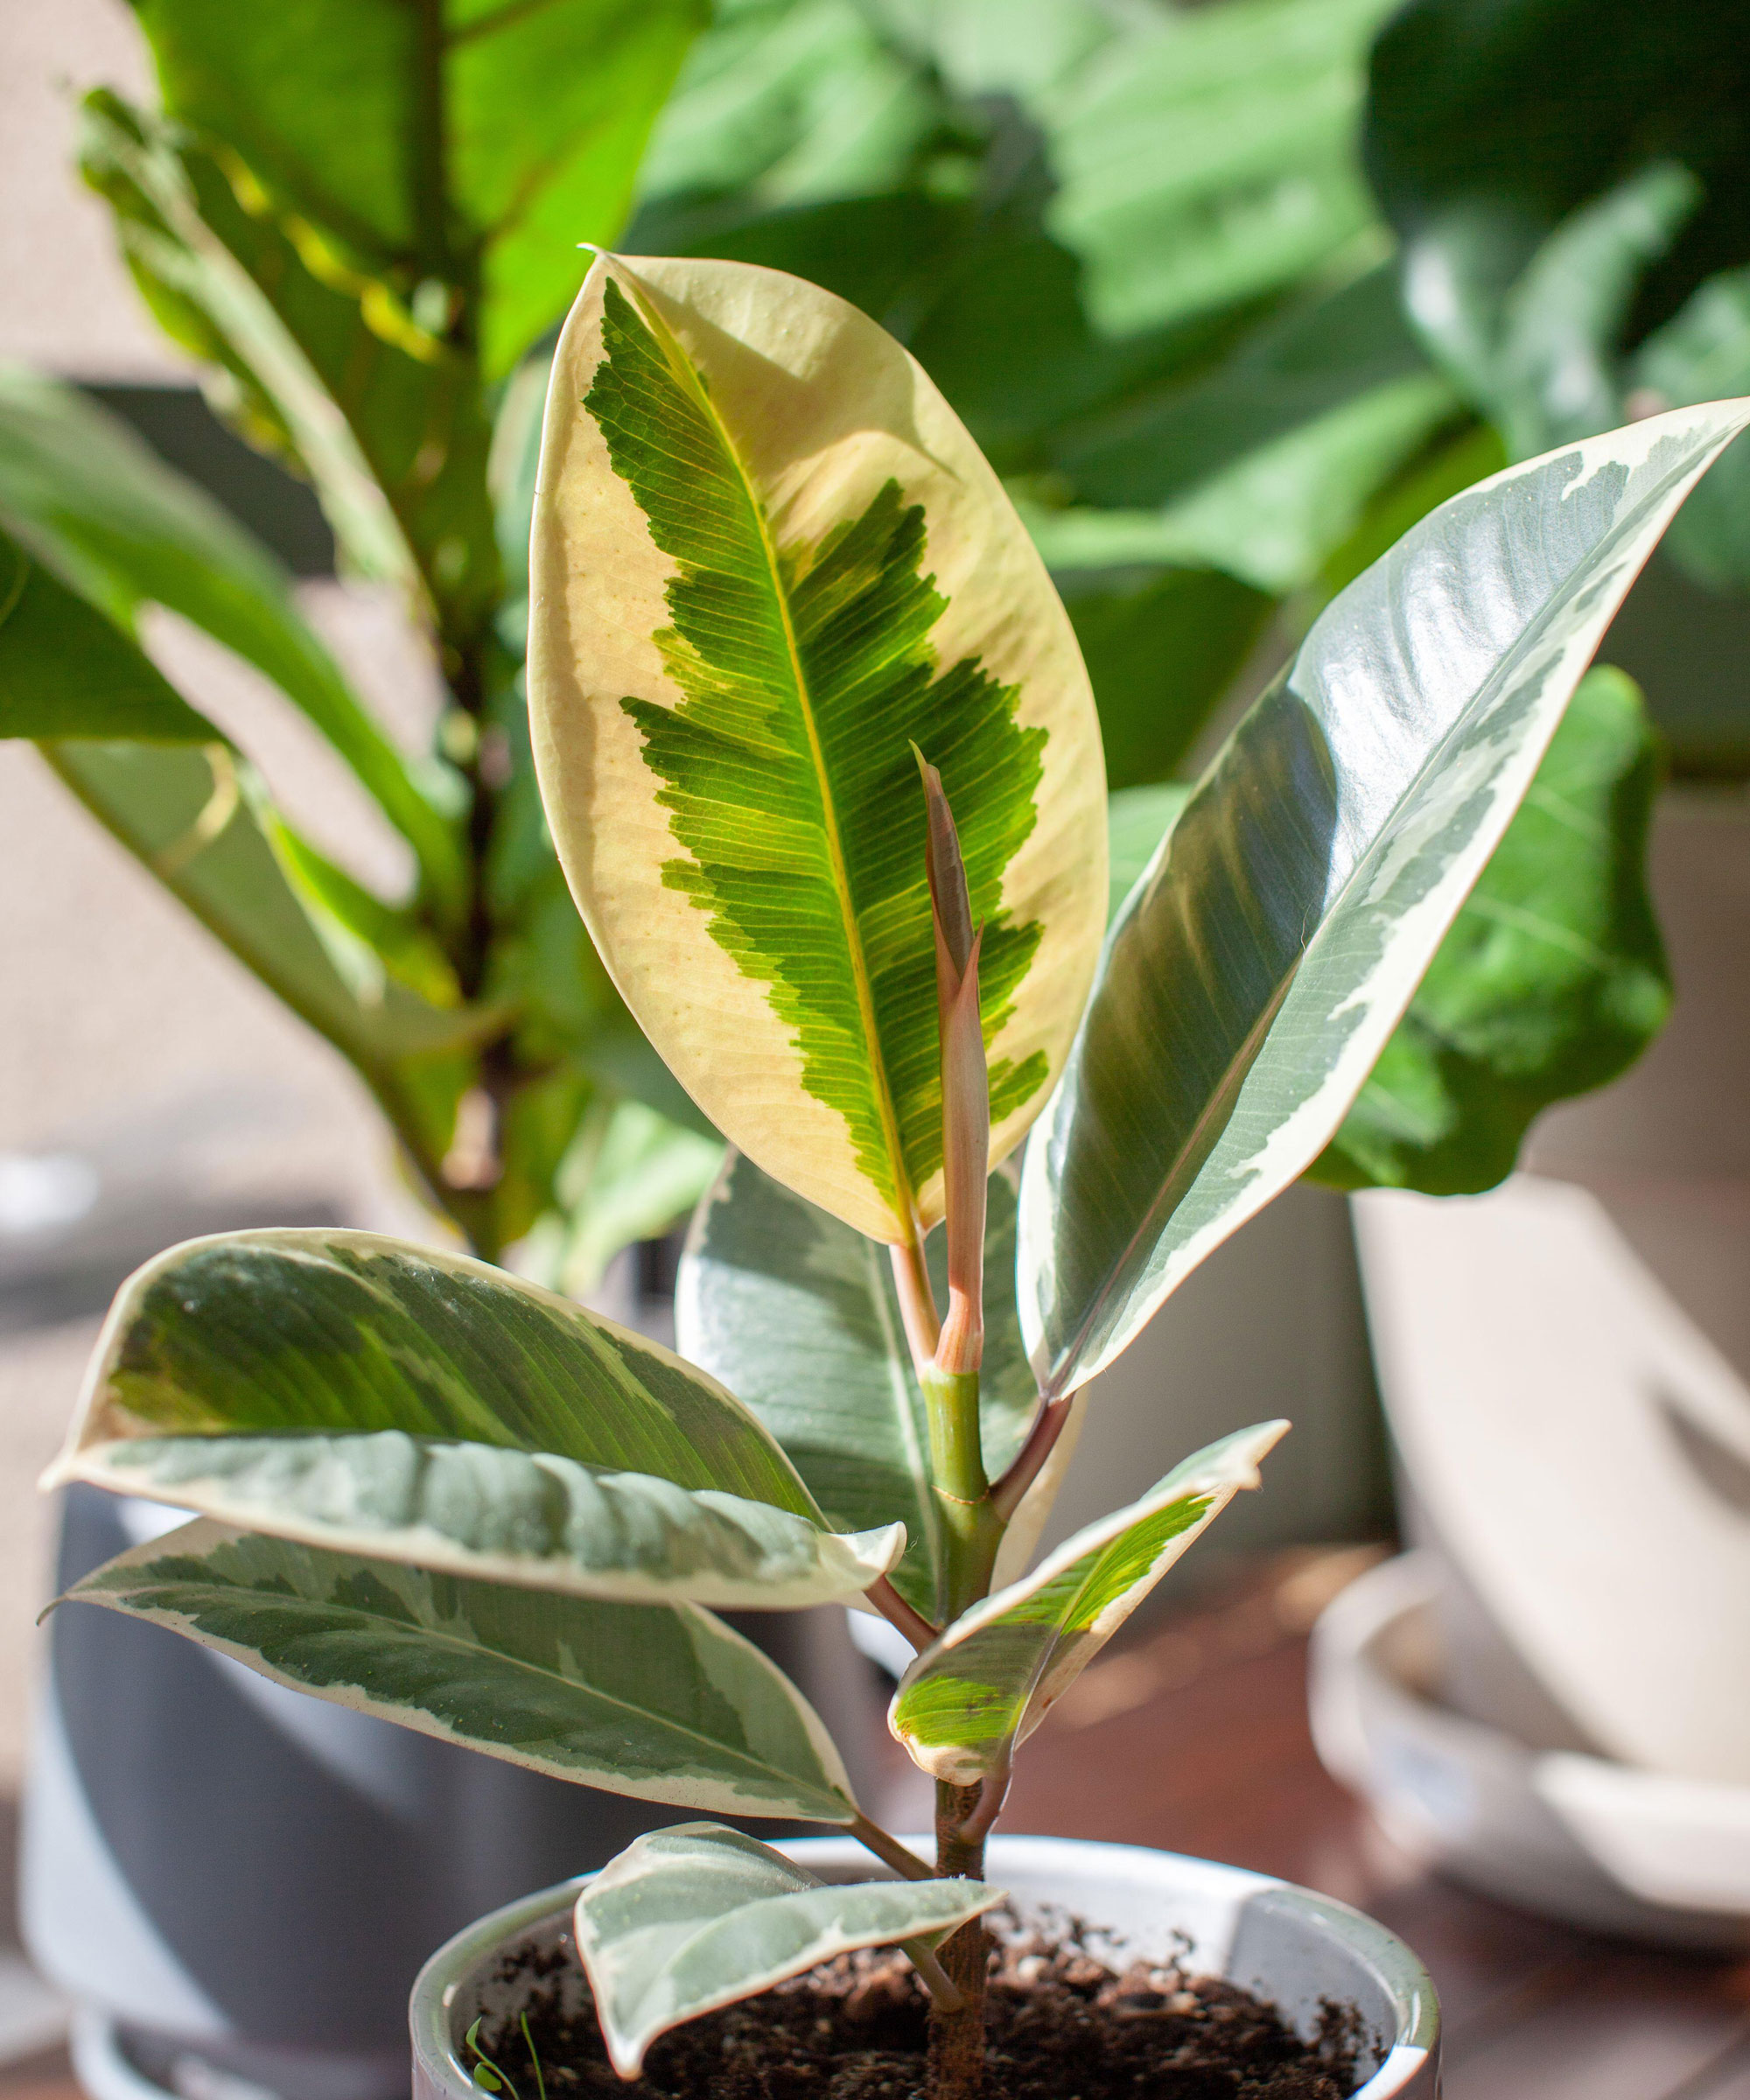
Fill a small plastic pot with a mix of moist potting compost. It's good to add perlite for rubber plant propagation to help drainage.
Before planting, apply a rooting hormone to the exposed end of the cutting. Then, poke a small hole in the center of the compost and push the cutting in, ensuring that the top node sits on the surface. If need be support the cutting with a small stake. Firm the soil around the cutting.
Place a polythene bag over the cutting to create a greenhouse-like environment as rubber plant cuttings need a humid environment to grow.
4. Keep your eye on it

Put the cutting in a warm place avoiding direct sunlight as this will burn the leaves. Mist with water regularly and don't let the soil dry out. This is a similar method for spider plant propagation too.
After four to five weeks, the cutting should begin establishing roots. Try gently pulling it and if you meet resistance it means the roots have taken. Your rubber plant propagation has been a success!
Looking for other houseplants that are easy to propagate too? Aloe vera is a great choice.
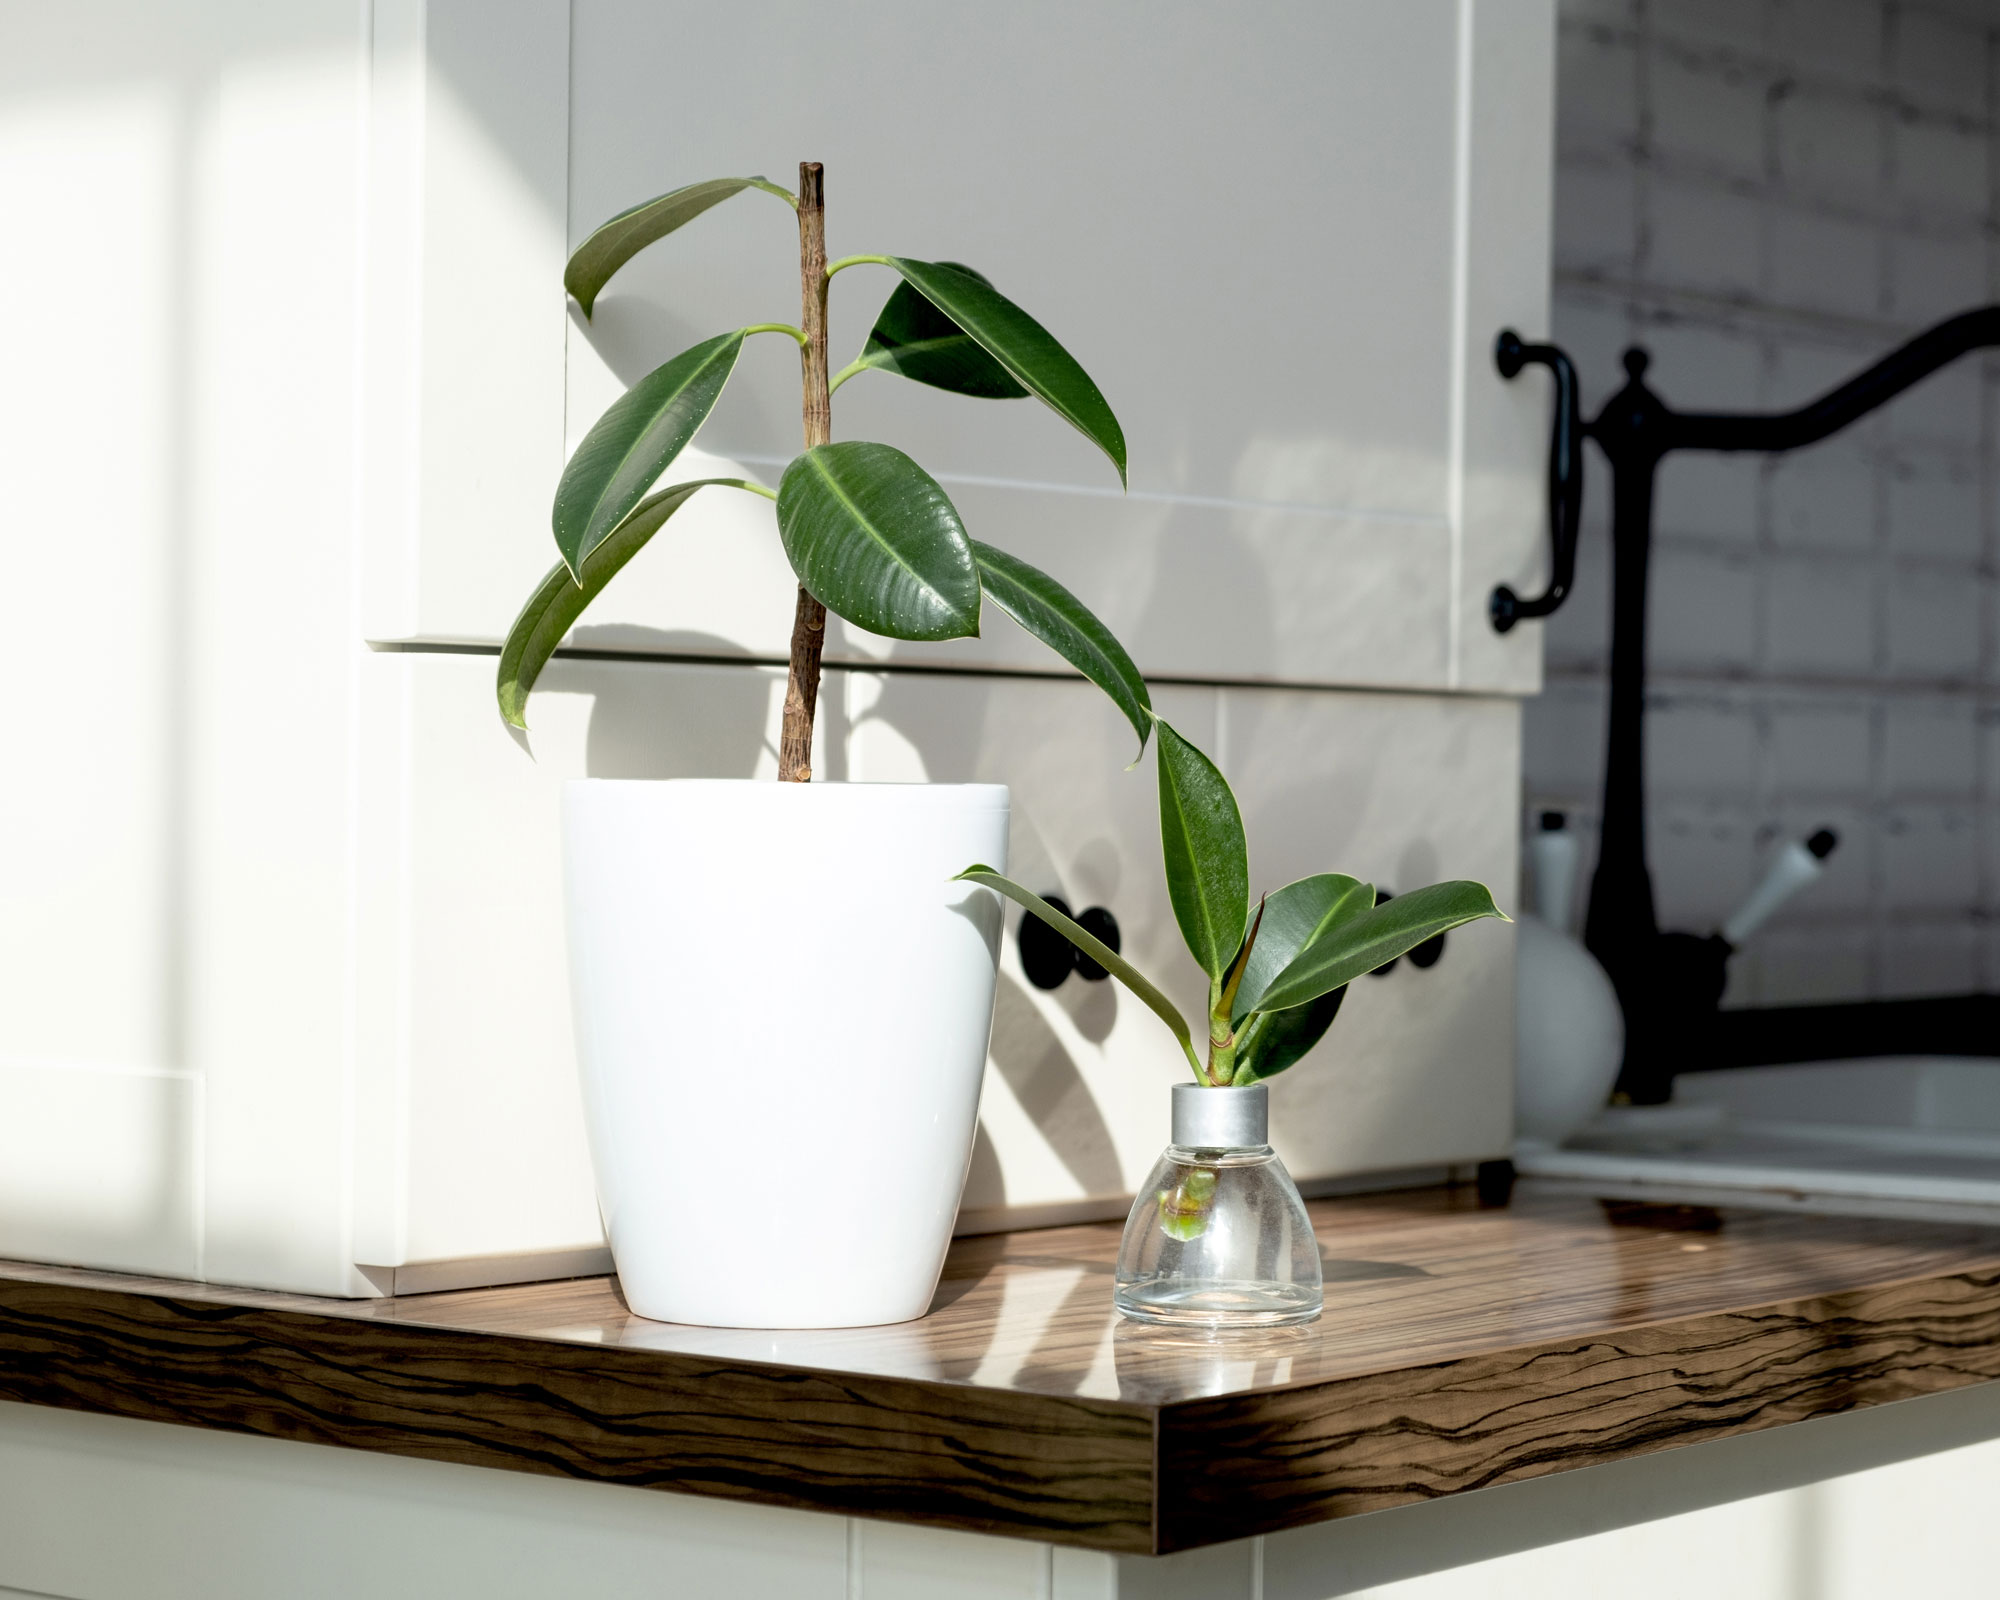
Can you propagate a rubber plant in water?
Rubber plant cuttings can also be propagated in water rather than soil. You can leave the cutting in water for several months, where it will develop roots then you can pot it on afterwards to display as part of your indoor plant ideas. Be sure to change the water weekly.
Rooting the cutting in compost is generally a more reliable method of propagation though as the water method can leave cuttings more susceptible to rot.
What is propagation by air layering?
The first step to rubber plant propagation by air layering is to choose a stem to make into a new plant. The stem should be at least 12in (30cm) long.
Remove any leaves immediately above and below the area where you will be rooting the stem, then cut a 1in (2.5cm) wide circular strip of bark all the way around the stem leaving the hard center intact.
Dust this section of stem with rooting hormone and fill around with damp sphagnum moss, then cover with plastic to help keep it damp.
In three to four weeks, the cut section of the rubber plant should have developed roots. After it has developed roots, cut the rooted stem from the mother plant and repot the new plant.
When is the best time to propagate rubber plants?
As with most houseplants, rubber plant propagation is best done from early spring to late summer, during their active growing period. Plants that are propagated in the fall or winter may not grow or recover as quickly, although it can still be done.
Get in the propagation habit and start expanding your indoor garden ideas by learning about propagating succulents too.


Lifestyle journalist Sarah Wilson has been writing about gardens since 2015. She's written for Gardeningetc.com, Livingetc, Homes & Gardens, Easy Gardens and Modern Gardens magazines. Having studied introductory garden and landscape design, she is currently putting the skills learned to good use in her own space where the dream is establishing a cutting garden.
