Plaiting garlic: expert advice for mastering the traditional technique
Plaiting garlic is easy – and will help your crop last longer and store better, so follow these expert tips

Plaiting garlic has been part of the traditional way of storing garlic for centuries. It's a great way to ensure that your garlic crop will keep in good condition for many months to come, without the need for refrigeration.
If you're learning how to grow garlic, then these expert tips for plaiting your crop are for you. After all, you've gone to all the trouble of raising your crop, now is the time to make sure it will keep. To say nothing of the nice rustic look plaited garlic will add to your kitchen or pantry.
Plaiting garlic: expert tips

First of all, you need to know which garlic you've been growing in your raised garden beds to determine whether you'll be able to plait it. Lucy Chamberlain, garden expert at Amateur Gardening, explains that you're looking for 'long-keeping, softneck varieties – these are the ones that 'will keep well into spring this way.' If you have hardneck garlic, you're best off storing it in a cool, dry place in a basket.
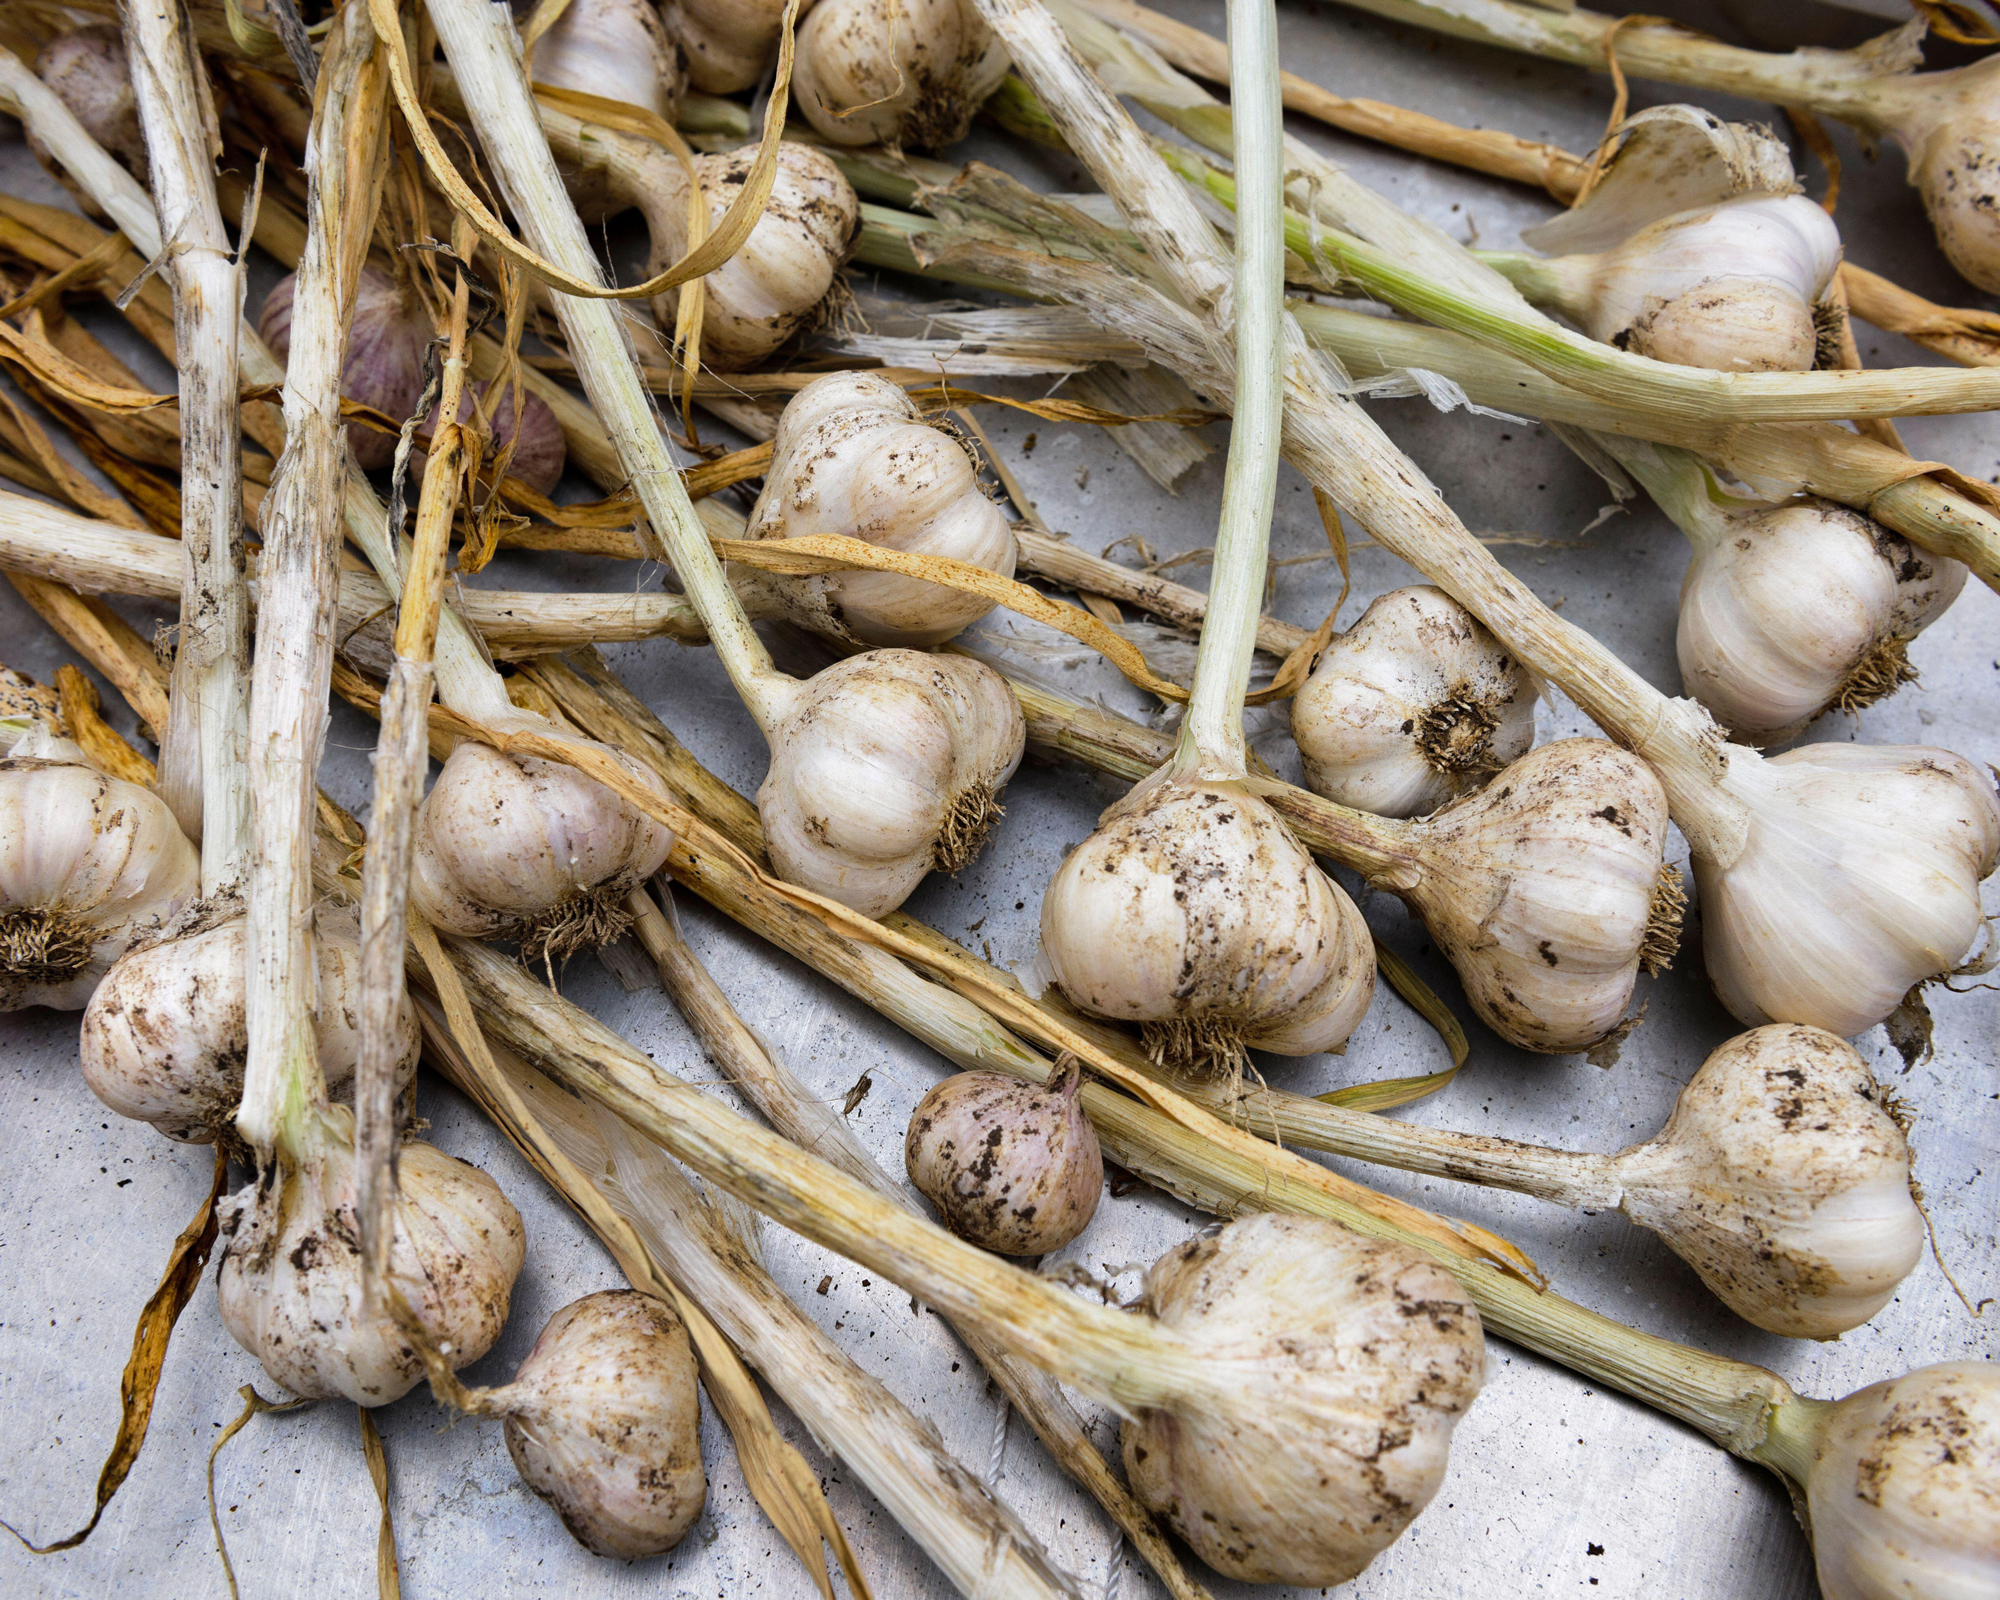
The first step before plaiting garlic is to 'pick through your bulbs, discarding (or using up) any that are damaged – preserve only blemish-free garlic for plaiting.' It's important to do this step thoroughly because garlic that is damaged or blemished is more likely to rot and spoil your whole garlic batch.

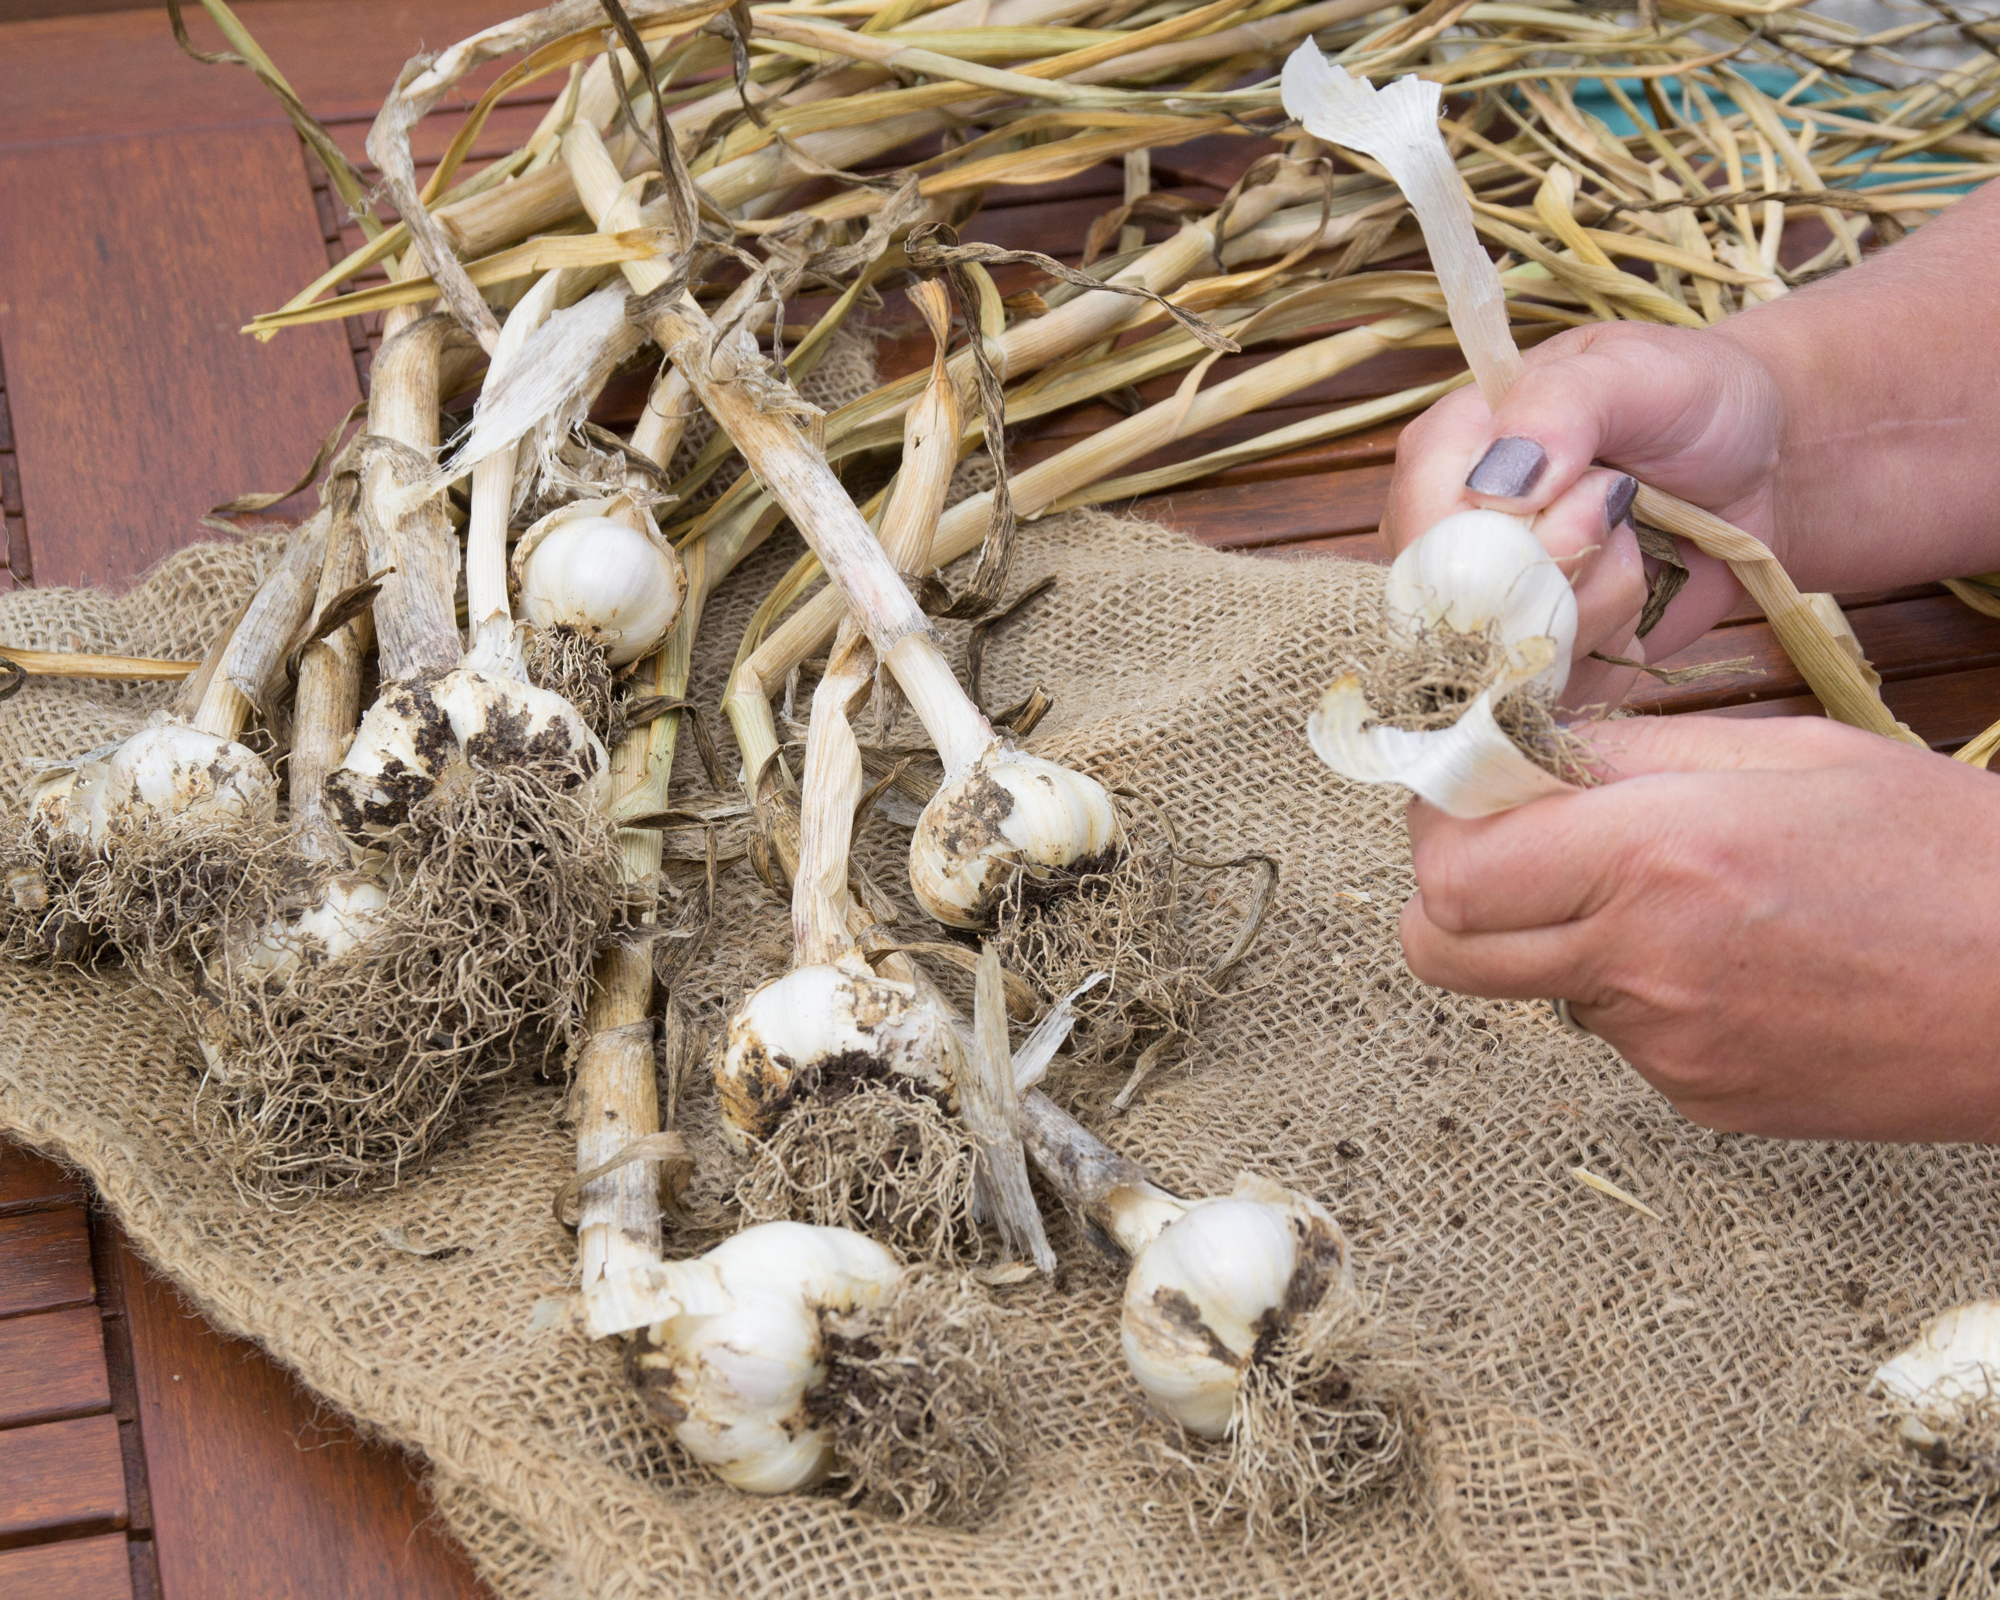
Next comes the cleaning stage. Lucy recommends cleaning off 'all loose foliage' and 'trimming the roots'. You want your garlic bulbs to be firm, clean, without any flakes on the surface. Now, begin plaiting, which Lucy advises doing on top of a table.
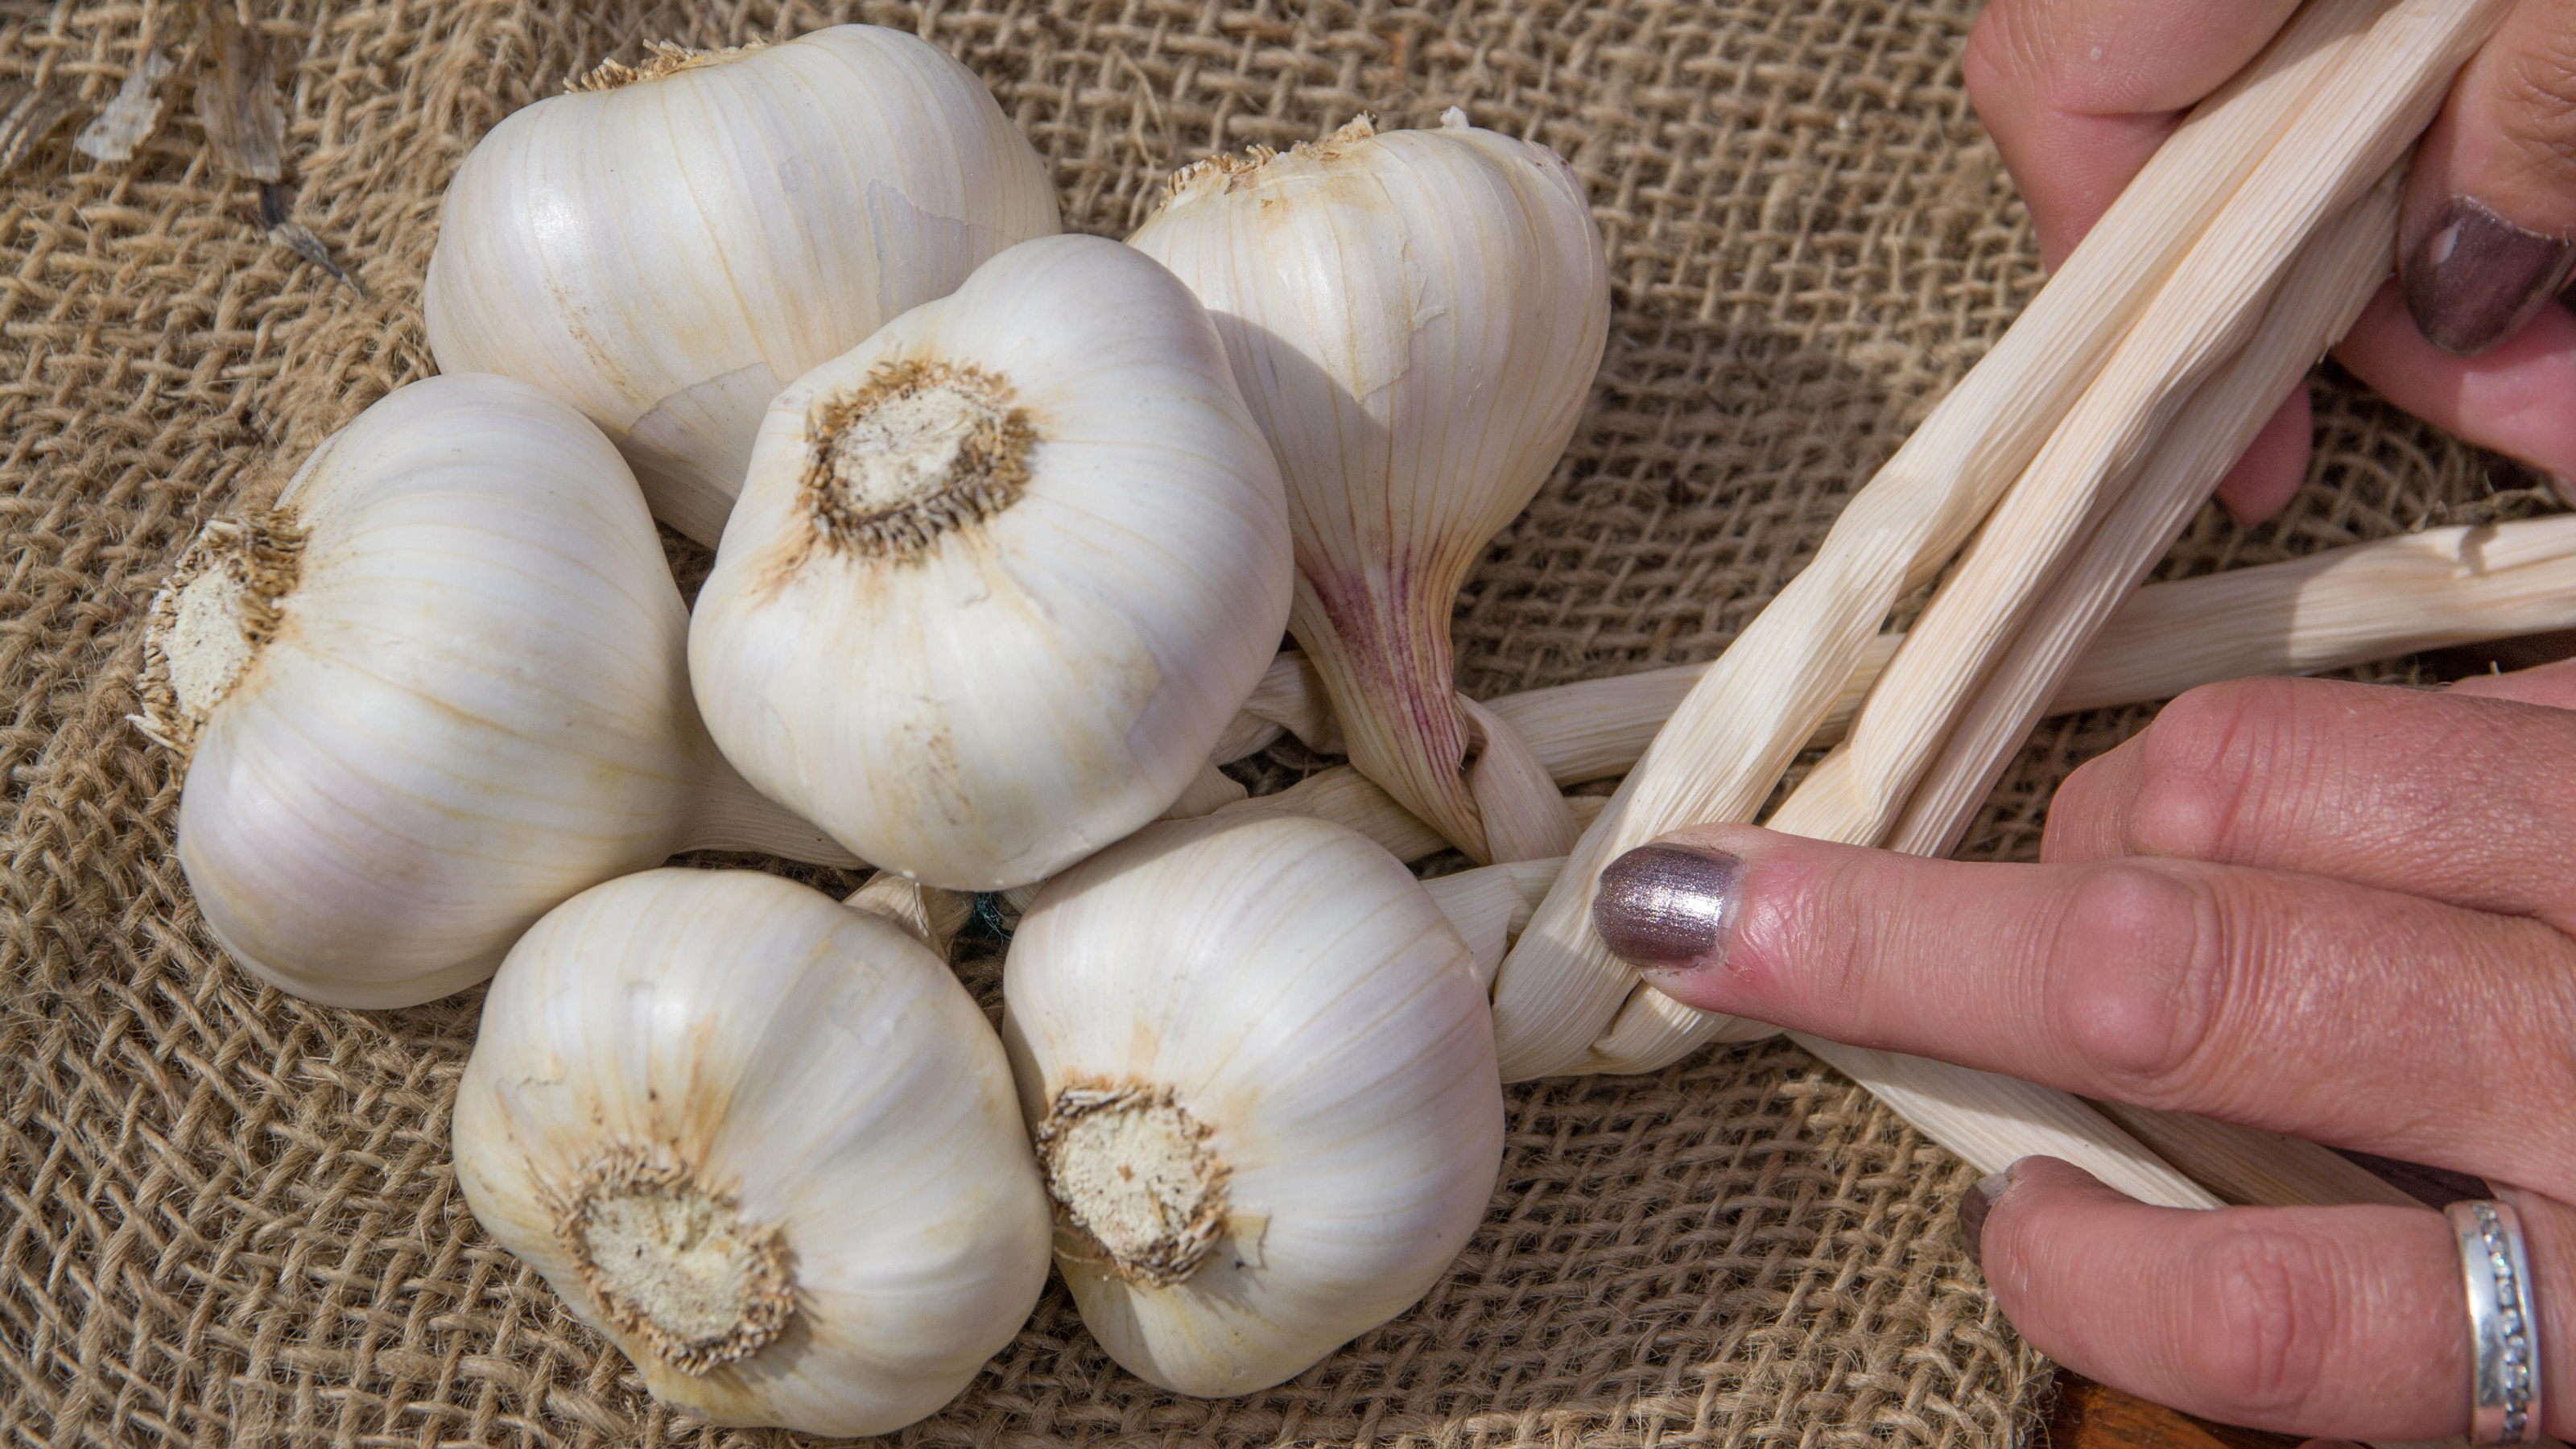
Here's the technique: 'Tie three garlic bulbs together firmly to form the base – position the middle bulb slightly lower than the other two.'
'Now begin plaiting, working the outer stems alternately into the middle area. As you work, add in more garlic bulbs and clump these stems together in threes so that the plait continues. Trim or tie off once complete.' You want to do it like you mean it – tie firmly so that you get a nice, tight bunch, though it's also a good idea to avoid pulling too hard, or the stems could snap off.
You can also tie the top bit into a loop, using twine to secure it. This makes hanging easier. That's it, your plaited garlic is ready for winter storage. Just clip off garlic heads as you need them.
Where should I hang plaited garlic?
The ideal temperature for storing garlic is 60–65°F (15–18°C), without too much humidity. If your kitchen is regularly hot and steamy, you may consider hanging your garlic in a pantry, garage, or greenhouse. Even the hallway will do. If you live in an area with frost-free winters, you could also consider hanging your garlic outside on a garden wall. Just bear in mind that garlic that has been kept in cold conditions will start sprouting a few days after being brought into the warm.
Anna writes about interior design and gardening. Her work has appeared in Homes & Gardens, Livingetc, and many other publications. She is an experienced outdoor and indoor gardener and has a passion for growing roses and Japanese maples in her outside space.
