What causes orchid root rot and how do you solve it?
Discover the causes of orchid root rot so you can prevent this common problem from killing your plant

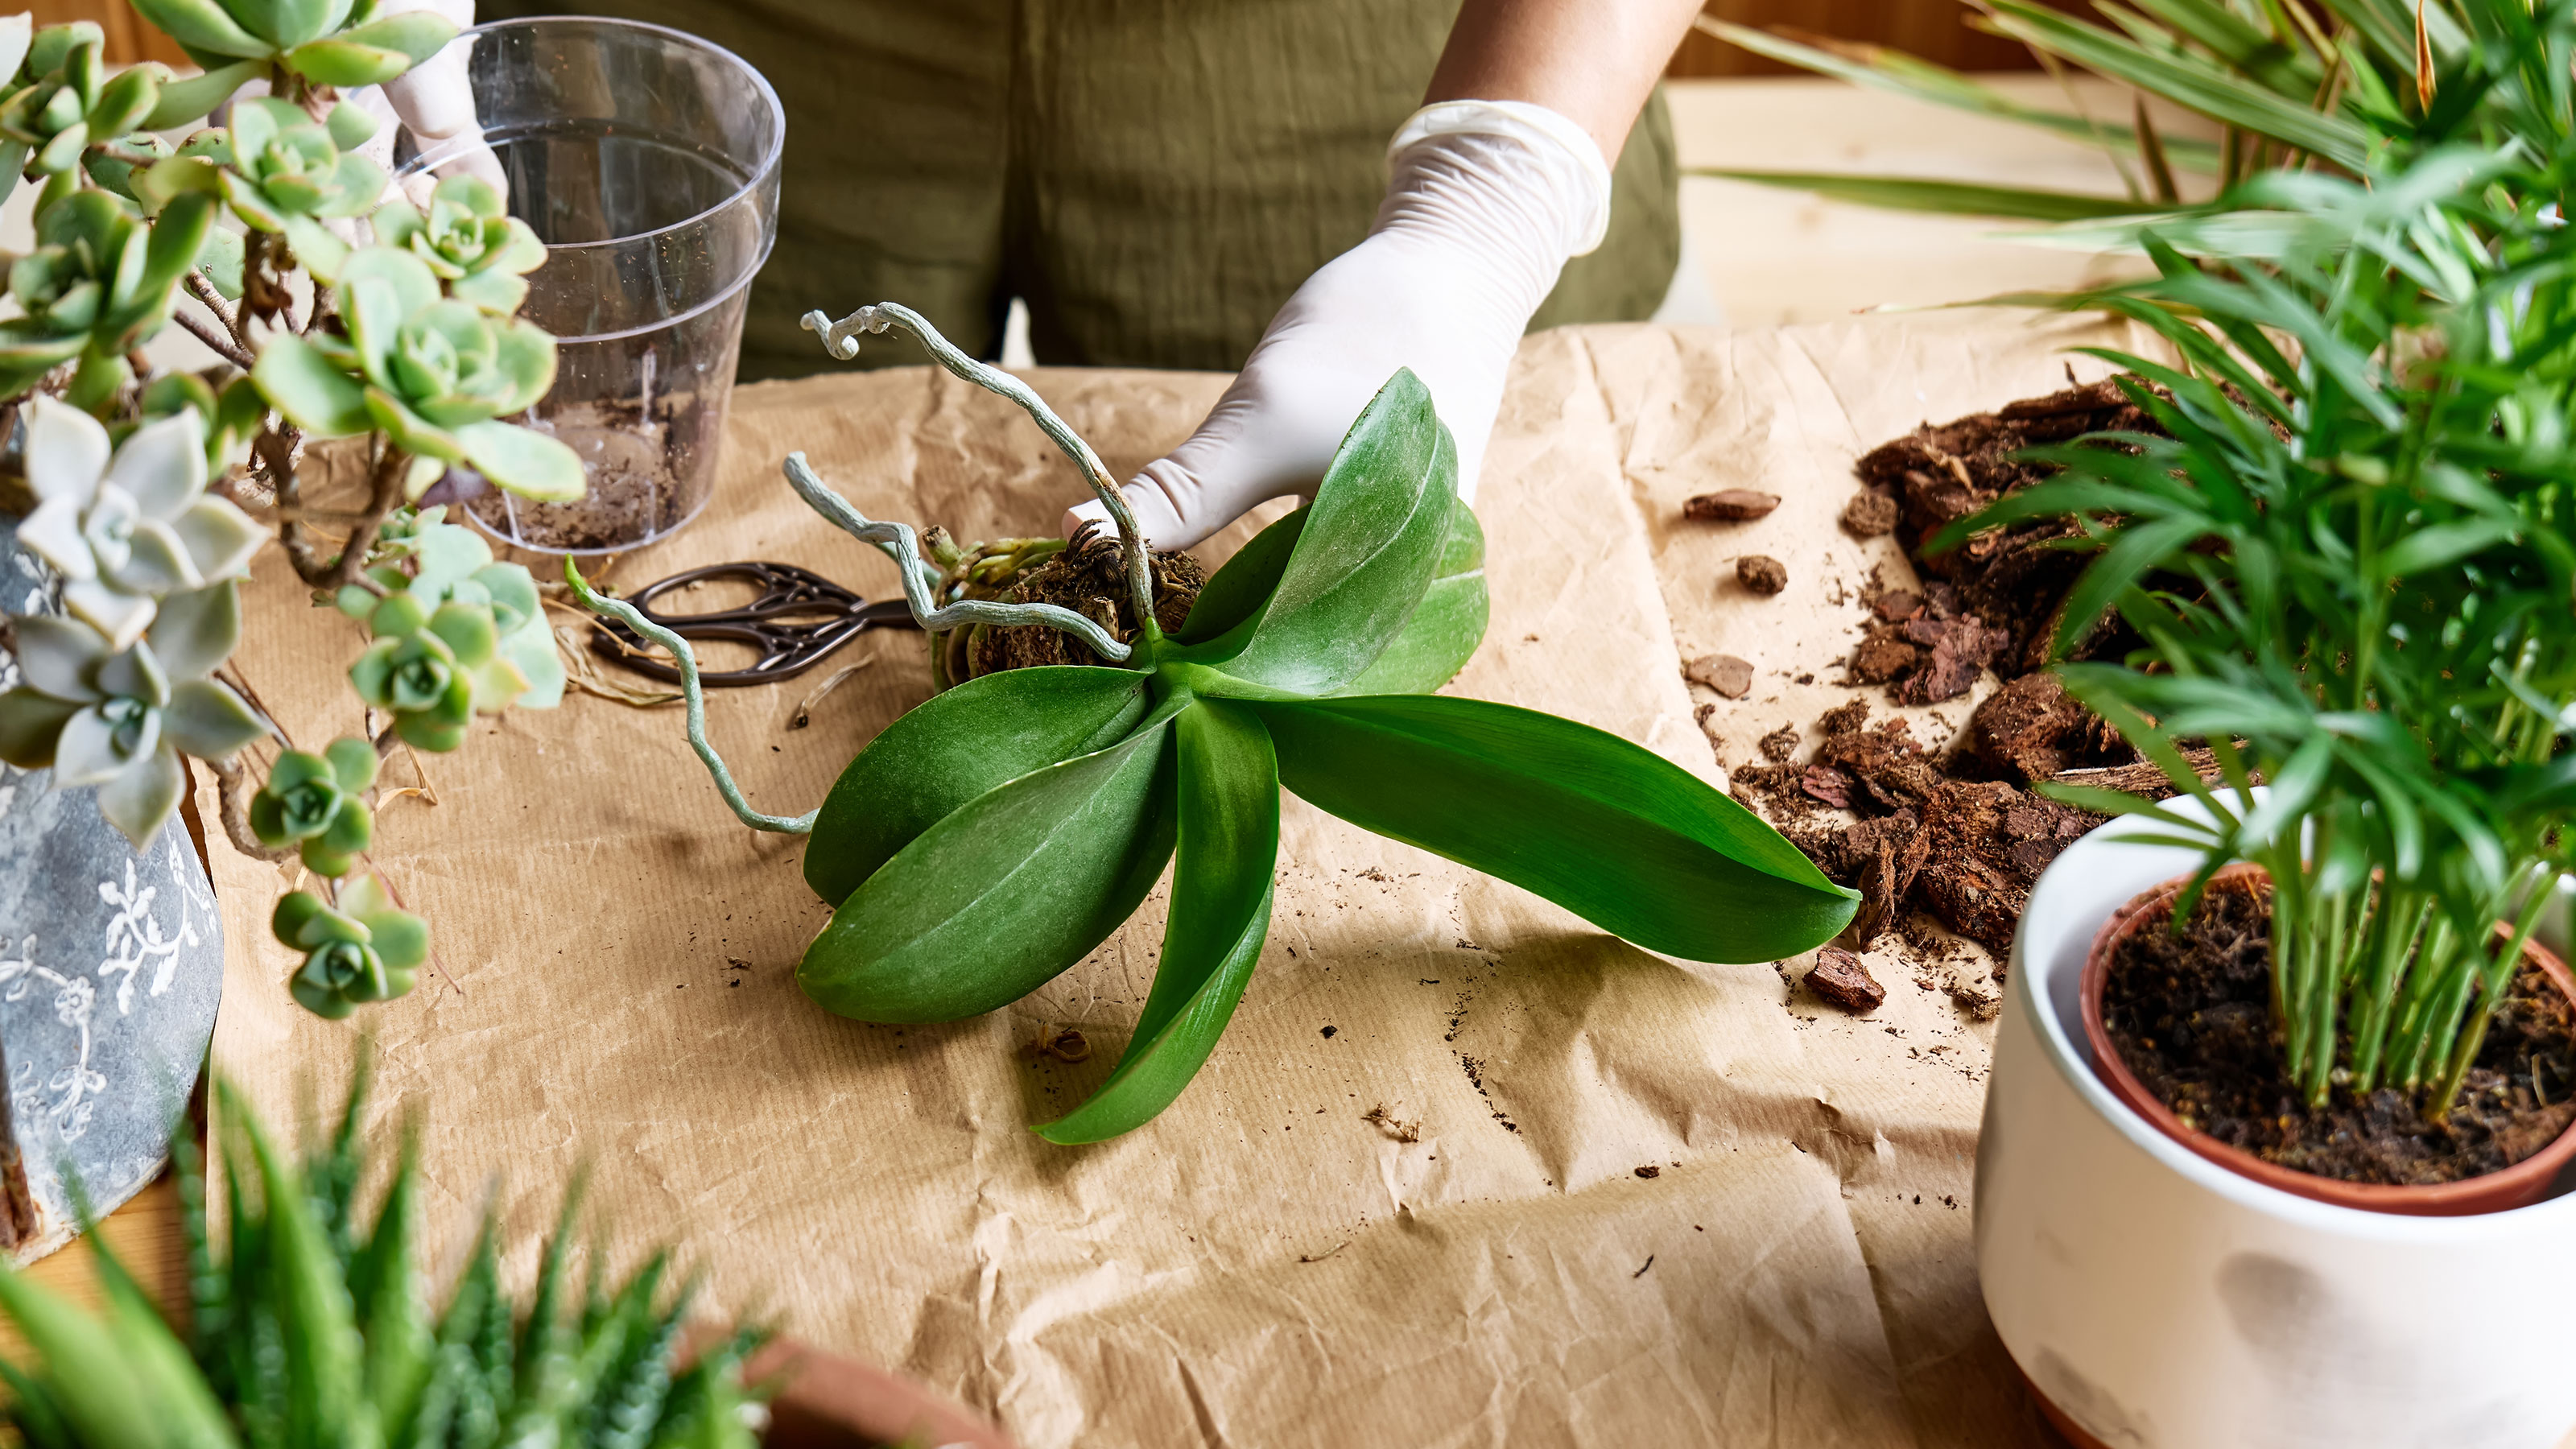

Orchid root rot is a common problem with these popular plants, and can be caused by a number of things such as overwatering or a fungal infection. The good news, however, is that an orchid with root rot can usually be saved if you spot it quickly and take action to fix the problem.
Orchids are susceptible to root rot because they need a very free-draining potting mix. Around 70% of the 28,000 species grow as epiphytes – on trees – so have hardly any growing medium around their roots, just a few dead leaves, twigs, or some moss, which prevents them drying out completely.
Epiphytes’ roots are adapted to this. For example, Phalaenopsis (moth orchids) and Vanda roots store water in a thick, outer layer called velumen. The sponge-like cells absorb water, and vapor from the air, until it is needed. When velumen is full of water it looks green, then as it dries out it becomes silver. Only water your Phalaenopsis once the roots have become silvery – if they look green, don’t water!
What does orchid root rot look like?
Whatever type of orchid you are growing, if your plant is suffering from orchid root rot, there are a couple of telltale signs to look out for.
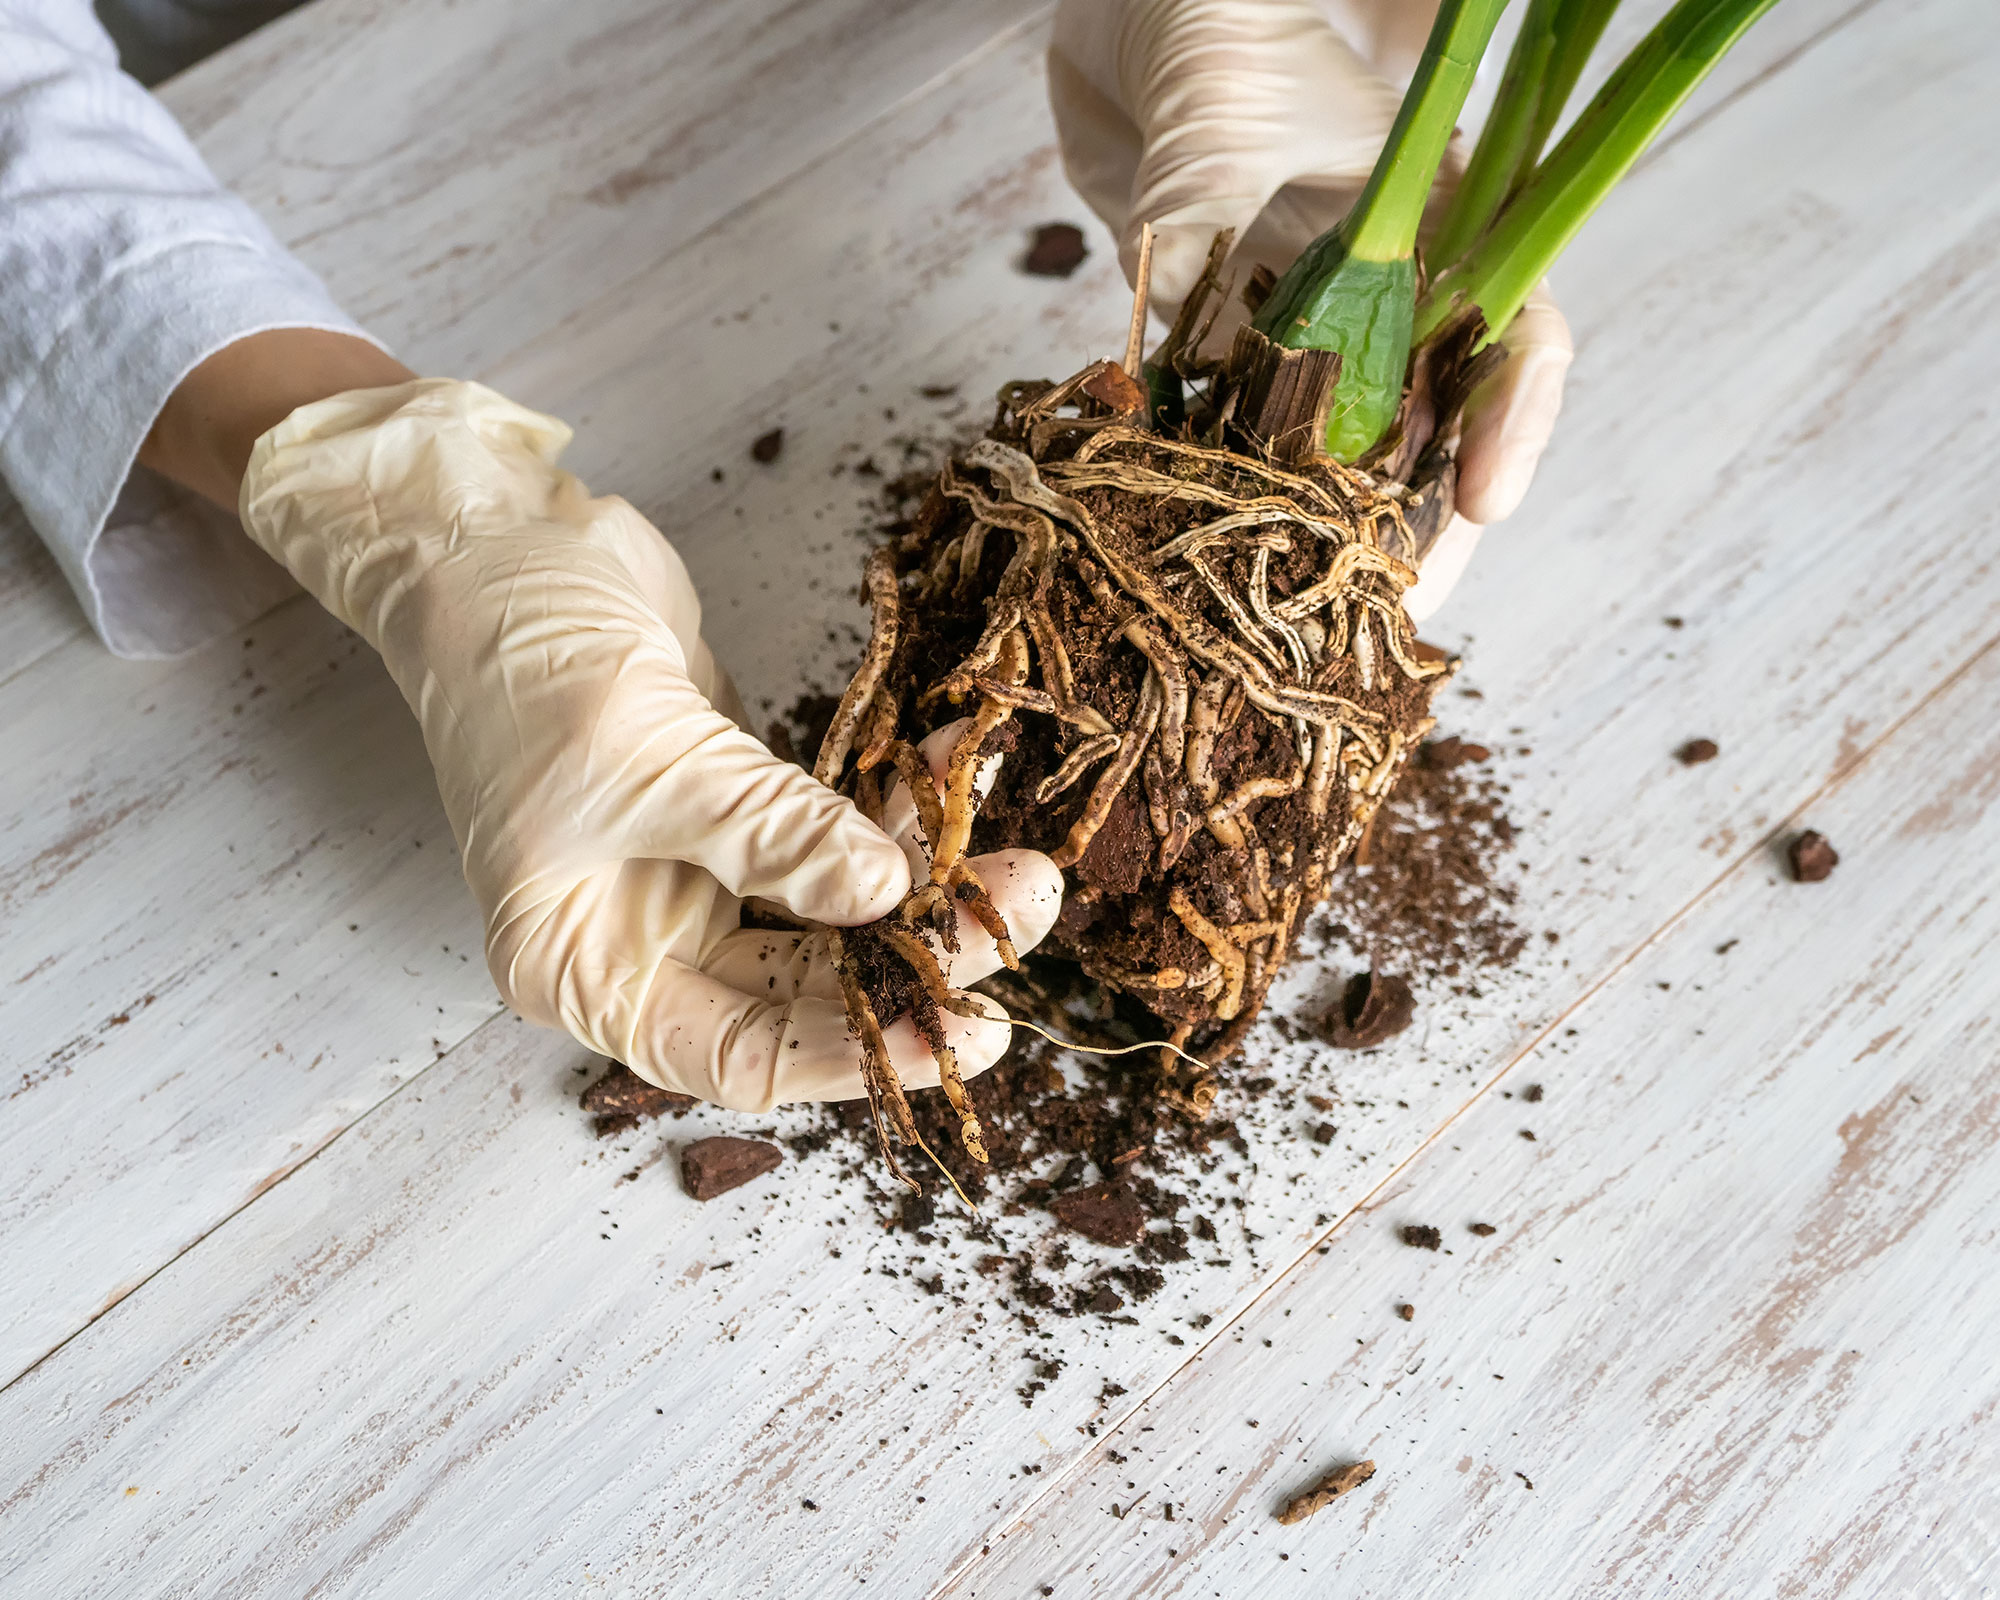
- Some, or all, of the orchid's roots will be soft, mushy, brown or darker than usual.
- The leaves are limp and wrinkled. Remember that an overwatered plant looks like an underwatered one – in each case, leaves wilt because the roots can’t take up water.
What causes orchid root rot?
There are three main causes of orchid root rot. Once you know what these are it should make it easier to prevent the problem occurring.
1. Overwatering
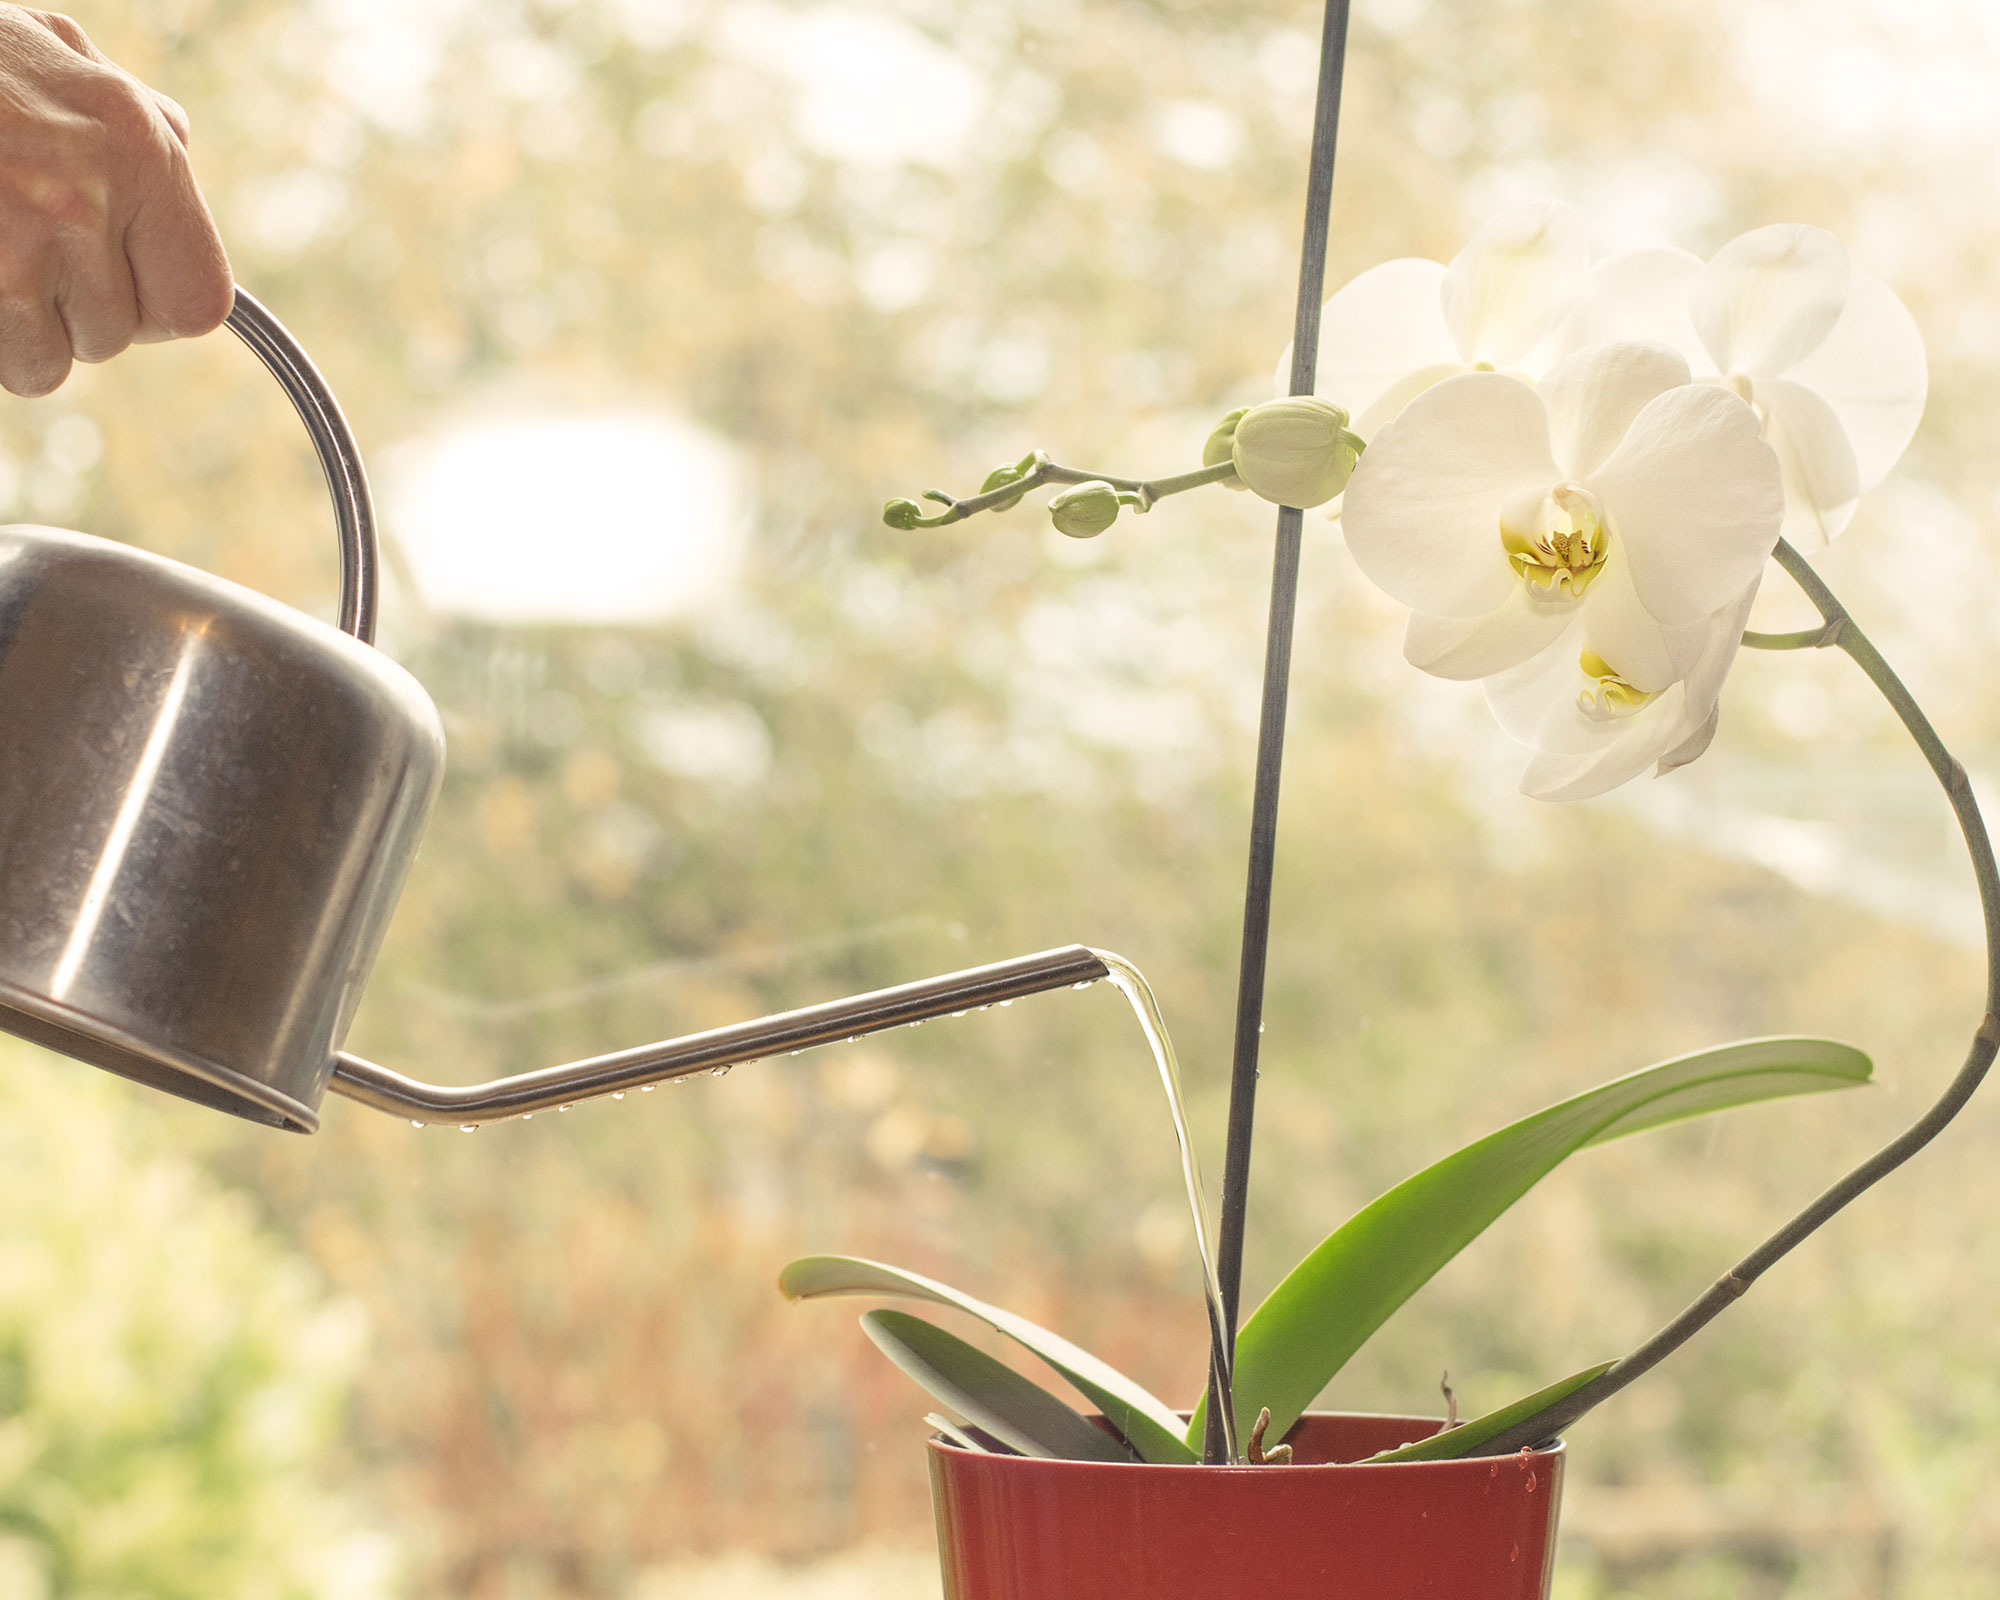
This is the usual cause of orchid root rot. It can be caused by watering plants too frequently or allowing your plant to stand in water for more than 20 minutes.
Overwatering can also be caused by the breakdown of the potting mix leading to it holding on to water, and reducing air around the roots.
To make sure you don't overwater your orchid, aim to water it about once a week. If it only dries out enough to need watering every two to three weeks, you need to repot it into fresh potting mix (see below). And if that doesn’t resolve it, increase the drainage.
It's worth noting that even if the top surface of your soil is bone dry, the center of your pot can still be wet. A quick way of checking to see if your potting mix is actually dry is to take a bamboo skewer and gently insert it, taking care to avoid the roots. Twist it a few times then remove to see where there are moisture marks on the skewer as this will indicate the moisture level in your pot.
Overwatering can also be one of the main reasons your orchid leaves are drooping or turning yellow too.
2. Watering late in the day or in the evening
Always water your orchid in the morning, unless you have exceptionally good air movement, such as in a breezy spot outdoors in Florida. According to The American Orchid Society, this ensures that the water will 'have evaporated from the foliage and crown by nightfall' and there is therefore less risk of it rotting the roots.
If you grow epiphytic orchids under a roof outside, in USDA Hardiness Zone 11, 10, or similar, they may be exposed to heavy rainfall, which can eventually rot the roots. Move them so you control the amount of water they get, and when.
3. Infection
Infection and pests can be one of the main reasons why your orchid is dying from root rot. This is more common in a greenhouse where humidity is high, or outdoors in areas with a hot, wet, growing season, such as Florida.
Both fusarium wilt and rhizoctonia root rot are fungal diseases that are hard to control and spread easily. If your orchid succumbs to either of these, it is often best to throw the plant away.
There's a small chance you could rescue the plant by isolating it, disinfecting all your tools and repotting your orchid in fresh compost, cutting off all dead and dying material. Apply a fungicide drench after repotting, such as Thyomil (available at Amazon) or Hydrogen Peroxide 3% (H2O2) - also available at Amazon. Reapply two weeks later, and regularly through hot, wet weather.
Repairing orchid root rot
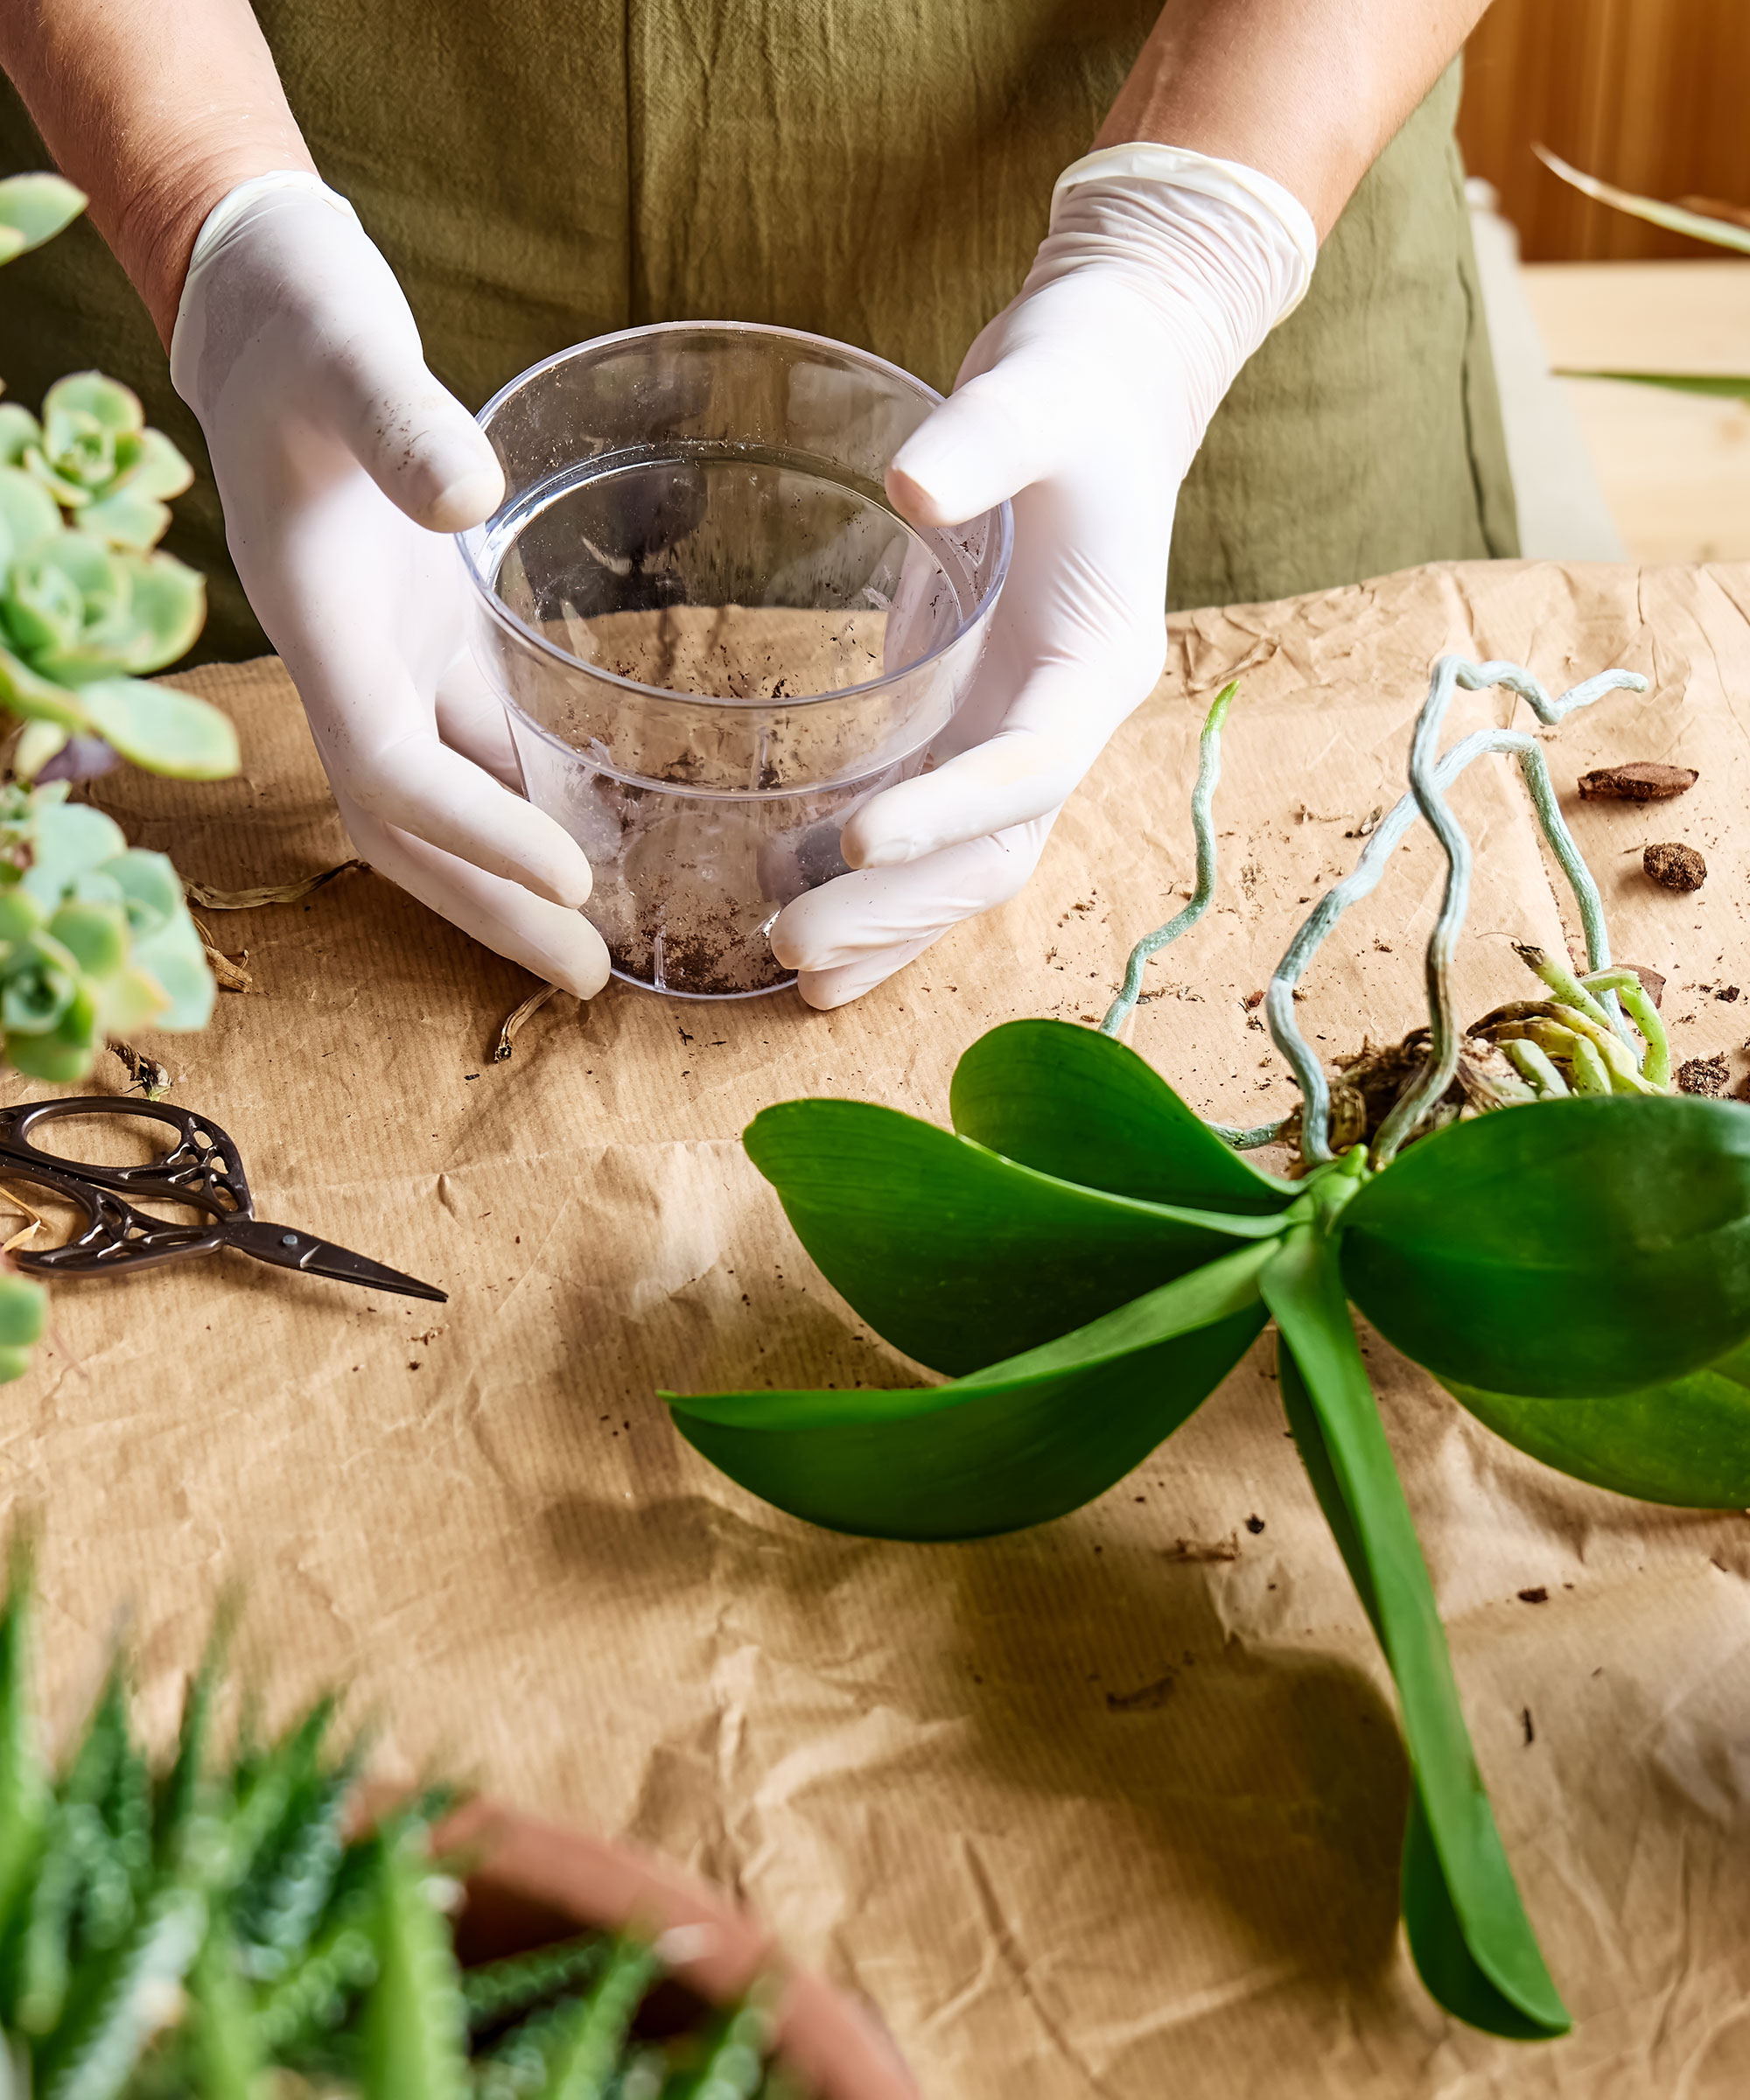
If your plant already has orchid root rot, the best option is to repot it into new potting mix. For most orchids, repot just as new leaf growth starts, ideally before new roots emerge so they don’t get damaged.
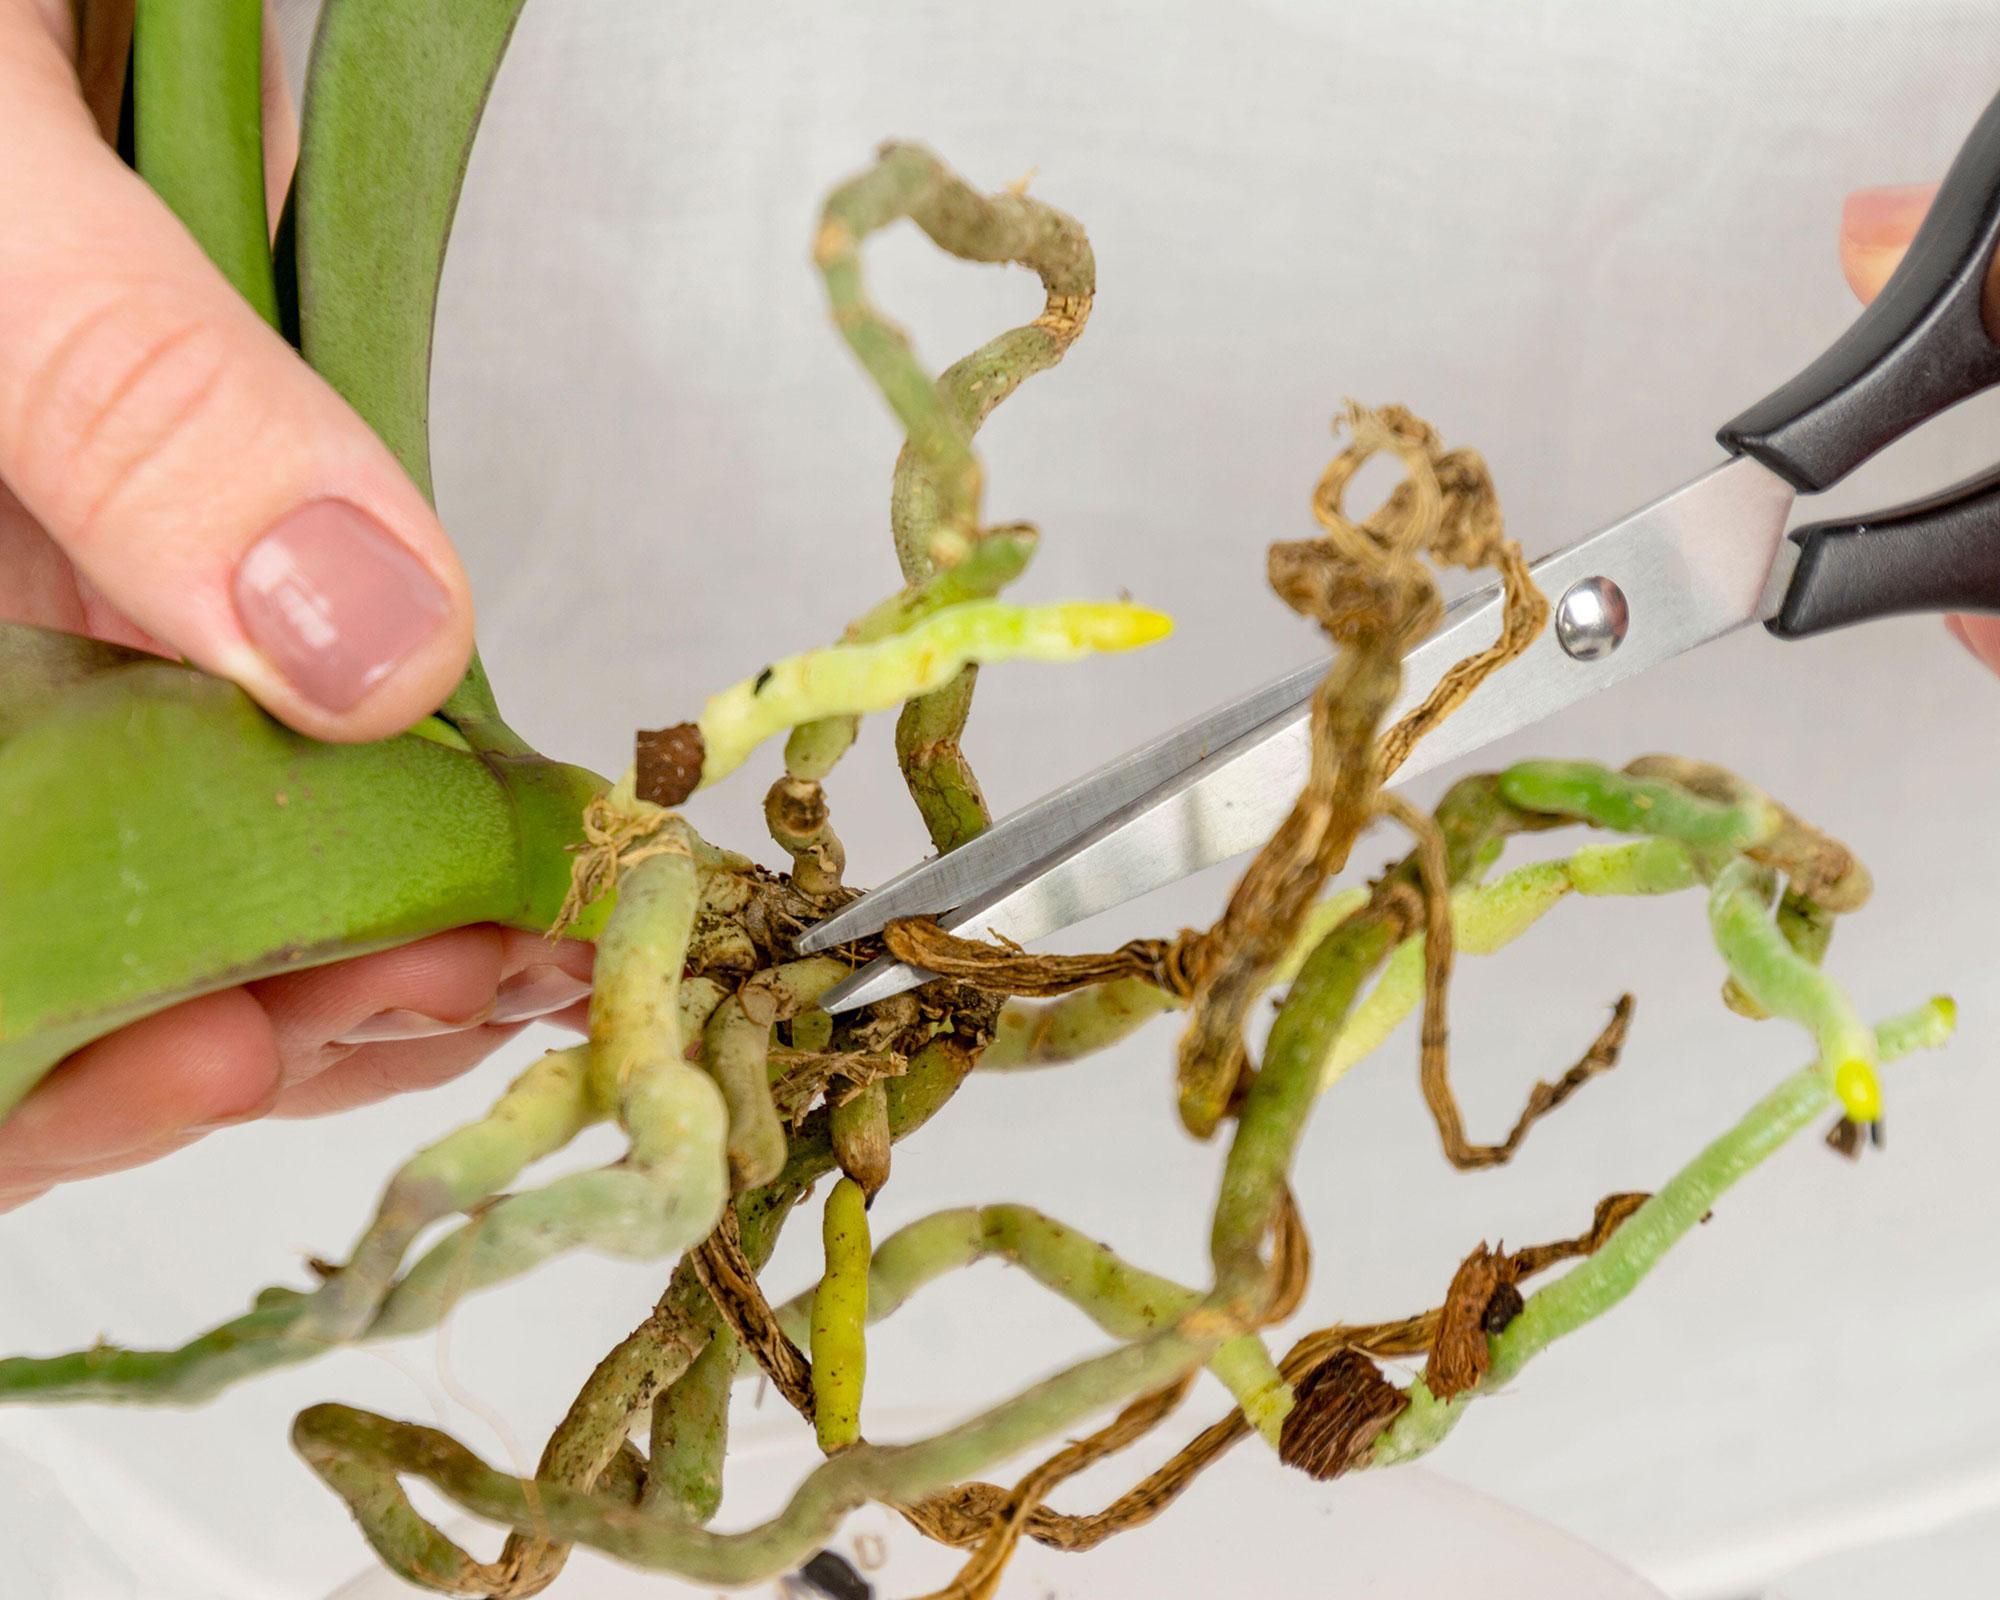
Once you've cut off all of the dead, soft, mushy, or desiccated roots at the base, dust the cut surfaces with cinnamon as it can be used as a natural fungicide. It can also be a good idea to add charcoal to the potting mix. It doesn’t rot so keeps the mix open, and also makes the pH sweeter (less acid).
Spray Hydrogen Peroxide 3% (H2O2) on the roots, then apply as a compost drench once you've planted your orchid in a fresh, clean pot.
Top tip: If you buy a Phalaenopsis growing in sphagnum moss, repot it into a bark-based potting mix because it will be easier to maintain and water correctly.
Improving drainage to prevent orchid root rot
To prevent your orchid from becoming waterlogged and developing root rot, it's important to ensure it has good drainage. These are my tried-and-tested methods for achieving this:
- Add stones or gravel to the bottom of the orchid's pot. Or use Styrofoam peanuts (polystyrene chips), try Amazon, but do be aware that these don’t rot down and can’t be recycled so they aren't the most eco-friendly choice.
- Add extra holes to your plastic pot to increase air movement and prevent soggy potting mix. Use a drill, or cut slits with a small but sharp knife.
- Add extra drainage material to the middle of larger pots as the center holds water longer. I have a large, old Phalaenopsis, now in a 6-inch pot (2 litre), so when I repotted, I added a central core of Styrofoam peanuts to stop hidden waterlogging.
How to rescue an orchid with hardly any roots
If only a few roots remain on your orchid because the majority have been damaged by root rot, wrap them in sphagnum moss (available from Amazon) and place the whole plant in a plastic bag, large screw-top jar, or covered seed tray, to keep humidity even. This stops the plant dehydrating and aids new root growth.
Ron McHatton, Chief Education & Science Officer for the American Orchid Society says, 'Strip off any dead, old leaf bases, which would otherwise rot, and put the plant in the moss up to its lowest leaf.'
Ron recommends using a big pickle jar or a pretzel jar. Place the plant or pot on pot feet, or pebbles, inside the bag or jar, to keep it out of any condensation that pools at the bottom, as this will be wicked up by the moss. Loosely seal the bag or jar and keep it out of direct sun, in good light (the normal light levels for your orchid). Every few days, check the surface of the moss is moist, and mist it if it dries out. New roots should begin to form in a few weeks.
Could orchid root problems be caused by anything else?
If the roots of your orchid are short and tipped in black, but not soft and mushy, this is caused by a build-up of salts in the potting mix rather than orchid root rot. New roots grow until they touch the mix, then blacken at the tip.
To remedy this, repot the plant into new potting mix. Then add fertilizer three out of every four waterings, using plain water to flush the salts on the fourth watering.

Sarah is a horticultural writer and editor for more than 20 years, working on gardening websites, magazines, books, radio shows and TV. Her life-long love of plants, especially houseplants, was triggered by her parents and grandparents. Sarah travels a lot and loves seeing tropical plants in the wild, and tending her 100+ plants at home. She has worked for the RHS, BBC Gardeners' World magazine and radio show Gardeners' Question Time and later Gardeners' World TV show.
