November gardening jobs: 13 essential tasks to maintain your plot
Update your to-do list with our important November gardening jobs and keep your plot in great shape over winter

By the time we start listing November gardening jobs, we are in the thick of autumn and there are lots of things to keep an eye on.
If the weather has stayed mild and not too stormy, seasonal pests and diseases will be in their element and need keeping in check. And, if the weather has been harsh, either wet and windy or with hard frosts and even snow, then you will need to think of ways to protect your plants and garden.
At this point in the monthly gardening calendar, it's also a good idea to really study your garden and see whether you can improve its overall appearance. This may include relocating trees and shrubs that aren’t thriving in their current spot. Only do this when the soil is workable and not frozen or waterlogged, though, otherwise you risk damaging its structure and reducing the likelihood that the moved plants will thrive.
Keep busy with our November gardening jobs
Our November gardening jobs will help keep your garden tidy and healthy and also give you the chance to propagate some of your favorite plants.
1. Watch out for pests and diseases

A mild, damp autumn is the perfect breeding ground for pests and diseases, especially if the winds stay gentle.
Poor ventilation around plants helps fungal diseases such as botrytis mold and powdery mildew to gain a foothold, as they love warm, calm conditions. They also thrive in poorly-ventilated greenhouses where plants are being sheltered through winter.
You can help prevent them by making sure outdoor plants aren't too crowded around their root area and are planted where there is a good through-flow of wind. If you haven’t yet lifted and composted your summer annuals, now is the time to do it as they can block ventilation and also harbor pests.
In greenhouses, make sure plants aren’t touching each other. On mild days, open the door and windows to let the draught in. Remember to close up the structure in the afternoon, when temperatures drop.
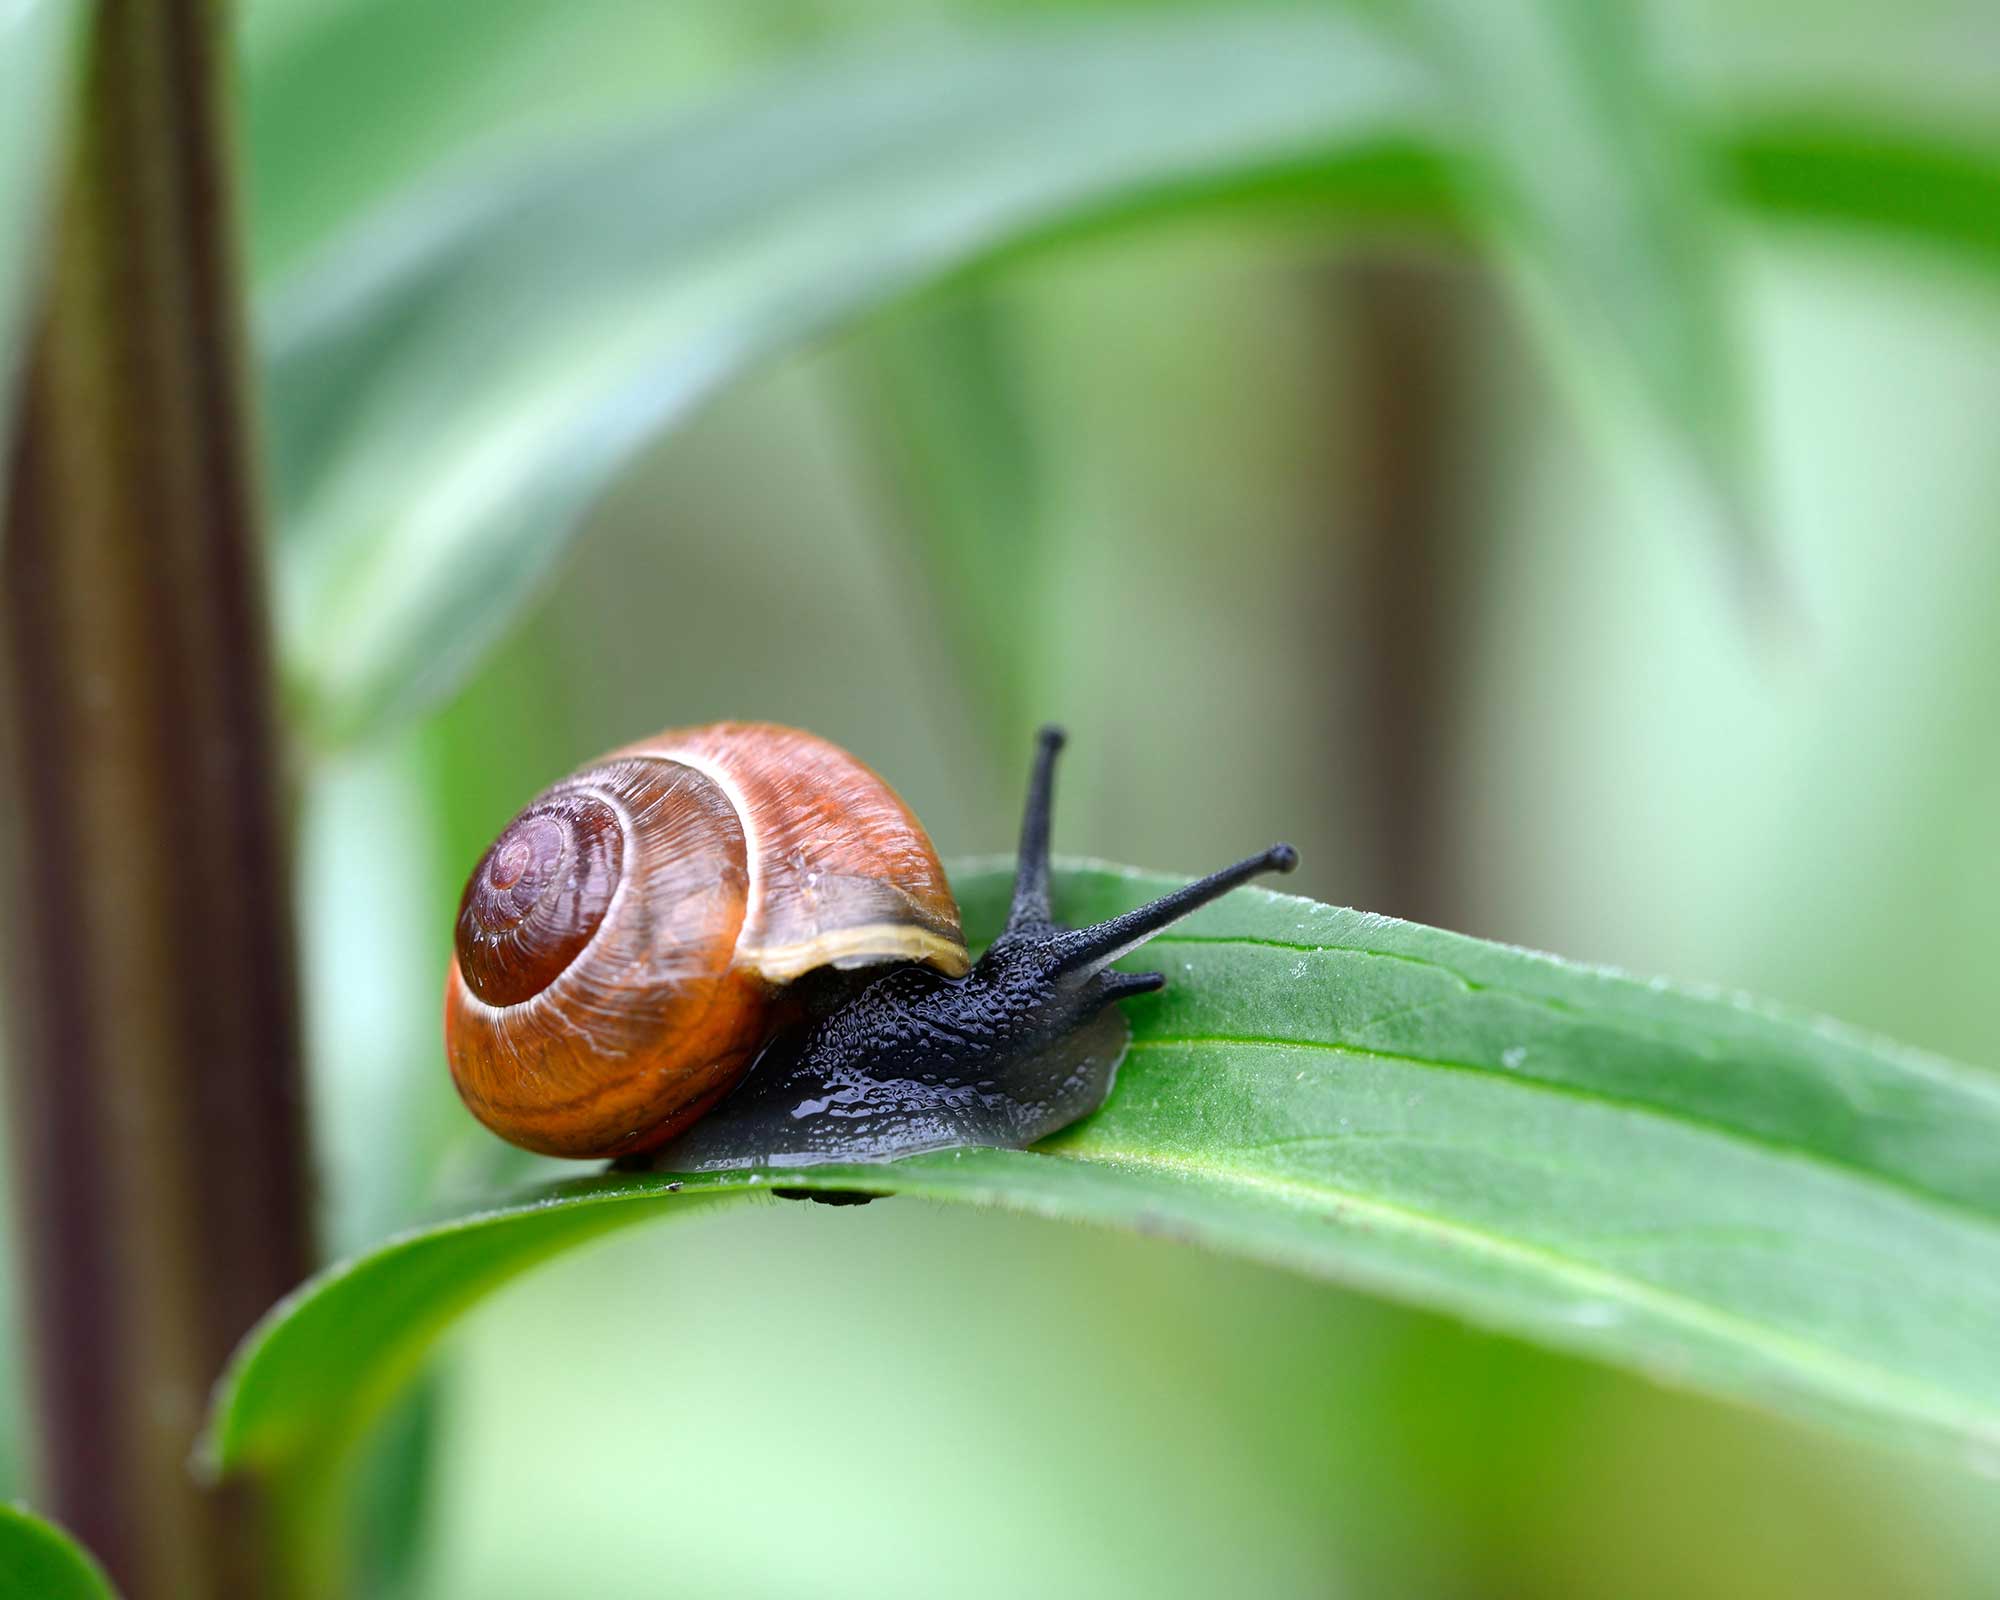
Slugs and snails are the main fall pests, especially if it stays mild. Remove places where they can lurk (upturned pots, long grass, piles of debris, etc.,) and rake over the soil to expose their eggs to birds and other predators. Keep an eye on your greenhouse too, as its relative warmth and the plants it contains are attractive to snails and other pests.
Top tip: It is too late in the season to use fungicides against diseases, so remove affected leaves – or even the whole plant if it's badly affected – and bin or burn them.
2. Protect alpines
This year’s dry and mainly sunny conditions have been good for alpines and rockery plants, though the ones we have growing in a container needed extra water at the height of the summer.
Things are more challenging for them now, however, as the weather deteriorates. The cold isn’t so much of a problem for these tough little plants that have evolved to survive the extreme conditions of high mountain passes and desert areas. Instead, it’s the relentless damp.
They are particularly at risk from the constant contact of damp soil on their lower leaves, which can cause rotting and fungal problems. This becomes even more of a hazard if the temperatures stay mild and still, creating the perfect conditions for disease and keeping slugs and snails alive and hungry.
Help protect plants by mulching them with grit or gravel, which helps raise the lower leaves off wet soil and also makes them less likely to be bothered by slugs and snails.
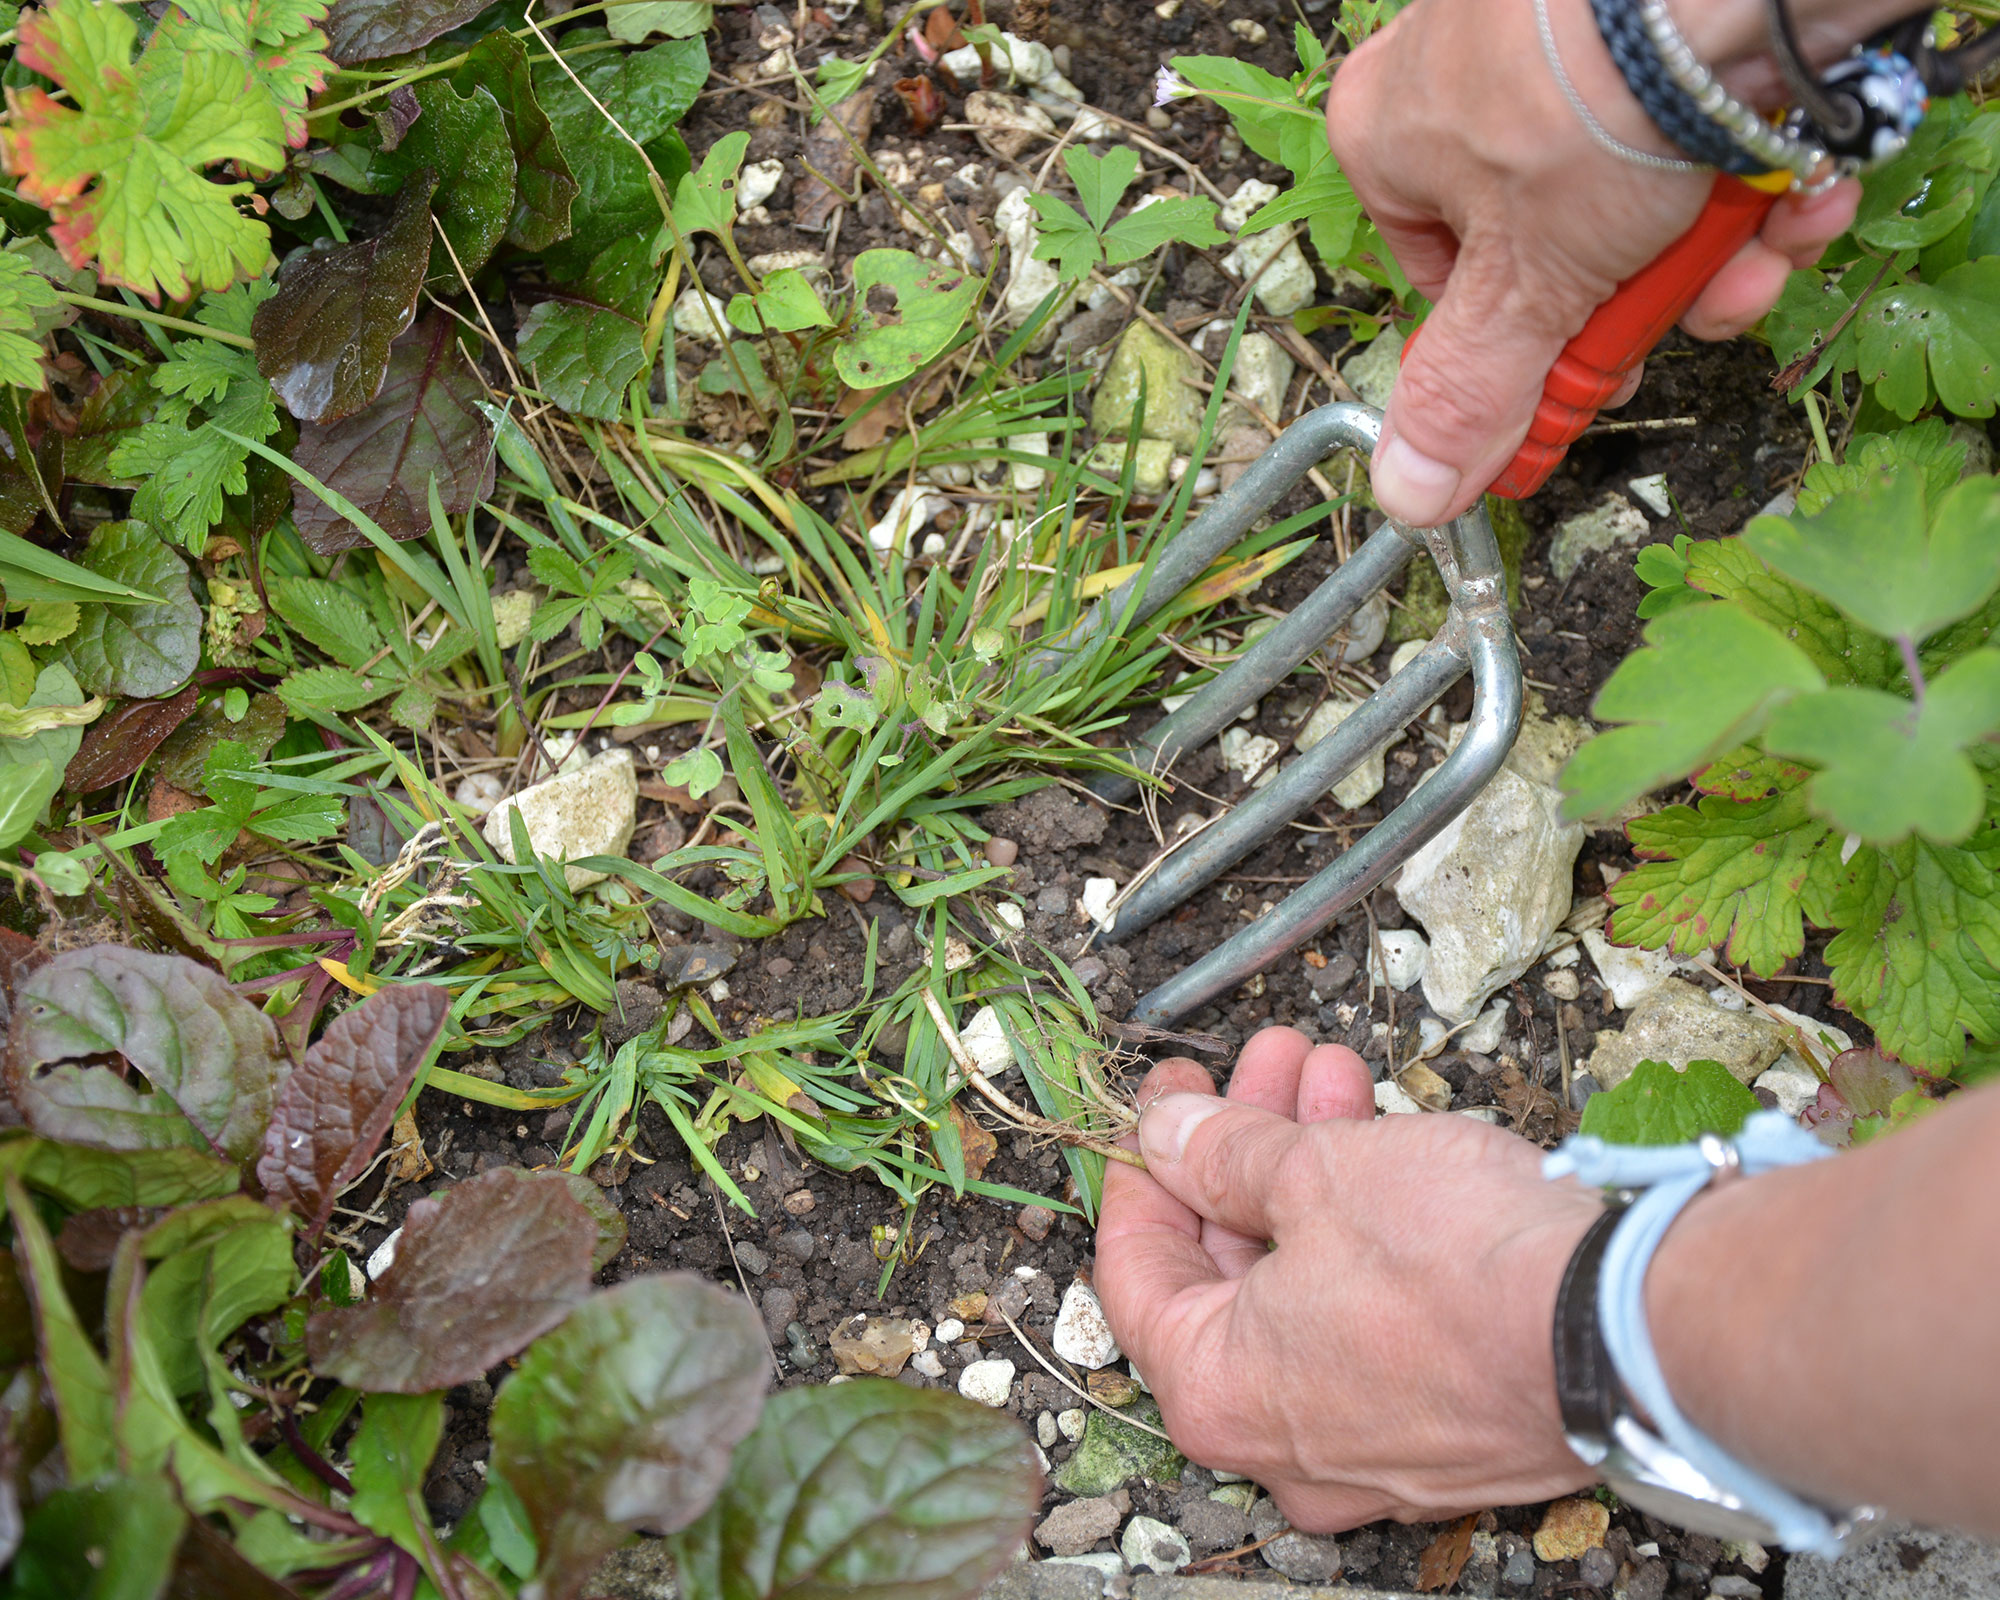
Keep an eye on weeds, too, as they will grow through winter and quickly outpace and smother alpines.
Top tip: If you have alpines growing in a container, move it against a sheltering wall and keep it on pot feet so excess rainwater and snowmelt can run away.
3. Relocate trees in your garden
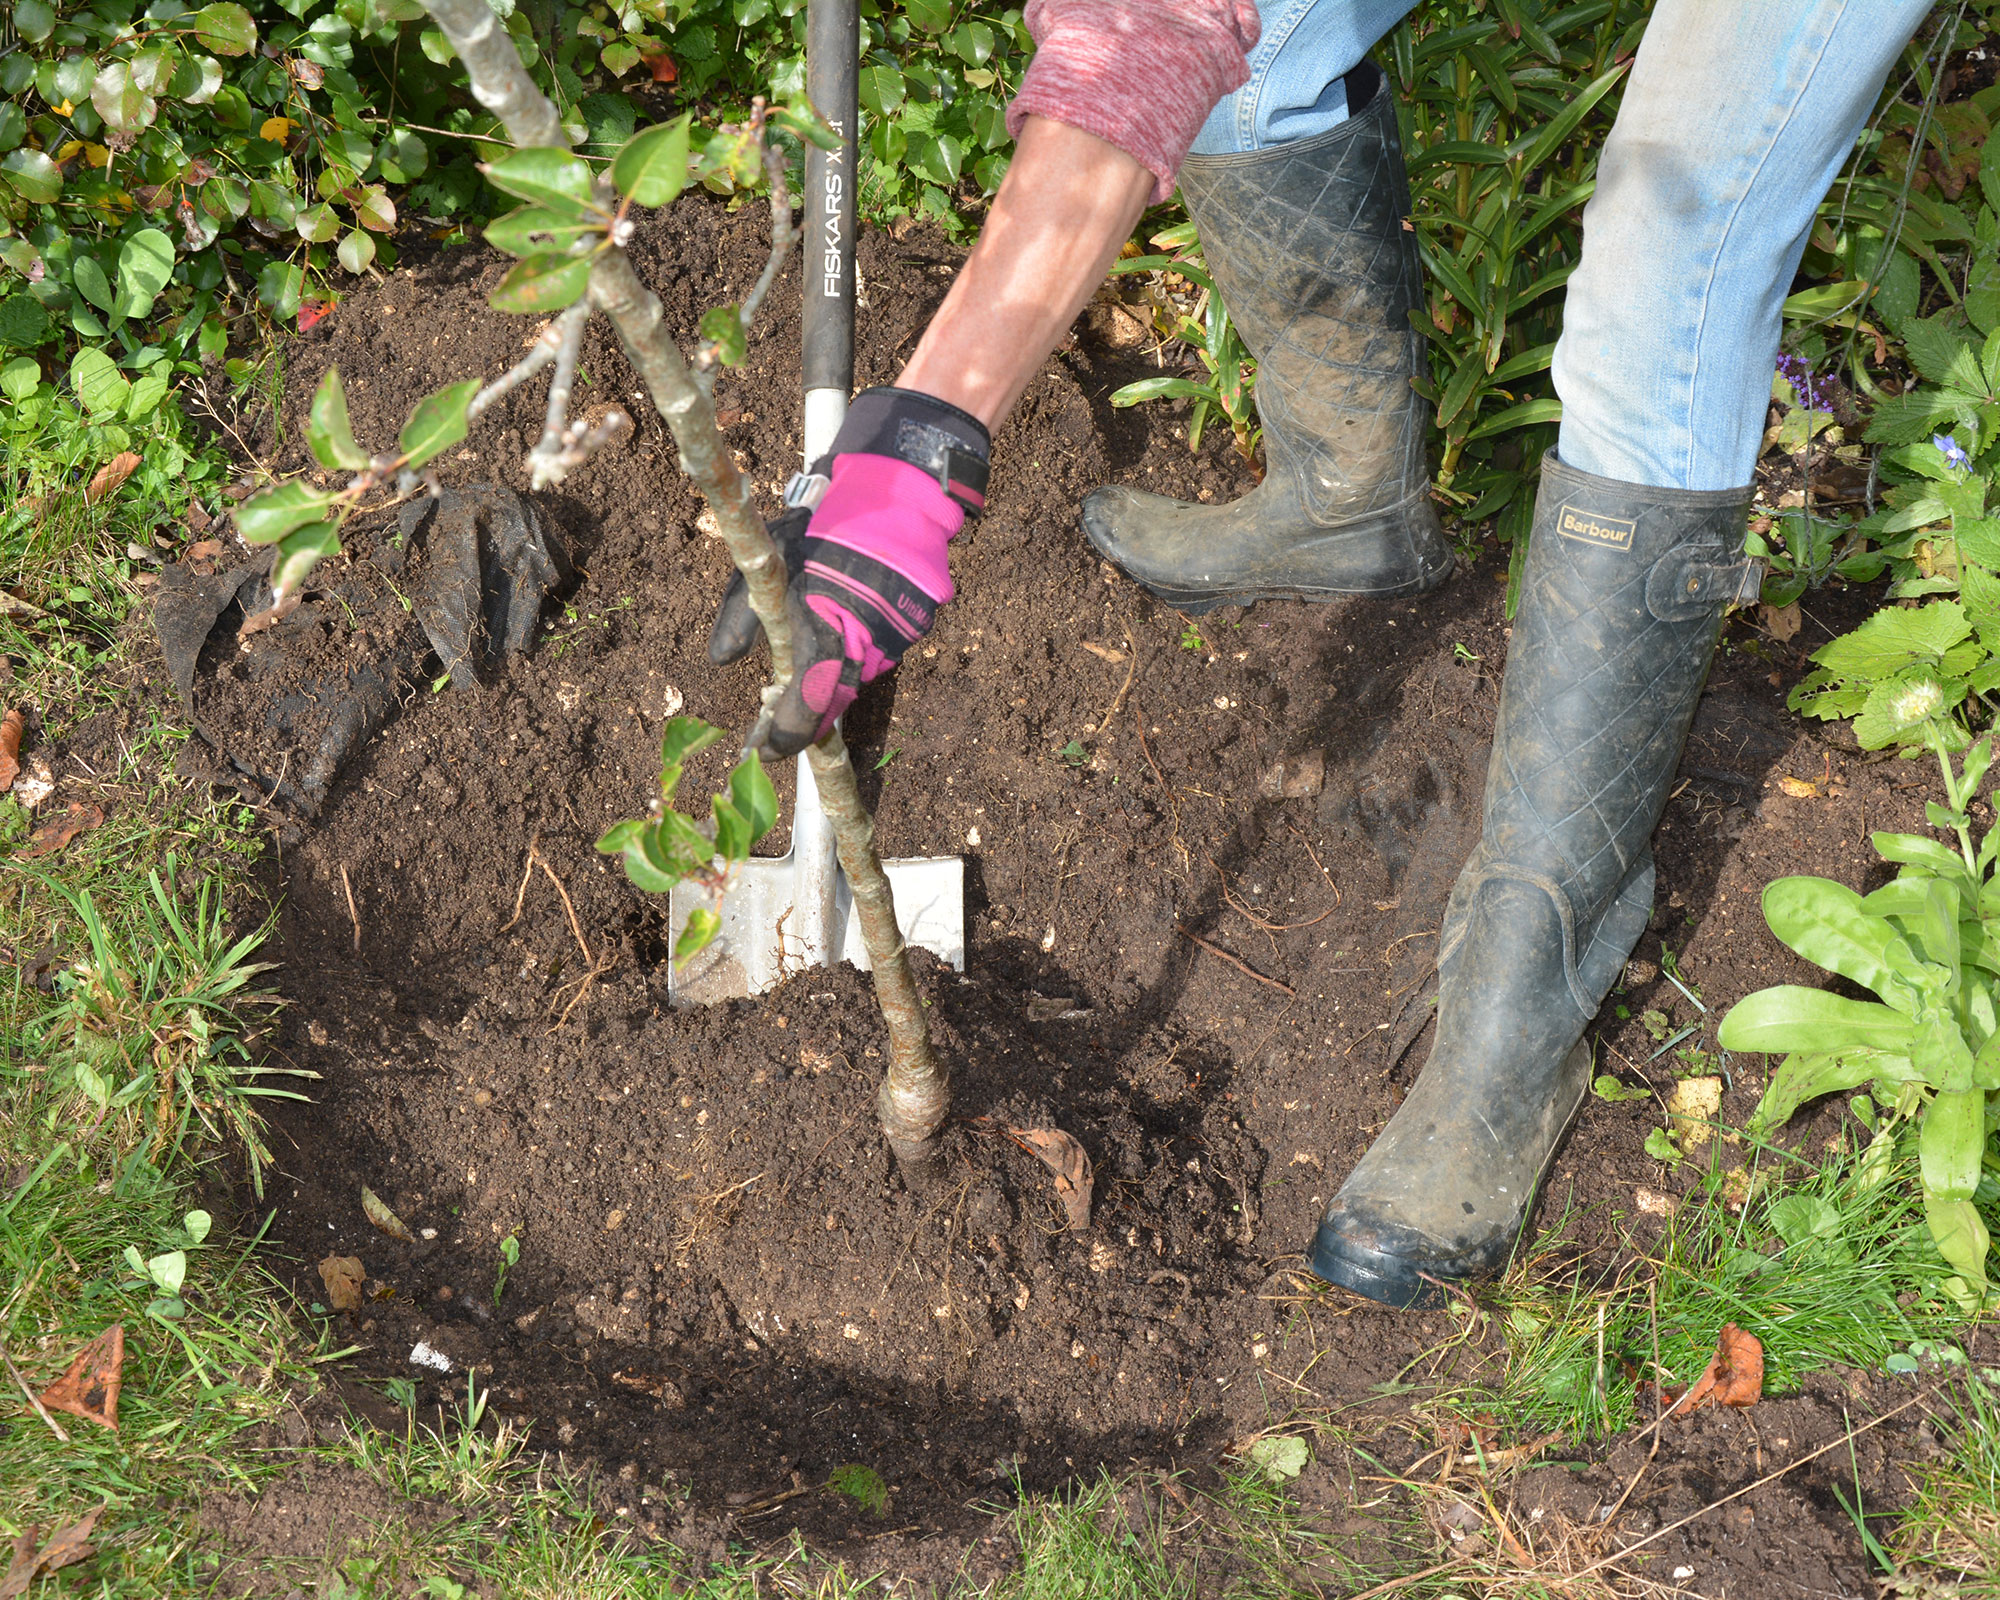
Young backyard trees that don’t appear to be thriving in their spot can be moved to a more favorable location in autumn and winter, providing the ground isn’t waterlogged or frozen.
The emphasis is on young trees, because those that have been in the soil for more than five years tend not to transplant well and are more likely to turn up their toes after being moved.
The key to success is to plan ahead. A few months before moving, dig a trench 1ft (30cm) wide and the depth of a spade blade around the tree and fill it with sand. This encourages the tree to develop feeder roots that help it re-establish more quickly in its new spot.
If you haven’t done this though, don’t worry. Water the tree or shrub generously and weed around it before you lift it.
Prepare the new site in advance. Measure the spread of the branches (this should mirror the root spread) and excavate a hole at least 1ft (30cm) deep and 6in (15cm) wider than the root/branch spread and fork over the sides and base.
Add some well-rotted manure or leaf mold to the hole as well as bonemeal, which contains phosphorus, which helps promote root development.
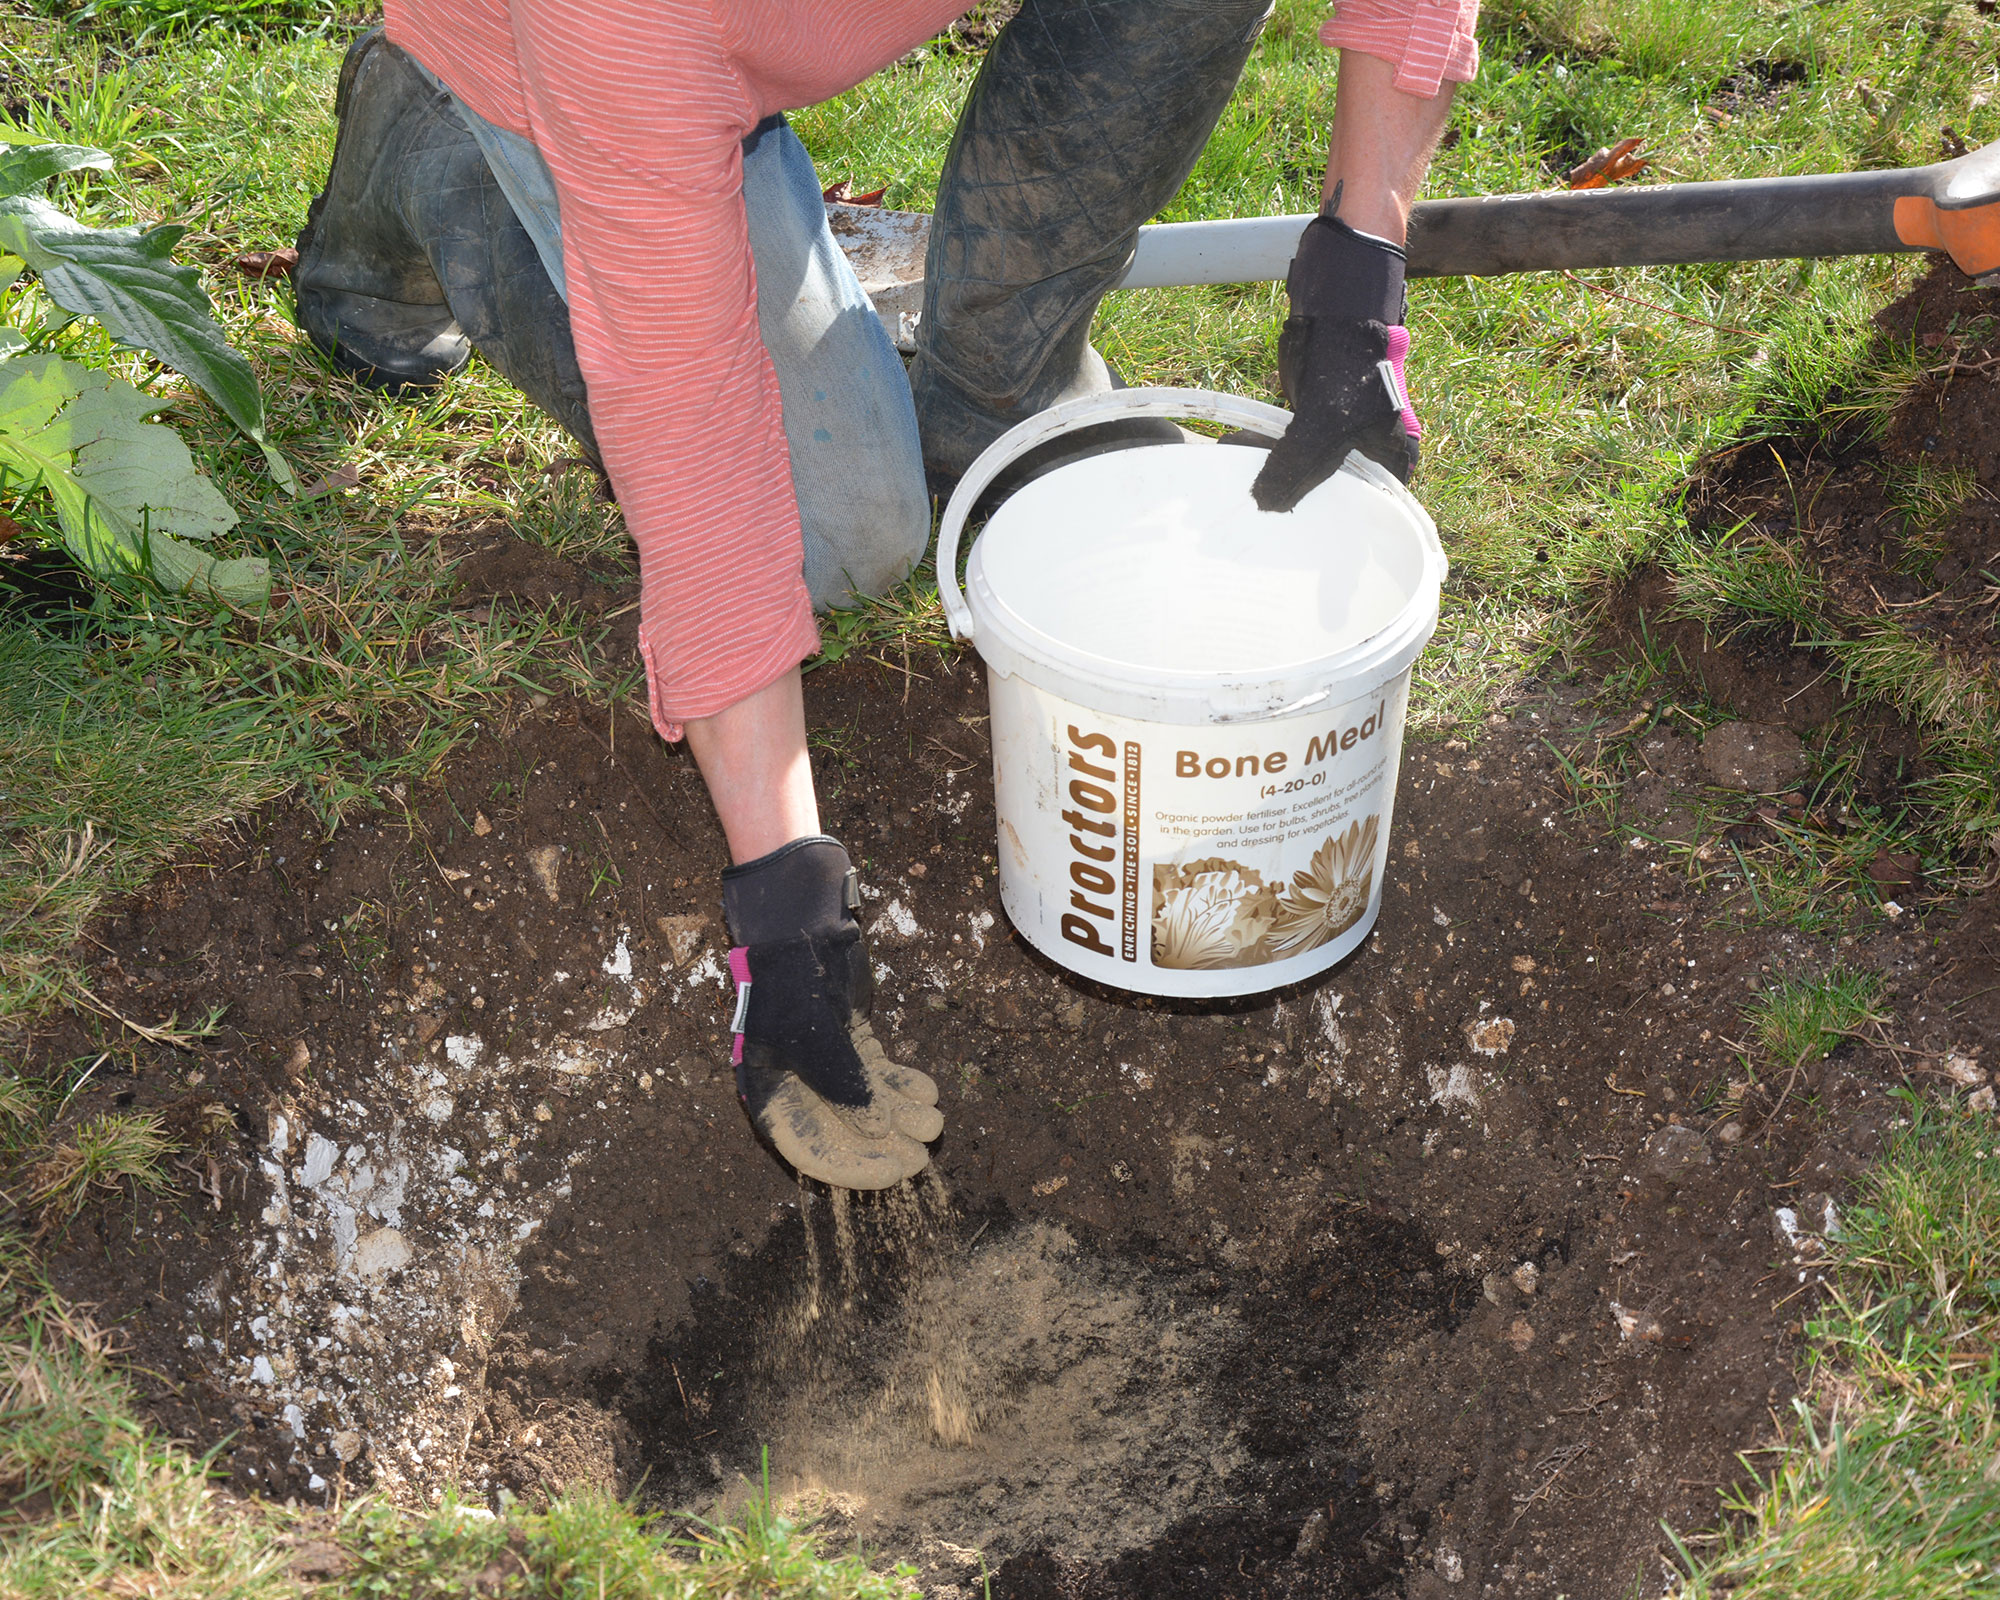
When it comes to moving the tree, do it in several small steps:
- Dig widely around the tree to expose the extent of the roots, taking care you don’t damage any. Carefully lift it with plenty of soil attached.
- Cover the rootball with sacking when transferring it to the new site, so the roots don't dry out.
- Check the depth is correct. The knobbly graft union of rootstock and top growth should be at soil level. Dig deeper or infill if necessary.
- Once the depth is correct, add well-rotted compost and/or manure and a little bonemeal to the hole and mix.
- It helps to have someone else around to hold the tree straight while more compost is added around the roots. After each lot of compost or soil is added, tread it down well to remove air pockets and firm the soil to support the tree.
- Add a supportive stake, positioning it towards the prevailing wind before malleting it in to give good support.
- Then, water the tree really well with at least two cans of water and add a layer of mulch to hold in the moisture.
Top tip: You can also use wool or coconut mulch mats to keep the soil damp and insulated and help block weeds through winter. Try garden felt from Hortiwool, available on Amazon UK or Zeedix coconut mulch rings (from Amazon US).
4. Cut back hellebores
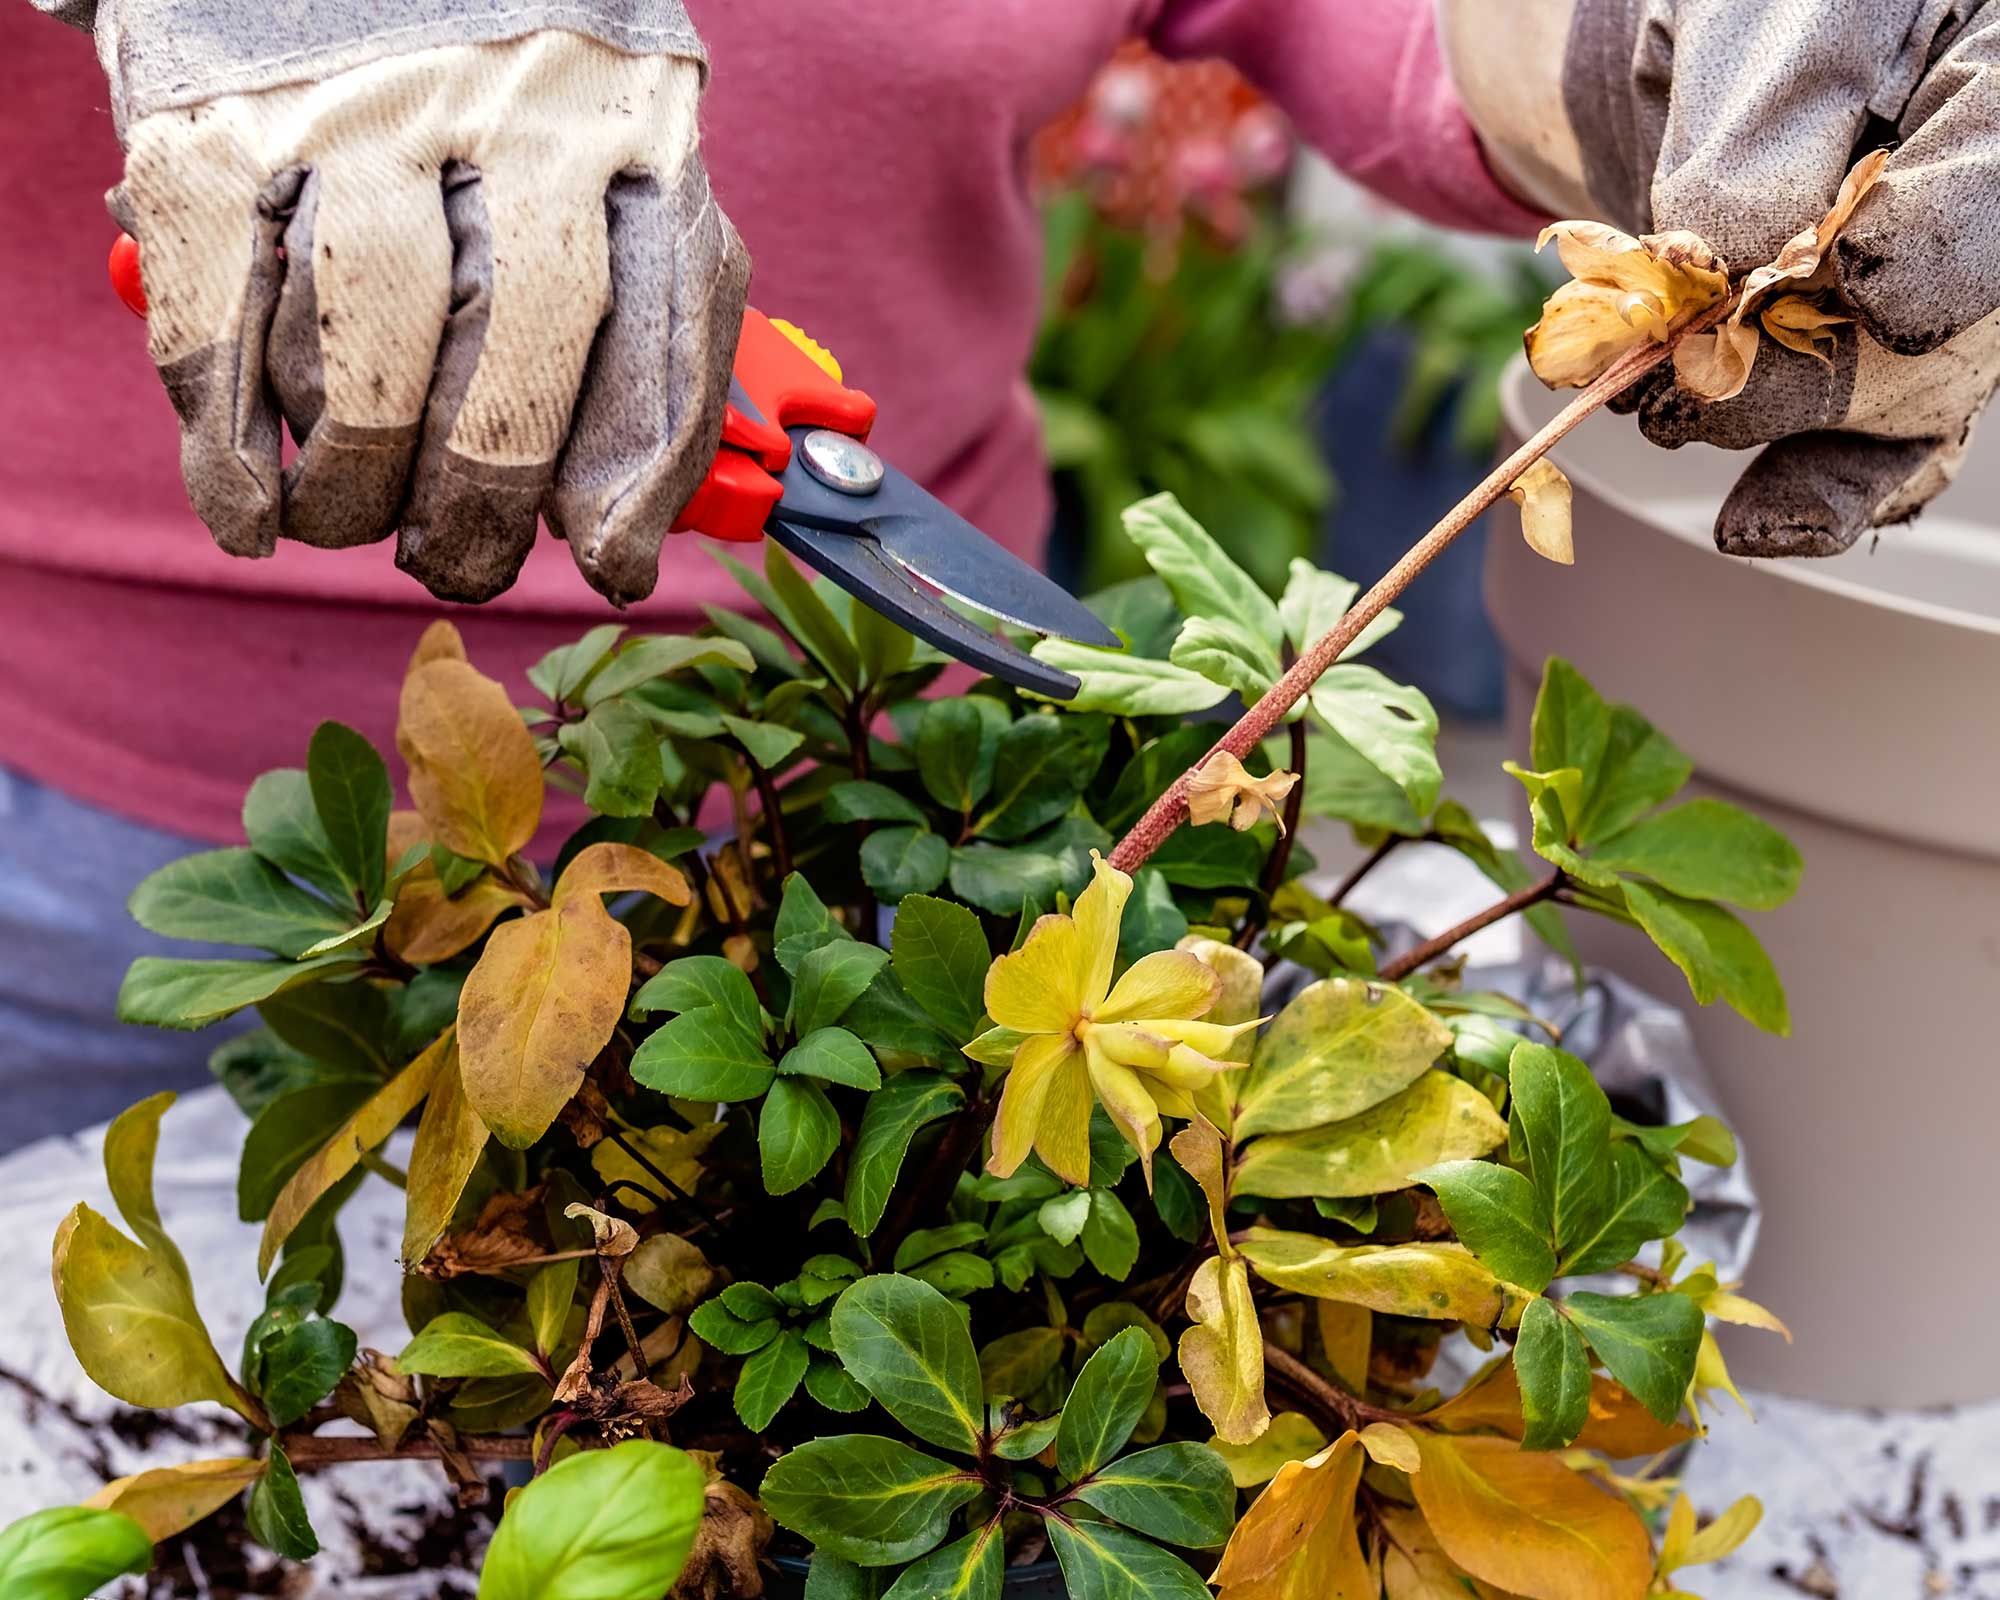
You can leave hellebores to their own devices for most of the time, though in autumn, you will need to carry out some maintenance to get them ready for flowering in the New Year.
A key task is to remove old foliage to make room for new leaves emerging from the crown. It tidies up the plant and may also reduce the risk of hellebore leaf spot, a fungal problem affecting leaves and stems with round, brown spots. Dispose of affected leaves – never on the compost heap – and if the problem persists, try treatment with a fungicide spray, sticking to the manufacturer’s instructions for use.
Another problem is hellebore black death, a fungal disease that distorts growth and causes black streaks and rings on stems and foliage. There is no cure or control and plants must be dug up and destroyed.
Once you have cut back the foliage, mulch around the crown to feed and insulate it. Keep compost or manure off the crown itself as it can cause rotting when it gets wet.
Top tip: Because hellebores flower so early they are an important source of nectar for hungry queen bumblebees as they emerge from hibernation.
5. Prune deciduous shrubs and trees
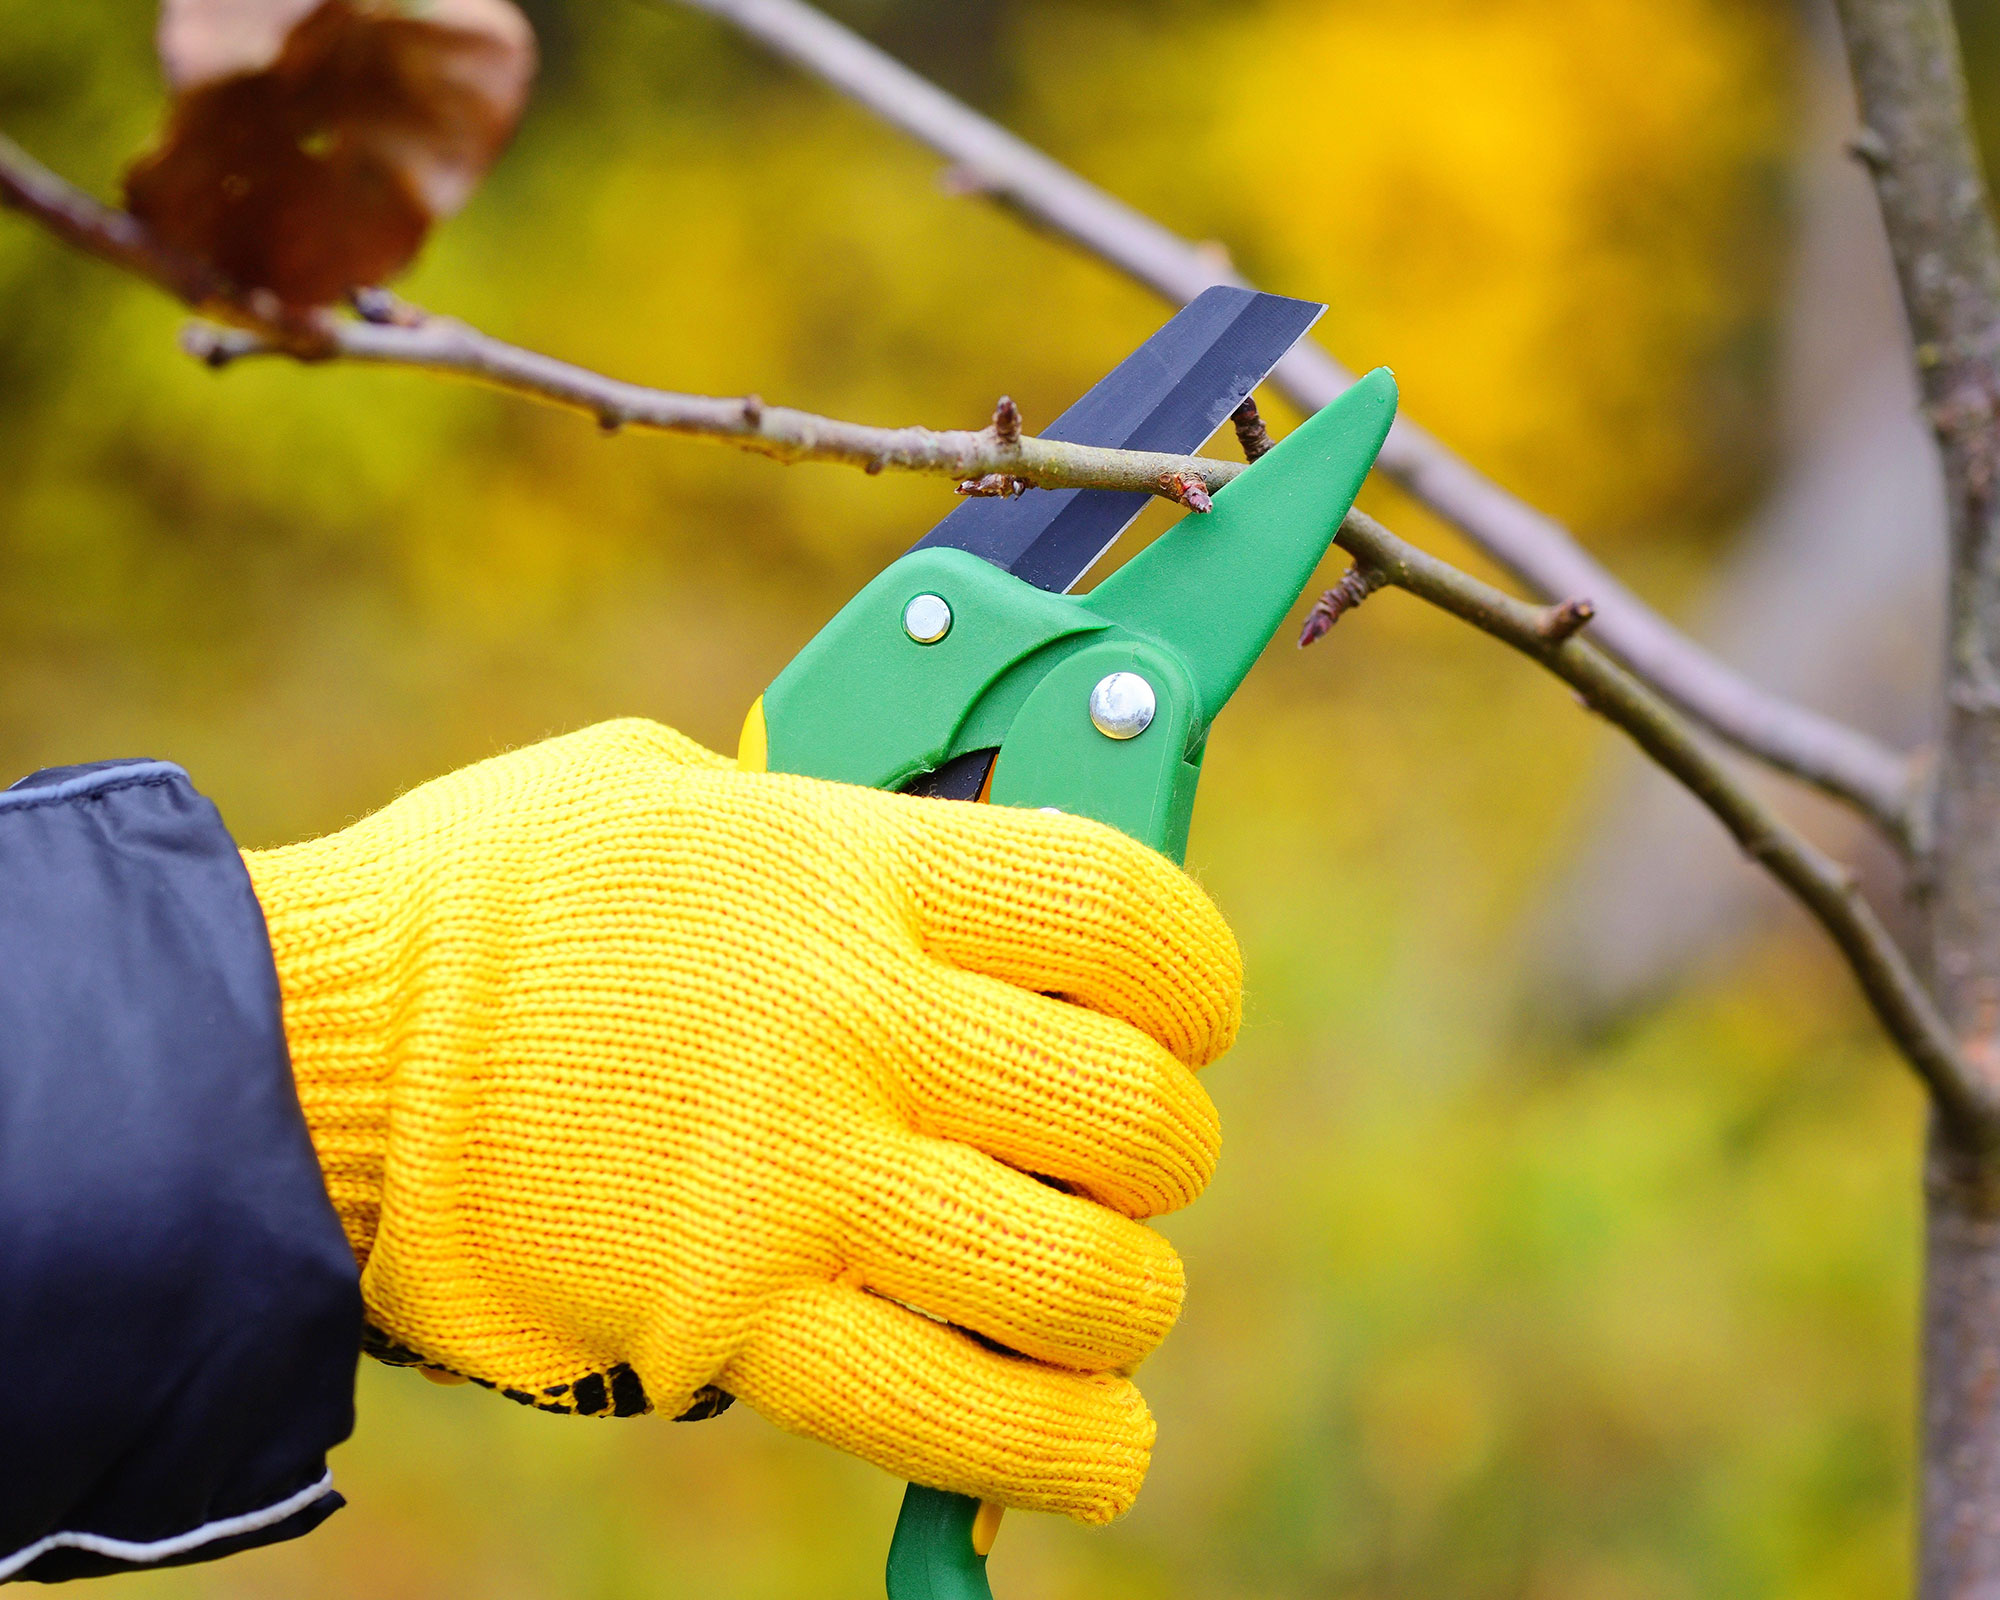
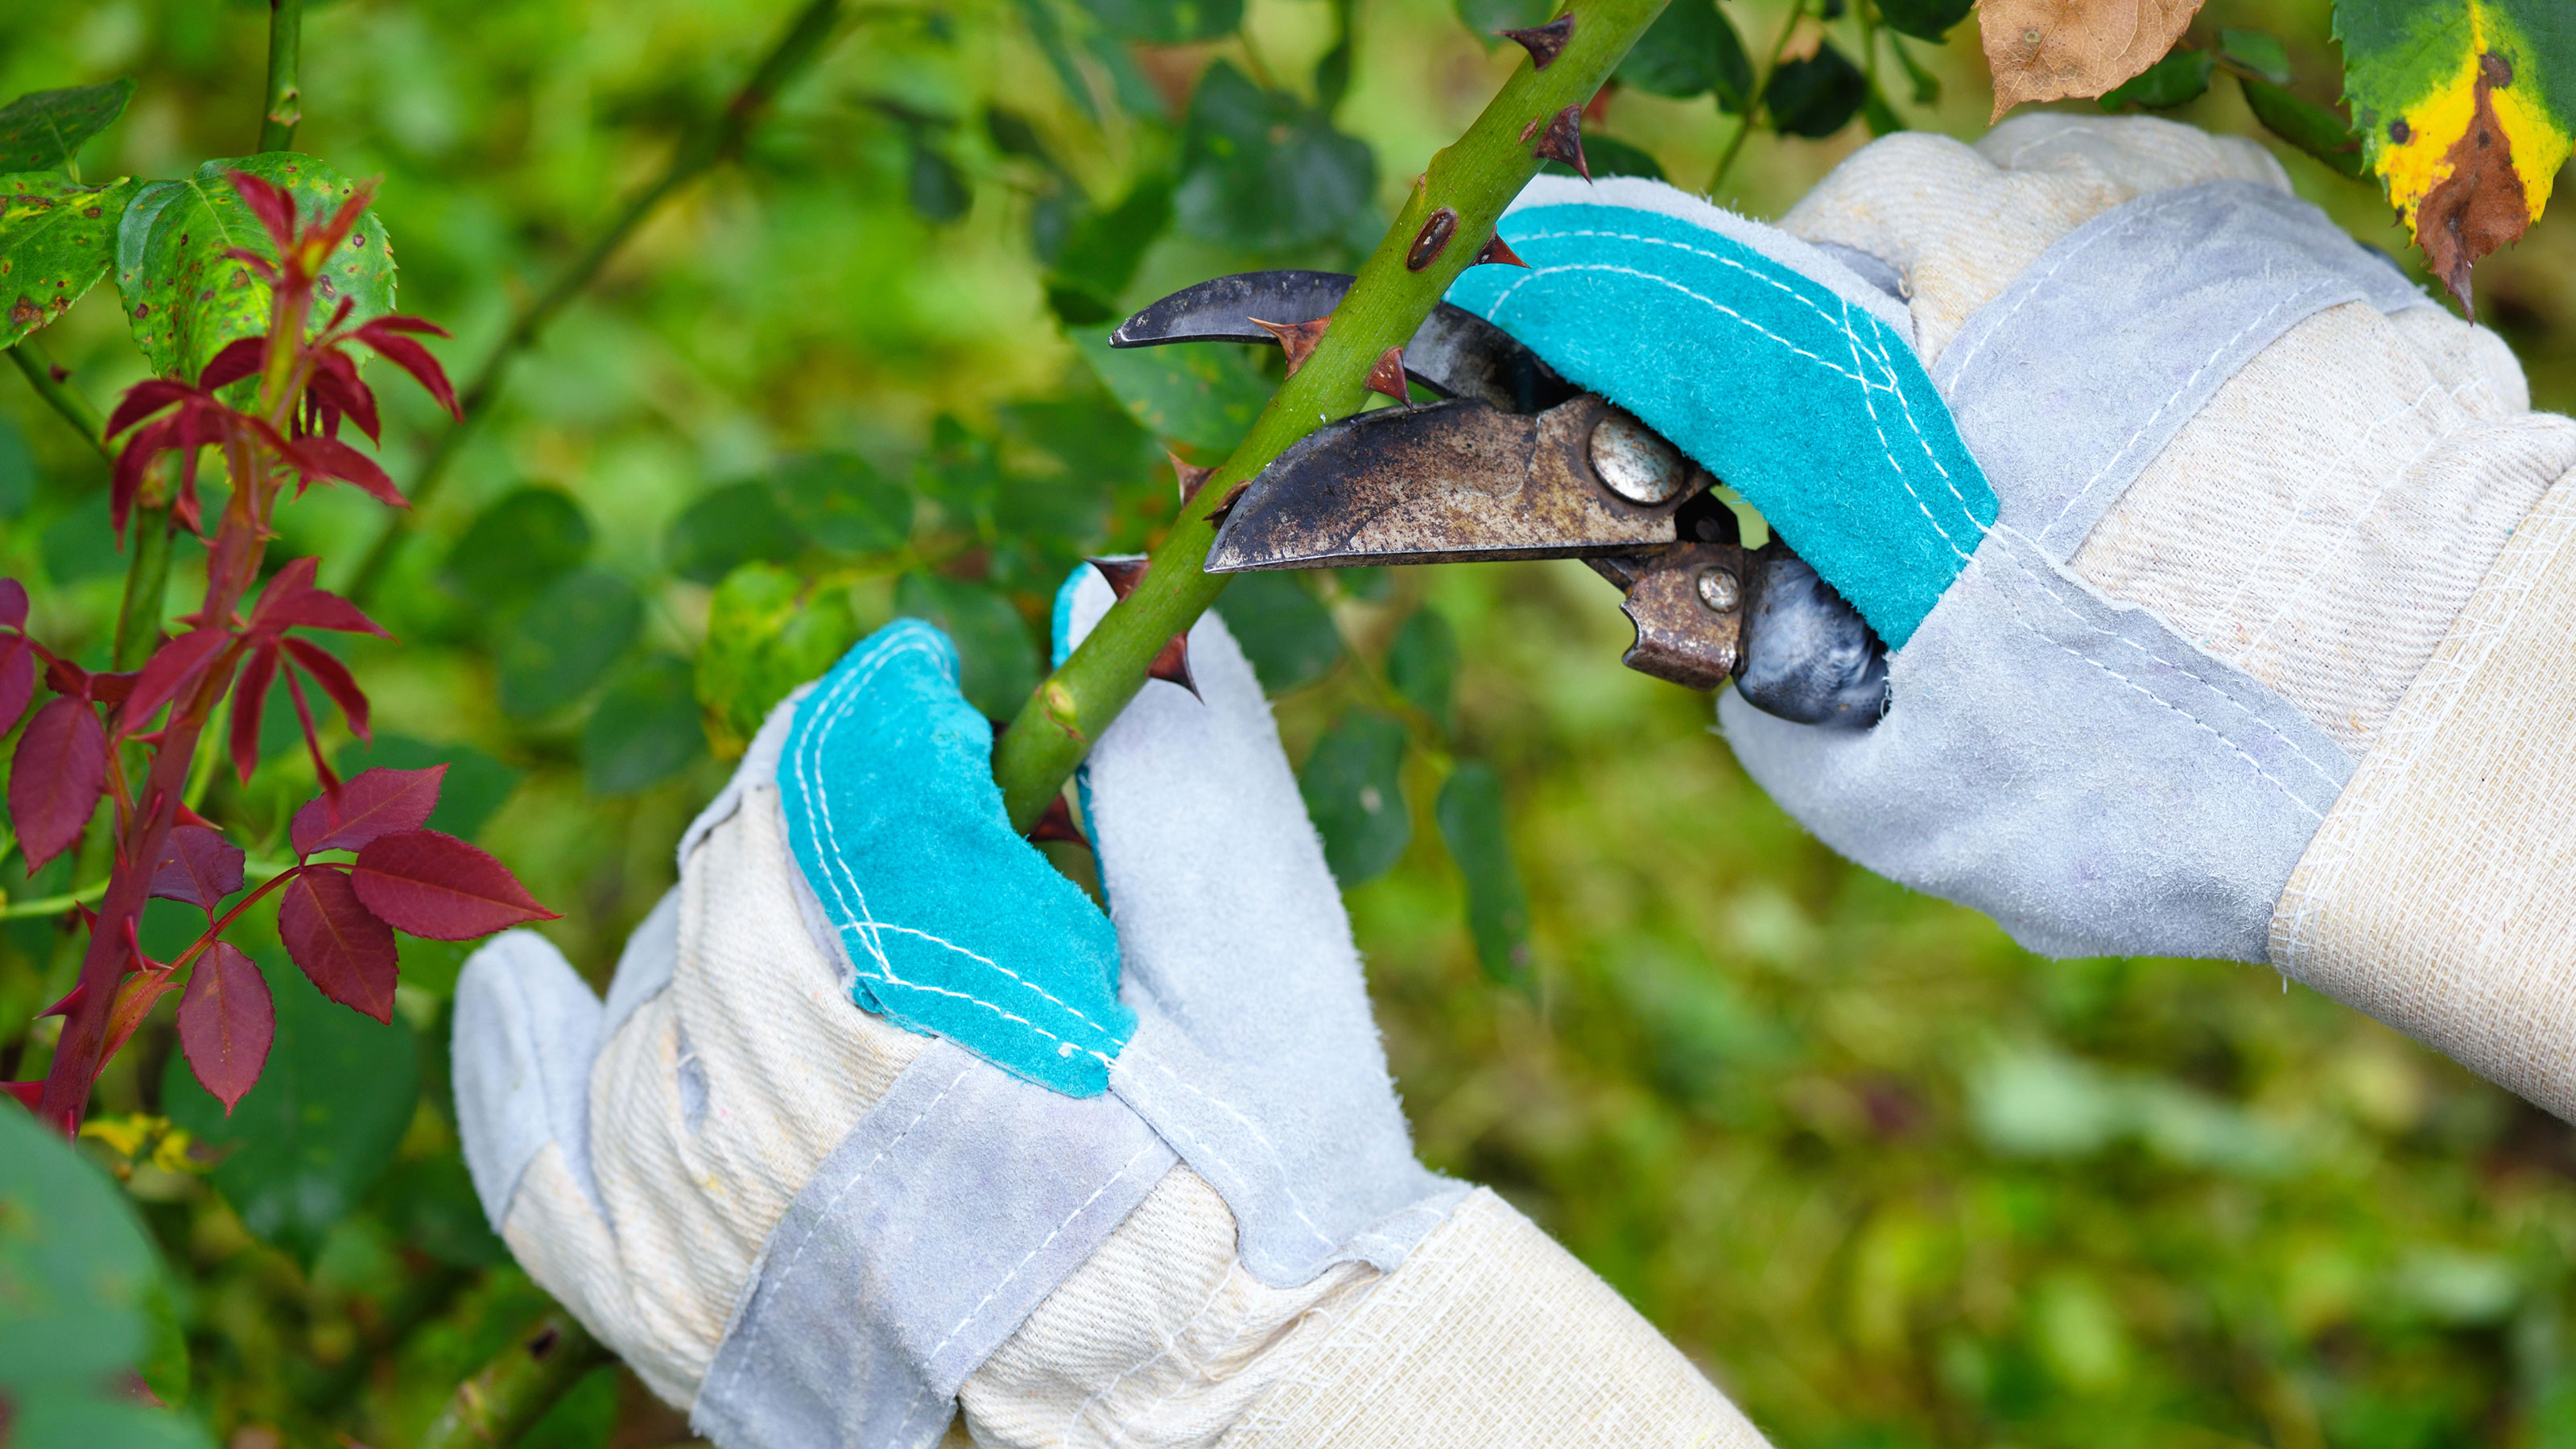
Once the leaves have fallen and the plants become dormant, it is time to get out your best loppers and best secateurs and prune most deciduous trees and shrubs, including apple and pear trees and roses. We wait until now because the sap will have retreated down the trunks, reducing the risk of excessive bleeding from pruning wounds.
Pruning shrubs and trees may seem daunting but it is pretty straightforward if you remember a few key tips. Keep the motto ‘look twice and cut once’ in mind, because over-enthusiastic pruning is hard to rectify and can ruin the shape of the plant.
Also, remember the 'three Ds' and start by removing dead, diseased and damaged growth. Then cut away branches that are rubbing against others causing damage to the bark, and any that are growing inwards, congesting the center of the tree.
The aim is to create a goblet shape, with an attractive open center that allows for good ventilation and keeps the tree healthy.
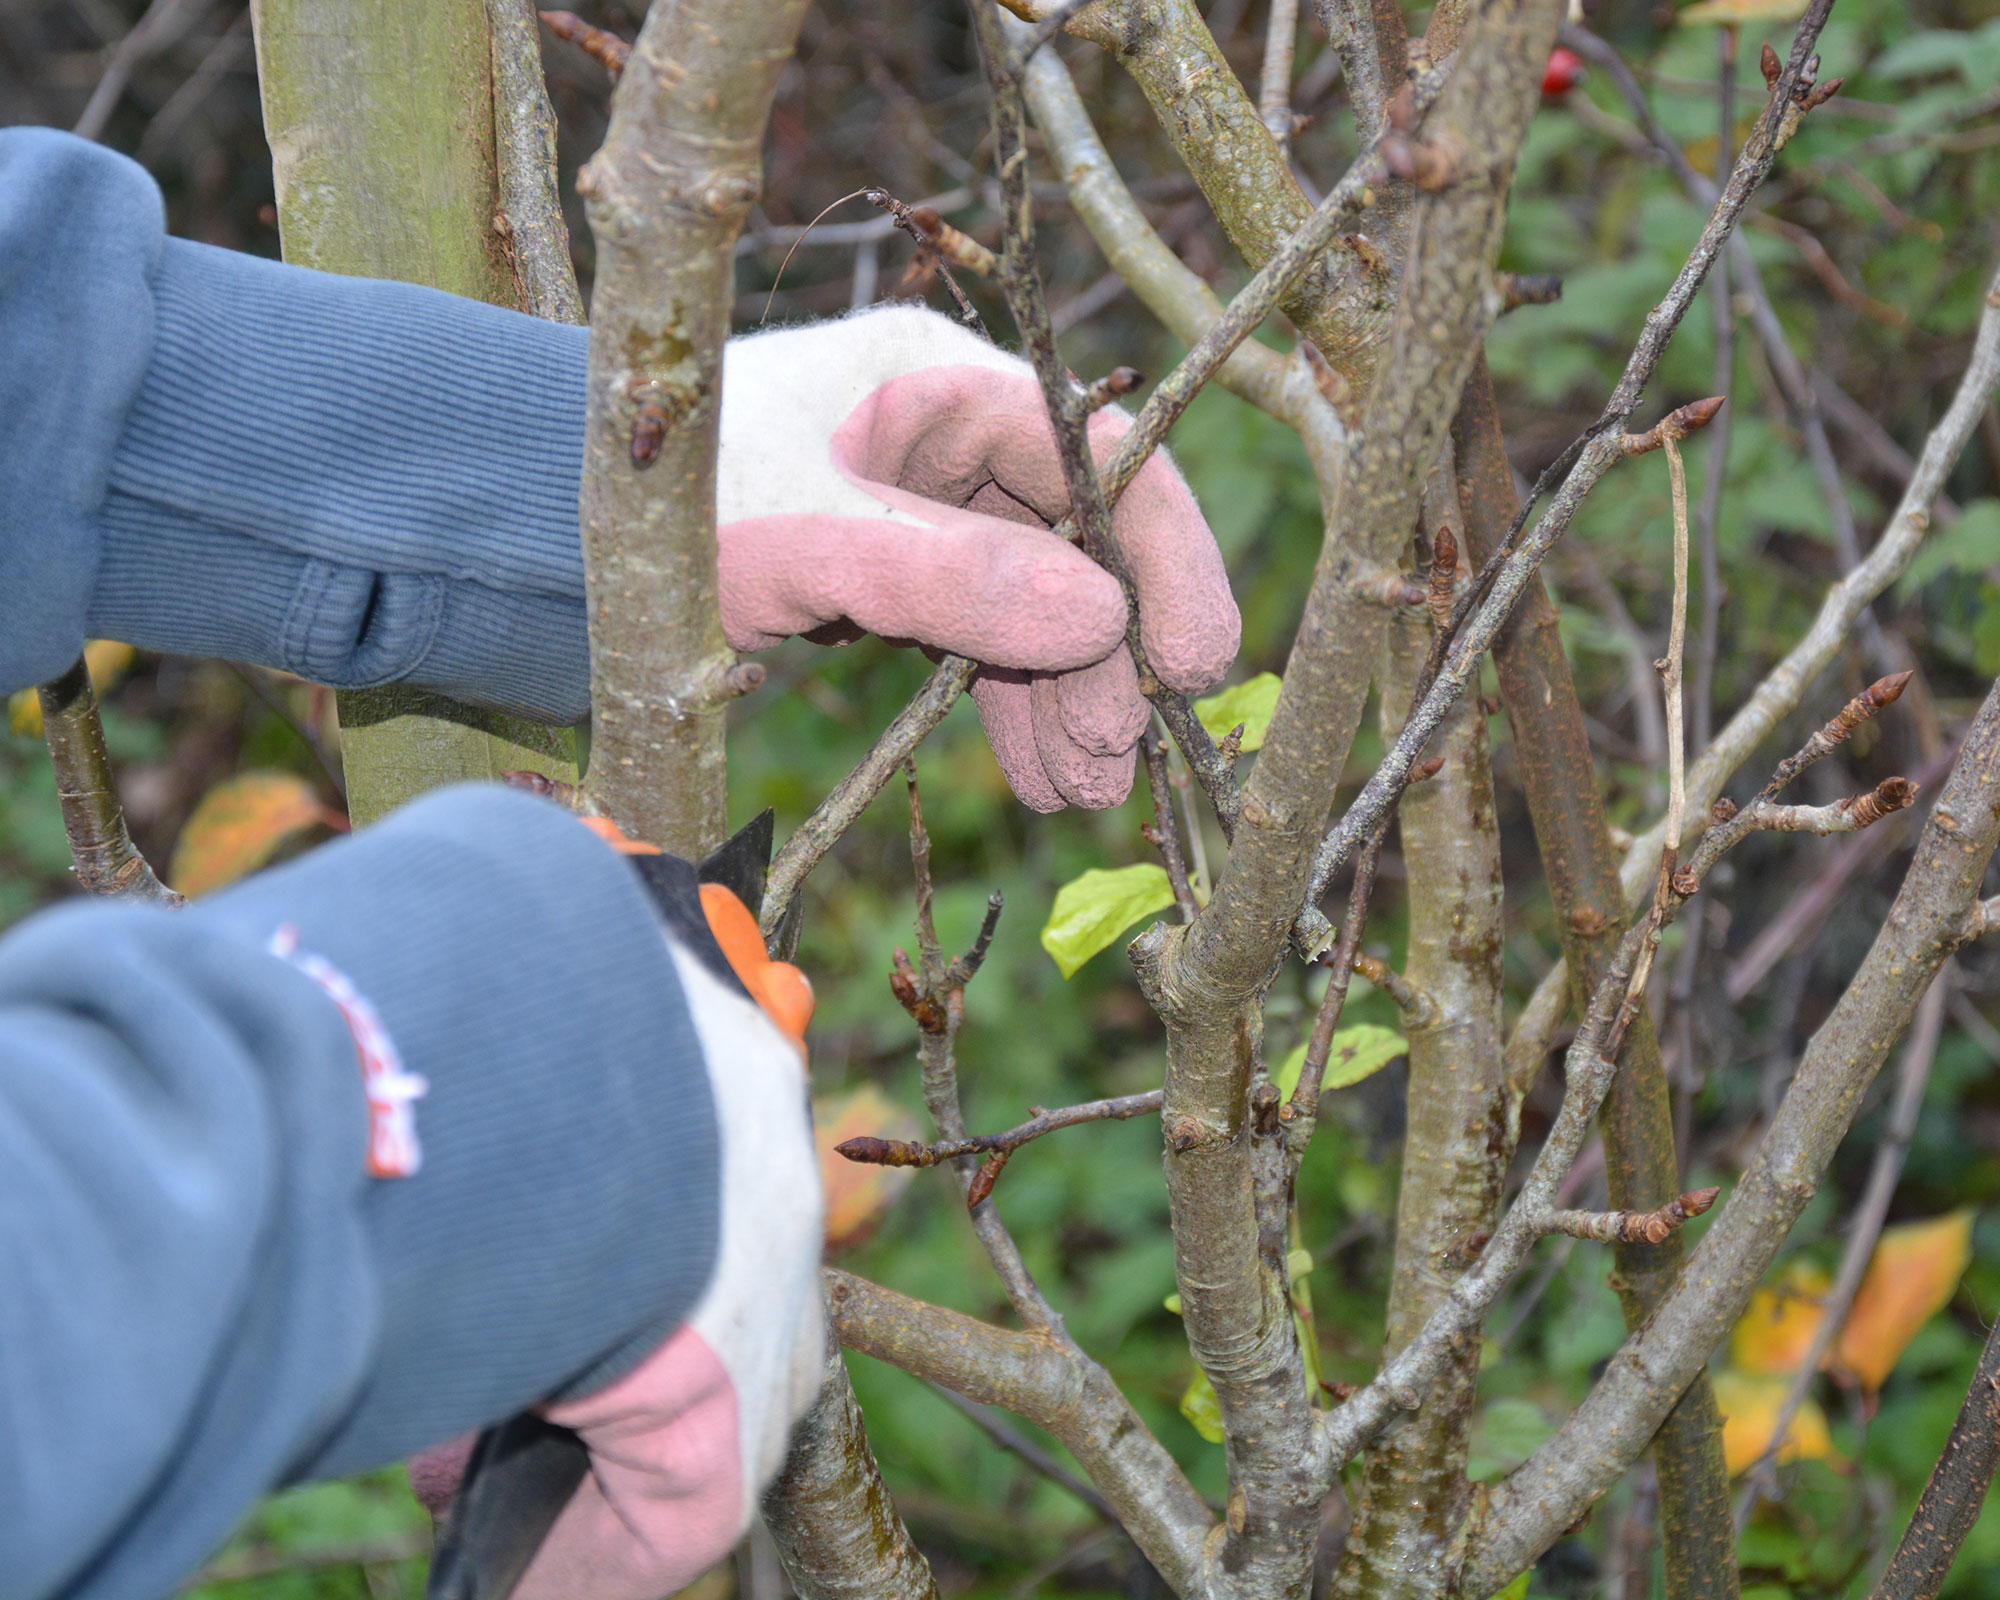
After pruning, mulching with well-rotted compost or manure will help keep them healthy over winter.
Top tip: Trees to leave alone in autumn and winter include evergreens that can be damaged by cold; plums, cherries, apricots, and almonds that can fall foul of silver leaf disease (prune these in midsummer), and early-flowering shrubs such as philadelphus and forsythia, as you will remove the blossom-bearing stems.
6. Plant bare root trees and shrubs
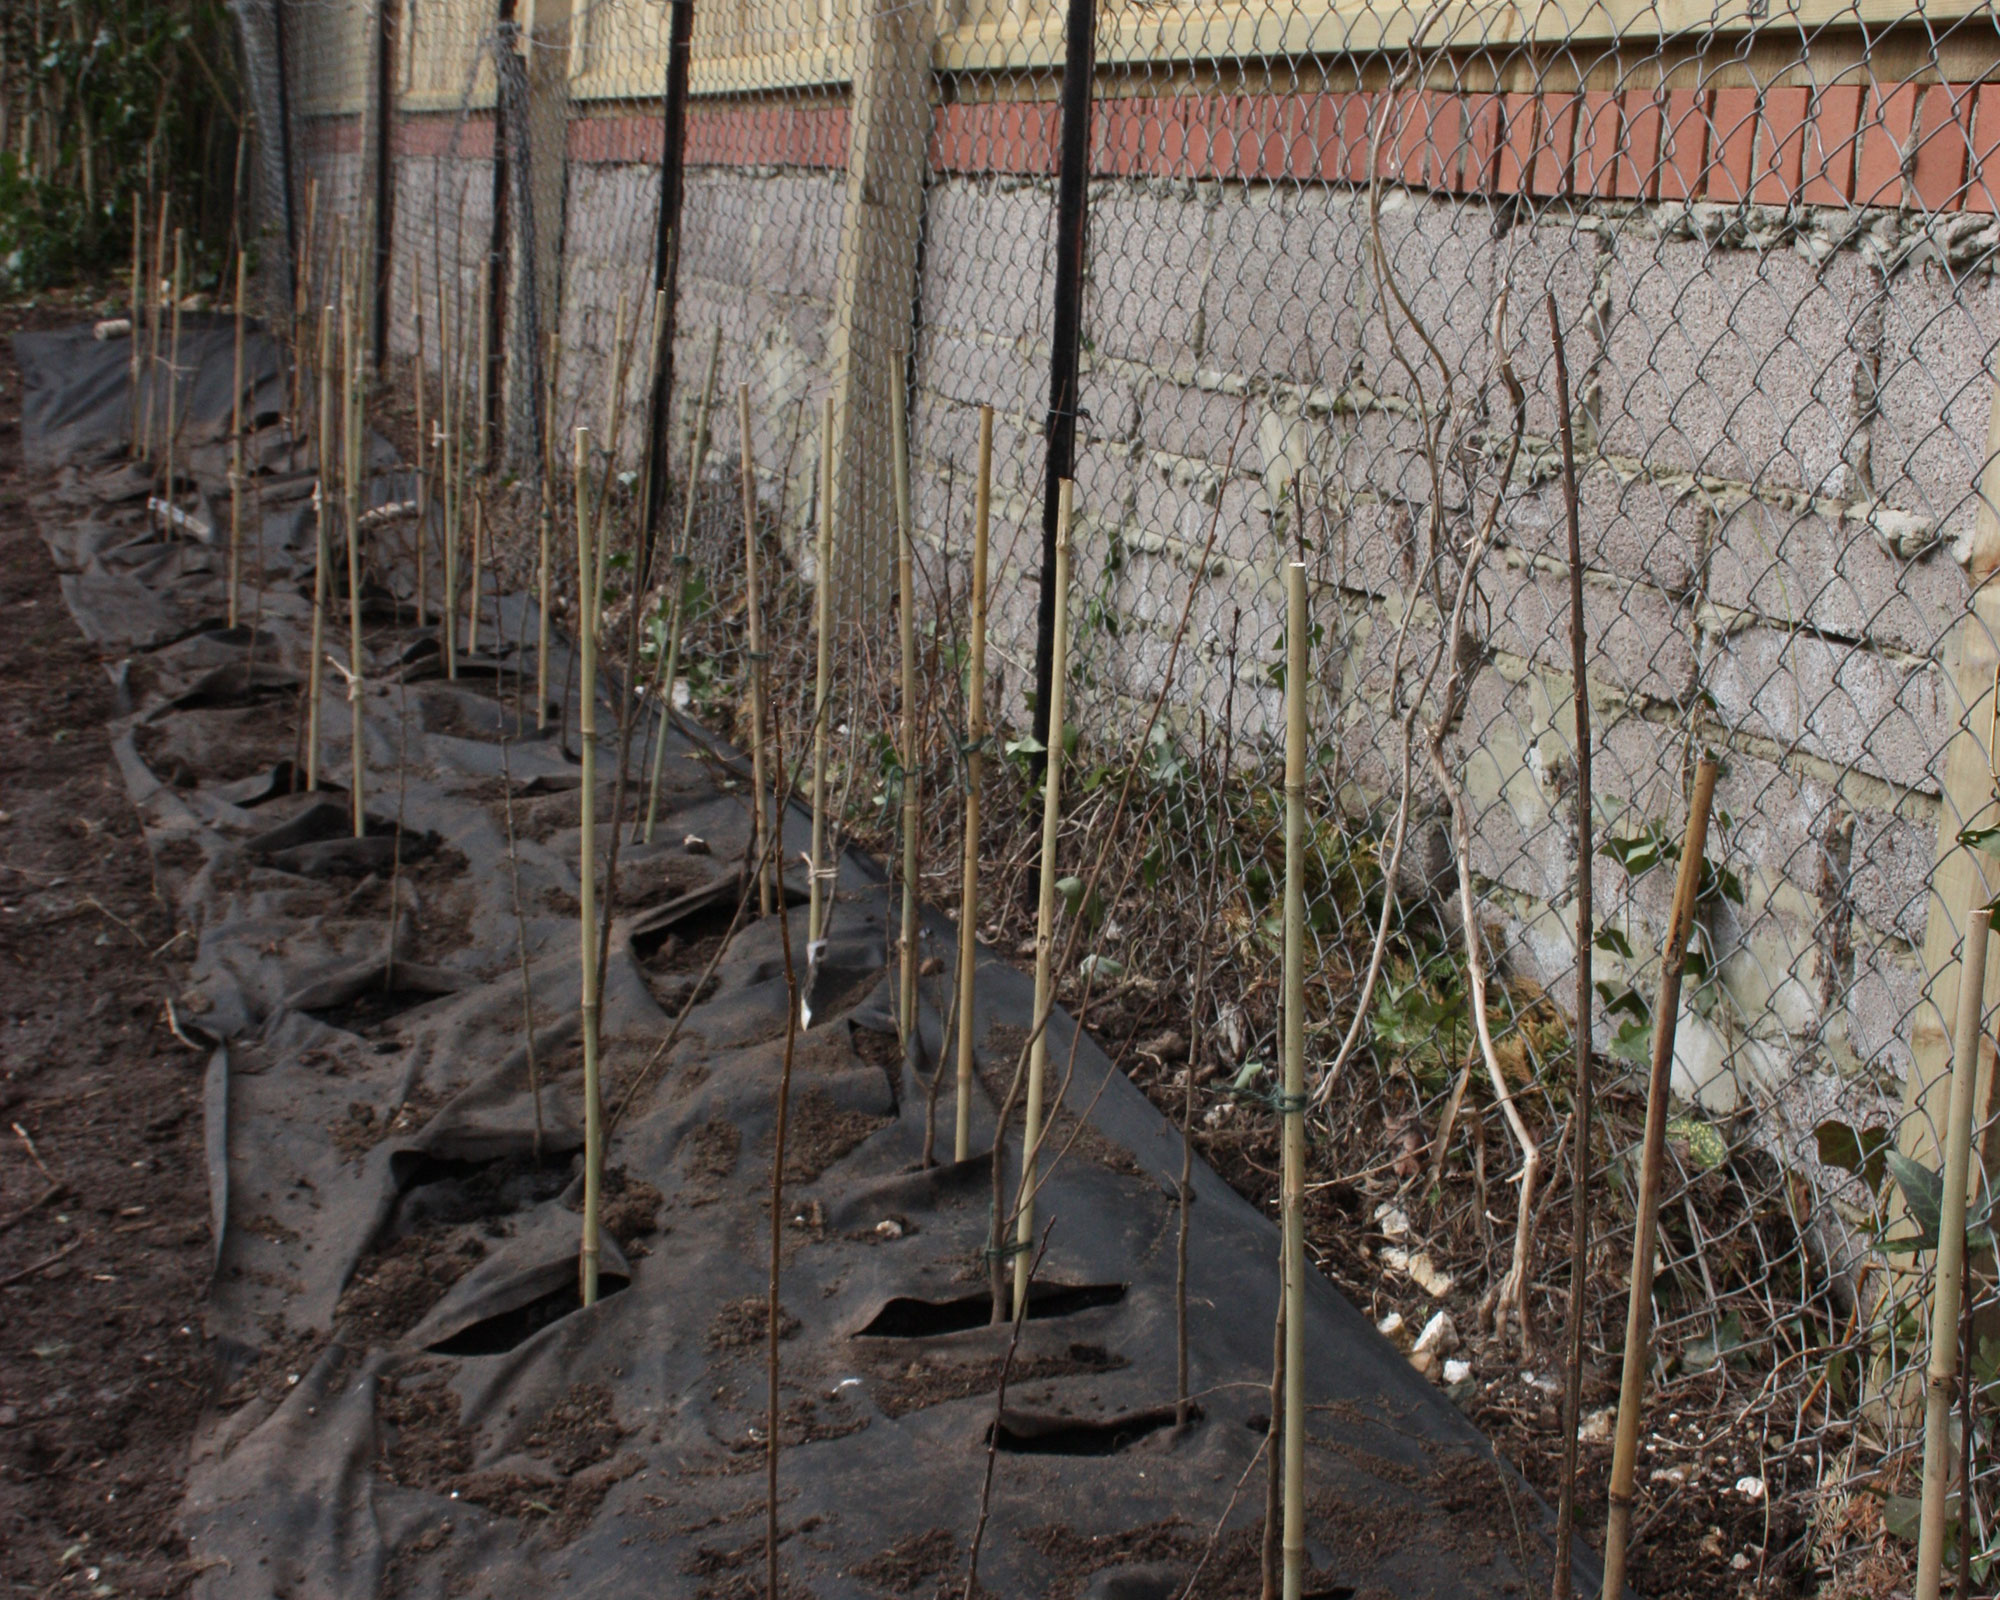
As long as the soil isn’t frozen or waterlogged, this is the season for planting bare root trees. These types of plants are one or two-year-old ‘whips’ that look like long twigs but will soon grow and become robust, quickly-maturing trees.
They are sold, as their name suggests, with bare roots, ie., not in containers, and need planting as soon as possible otherwise their roots dry out.
It is an economical way of buying stock, especially if you need to purchase in bulk for planting a hedge or orchard, and the varieties on offer are generally wider than buying container plants.
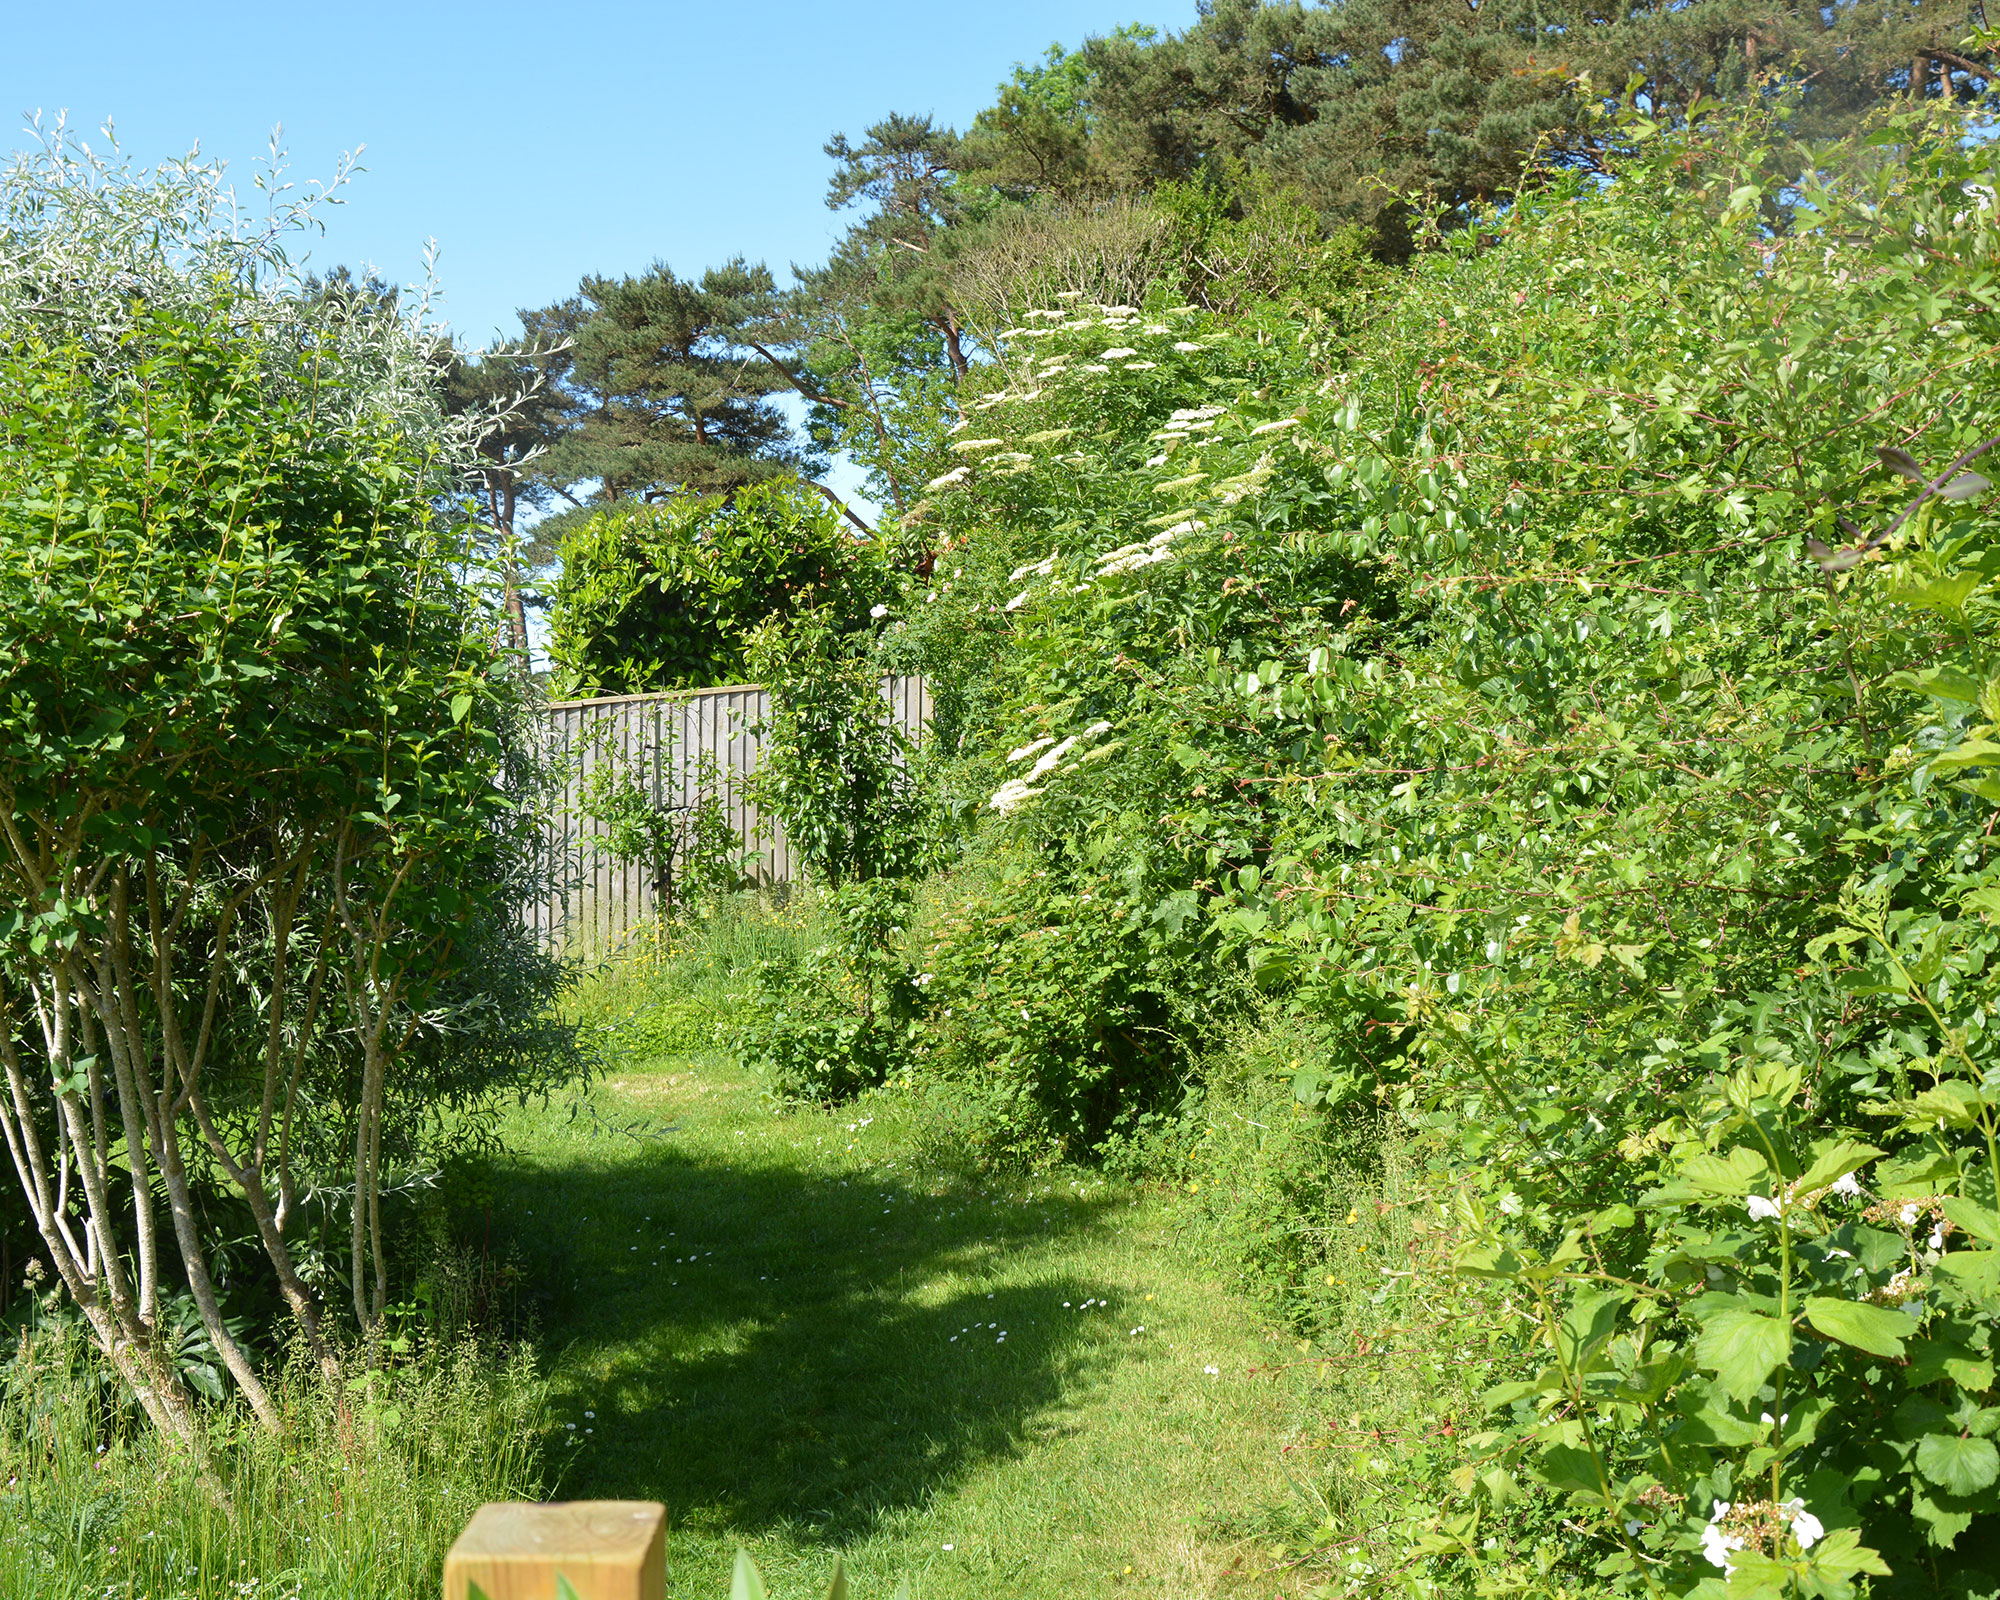
Bare root plants can include native trees such as hazel, beech and ash, rose bushes, fruit trees and bushes and even biennials including wallflowers. If it's rose bushes you're interested in growing, you can find out how to plant bare root roses in our dedicated guide.
Most should all be widely available online between now and late winter (though early purchase is advised before stocks run low) and you may also be able to buy them from your local market, plant nurseries or garden centers. Many online suppliers sell them in bundles with root-boosting mycorrhizal fungi and planting instructions.
Top tip: If you can’t plant immediately because of soil conditions or because you haven’t prepared the ground, ‘heel in’ (temporarily plant) the whips somewhere sheltered. They can stay in this temporary planting site right through winter, though do aim to get them in their final spot before they come into leaf next spring.
7. Start saving water with a butt
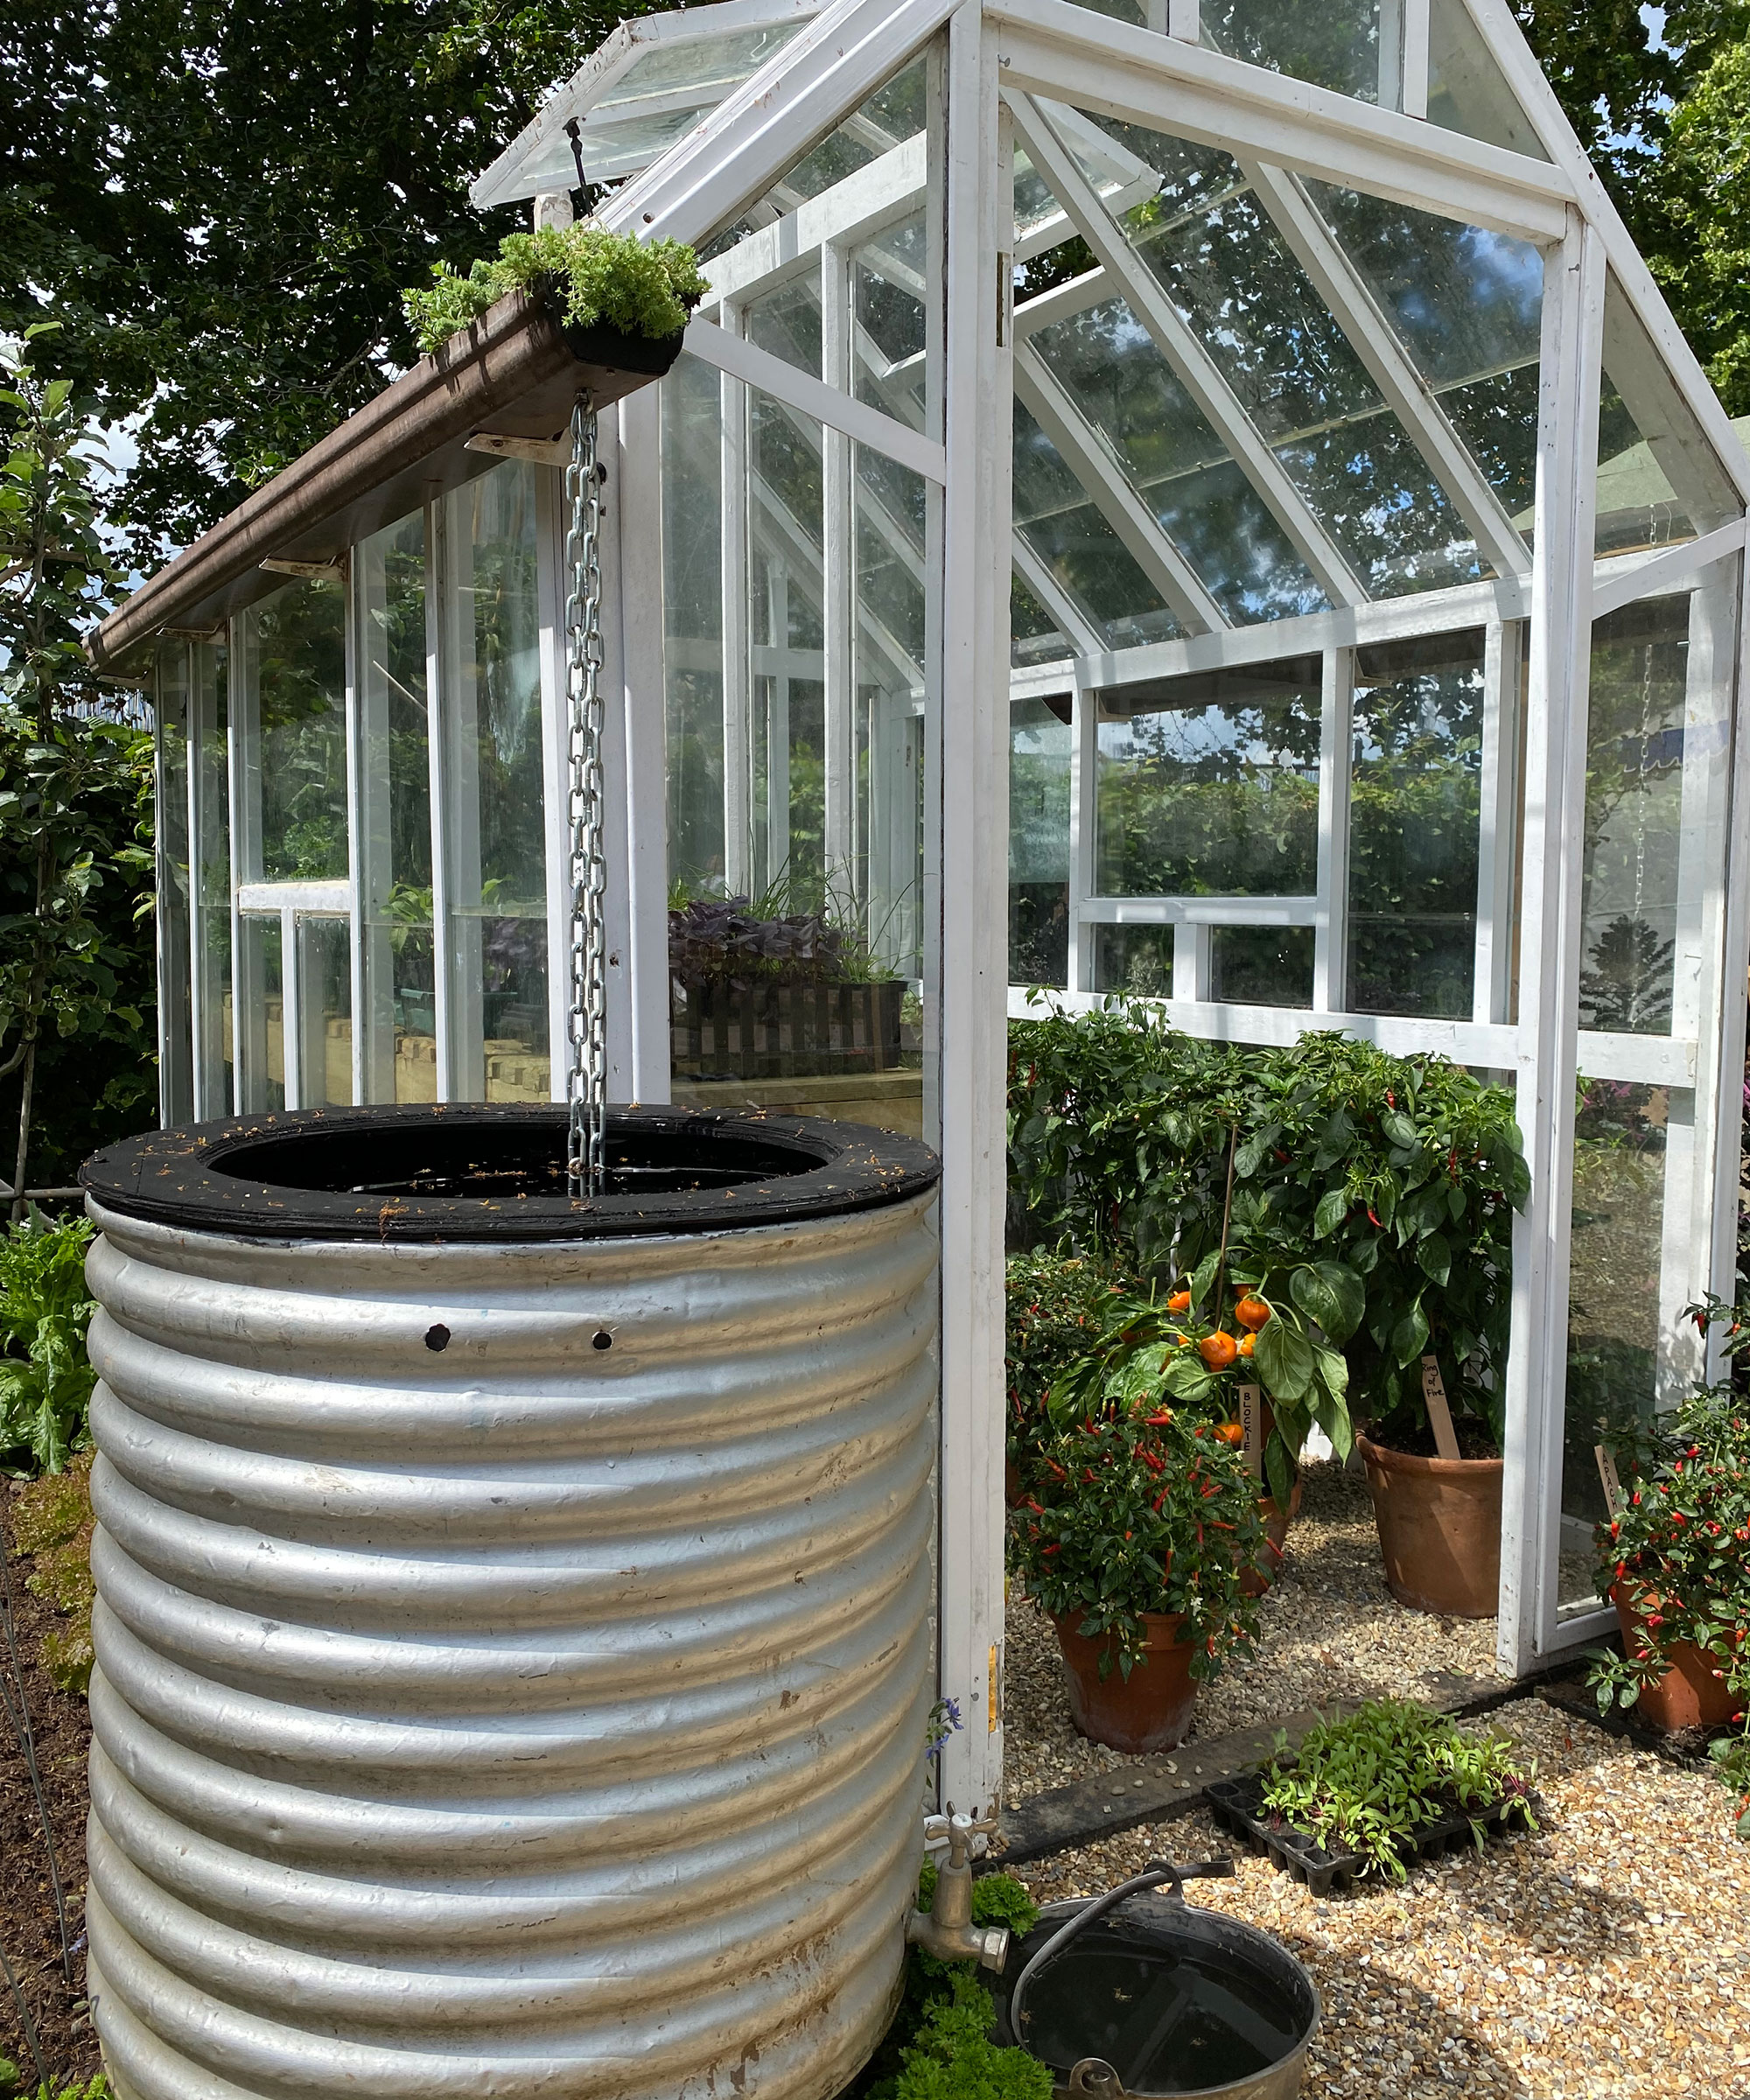
For many regions, November is the wettest time of the year, so it makes sense to optimize the sky’s damp bounty by harvesting it for the garden.
Water butts are an essential part of gardening life. Collected rainwater is better for plants and your garden pond than chemical-laden tap water.
If you site your butts on downpipes close to where you are growing things (think of using your shed, garage and greenhouse as well as the house), you won’t have so far to lug heavy watering cans come the dry season.
Water butts come in different sizes to fit most spaces and meet most requirements and are widely available from hardware and DIY stores and online suppliers.
Top tip: Water butts often work better with a stand, so the tap is raised and your watering can can fit underneath. A lid or cover is also a good idea to prevent debris from contaminating the water and insects from laying eggs in it.
8. Keep your hard surfaces safe and clean
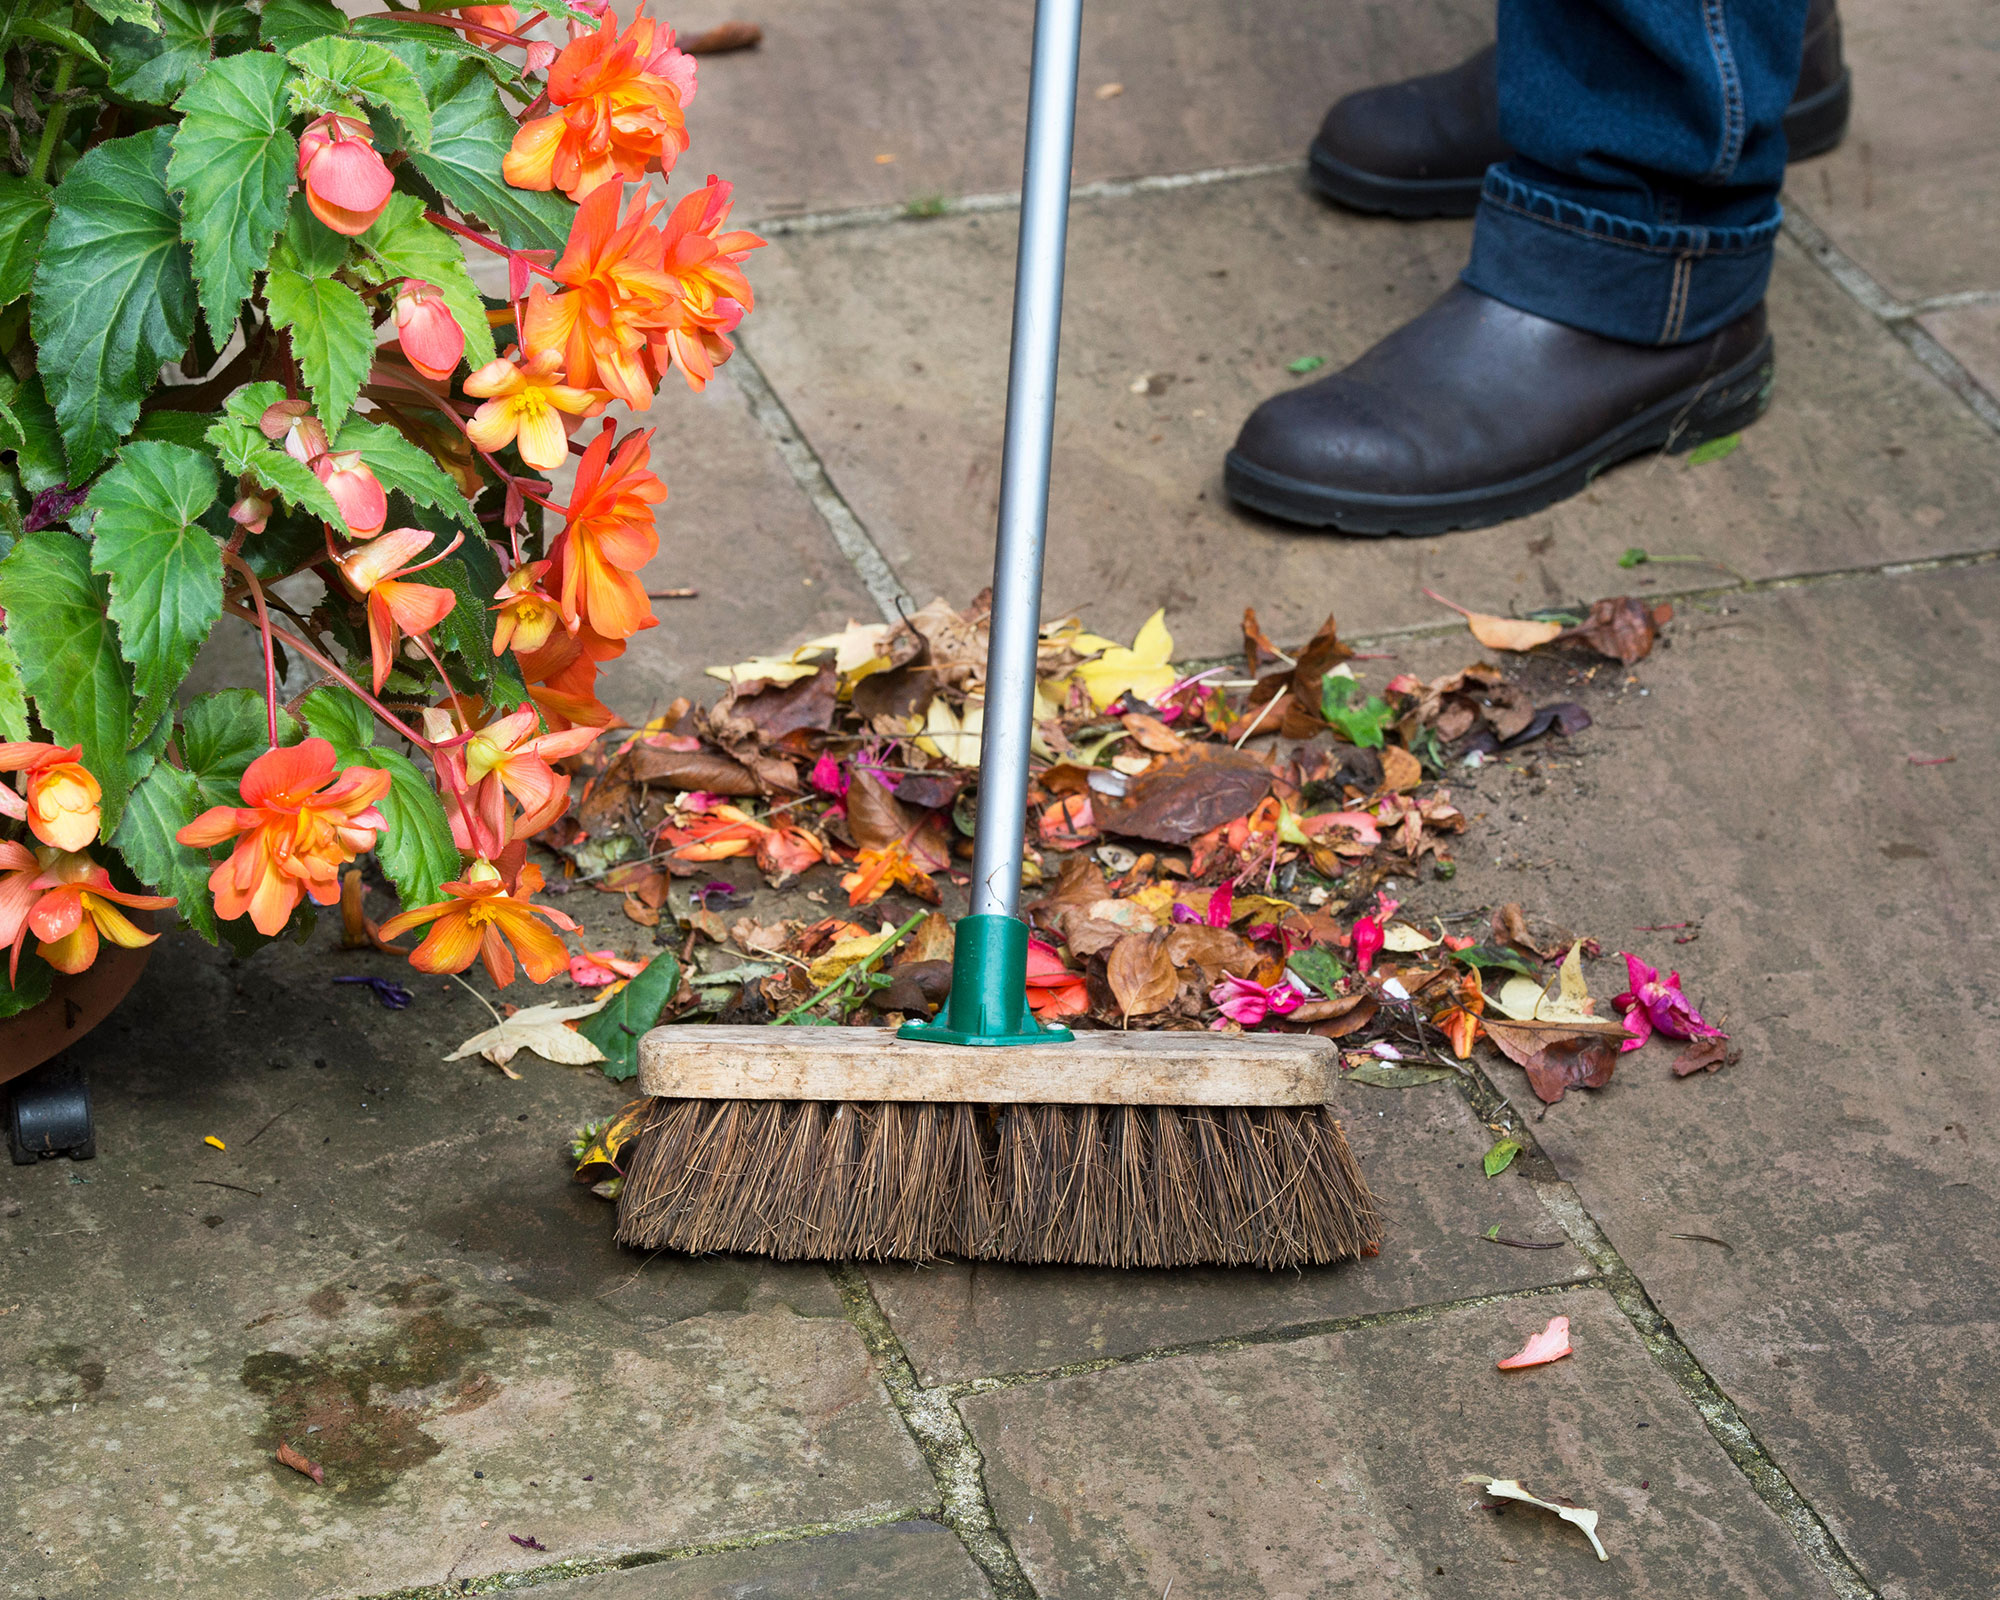
Falling leaves, regular rainfall, windblown debris – they all collect on the garden’s hard surfaces and create problems, so one of your most important November gardening jobs is to clear them up.
One of the most obvious issues if you don't is a treacherously slippery surface and in the run-up to Christmas, the last thing you need is a skiddy slip that lands you on your back with bruises or worse.
Accumulated muck is also a haven for pests and disease, and garden hygiene is crucial at this time of year when still, mild fall weather is already a potential breeding ground for fungal problems.
It can also build up around drains and in drainage channels, increasing the risk of flooding.
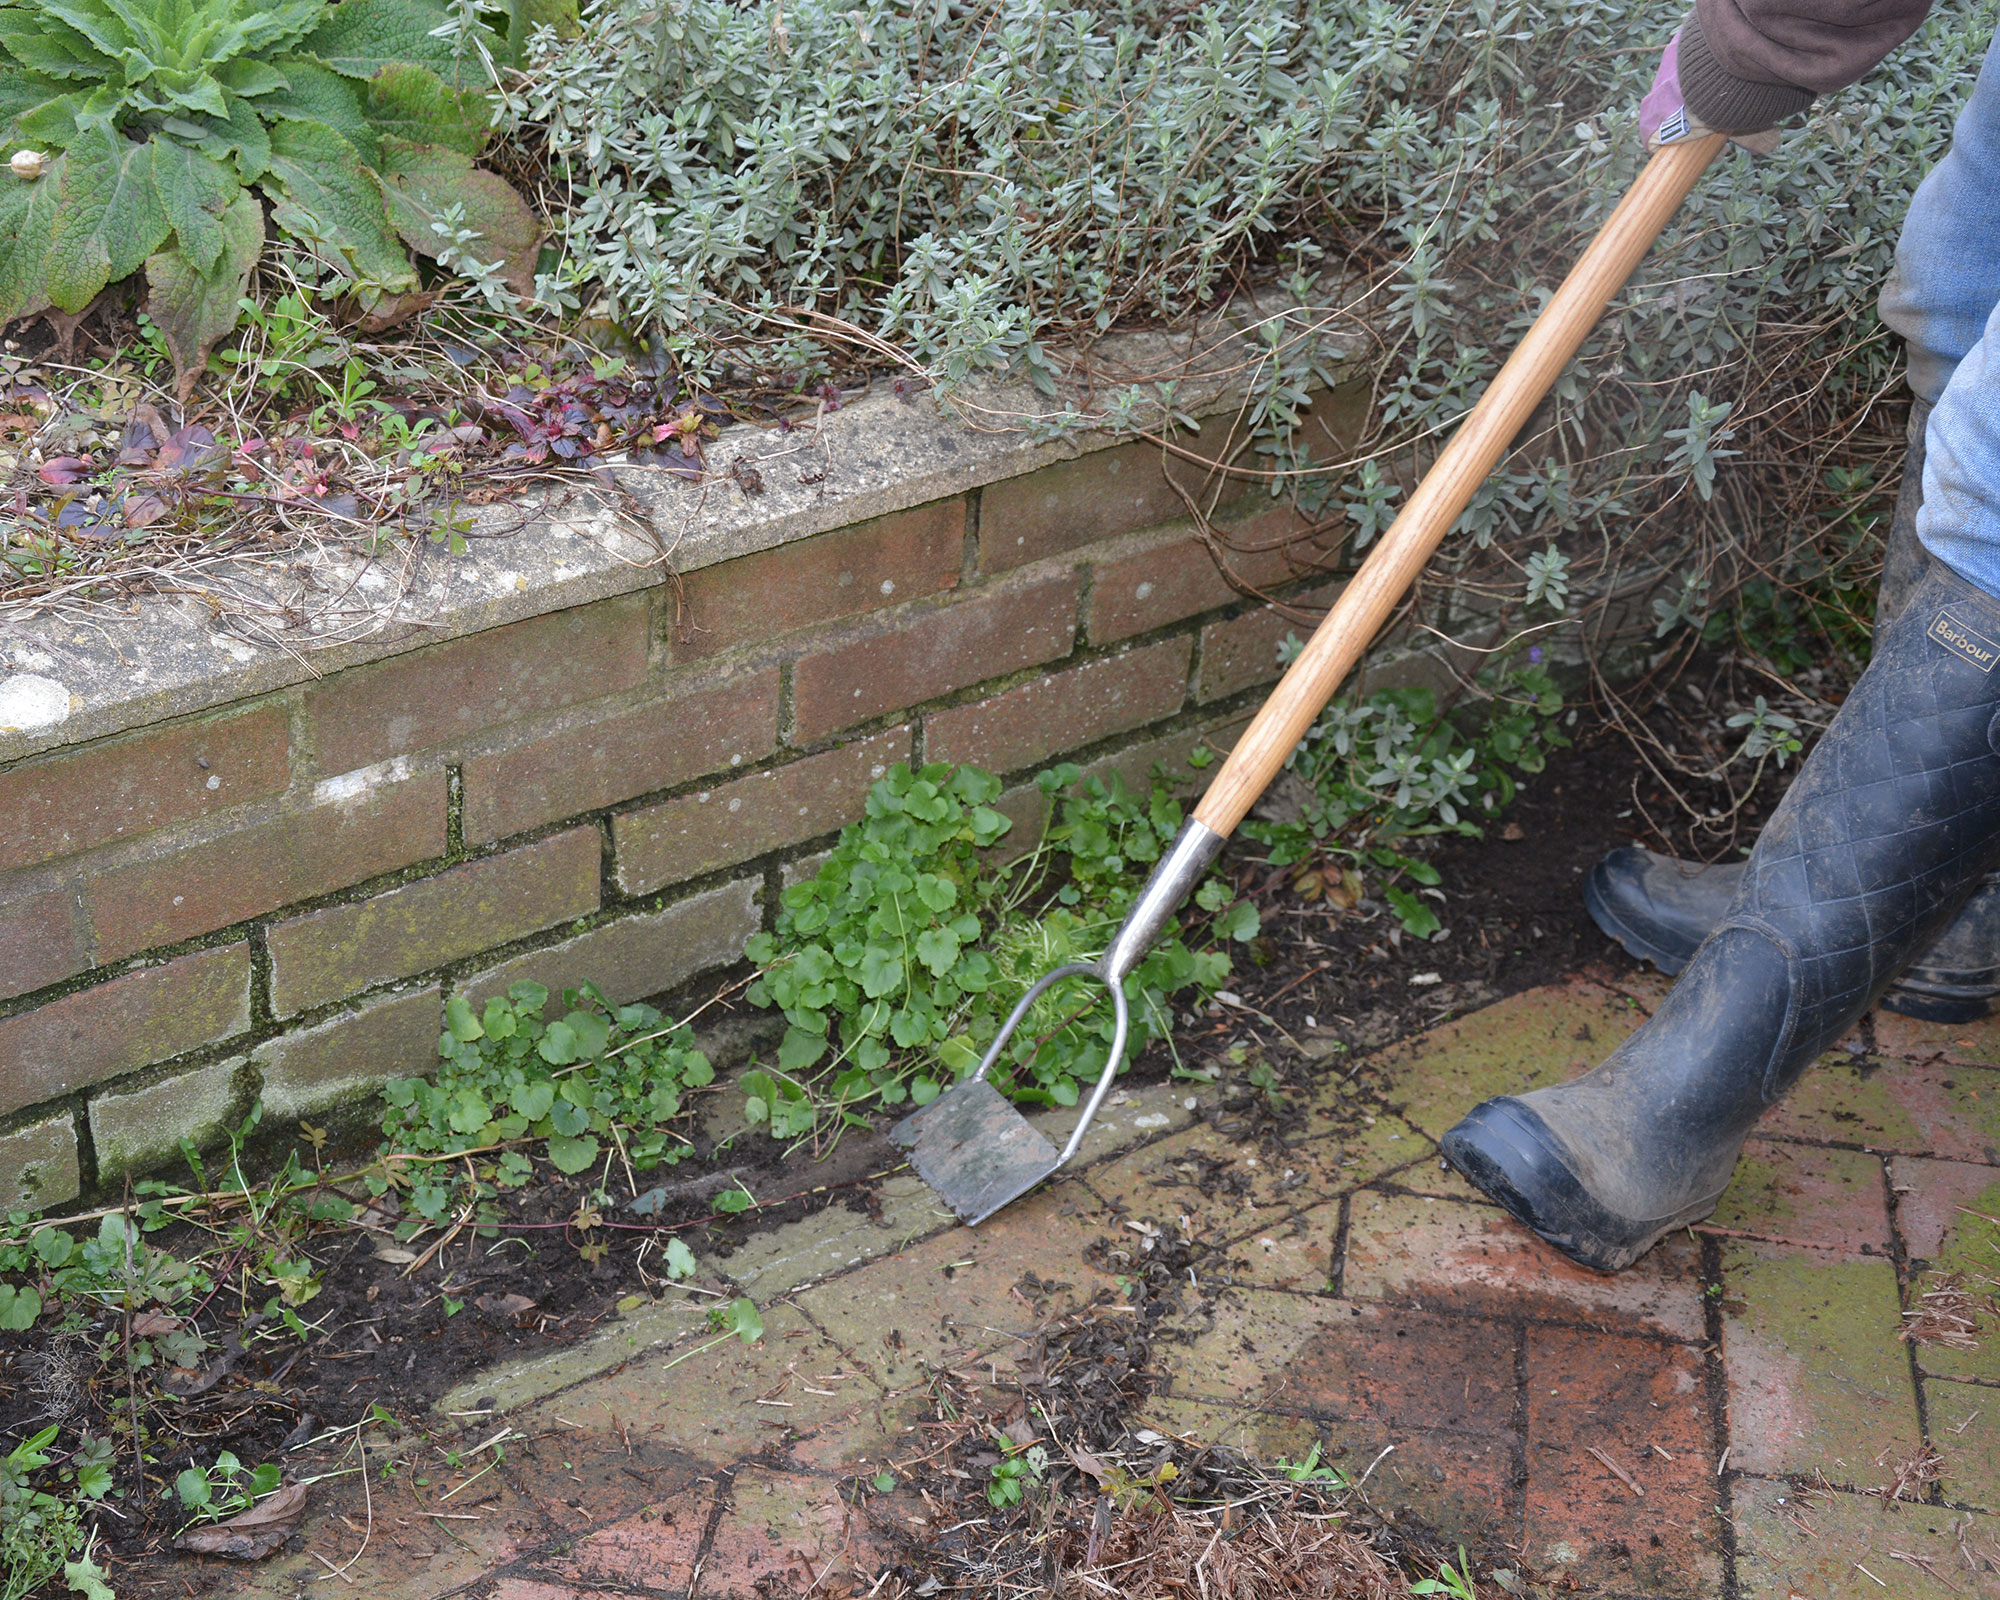
If you haven't already got a gadget for cleaning hard surfaces (you'll find plenty in our guide to the best pressure washer) your next best bet is with a bit of elbow grease as well as a stiff brush and a bucket of hot water laced with the best patio cleaner.
A sharp hoe blade or narrow wire brush are also handy tools for getting rid of moss, algae and other plant material starting to grow between paving stones.
Top tip: Avoid using pressure washers if you have block paving patios as you risk dislodging the cement between the brickwork.
9. Lift or insulate tender tubers
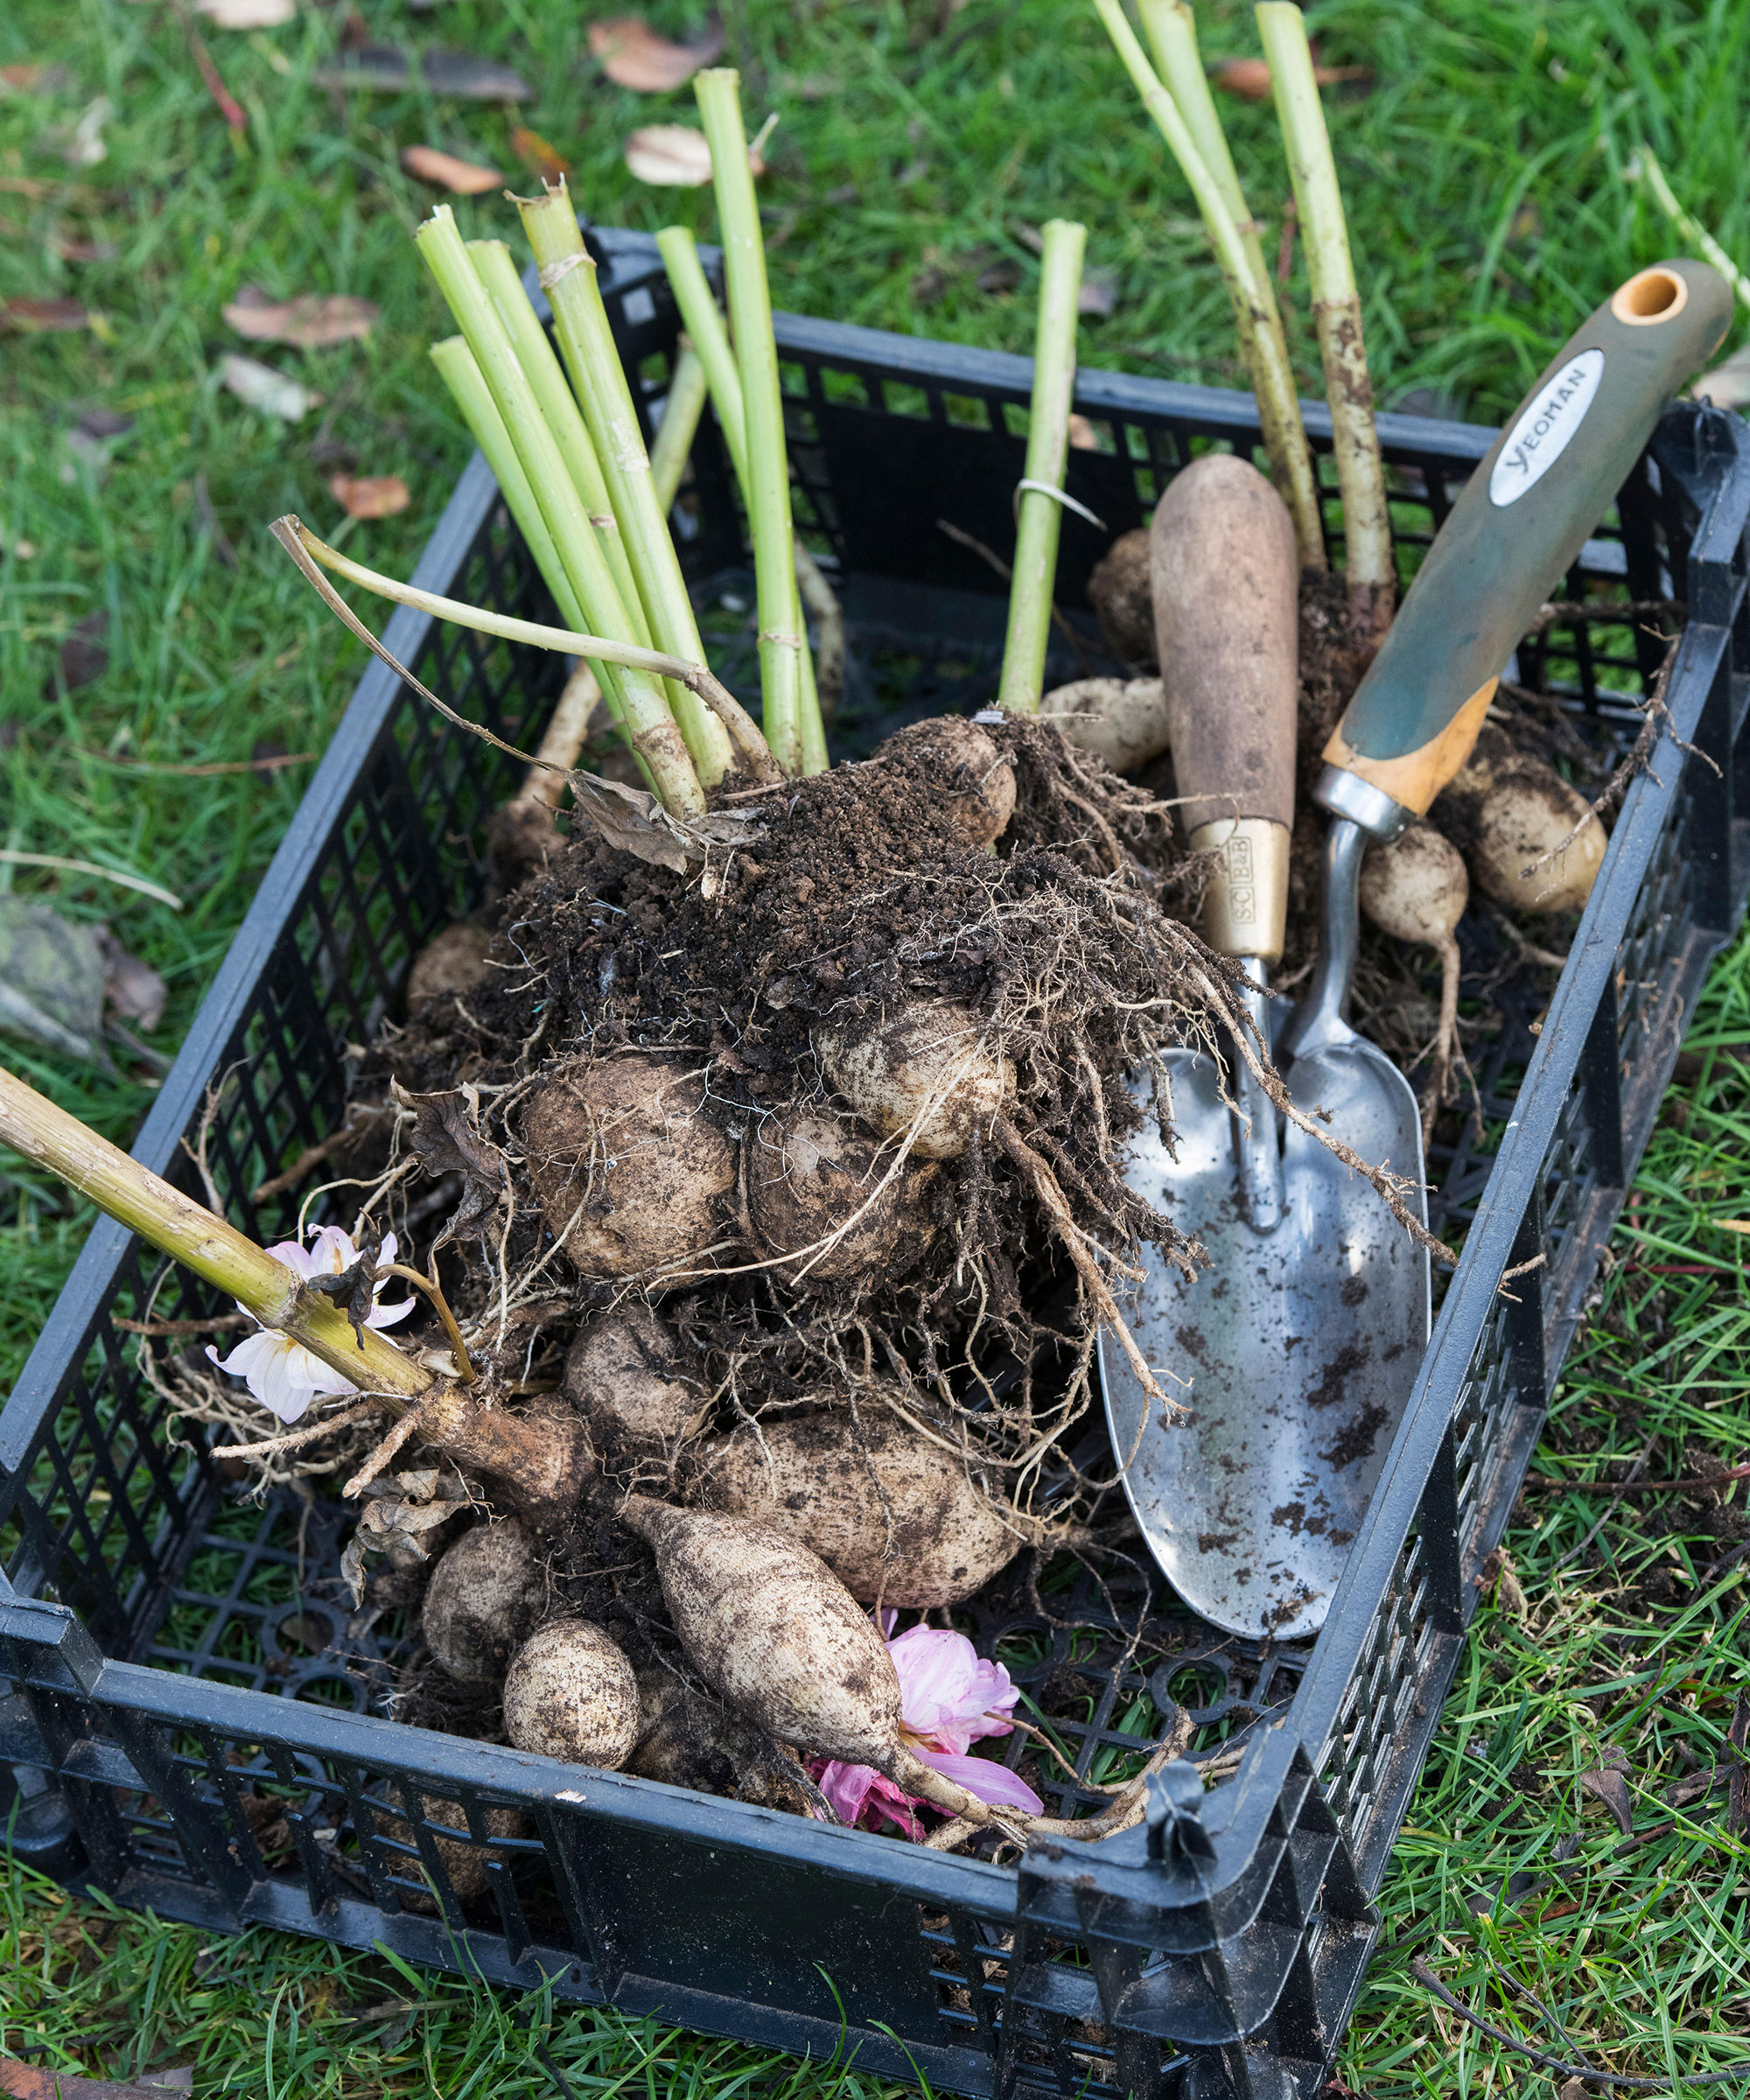
Once the first frosts have blackened their leaves you can decide what to do with your dahlias as part of your November gardening jobs.
If your garden is sheltered and your soil light and free-draining, then you may want to risk leaving the tubers in the ground. All you need to do is cut back the stems to within 4in (10cm) of the ground and then mulch the root area with a generous layer of well-rotted compost, bark chippings, straw, manure or a combination of all four.
However, if you have heavy clay soils that are prone to waterlogging, or if you don’t want to take the risk of leaving the dahlias in your light soil, you should reduce the stems as before and carefully dig up and store your dahlia tubers somewhere frost-free.
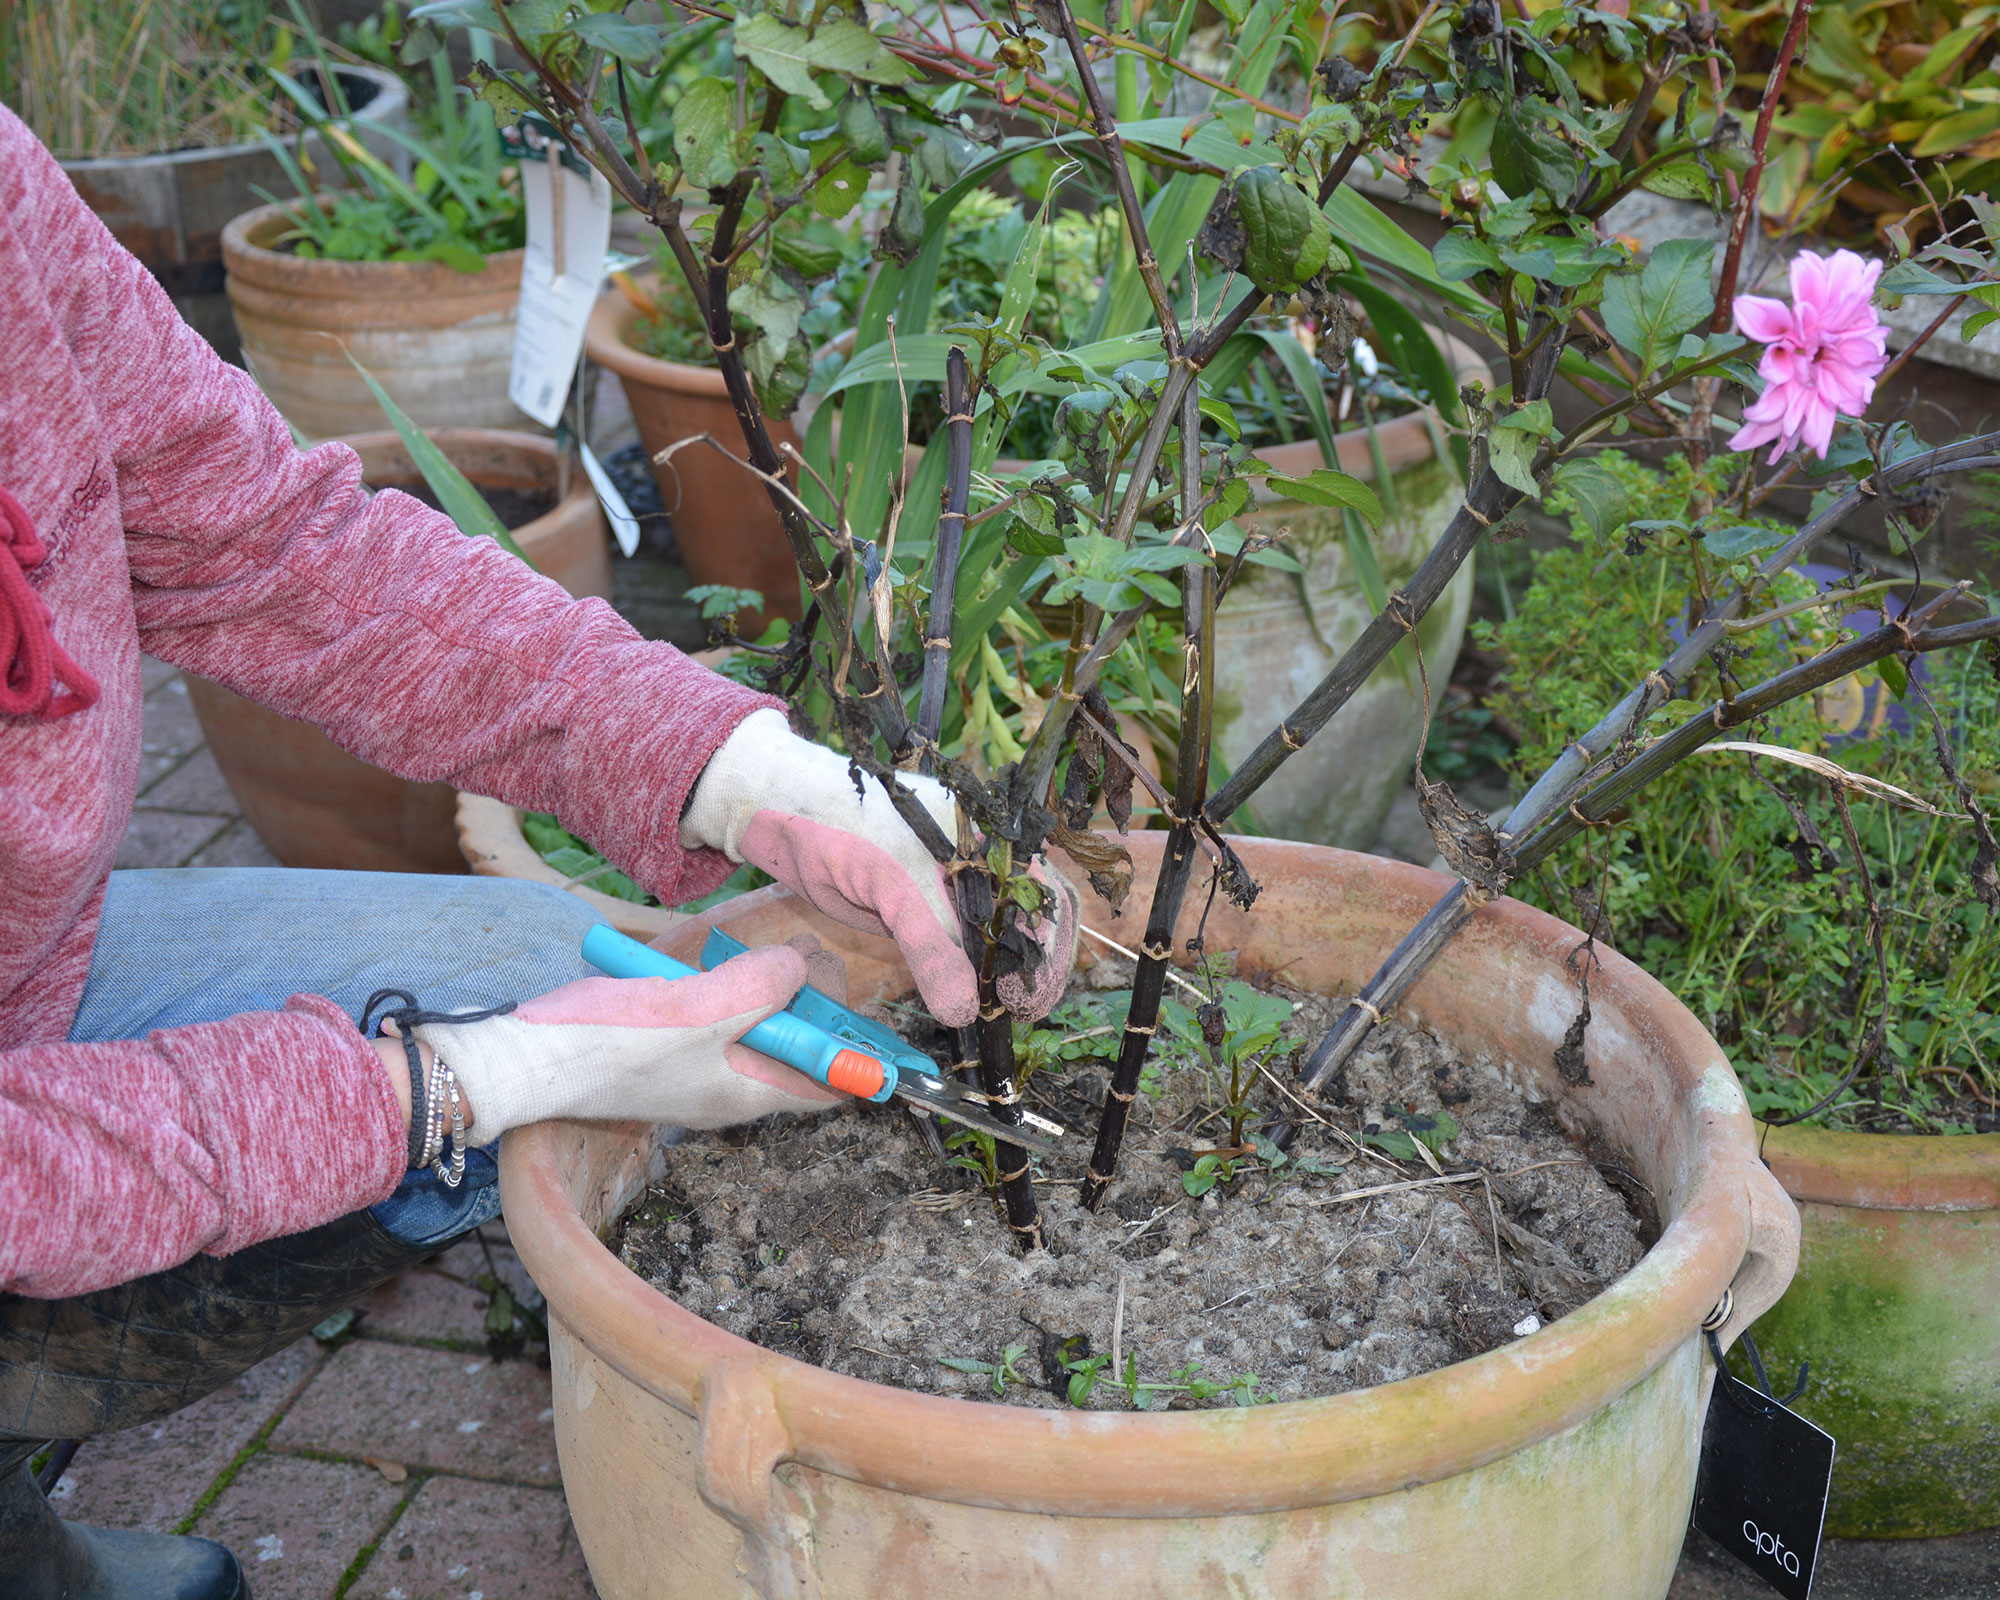
If you are learning how to grow dahlias in containers, you still cut them back but you can leave them in the pot and move them into a frost-free greenhouse, garage or shed to sit out the cold weather.
Top tip: You can store canna bulbs and begonia tubers in a similar way.
10. Look after garden wildlife

As the natural world gets carved up and built on, our gardens are increasingly important to birds, insects and wildlife.
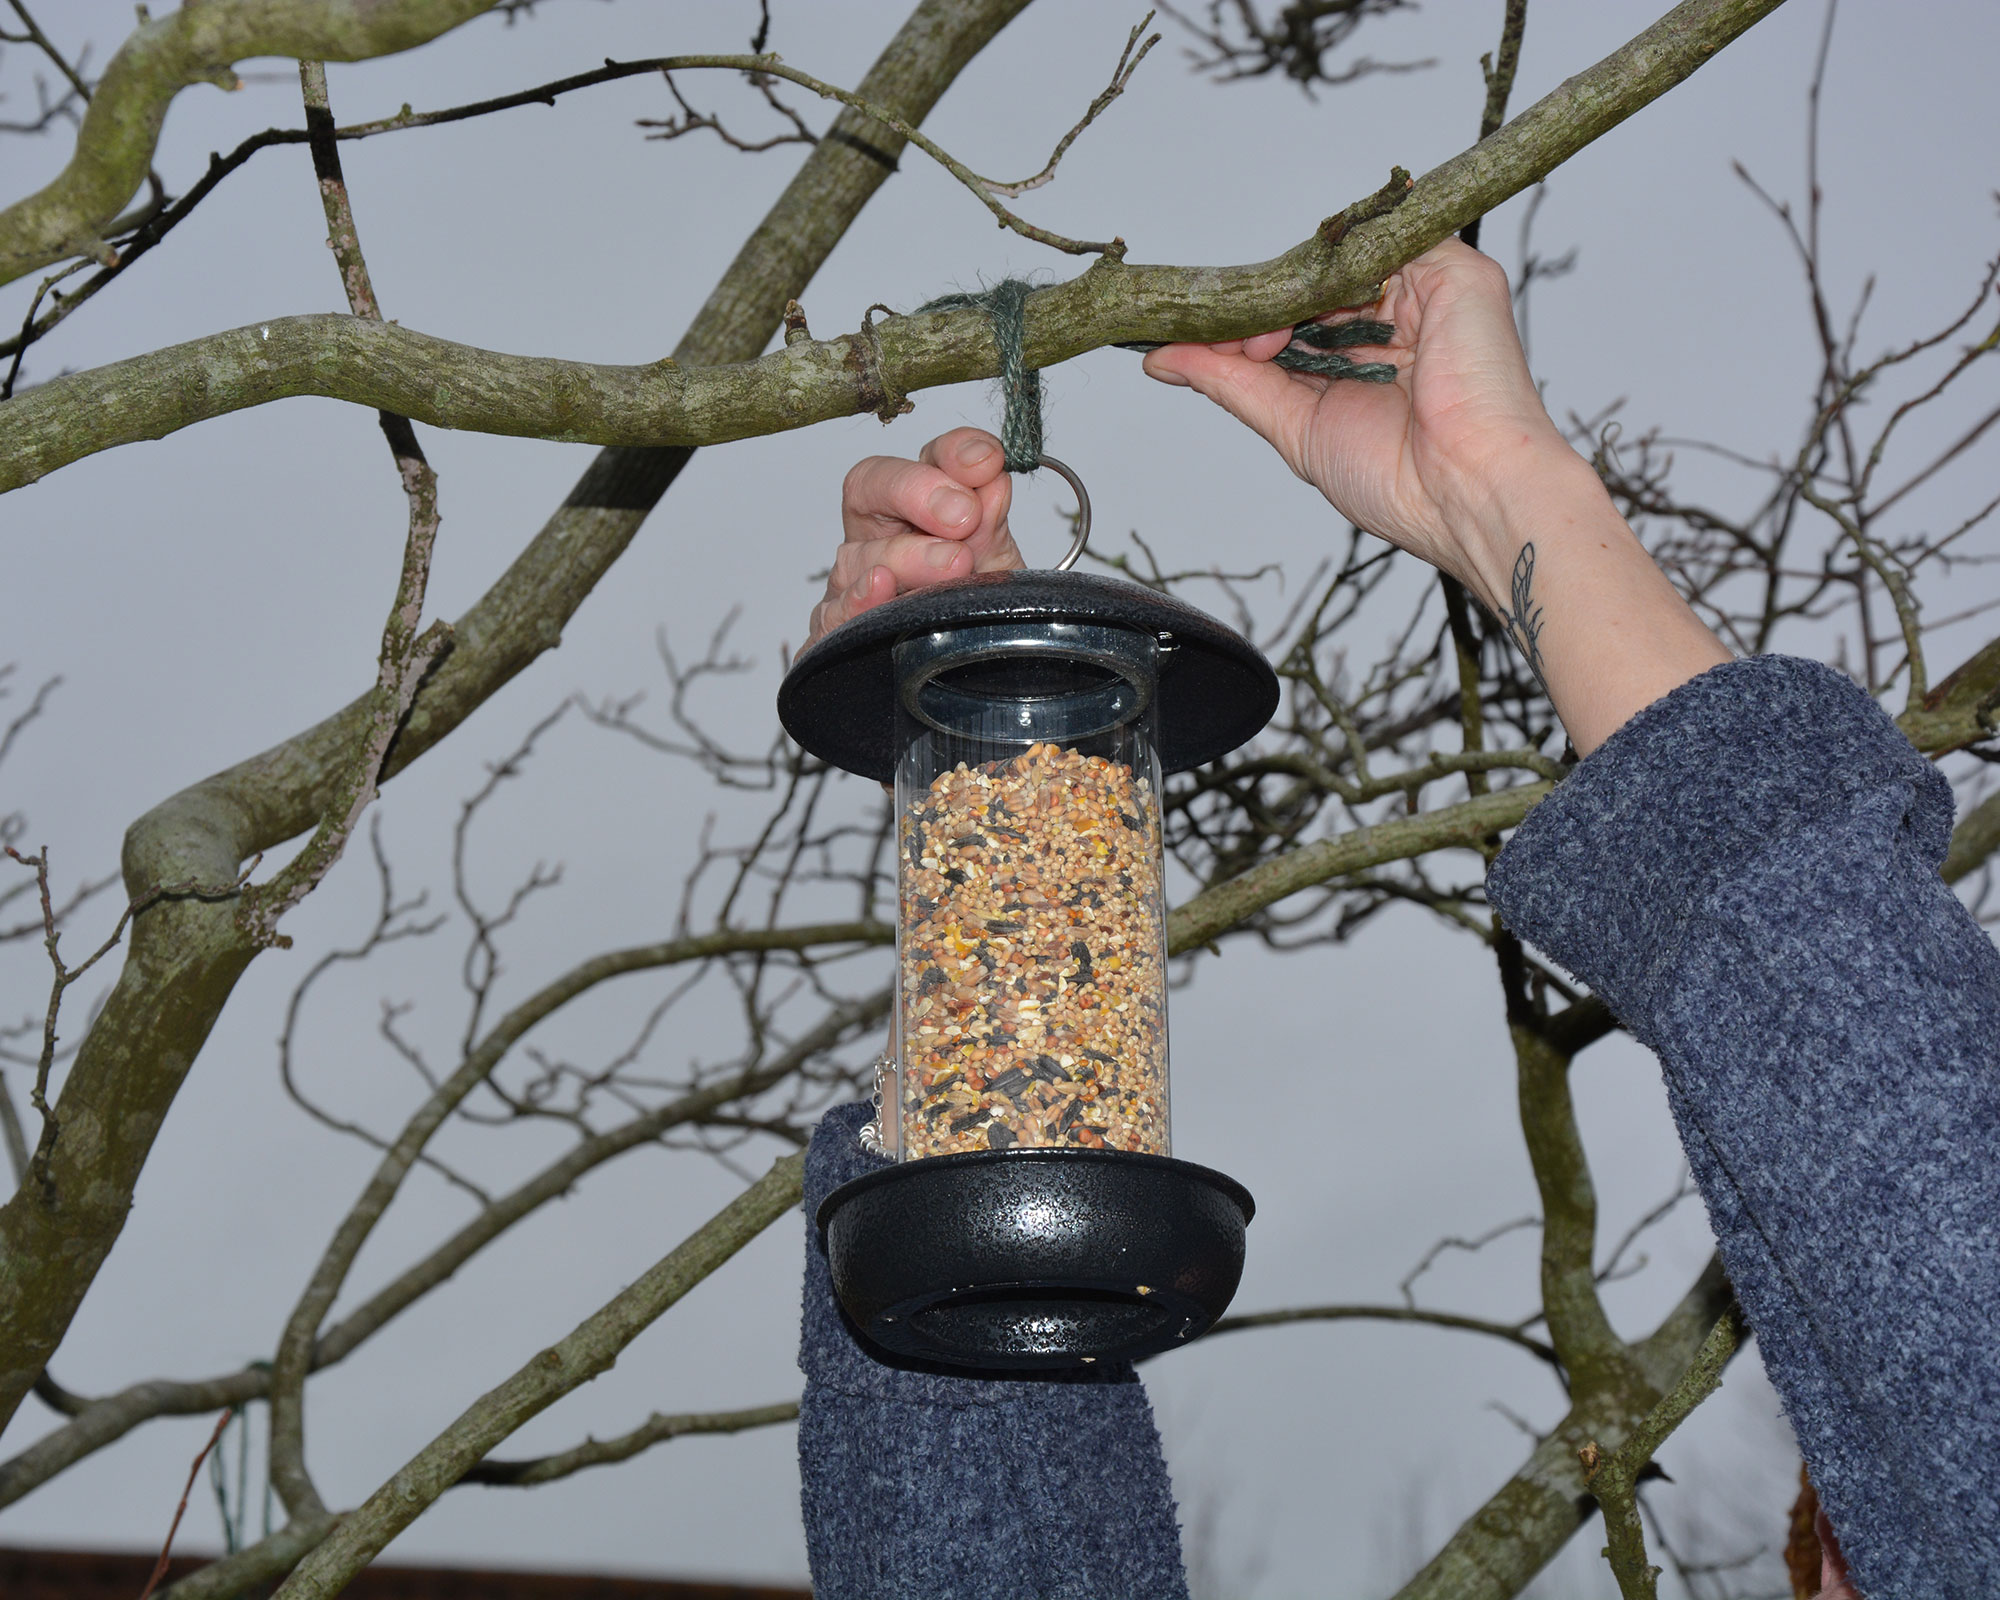
One of the key November gardening jobs is to do your bit for wild birds and animals, even if all you can do is put out fresh food and water for them every day and make sure your bird feeders and other feeding stations are kept clean, with leftover food removed.
If you have the space for more wildlife garden ideas, leave a quiet area of your plot to grow slightly wild with a pile of logs and maybe some straw, to provide a hideaway for animals and insects as they slow down or look for somewhere to shelter from the elements.
Hedgehogs will be feeding up before periods of hibernation, so leave out fresh water and either proprietary hog food, which is widely available from pet shops and garden centers and online (try Amazon), or meaty pet food and kitten biscuits.
Top tip: Instead of cutting back all your perennial stems, leave some standing to provide seeds for hungry birds and hollow stems for hibernating invertebrates.
11. Try taking root cuttings
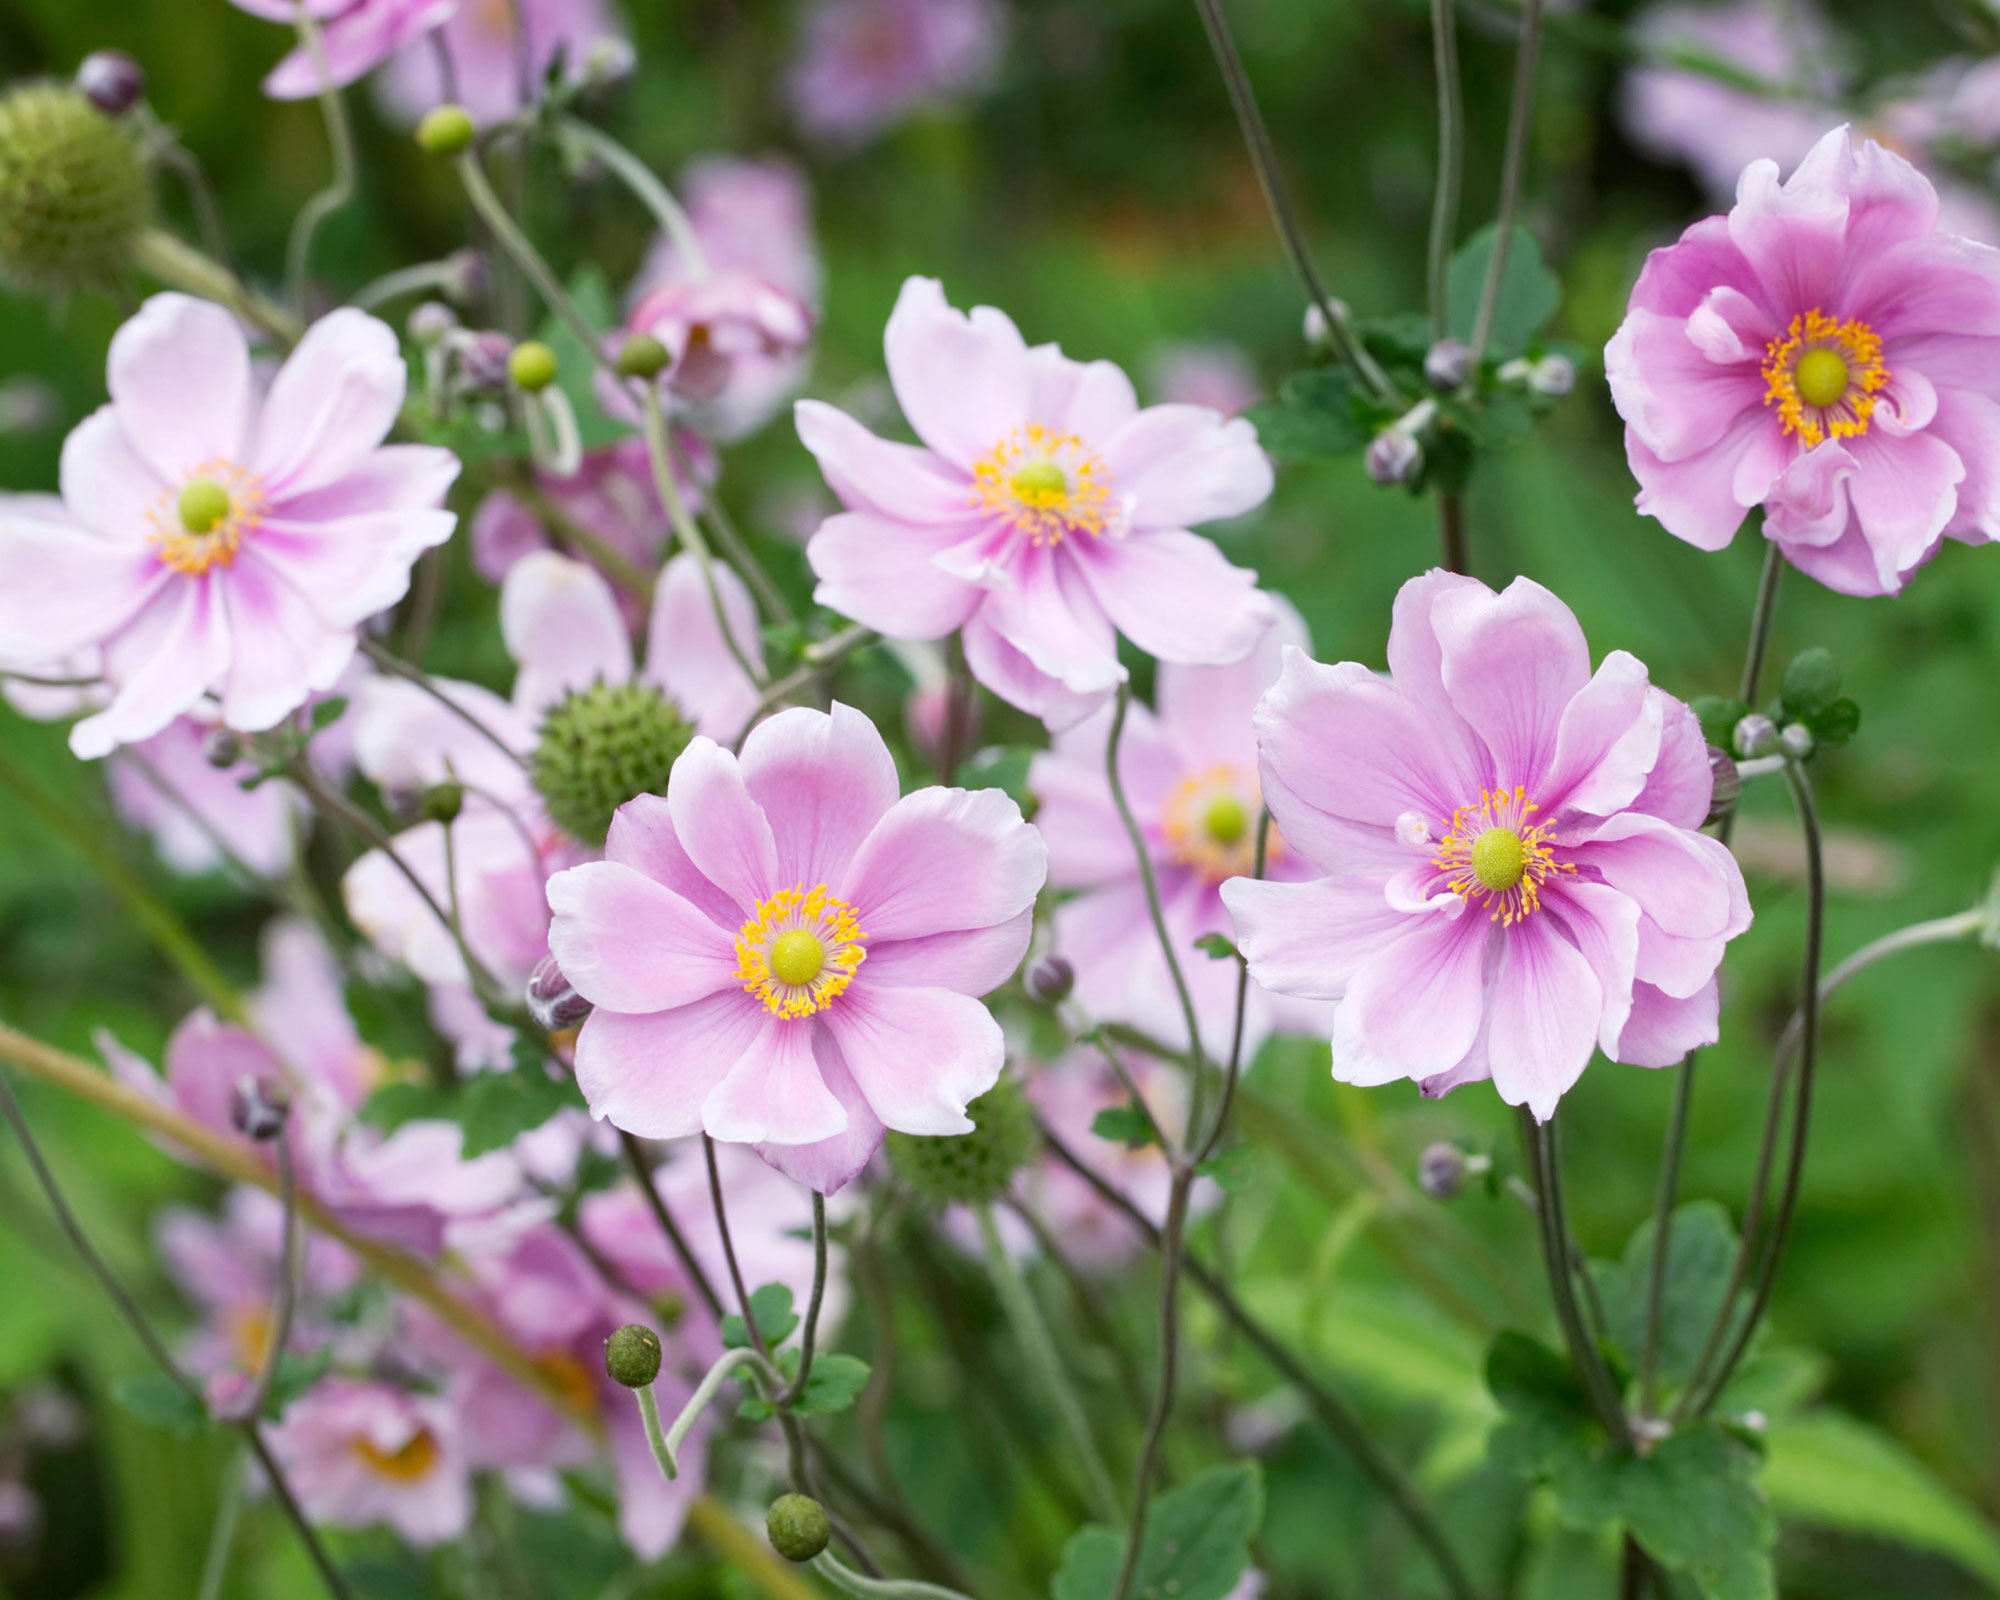
There are cuttings for every season and late fall and early winter is when root cuttings come into their own.
Herbaceous perennials, including Oriental poppies, Japanese anemones, phlox and verbascum, can be propagated in this manner and you can create large numbers of new, free plants from each parent.
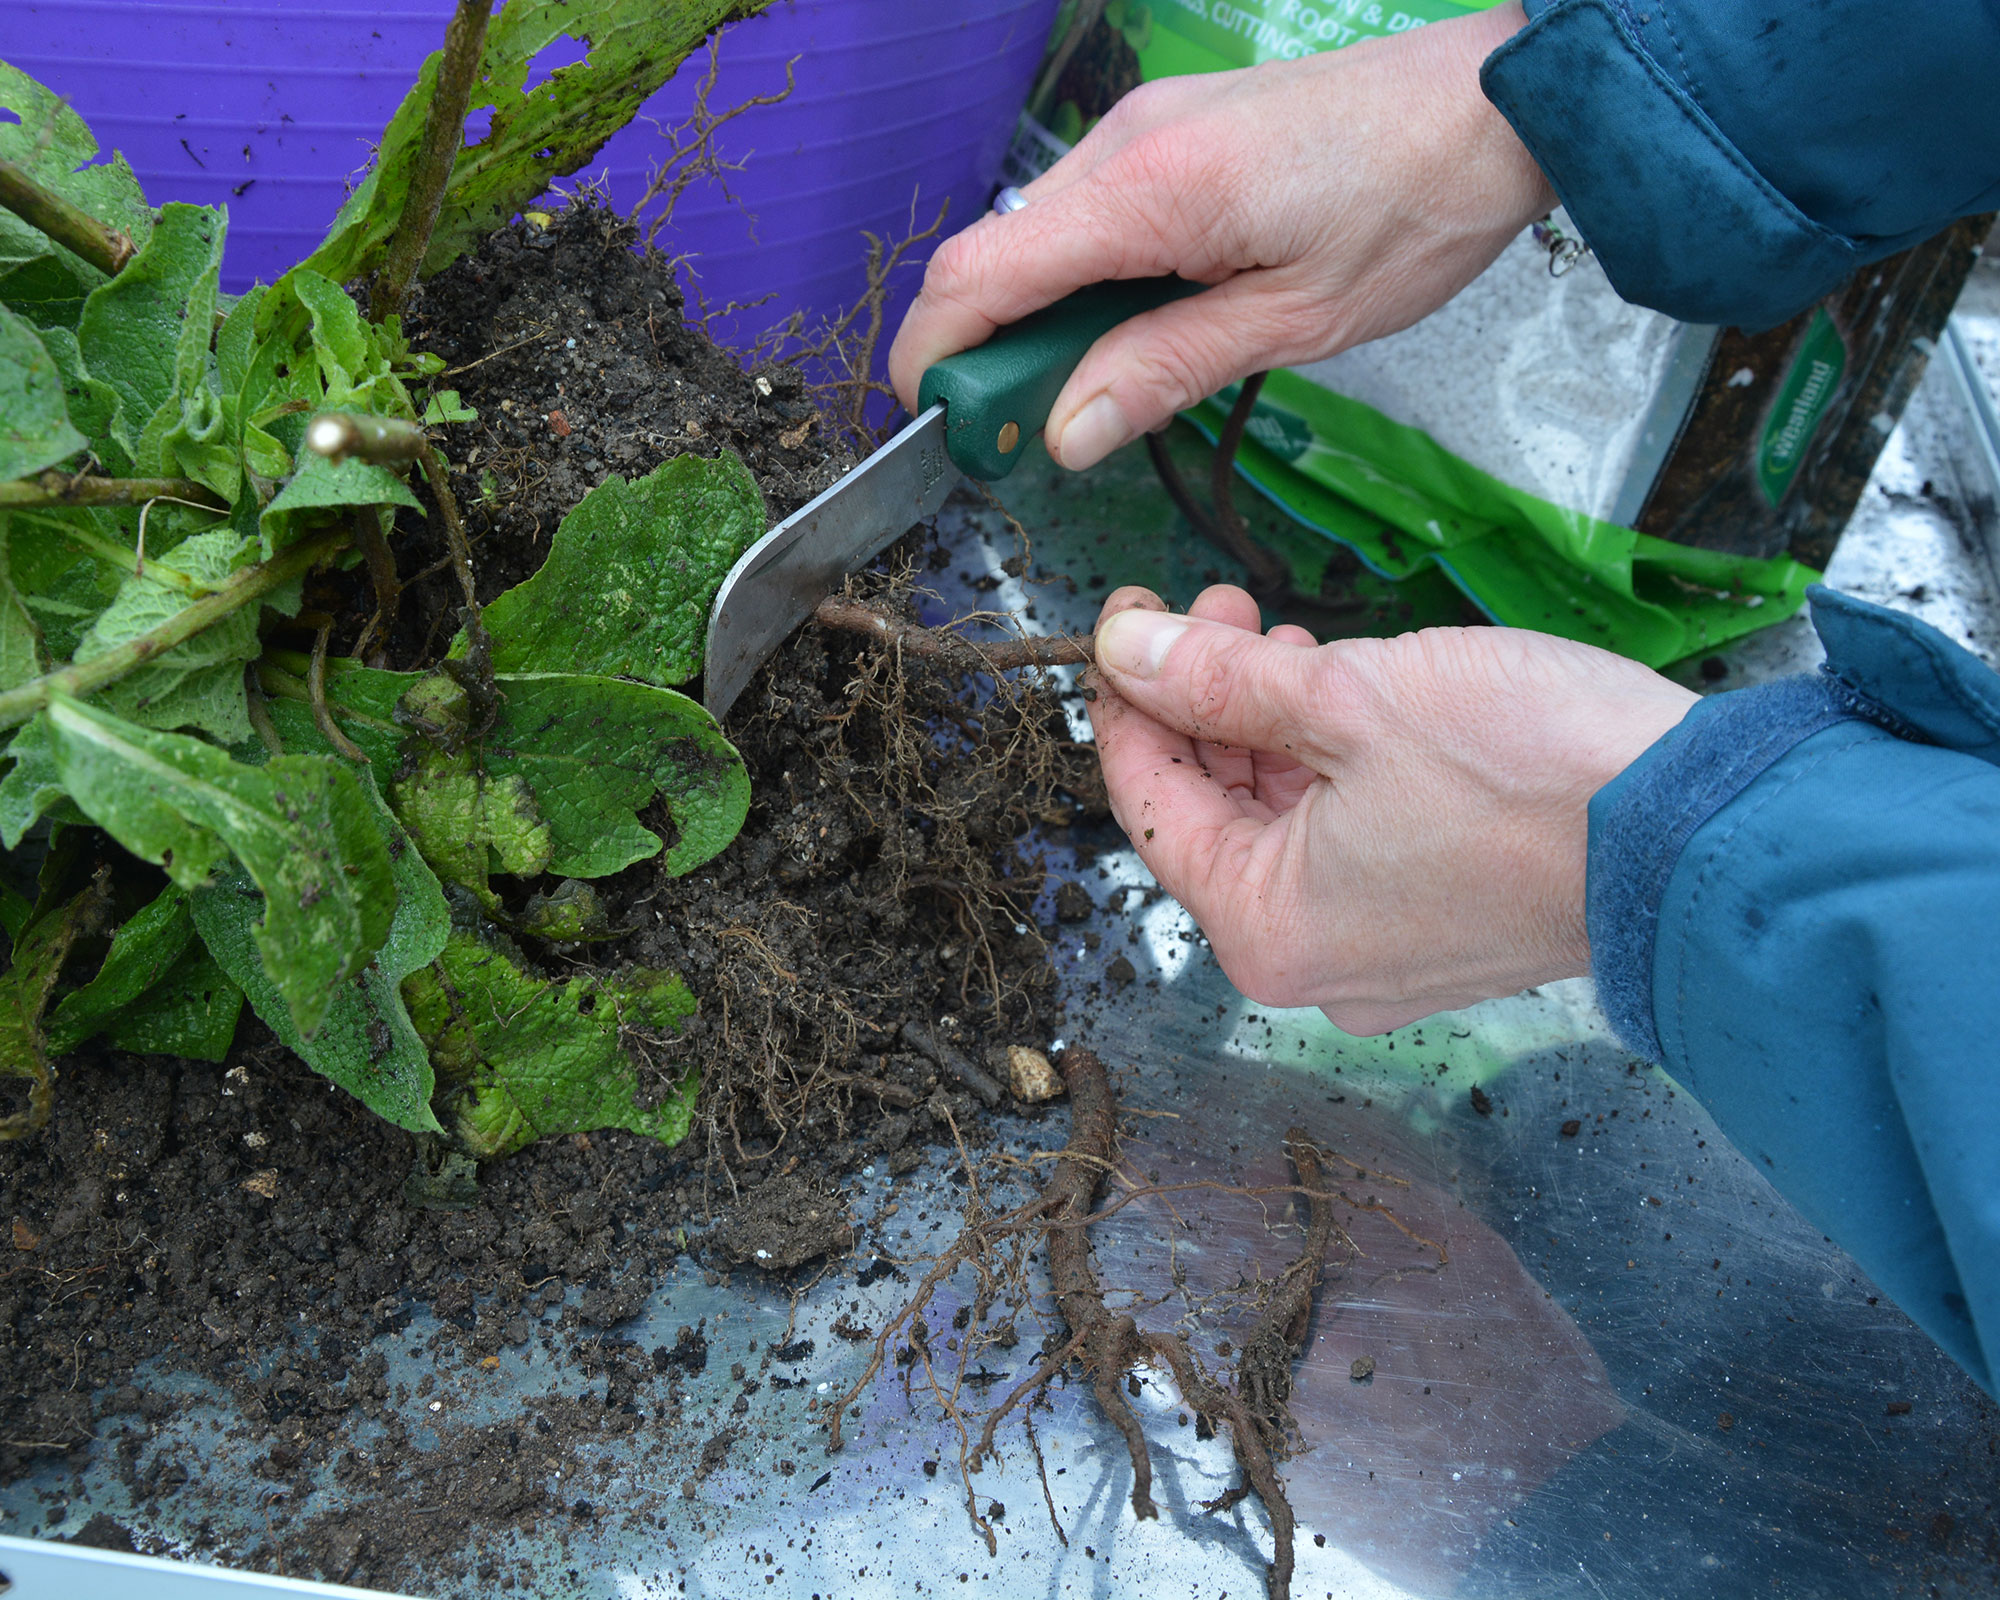
Root cuttings are one of the easiest ways of propagation and have the added benefit of creating new plants without pests or diseases. Here's how to do it:
- Lift the parent plant from the ground, keeping as much soil around the rootball as you can.
- Choose healthy pencil-thick roots and remove thin ends and fibrous lateral roots.
- Cut each length into 2-4in (5-10cm) lengths with a horizontal cut at the top end and an angled cut at the lower end, which creates a larger surface for root development.
- Insert into pots of gritty compost and place them in a cold frame or greenhouse for winter.
- Pot up individually in spring or summer when there should be signs of growth emerging from the compost.
Top tip: Remove no more than a third of each plant’s root system otherwise you run the risk of damaging future growth or even killing it.
12. Pot up your summer cuttings
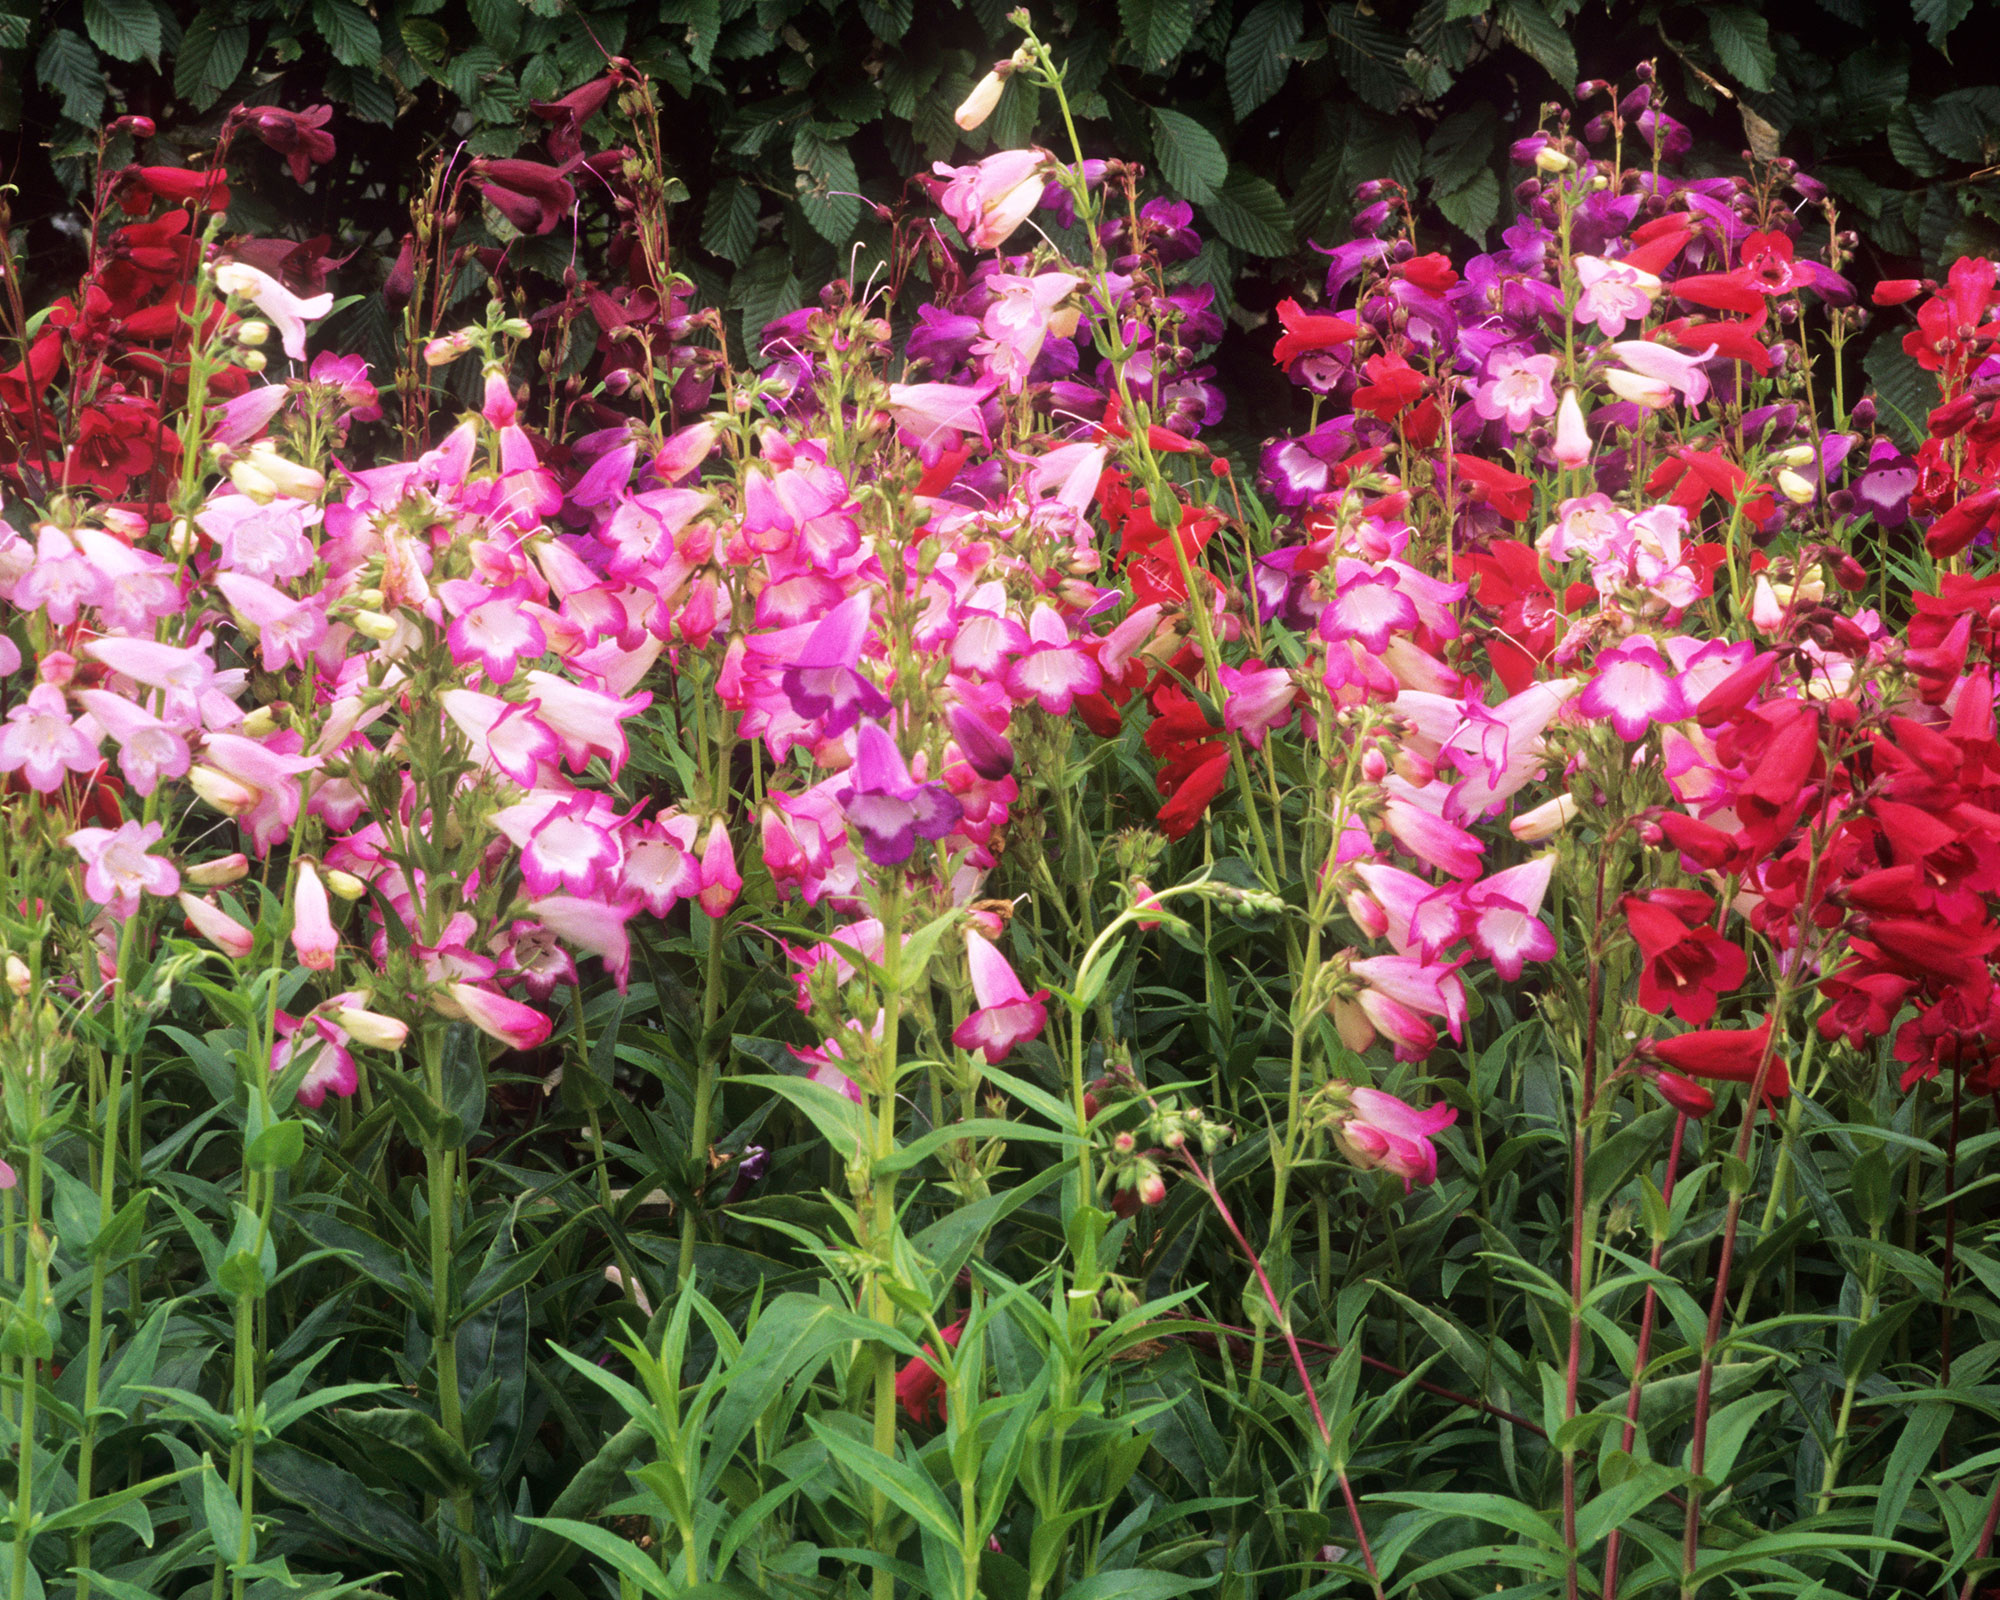
If you've already learned how to take cuttings from plants and took softwood or semi-ripe cuttings of perennials or shrubs this summer and they have taken and started to grow, pot them up individually now as part of your November gardening jobs and overwinter them in a frost-free greenhouse or on a light windowsill.
Here's the best way to do it:
- Stand the pot of cuttings in water to saturate the rootball and make it easier to remove from the pot.
- Carefully slide all the cuttings out in one go, keeping as much of the compost intact around the young plants as possible. Separate the plants by working your thumbs in between the plants and gently levering them apart.
- Check their roots are robust and healthy, with no pests in the compost and then place each cutting in a pot large enough to hold all the roots and infill with compost.
- Pinch out any over-long shoots to keep the plants compact through winter and promote bushier growth with more flowers next spring. Then water your new plants and keep them in a light, frost-free place through winter.
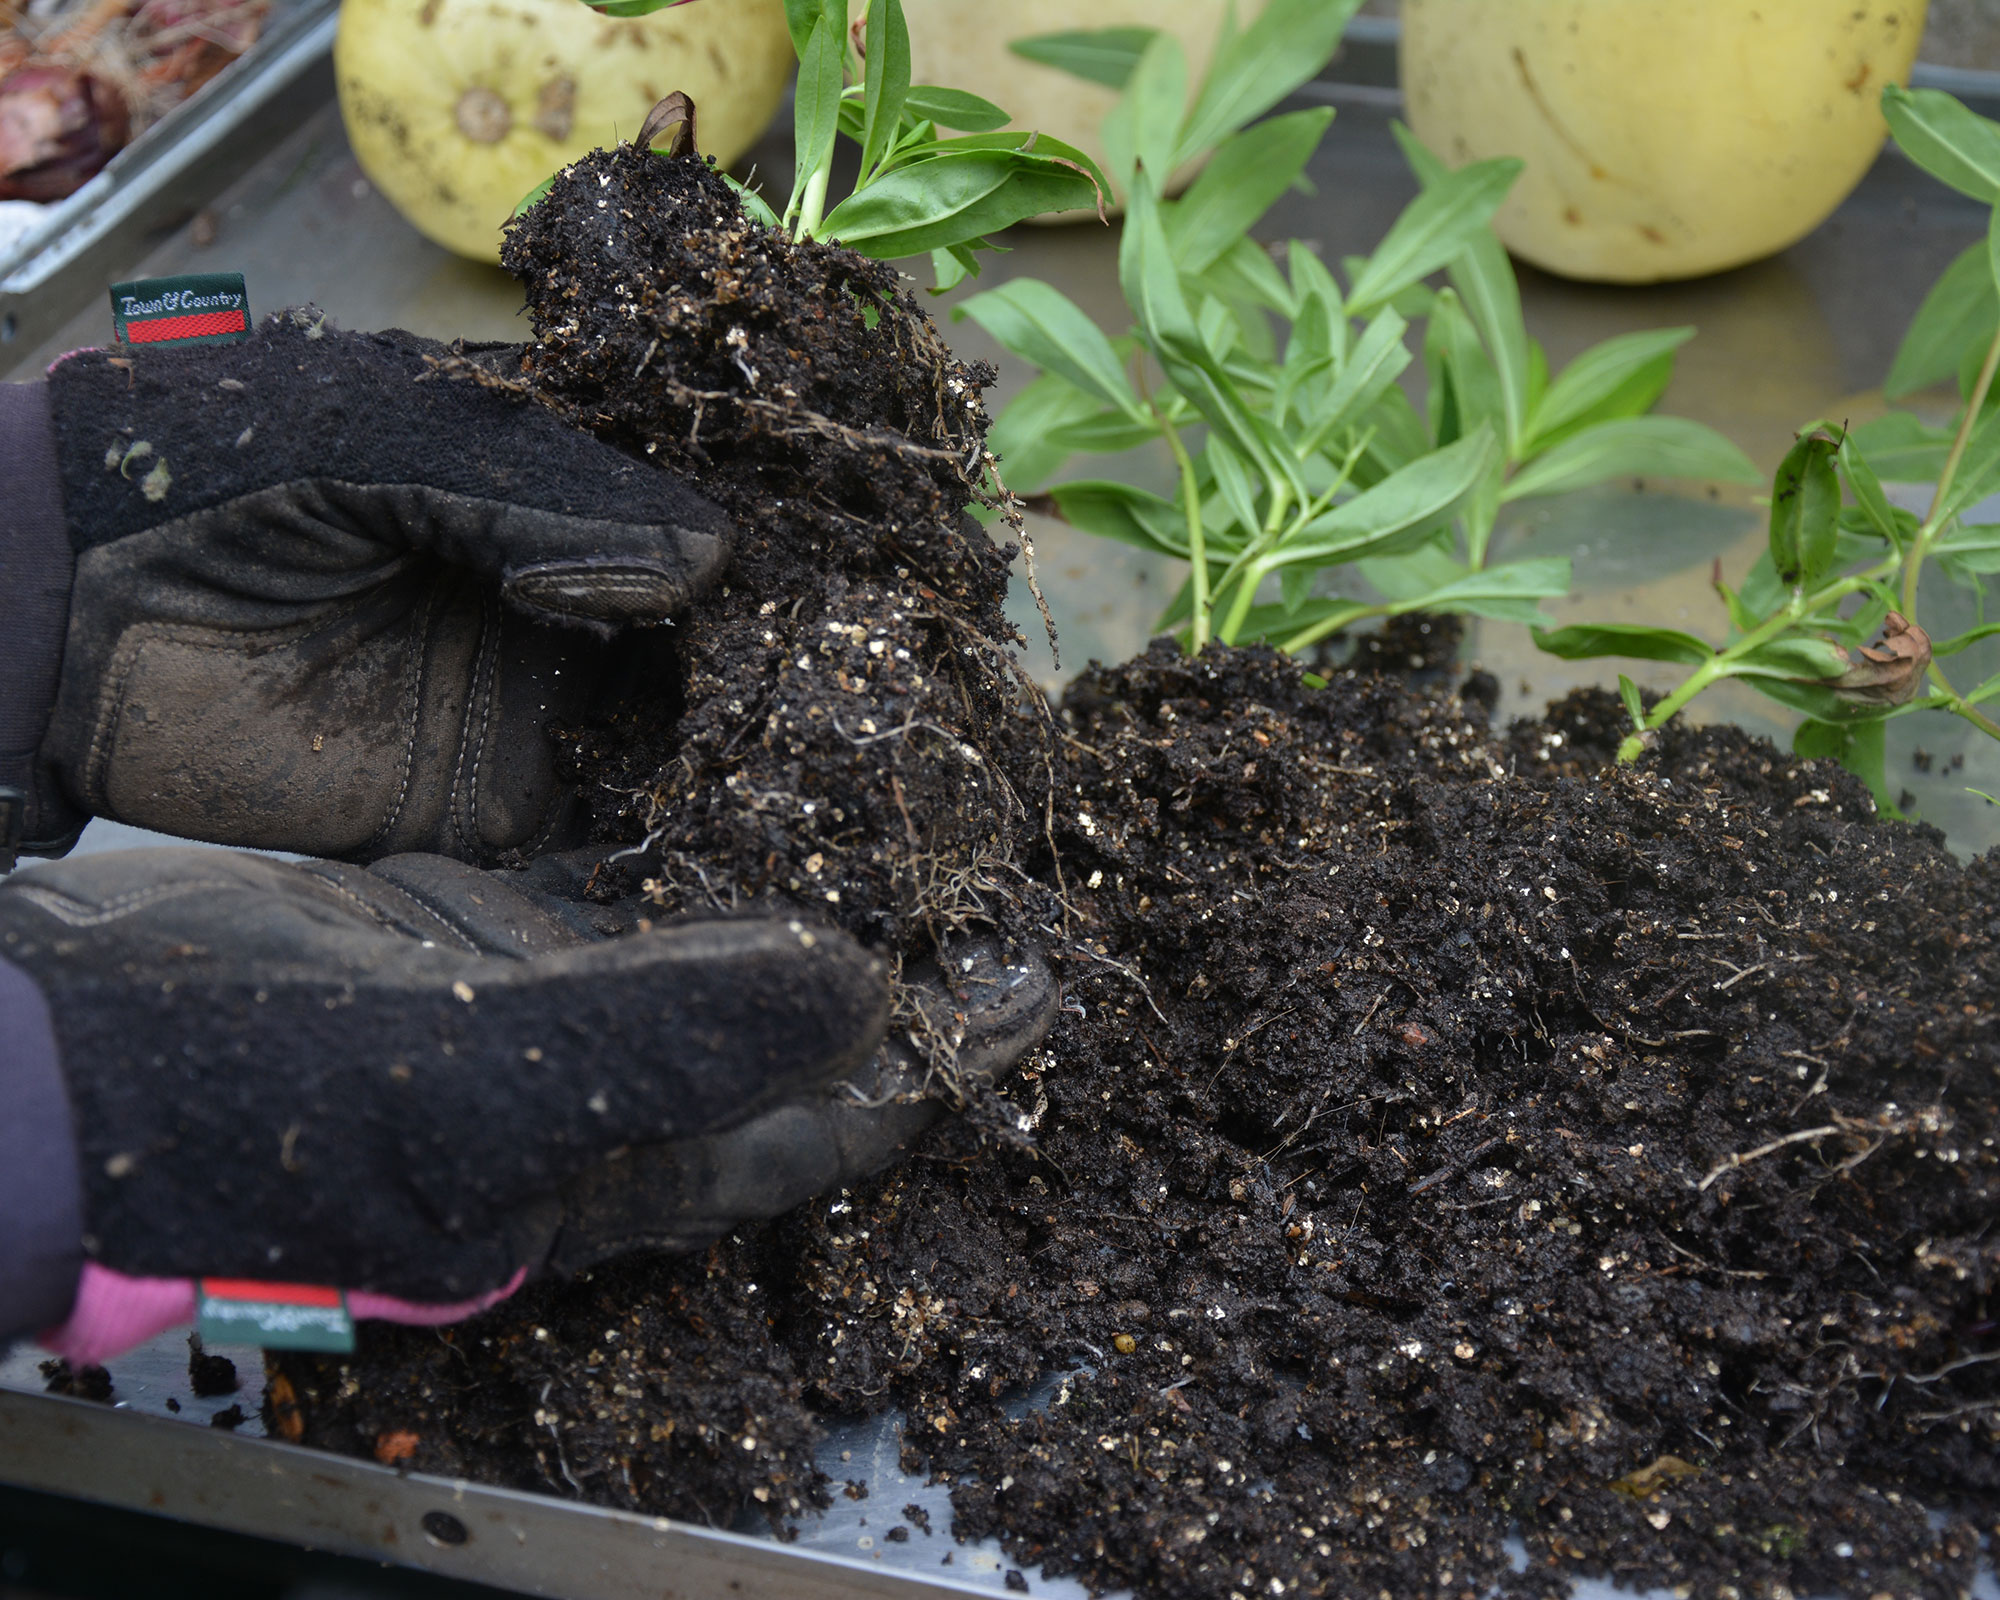
I took some pelargonium cuttings and they have developed strong root systems and grown well and will see out the winter in their own pots. They are now growing in containers of John Innes No 1 which is formulated to suit young plants and will ensure they don’t put on too much growth this winter, which can exhaust their energy supplies.
The new plants will need no food and only minimal watering to stop them from wilting through winter. In spring, they can be hardened off and planted out.
Top tip: Tender leaves of young plants are vulnerable to attack by sap-sucking pests such as aphids, so check them regularly and remove any unwanted visitors immediately.
13. Don't ignore your houseplants
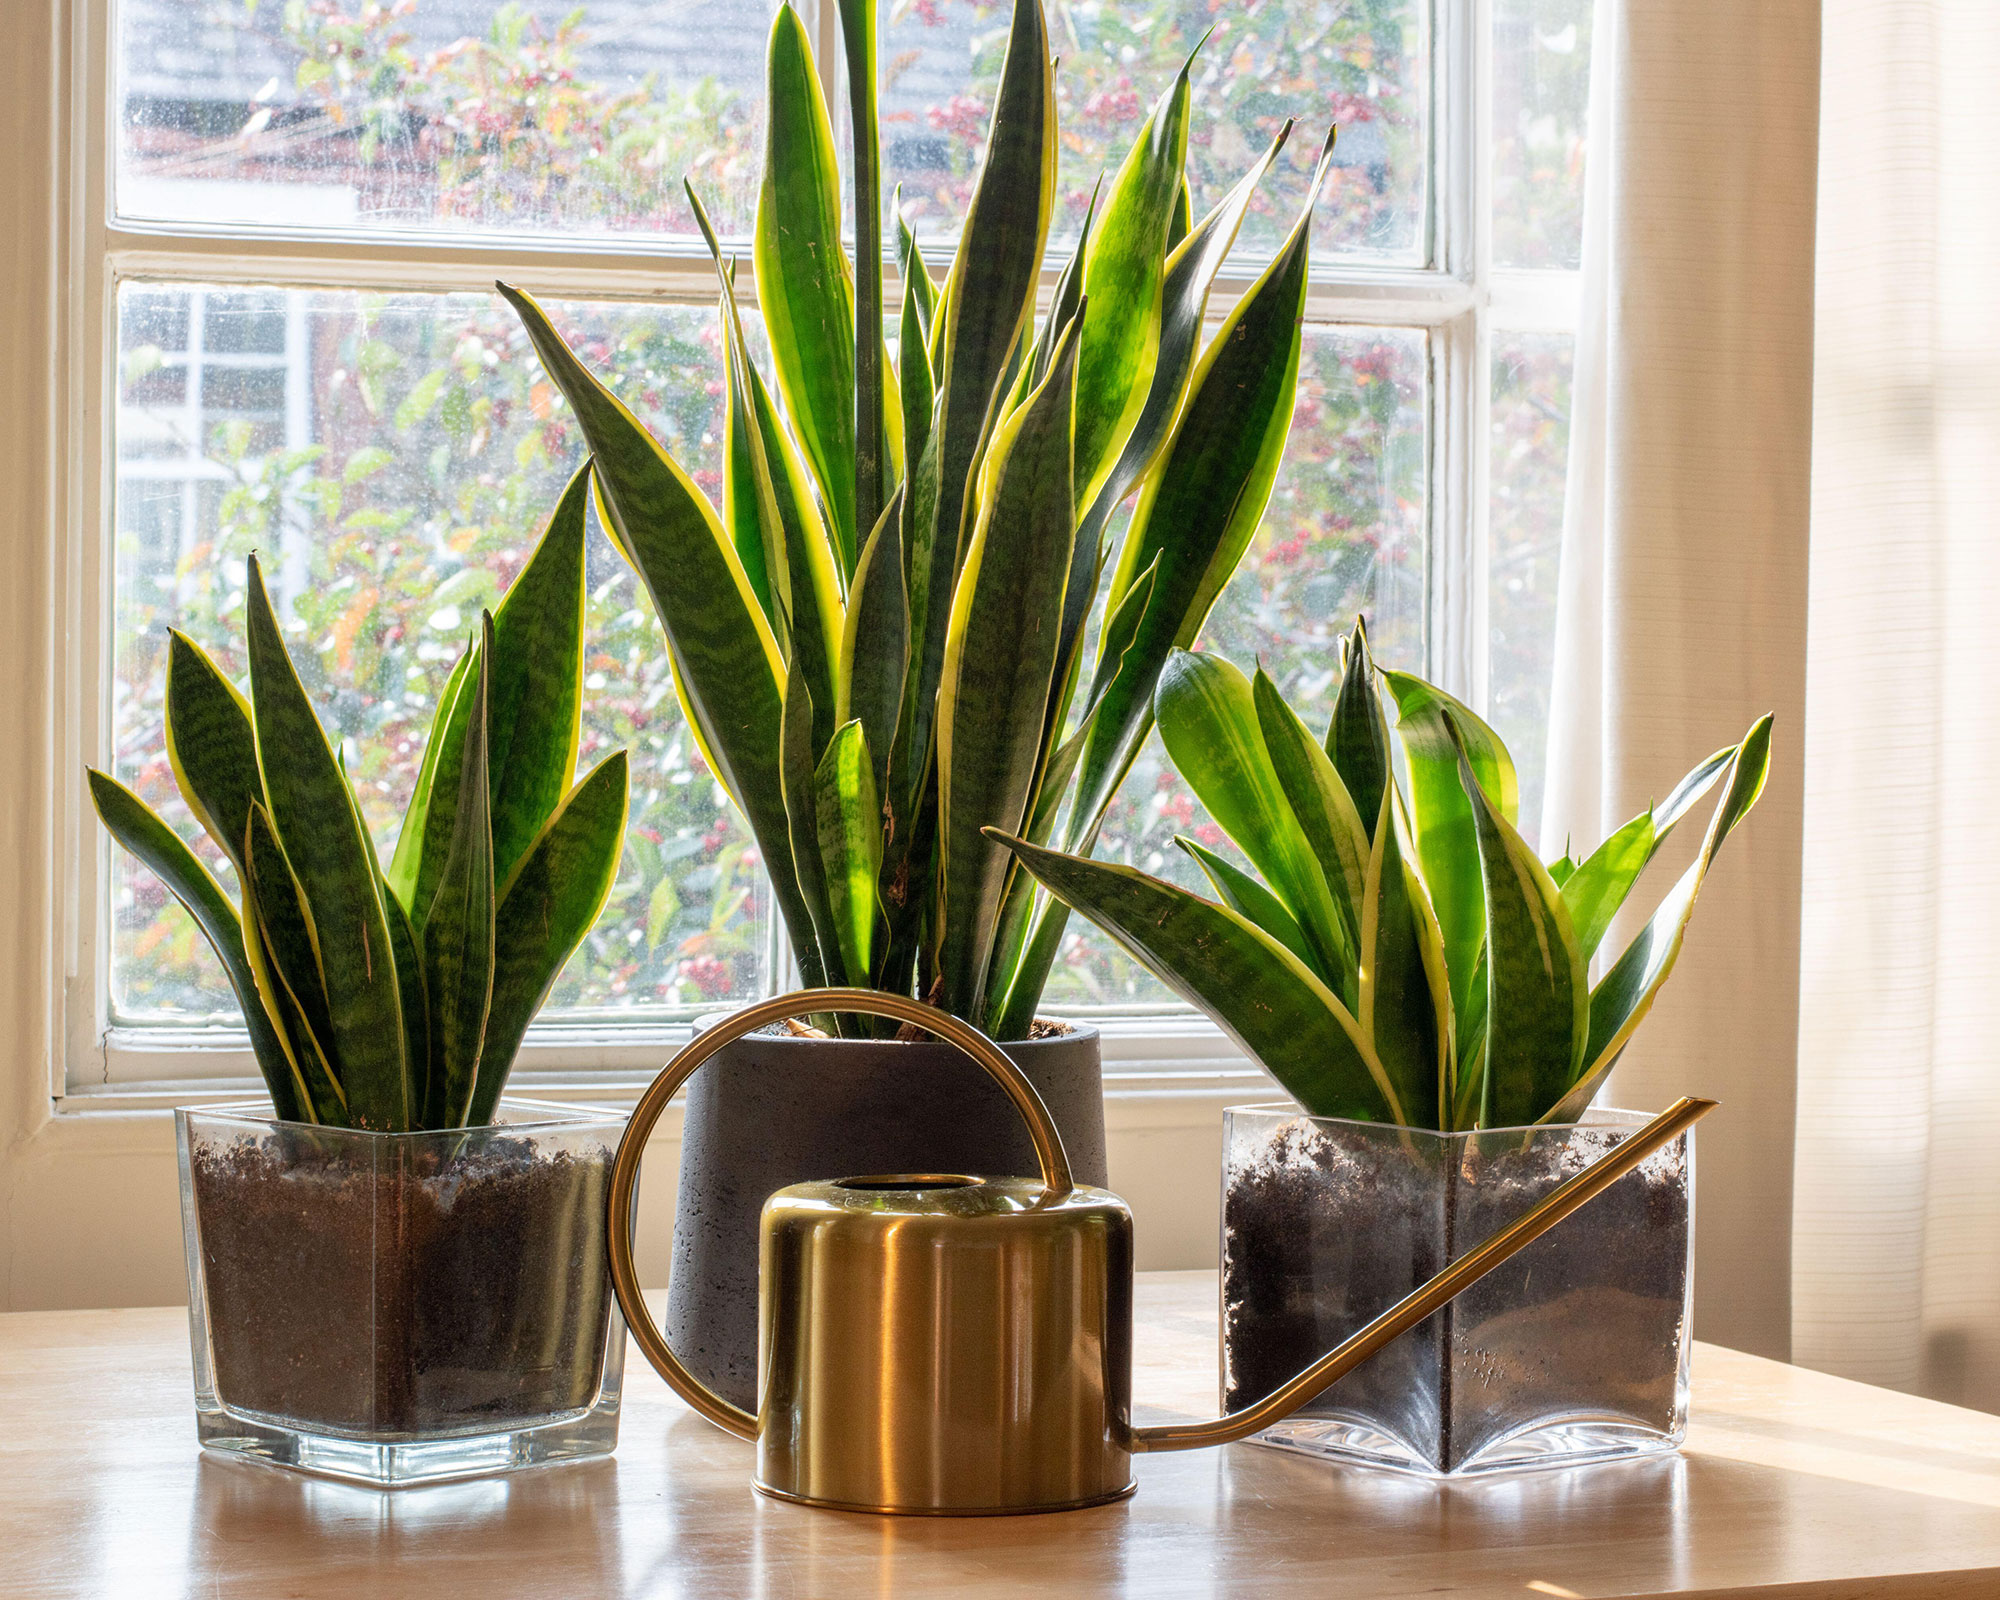
It isn’t just your garden plants that need different care in winter, the best indoor plants also react differently to the change in light levels and temperature.
Most of them stop growing so there’s no need to feed them until next spring. You can also reduce watering, only moistening the compost when it feels dry to the touch.
The exceptions to this rule are plants that are in flower, such as African violets, orchids and streptocarpus, which should be fed and watered fortnightly and deadheaded where necessary.
As the days get shorter and darker, caring for indoor plants in winter means moving them to where they get the most light, but make sure they are out of draughts and away from direct sources of heat such as open fires and radiators.
Mist plants with room-temperature water to counteract the effects of central heating, which can dry the atmosphere, and stand plants on trays of damp gravel to boost humidity around the leaves.
Wipe leaves occasionally with a soft damp cloth to remove dust and pests, and check for pests too, as they like to overwinter in the warmth of our homes.
Top tip: Never leaves houseplants on windowsills overnight if curtains are drawn because the material can trap cold air that will potentially damage the plants.
Ruth is the gardening editor of Amateur Gardening magazine and spends her working days carrying out, writing about and photographing the tasks the readers should be carrying out each week, as well as testing many of the new products that arrive on the gardening market. She is horticulturally trained, with a qualification from the Royal Horticultural Society.
