January gardening jobs: 13 top tasks to start the year
Get the new year off to a good start with our essential January gardening jobs

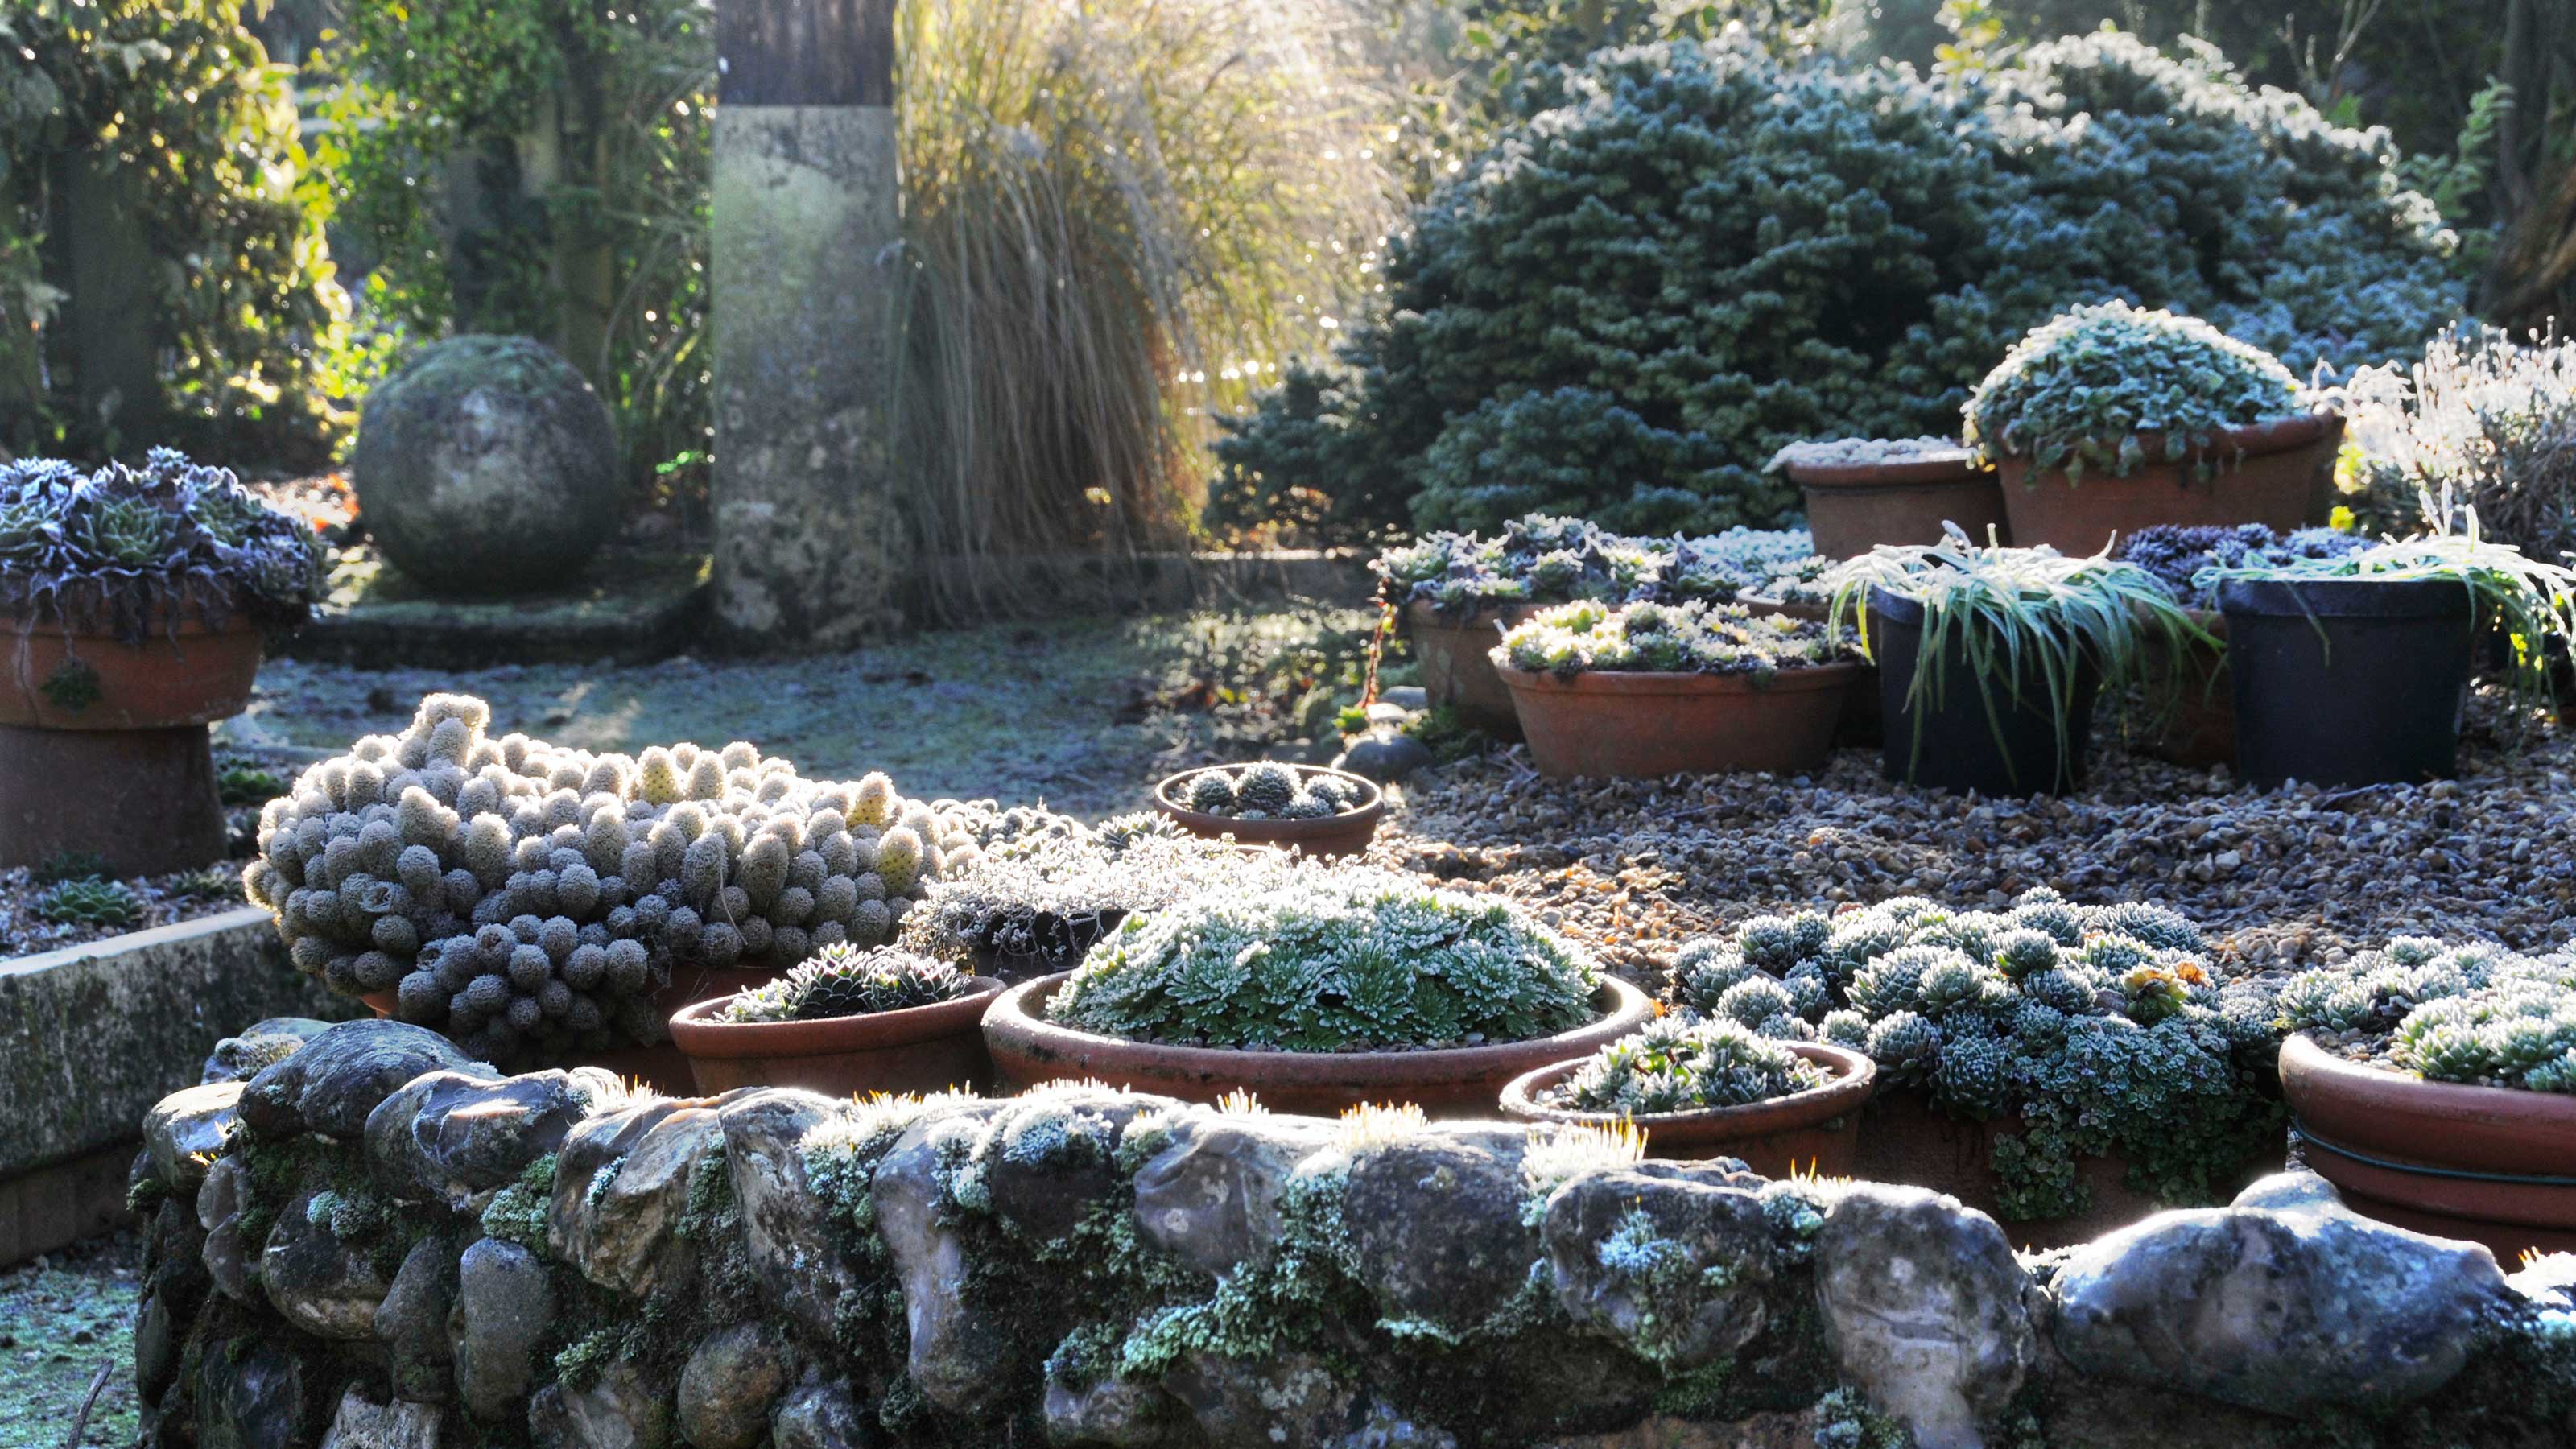
January gardening jobs are brilliant, in my view, because they get you out of the house after the Christmas festivities and help set you up for the year ahead.
Many of them can be completed quickly, meaning you don’t have to be out in the cold for longer than absolutely necessary, but you will feel better after some fresh air and exercise – think of it as a free workout!
Whether it’s preparing tools for the final round of winter pruning, making sure protective structures are securely in place, or taking five minutes to look after your garden birds and wildlife, the winter garden jobs listed below will help get your plot through the coldest season and into spring in the best possible condition.
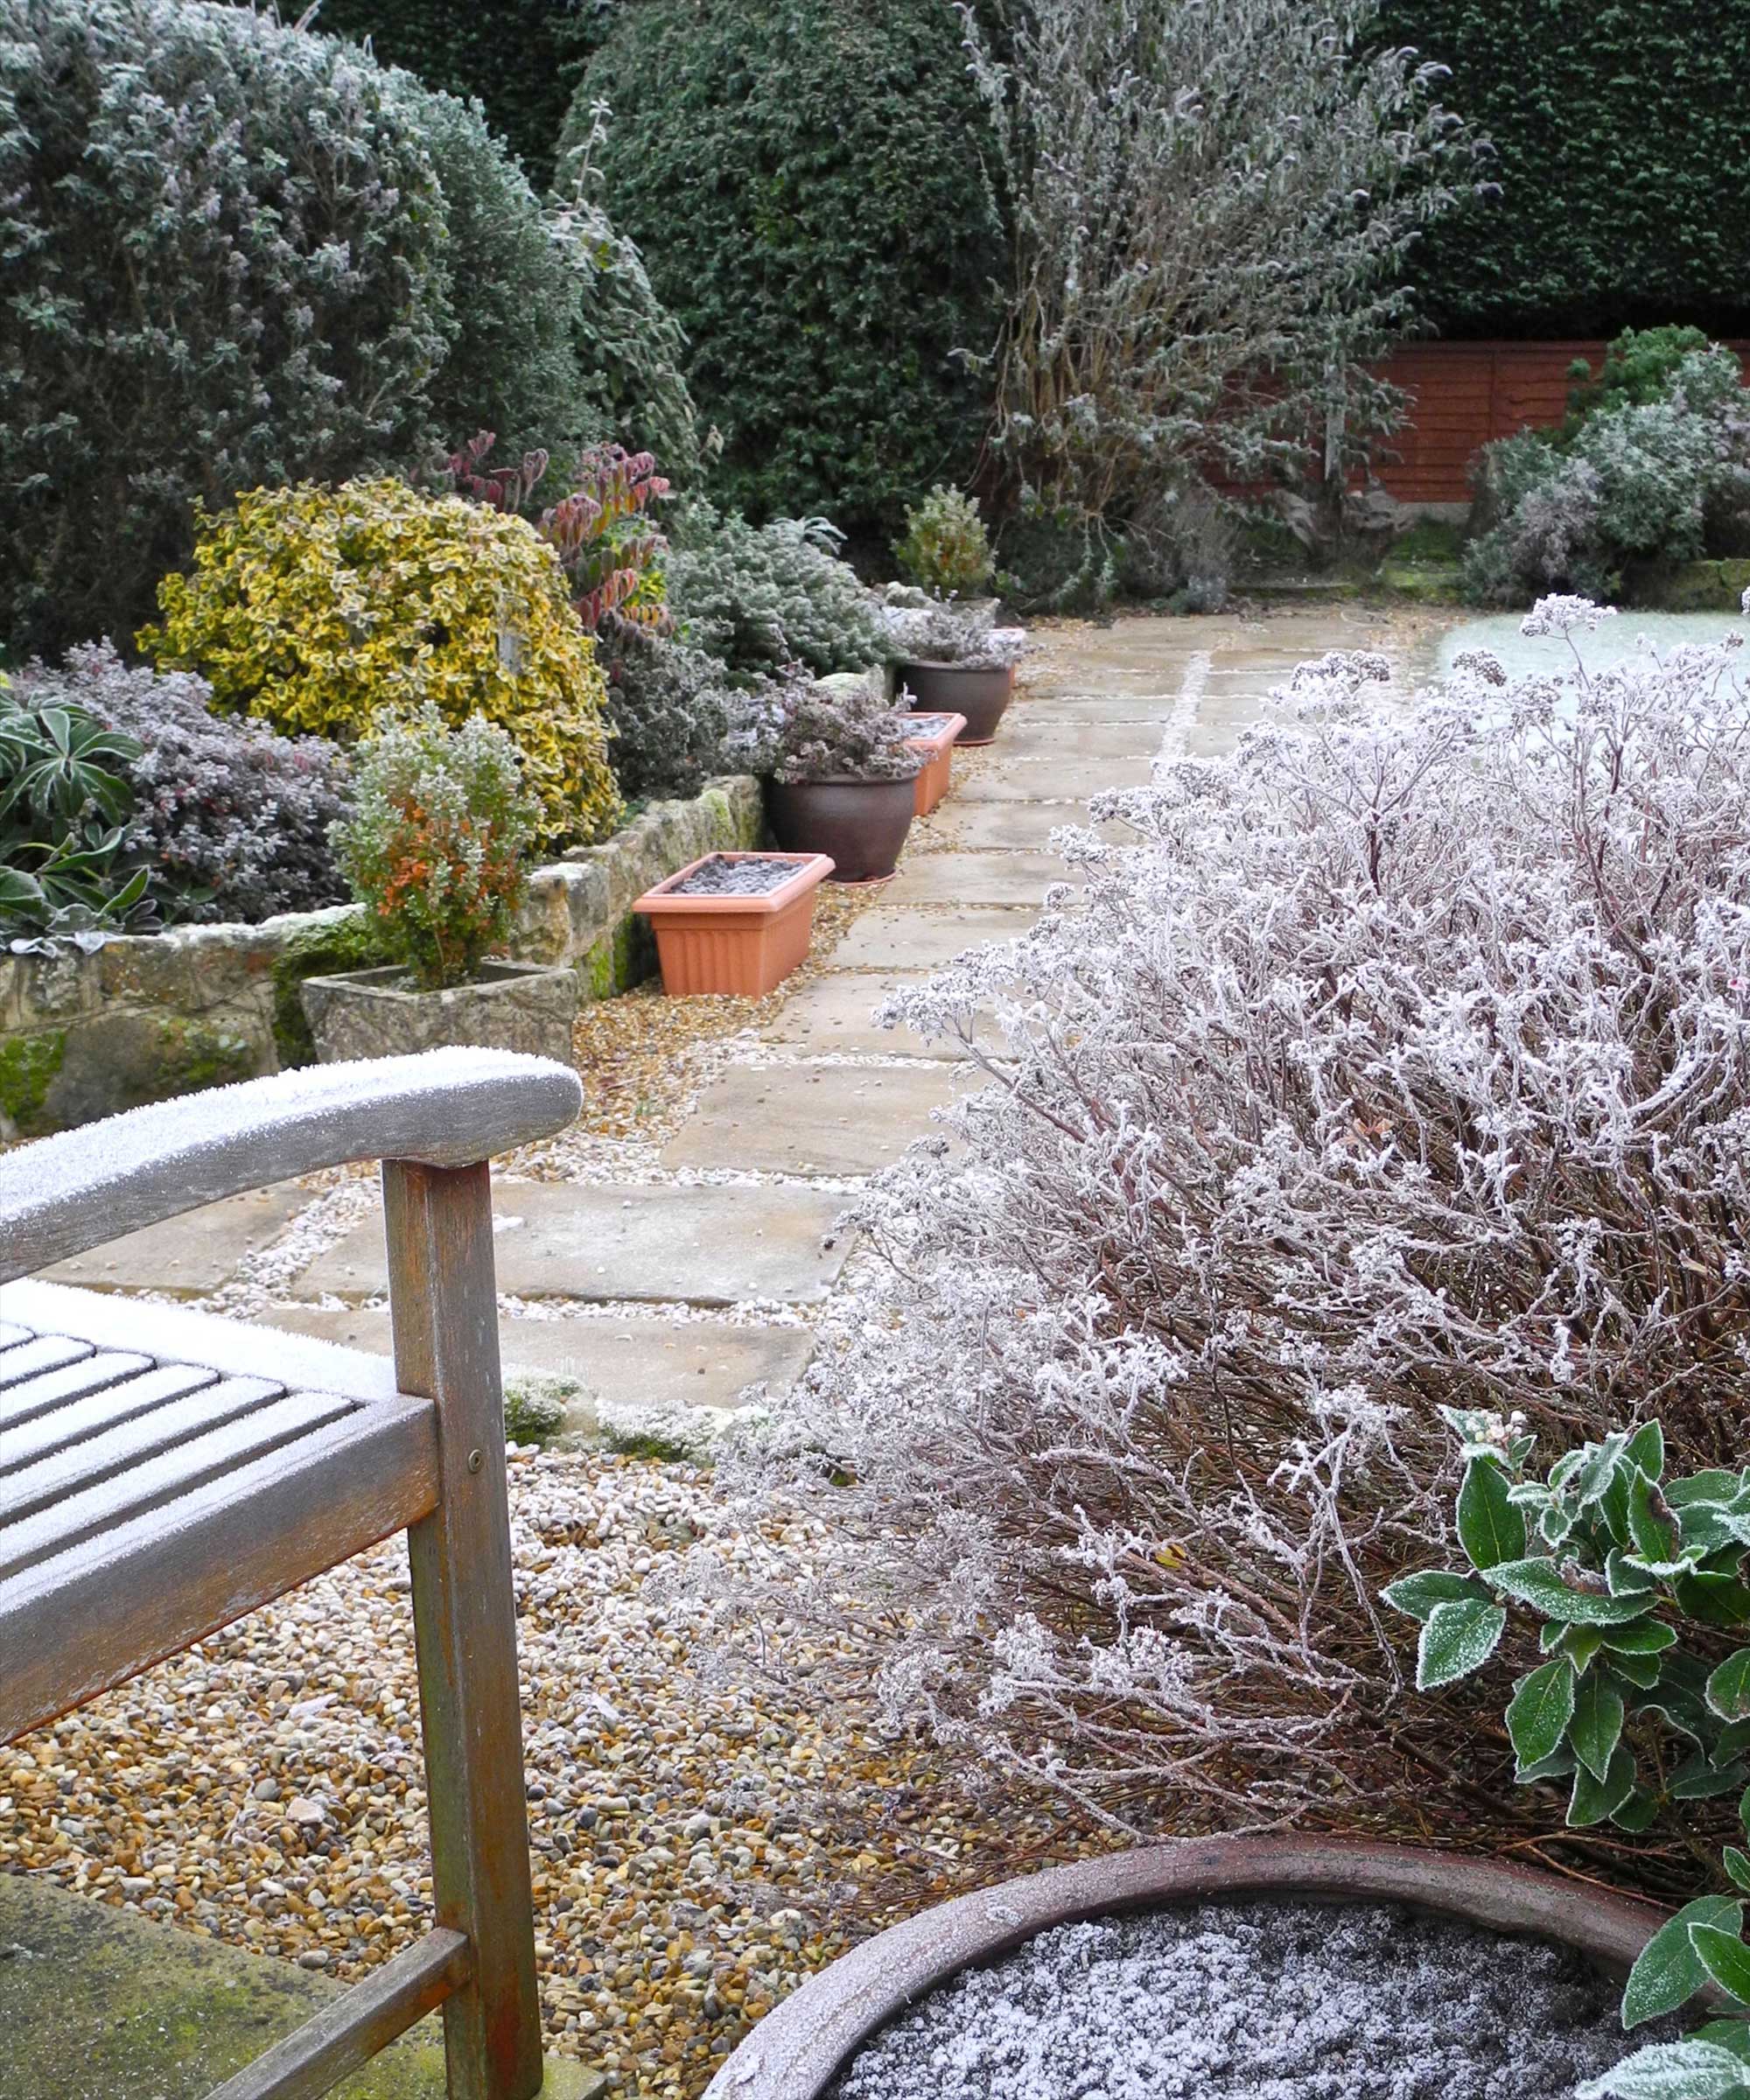
Put these January gardening jobs on your to-do list
Get your garden in shape during the colder months and start to prep for the warmer weather ahead with our top January gardening jobs.
1. Give your tools some TLC
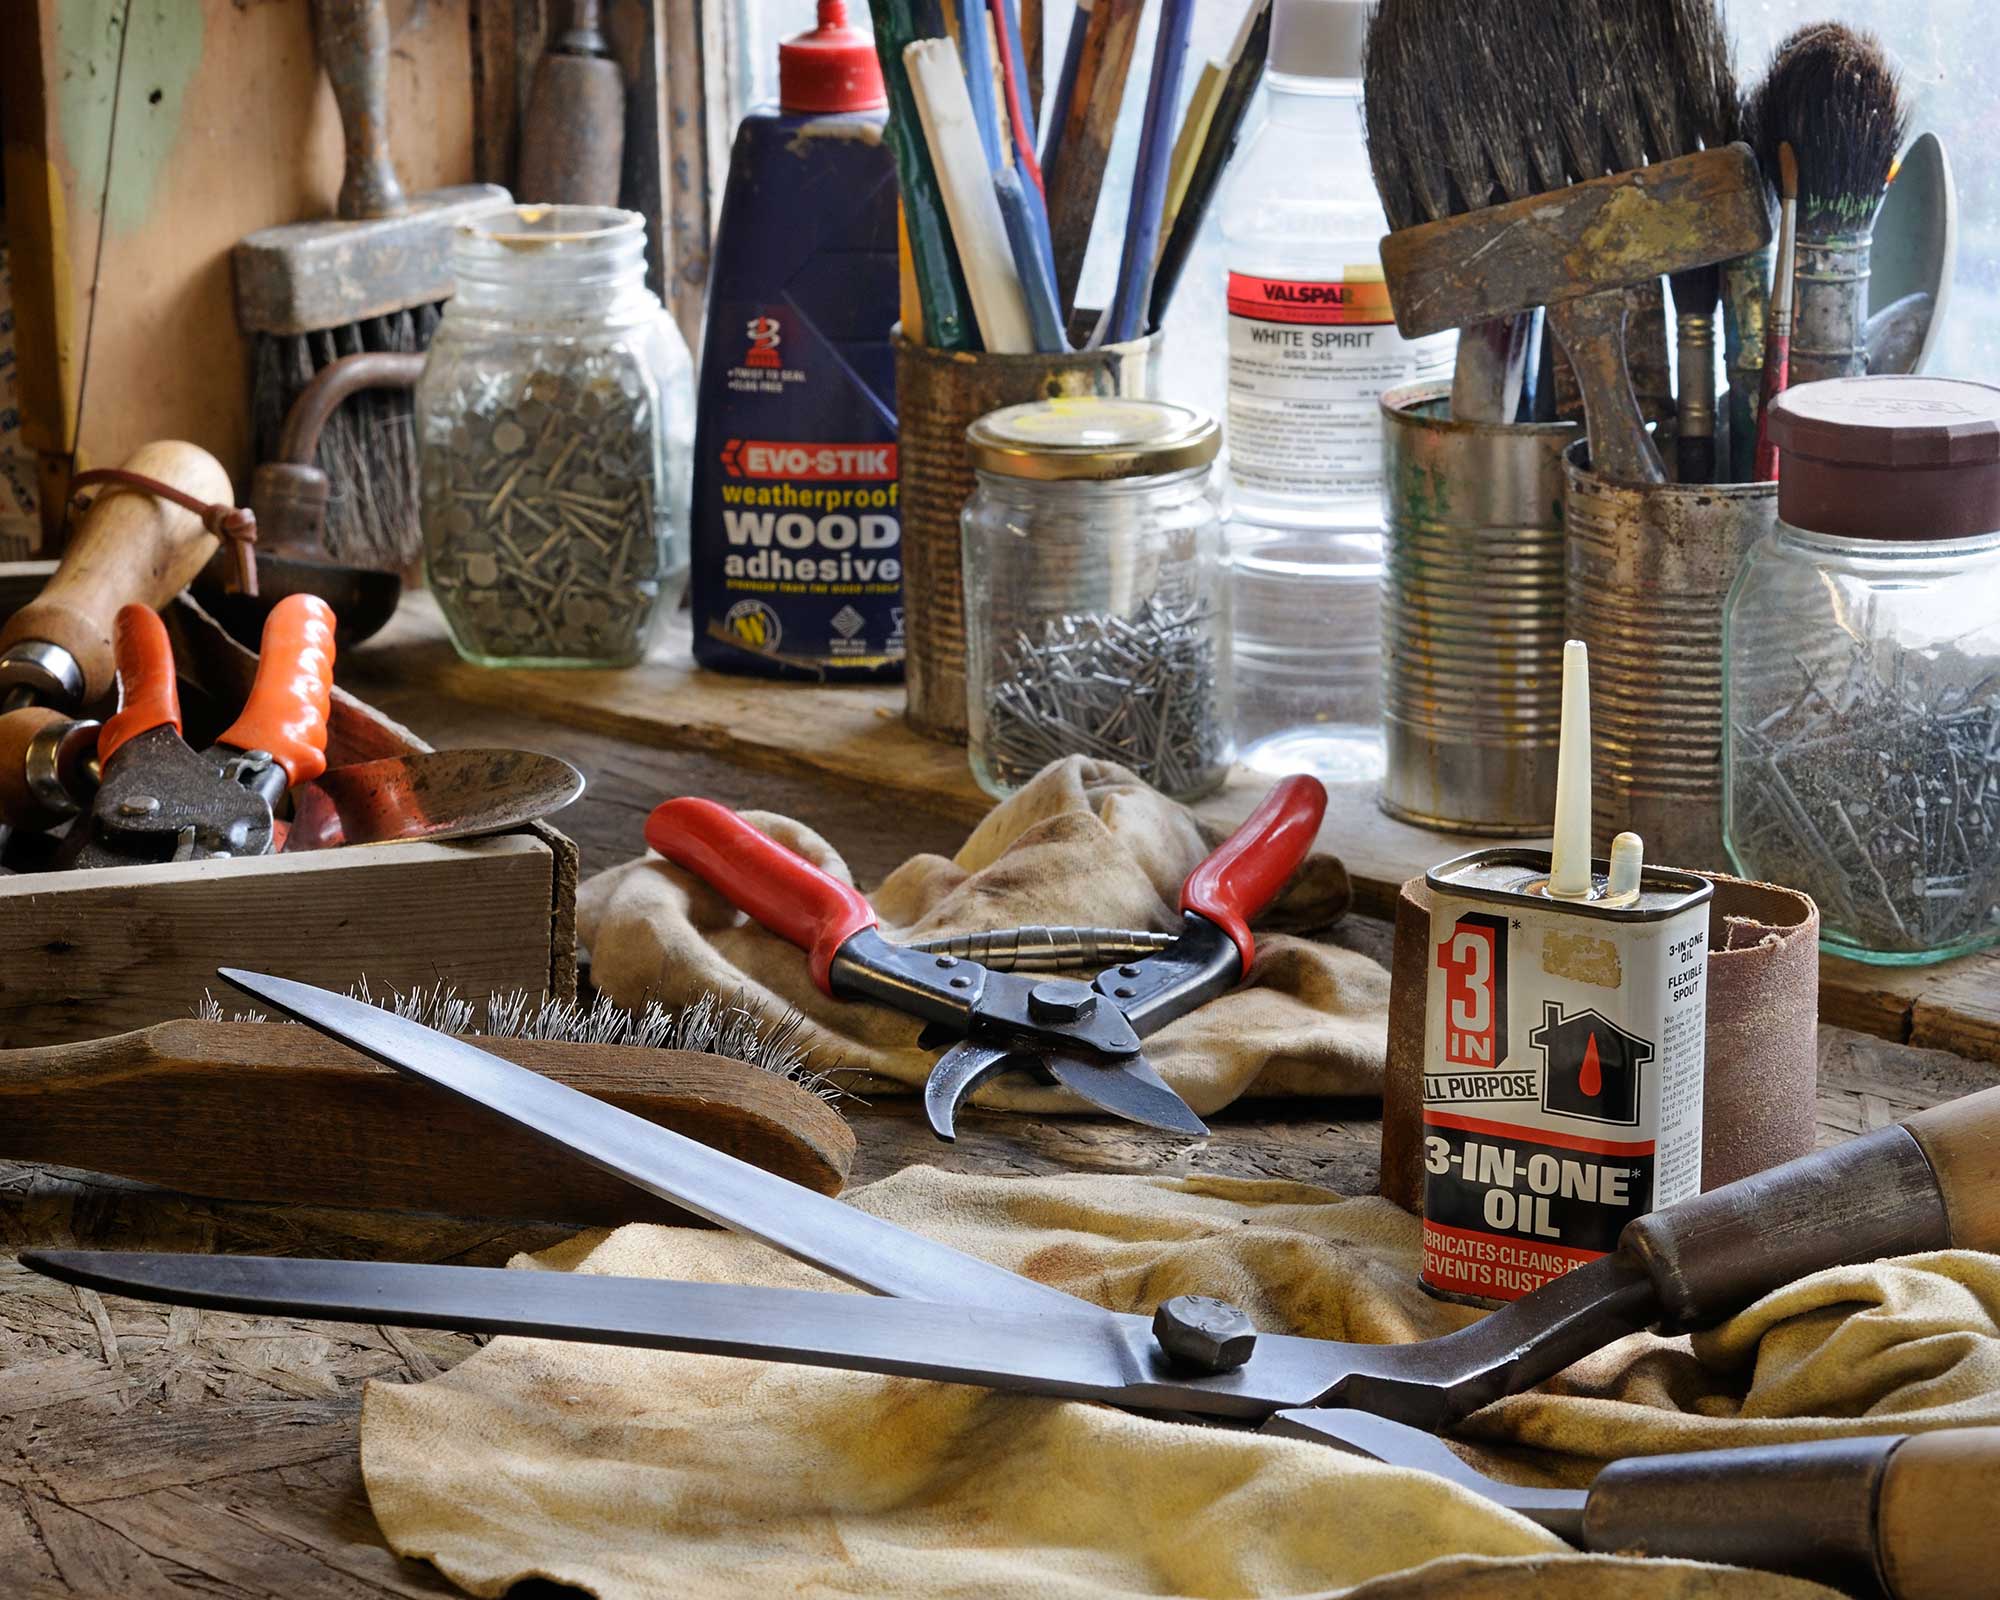
I like to use the days when gardening isn’t an option (some days are too wet and cold even for me!) to catch up on cleaning tools.
This generally involves standing in the shed with a warm mug of tea before I’m motivated enough to get to work, wiping dried soil off spades and giving their edges a sharpen before doing the same to the hoe, so they cut through soil and weeds with greater ease.
Then I start eying up our pruning tools, especially the shears and secateurs, oiling their moving parts and sharpening their blades. There is still time to do the last bits of deciduous pruning before trees and shrubs come back into leaf, so it is important to keep tools sharp.
One of my favorite jobs that I find incredibly satisfying is cleaning my pruning shears before rebuilding them again.
It is relatively easy and the end result is several pairs of pruners that work as good as new. Keeping them in tip-top condition is important because blunt, rusty cutting blades crush and damage plant material instead of cutting cleanly and can spread diseases.
Top tip: Look for top-quality tools in the New Year sales – we have many articles on the best secateurs, hand saws, spades, and other garden tools. They are a sound investment and if looked after, will last a lifetime.
2. Prepare for winter weather
We are entering what is traditionally the coldest period of the year in the UK, so don’t let your guard down, even though the snowdrops are poking through the soil and hellebores are out in flower.
I regularly check over the protective structures put in place to see the garden through winter. These include a willow hurdle that protects one side of the greenhouse from the worst blasts of the prevailing wind and the tree ties that keep our newest tree plantings securely attached to their supportive stakes.
It’s also worth making sure that the greenhouse panes have enough clips to hold them in place, and that the lightweight mini greenhouse is securely attached to a fence and heavy enough to not blow away. I cover it with an old blanket on the coldest nights to add extra insulation for the plants inside.
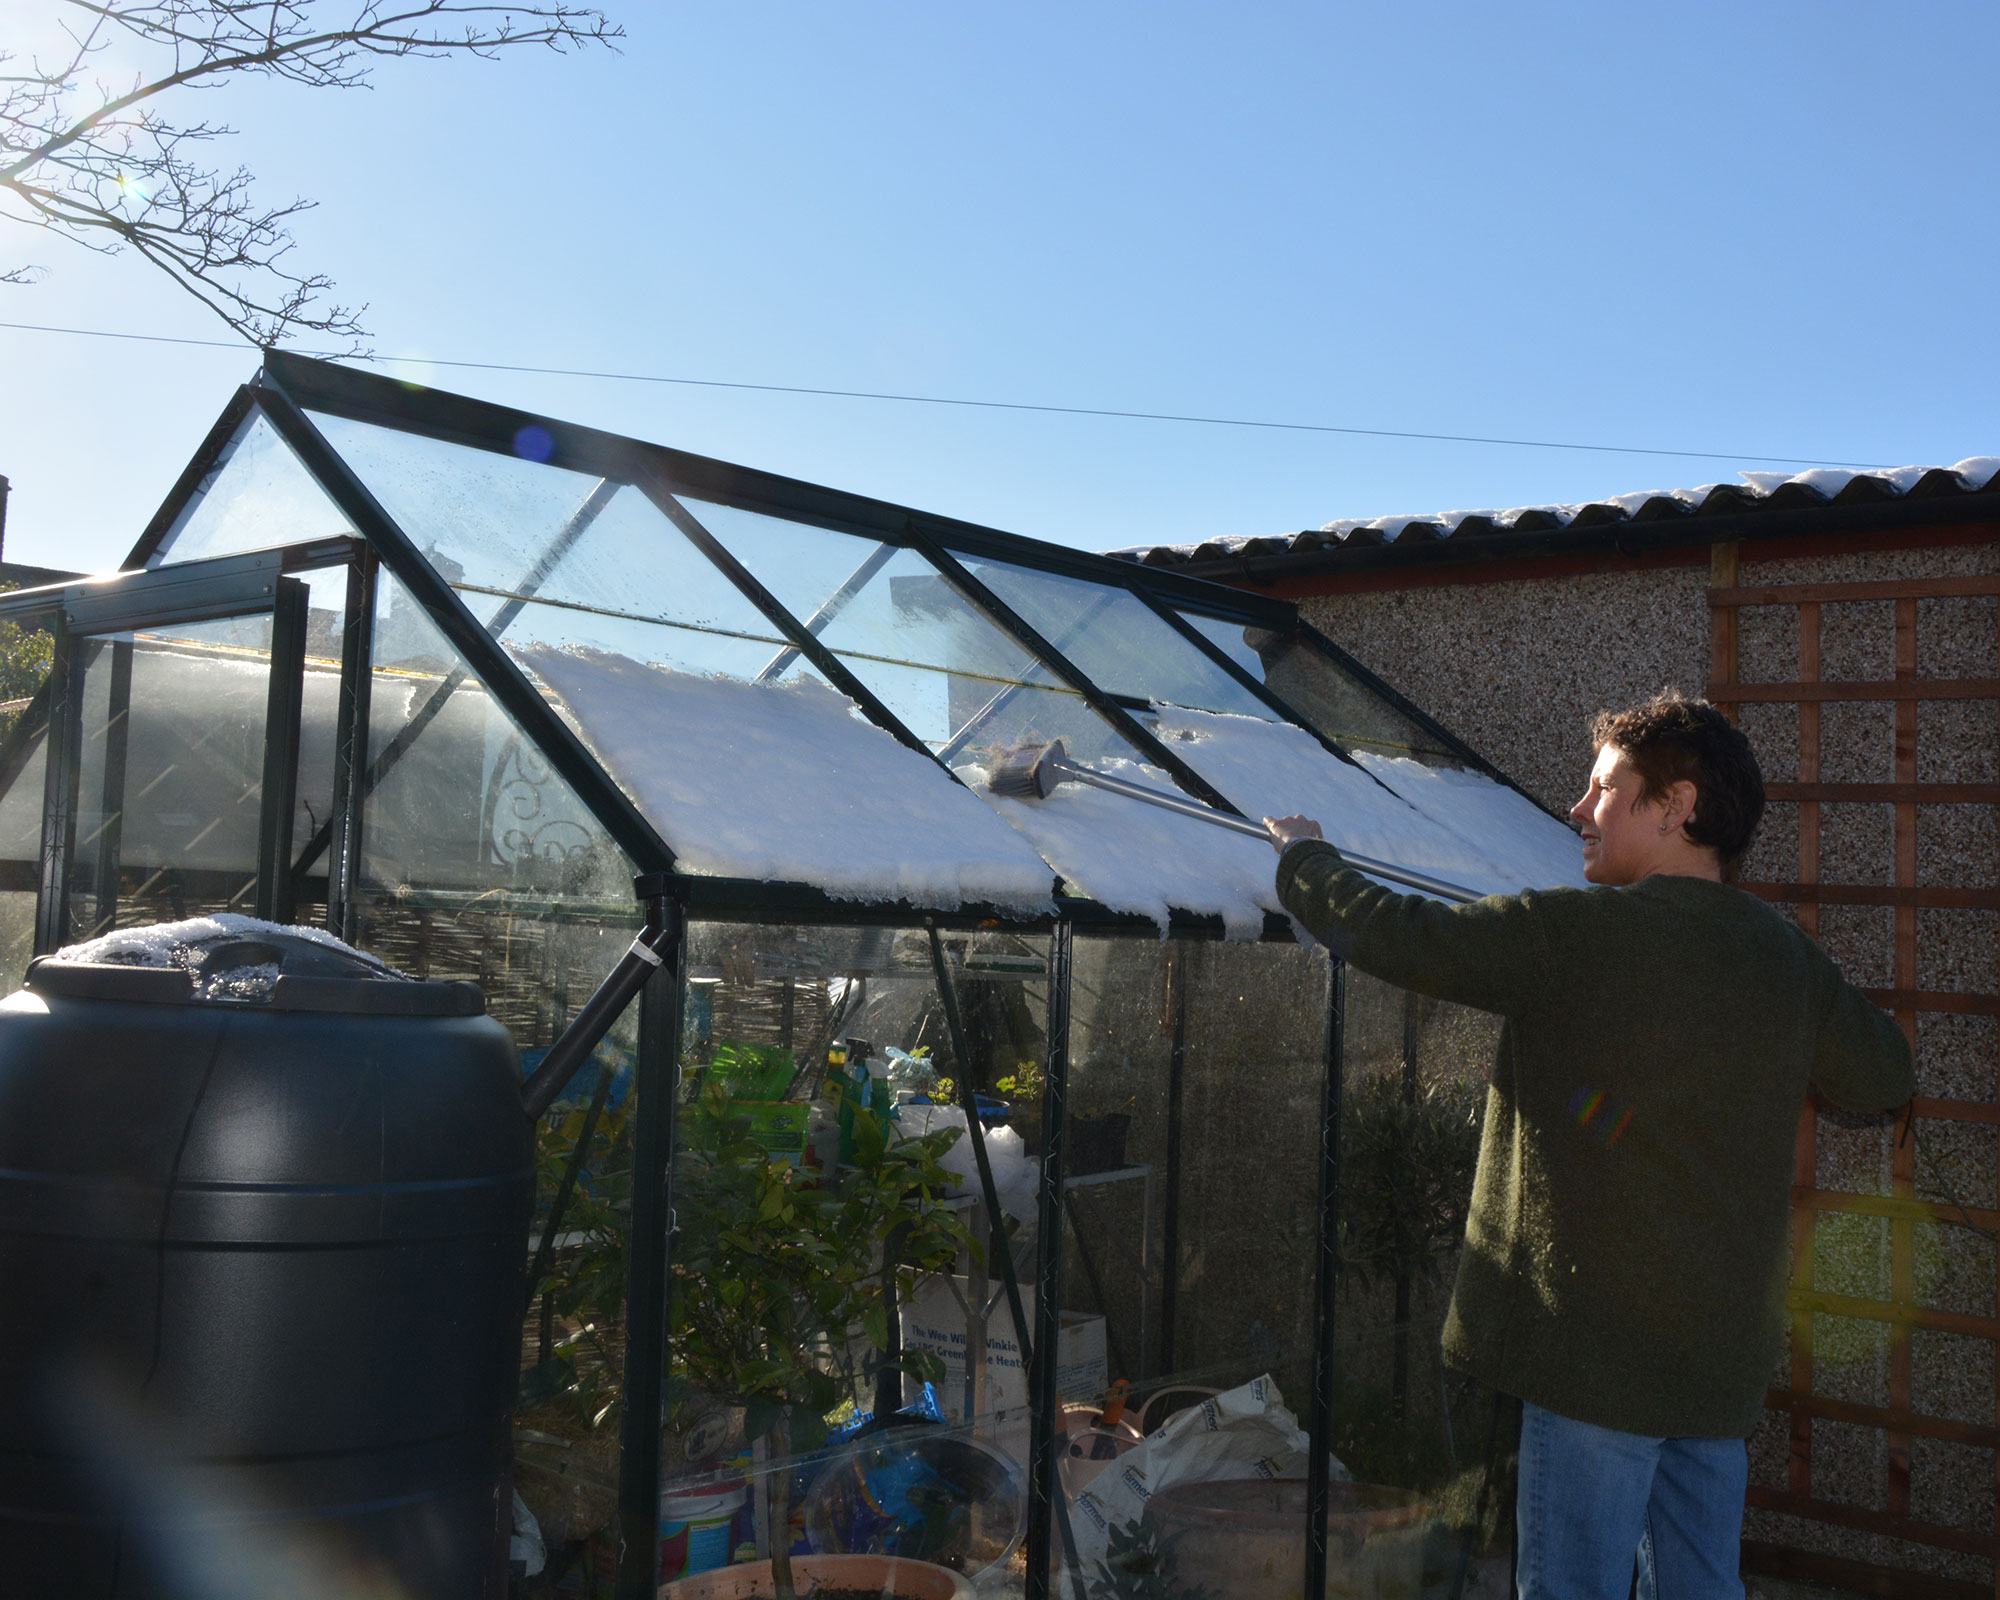
Brush snow from the roof of your greenhouse and off thin branches of your trees before it can cause them to break.
Heavy snow and freezing conditions can be a problem for plants now, though many will recover from the effects and throw out new growth when the warmer weather comes to replace any that has been damaged by the cold.
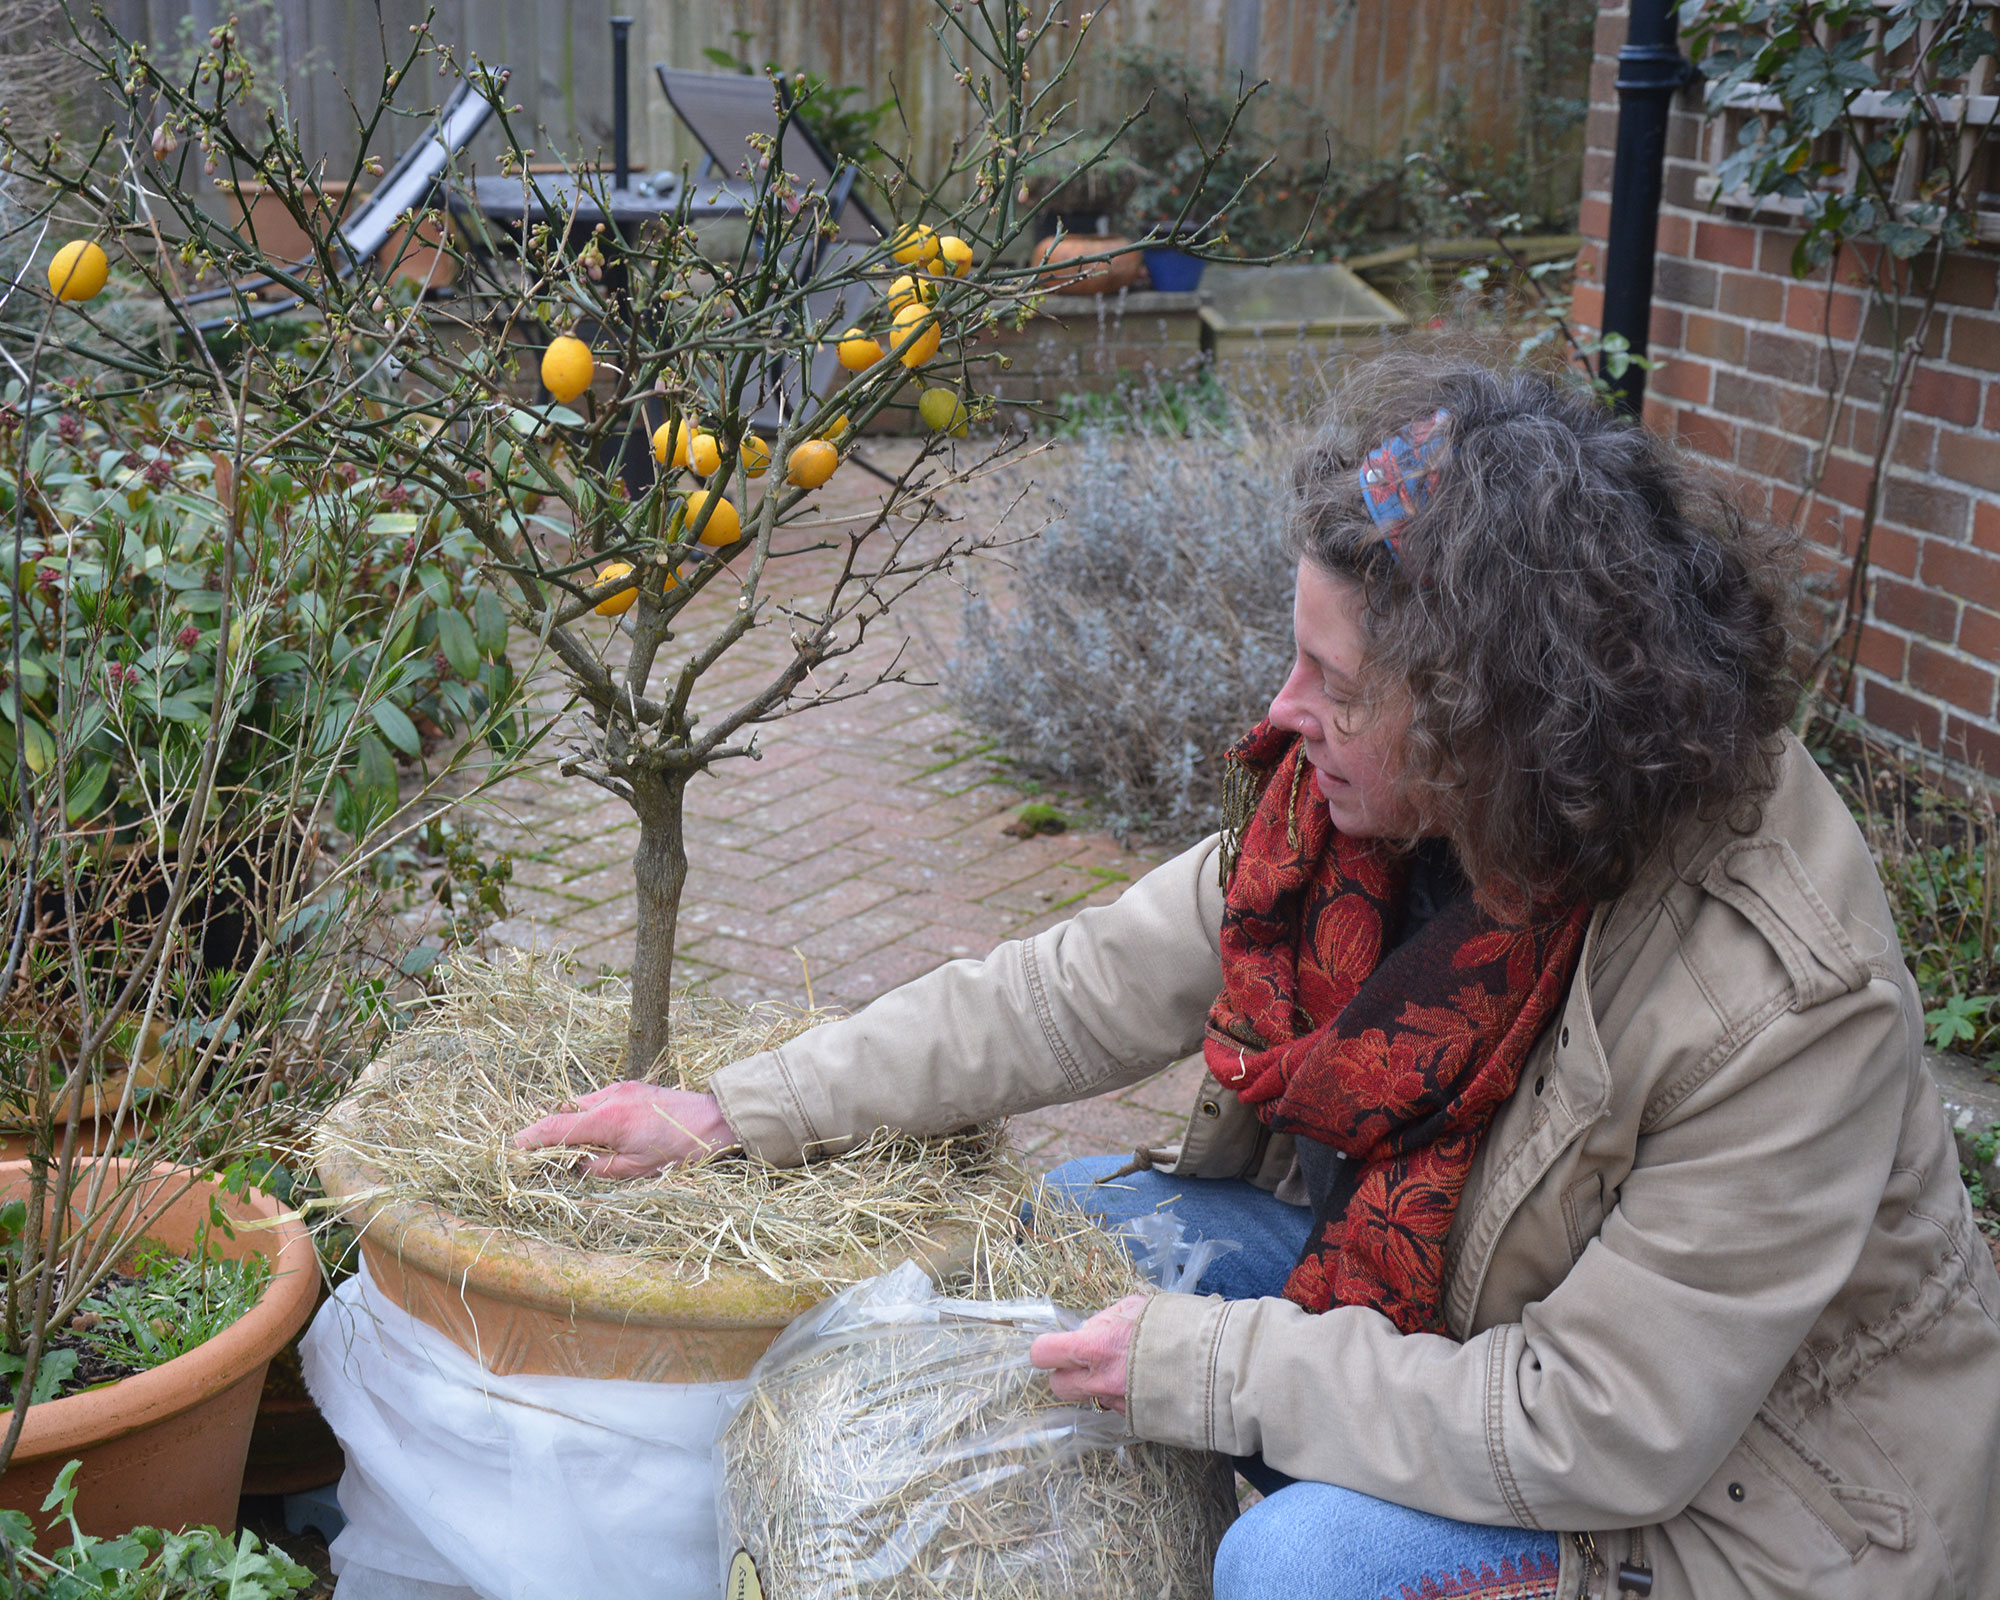
Make sure patio pots are protected from frost, adding more insulation if necessary. Remember not to block the top, as plants will need rain when they start to grow again in spring.
Top tip: Keep gutters clear so water can run into water butts and not flood patios and decking, creating areas of dangerous slipperiness. Sweep the patio clean regularly.
3. Look after your lawn
Winter is even tougher than the summer on our lawns, because while grass will revive after a drought, waterlogging and freezing are harder to bounce back from.
Ideally, stay off your lawn as much as possible as part of your winter lawn care. If it is wet, your footfall can compact the soil and create muddy areas, and if frozen it can kill the grass, again leaving open spaces for moss and weeds.
We have an area of compacted lawn around our washing line so I’ve been out aerating it (spearing it) with a garden fork. This helps to open up the soil and to improve drainage and airflow around the roots of the grass.
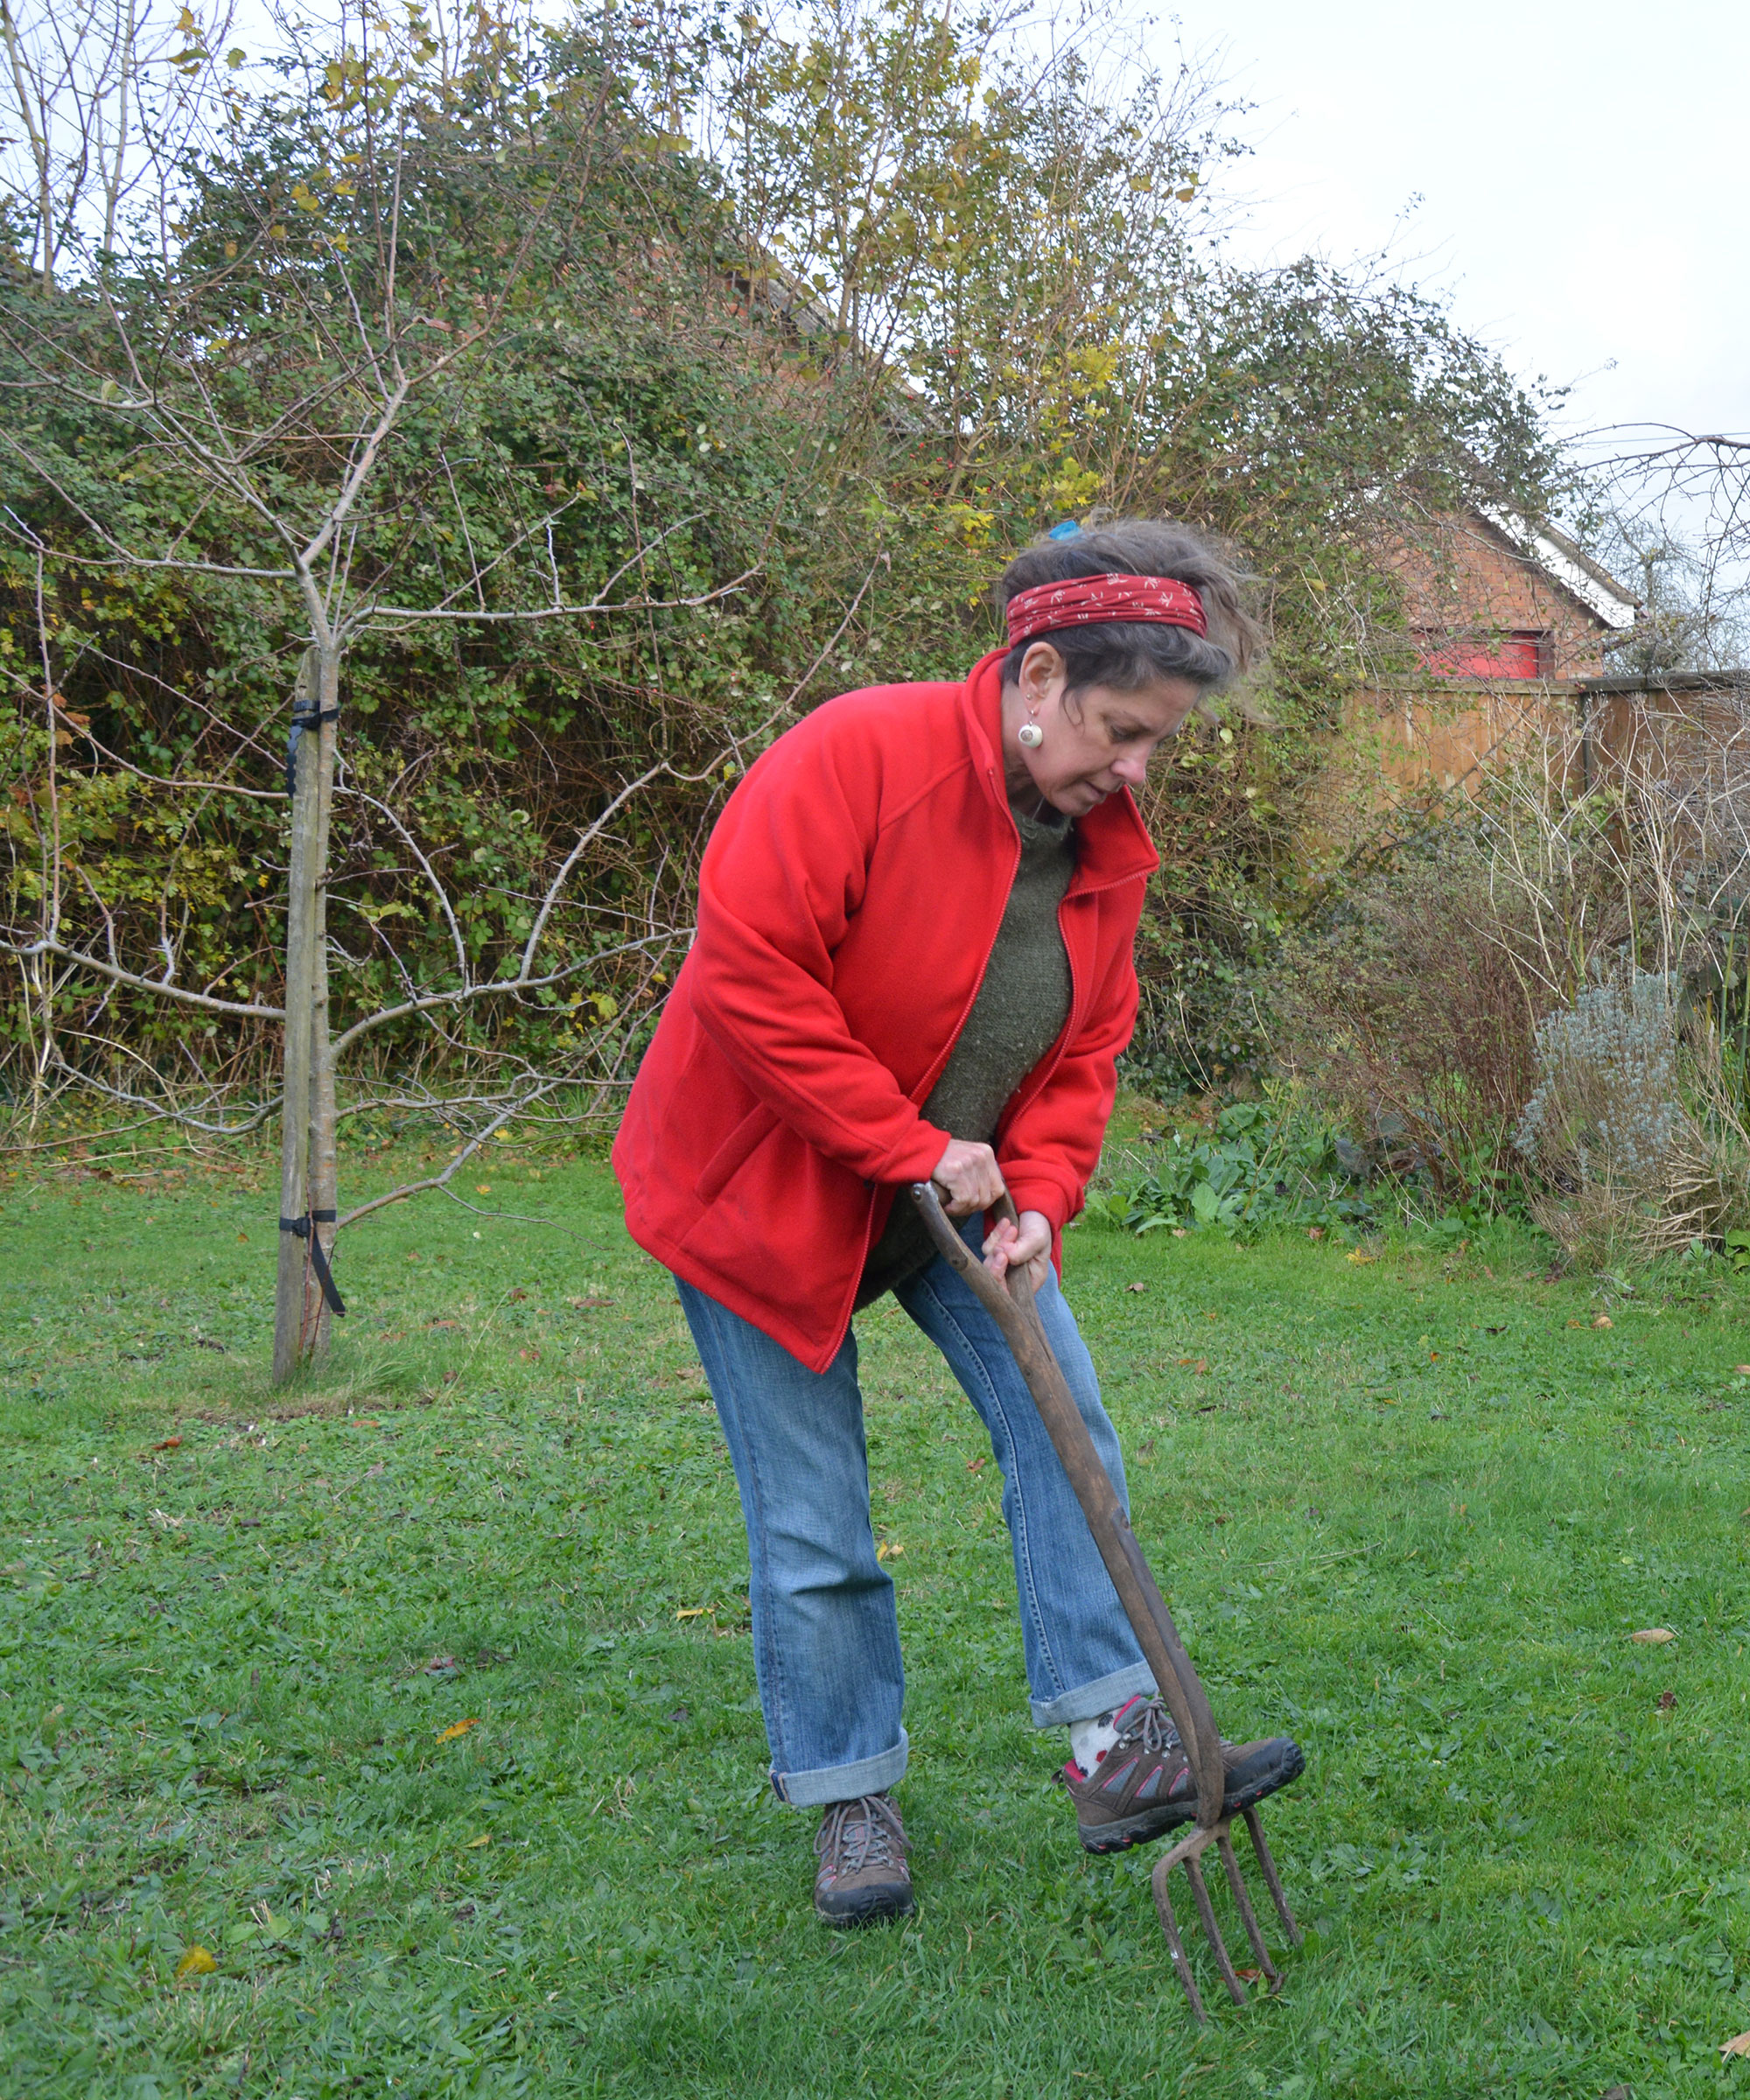
Areas of the lawn overhung by trees and shrubs often collect lots of moss and algae because the overhead growth blocks sunlight and airflow. Improve matters by pruning back the branches (if they are deciduous) in winter, and aerating the lawn below.
Also, watch out for worm castings – slimy coils of mucus and soil excreted by worms – as they can be a breeding ground for weed seeds. Avoid treading on them, and when they have dried out, swish them away with a broom or the back of a rake.
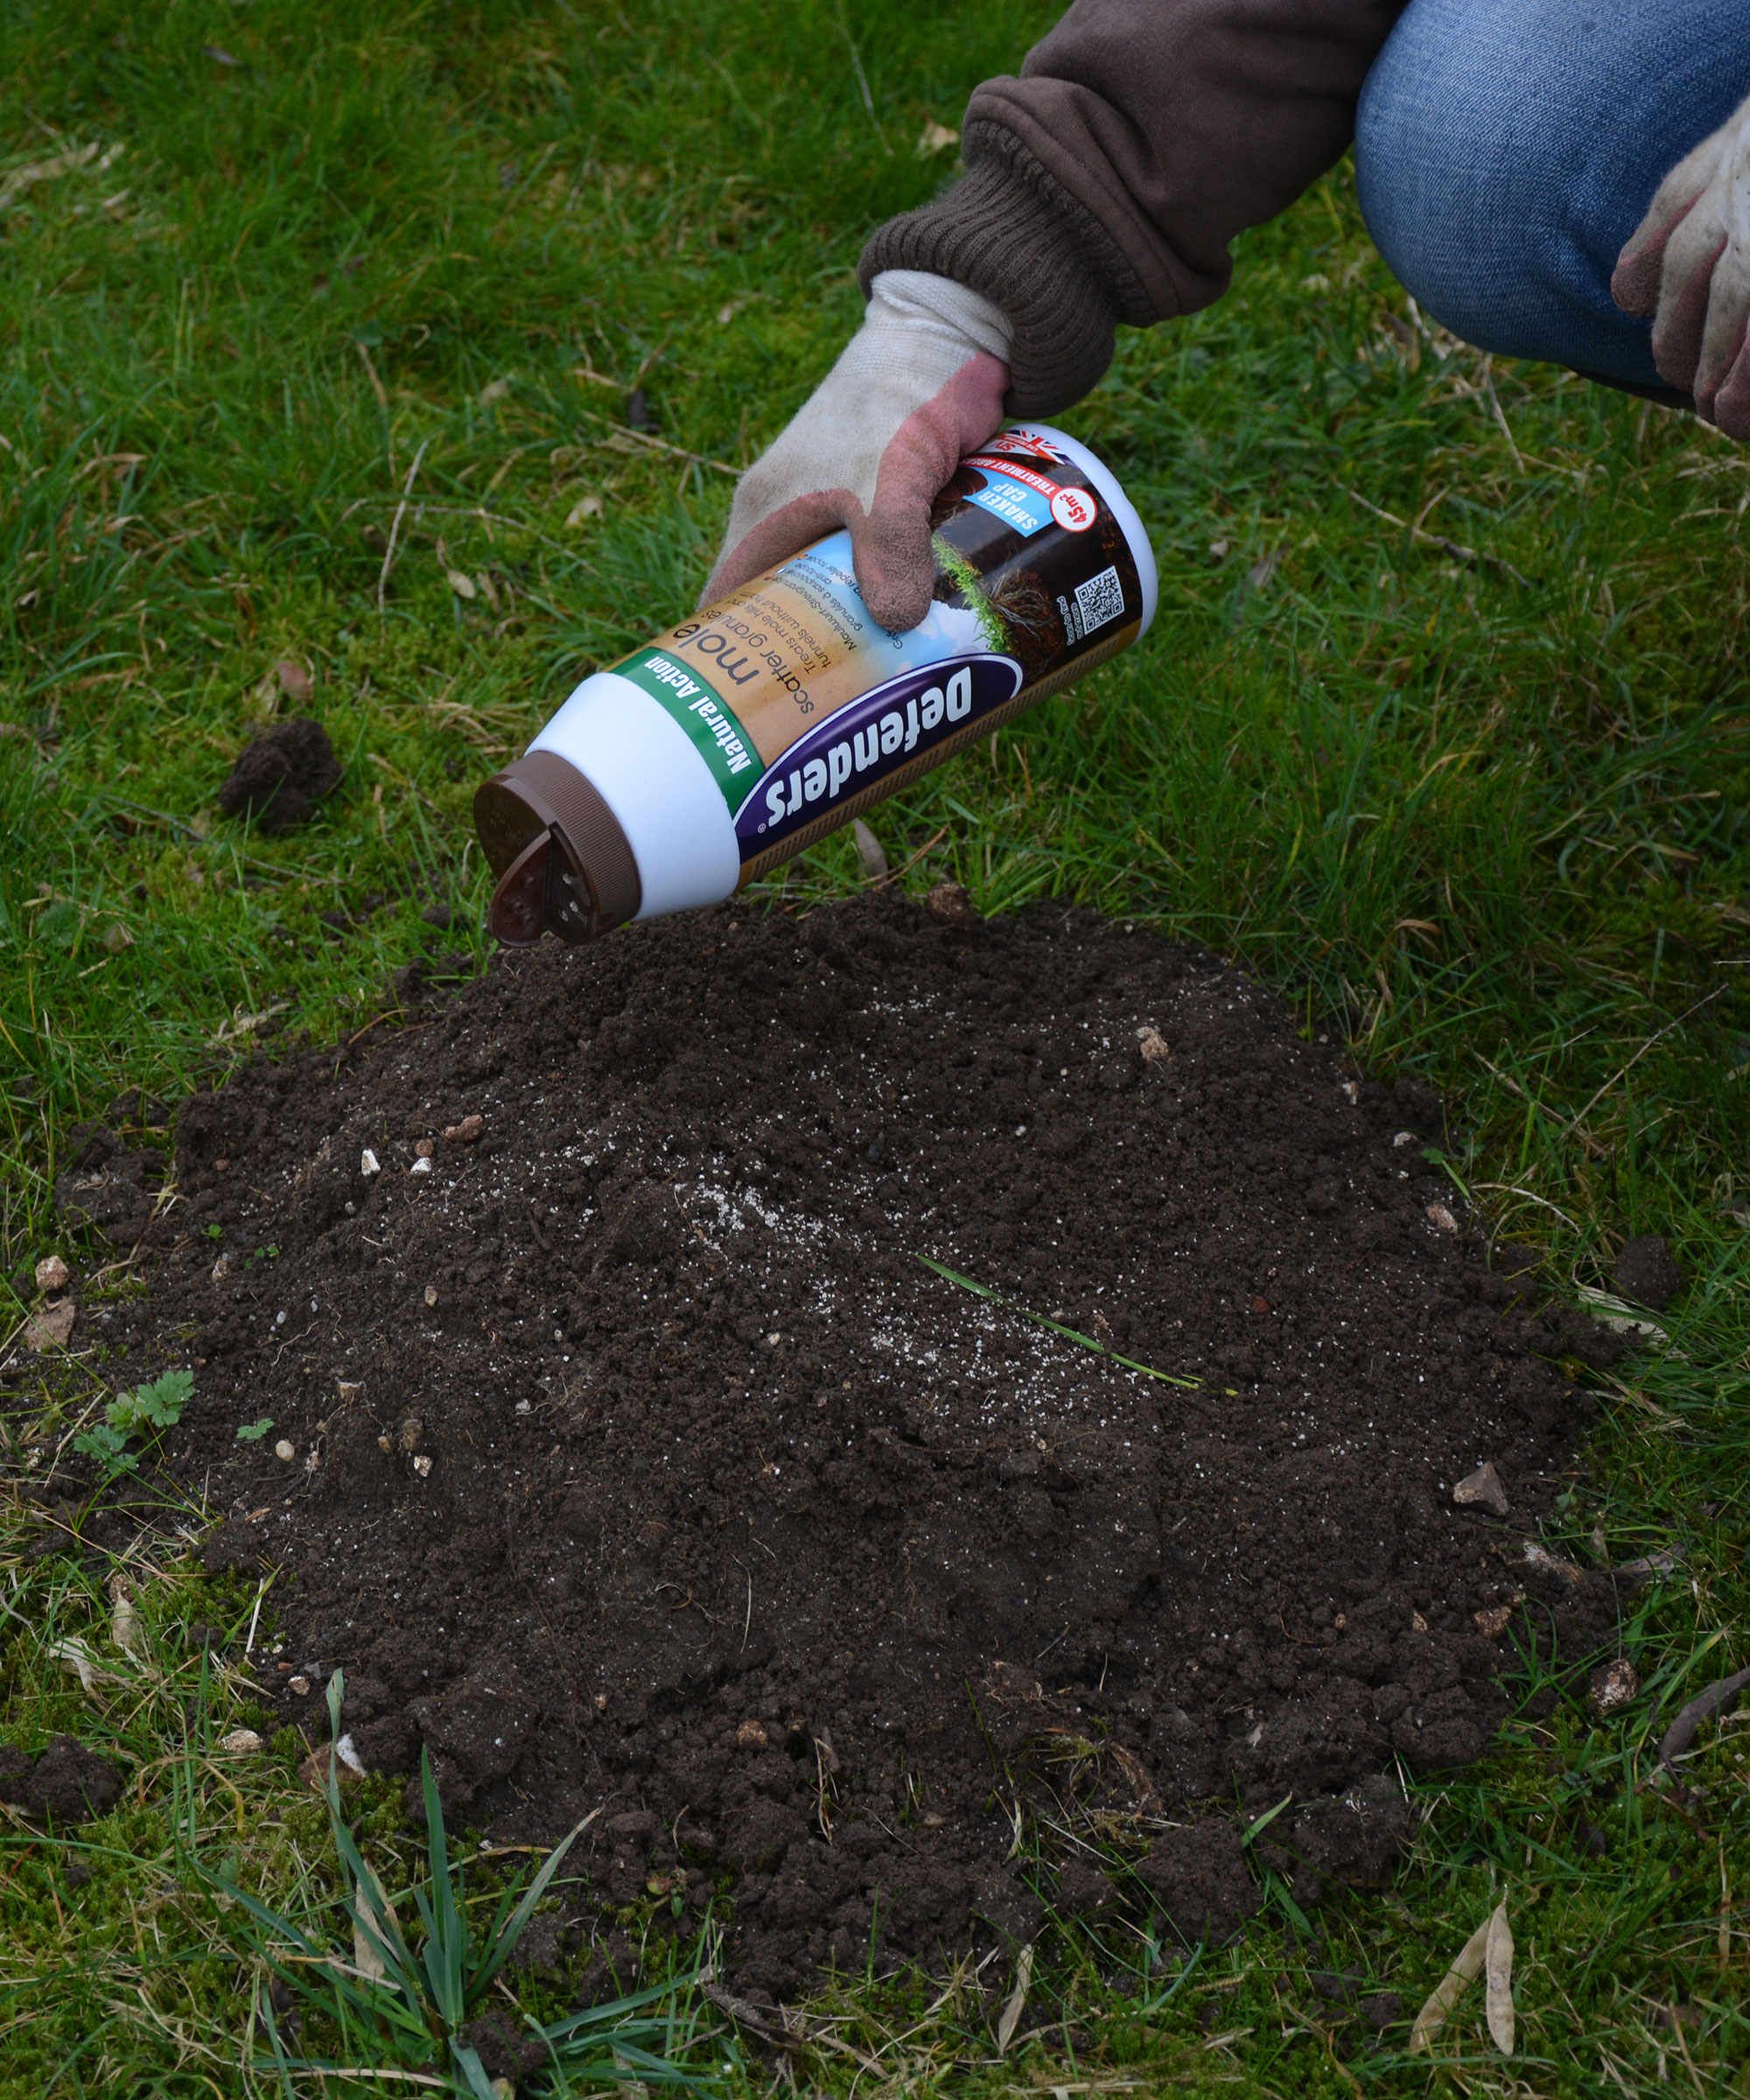
Top tip: Moles will start getting active early in the year, digging their breeding chambers and creating molehills. I find that sprinkling Defenders Mole Repellent Granules, available on Amazon, is an easy way to deter them, as is using a sonic mole repellent.
4. Welcome wildlife
It’s tough out there for garden wildlife, so show them some love during these cold days and they will repay you later in the year by helping to keep pests under control.
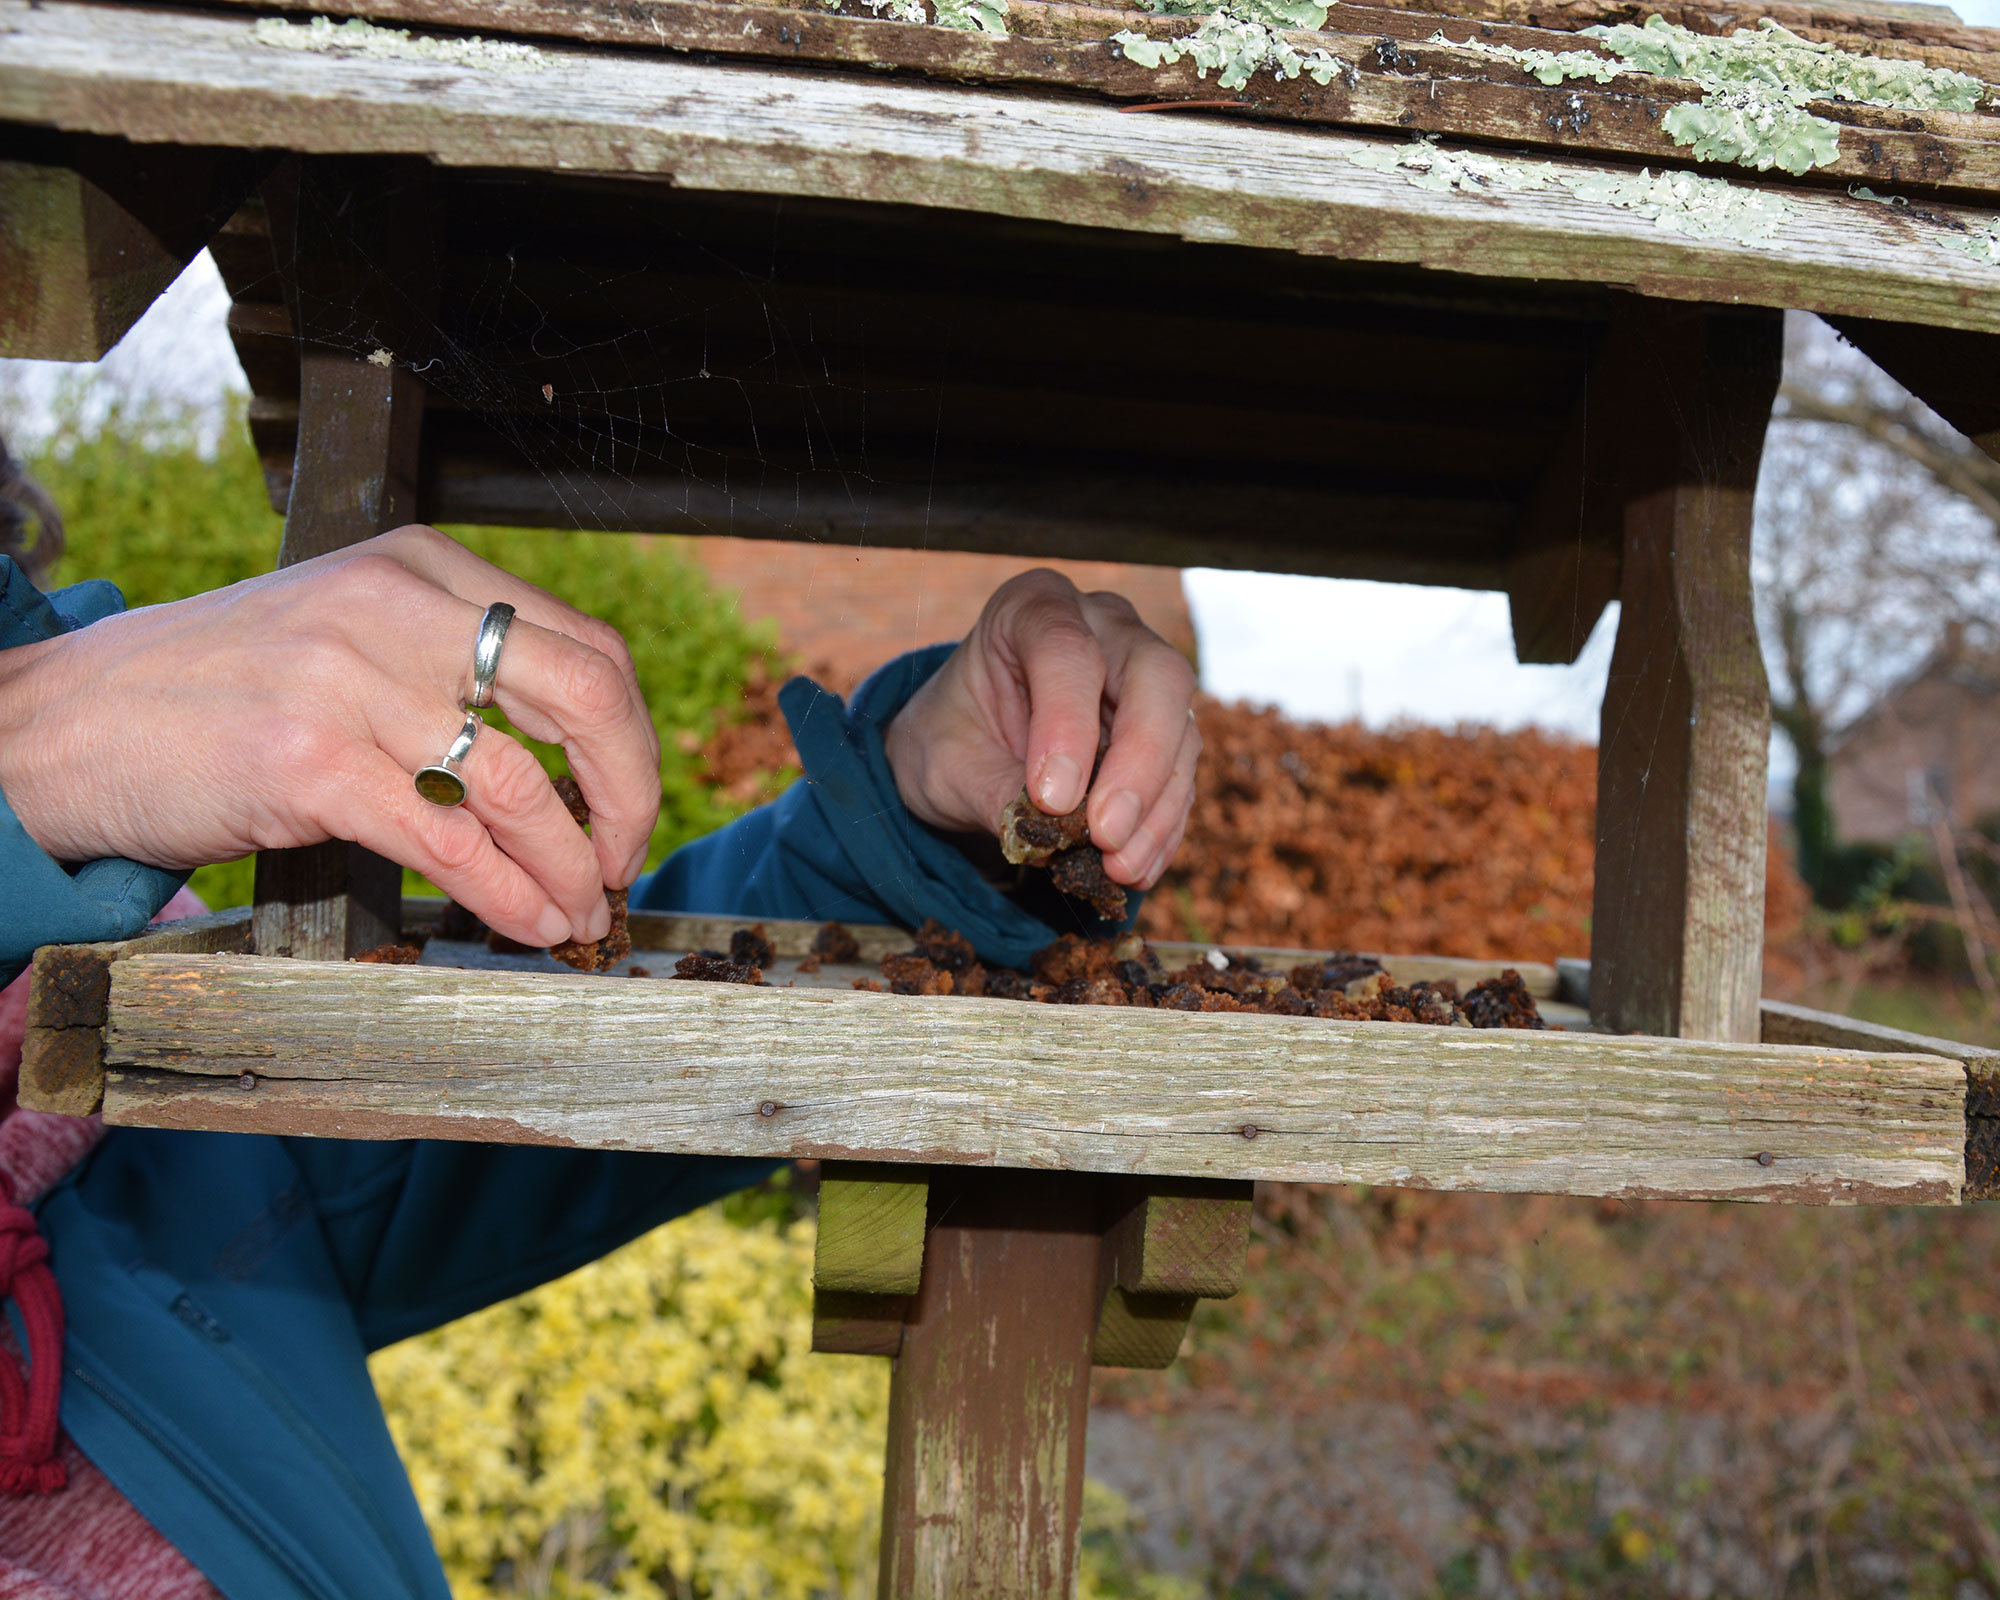
I see January as a window of opportunity for getting rid of old, stale festive food by giving it to the birds. Stale fruit cake and mince pies, grated cheese that’s gone hard, and leftover roast potatoes (not that there are ever any of those in my house!) all make excellent energy-packed food for hungry garden birds.
There are some foods to avoid when feeding wild birds, though. Never put out salted peanuts, chocolate or the fat used to cook meat as this will smear on their feathers and damage the waterproof coating that helps keep them dry and warm.
Make sure they have plenty of fresh water to drink and also for bathing. Never pour boiling water onto a frozen bird bath as it can crack the structure. Warm water will do just as well.
Top tip: In the UK, the 2023 Big Garden Birdwatch, organized by the RSPB, takes place over the weekend of January 27-29. Everyone is invited to take part and it is a valuable tool helping experts gauge the health of our bird species populations. Plus, it's fun to do.
5. Make your gardening resolutions for 2023
We all know that New Year resolutions are easier to make than keep, so just make a few and they should be easier to stick to.
For a start, don’t keep putting off essential maintenance work, even if it looks minor and you think it can wait. Get it sorted before larger problems develop.
An organized shed saves you time and money looking for and replacing ‘lost’ things, so get your shed storage in order. Store chemicals safely and make sure wooden and metal structures are well maintained. Wash pots instead of throwing them away, and do the same with gardening gloves to extend their lifetime and make them more comfortable to wear.
Don’t overlook the smaller tasks either, such as weeding, feeding, pest control, deadheading and watering. They may feel like a faff, but if carried out regularly, they will keep your garden flourishing and tidy.
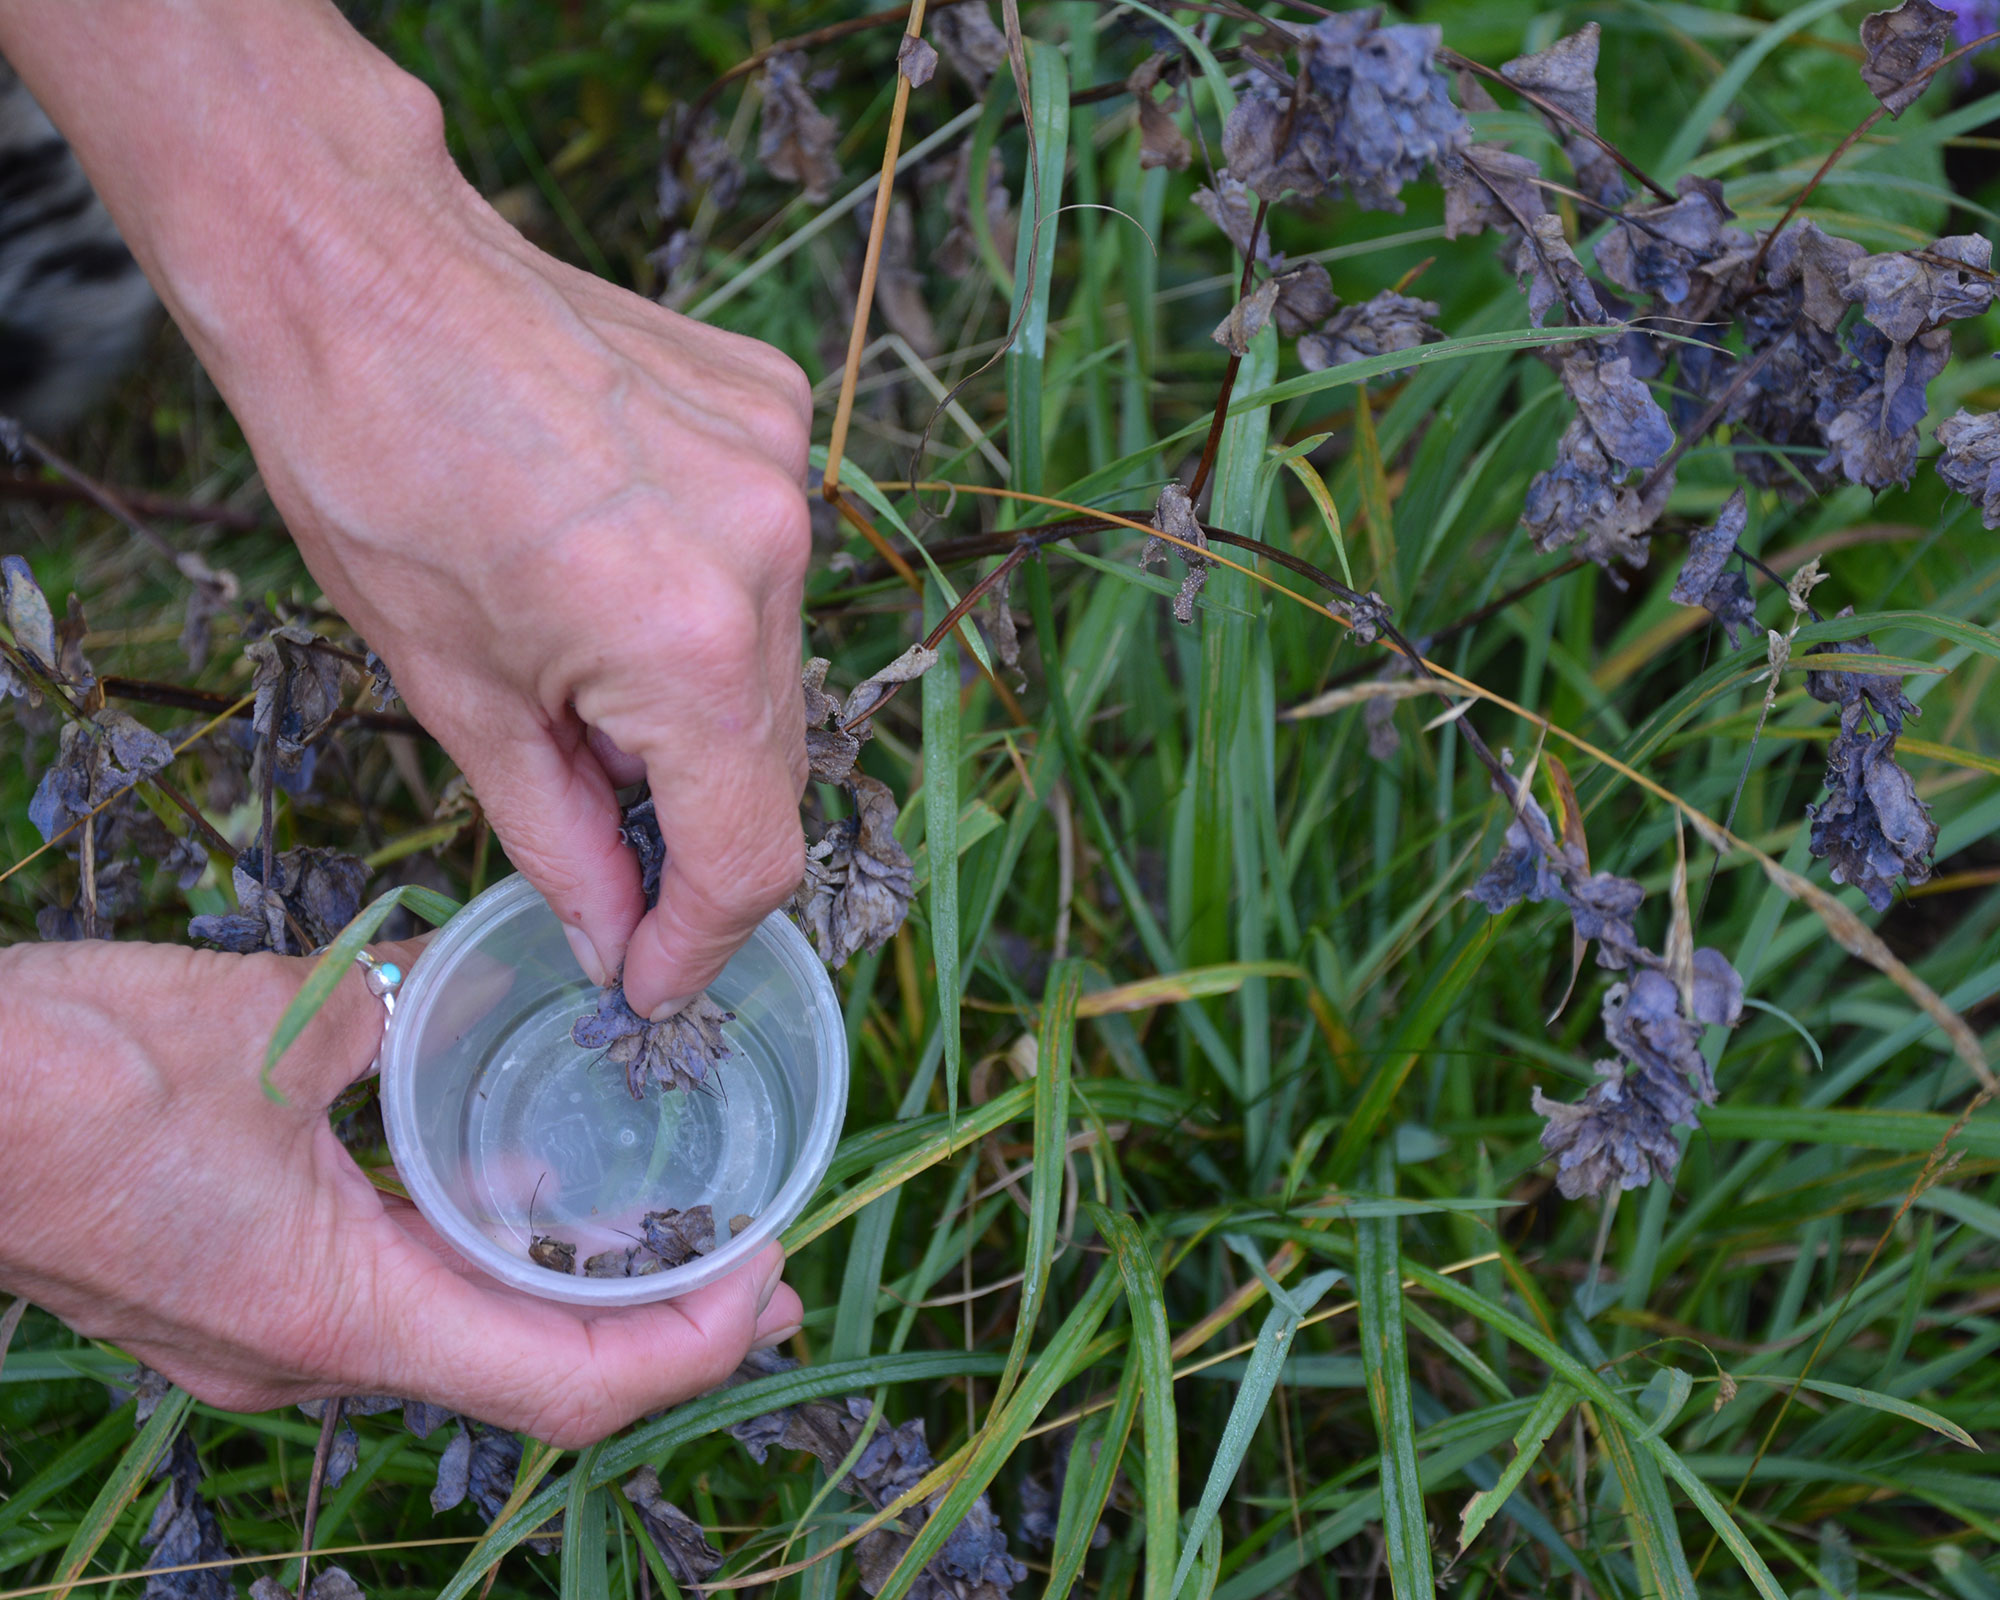
Collecting seeds from flowers is another task to add to your January gardening jobs, or buy and sow your own to reduce ‘plant miles’. Use local garden centers and reuse old compost bags to warm the soil.
You can save more money by following our advice on how to take cuttings from plants – that way, you can propagate and nurture them through winter in a greenhouse, mini greenhouse or light windowsill indoors.
Top tip: Don’t start the year all guns blazing; pace yourself, otherwise you will run out of steam and enthusiasm.
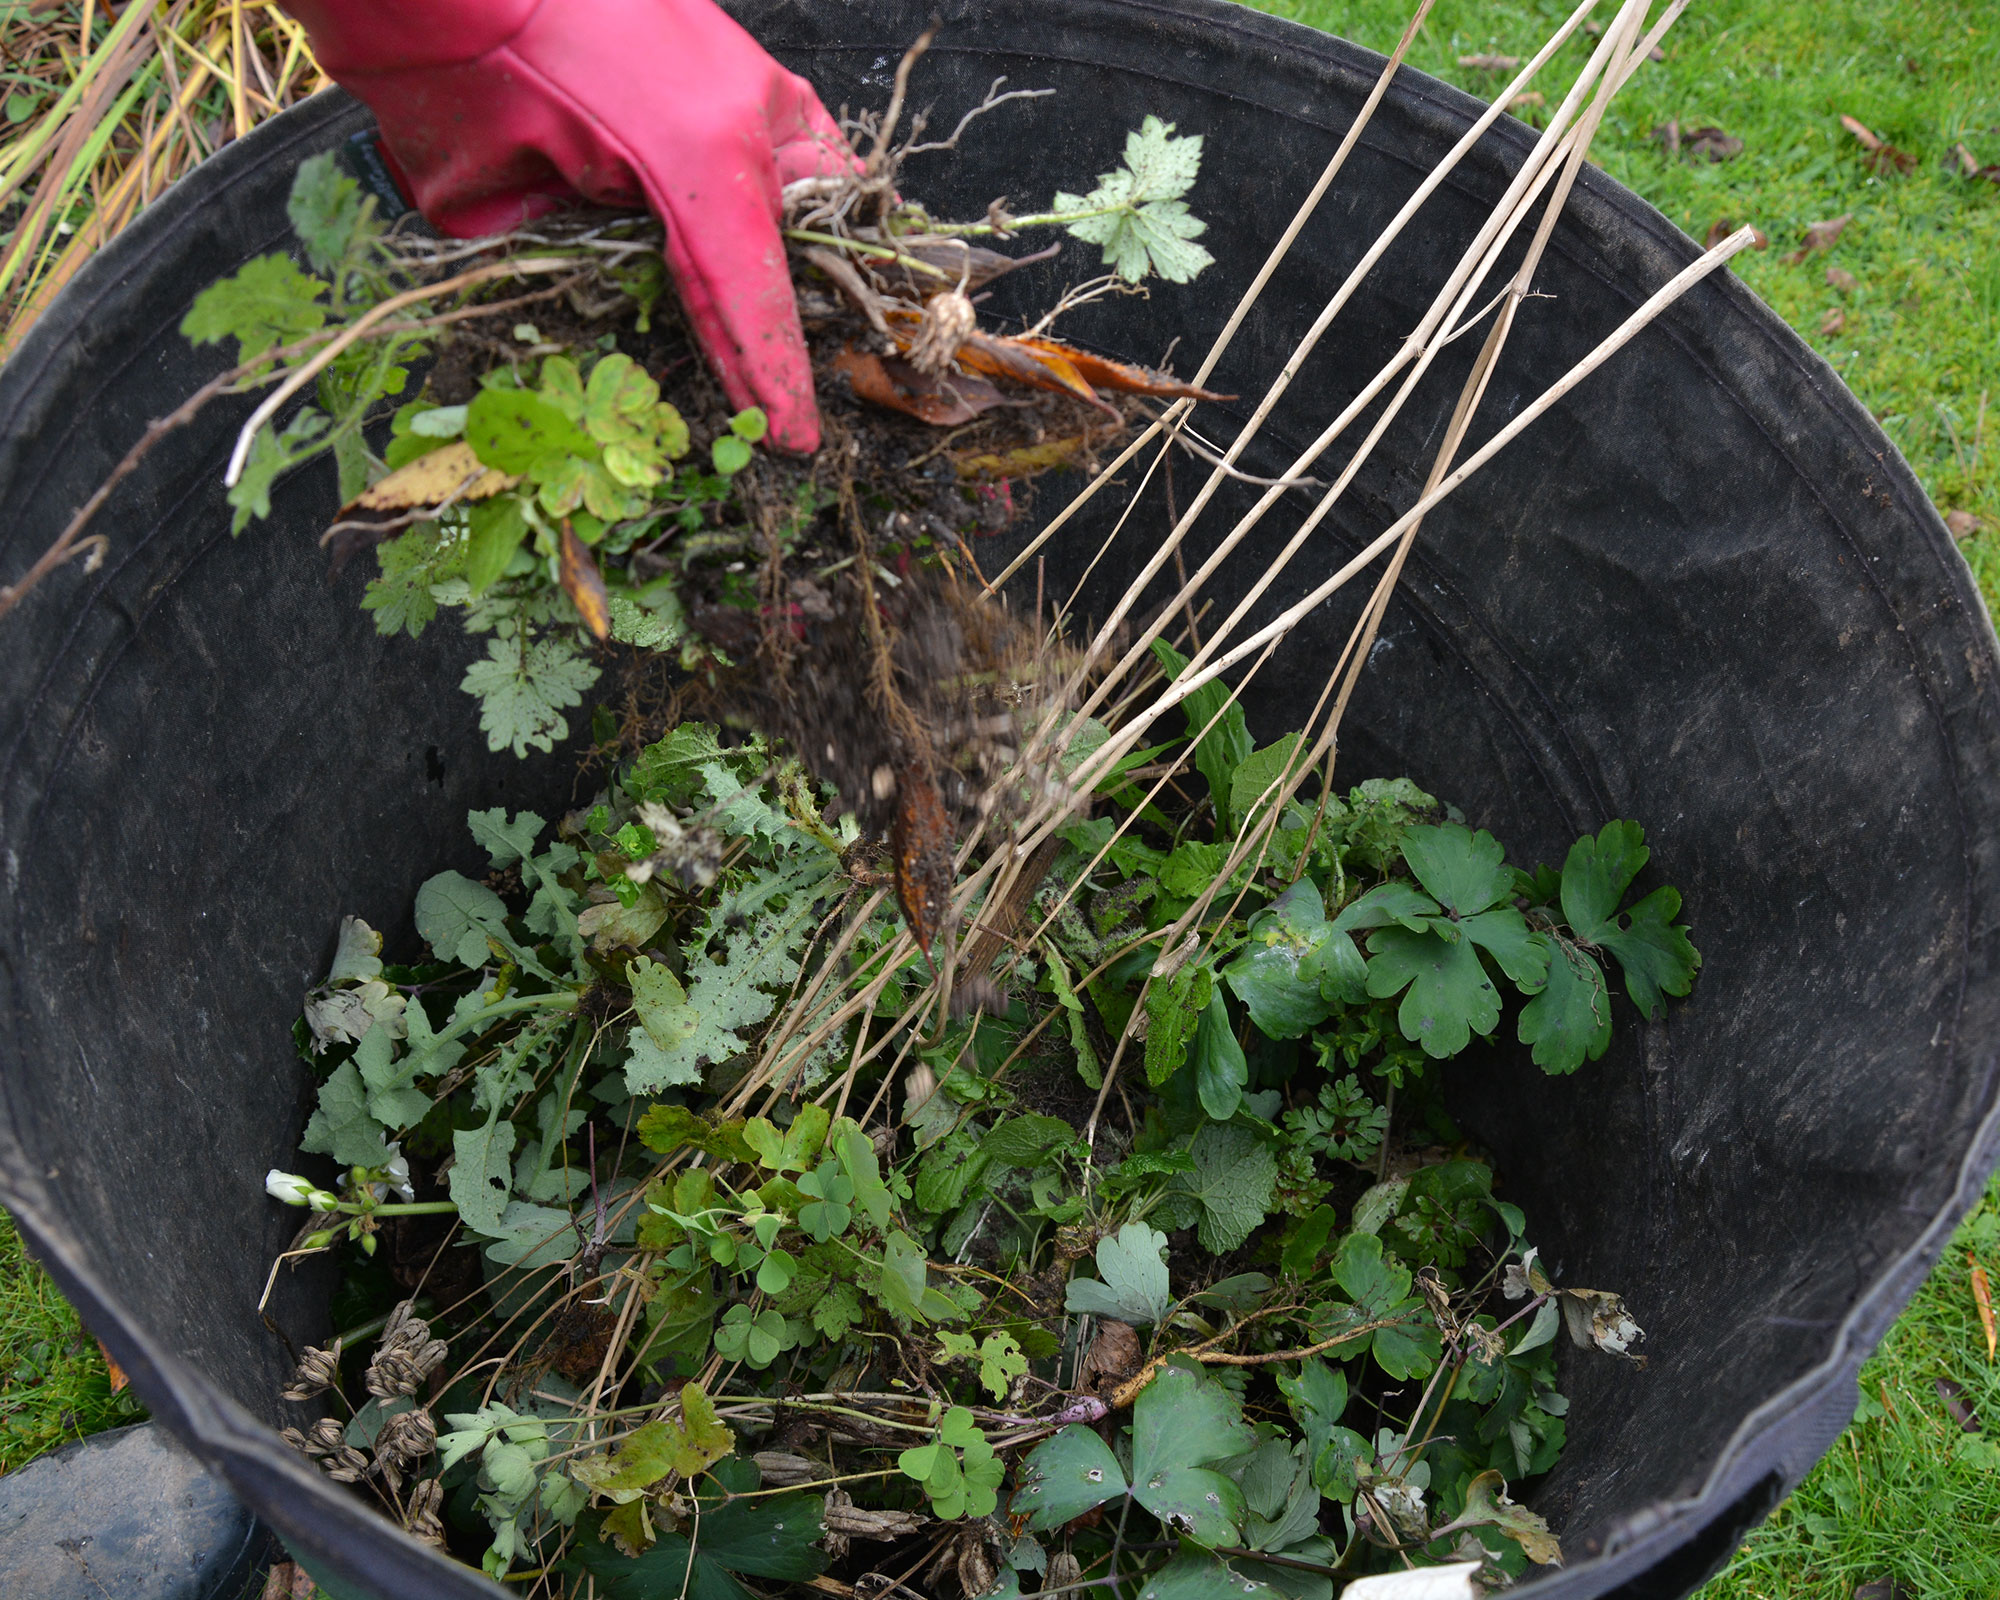
6. Recycle Christmas rubbish in the garden
I love the festive season, but I’m also driven to despair by the piles of packaging and discarded wrapping paper that accumulate afterward.
Luckily, the garden is an excellent facility for using and reusing the commercial detritus that is part and parcel of the modern-day Christmas and Thanksgiving. Give these simple ideas a go:
- Cardboard boxes and black plastic can be flattened out and spread on soil to suppress weeds and start warming the ground in advance of early sowing and planting.
- Break up polystyrene to use as crocks in the bottom of garden planters. It’s much lighter than pottery.
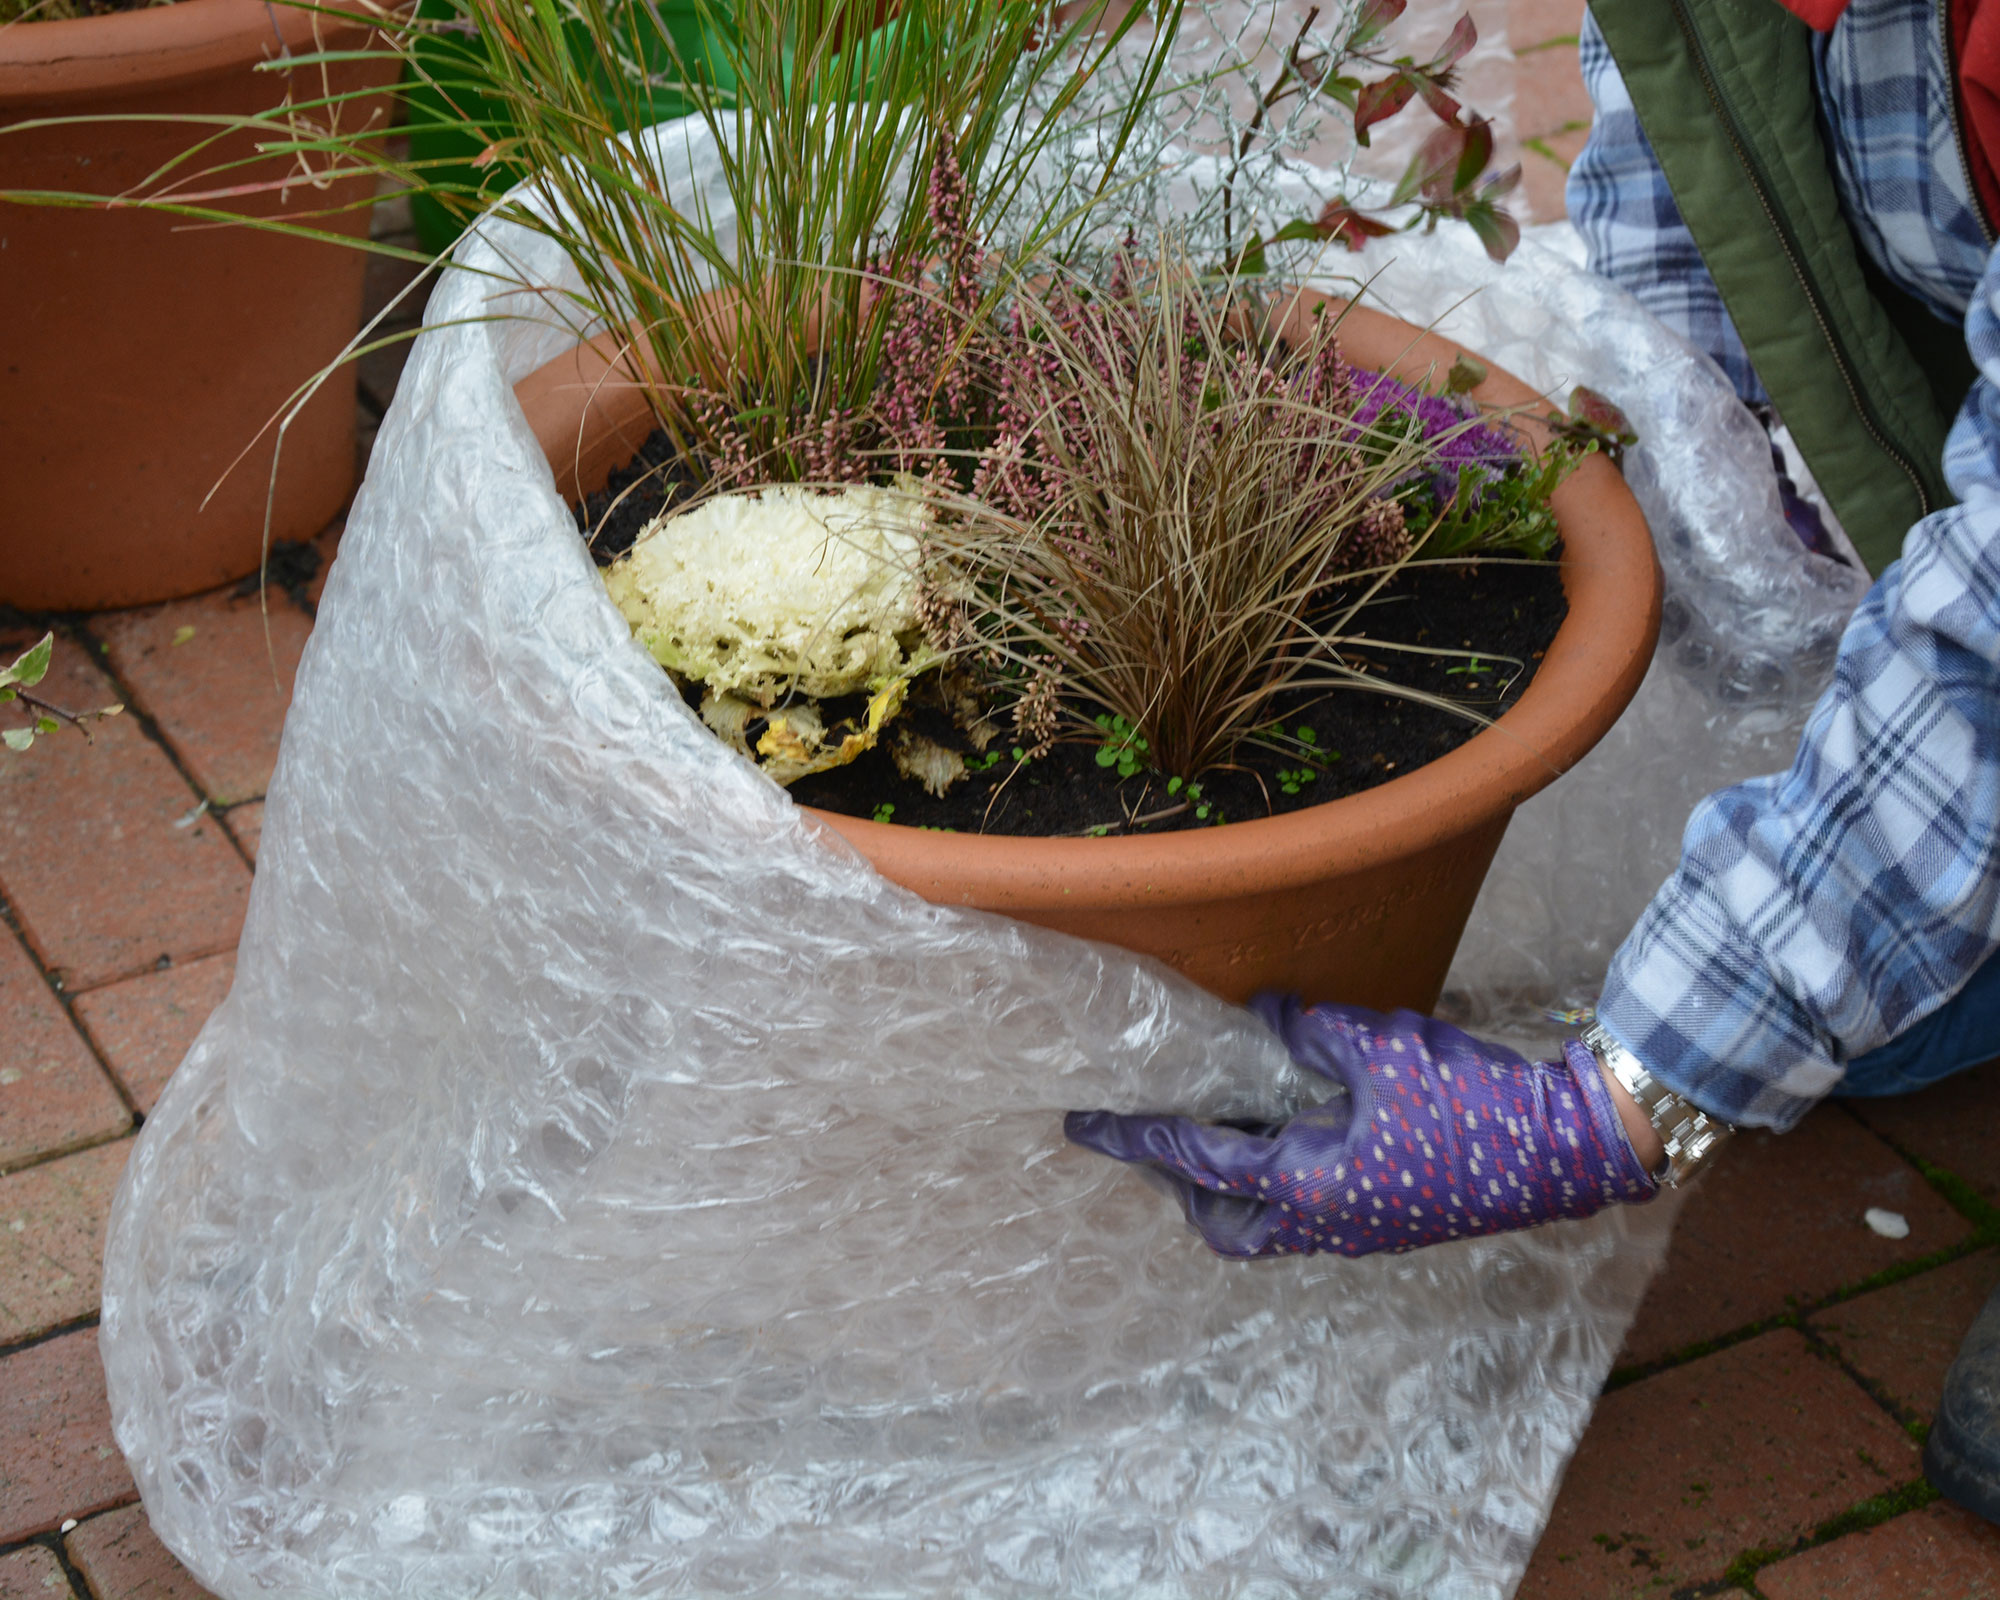
- Use large strips of bubblewrap as an extra layer of insulation in the greenhouse or mini greenhouse. Smaller strips can be used to wrap containers in frosty weather.
- Put wreaths with berries in the garden for the birds to eat and use pine needles as an ericaceous mulch.
7. Prepare soil for sowing and planting
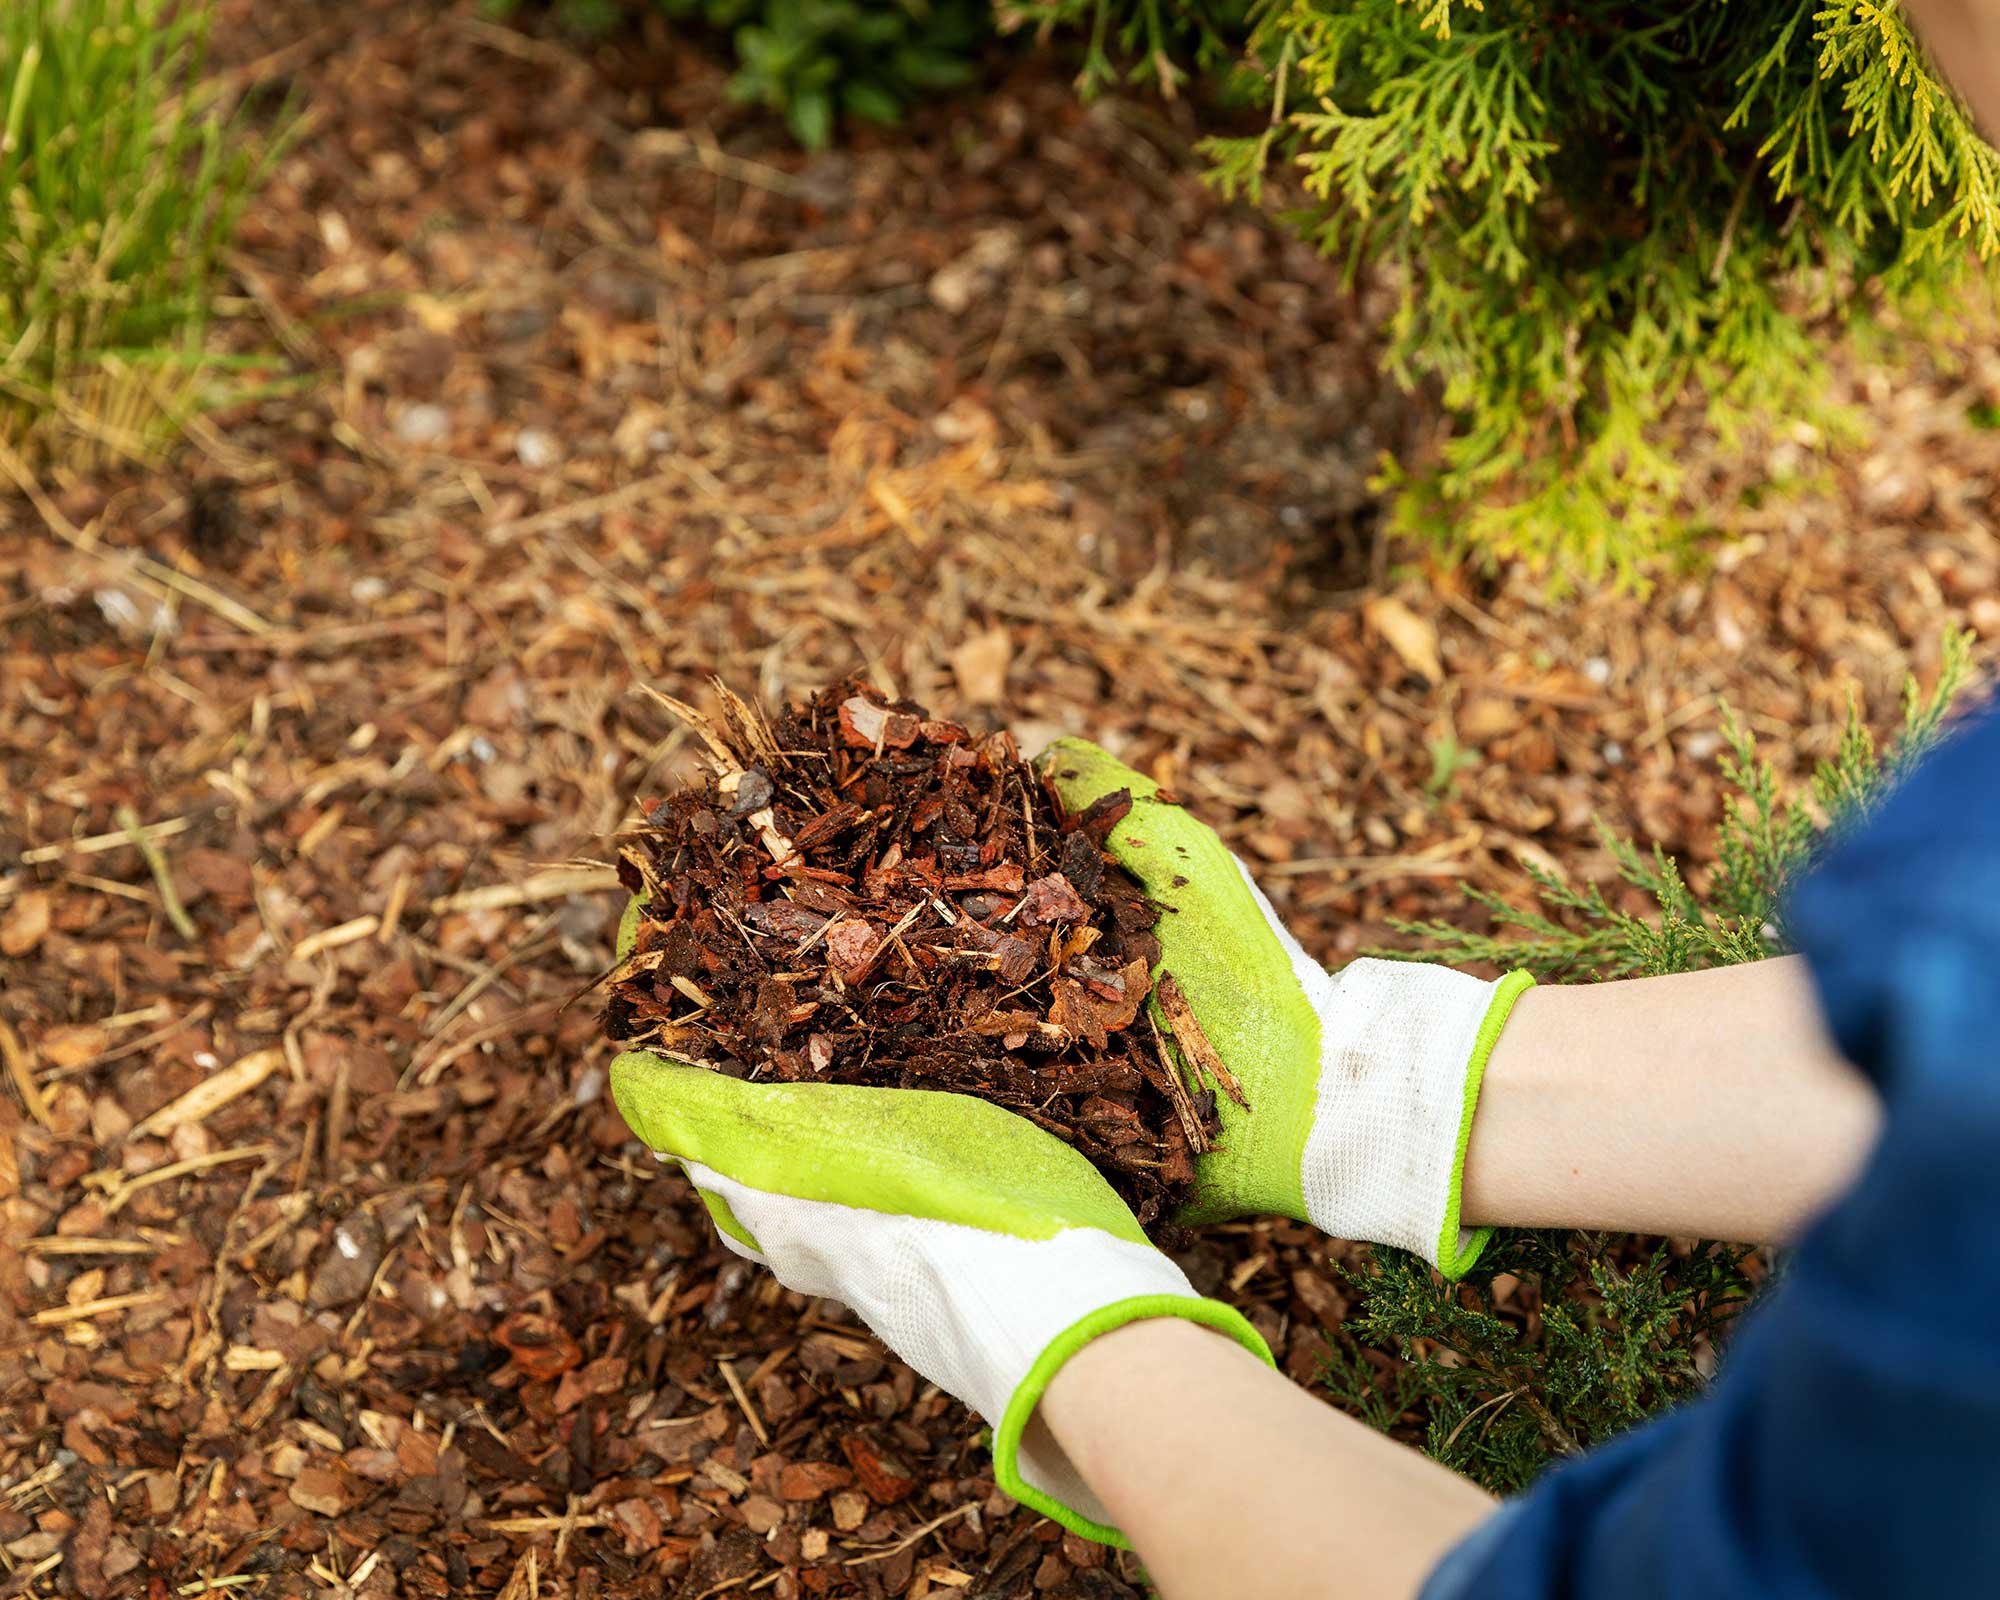
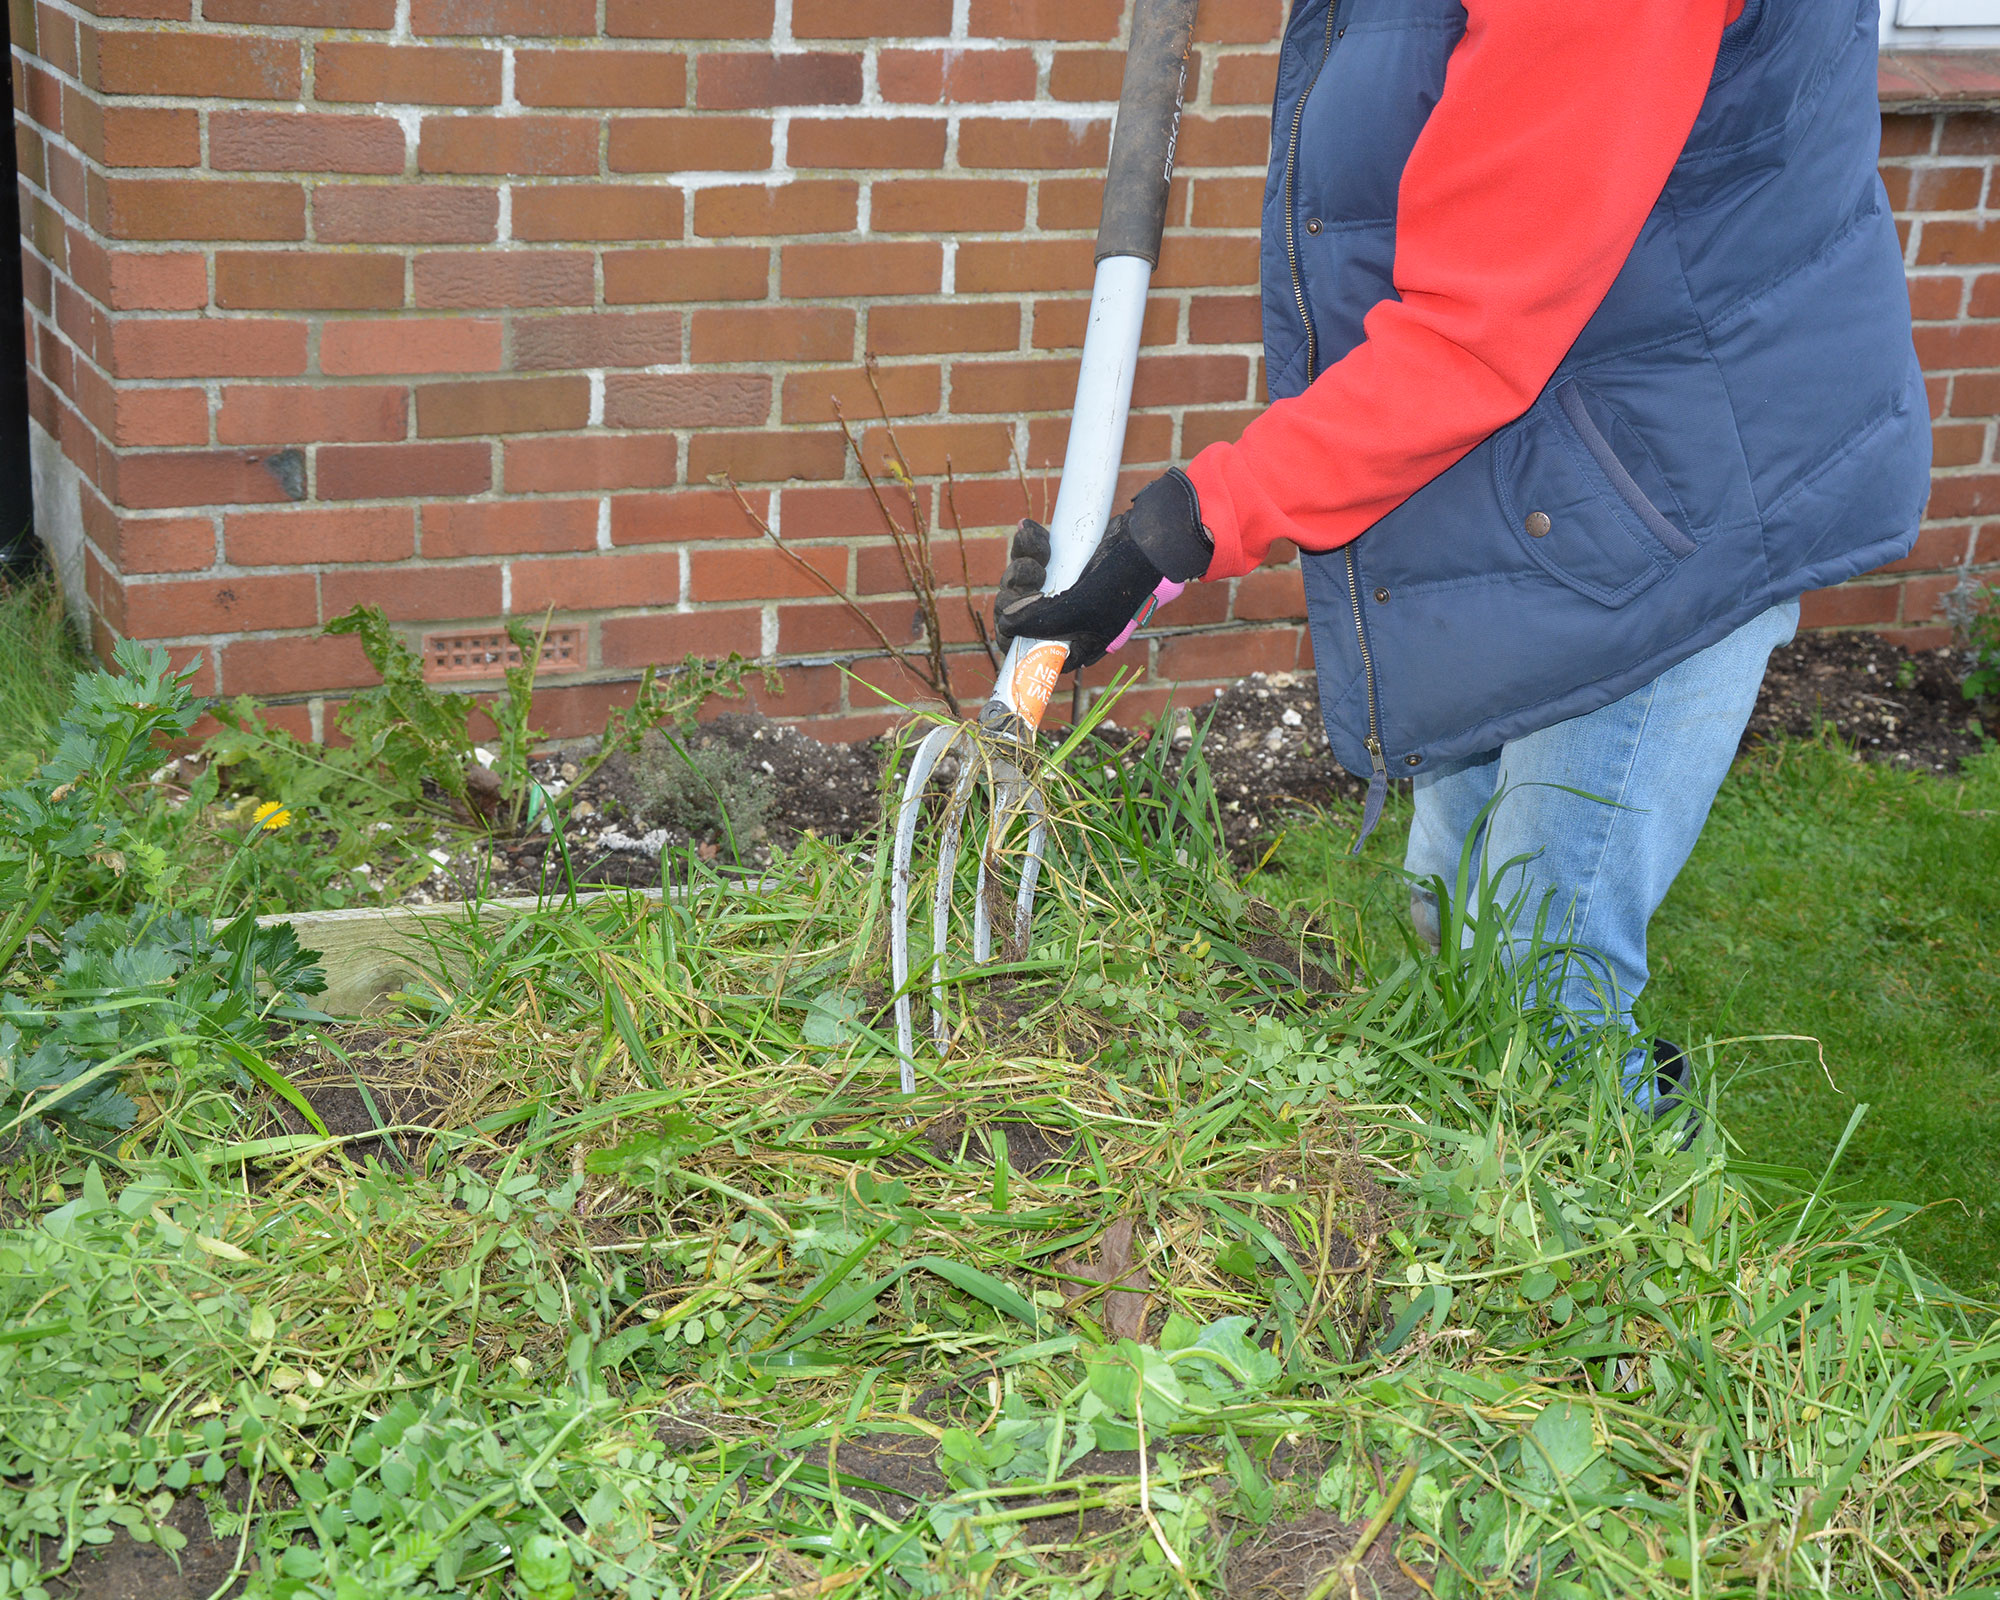
It will soon be the season to plant, so prepare the soil by feeding, mulching and weeding it, so you are all ready to go when the moment arrives.
It is not too late to add a layer of well-rotted compost and farmyard manure to your soil. Either fork it in or let it sit on the top as a mulch and be broken down and incorporated by winter weather and the beneficial work of earthworms.
Do this as long as the ground isn’t frozen, as mulching will trap the coldness on the soil and digging will damage its structure. Don't mulch dry soil either, as it will act as a waterproof cap, keeping rain off parched soil below.
Mulching when the weather is damp and mild will help warm the soil, suppress weeds and make any that subsequently germinate easier to remove.
You can warm the soil by a few degrees now by covering it with a tunnel cloche or reusing old compost bags, which will also help kill off weeds.
If you have grown green manures through winter, chop them back and dig them in now so they have plenty of time to die back and re-fuel the soil before planting and sowing.
Another option is to dig in generous handfuls of chicken manure pellets (available on Amazon). An organic soil improver, the pellets are also rich in nitrogen, phosphorus and potassium to aid healthy plant growth.
Top tip: When adding mulch to your garden borders, keep it away from the trunks of trees and shrubs. If damp mulch comes into contact with them it can soften their bark, leaving it vulnerable to rotting and pests.
8. Look after winter containers
The middle of winter is a tough time for plants in general, but it is extra hard for those growing as part of your container gardening ideas.
Even hardy winter plants in pots can fall prey to inclement conditions, but there are plenty of rescue remedies you can use to keep them looking good.
Most containers are sold as frost-proof, but they may still crack if damp compost freezes and expands. Give protection by swaddling them in fleece or bubblewrap, making sure drainage holes aren’t blocked.
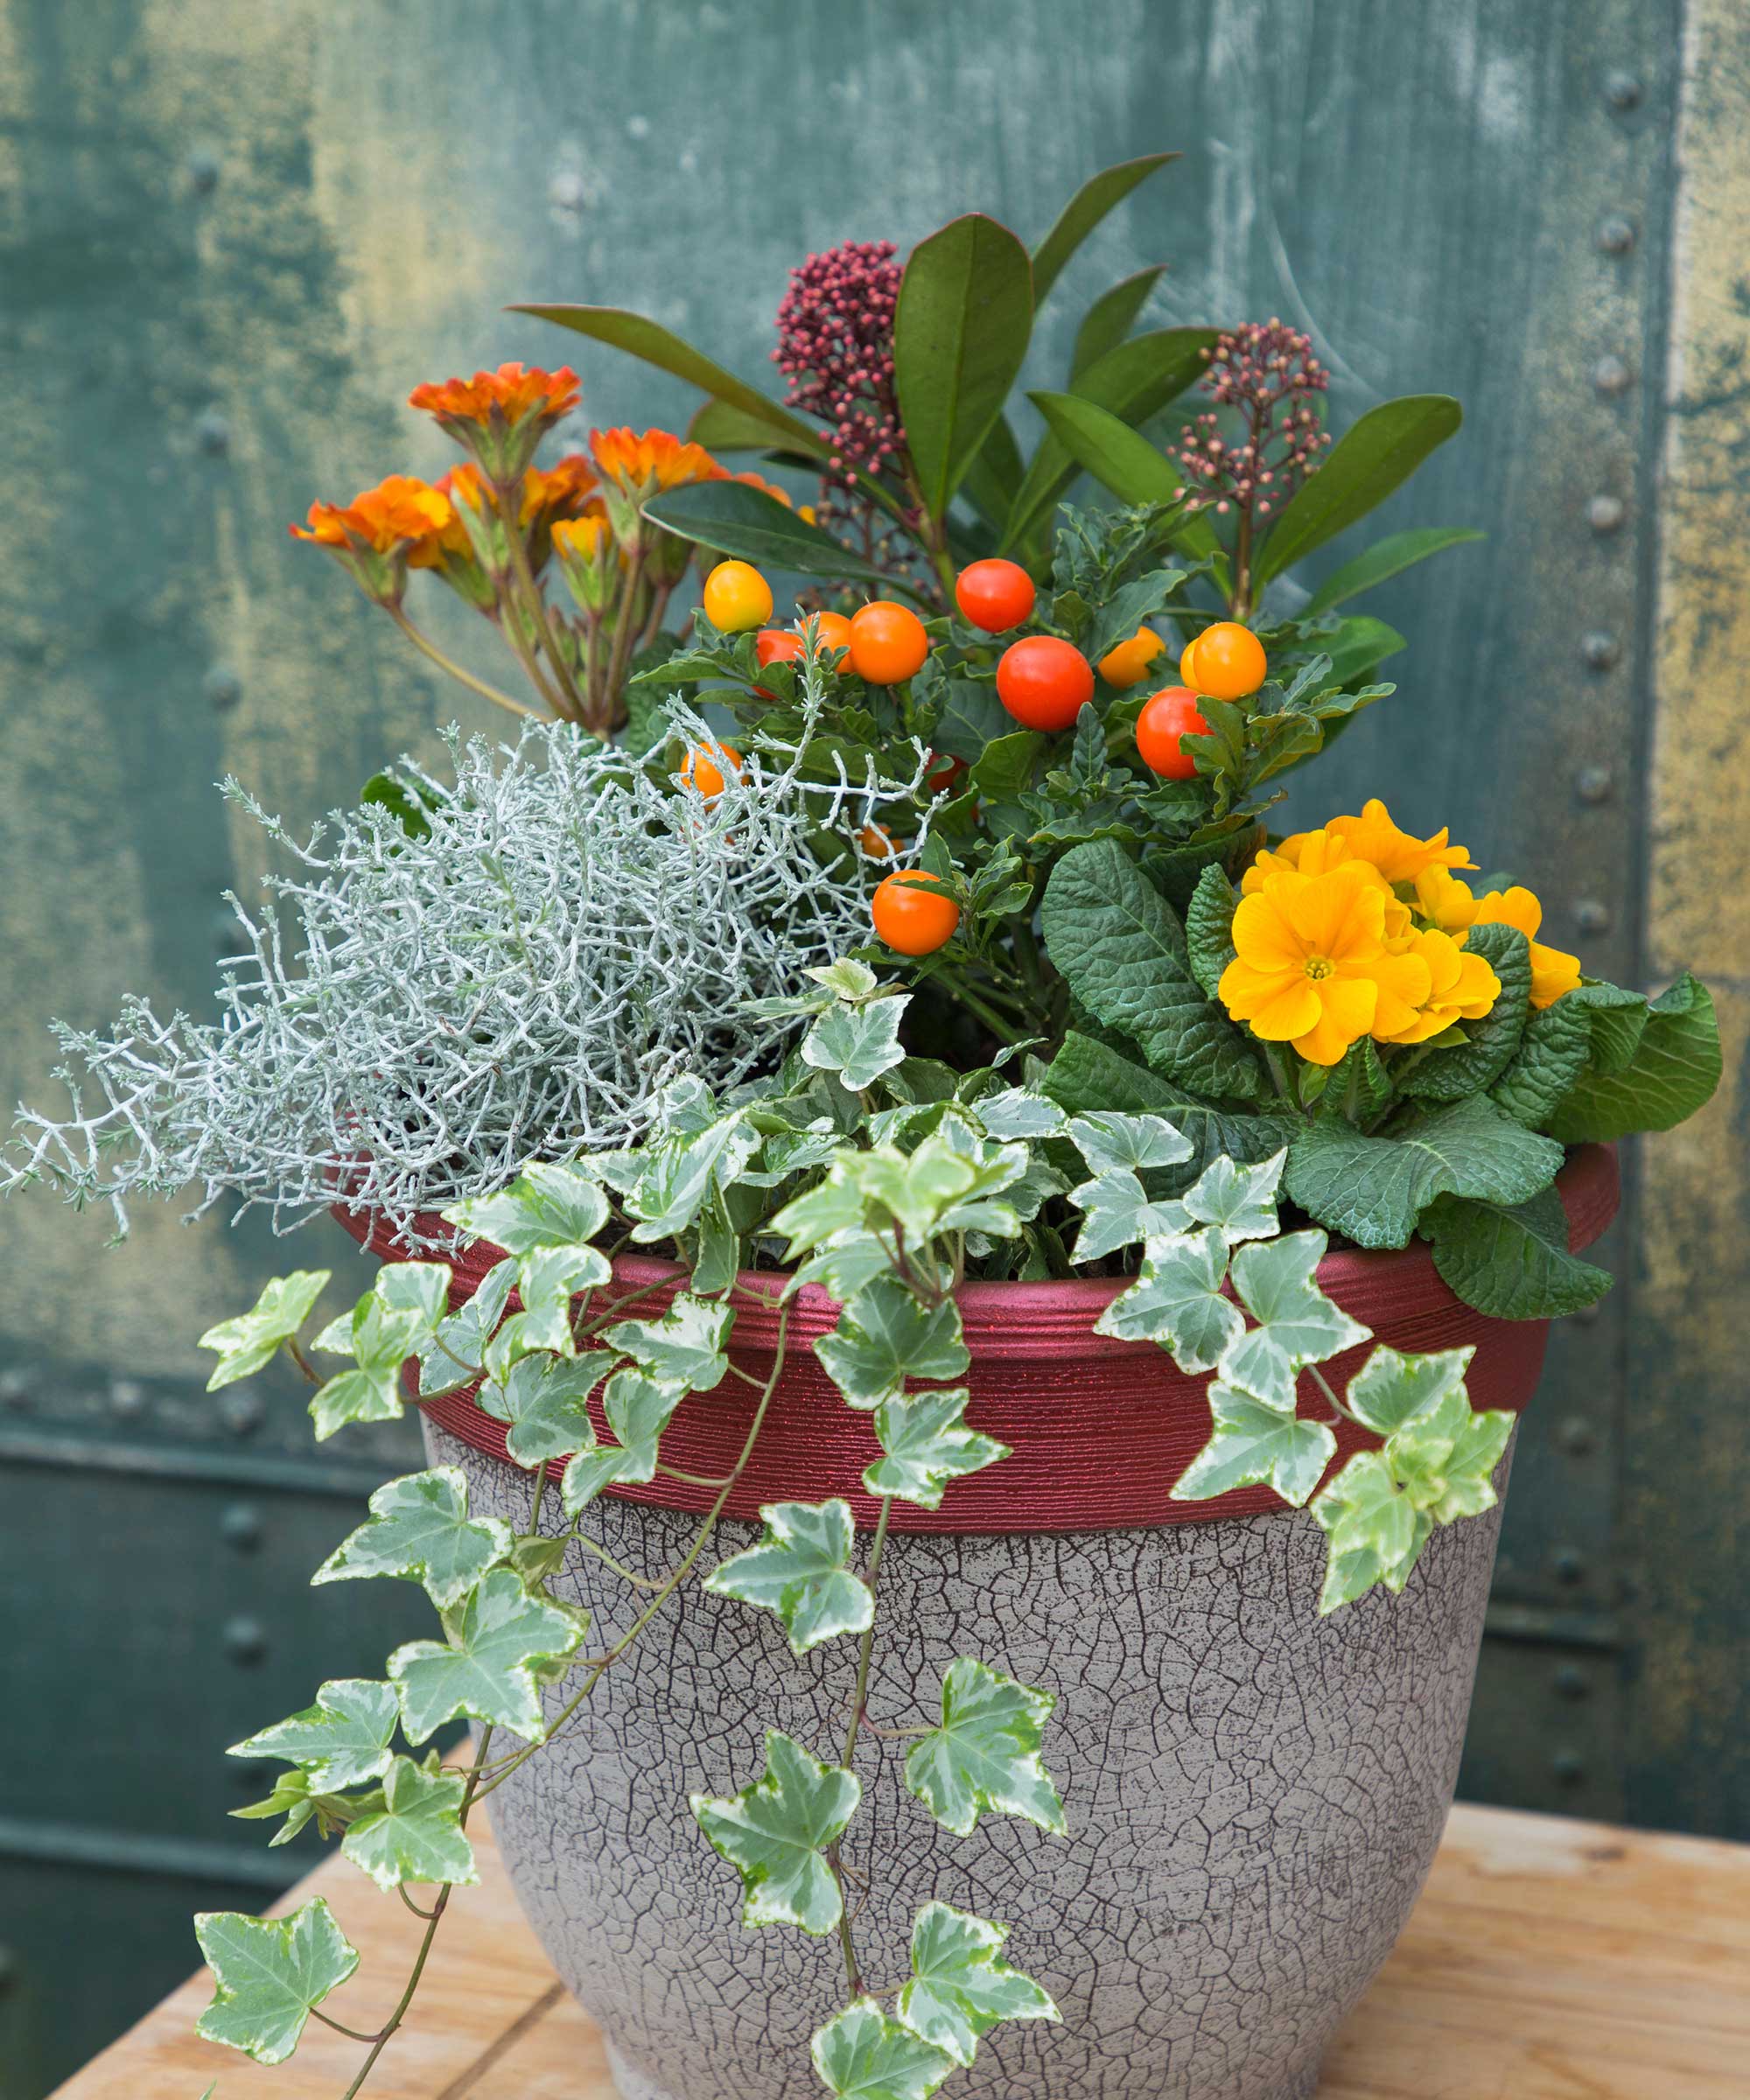
Compost in containers is more likely to freeze solid than soil in the ground, damaging and killing roots and therefore the plant. If not provided with adequate drainage, the compost can also become waterlogged, which forces the air out of the compost so in effect the roots ‘drown’ and the plants die.
Confusingly, the signs of waterlogging are the same as those for under-watering: leaves turn yellow and the plants start to droop. If containers become waterlogged, empty them out if possible, and repot the plant or plants with fresh, dry compost and raise the pots on feet so water can drain away easily.
If complete replanting isn’t possible, remove the top layer of compost then aerate the rest by digging into it and opening it up with a hand fork. Topdress with fresh, dry compost and stand the pot on feet.
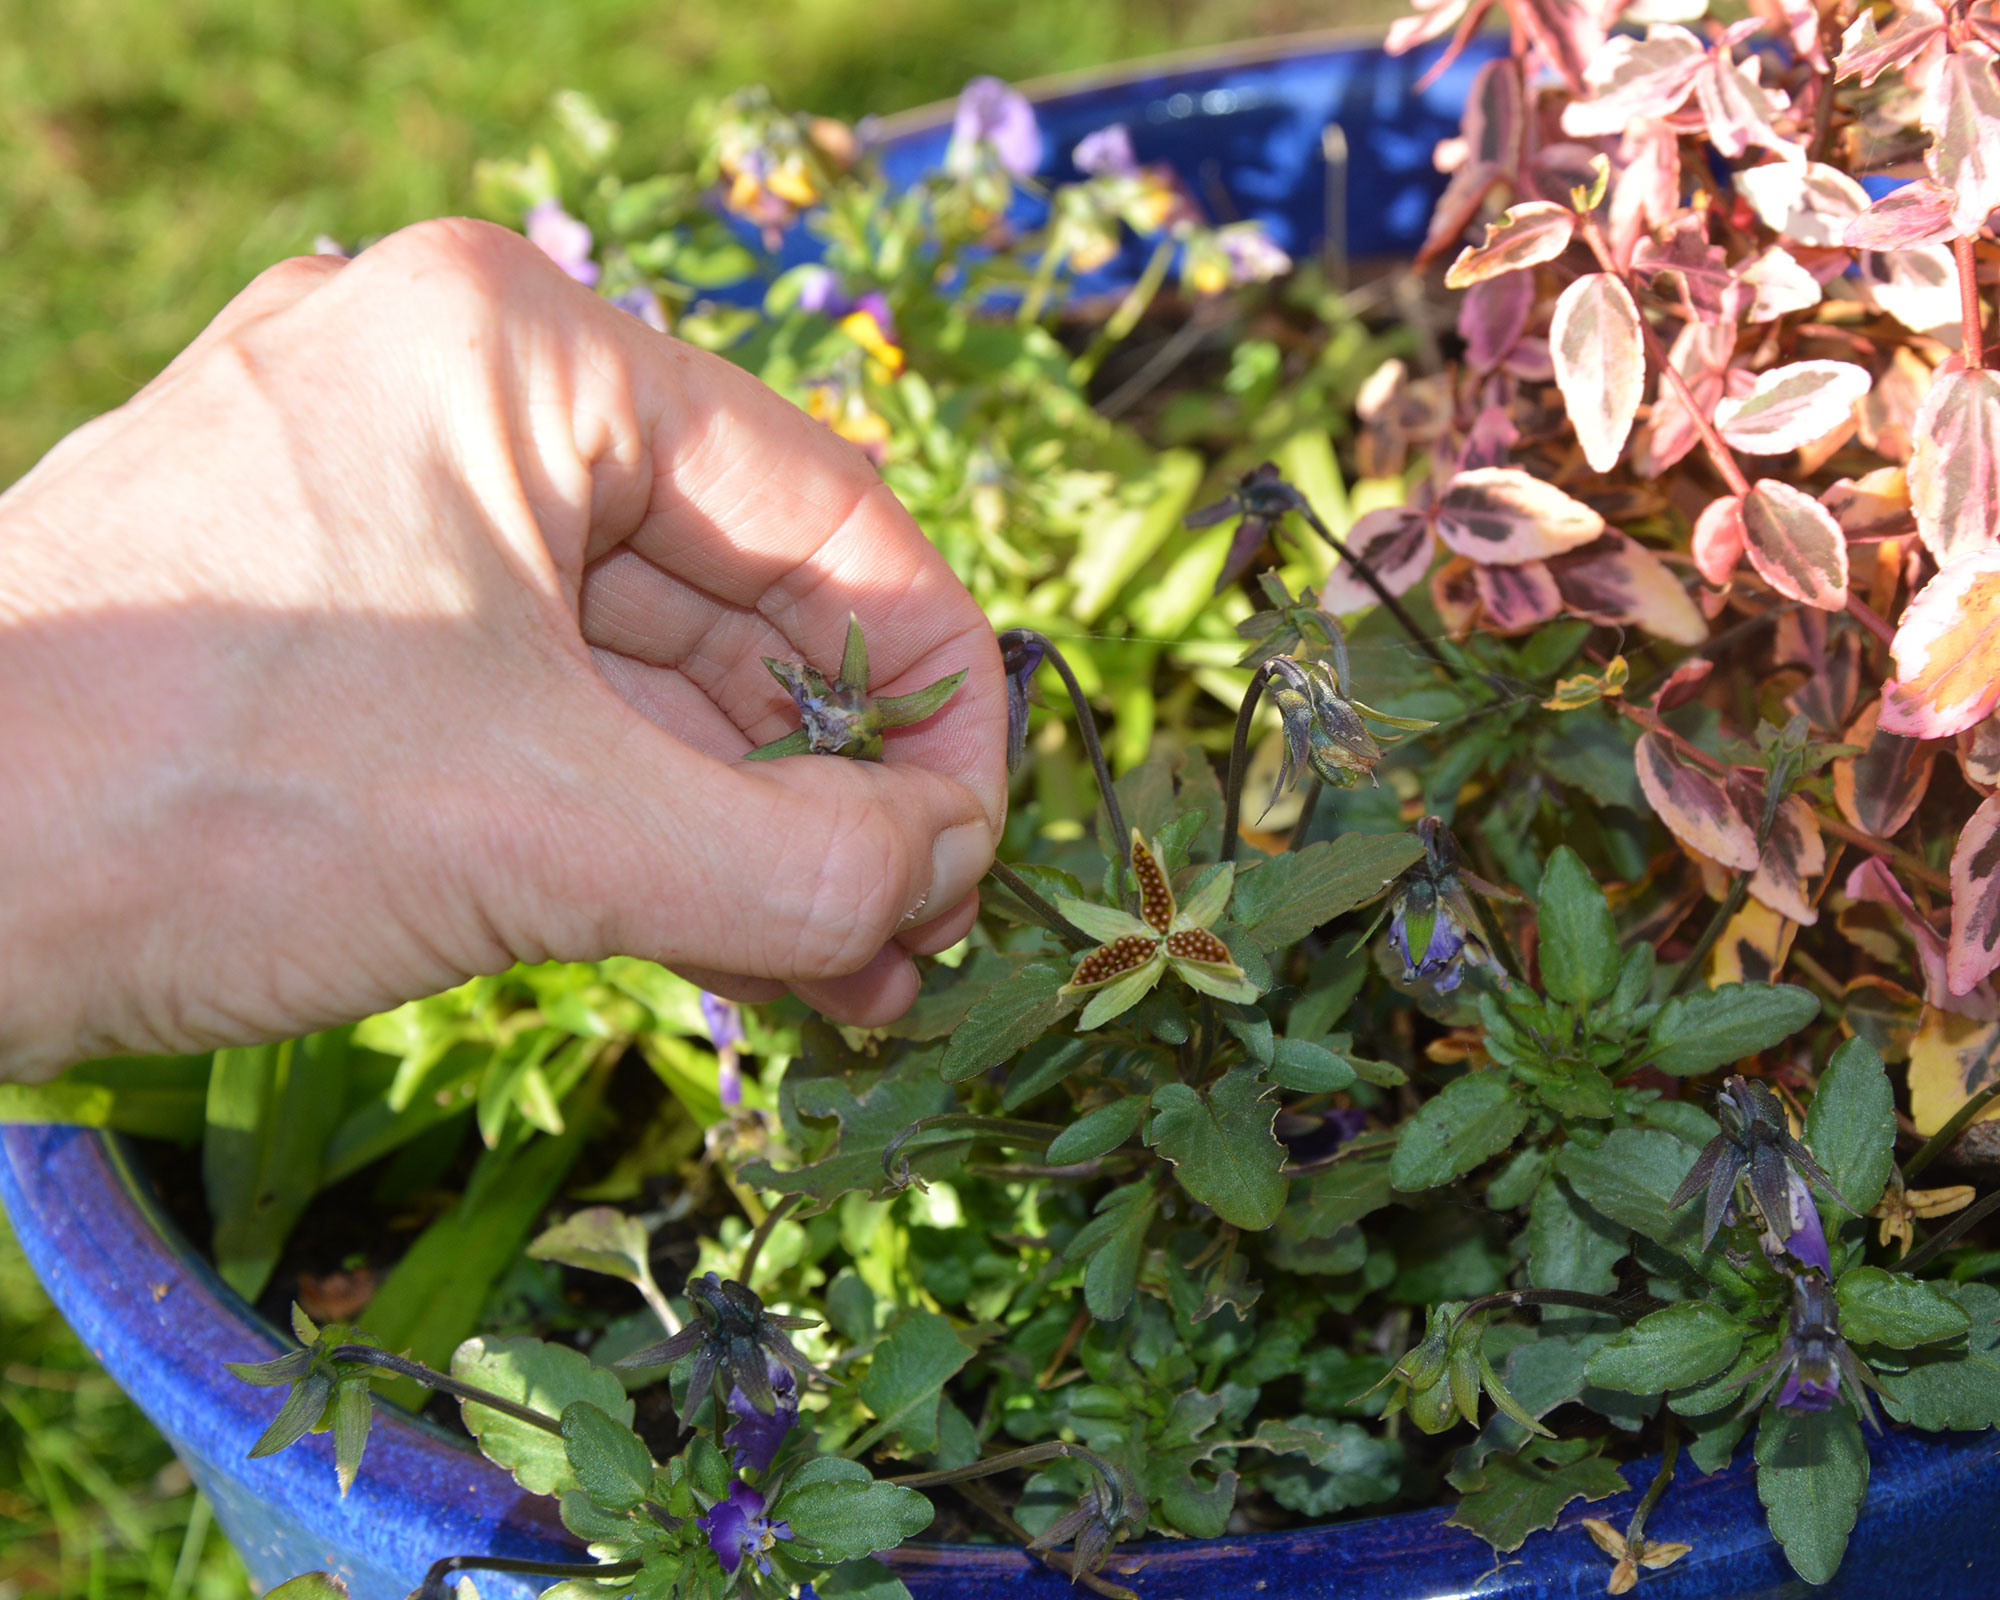
Top tip: Keep deadheading flowers that are continuing to bloom and feed them fortnightly with a liquid fertilizer to keep them looking good. Trim straggly plants to keep them neat.
9. Move a tree or shrub to a better place
Winter, when the skeleton of the garden is laid bare, is an ideal time to look at the overall landscape and decide if anything needs relocating.
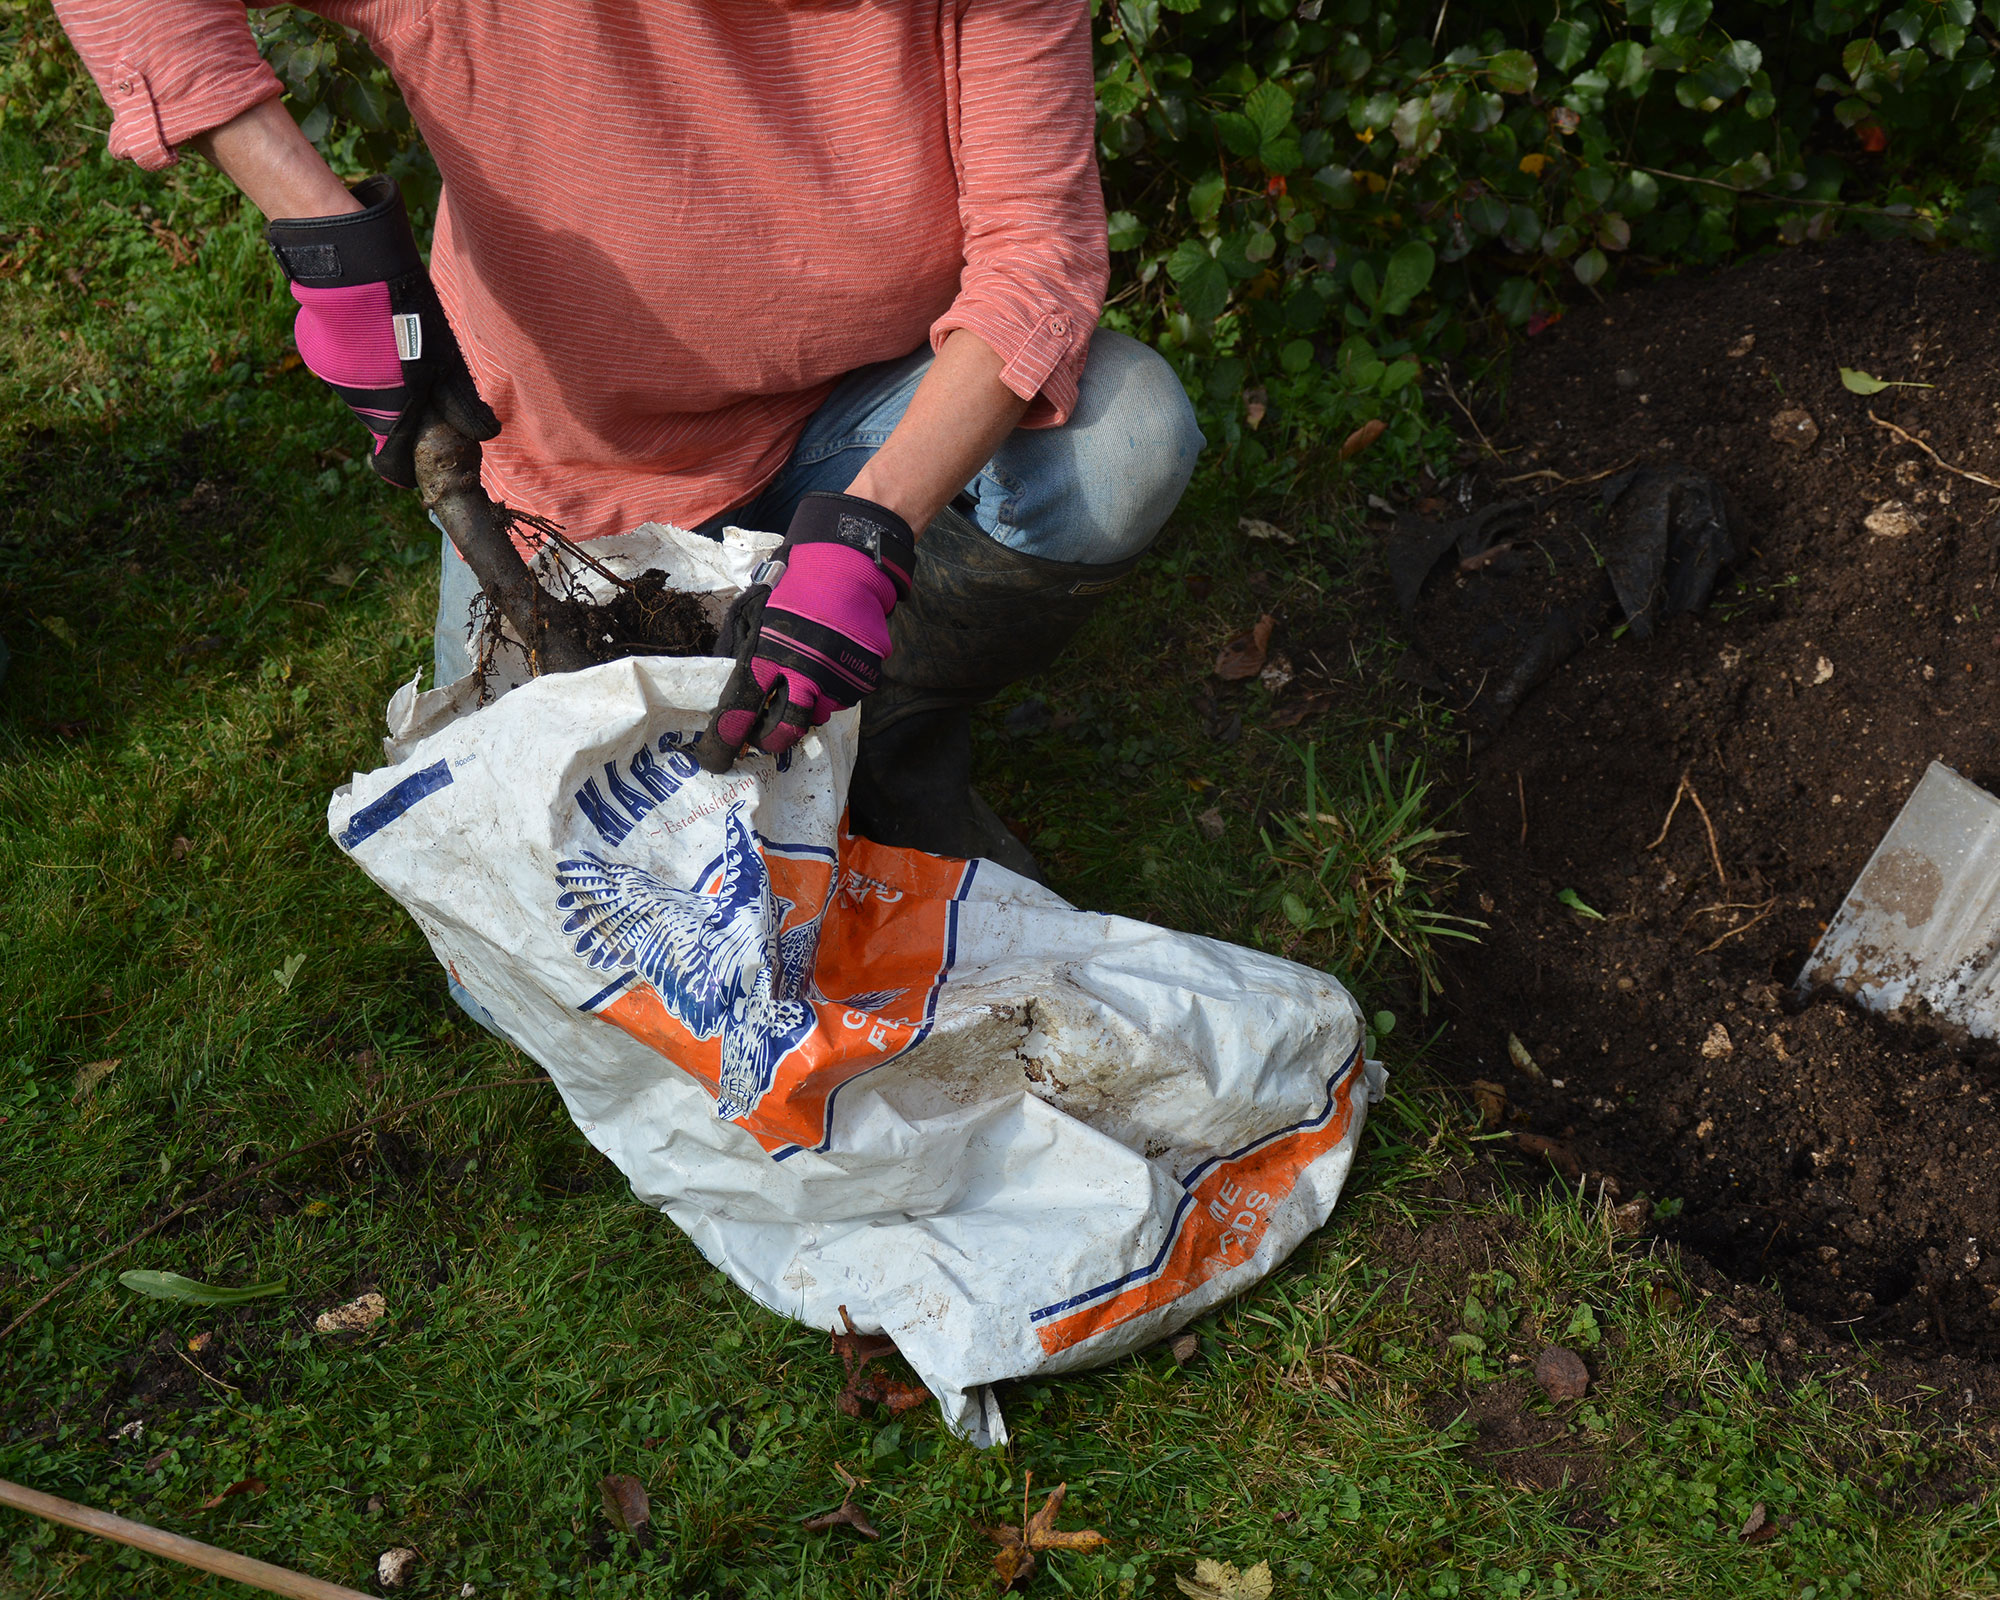
Between now and the end of February, when trees and shrubs start back into growth, is also the best time for moving any that you think might look better elsewhere.
However, it pays to remember that relocation is more likely to be successful if your tree or shrub has been in the ground for less than five years. Any longer and it is less likely to settle well into a new spot and you risk losing it.
Sun and wind can dry out roots during the move, so check the forecast and choose a cool, dull, still day if possible.
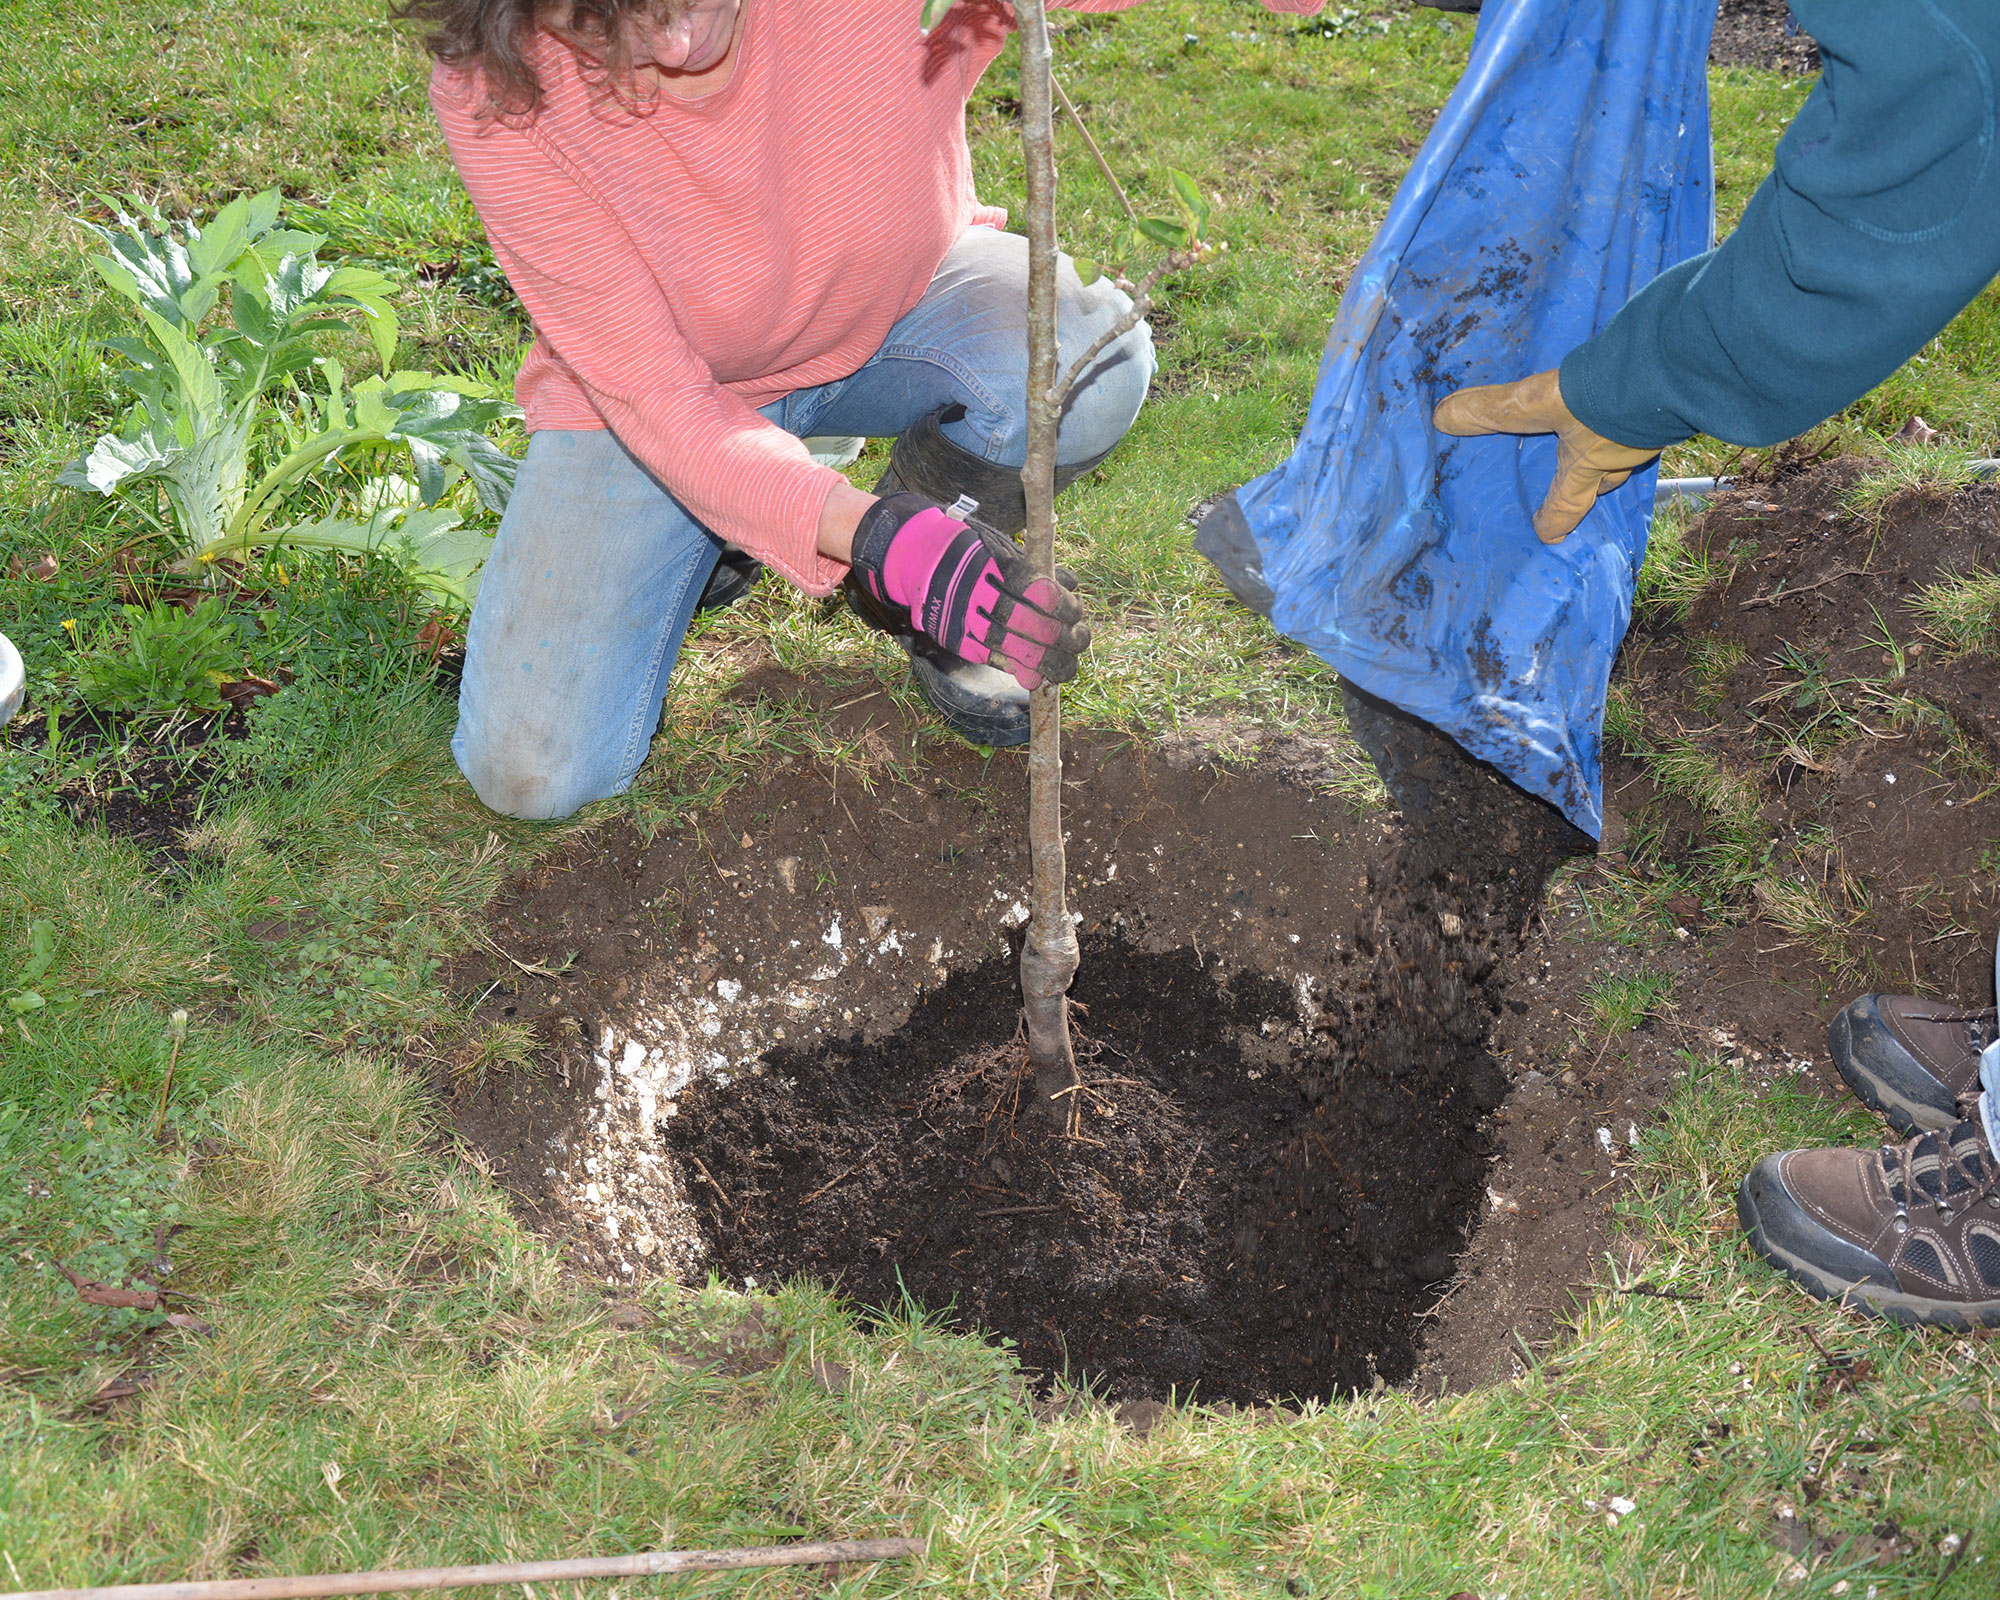
When it comes to moving a tree, speed is key, so prepare the planting hole before moving and once you have lifted the plant, wrap the rootball in plastic (a bin liner is fine) for transportation.
Make sure you return the tree or shrub to the ground at the same depth as it was in the soil before, gaging the depth using a cane laid horizontally across the hole.
Firm the soil down well afterward and check it after heavy frosts, which can crack and lift the ground and destabilize any planting. Water the site generously to settle the soil and drench the roots. Don't let it dry out while your plant gets established.
Top tip: Make life easier for yourself by tying in loose, low-hanging branches before moving, so you are less likely to get one in the eye!
10. Prune your climbing roses
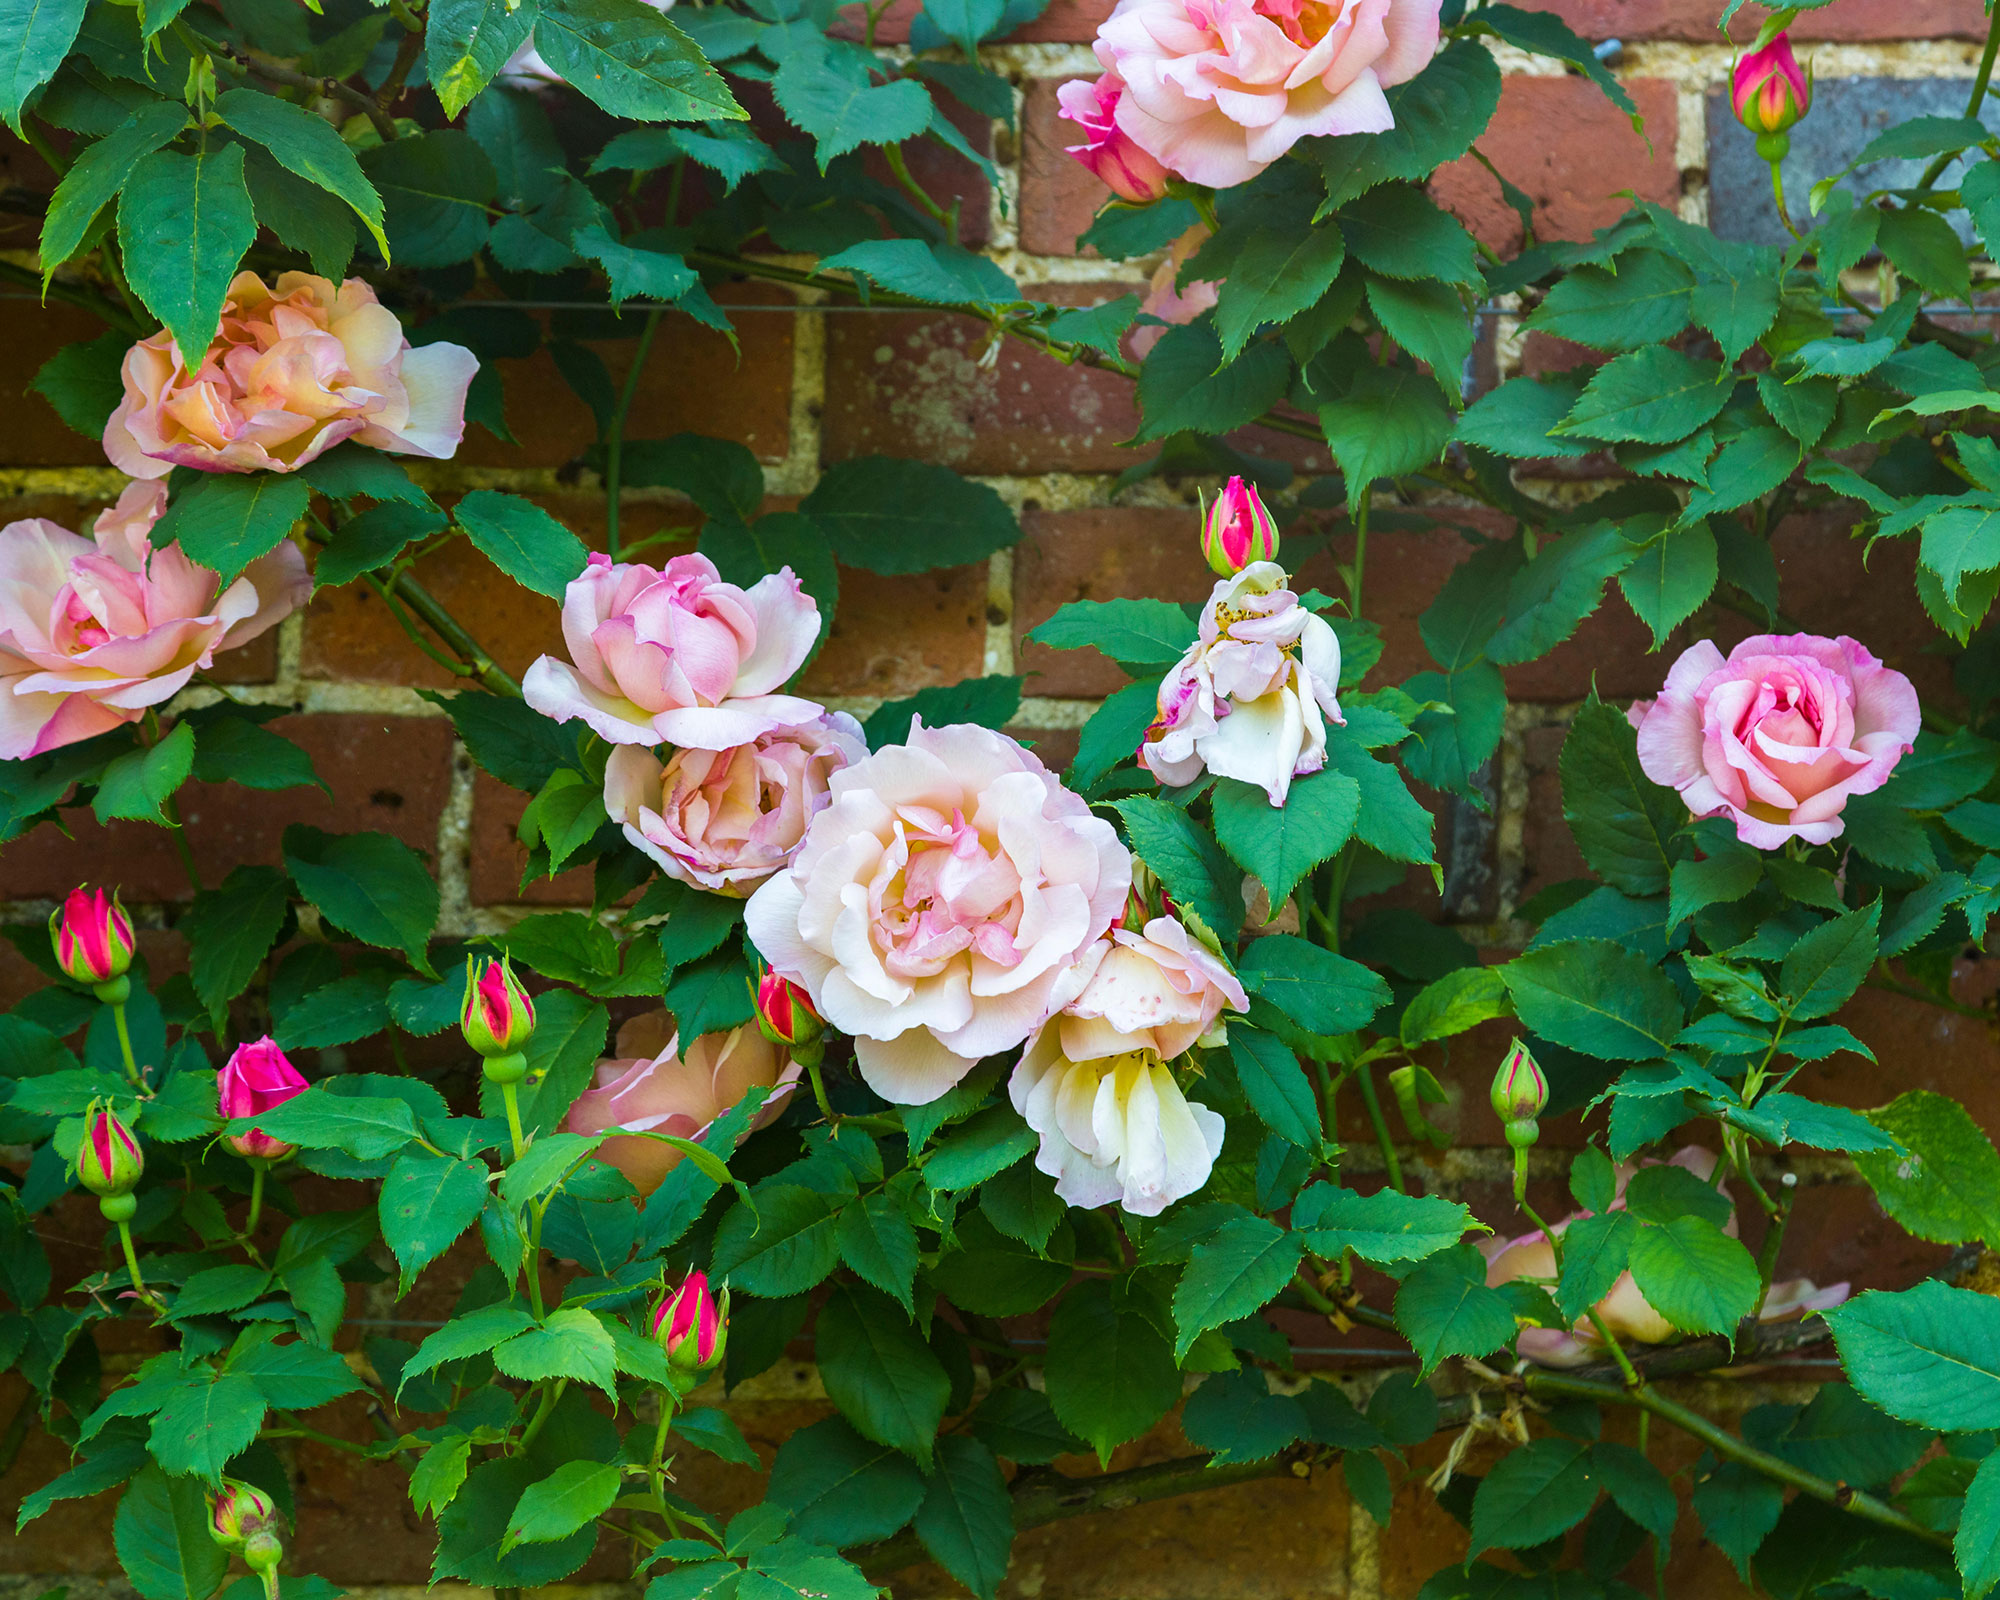
Make learning how to prune roses properly one of your January gardening jobs. All roses flower their best if they are pruned each year – and winter, when they are dormant, is the time to do this for some varieties.
A task at this time of the year is tackling your climbing roses. In contrast, rambling roses are given their trim in the summer once their single flush of flowers has been and gone.
Last year seemed to be a good year for roses and the ‘Gertrude Jekyll’ climbing up the front of our house gave us two wonderful periods of flowering. She now needs a trim, and as she suffered from some late-season black spot I need to clear any fallen infected leaves from the soil around her stems. The leaves contain the disease spores and they will live on in the soil if not collected.
Start by cutting out, right down to the ground, old woody stems. This is especially important for old, neglected climbing roses that have become congested and tangled. Ideally, you want to leave around six robust stems to grow and cover the area where they are growing.
Then remove dead, damaged and decaying wood and cut out any stems that are spindly or crossing, cluttering up the center of the plant.
Top tip: Cut back flowered shoots by two-thirds and tie them to their support in the direction you want them to grow, along with any new shoots developing off the main stems.
11. Divide perennials if the soil is workable
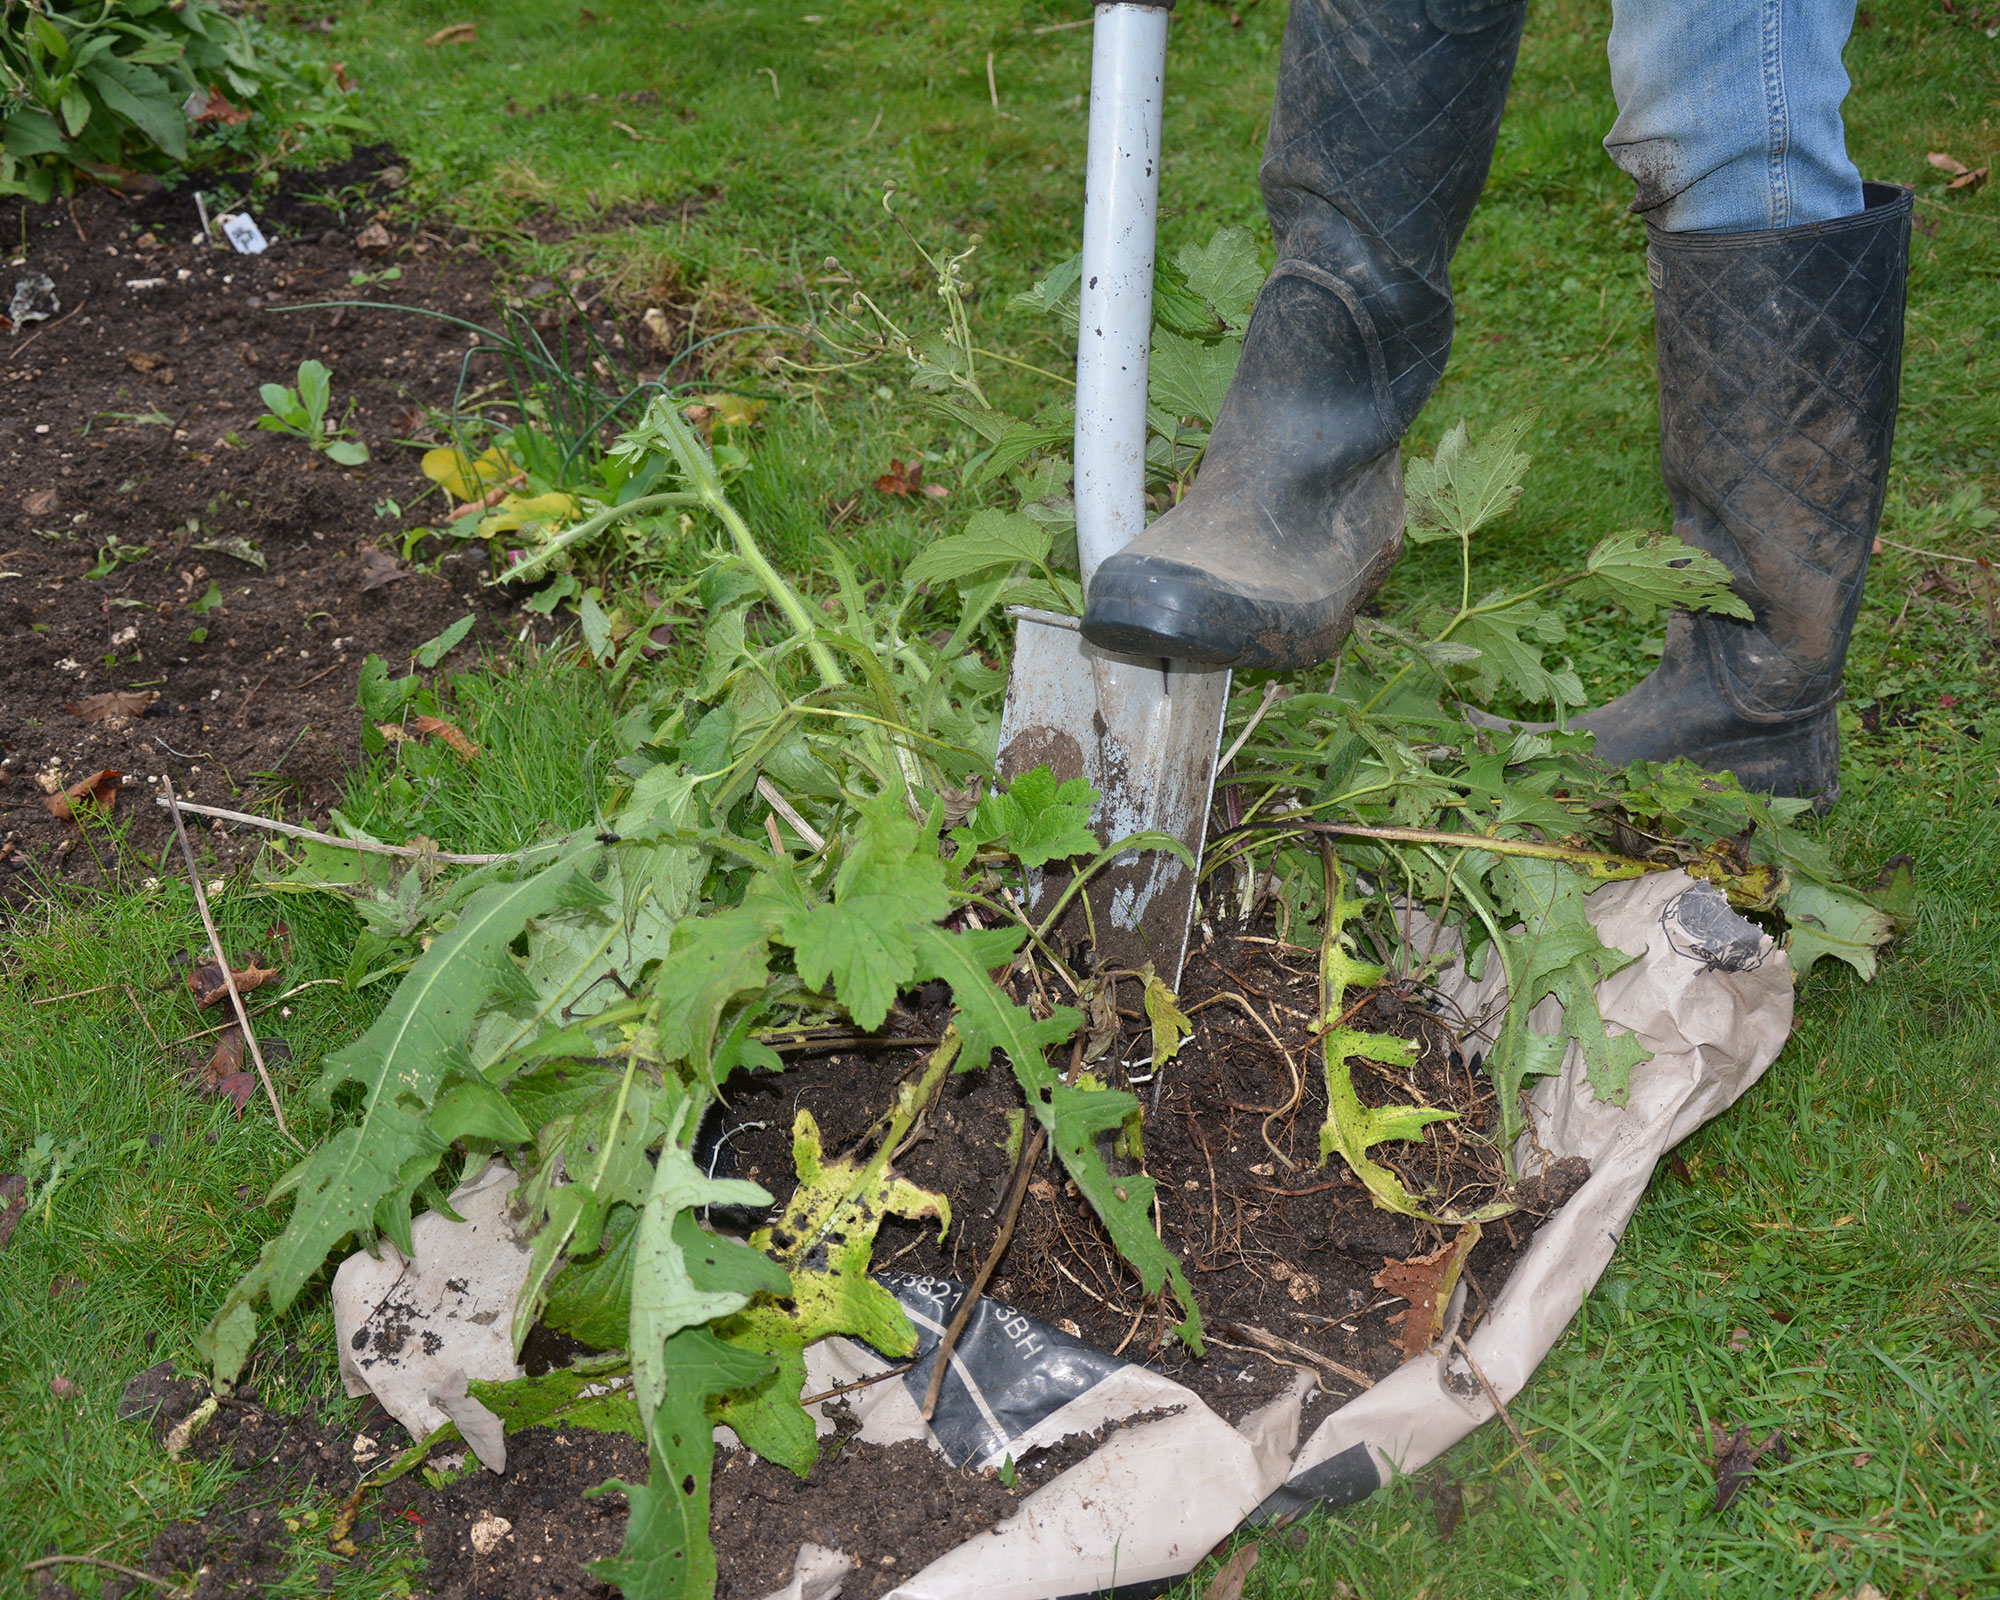
Herbaceous perennials are the stalwarts of the garden, reappearing each year to provide a framework to plan your annuals around.
We usually think of them as summer plants that die back when the colder weather comes, but there are many evergreen perennials that provide interest and structure to the garden through winter as well.
They sometimes run into trouble and out of steam after a few years, sprawling out of their allotted space and, despite their increased size, creating fewer flowers.
So instead of replacing them, save money by dividing your perennials as part of your January gardening jobs. This creates several smaller, new plants and once the divisions quickly get established they should grow well with improved blooming.
12. Cut back late-fruiting raspberry canes
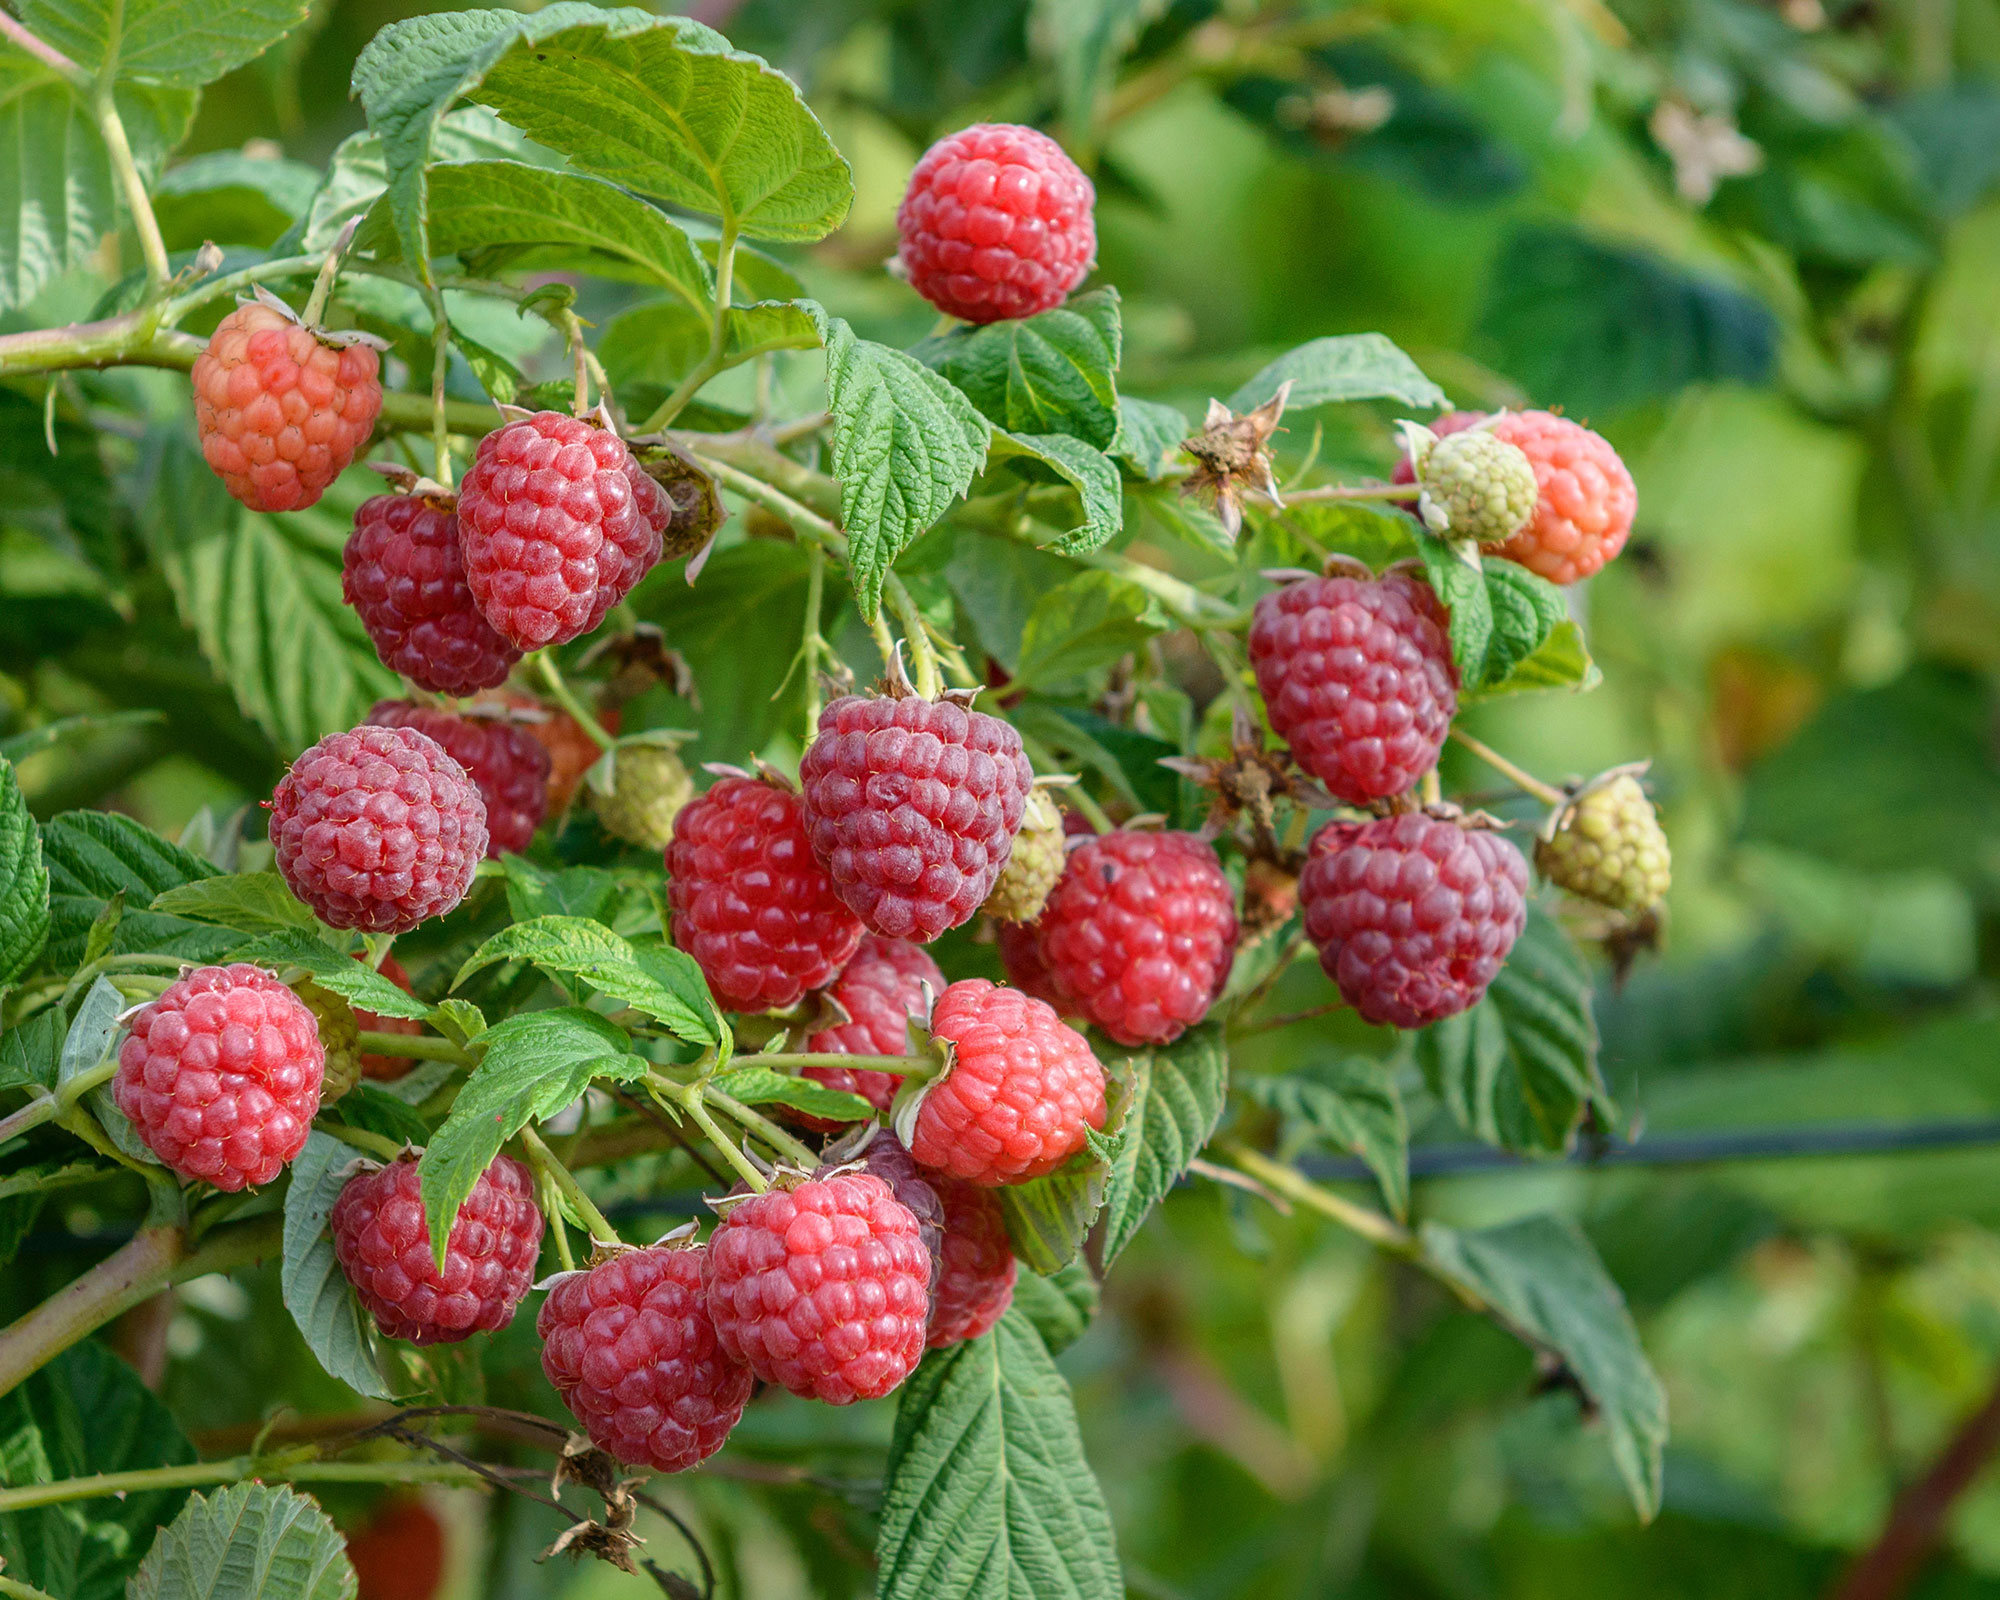
Cut back your fall-fruiting raspberries right to the ground, then cut up and compost the removed stems.
After cutting back, mulch your canes with a generous layer of well-rotted manure or compost, then feed with a general-purpose fertilizer in early spring (March is ideal) and look forward to a glut of juicy, tasty red berries.
Blackcurrants also need a prune now as these zingy berries fruit best on new wood, so remove older branches to make room for new growth.
For the first four years of growth, concentrate on removing weak and spindly stems, retaining a structure of six to 10 robust branches. In year four, cut out a third of older wood at the base as well as weak and low-growing stems.
Top tip: When it comes to pruning raspberries, if you're not sure whether your raspberry canes are summer- or fall-fruiting, prune some back halfway and you may get earlier or later cropping than expected to extend the season.
13. Keep your greenhouse snug and healthy
Don’t let your greenhouse be ‘out of sight, out of mind’ this winter. They are likely to be full of tender plants and cuttings and these need checking over to keep them healthy. Furthermore, a greenhouse can be a cozy place to work when the weather is less than welcoming outside.
- Check tender plants and cuttings and remove dead and diseased leaves. Pinch out flower buds as they use up the plants’ vital energy.
- Clean the glass to let in maximum light and be constantly vigilant for pests as greenhouses offer shelter and food and there are fewer predators than out in the garden.
- Open doors and windows on mild days to let air circulate, helping prevent fungal diseases on leaves and algae on damp compost. Close them again in the evening when temperatures drop.
- If you are winterizing your container-grown citrus trees in a greenhouse, they will need watering when their compost feels dry and feeding as they may well be fruiting and flowering. You'll find more on the best fruit trees to grow in pots in our guide.
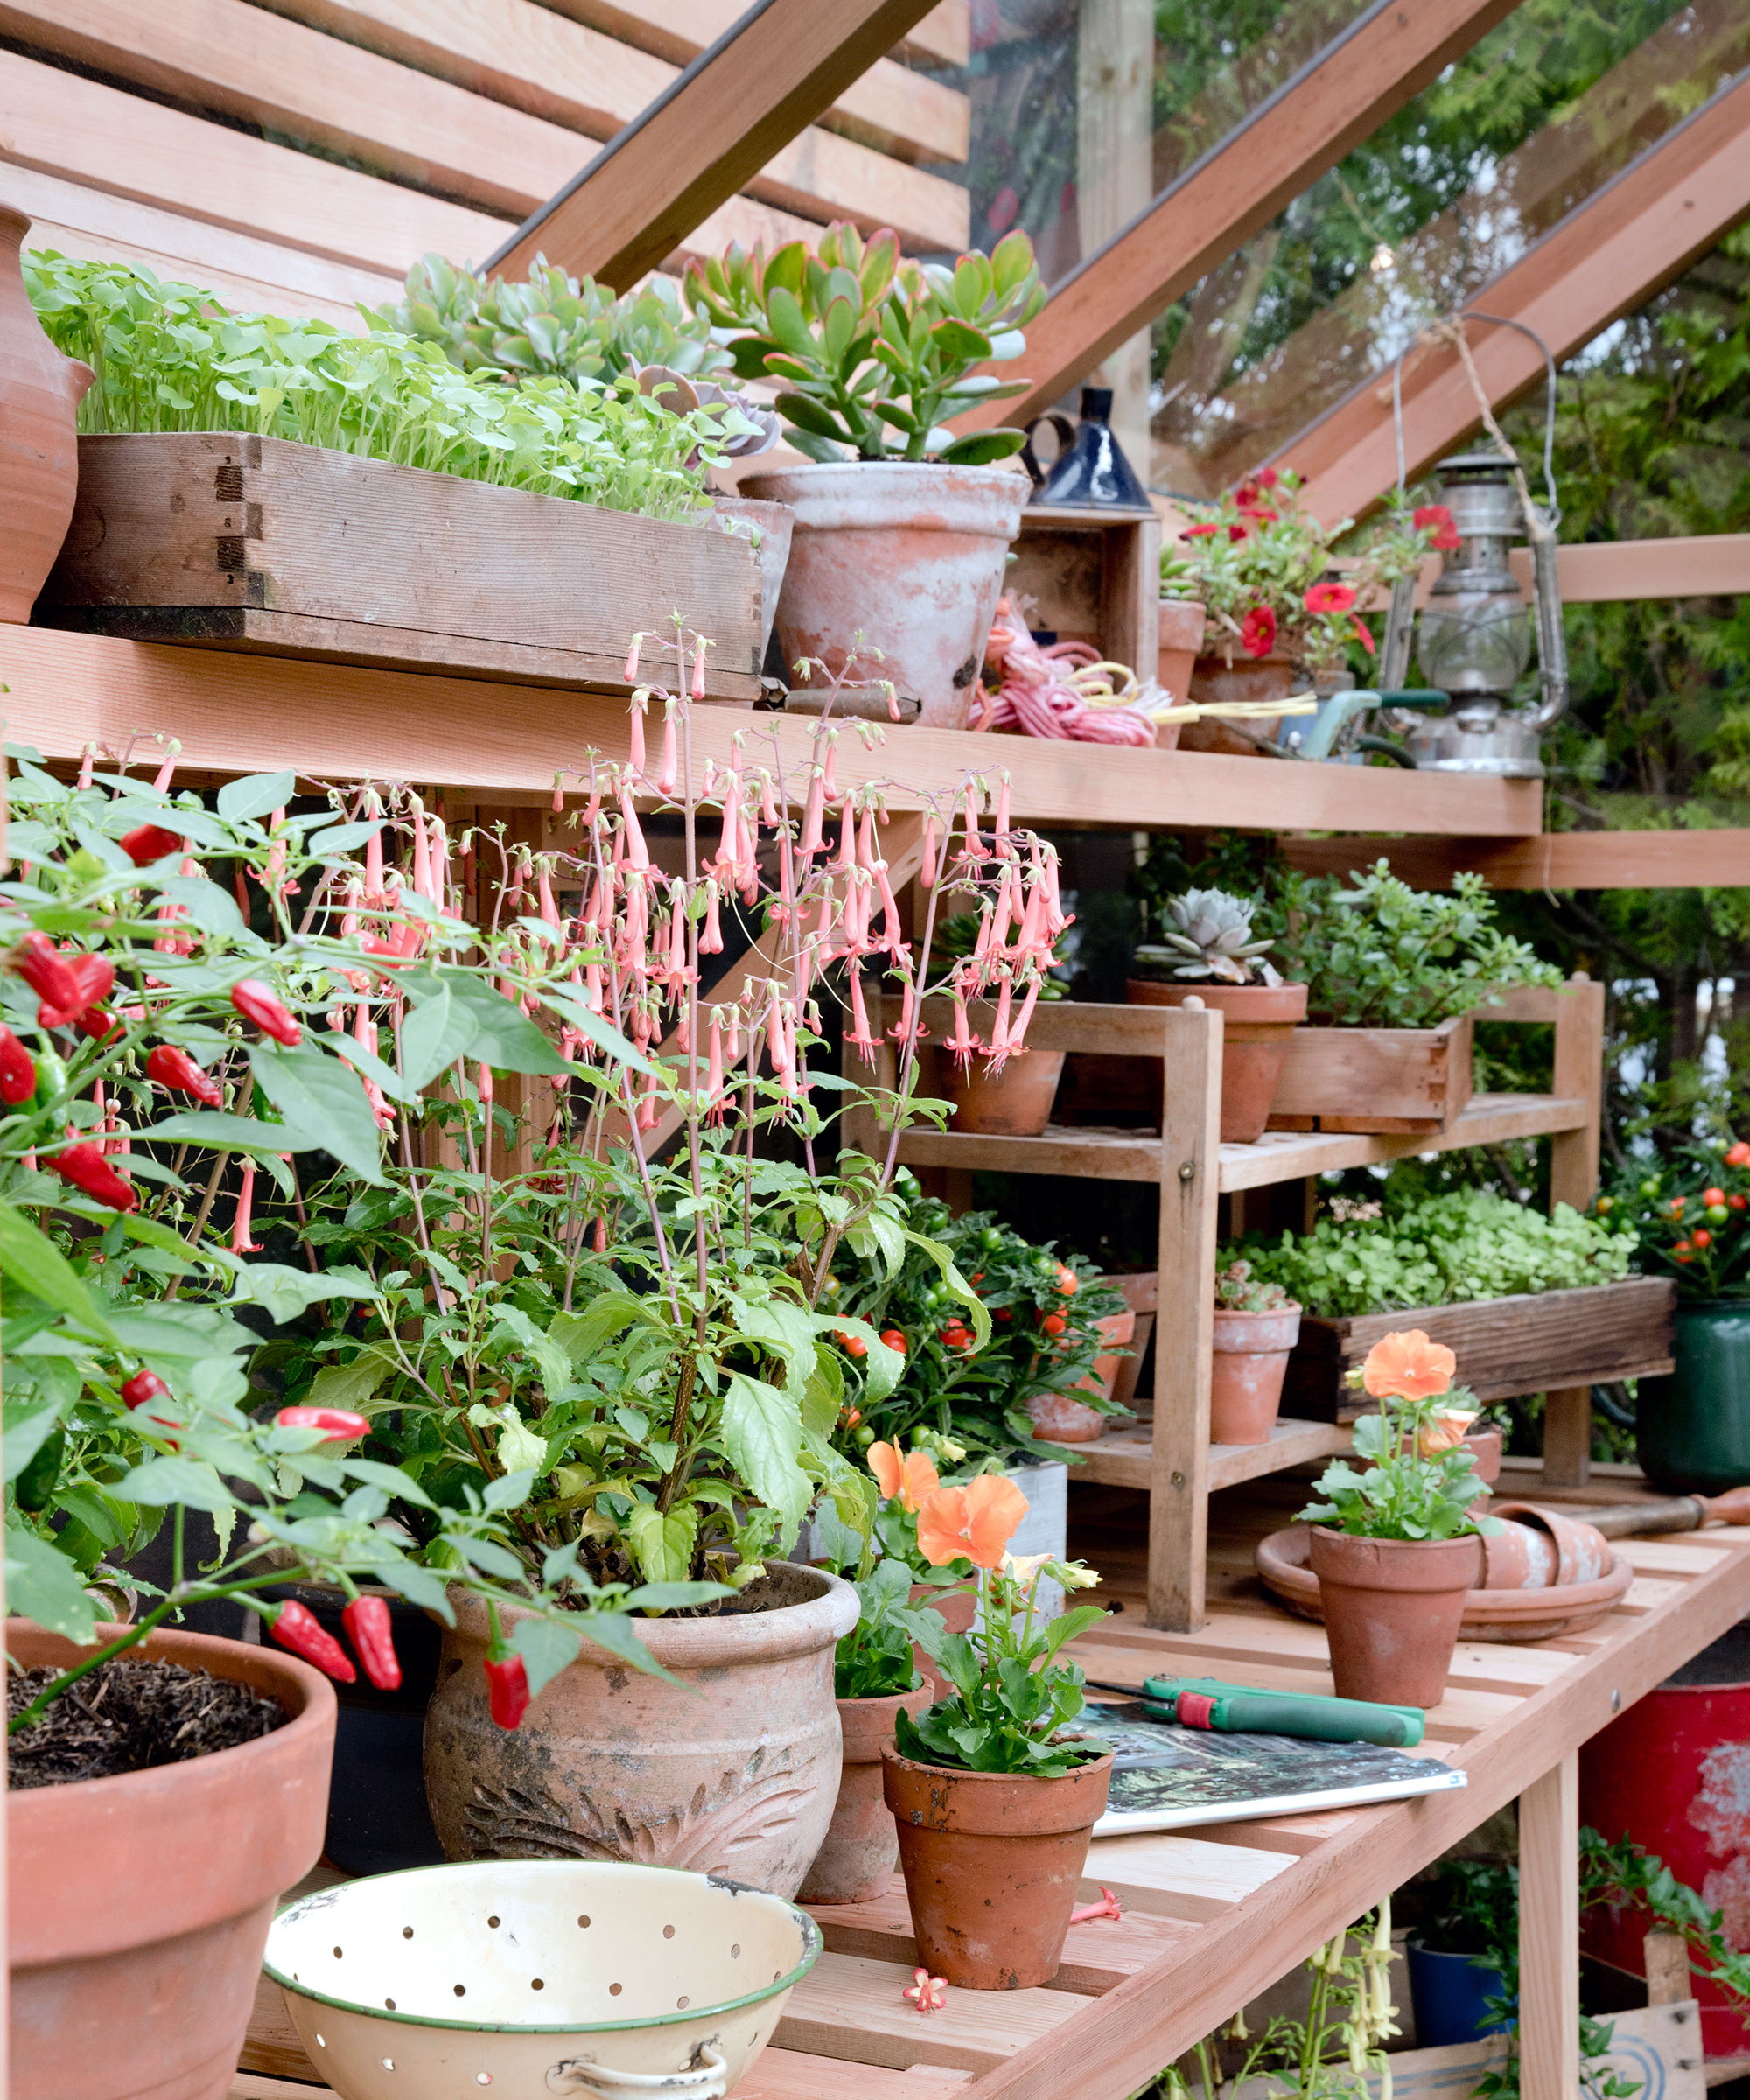
Investing in one of the best mini greenhouses is an excellent solution when space is tight as hardy plants and seedlings can be overwintered inside. They are lightweight, so either tie them to a wall or fence in a sheltered spot or add some heft with blocks of wood.
During frosty periods, zip the front opening shut and cover mini greenhouses with a blanket for extra insulation. Unzip when temperatures rise.
Top tip: Cold frames are also useful for storing hardy plants in pots. Stand them on gravel or crocks to help drainage and deter slugs and open the lid on warm days.
Ruth is the gardening editor of Amateur Gardening magazine and spends her working days carrying out, writing about and photographing the tasks the readers should be carrying out each week, as well as testing many of the new products that arrive on the gardening market. She is horticulturally trained, with a qualification from the Royal Horticultural Society.
