How to take lavender cuttings: multiply your plants for free
You’ll soon learn how to take lavender cuttings with our simple step-by-step guide
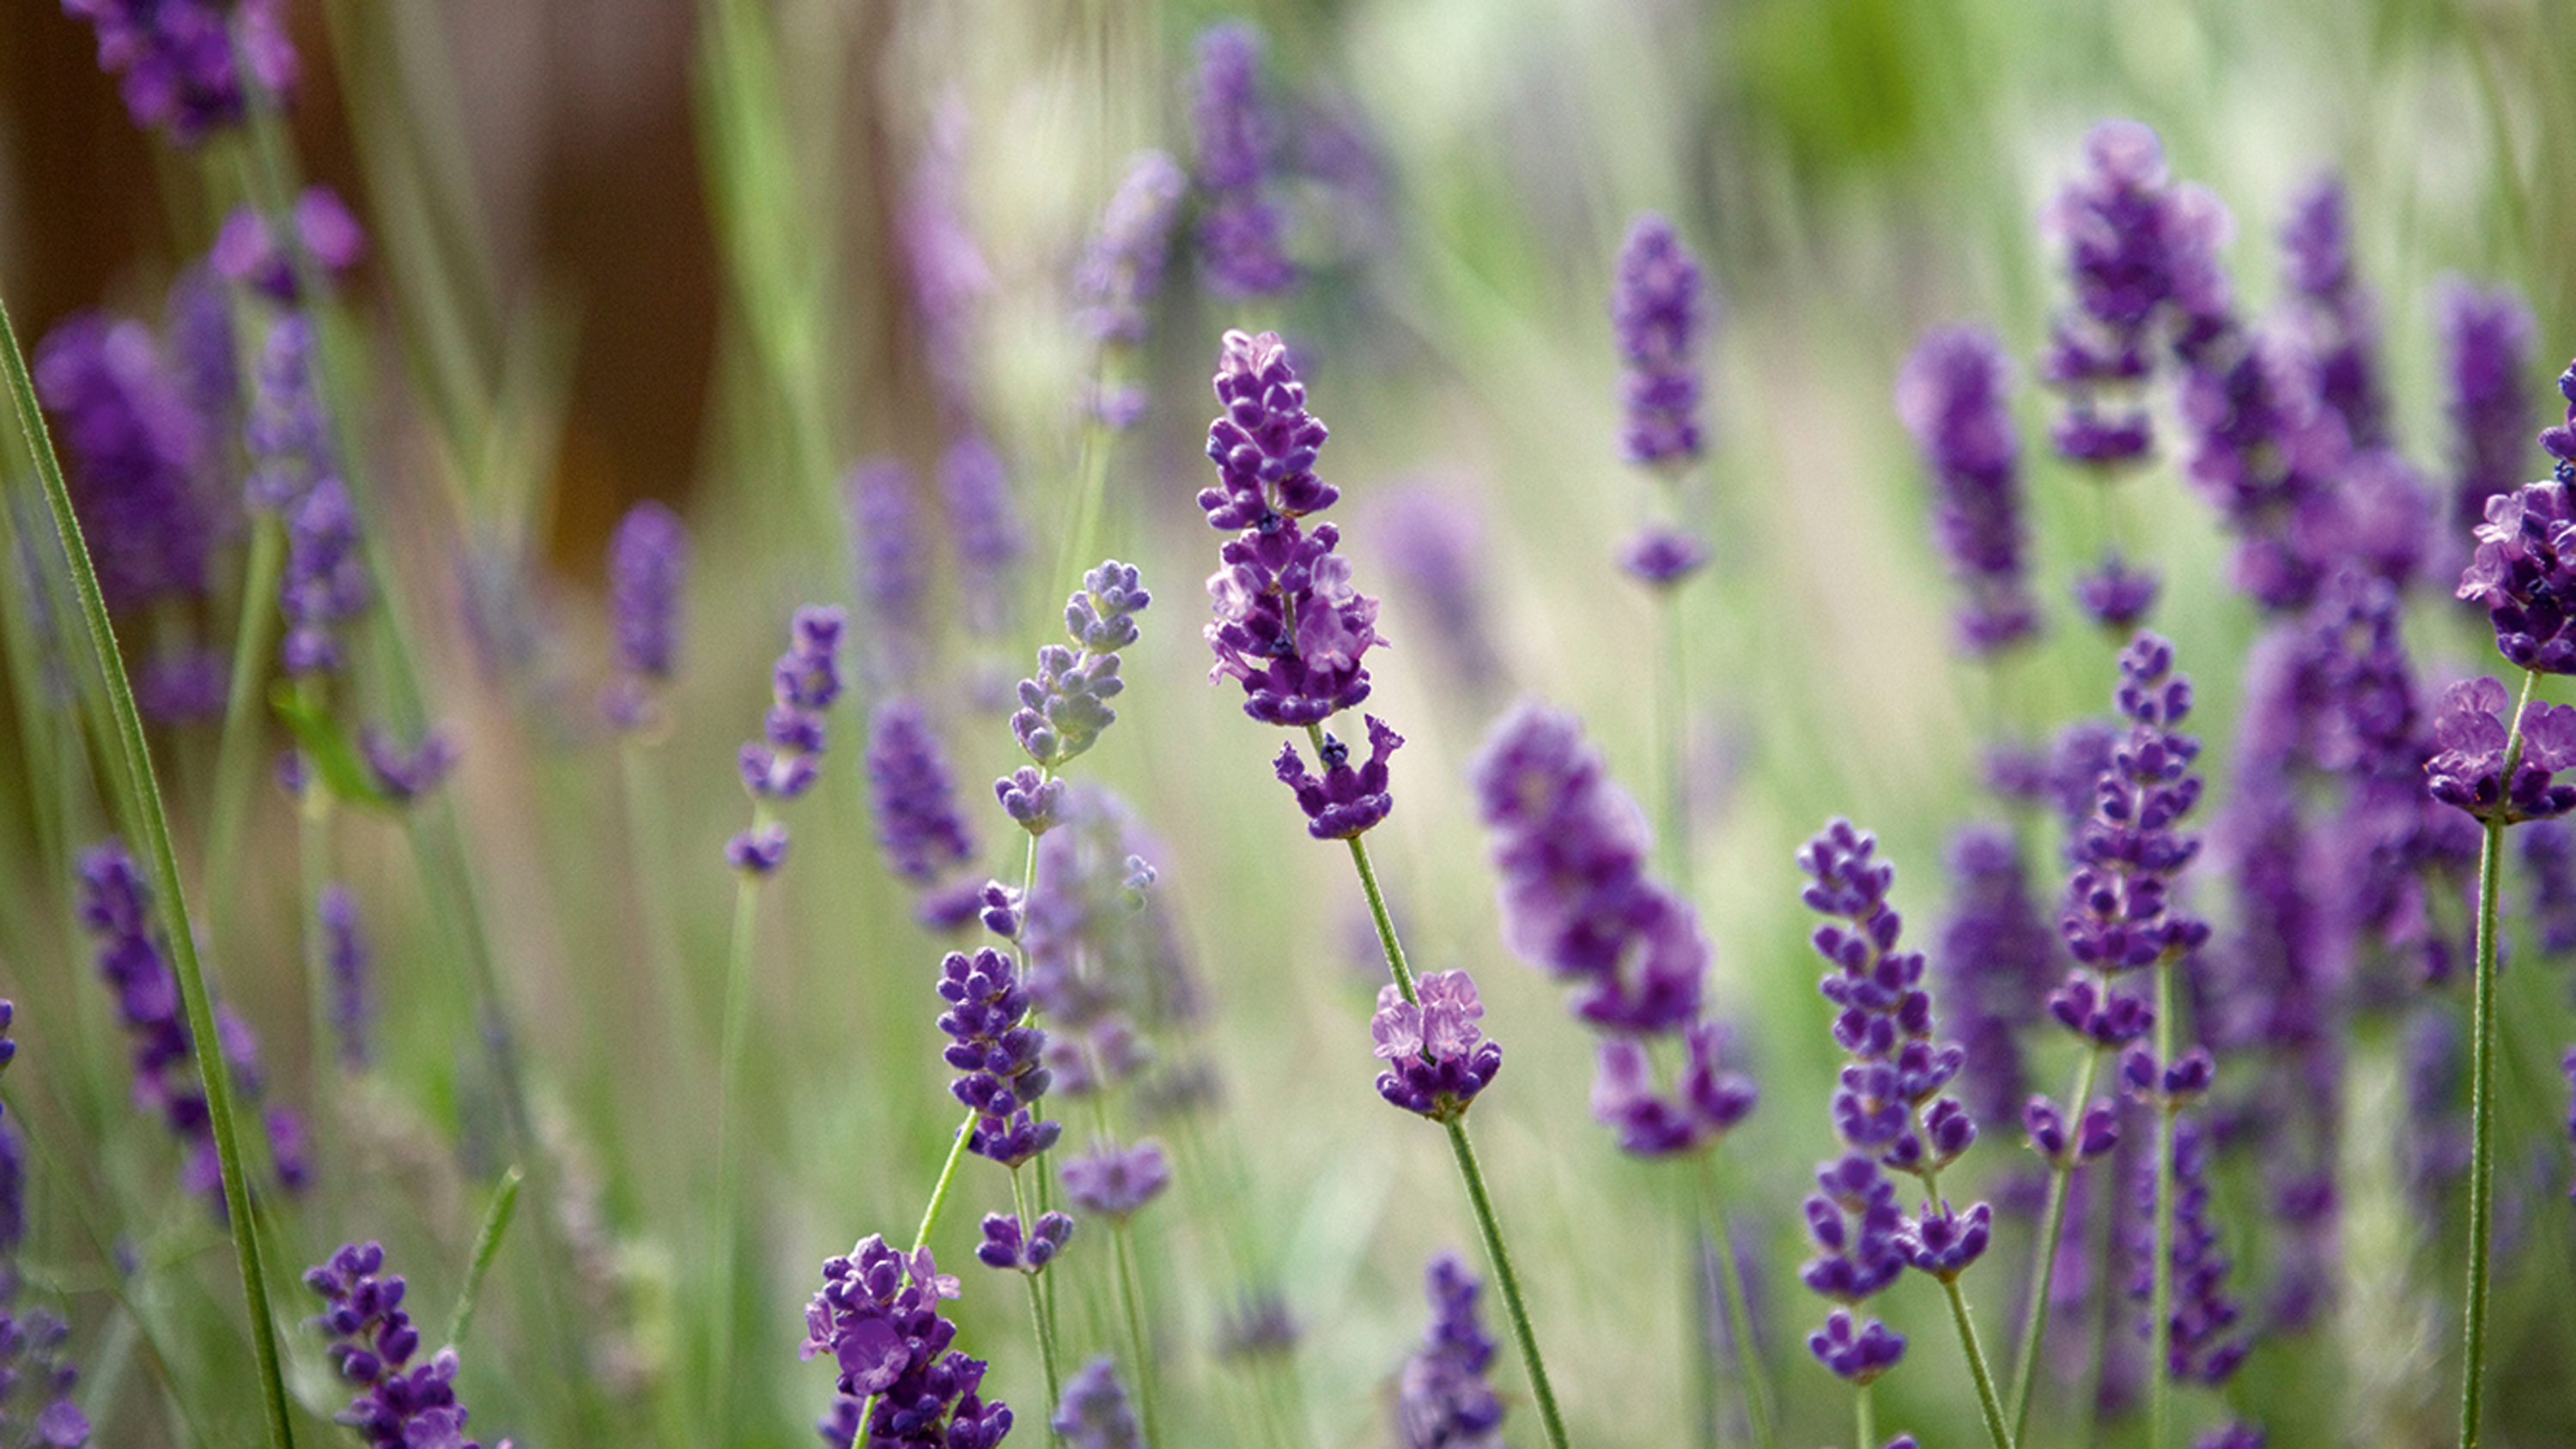

If you want to know how to take lavender cuttings you're in the right place. We've looked into it and it's amazing how easy it is to do. Lavender is the signature plant in both cottage style and Mediterranean themed gardens but we’ll take it anyway it comes as you can never have enough of these fragrant flowers.
If you want to get the signature look of drifts of dreamy lavender you’ll need lots of plants to increase your stock, but learning how to take cuttings from plants is really easy and you don’t need anything special to do it.
Read on to find out how to do it in a few easy steps.
Top tips for taking lavender cuttings
You can take hardwood cuttings (thicker and firmer, more reliable, you can do it in spring or autumn) or softwood cuttings (pliable new growth, plentiful in spring, roots quickly) depending on the time of year and your preference.
Always choose straight and vigorous looking stems from healthy plants to get the best results.
If you have a greenhouse or cold frame it’s the perfect growing environment for your lavender cuttings once you've potted them up. If not, a warm windowsill will do.
Step-by-step guide to taking lavender cuttings
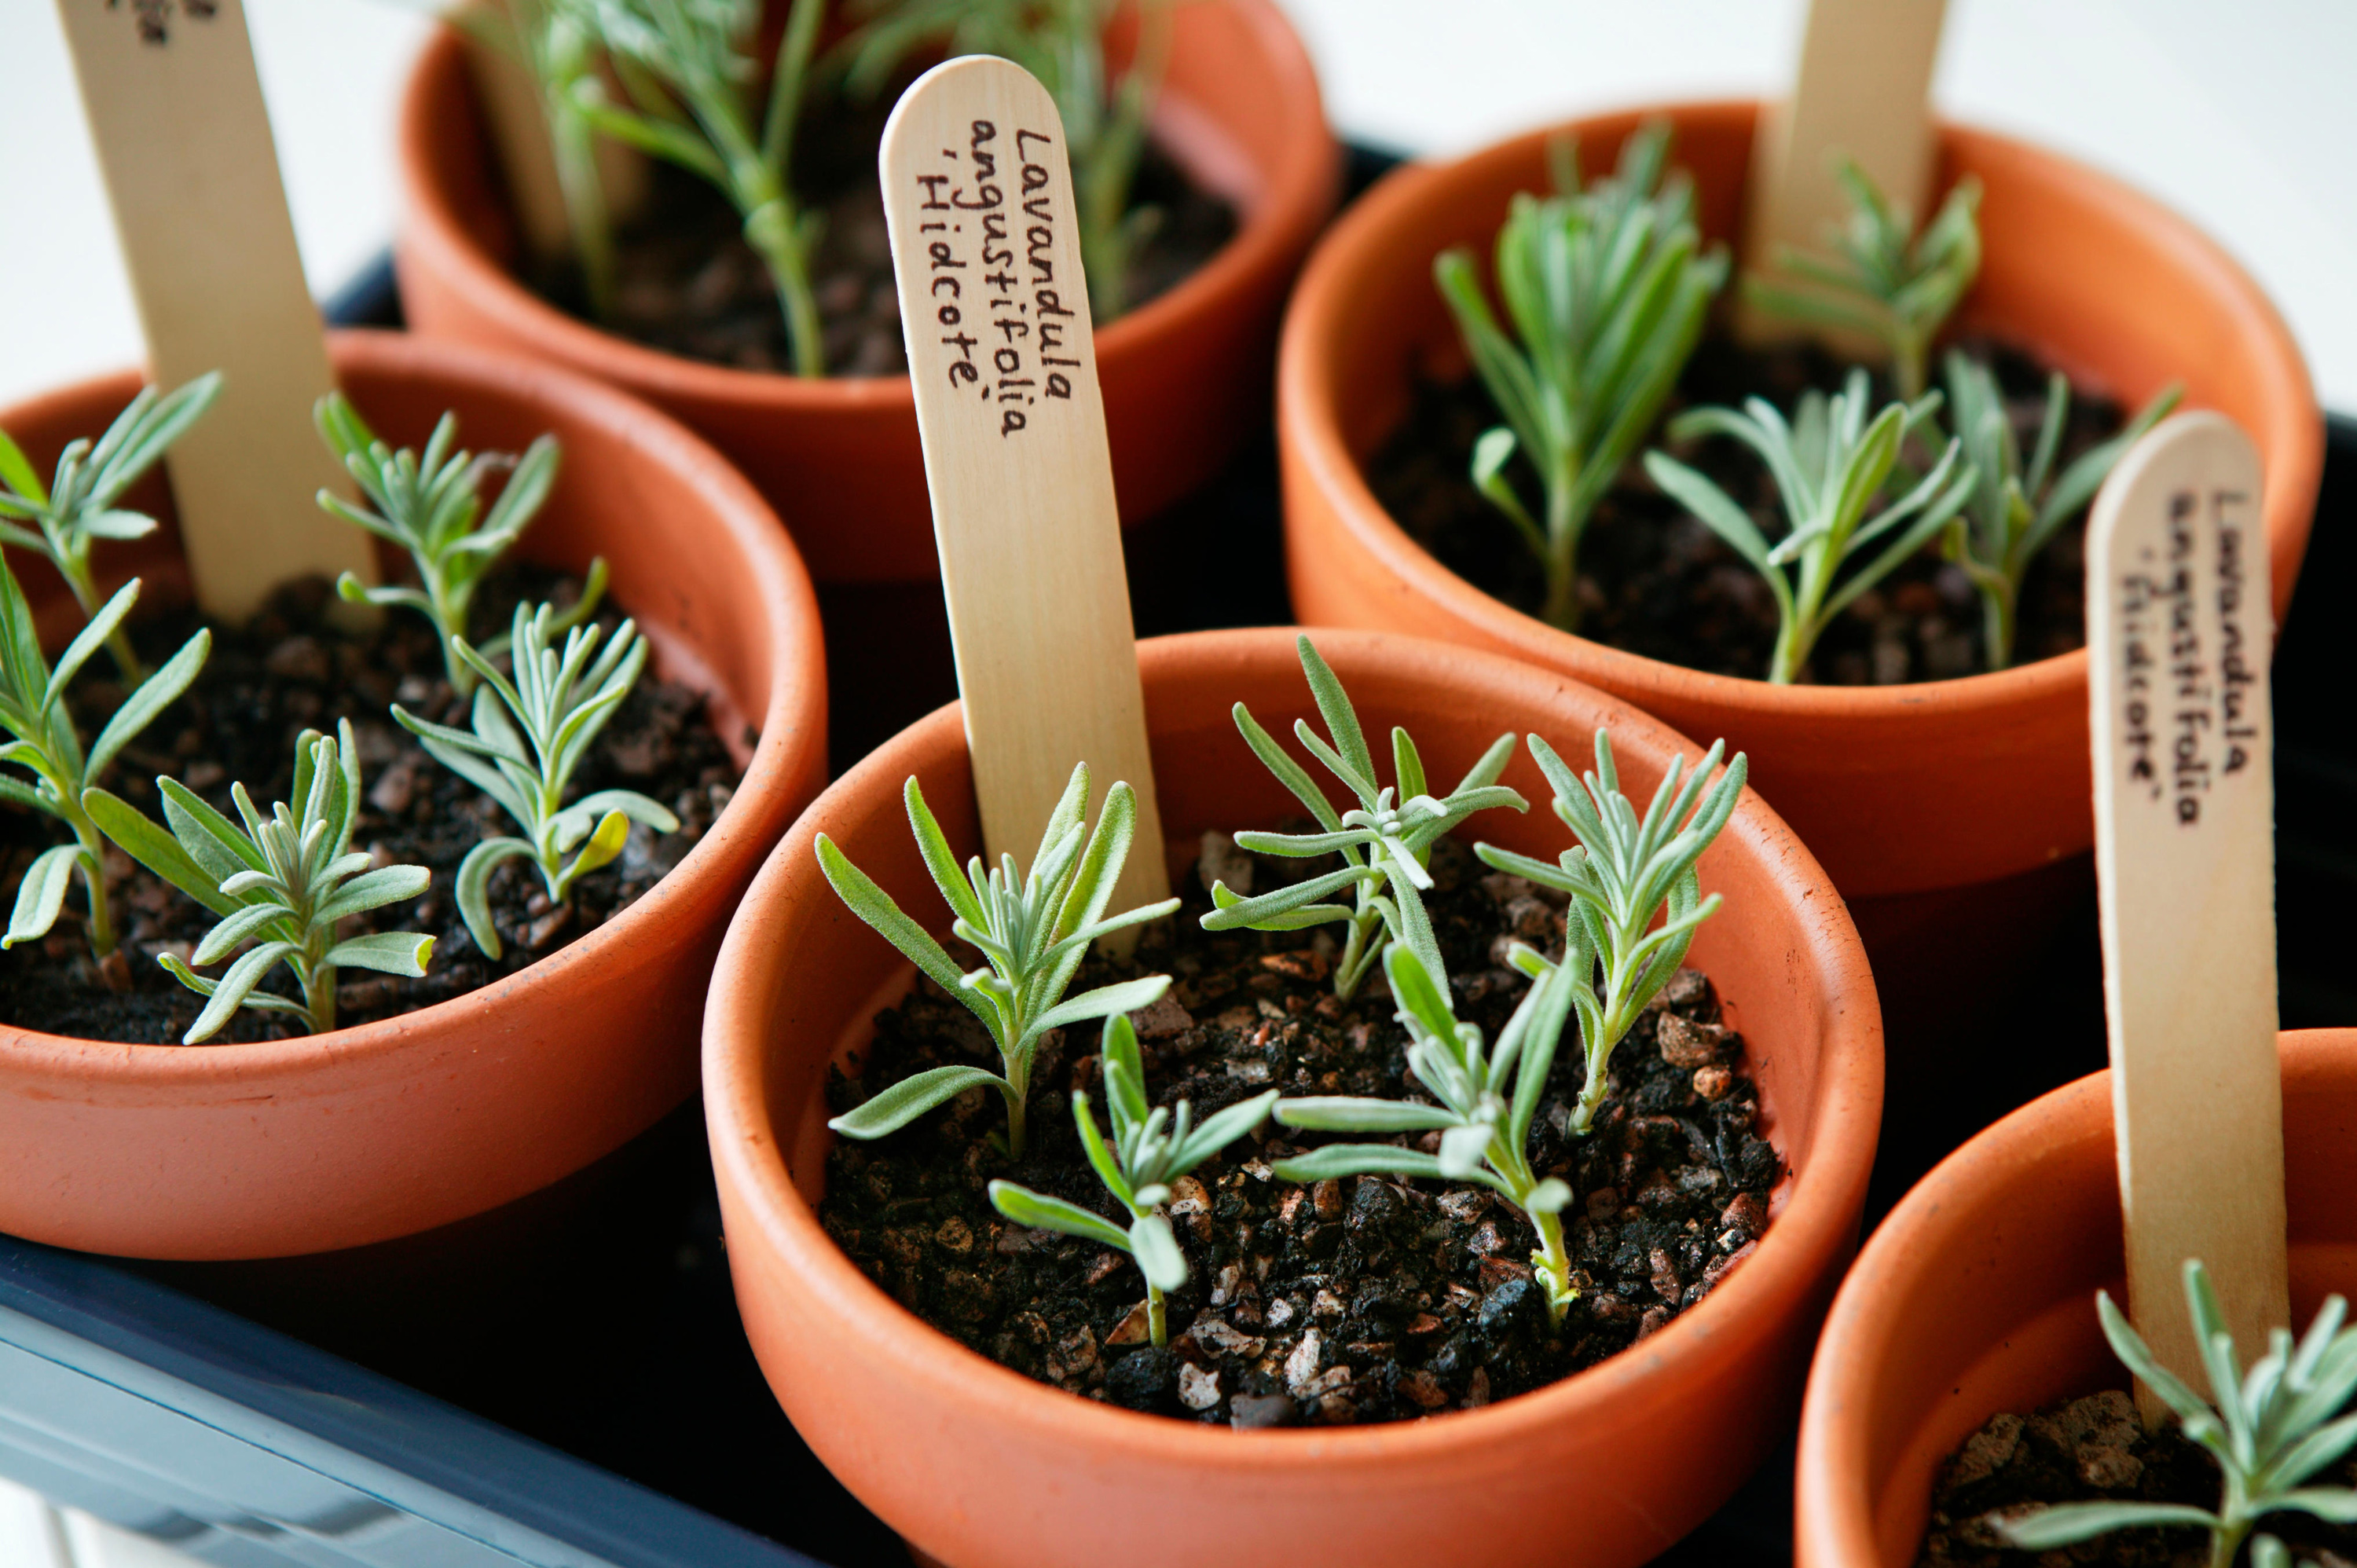
Taking cuttings is a great way to get extra plants for free
1. Fill cell trays or 9cm pots with seed compost, and mix in a handful of grit to ensure good drainage.
2. Choose side shoots from this year’s growth to take as cuttings. Pull these away from the main stem of the lavender plant leaving a thin strip of bark still attached. This is known as the heel and is where the new plant will grow from.
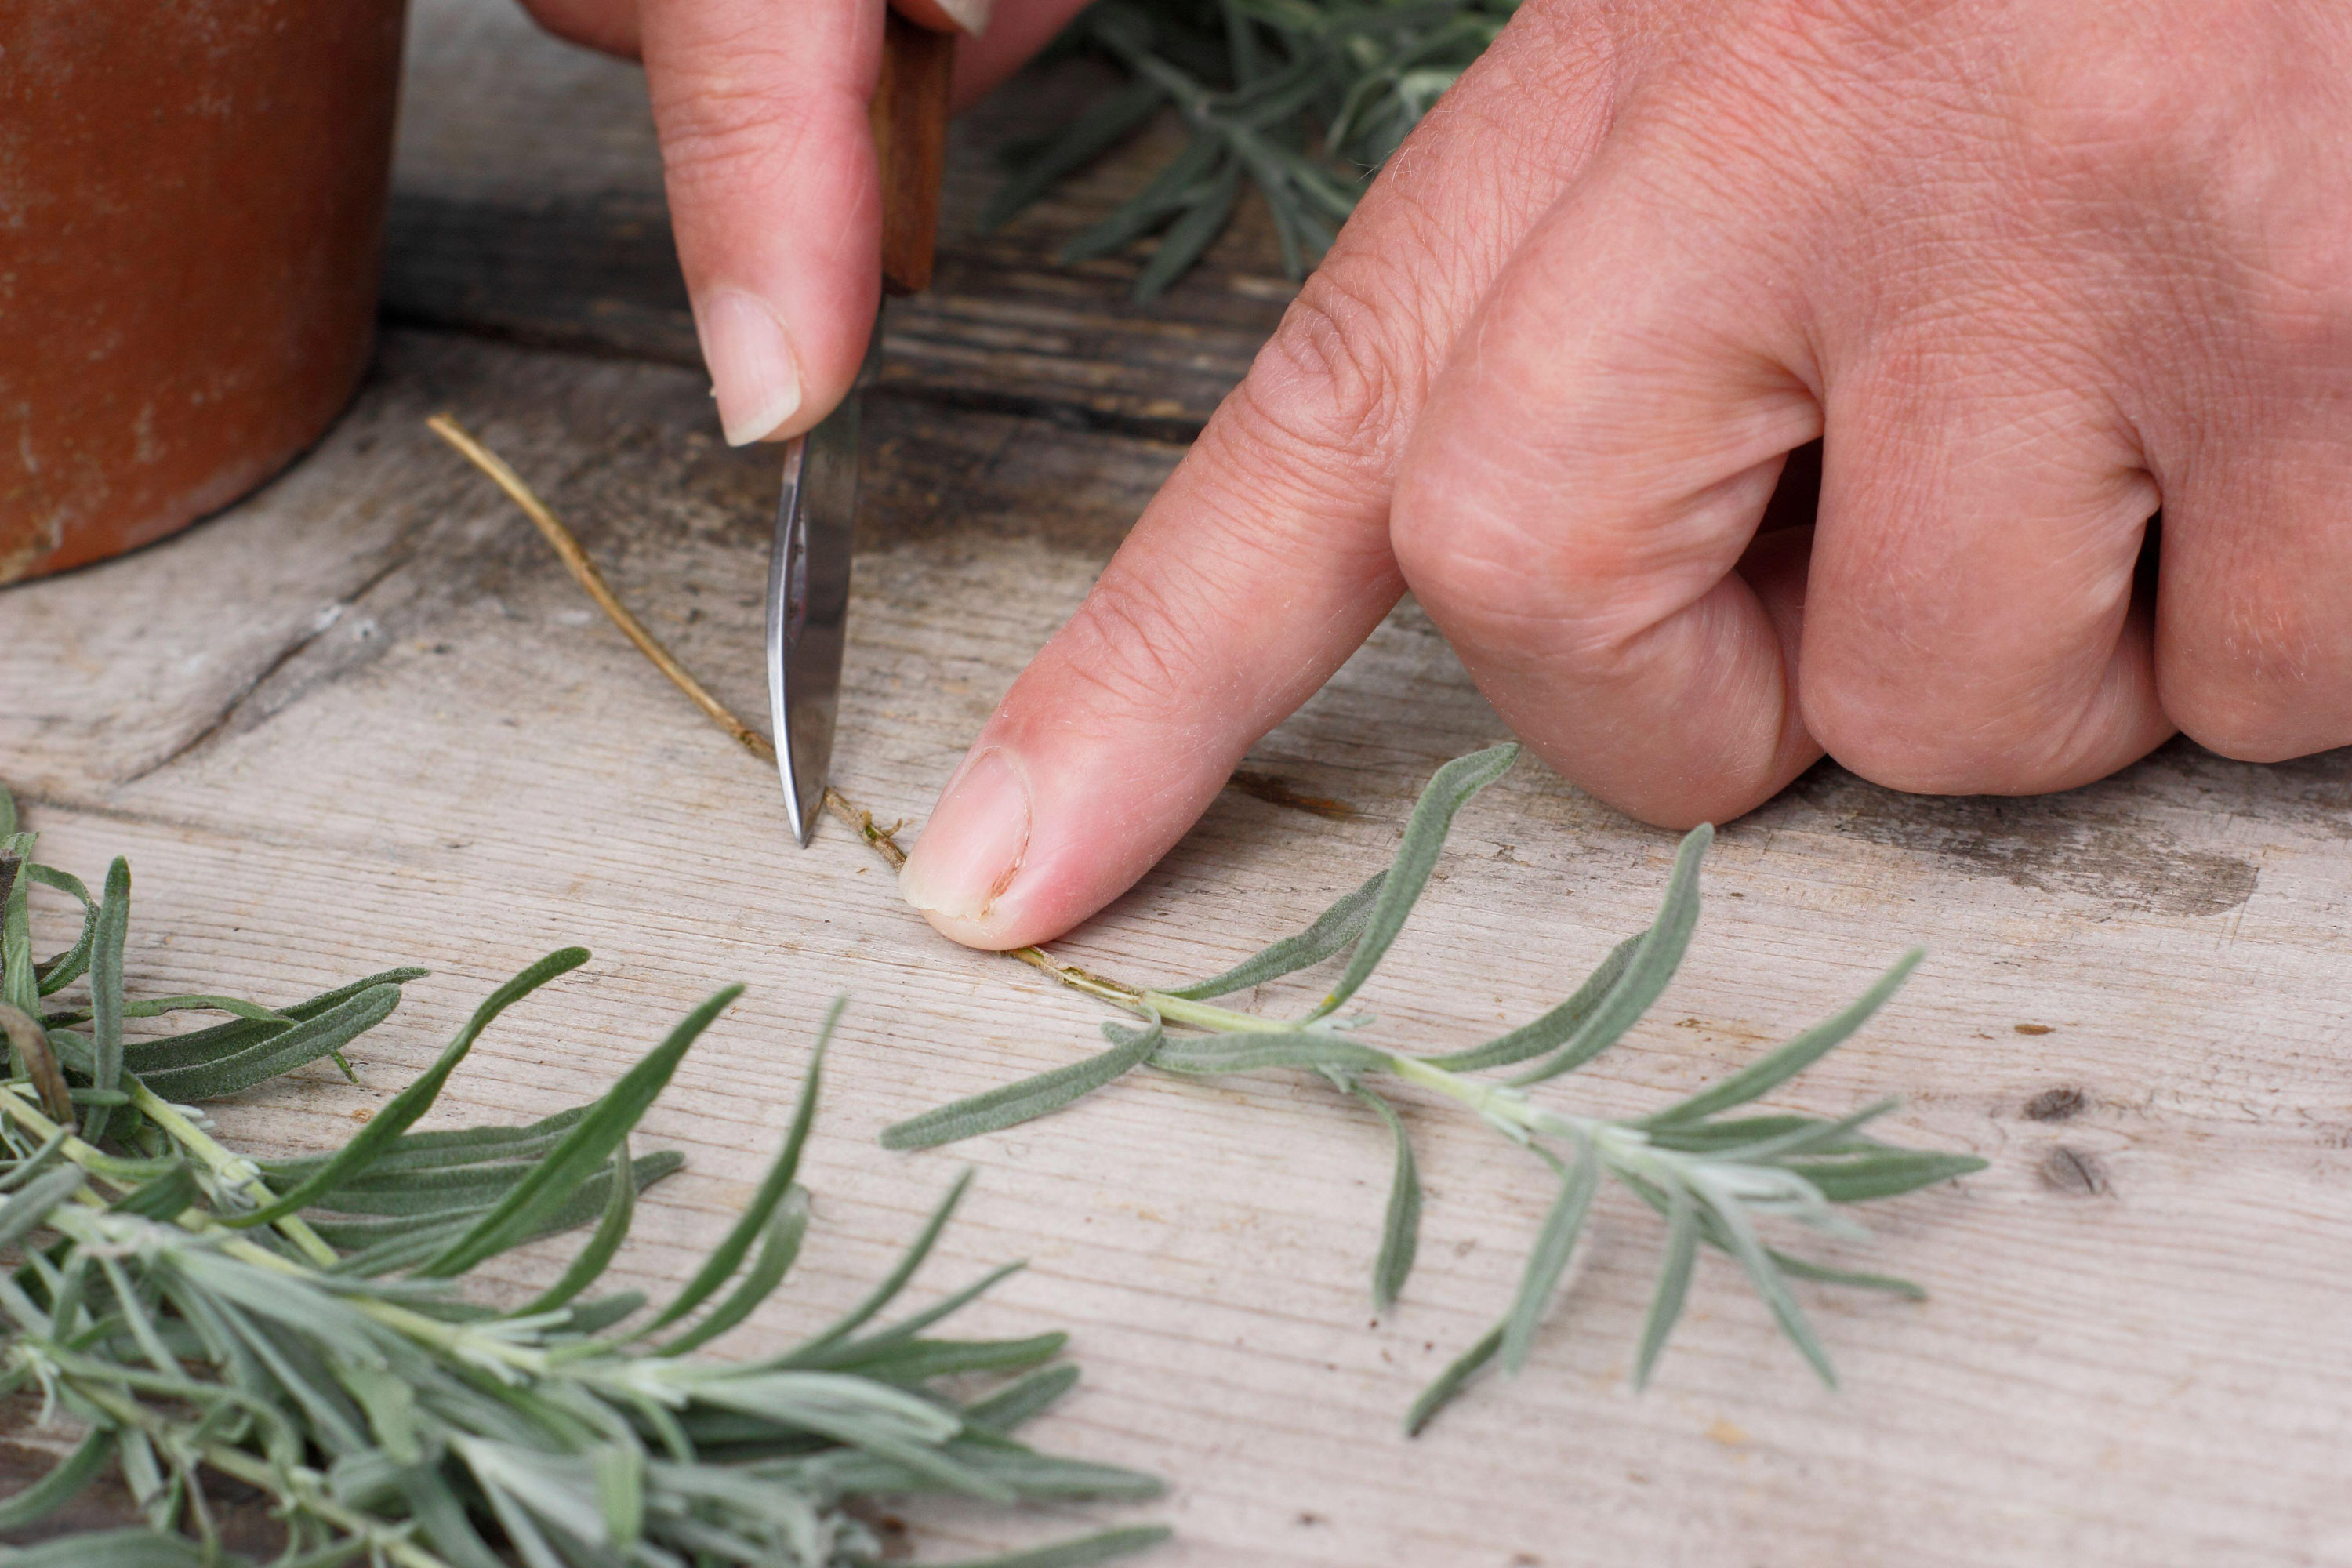
You'll need a sharp knife for taking cuttings
3. Using a sharp knife trim each cutting just below a node (where the leaves appear) and strip off the bottom 3cm of leaves leaving a clean section of stem to go in to the compost.
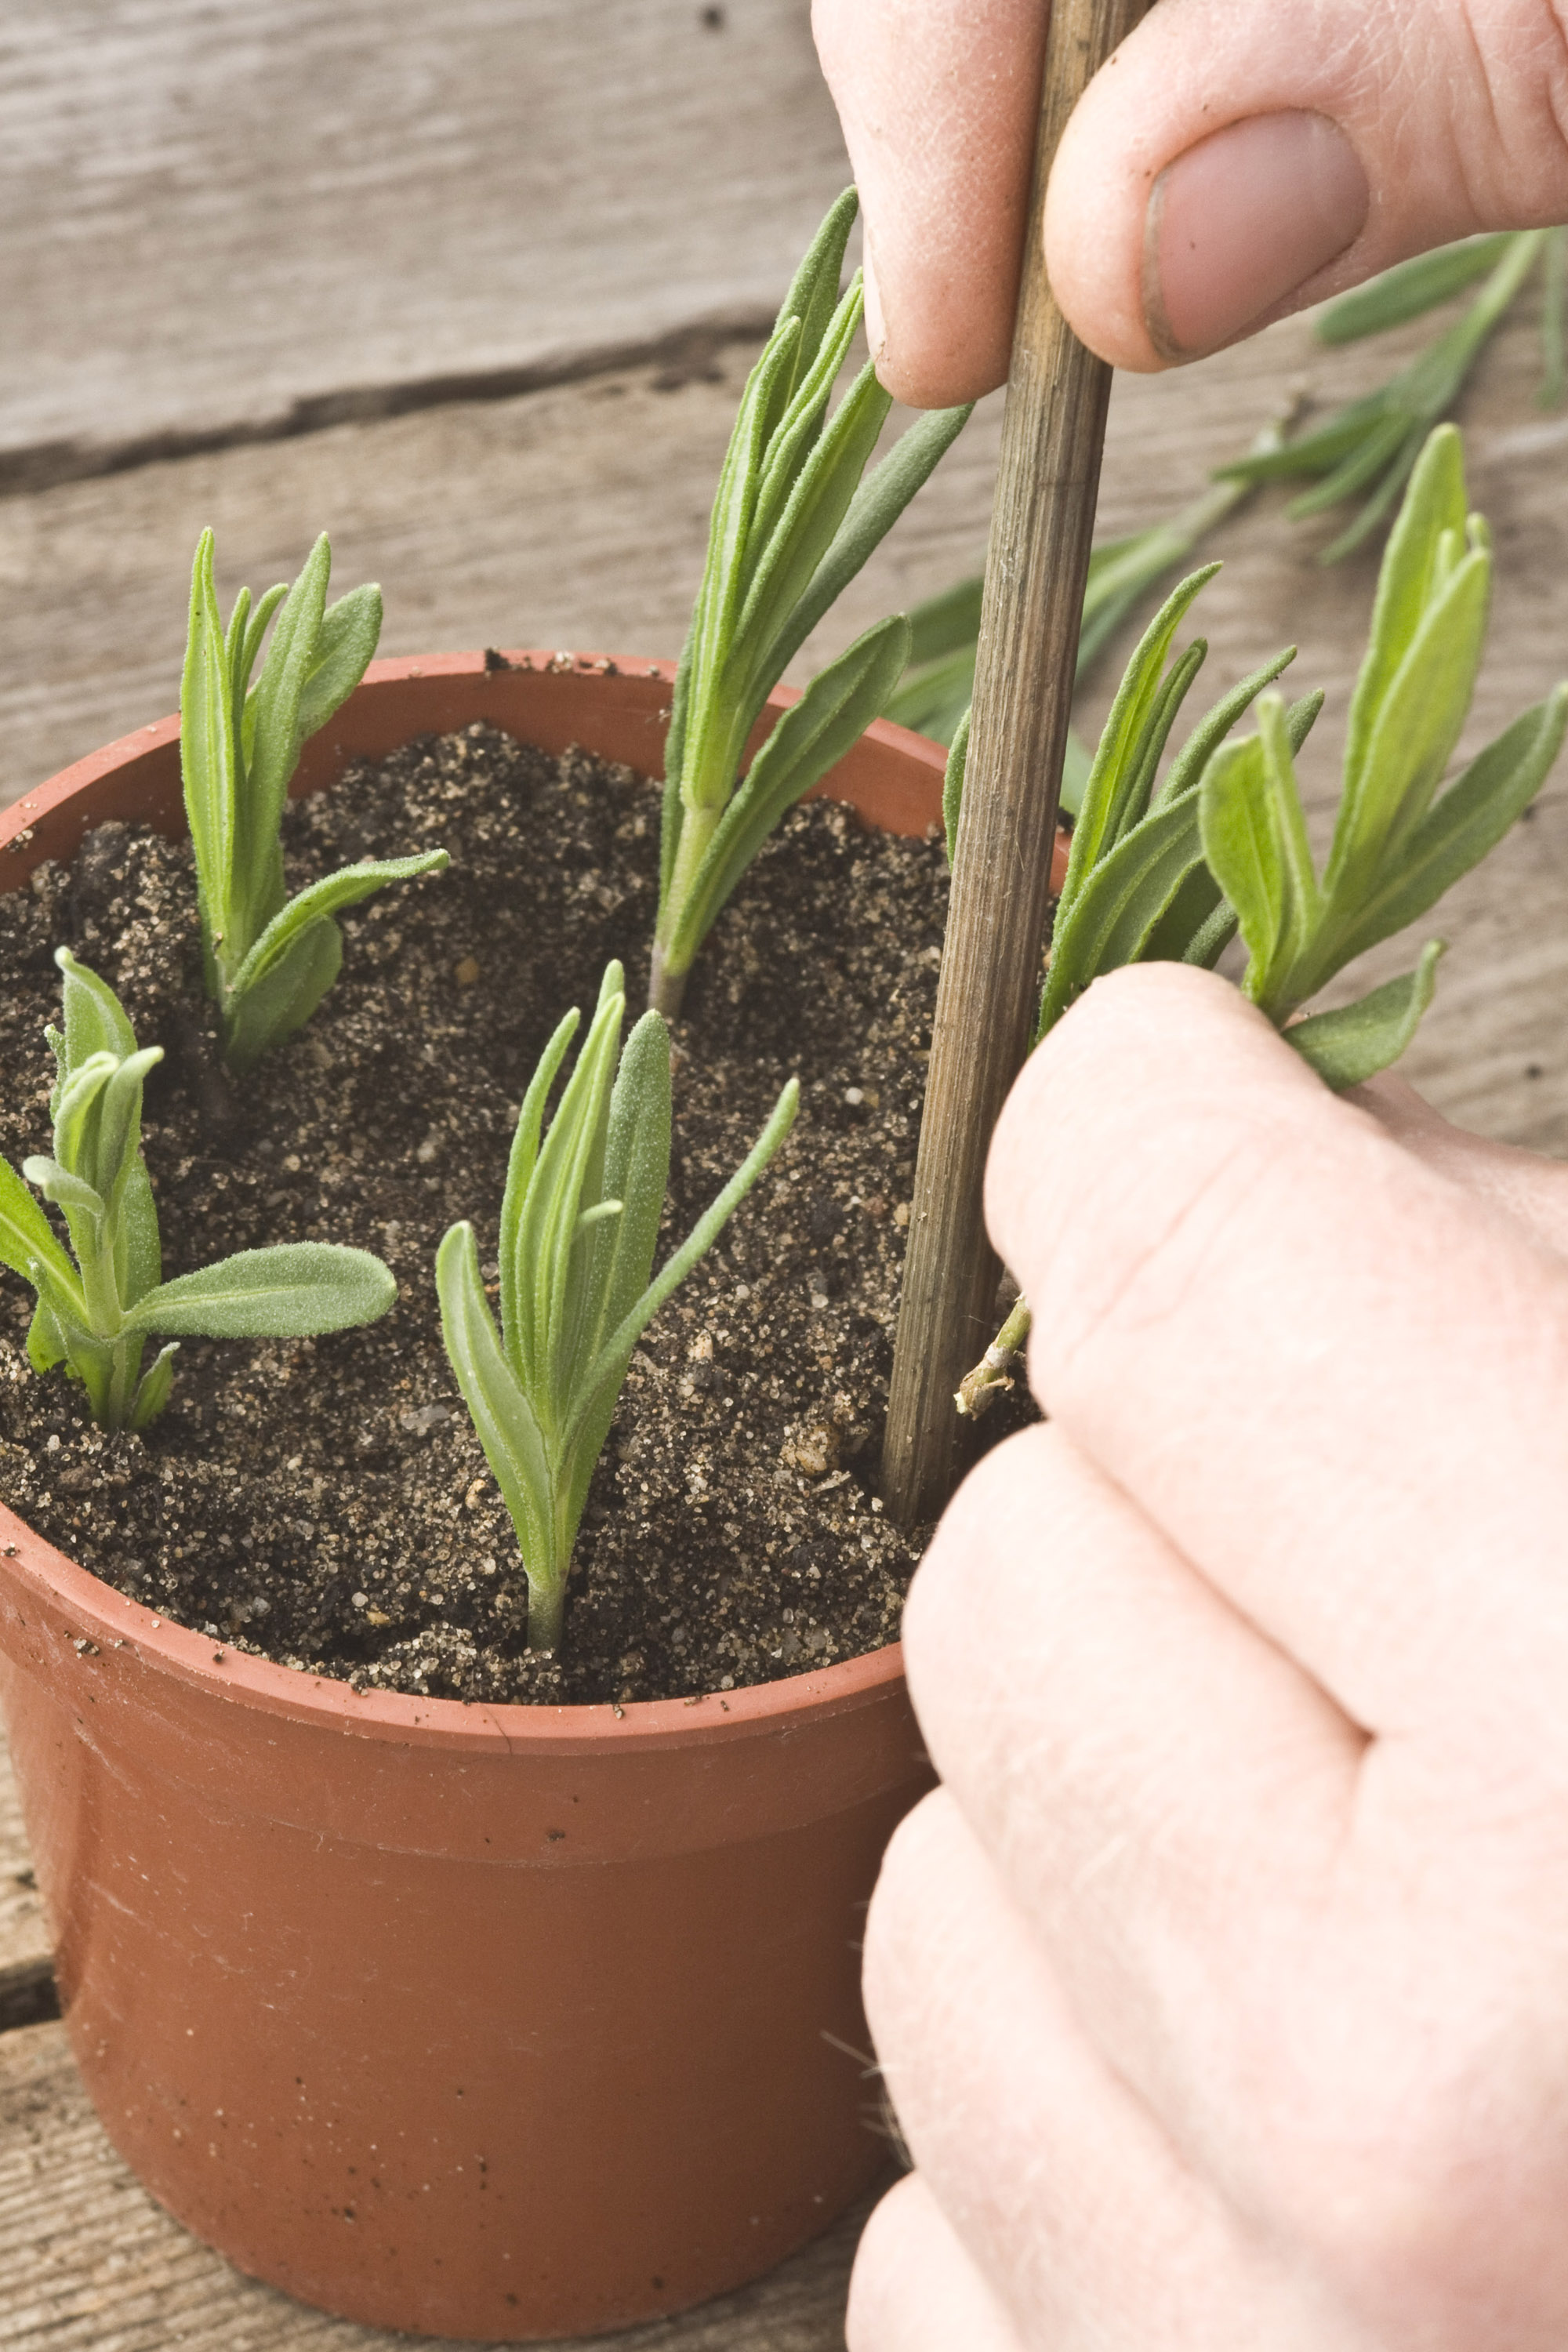
You can place several cuttings in the same pot
4. Push the cuttings into small pots of gritty compost. Make holes in the compost with a pencil and position the cuttings around the edge of each pot.
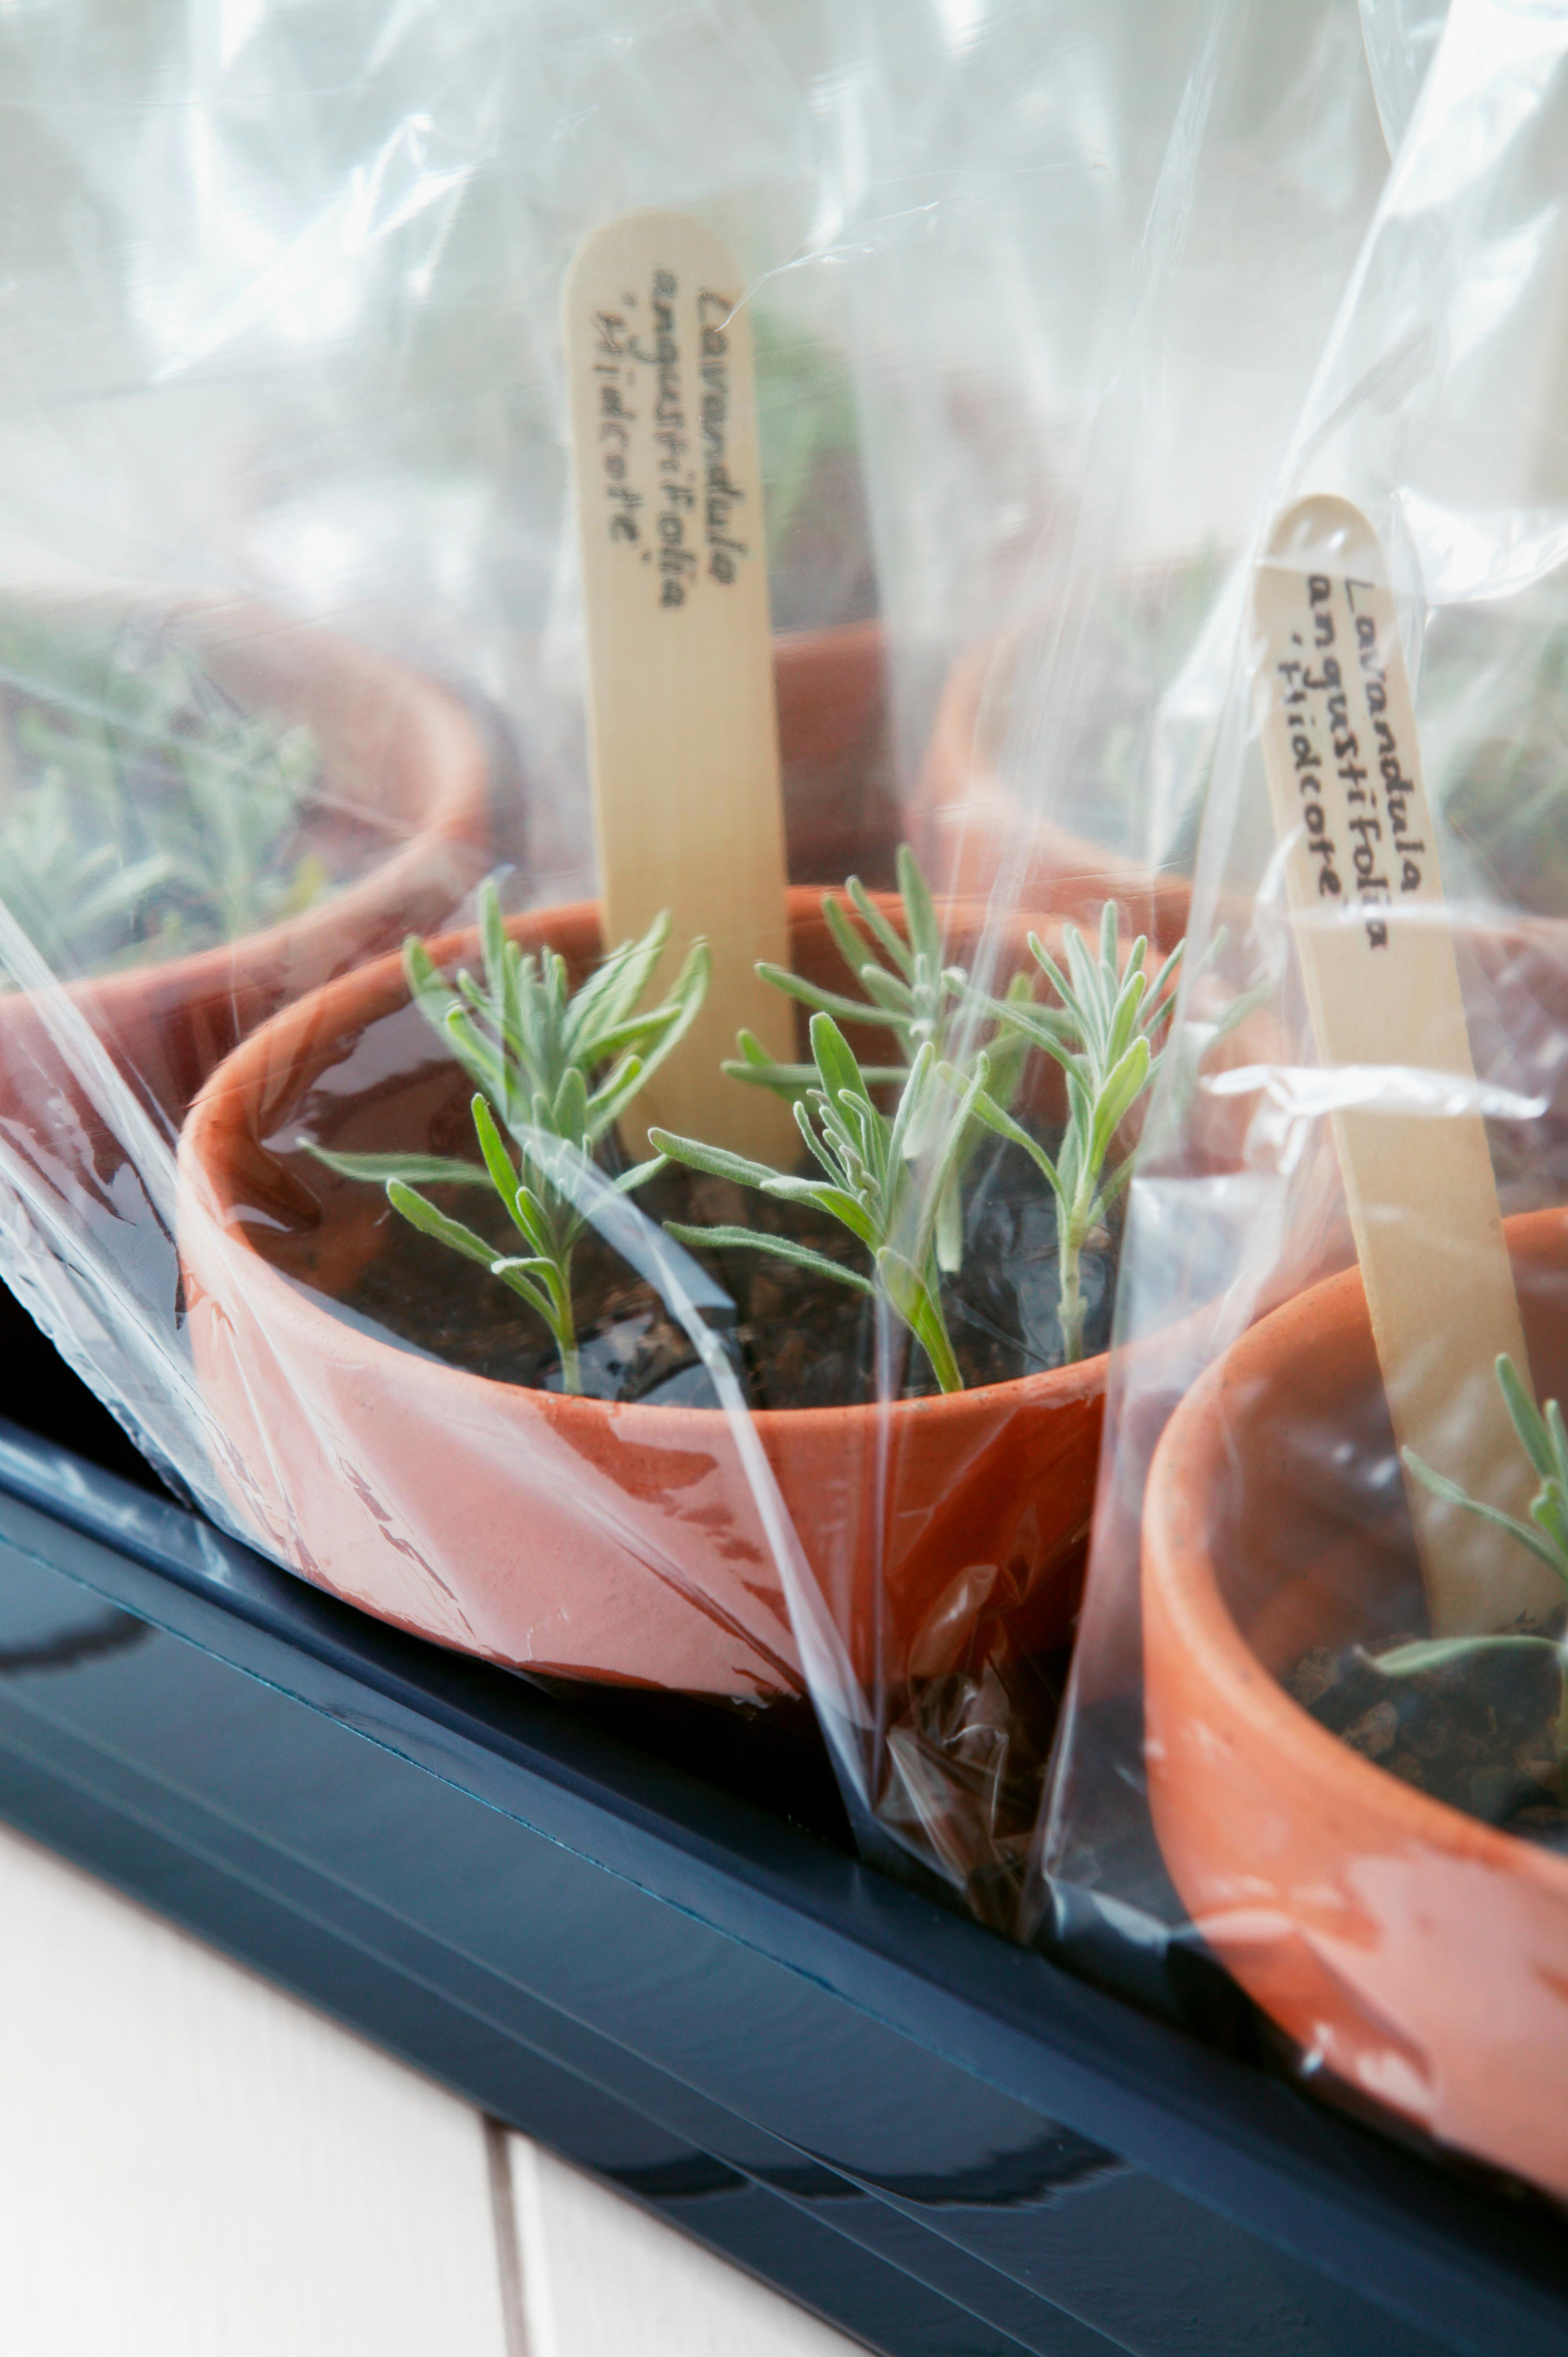
Your cuttings will need a humid atmosphere to create the best growing conditions
5. Water the compost well with a spray attachment then cover the whole pot with a clear polythene bag to create a mini greenhouse for the cuttings. They will thrive in the humid atmosphere that you've created.
6. Put the pots in a warm place out of direct sunlight and keep the compost moist but not waterlogged.
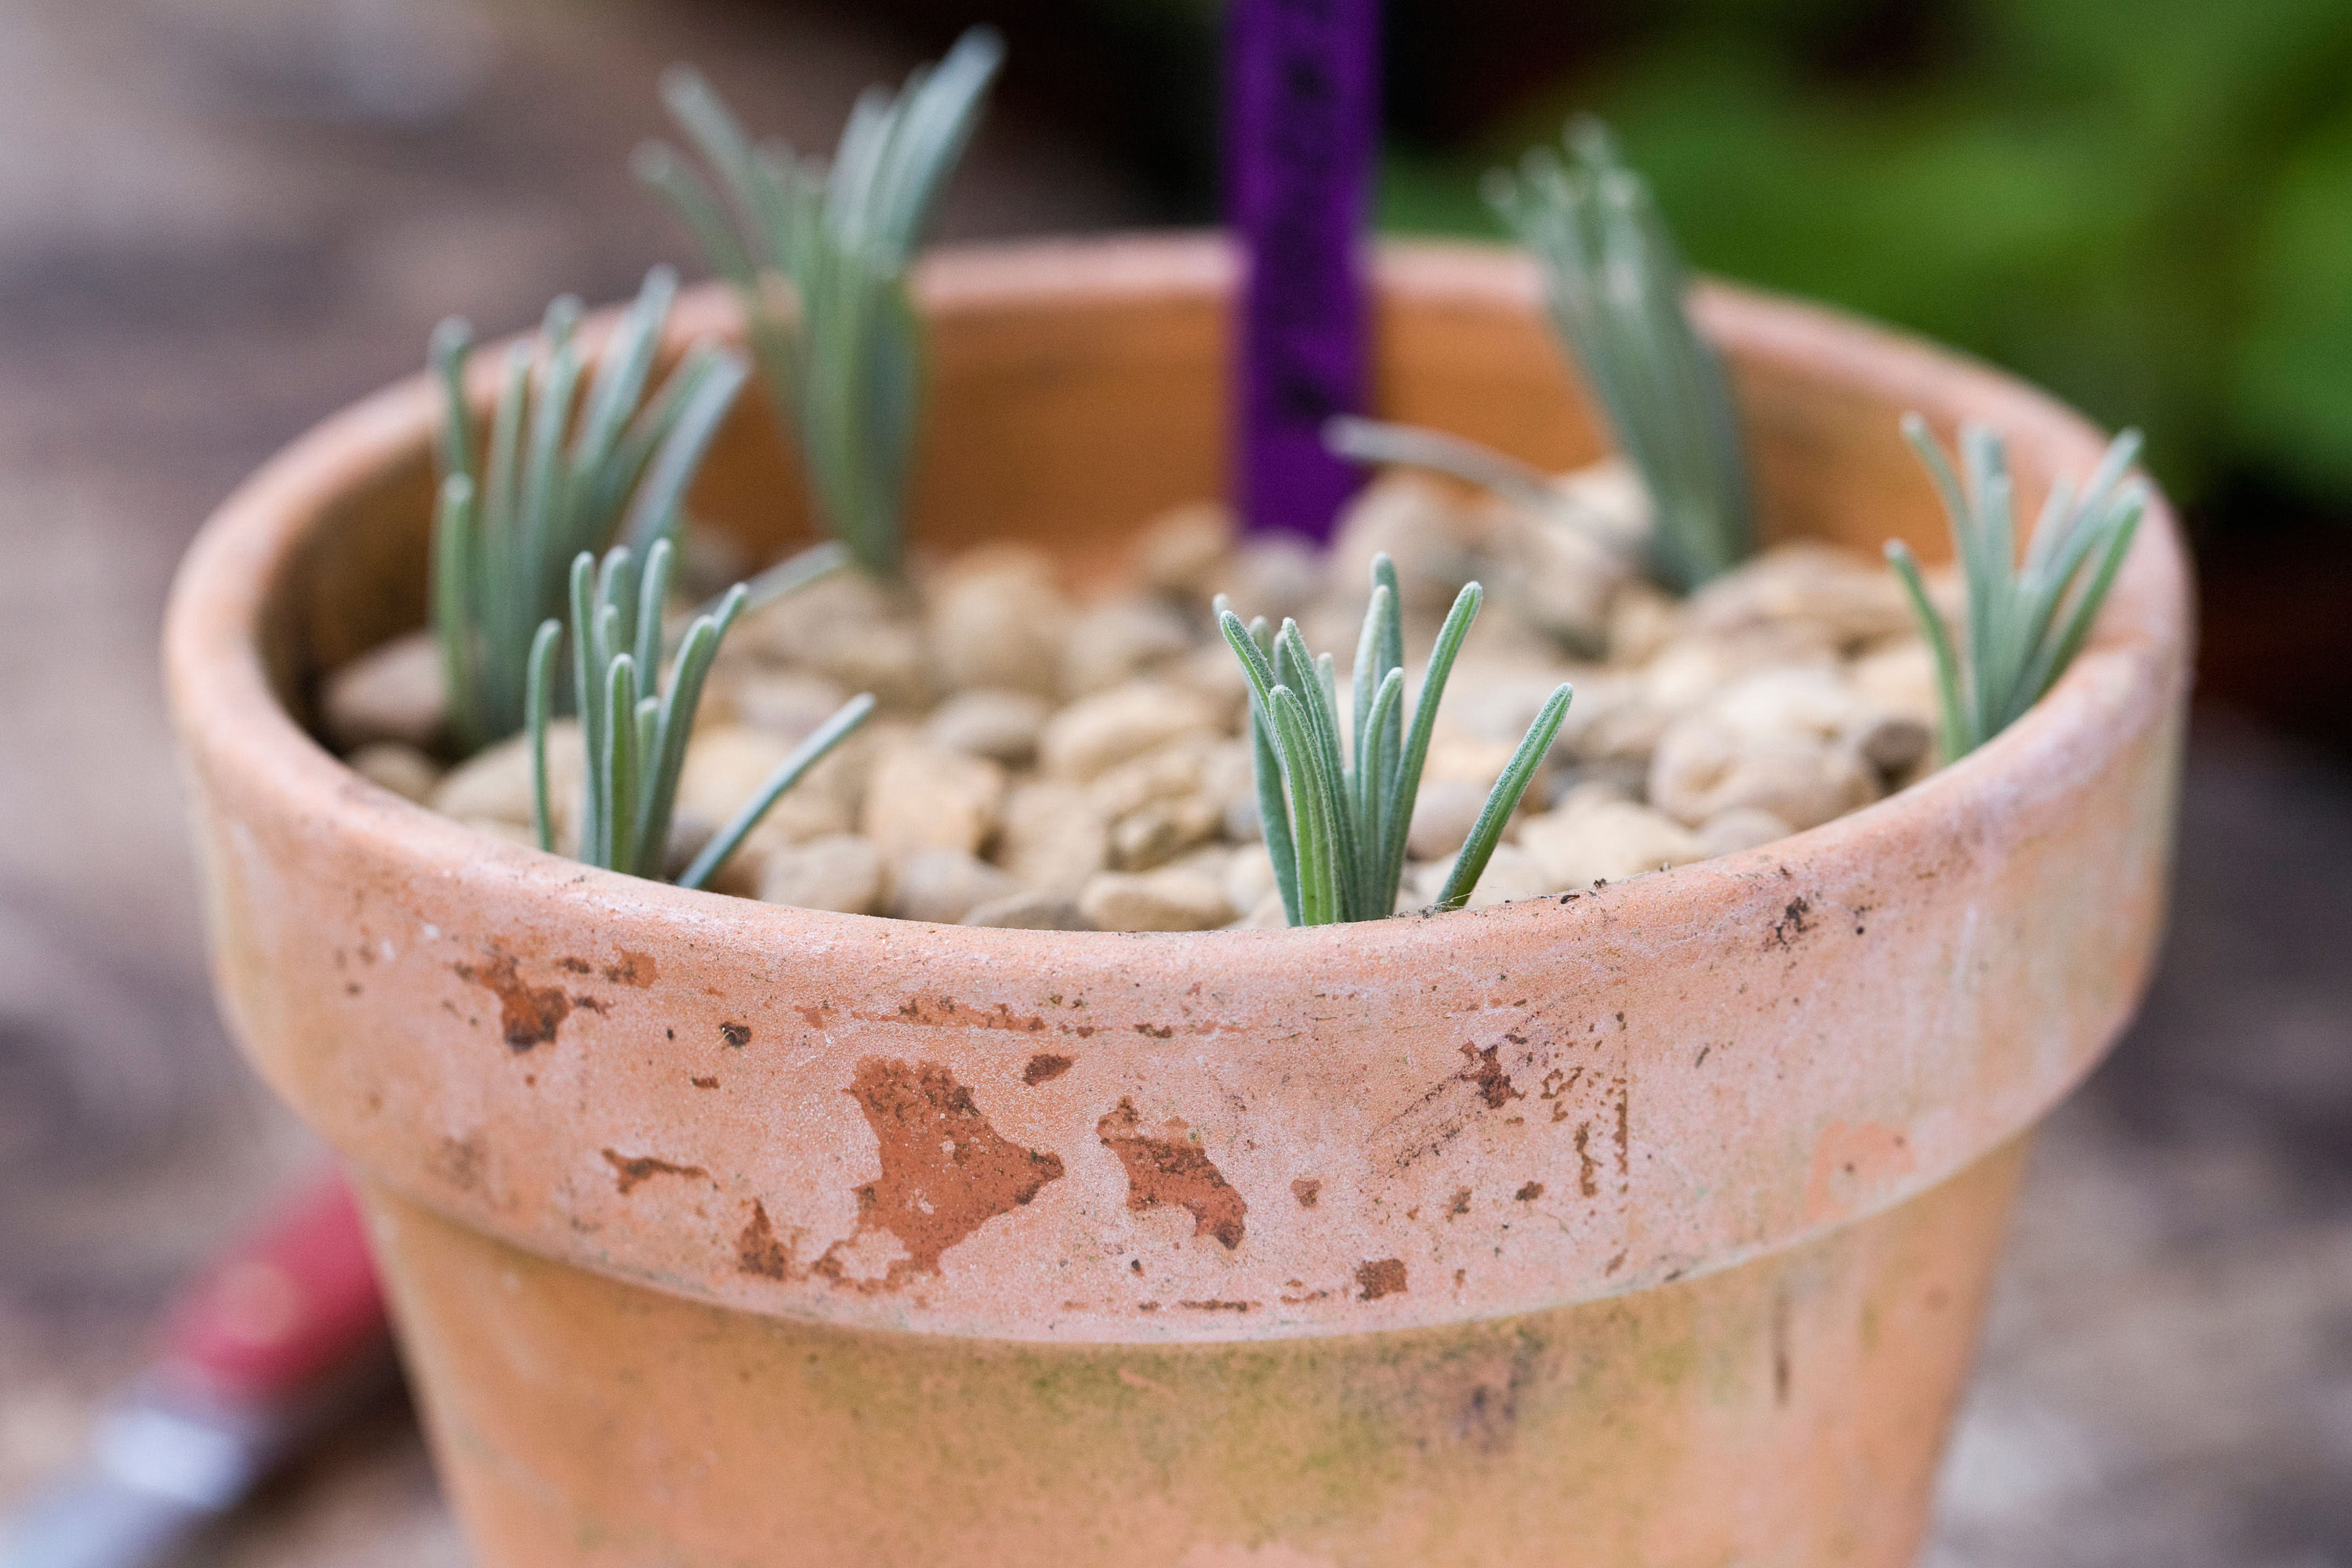
You'll soon have a selection of healthy lavender cuttings
7. After four to six weeks the cuttings should have rooted and you can remove the bags. When the cuttings look sturdy enough replant them in individual pots. And that's it – so simple!
Love the idea of having more lavender in your garden? Find out everything you need to know about how to plant a lavender hedge in our guide.
More plant advice:
- How to take rose cuttings: follow our easy guide
- The best edging plants: lines paths and patios with these top choices
- How to repot a plant: keep your plants happy and healthy

Lifestyle journalist Sarah Wilson has been writing about gardens since 2015. She's written for Gardeningetc.com, Livingetc, Homes & Gardens, Easy Gardens and Modern Gardens magazines. Having studied introductory garden and landscape design, she is currently putting the skills learned to good use in her own space where the dream is establishing a cutting garden.
