I tried this simple method for planting a tulip container and it produced stunning results
If you want to know how to plant a tulip container this fall, this easy step-by-step guide will guarantee a stunning display of spring blooms
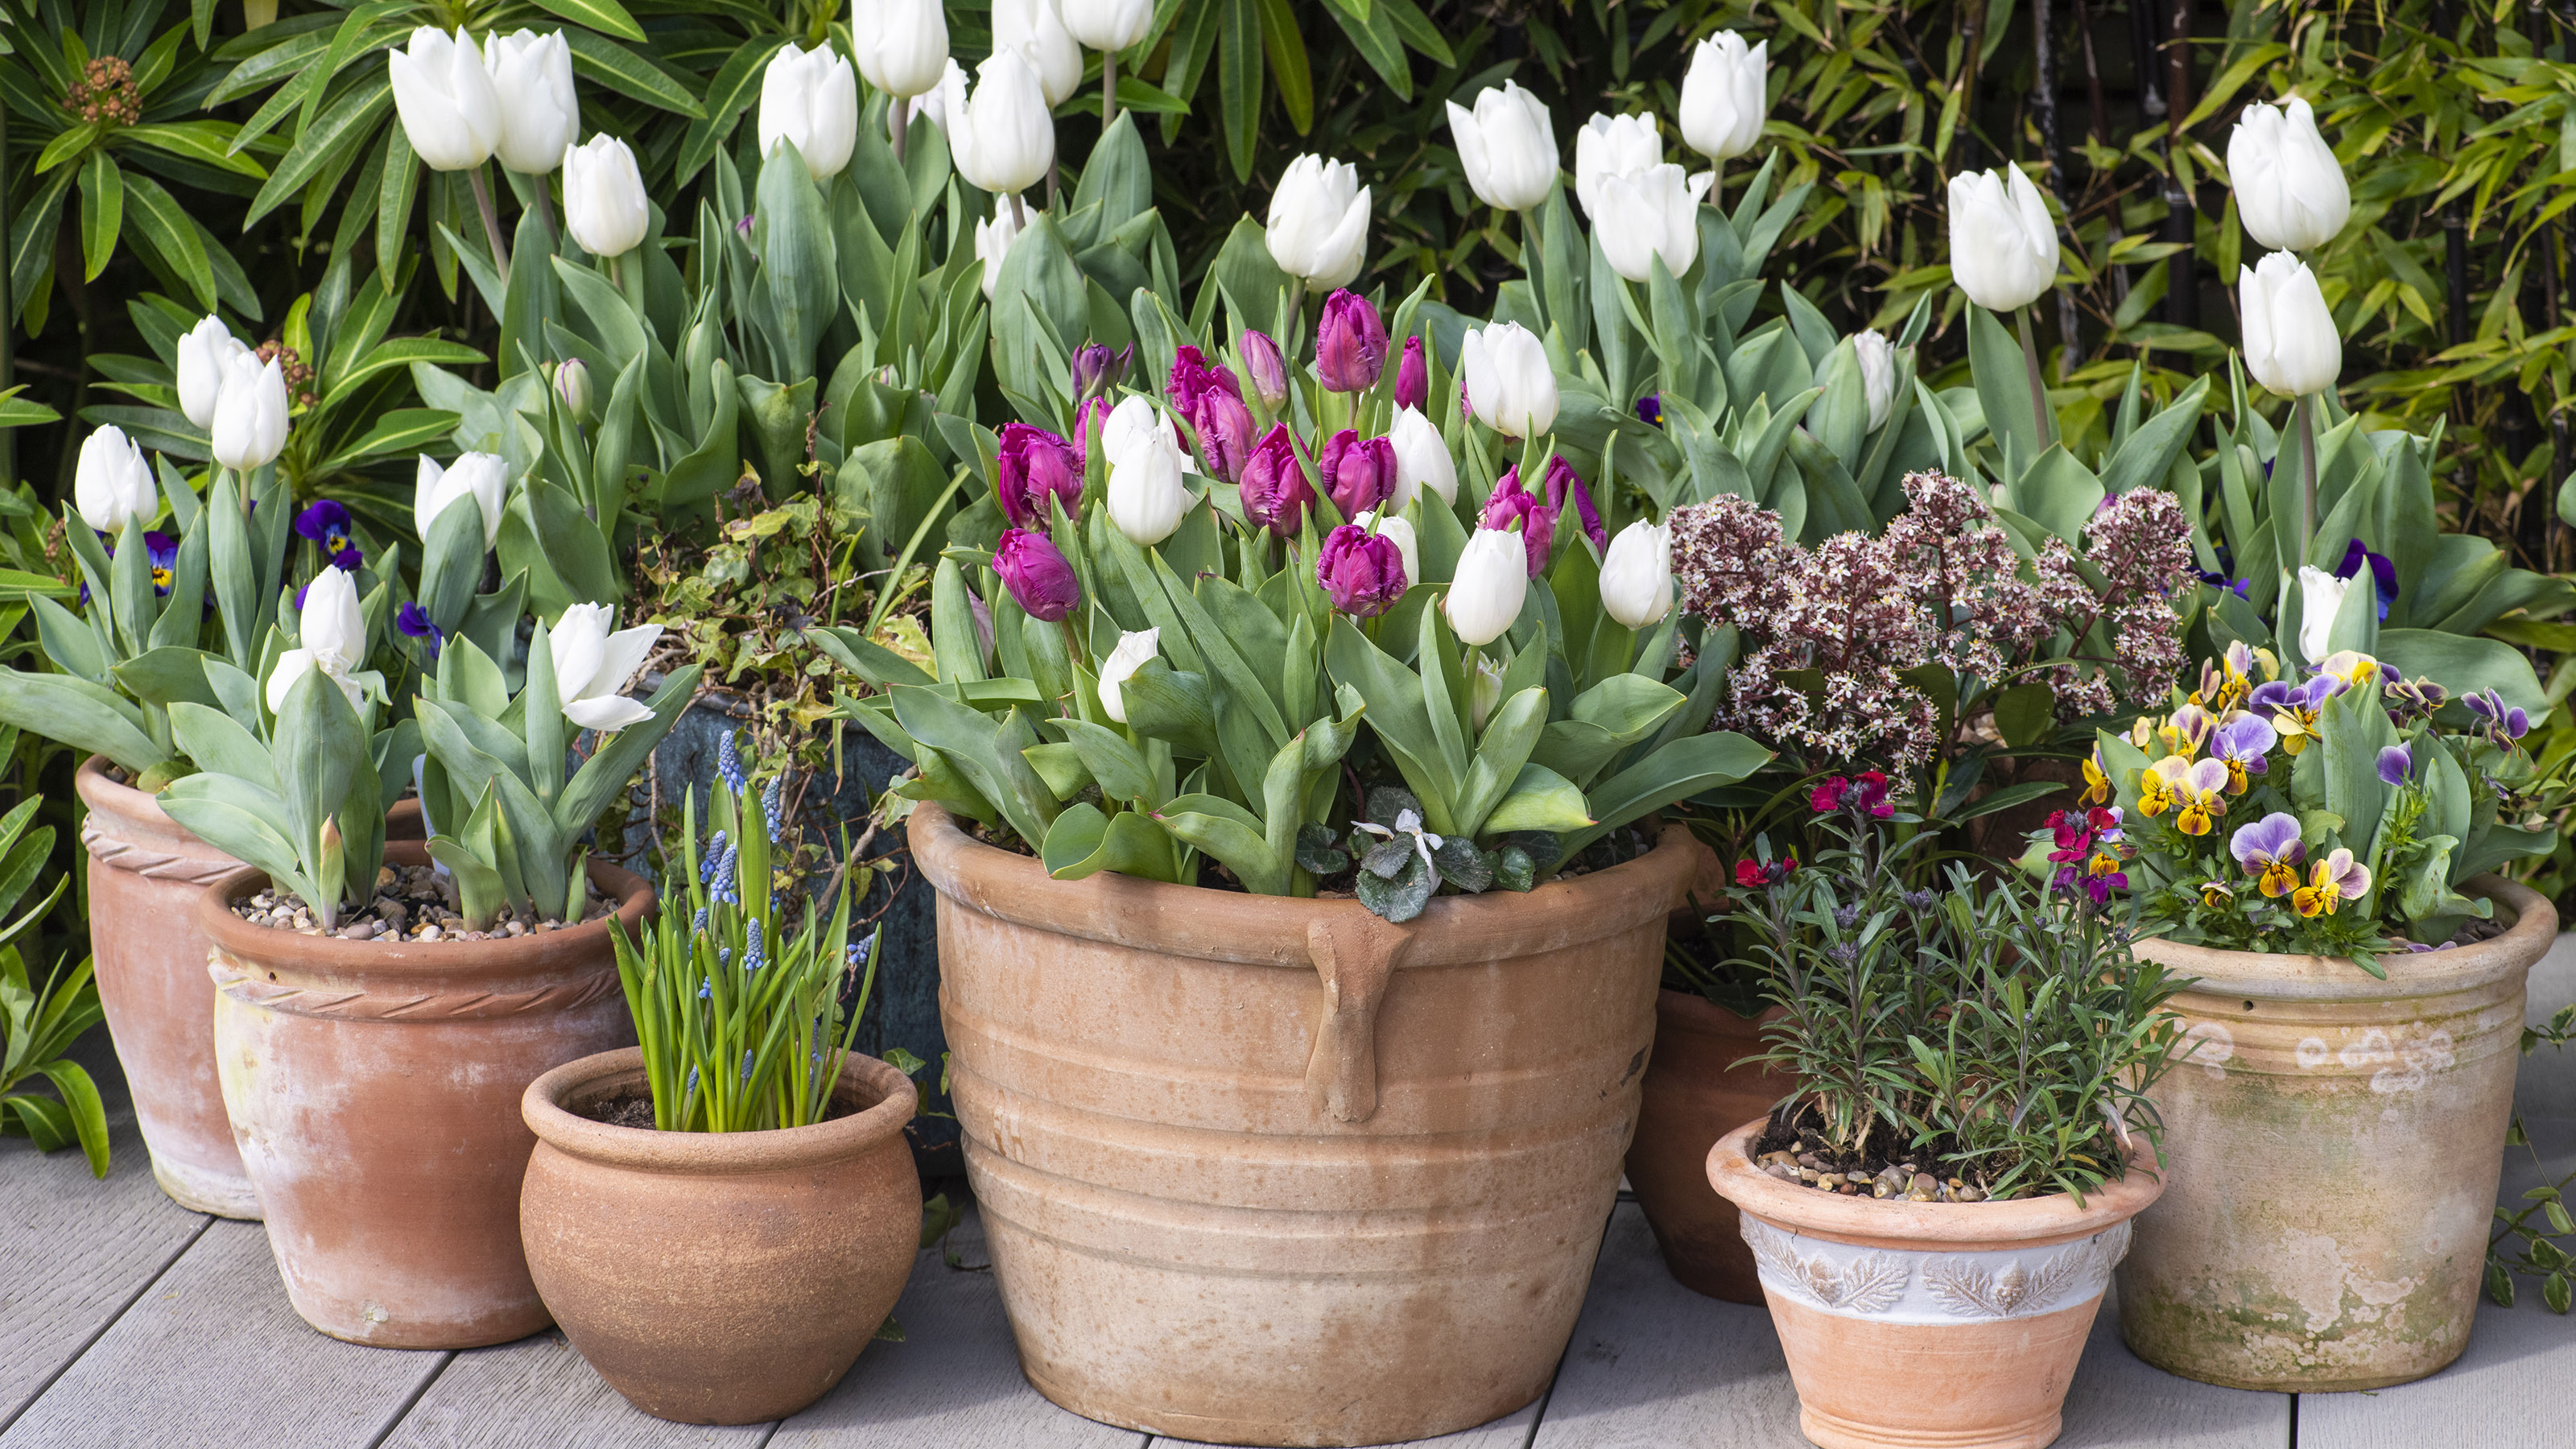

Once you know how to plant a tulip container, it's easy to create a display of these absolute stars of spring. Available in an incredible range of colors, from classic reds, yellows and pinks, to dramatic dark shades for more contemporary looks, there is a color option to suit your outdoor space.
For this planter, I chose some of my favorite options, selecting a deep pinky purple tulip, and a gorgeous white variety too. The plan being that they will create impact with a strong contrast between the two.
Once you've planted up the pot, leave it in a sheltered spot which gets a good amount of sun. So the container doesn't look plain and boring over the fall and winter months, I decided to plant some cyclamen over the top too.
A gravel mulch will help deter hungry foraging squirrels, which goes for all your bulb displays. Alternatively, when planting bulbs like this, cover them with chicken wire which can be removed once shoots start to emerge next year.
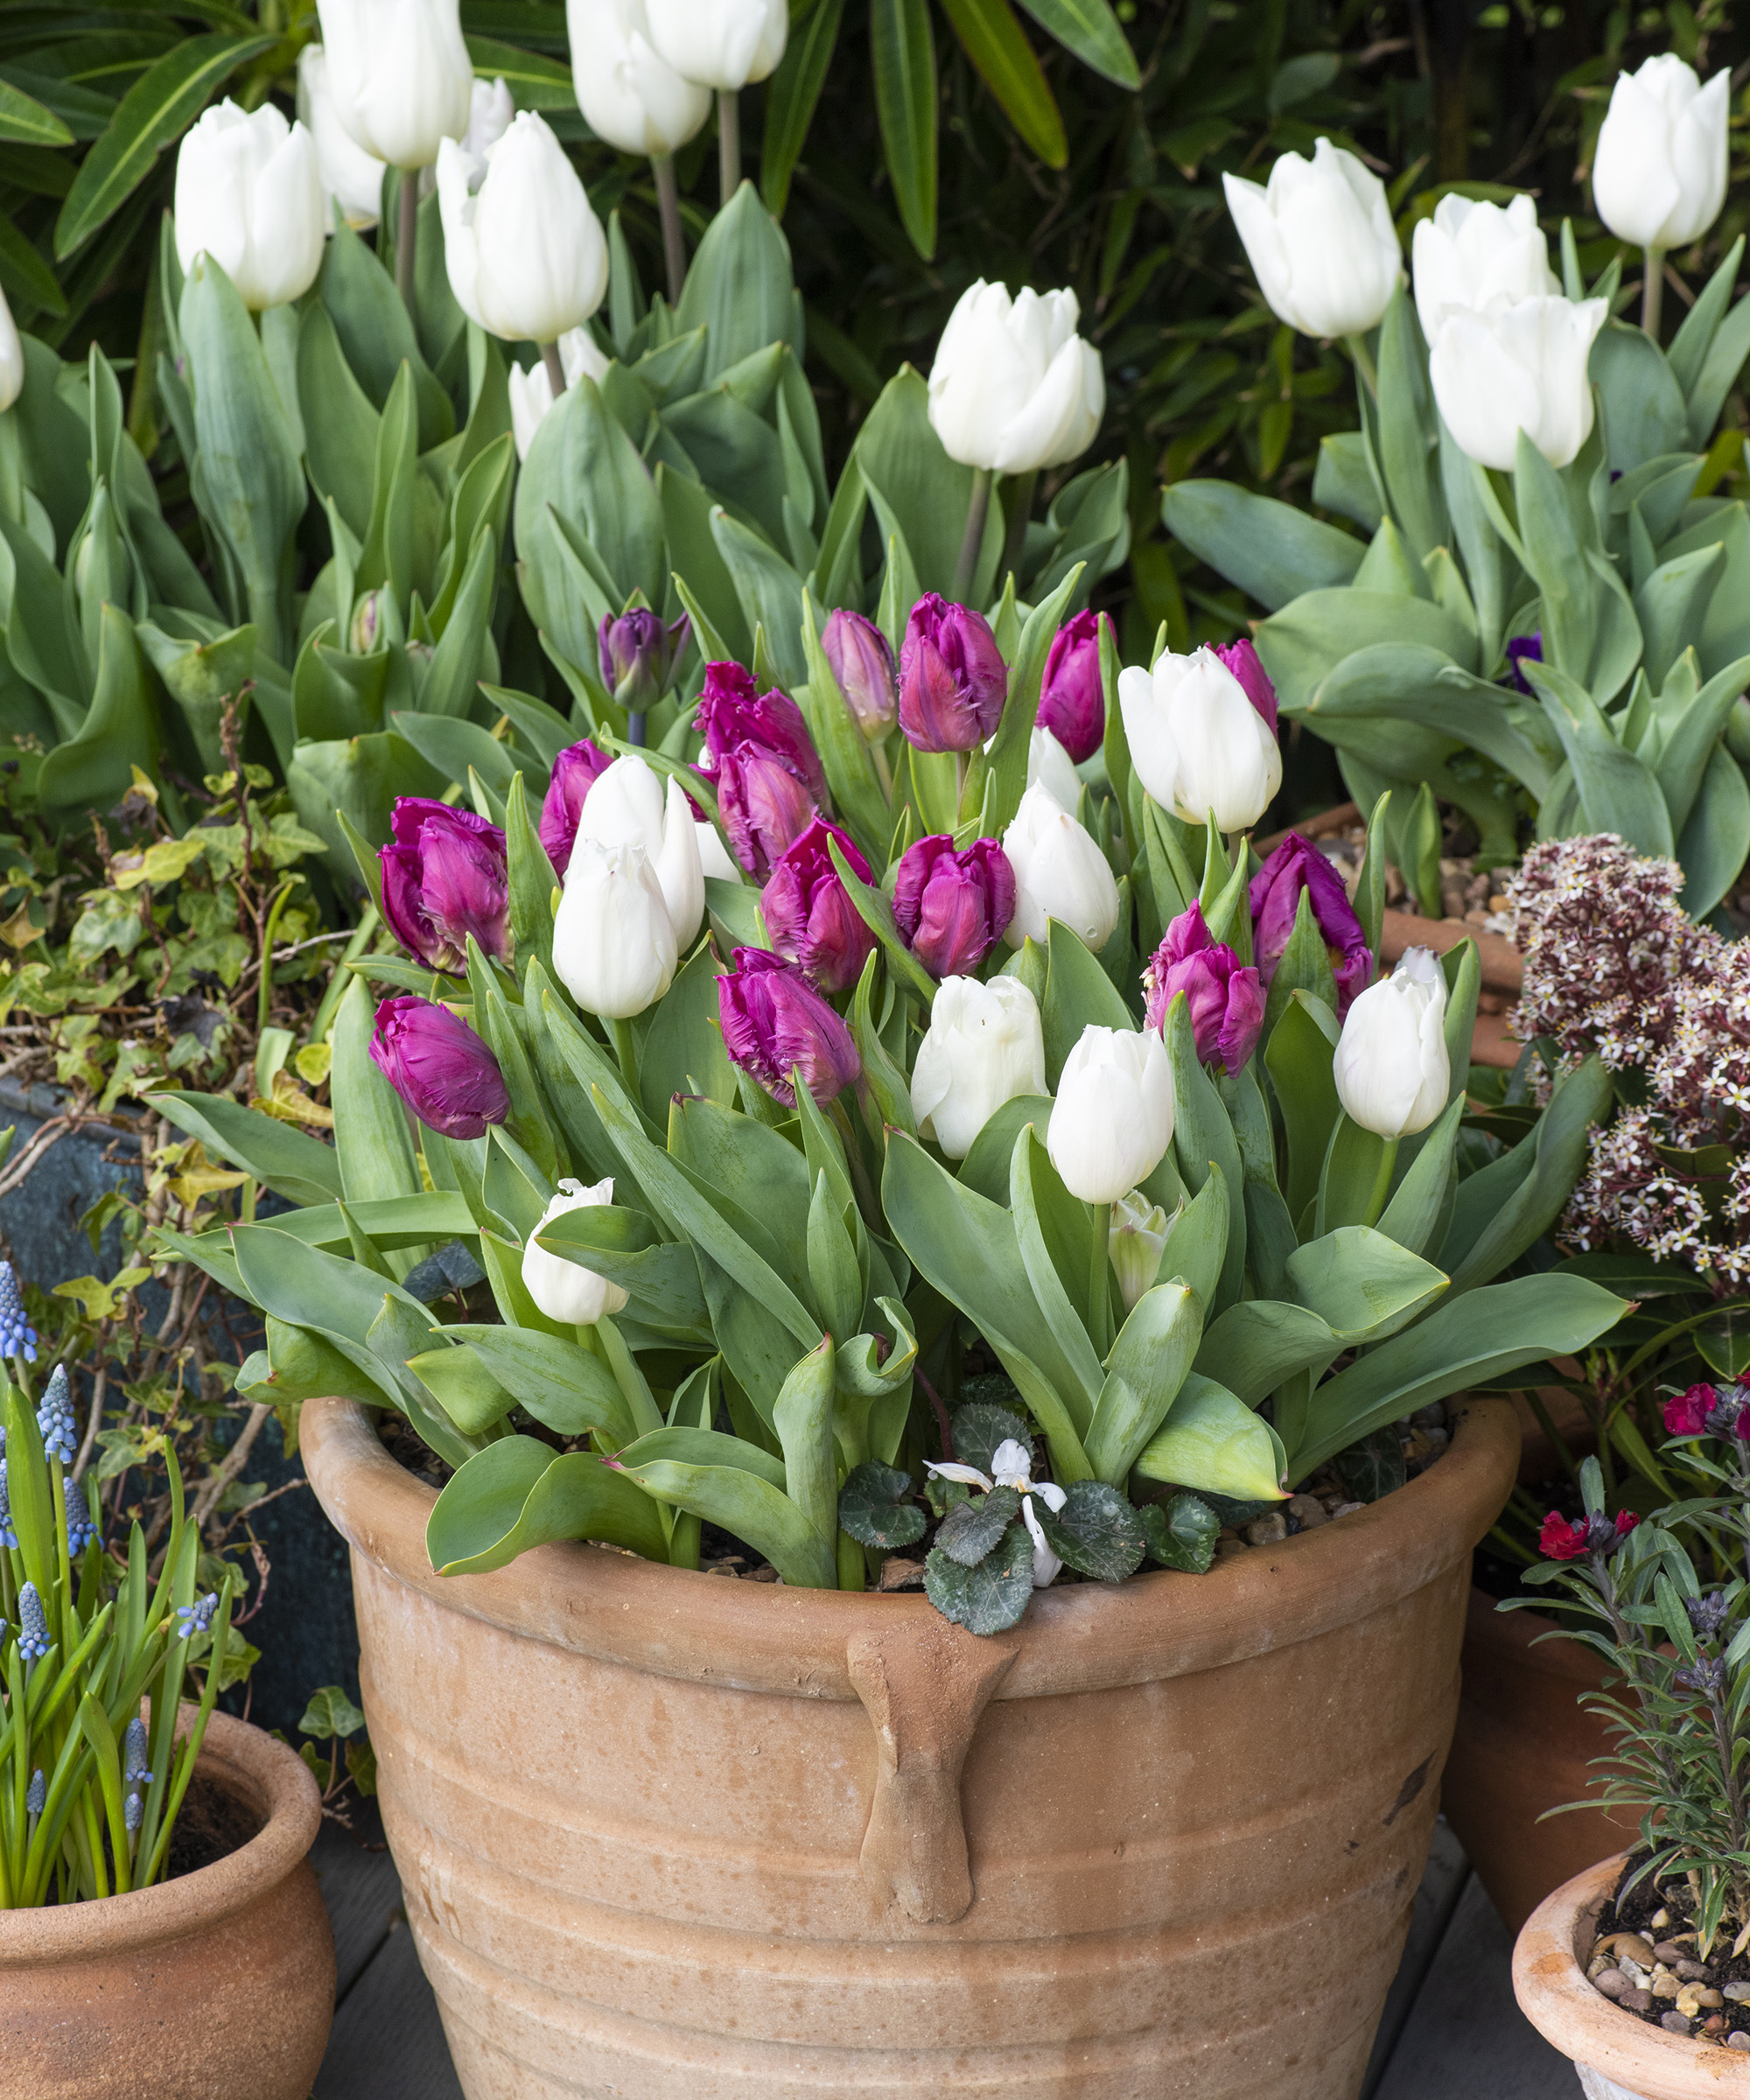
Once the bulbs come into bloom, you'll have a stunning multi-colored display to enjoy
Learn how to plant a tulip container with this step-by- step advice
My best advice is not to scrimp on the amount of tulip bulbs you plant in a pot. If you want to create impact come springtime, you can never have enough bulbs.
So when you're planning how to plant a tulip container, if you're thinking of planting 10 bulbs in a pot, my trick is to double it. In fact, it won’t harm it to see if you can squeeze in a few more on top!
I chose two contrasting tulip varieties for this spring container idea, both for color and texture, as well as some winter interest which will give you something to smile about until your bulbs pop up in spring.
My plant list:
- White Tulip Diana - or for similar try Tulip 'Calgary', available from Dutch Grown in the US and Crocus in the UK
- Tulip 'Alison Bradley', or for similar try 'Blue Parrot’, available from Dutch Grown in the US and Amazon in the UK
- Hardy cyclamen, available from Brecks in the US and Amazon in the UK
1. Prep your tulip container
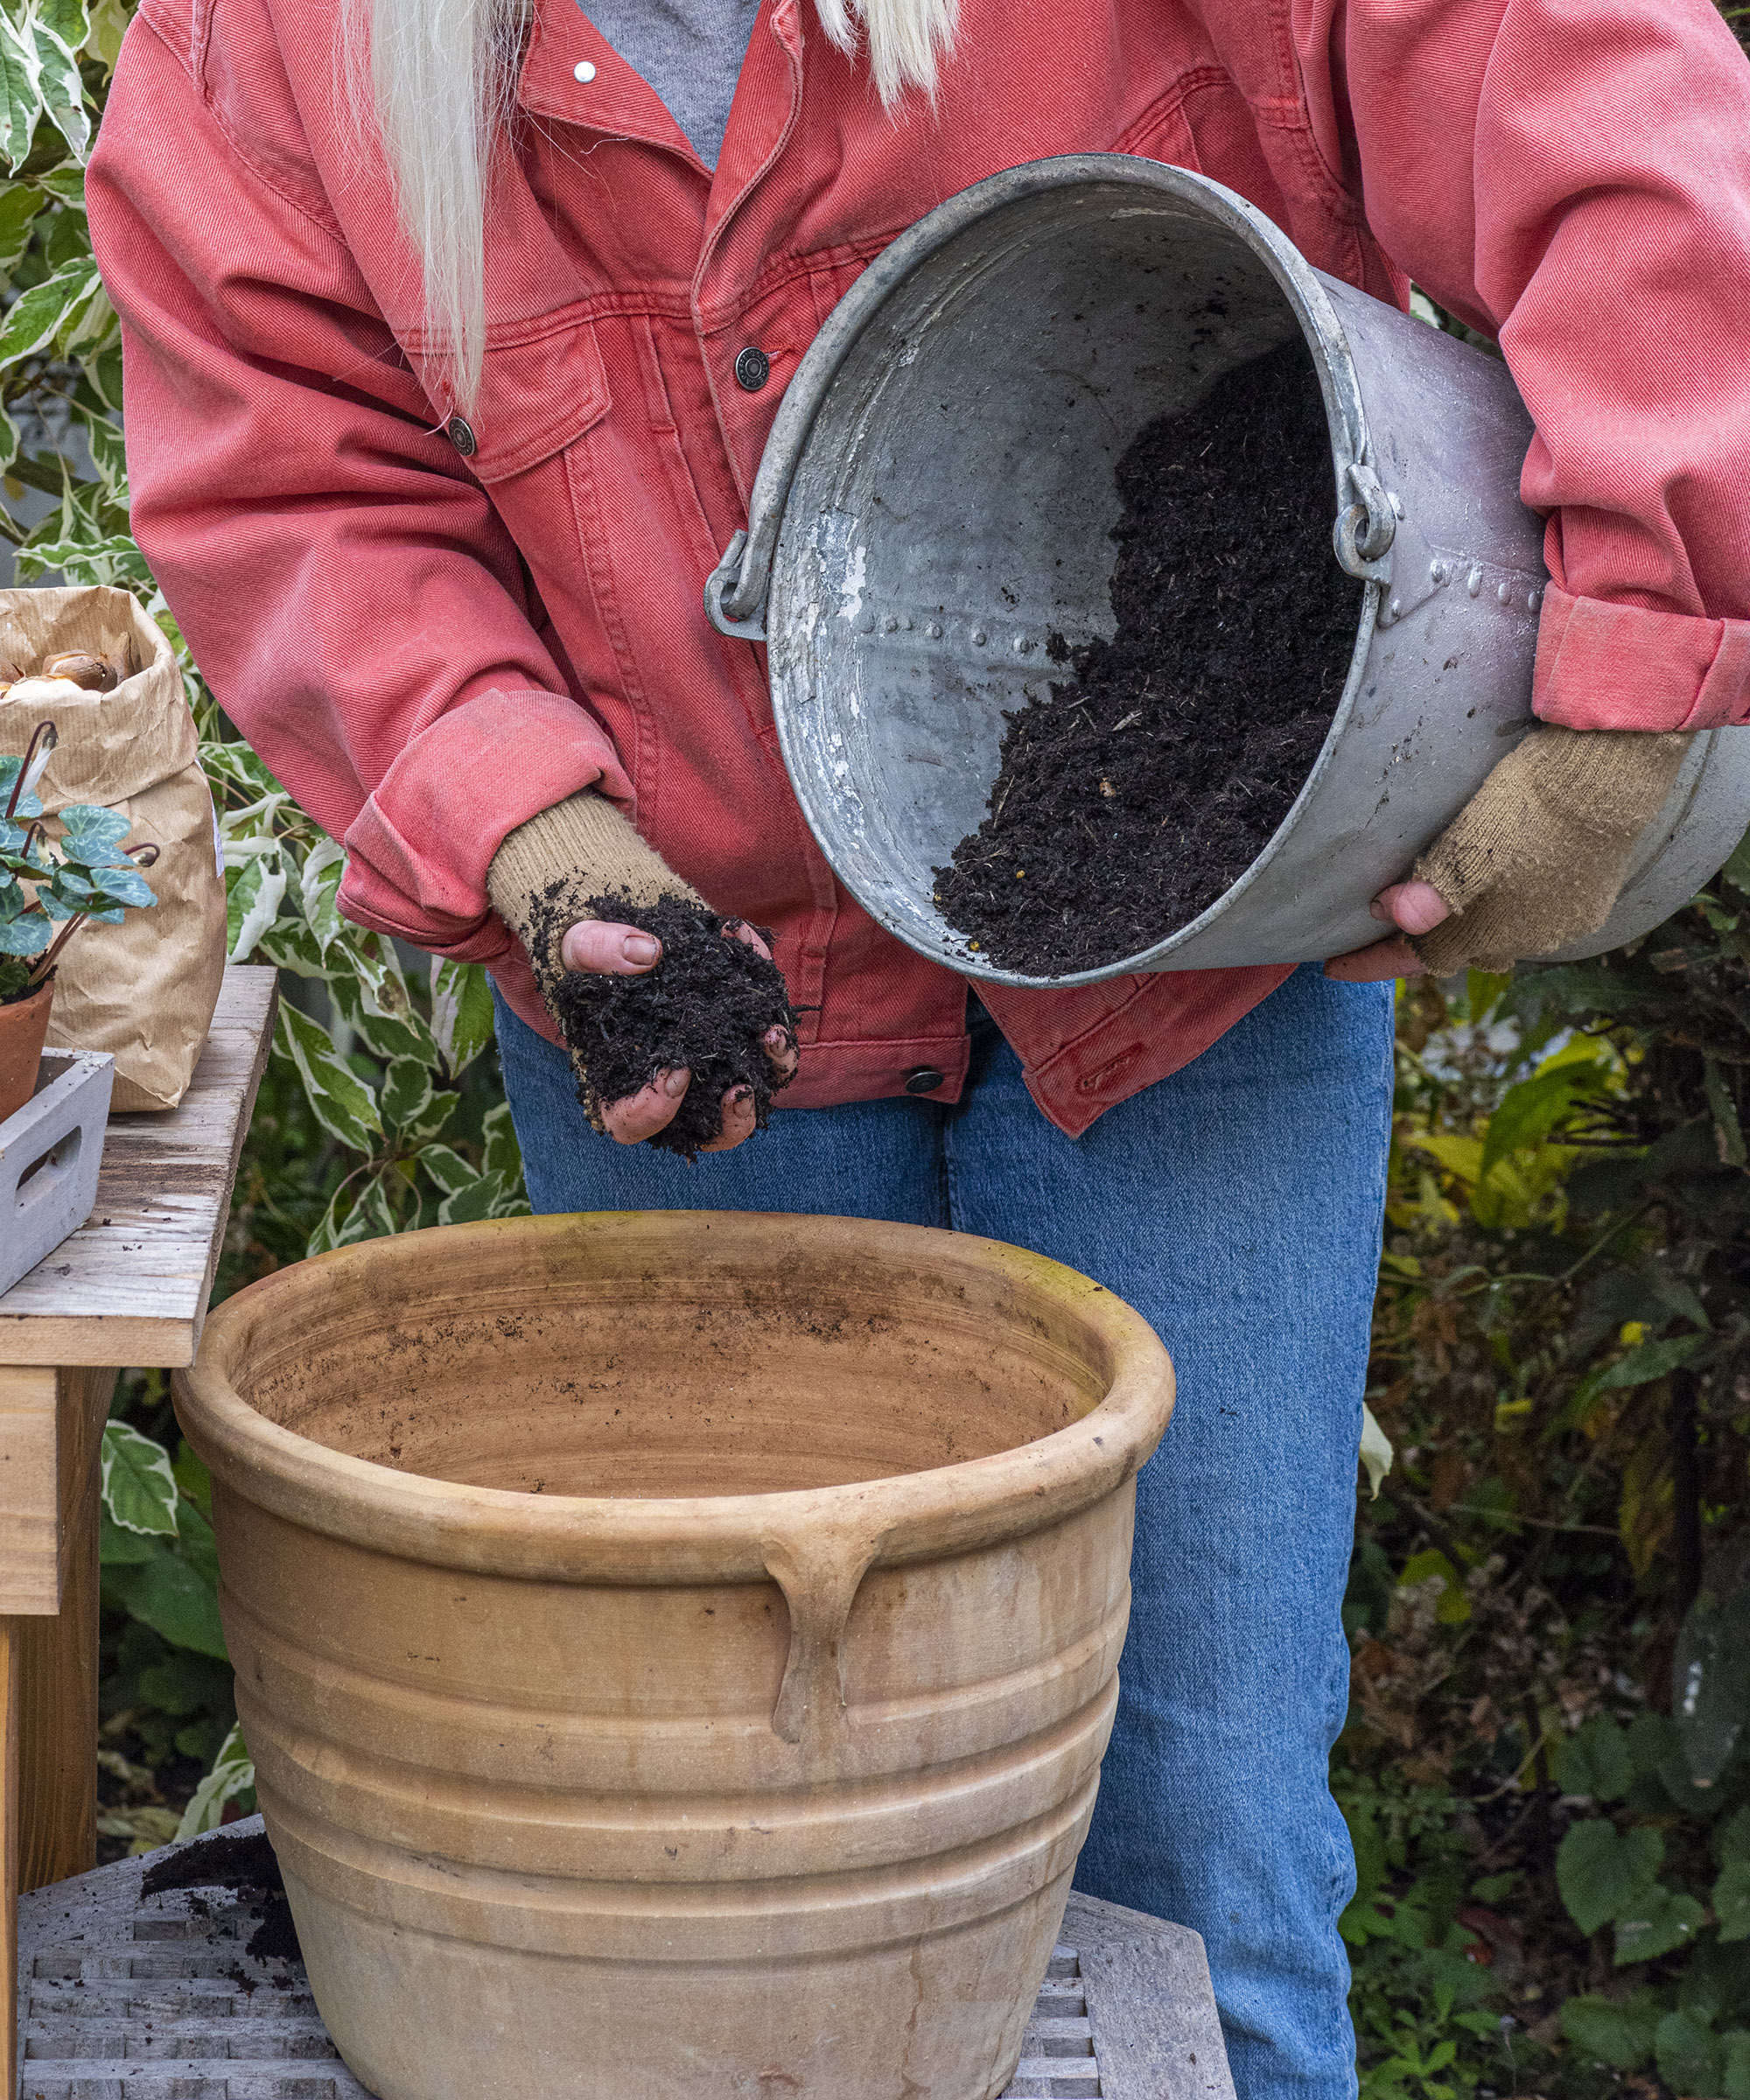
A decent general purpose compost is ideal for this spring container
When planting a tulip container, start with a pot with drainage holes and cover the base with crocks. I used broken up polystyrene packaging, which is a great way to recycle this one-use material. Then add a sprinkling of gravel to aid drainage.
I chose a traditional terracotta pot to house this contemporary display of different types of tulips, but a sleek modern garden planter would also work. Add general purpose compost to about four-fifths full.
Whatever pot size you have gone for, make sure you have enough bulbs to create a dense display. Have a few smaller pots to hand to plant any leftovers you might have.
2. Plan your arrangement of tulip bulbs
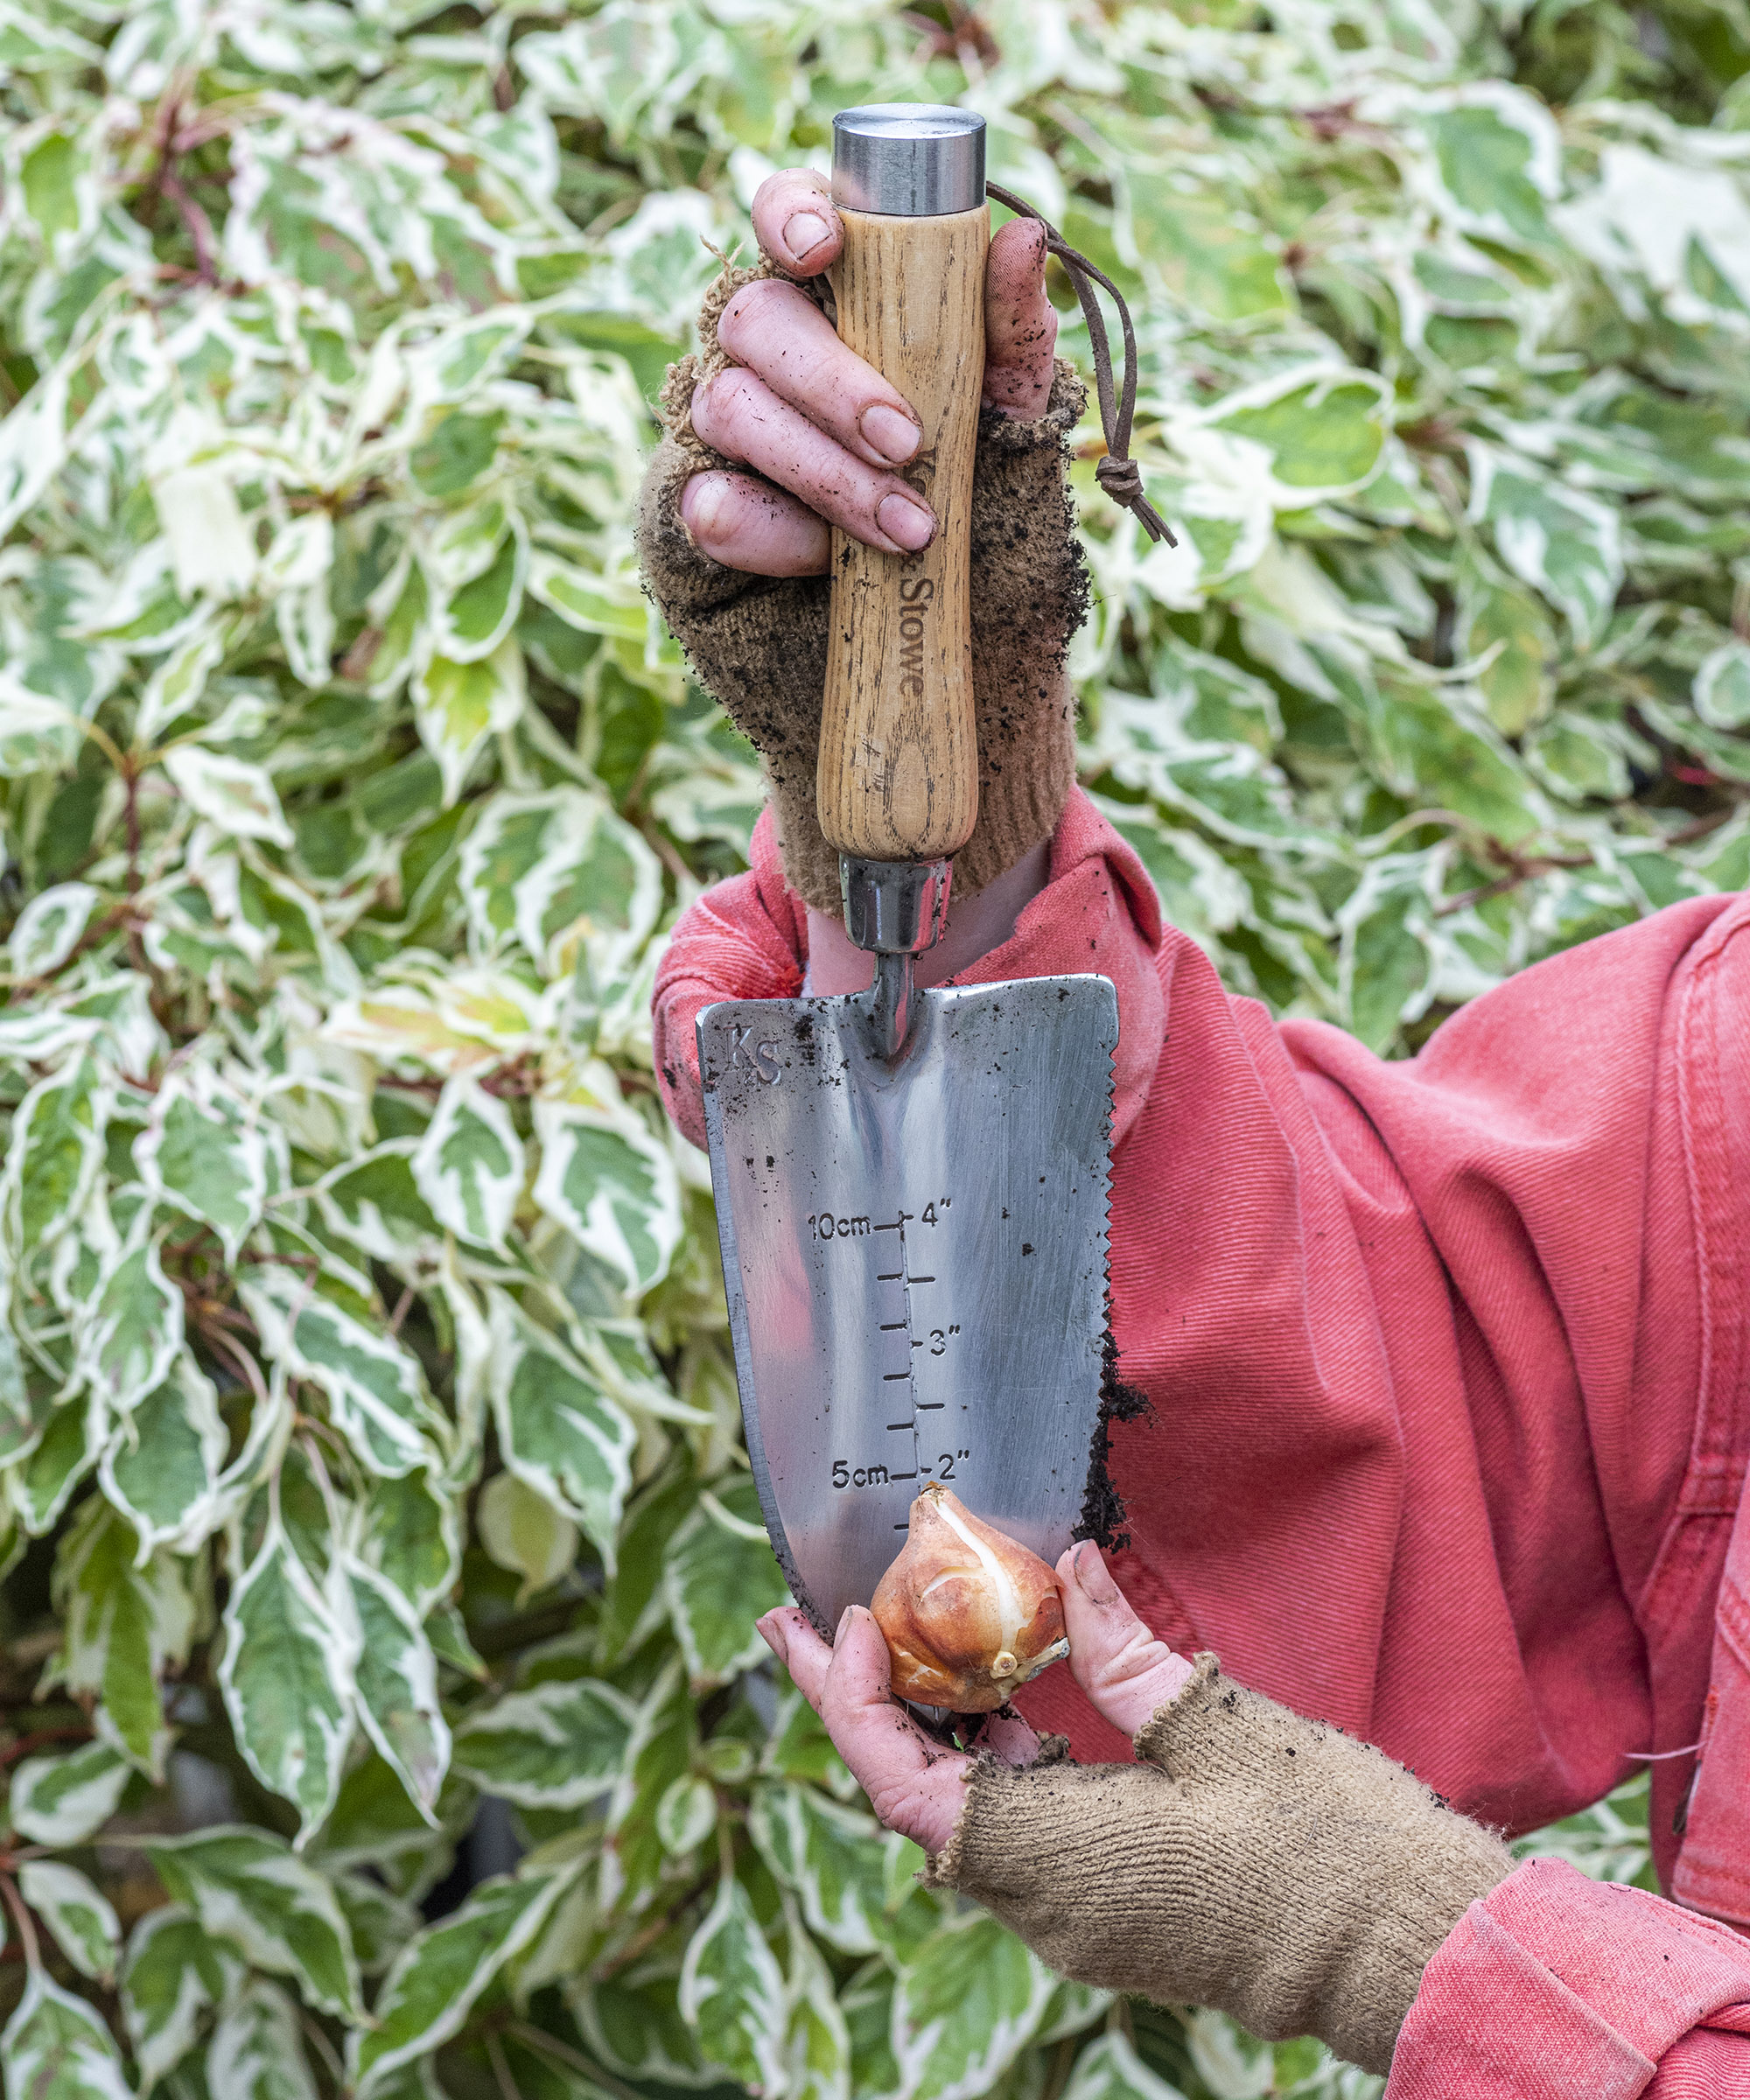
Generally speaking, tulip bulbs should be planted at three times their height
If your trowel has a measuring aid on it, like this serrated planting trowel from Amazon, then use it to measure your bulbs from top to tip, to work out three times the height for the appropriate depth to plant them.
Firm the compost down and score with four circles (more or less depending on the size of your pot), starting in the center, and increasing in diameter towards the outer edge of the pot.
For successional bulb displays learn how to plant a bulb lasagne using your tulip bulbs. They make great bulb lasagne ideas when combined with earlier spring blooms such as daffodils bulbs and hyacinth bulbs.
3. Add your tulip bulbs
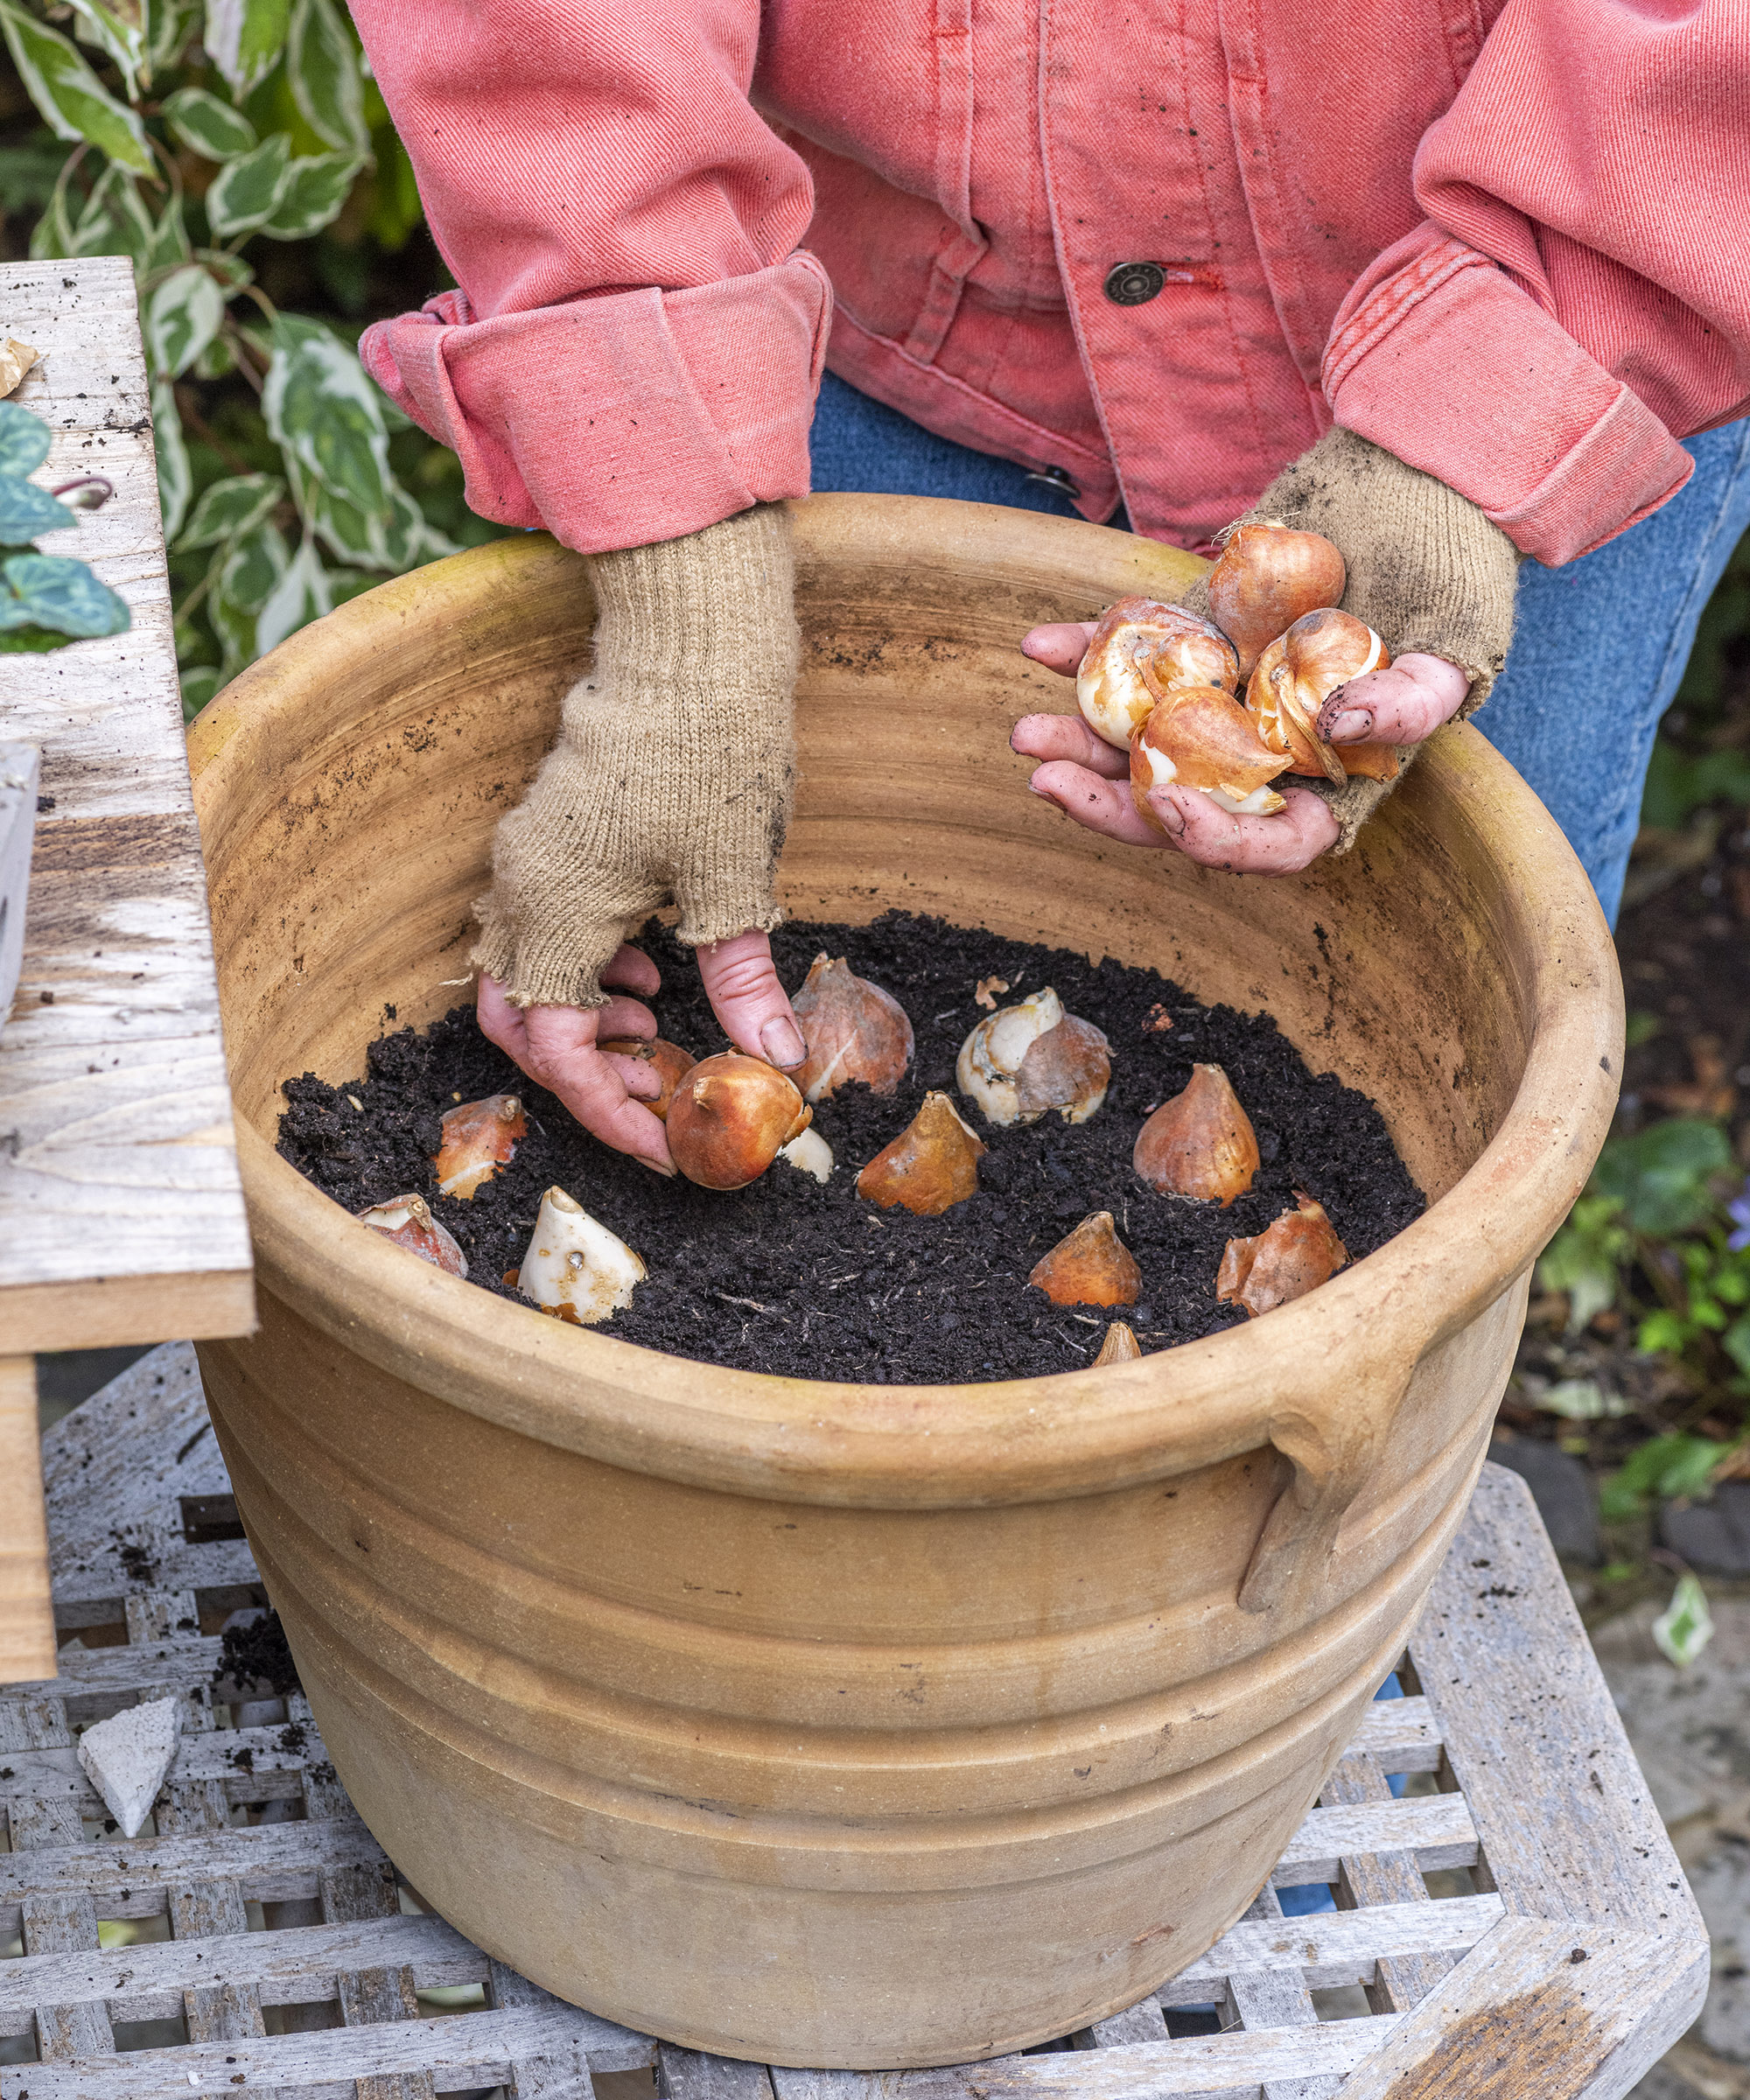
Plant tulips with their pointed tips facing up
Plant the white tulip close together in the outer circle, pushing into the soil about 1 inch. Ensure you plant with the pointed end of the bulb uppermost!
Plant the darker tulips on the next circle in, maintaining same distance apart between tulips. Work your way inward planting the remaining circles, alternating the rows of bulbs by color.
When grown in containers it's possible to lift and store tulip bulbs once they've finished flowering so that you can plant them again later that year.
4. Finish with some winter plants for interest
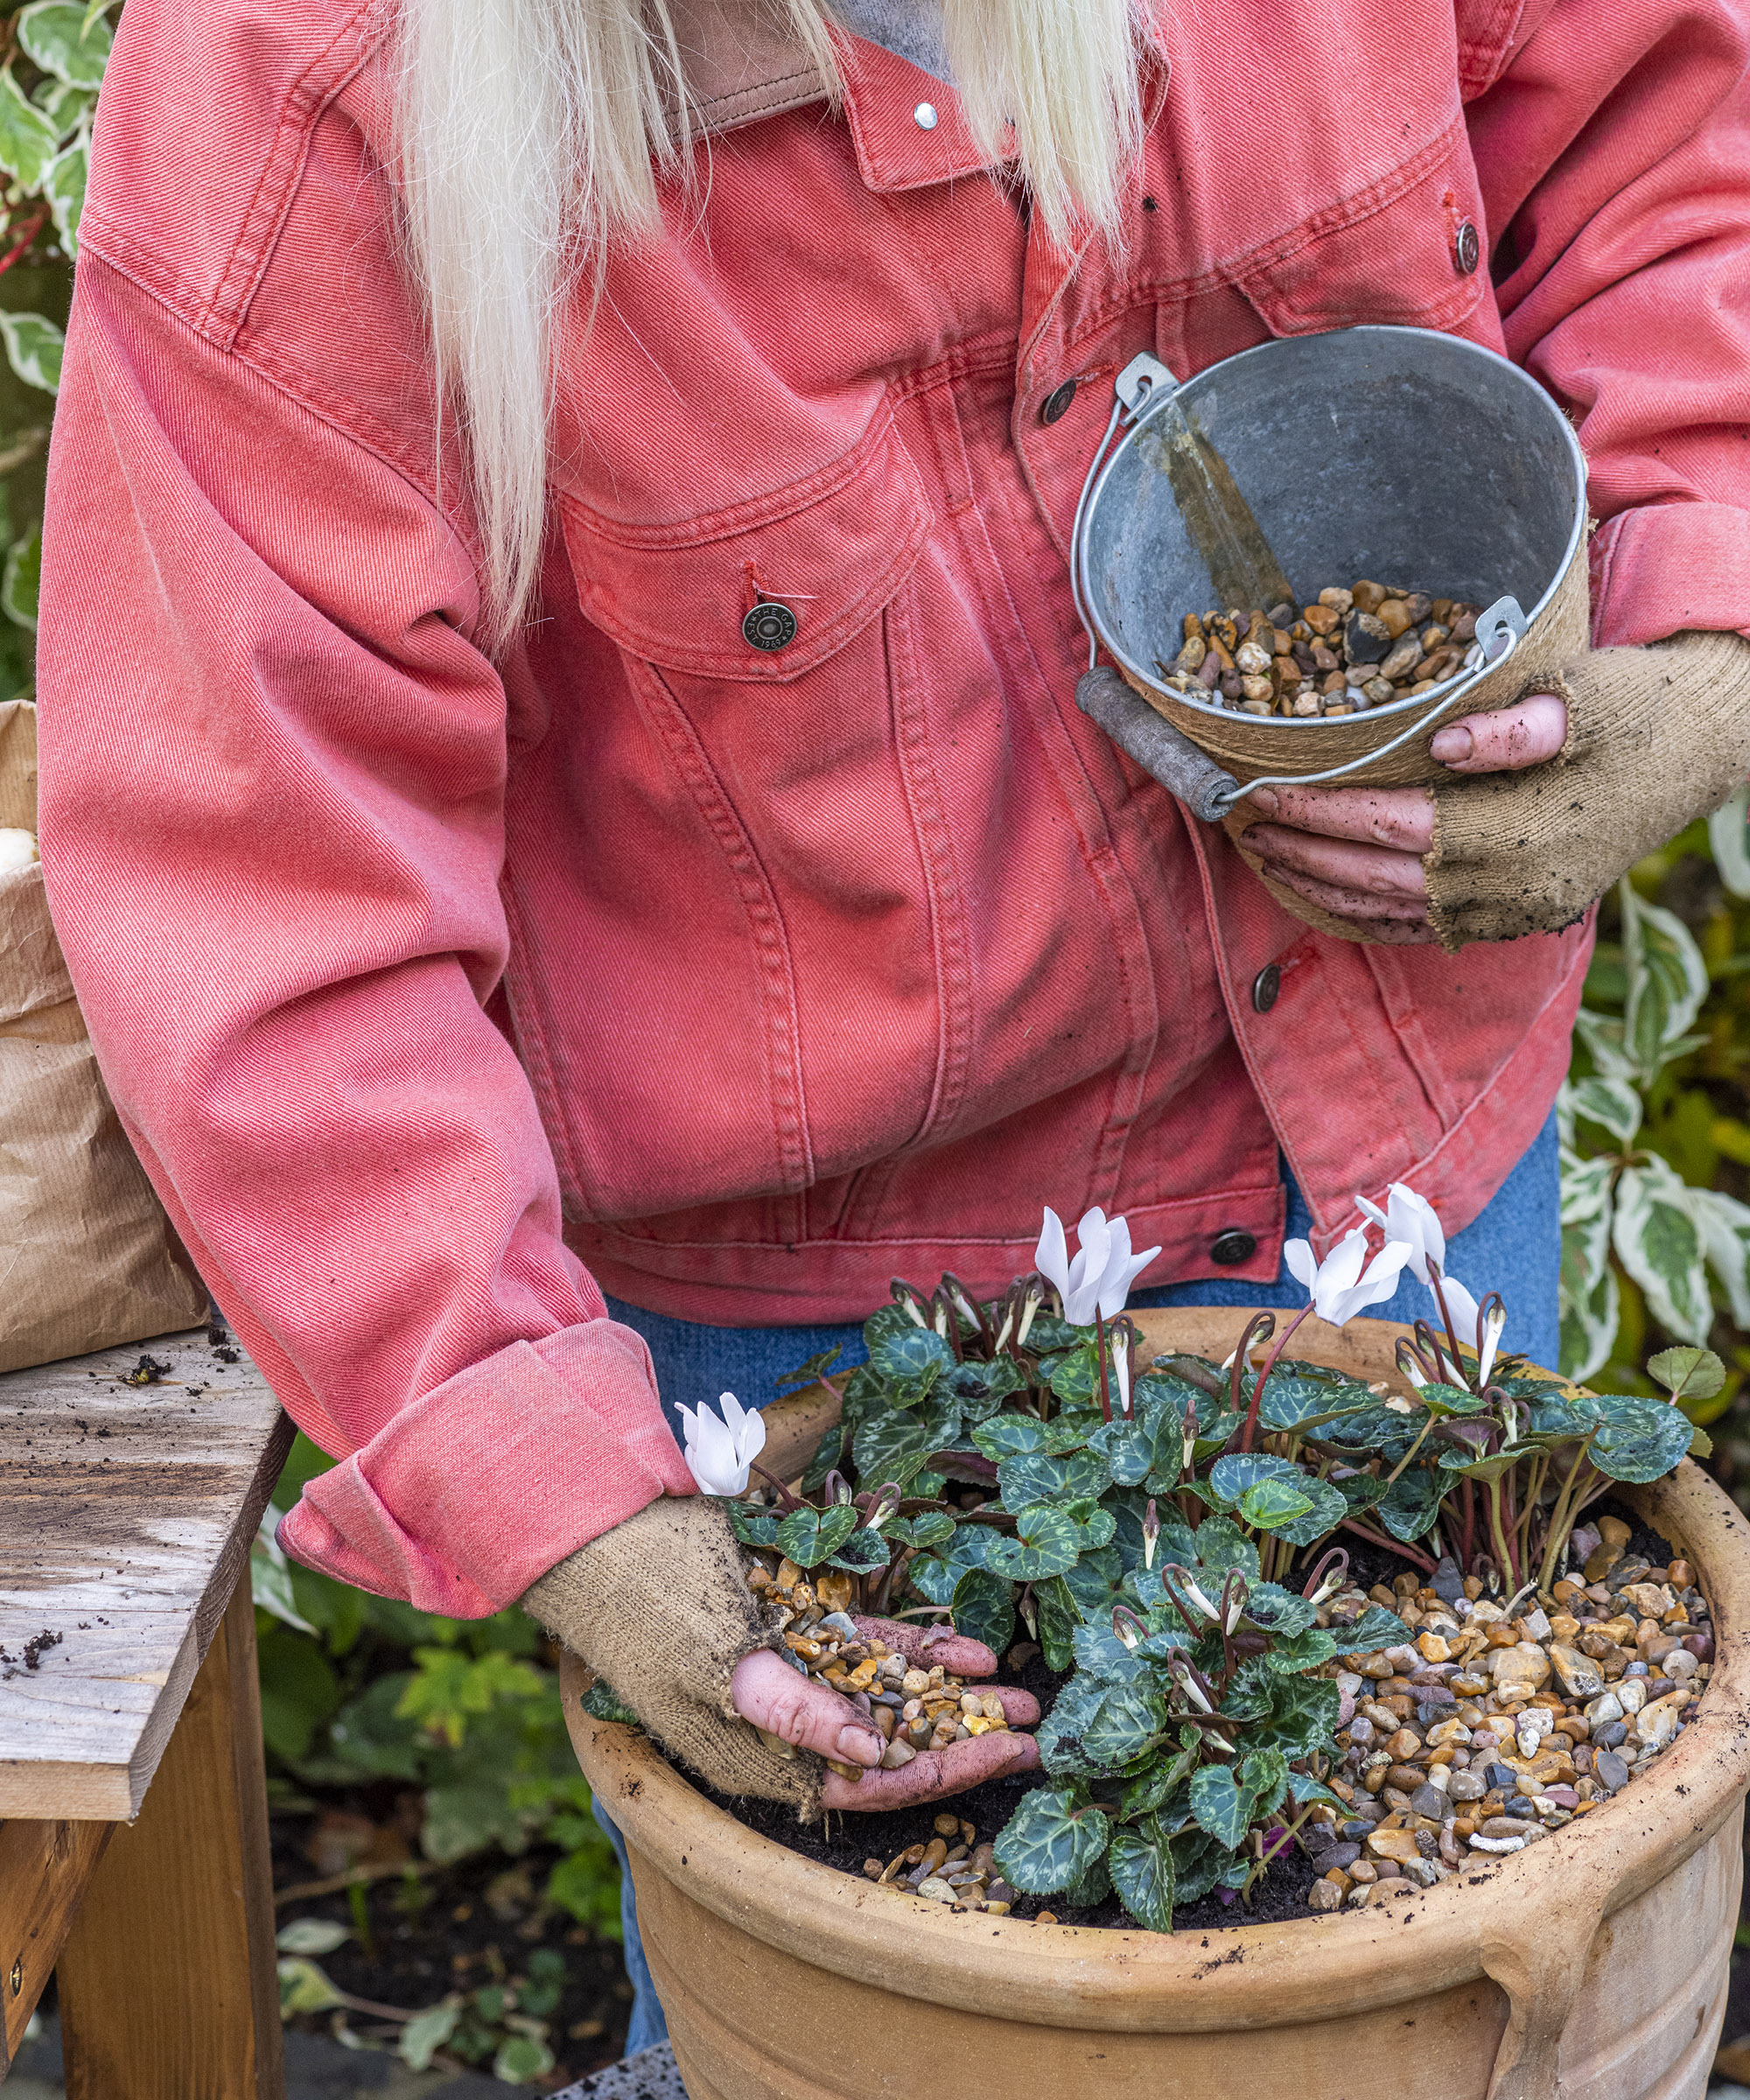
Gravel is ornamental as well as practical
Water your bulbs and then fill with compost all the way to the top of your container and firm. Winter cyclamen are one of the best winter plants for pots, so add one in the center and three others around it for instant interest until the bulbs pop up in spring.
Add a gravel mulch to the surface of the compost to stop squirrels digging up bulbs and eating them. It also looks a lot nicer than bare soil! These can be grouped around your main pot for more impact in spring.
Then simply place your pot where it will get plenty of winter sun and wait for the stunning spring blooms to appear.
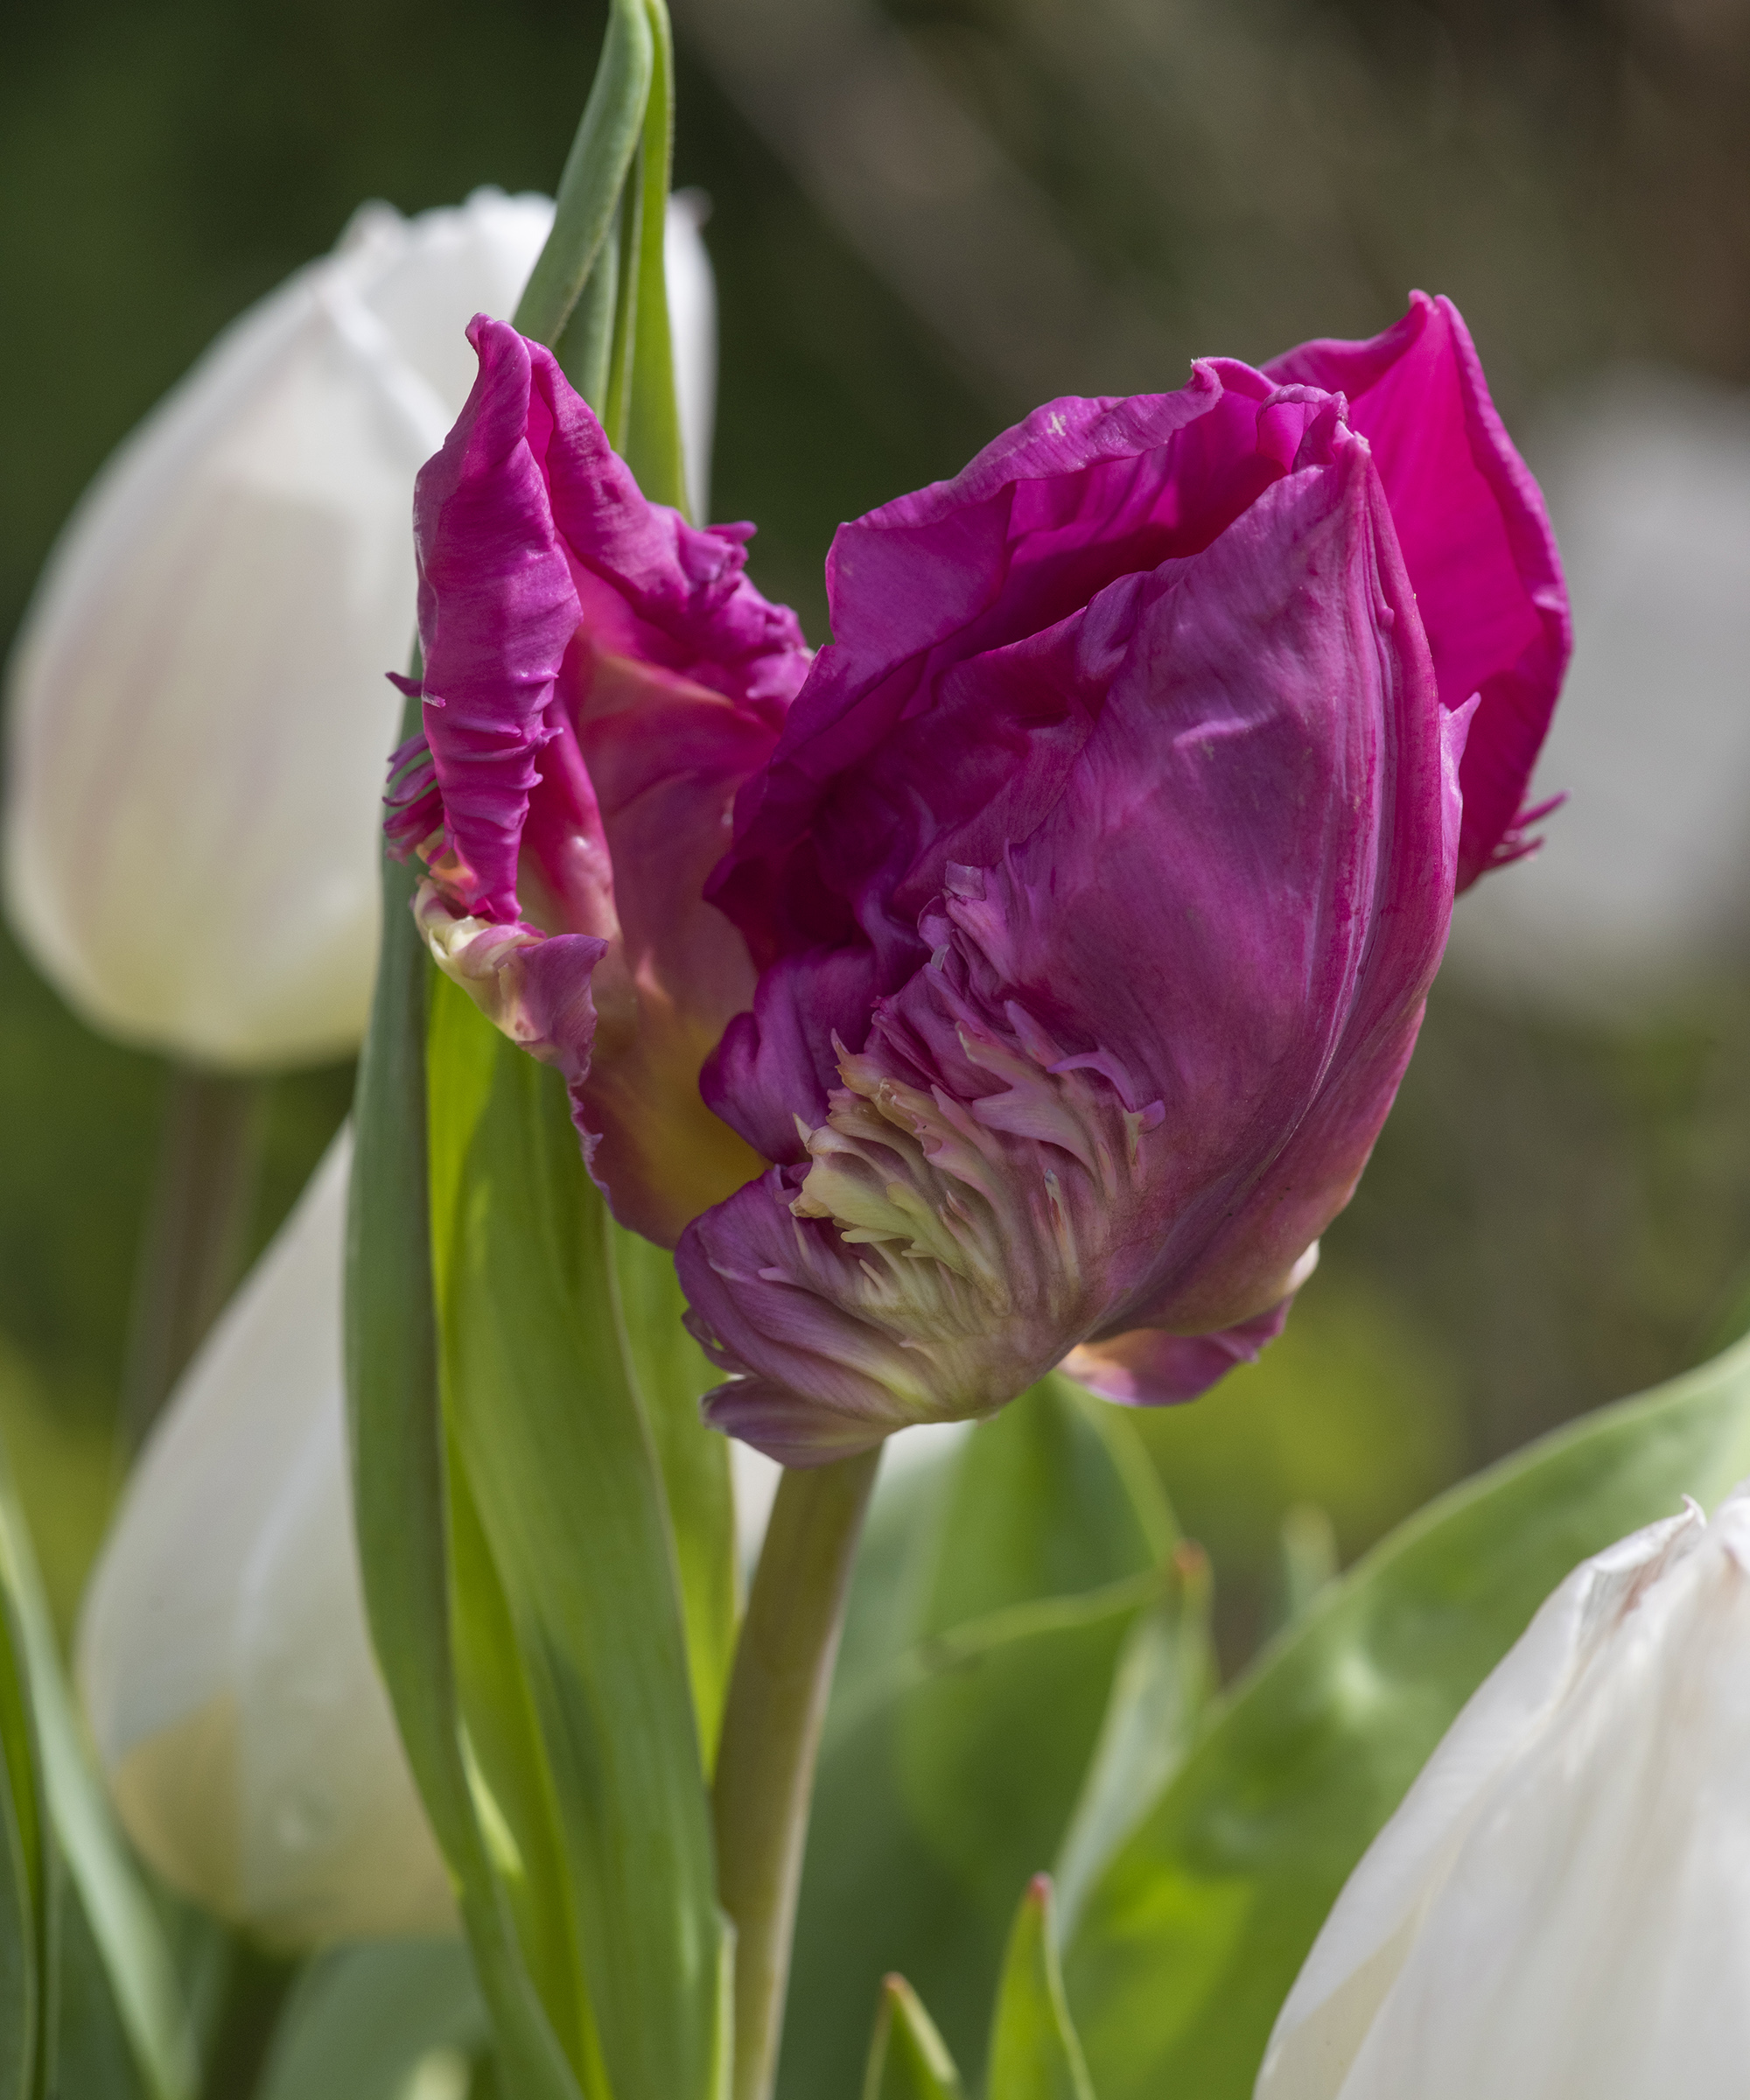
Tulips of the 'parrot' variety have pleasant frilly petals

Teresa has worked as an Editor on a number of gardening magazines for three years now. So she is lucky enough to see and write about gardening across all sizes, budgets and abilities. She recently moved into her first home and the garden is a real project! Currently she is relishing planning her own design and planting schemes. What she is most passionate about when it comes to gardening are the positive effects it has on our mental health to grow and care for plants, as well as being great for the environment too and help provide food and shelter for wildlife.
