How to plant a spring window box: the perfect job for a fall weekend
Don’t miss out on learning how to plant a spring window box in fall for fabulous displays to look forward to next season
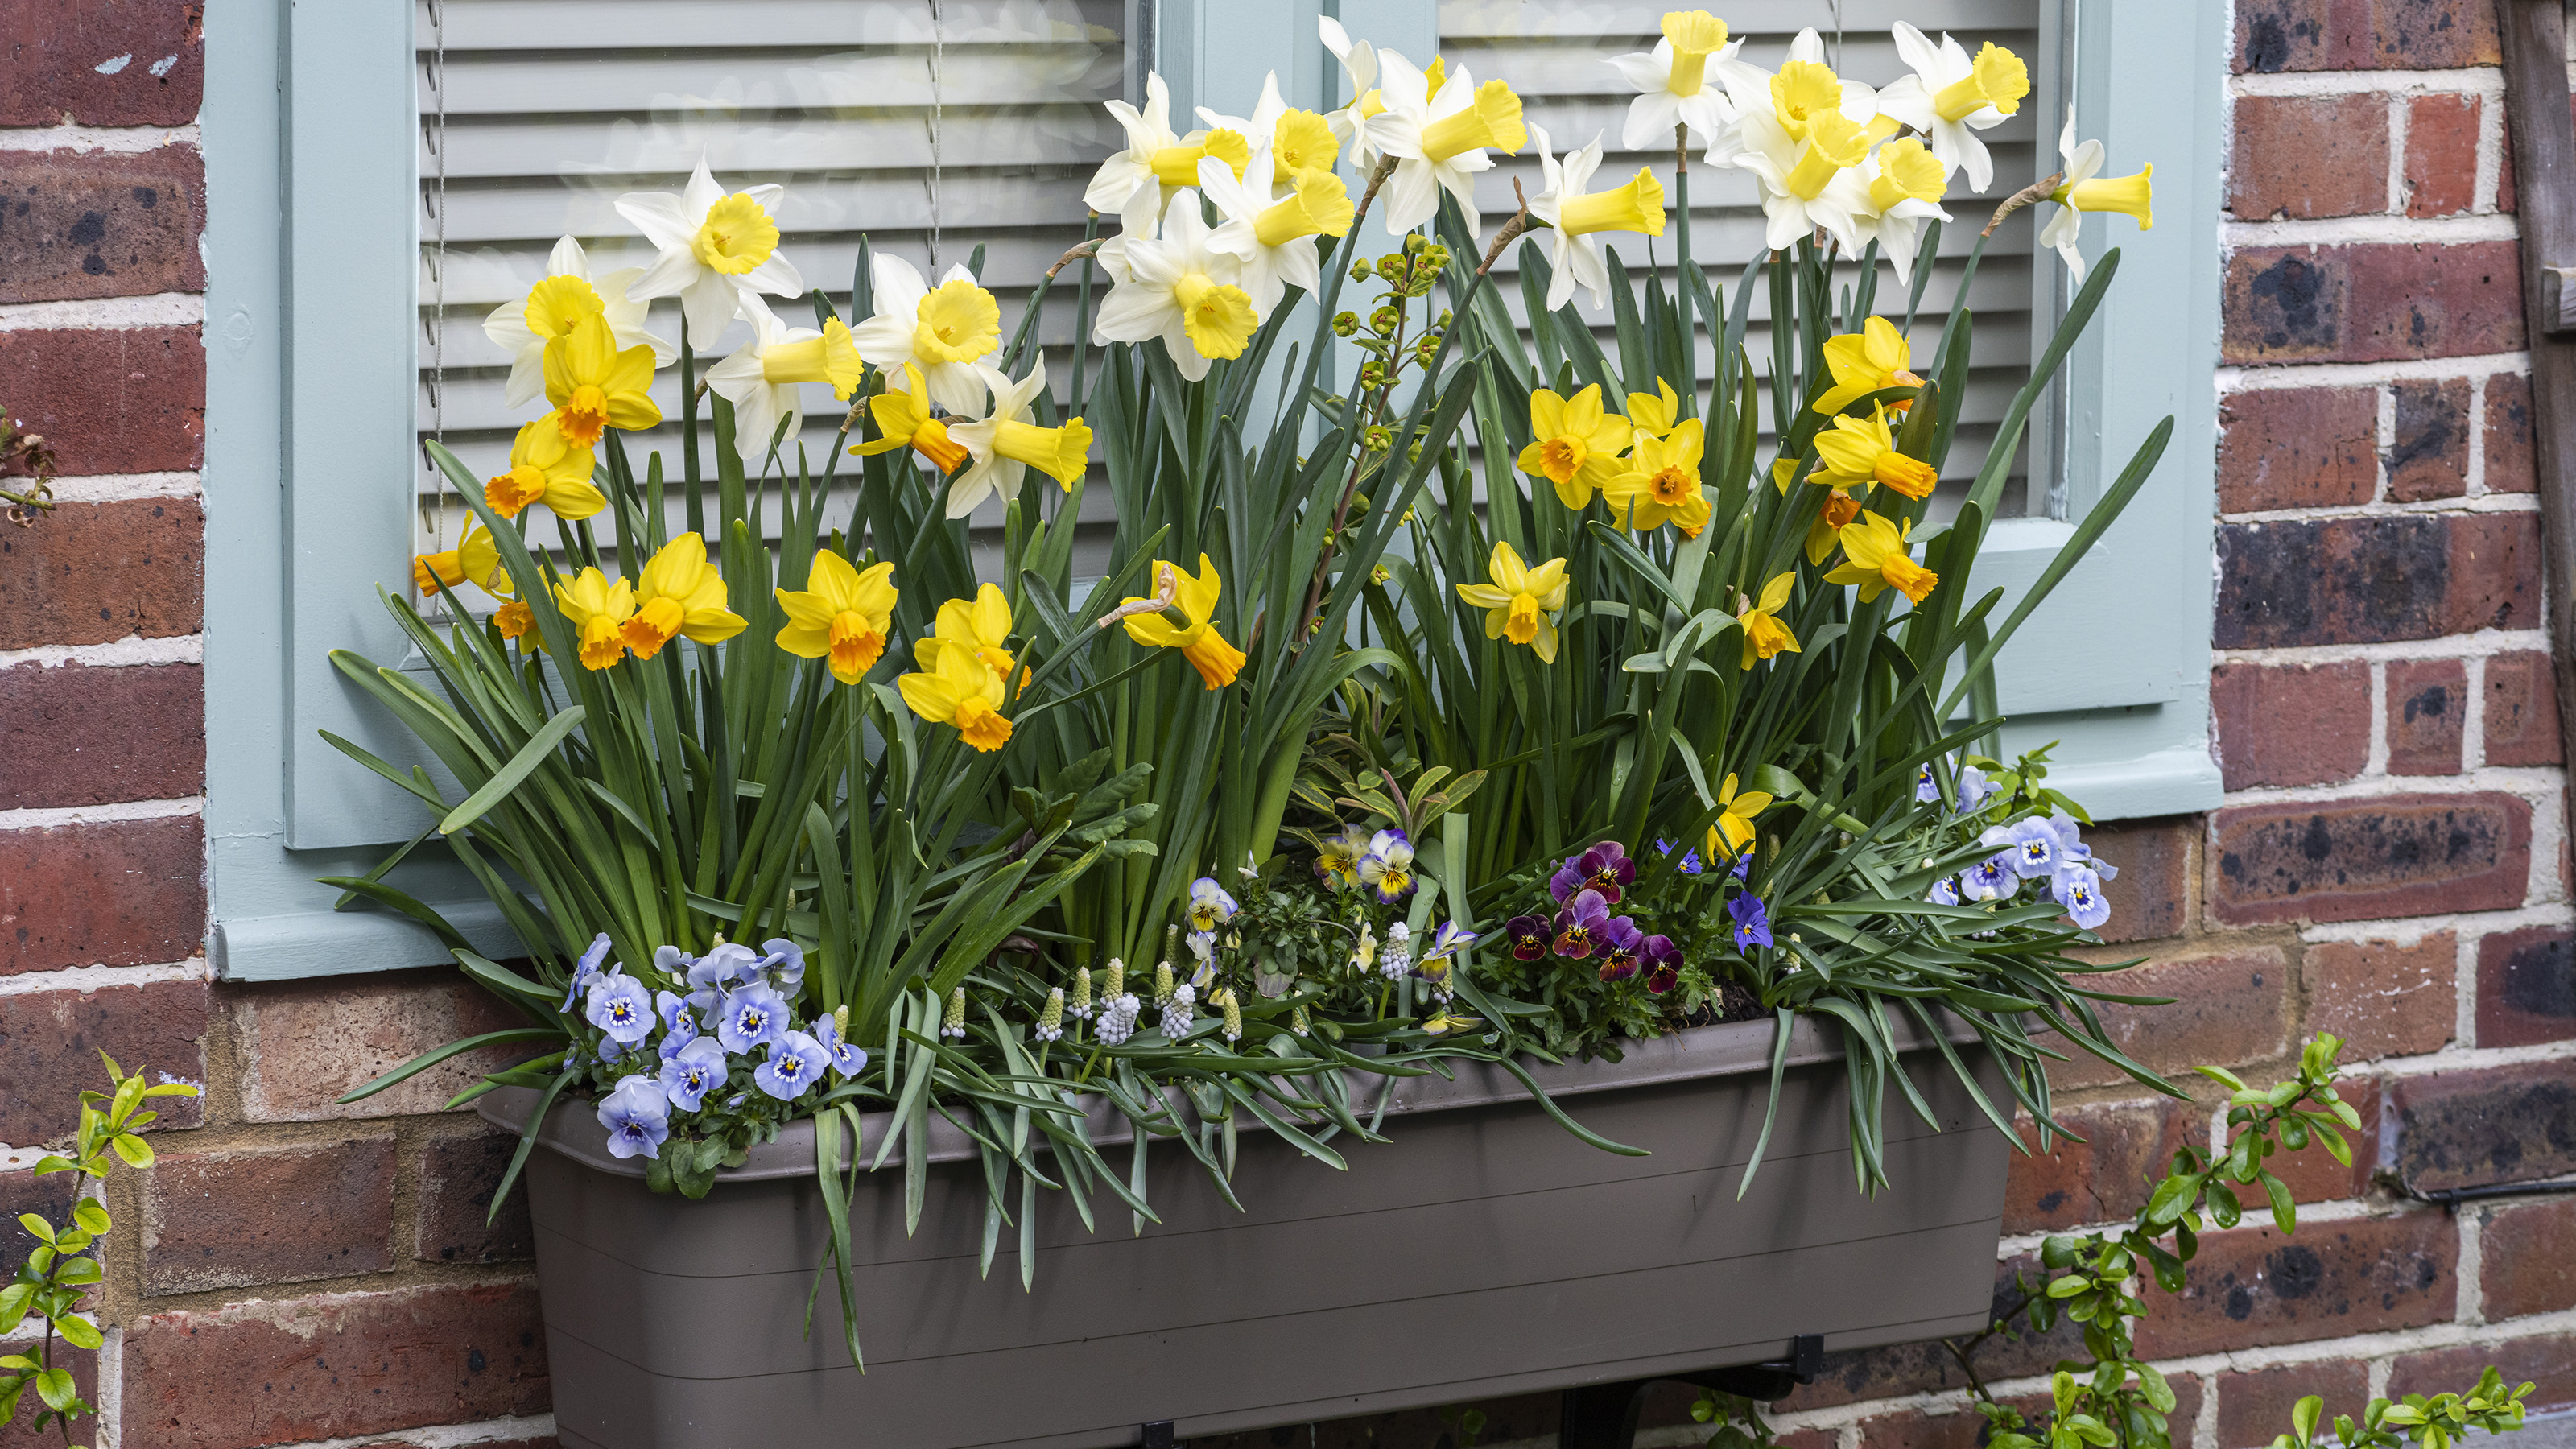

Learn how to plant a spring window box during fall, and you can perk up your front garden with the happy sight of daffodils once the warmer weather arrives in spring.
For this particular spring window box arrangement, we’ve packed in as many bulbs as possible, using two types of narcissus (daffodils) and delicate muscari, as well as euphorbia, violas, and a hellebore for winter foliage.
Once planted, position your window box in a sheltered spot, in the sun is preferable but it will cope if it’s slightly in shade too. The hellebores and two baby euphorbias will give you instant color throughout the season, so leave it somewhere you can admire it from inside the house.
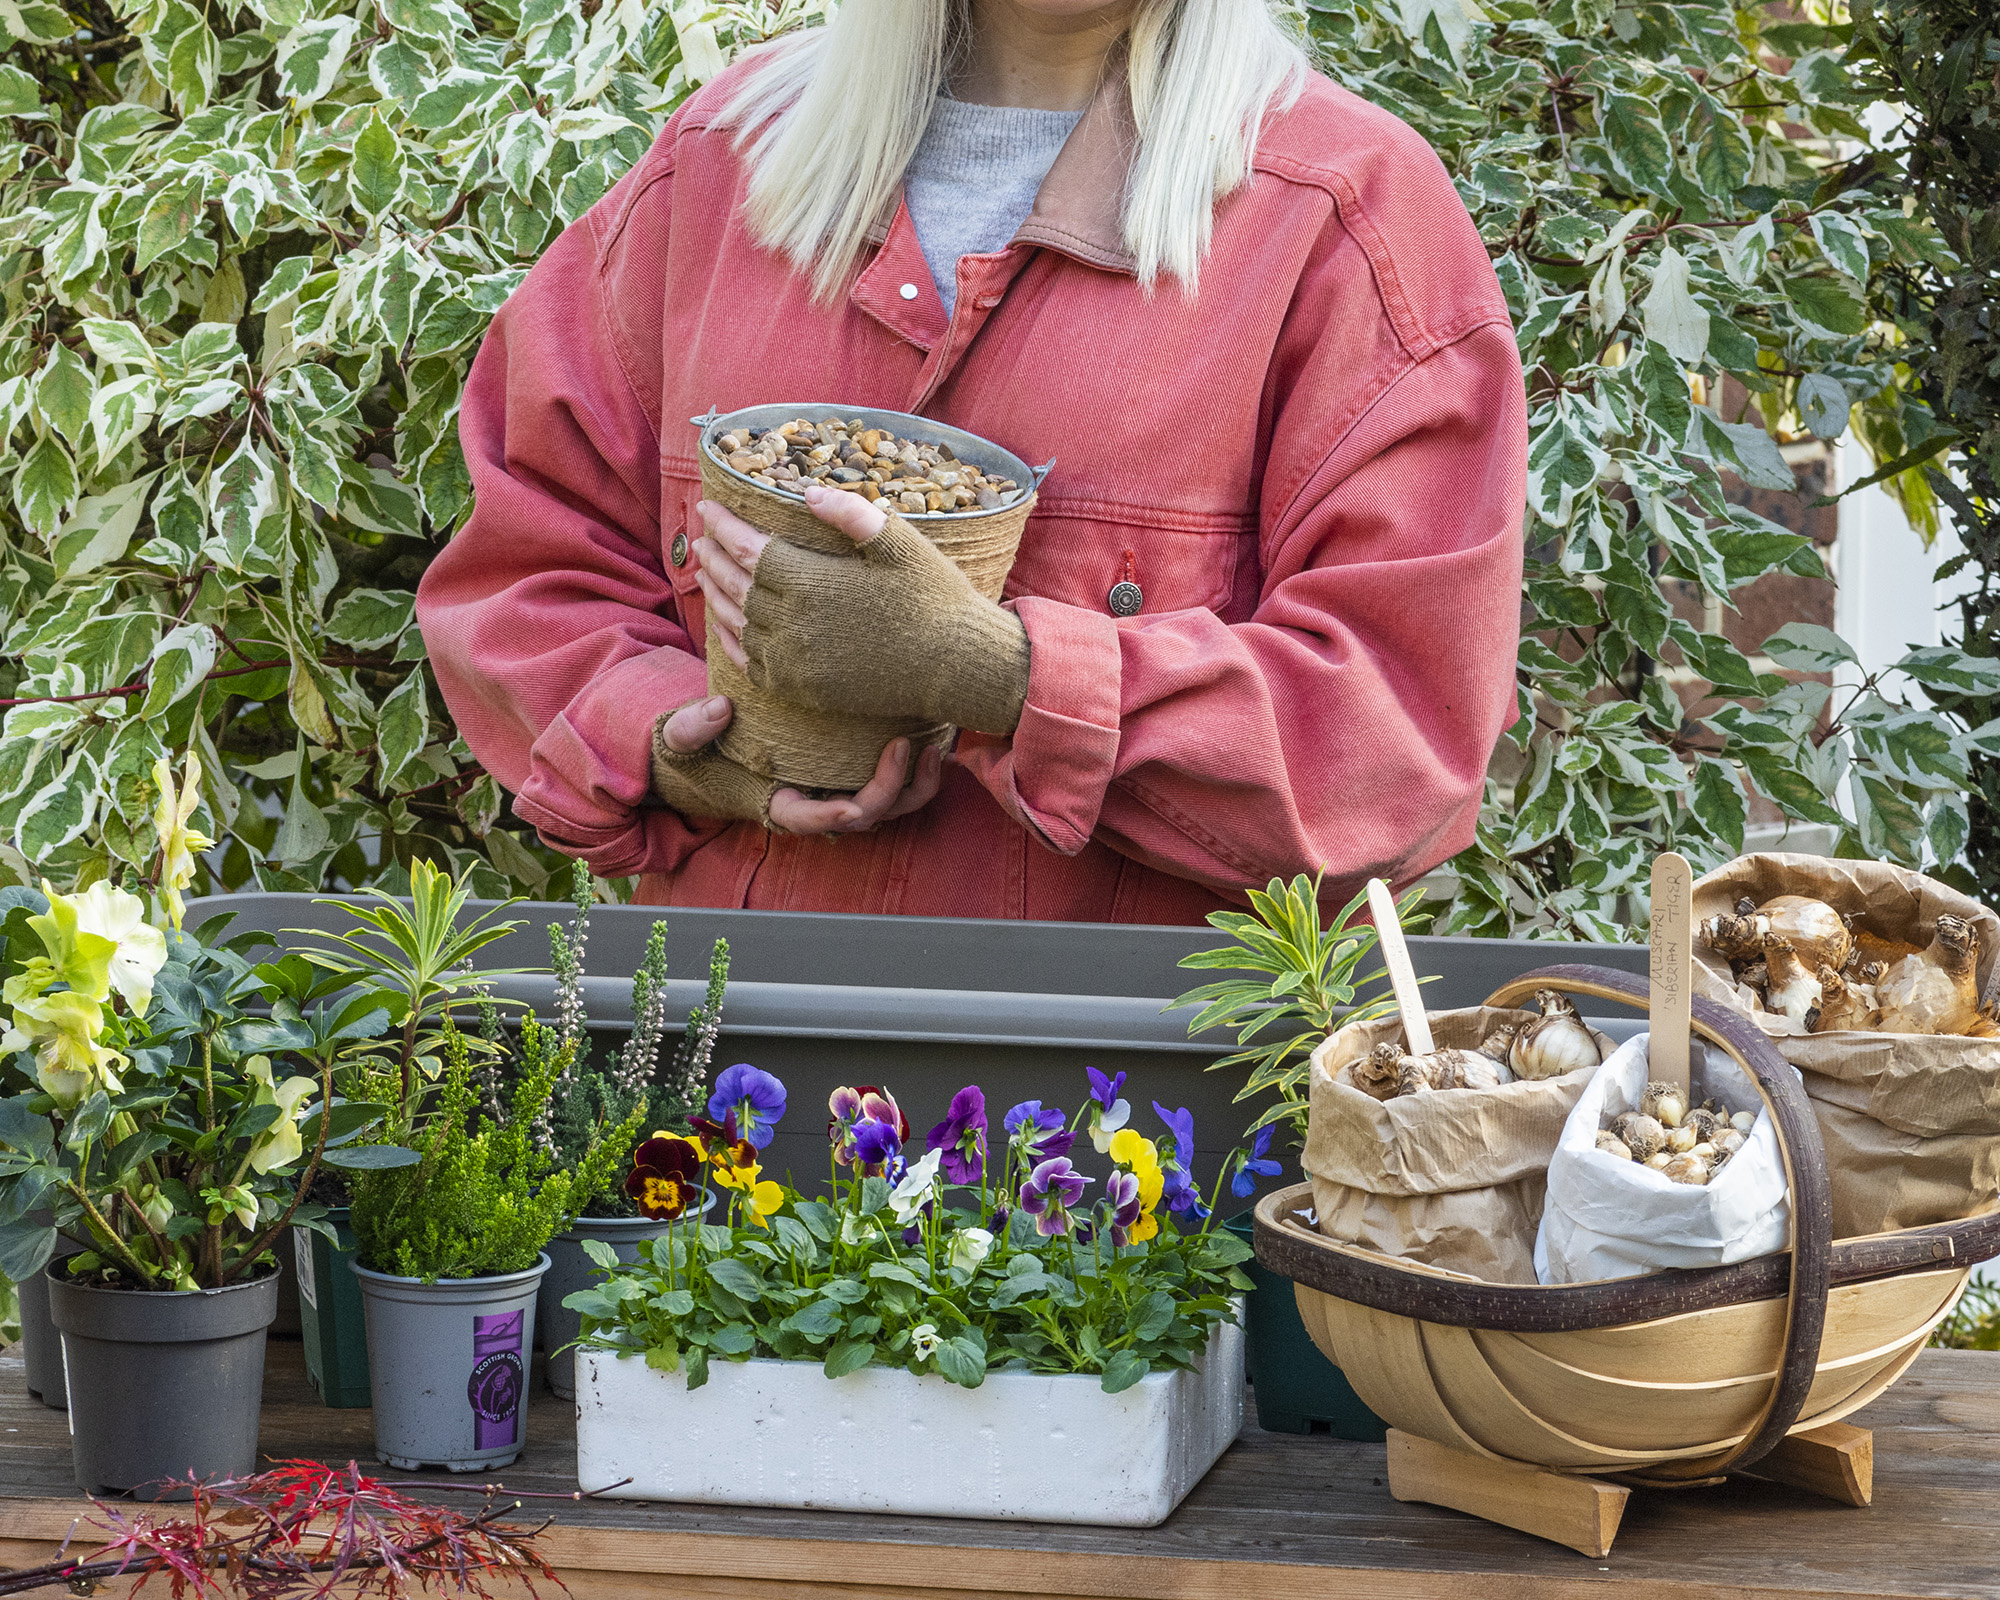
Gather all your plants and materials on your potting bench ready to start
Find out how to plant a spring window box in 7 simple steps
Planting bulbs in a spring themed window box will give you plenty of seasonal interest and then after the window box has finished its display, both the hellebore and euphorbia can be planted out in a permanent home in a bed or border.
Our planting list and simple step-by-step guide for how to plant a window box for spring will make it easy for you to recreate this stunning planter.
Plant list:
- 2 x Helleborus niger ‘Christmas Carol’
- 2 x Euphorbia ‘Ascot Rainbow’
- Violas
- Daffodil bulbs Narcissus ‘Jetfire’ and Narcissus 'Ice Follies' - view daffodil bulbs at Amazon
- Muscari ‘Siberian Tiger’ - view Muscari at Amazon
1. Prep your spring window box container
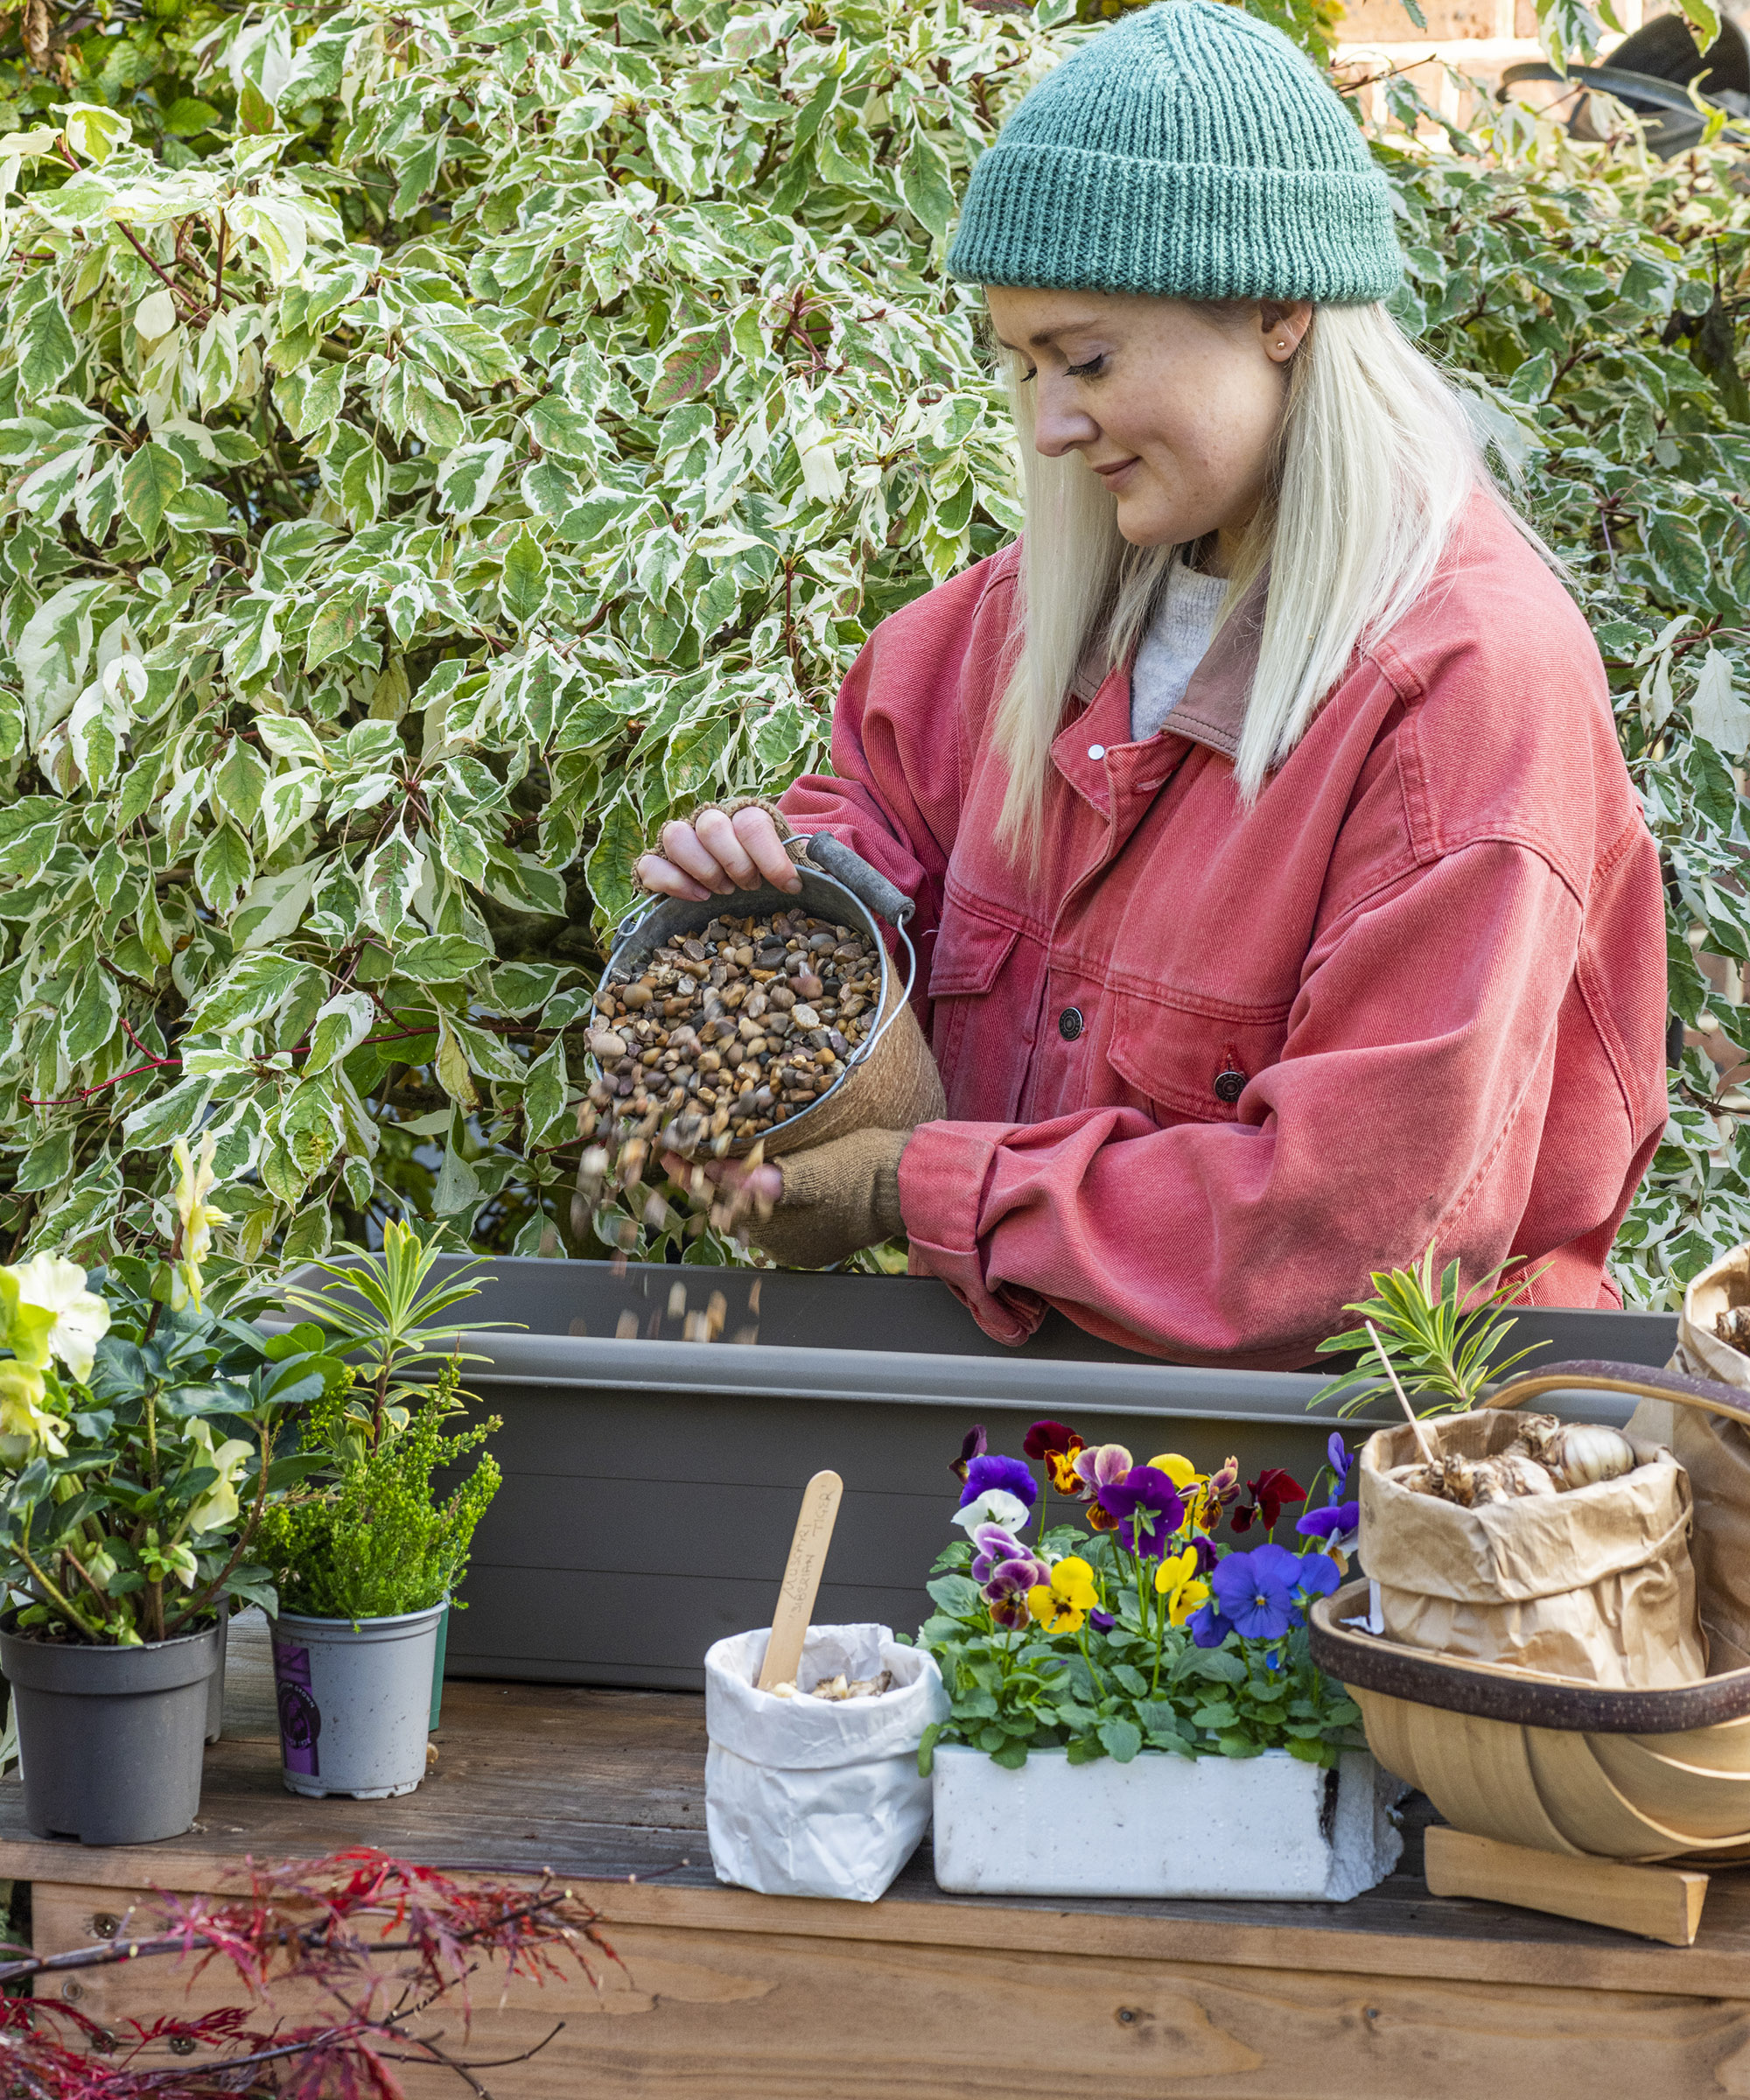
Gravel on the base of your container will help with drainage
Source a suitable window box for your spring display. We used a lightweight plastic trough for our display. Try to avoid anything too heavy for your window box ideas if you are planning to mount your display on a windowsill.
Wash out the window box with warm soapy water if you are reusing an existing container. Cover drainage holes with gravel. Next fill the container with compost about three-quarters and firm down.
2. Put in some winter interest
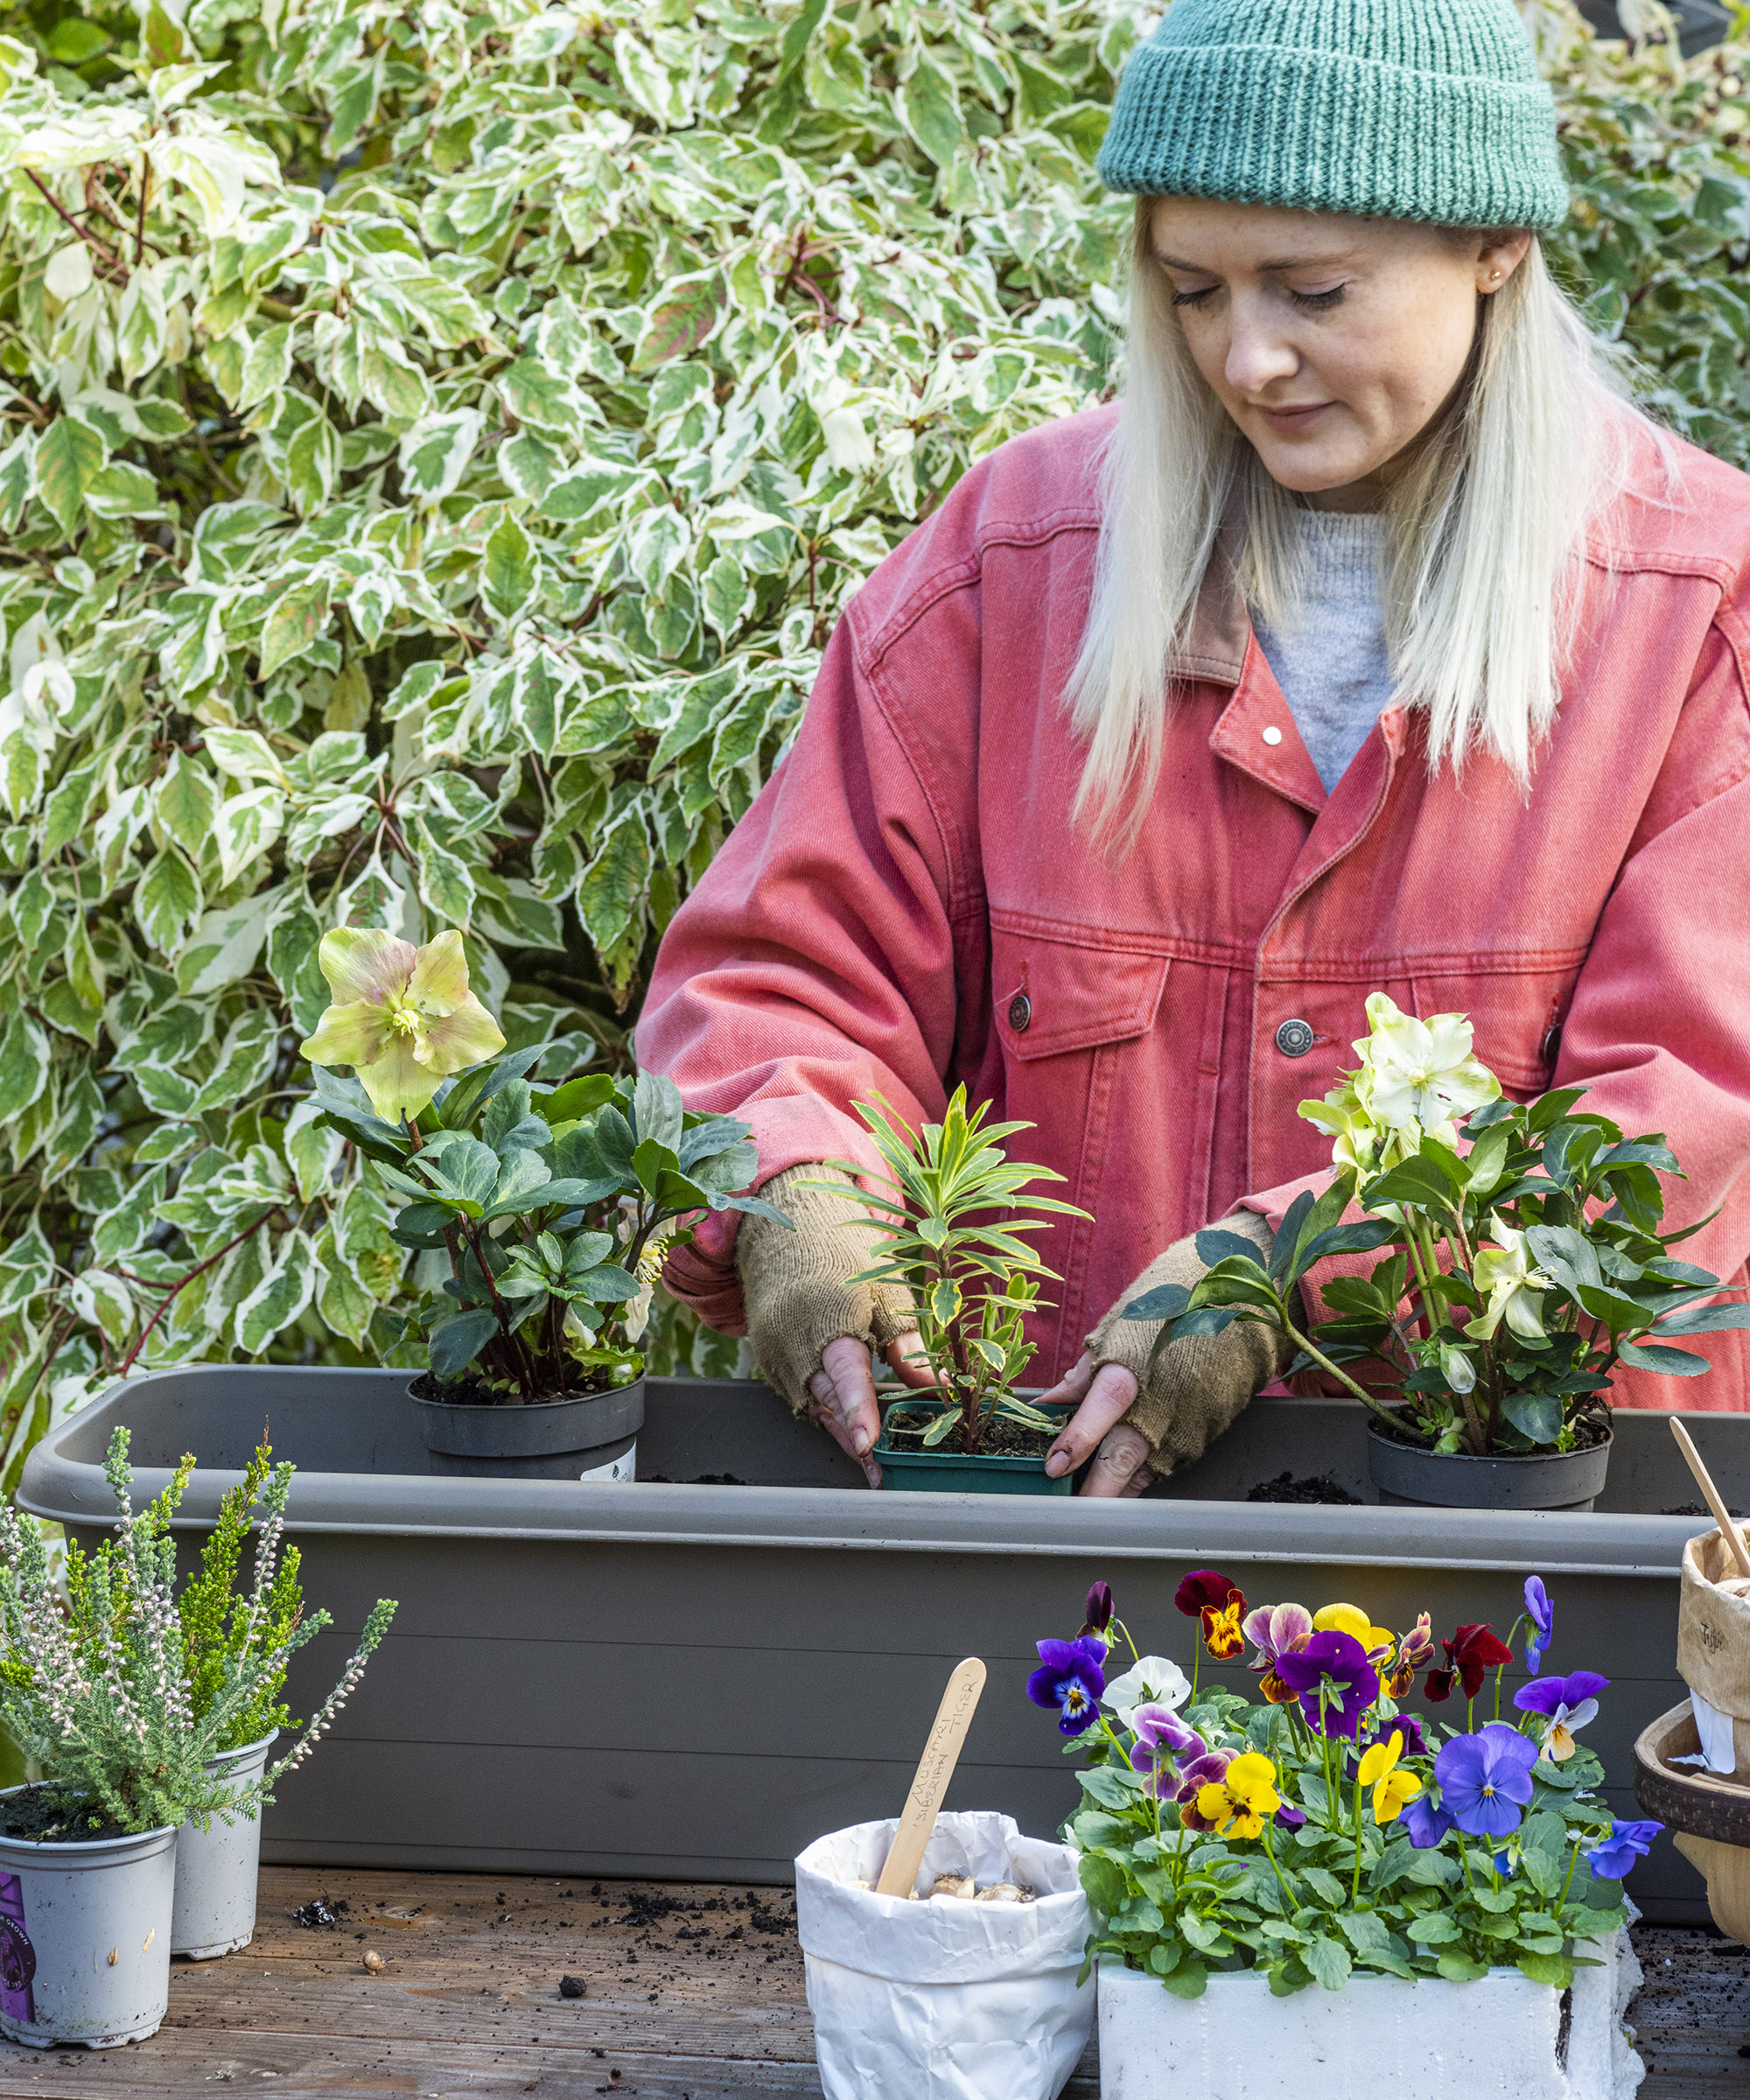
Go for symmetry and balance in your container displays
Whilst you're waiting for your spring bulbs to pop up, containers can look quite bare and bleak throughout the winter months. The trick is to include some early season interest in your spring container ideas, which will see you through the cold months.
Position the euphorbias, hellebores and violas (still in their plastic pots) evenly spaced along the window box to decide on how you want them to look. Make an indent in the surface of the compost for the pot.
3. Remove plants from their plastic pots
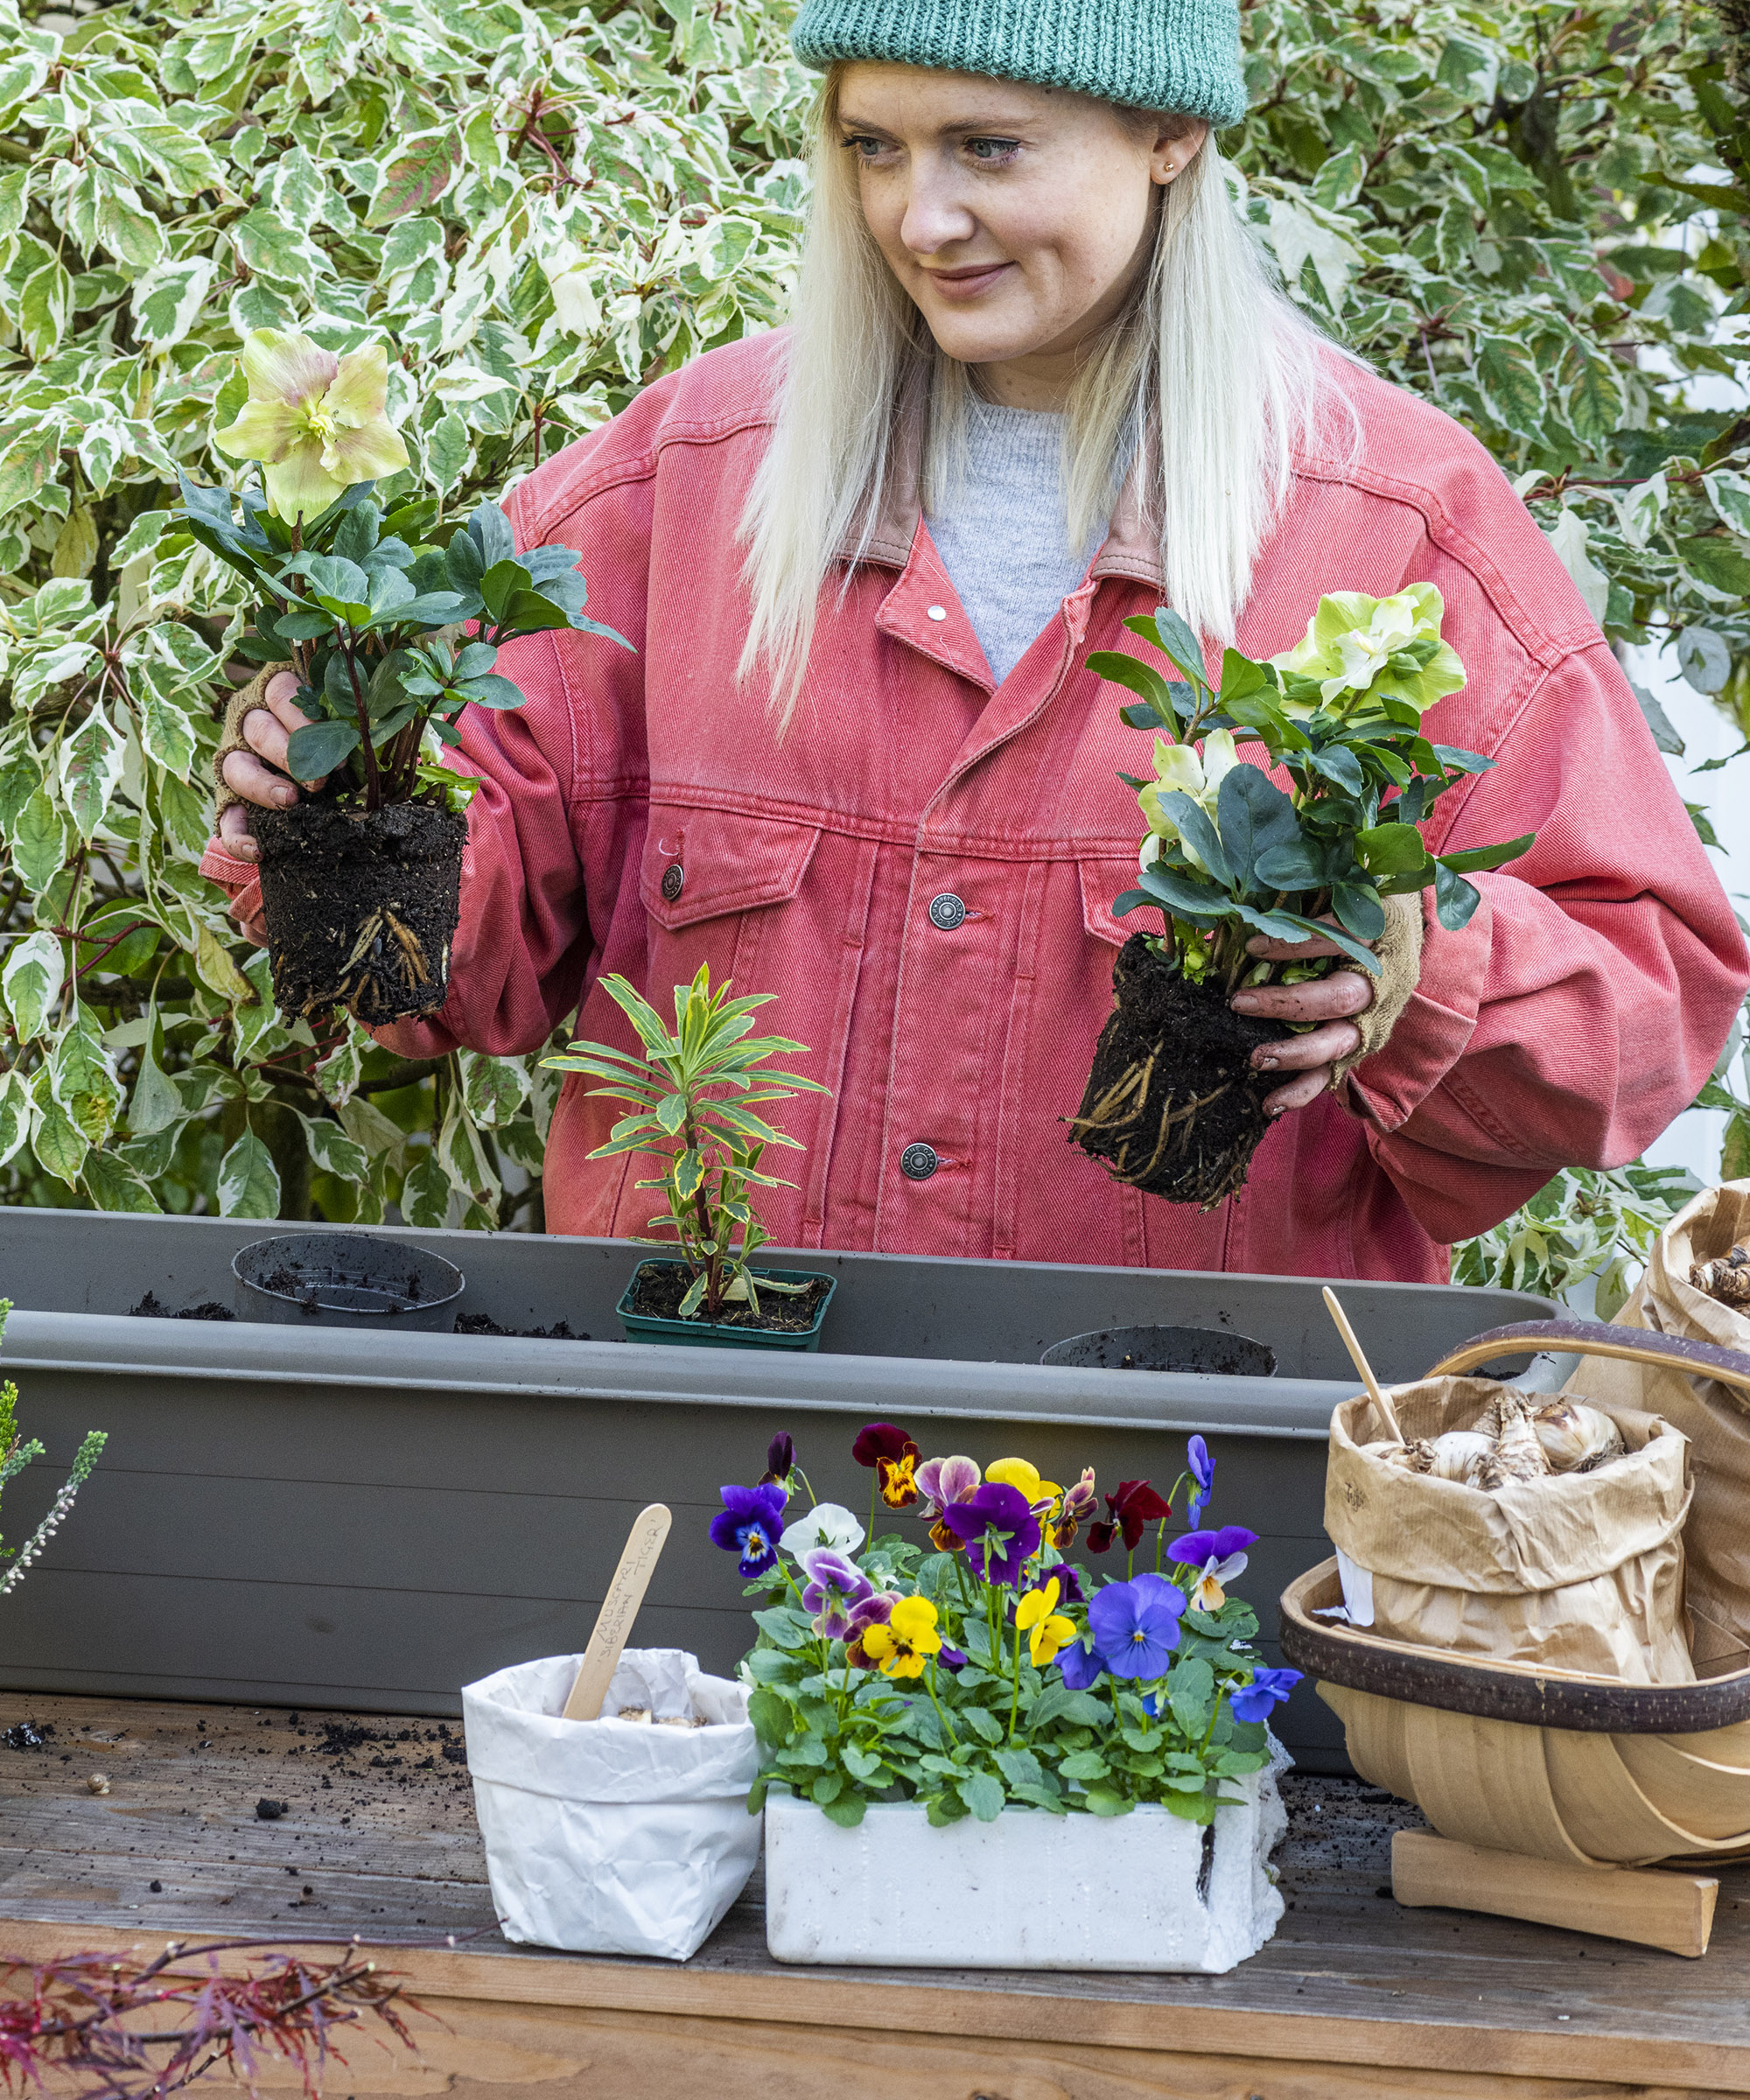
Your hellebores will be secured in position in the later stages
Next, lift the hellebores, euphorbia and viola plants carefully out of their plastic containers. Do so gently, without damaging the root ball.
Leave the empty plastic pots in their positions to show the planting hole. The plants will be placed in their final positions into the soil once your bulbs have been arranged. The plastic pots will act as a guide as to where to position the bulbs
4. Plant your daffodils in groups
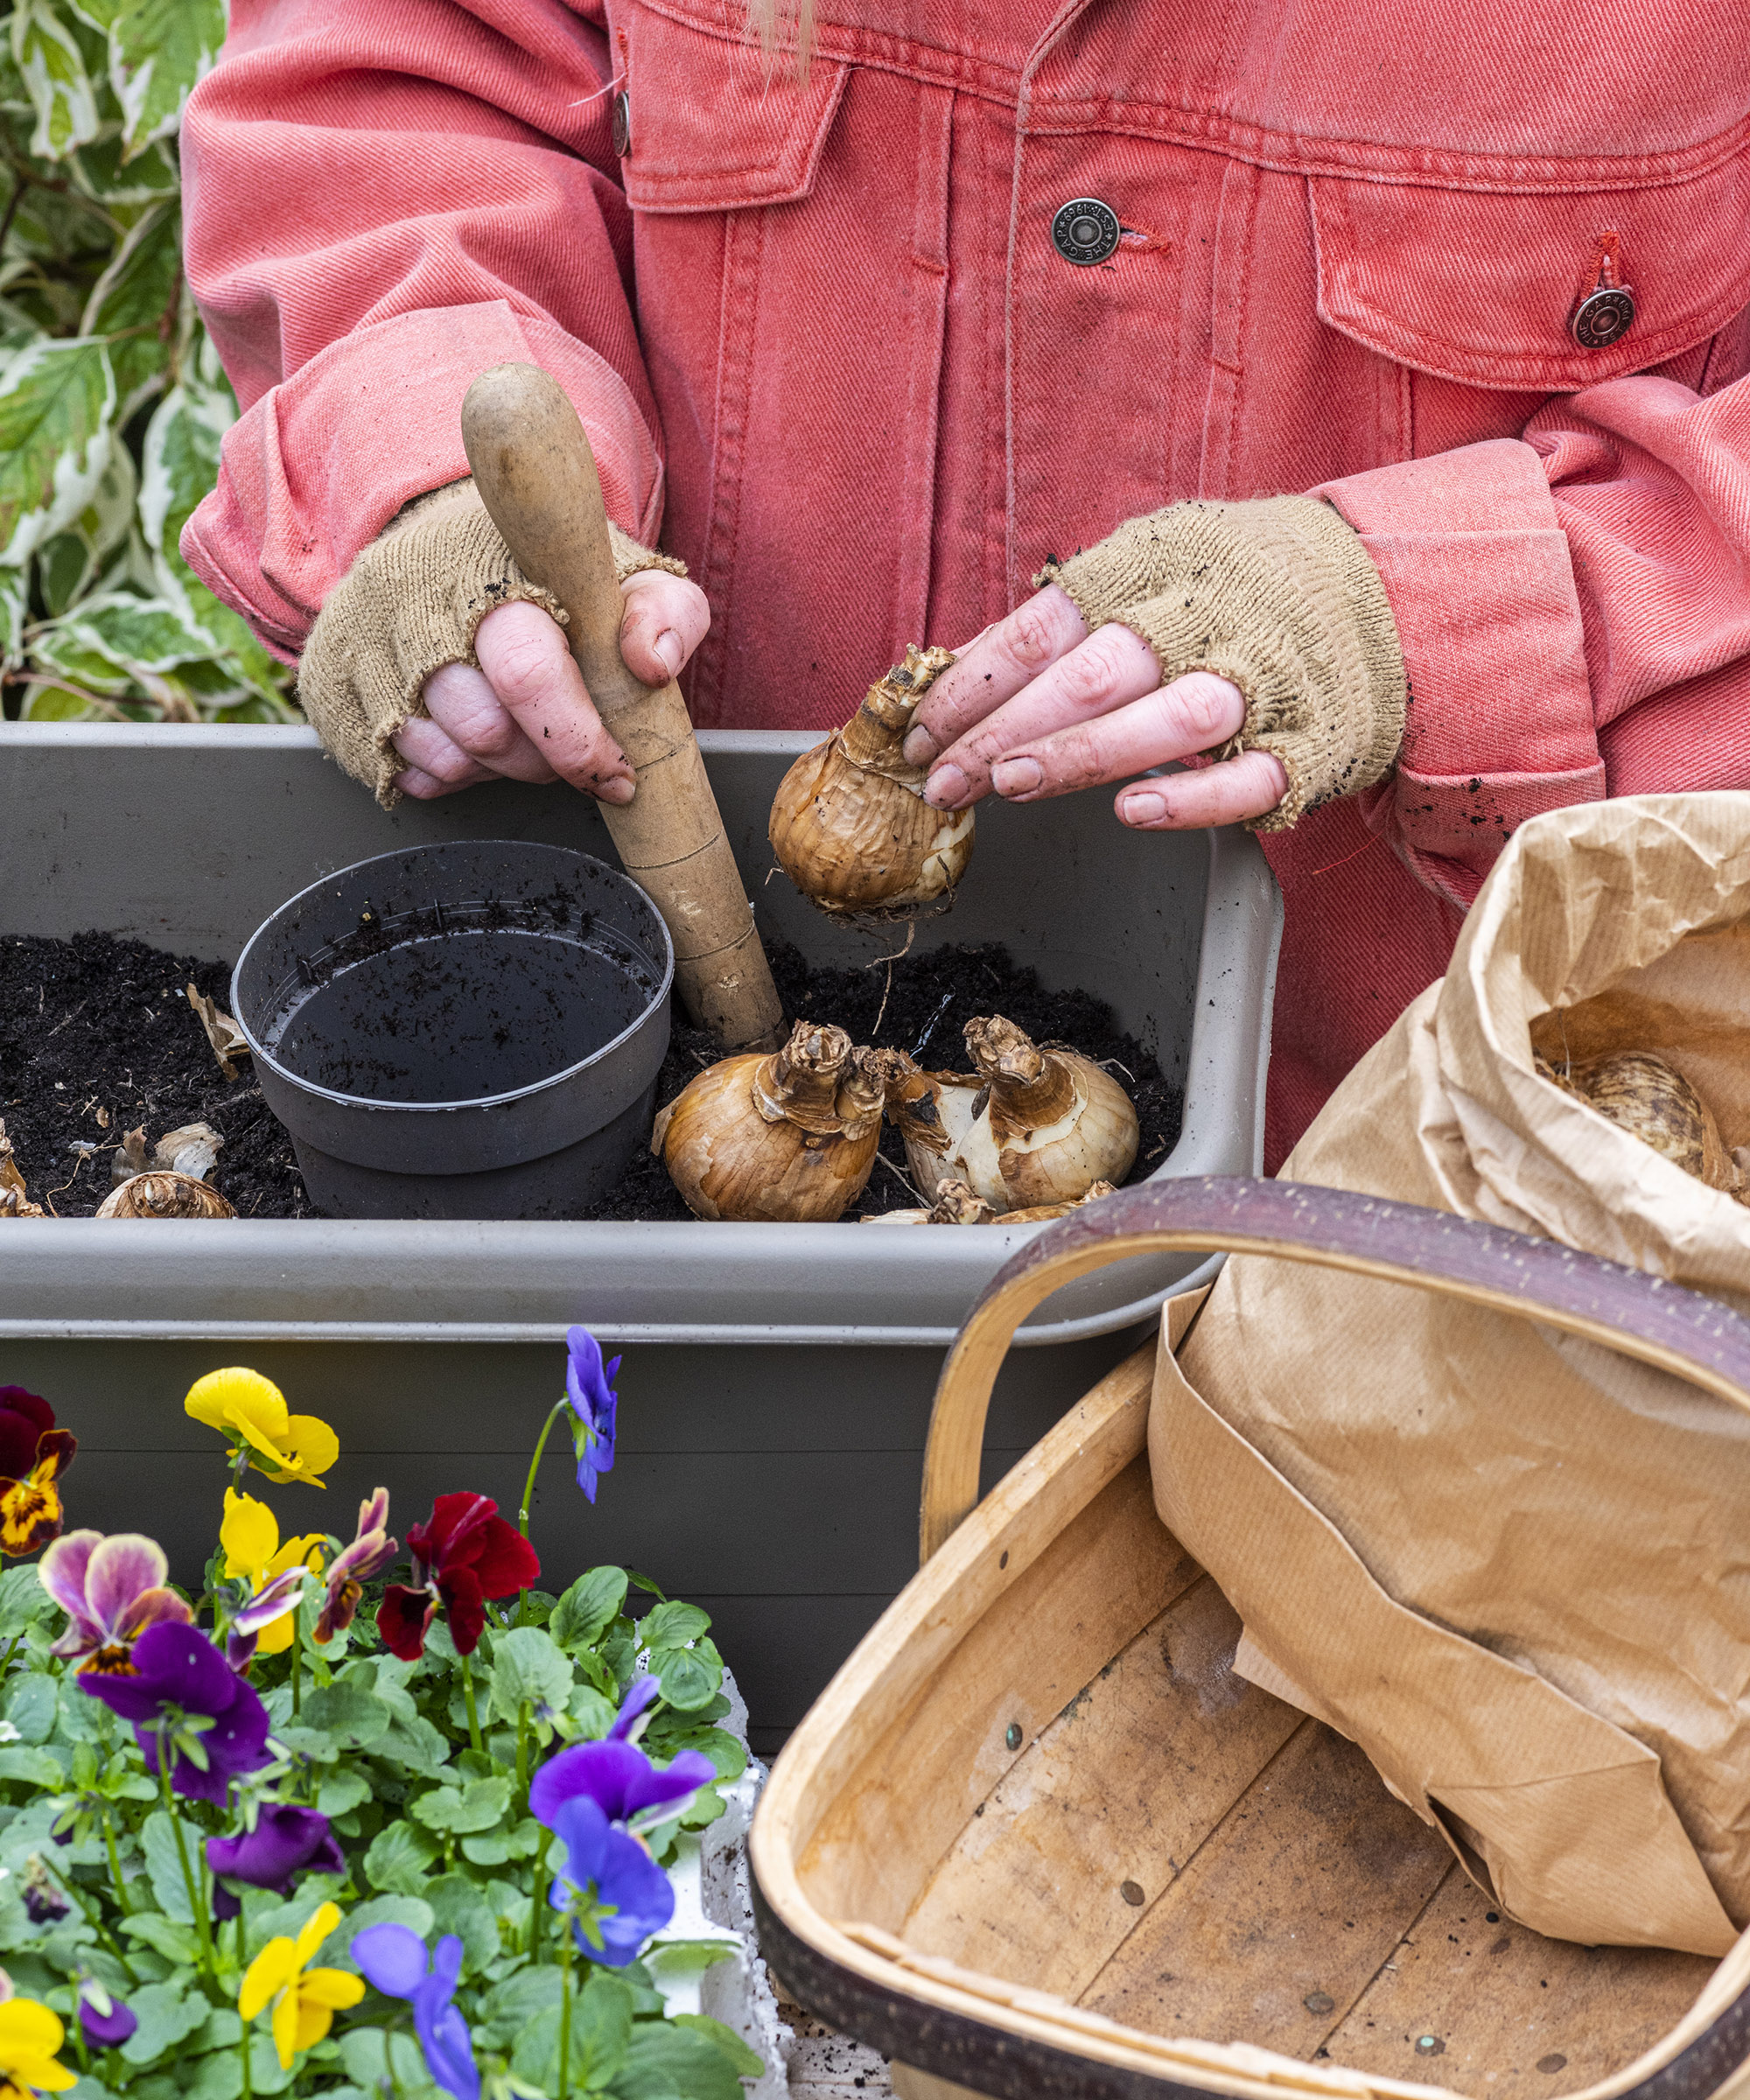
Odd numbers of bulbs look better in groups than even
Plant the two types of daffodils alternately along the box. Aim for them to be planted at an eventual depth of around three times the height of your bulb.
Group them in clumps of 5 or 7 bulbs with their tips pointing upwards. This might seem like a lot when planting daffodil bulbs, but the more you can pack in the better your display will be when your bulbs flower.
5. Cover your daffodils and add your muscari
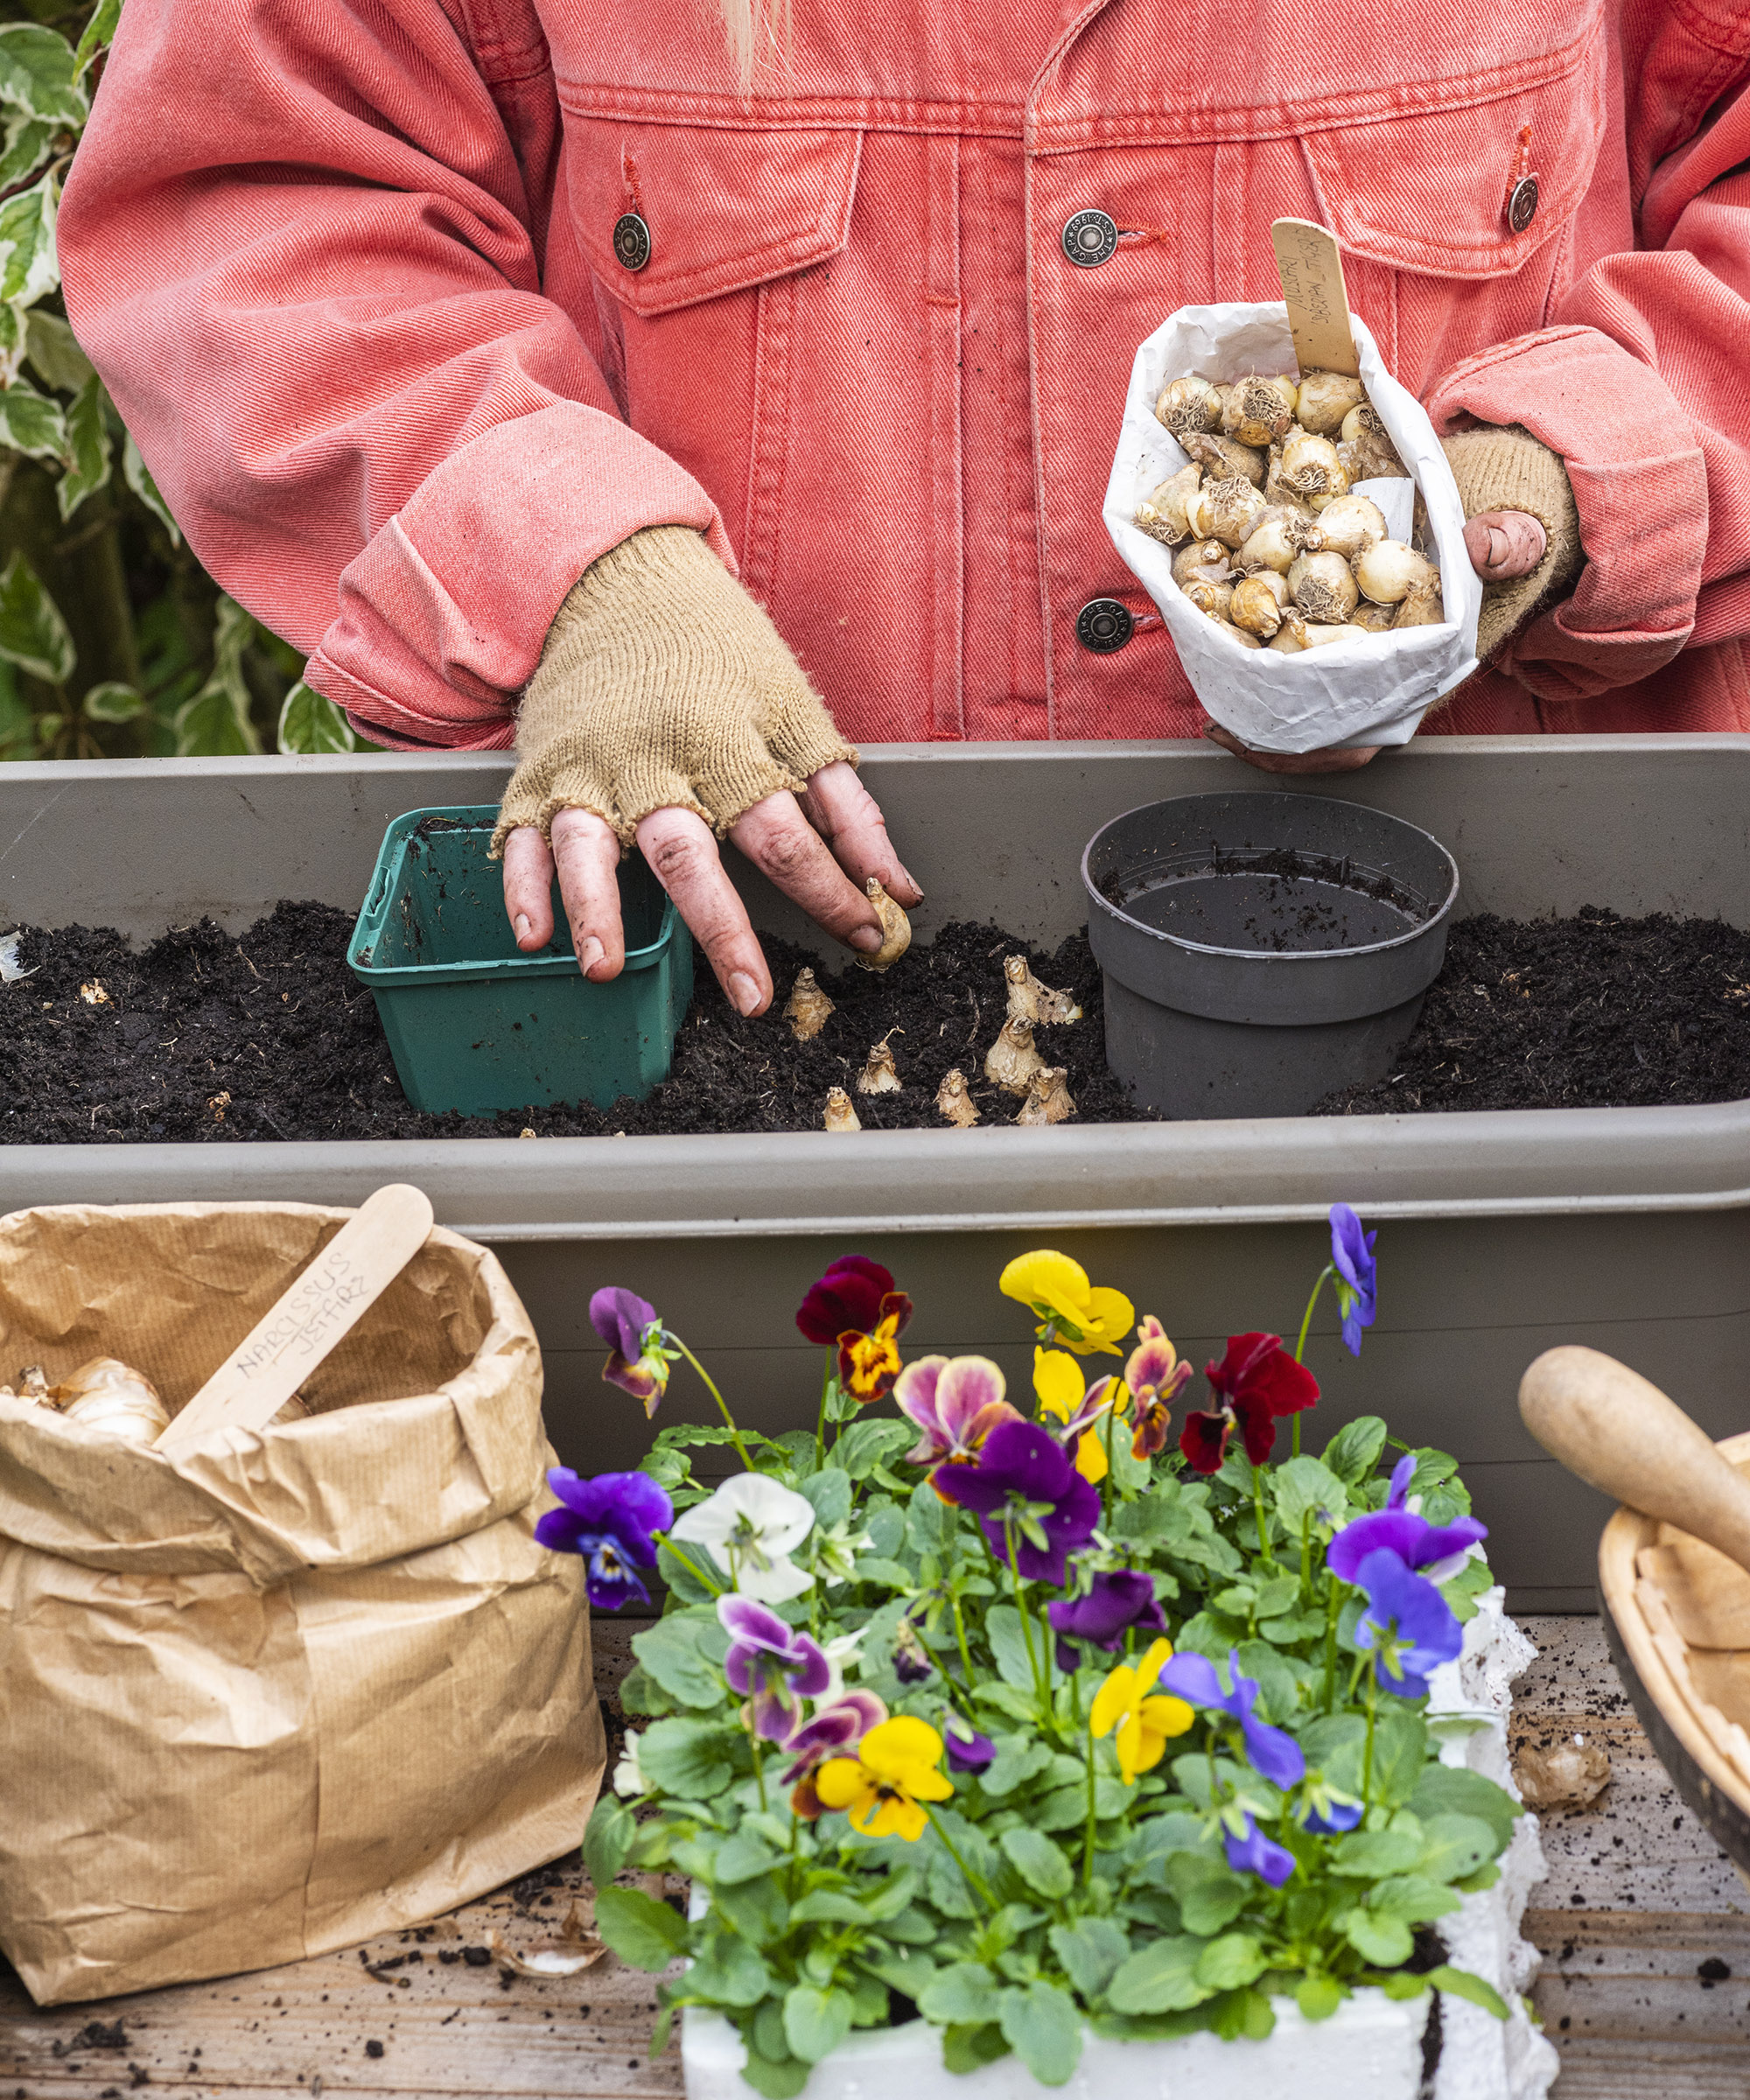
Remember that 'more is more' when it comes to planting spring bulbs
Add an inch or so of compost on top of your narcissus bulbs so the tips are just peeping through. Fill all available space with a river of Muscari ‘Siberian Tiger’ bulbs.
If you deadhead this grape hyacinth as it grows, this will encourage it to bloom throughout the flowering times of both narcissi, providing a constant speckling of purple throughout. You may also deadhead daffodils as and when needed.
6. Secure your winter plants in their positions
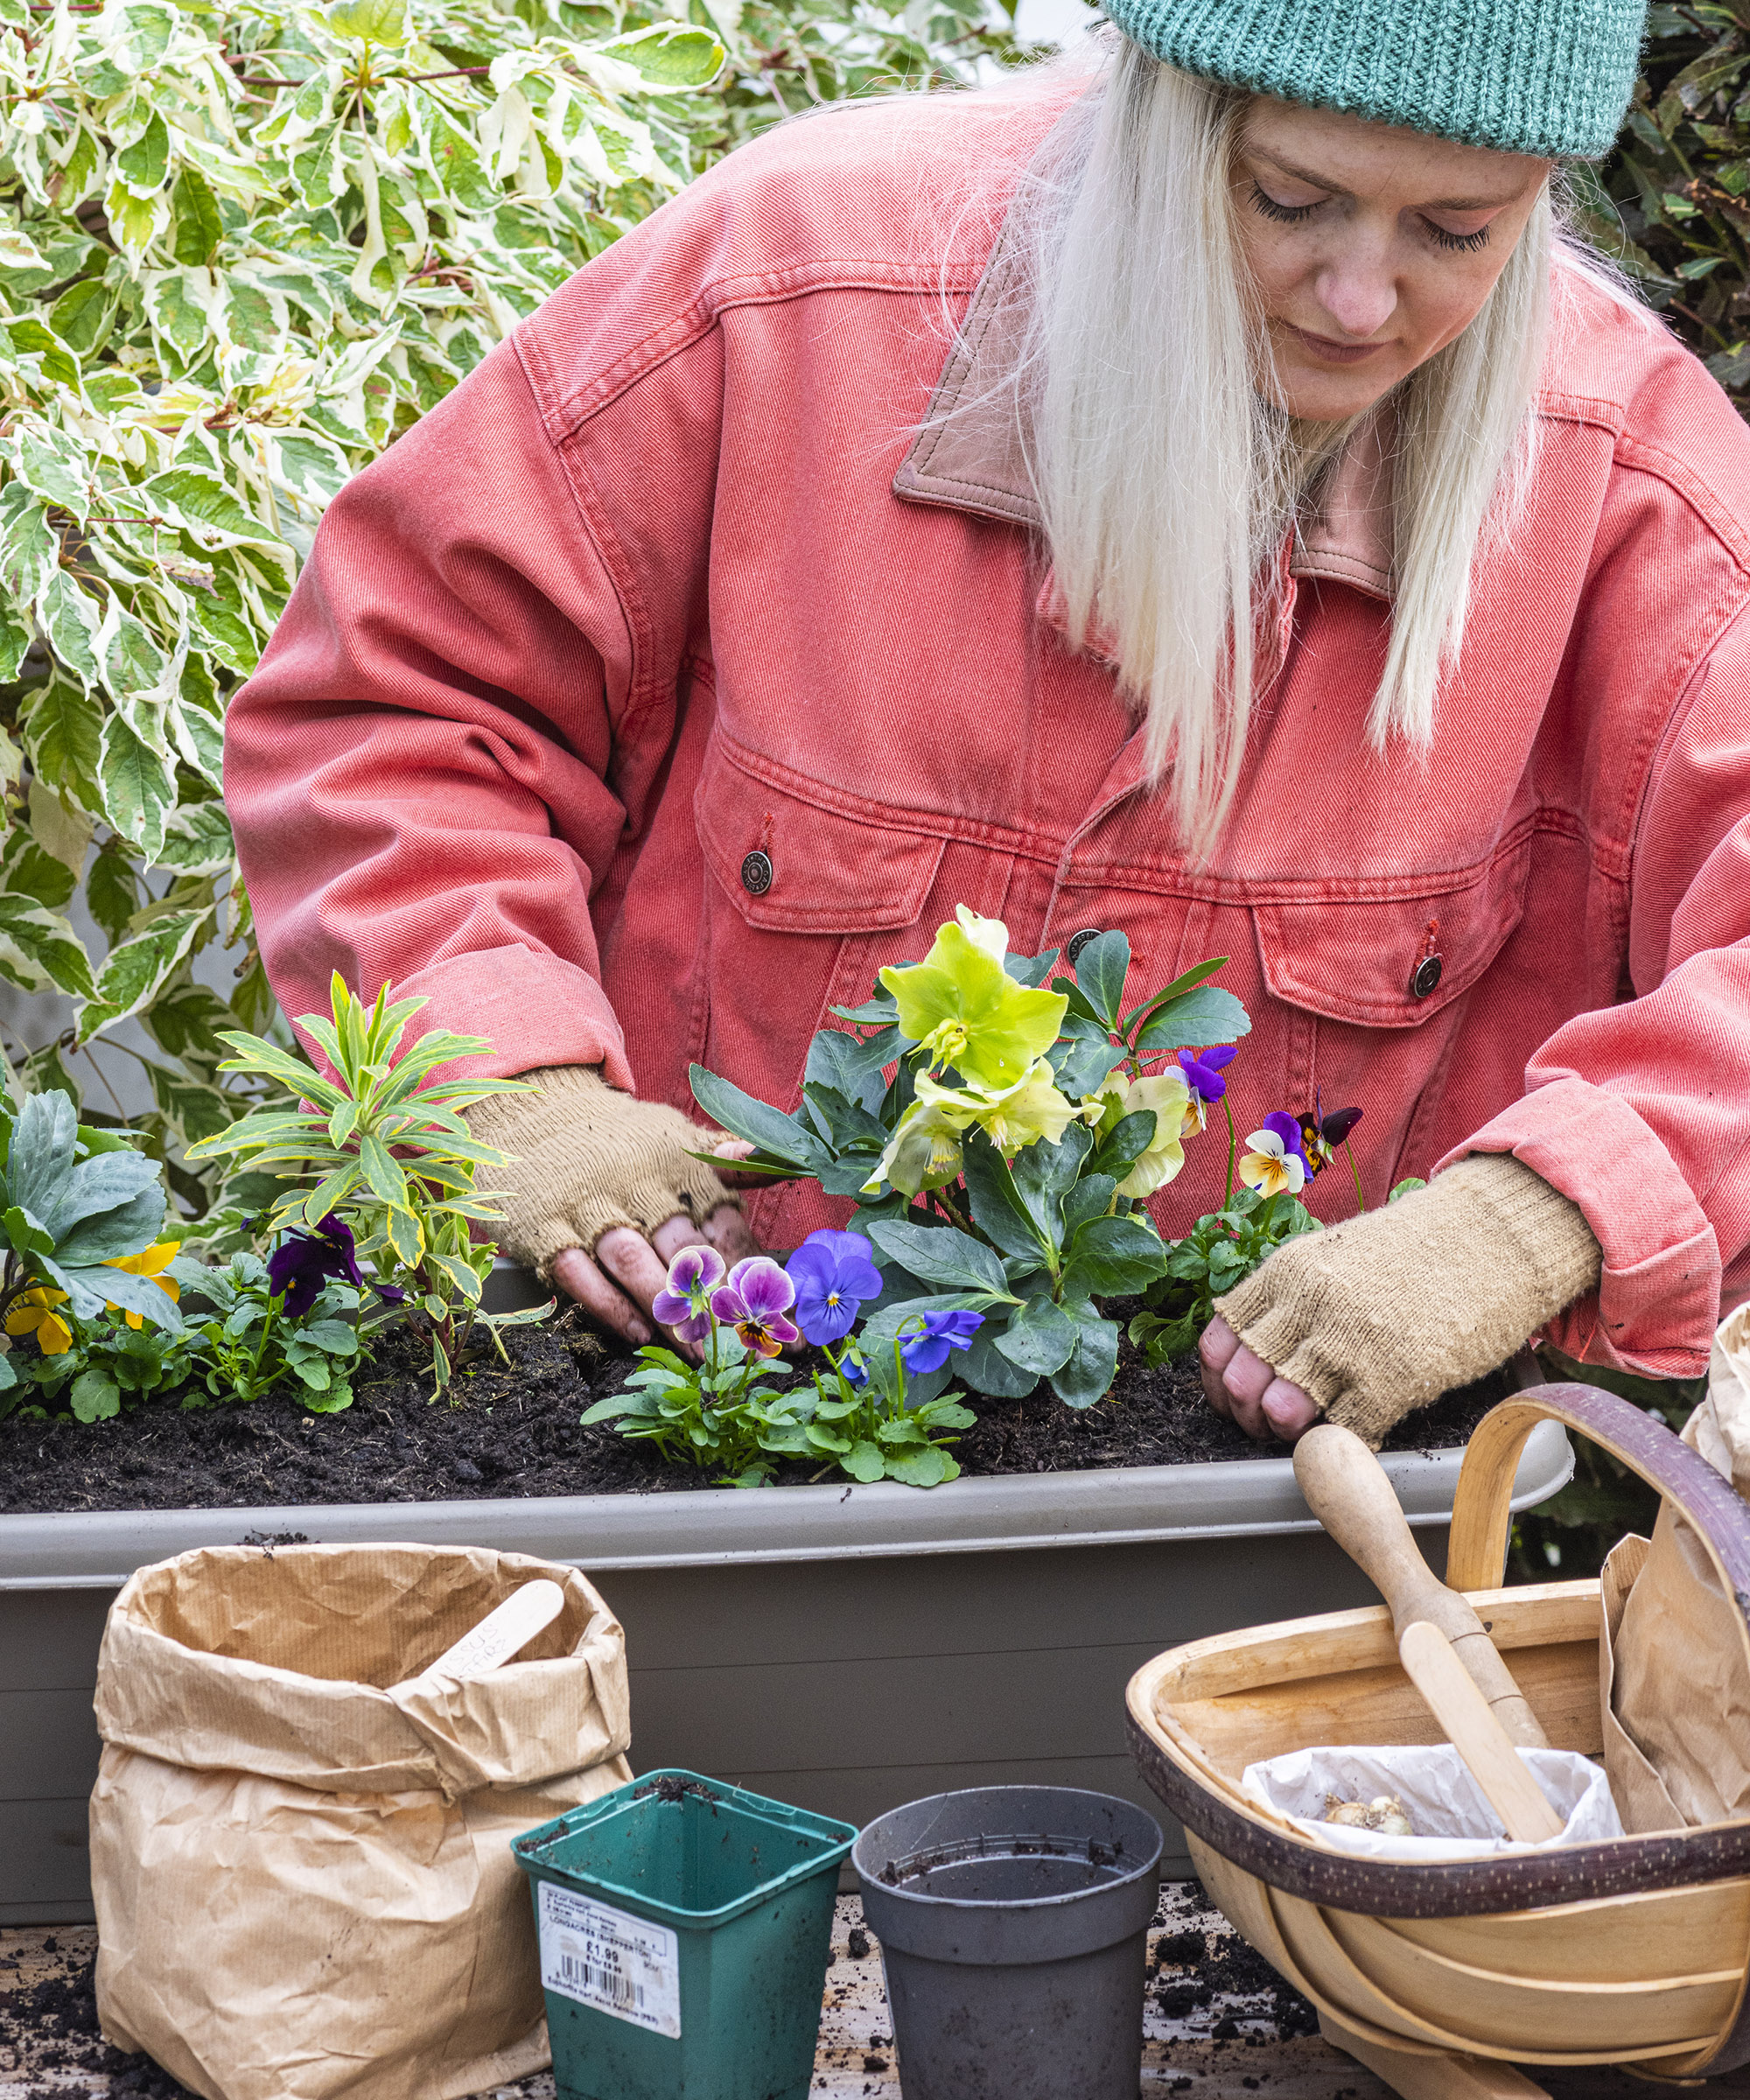
The hellebore and euphorbia will provide interest throughout winter
Watering plants in your arrangement generously is great for their health. Next fill up with compost up to the top of the plastic pots.
Remove each empty plastic pot, inserting the plant carefully in its place as you go. Do so without disturbing the bulbs below. Finish with more compost around the top of plants if needed and press gently in place to secure.
7. Find a spot for your spring window box and tend your display
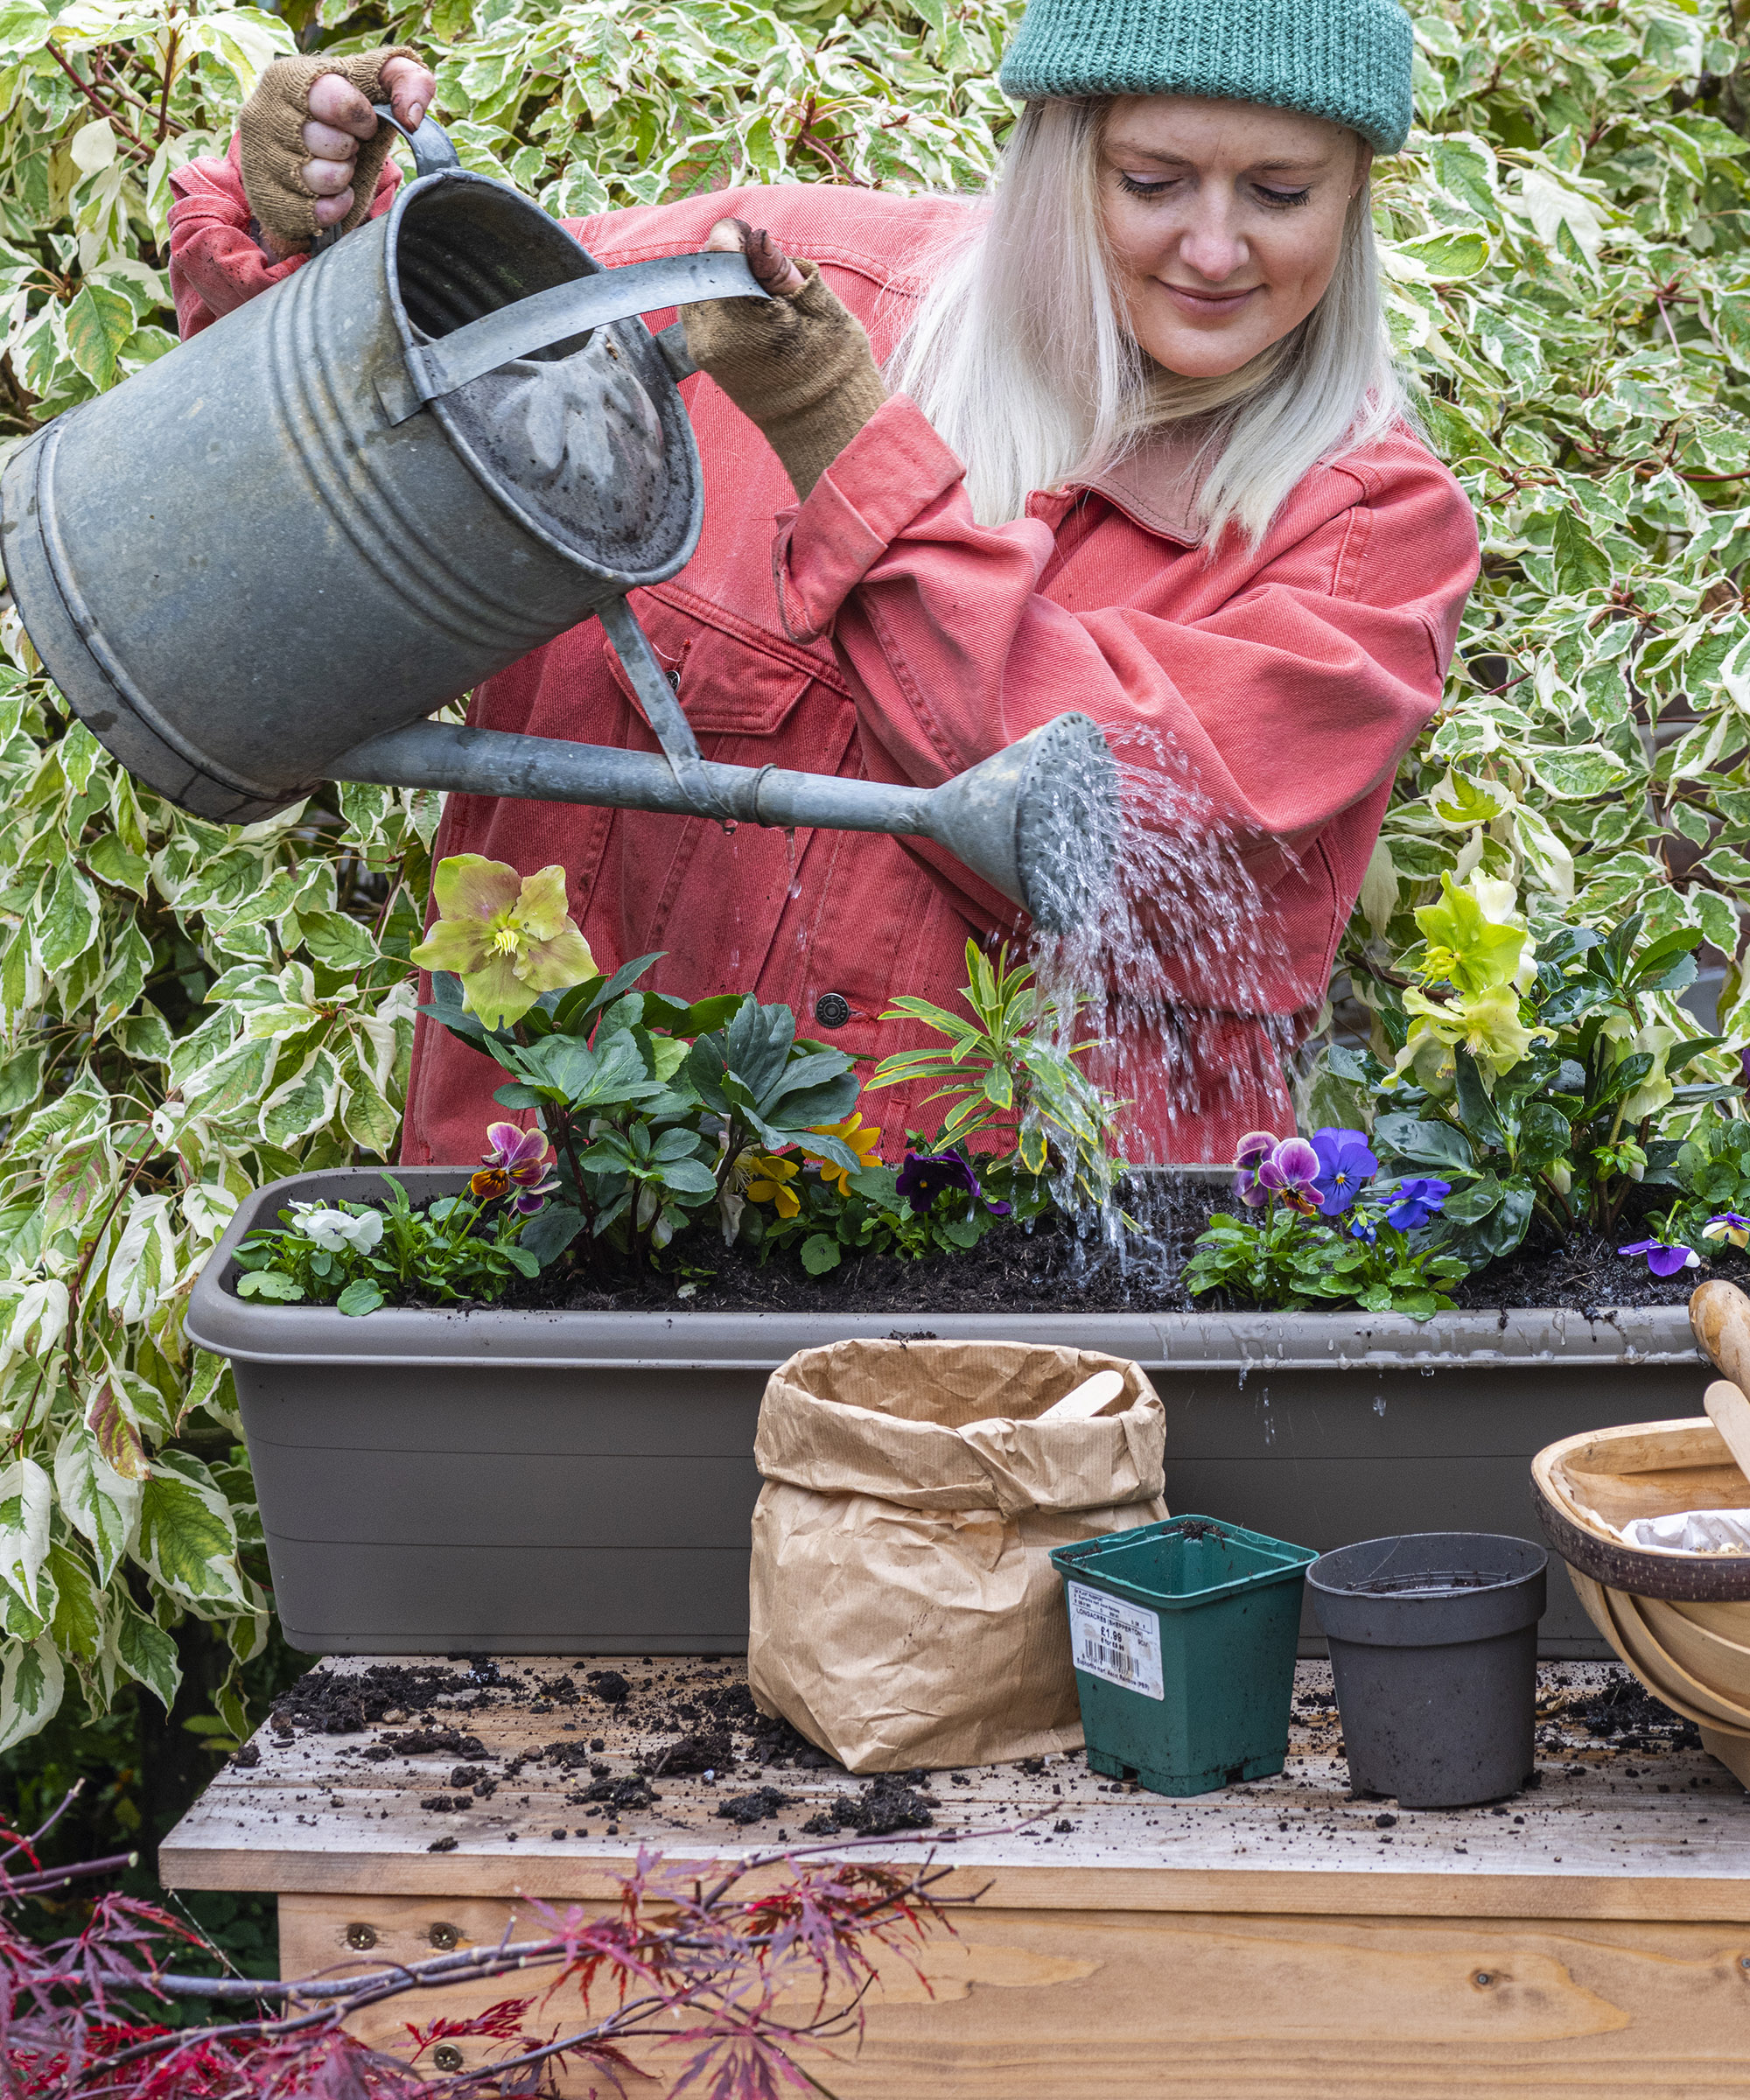
Give your display a good soaking to get plants off to a good start
Having taken the time to learn how to plant a spring window box, make sure you water your arrangement thoroughly, keeping the compost moist throughout the winter. Remember that winter winds can be drying and there are periods of little rainfall. Place your container in a warm, sunny and sheltered spot.
Around five months after planting the bulbs will be in full flower (see below). The narcissus and muscari will be interspersed with winter flowering violas and euphorbia. By this point the hellebores will be taking back stage, but continuing to add body and foliage to your container gardening ideas.
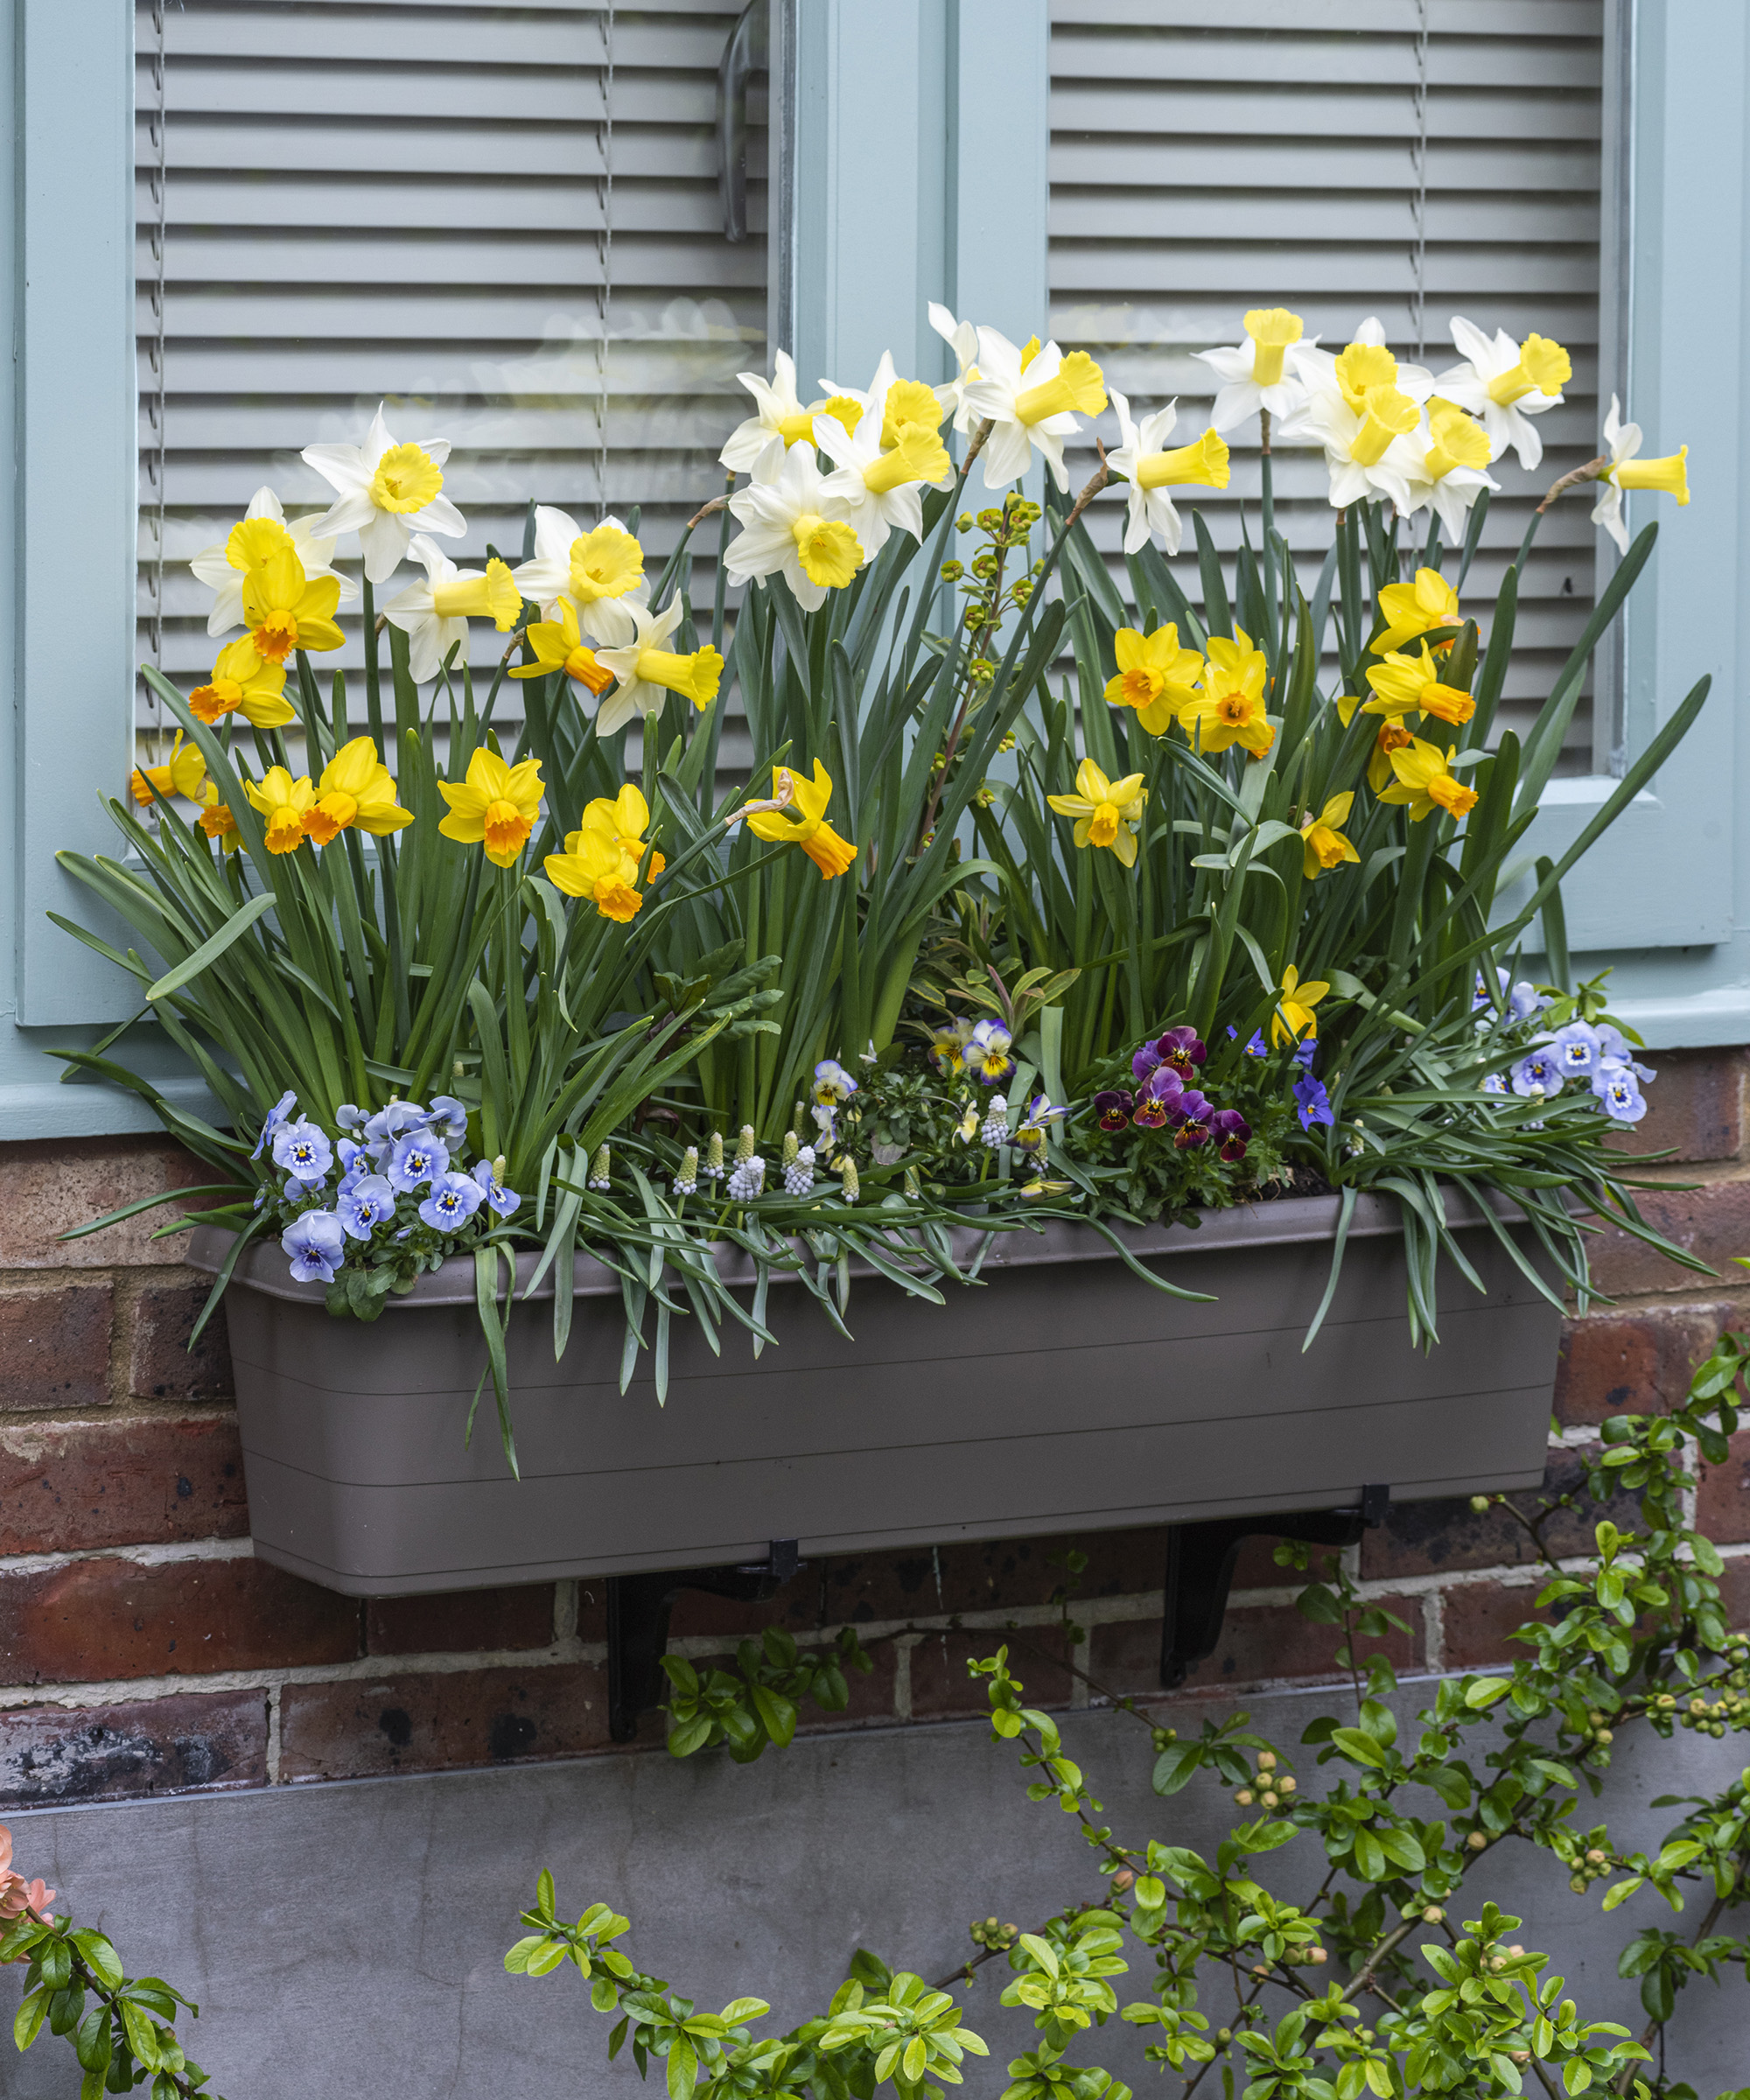
In spring, the bulbs will burst into bloom for a striking display. Make sure you fix your window box with sturdy brackets just below your sill

Teresa has worked as an Editor on a number of gardening magazines for three years now. So she is lucky enough to see and write about gardening across all sizes, budgets and abilities. She recently moved into her first home and the garden is a real project! Currently she is relishing planning her own design and planting schemes. What she is most passionate about when it comes to gardening are the positive effects it has on our mental health to grow and care for plants, as well as being great for the environment too and help provide food and shelter for wildlife.
