How to make a scarecrow: follow our simple guide for a fun garden activity
It's fun to learn how to make a scarecrow, especially if you get the kids on board to help out. Try this crafty idea to keep the birds off your precious vegetable patch
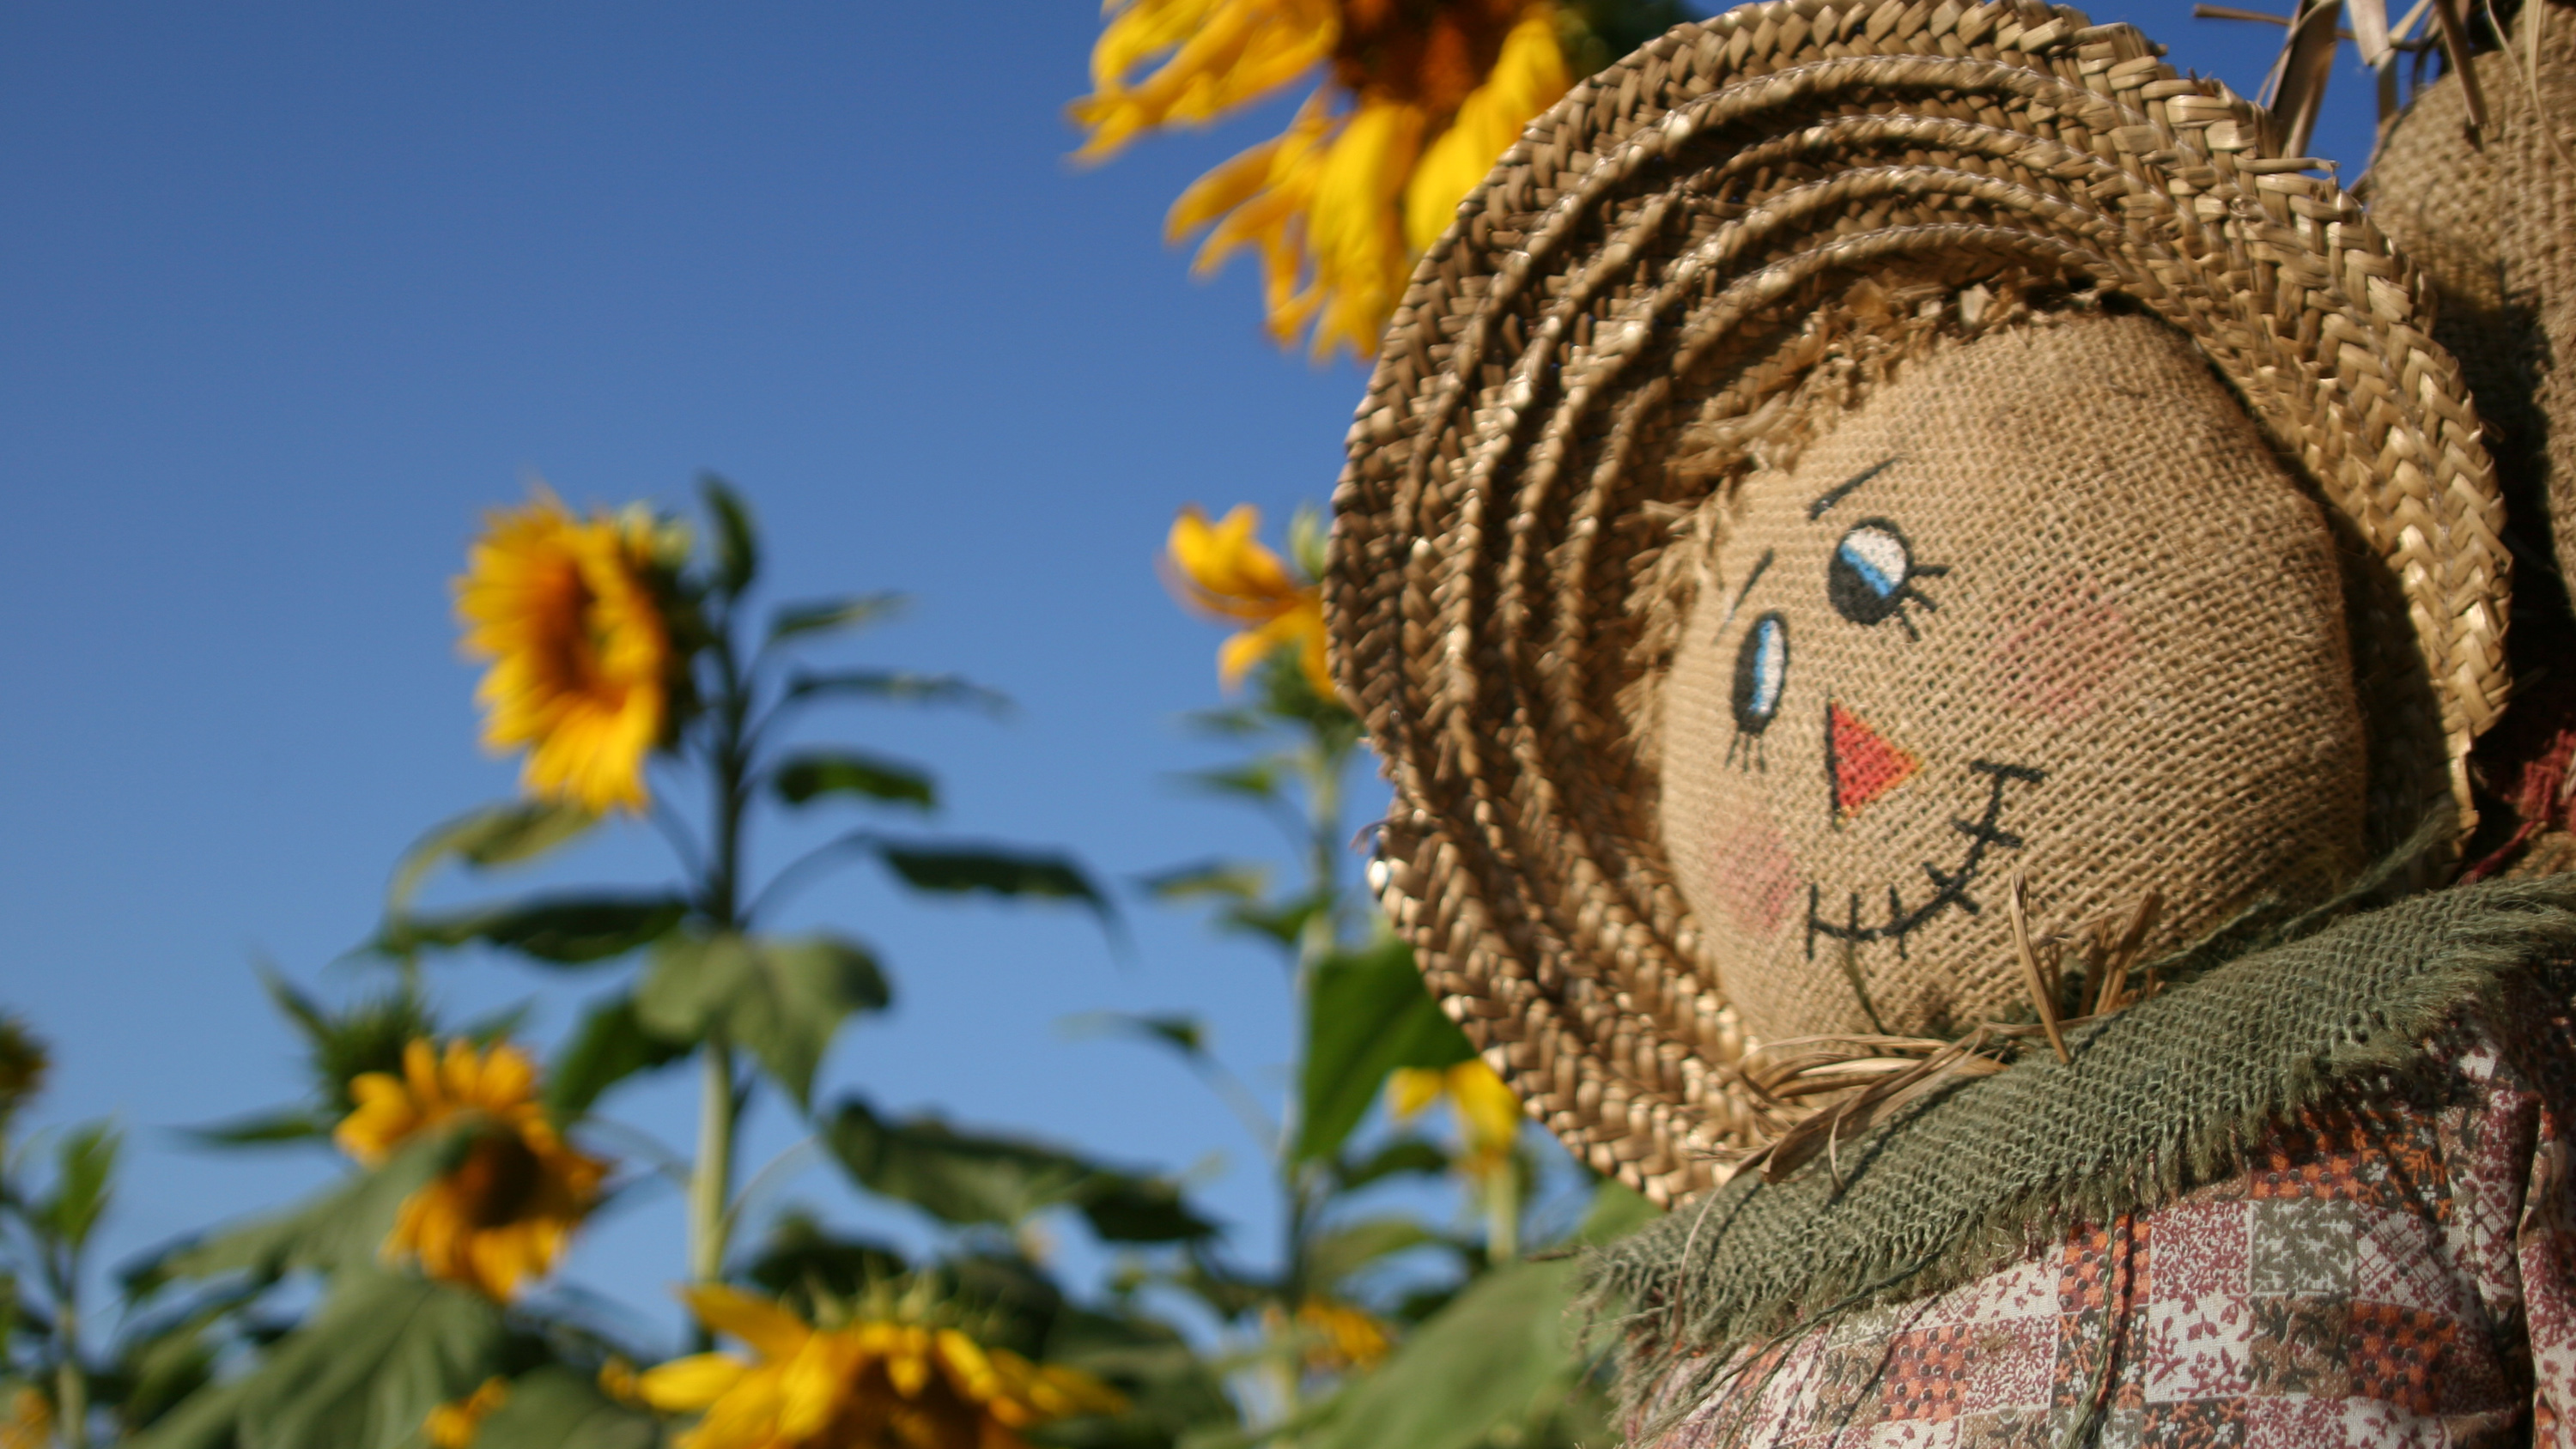

Follow our tips on how to make a scarecrow with your kids and you'll find it's a great little project they will love doing. And you will too. It's fun stuffing the arms and legs, and getting creative painting the features on the face. But the best part is probably dressing him (or her – here's your chance to get creative with long eyelashes and beads). It's also such a great recycling project for old clothes and accessories.
Scarecrows have a practical purpose as well, helping to keep birds off your leafy greens and other prized vegetables. They're popular with anyone who wants to garden organically, as they scare the birds away from your produce without having to resort to chemicals. They pop up in the most surprising places too, with scarecrow festivals quite the thing now.
Read on to find out how to make your own scarecrow with our step-by-step guide. It's quick and easy to do, and a great chance to show off your creativity. Check out our garden ideas for kids feature for more activities to keep them entertained, whatever the weather.
How to make a scarecrow: a step-by-step guide
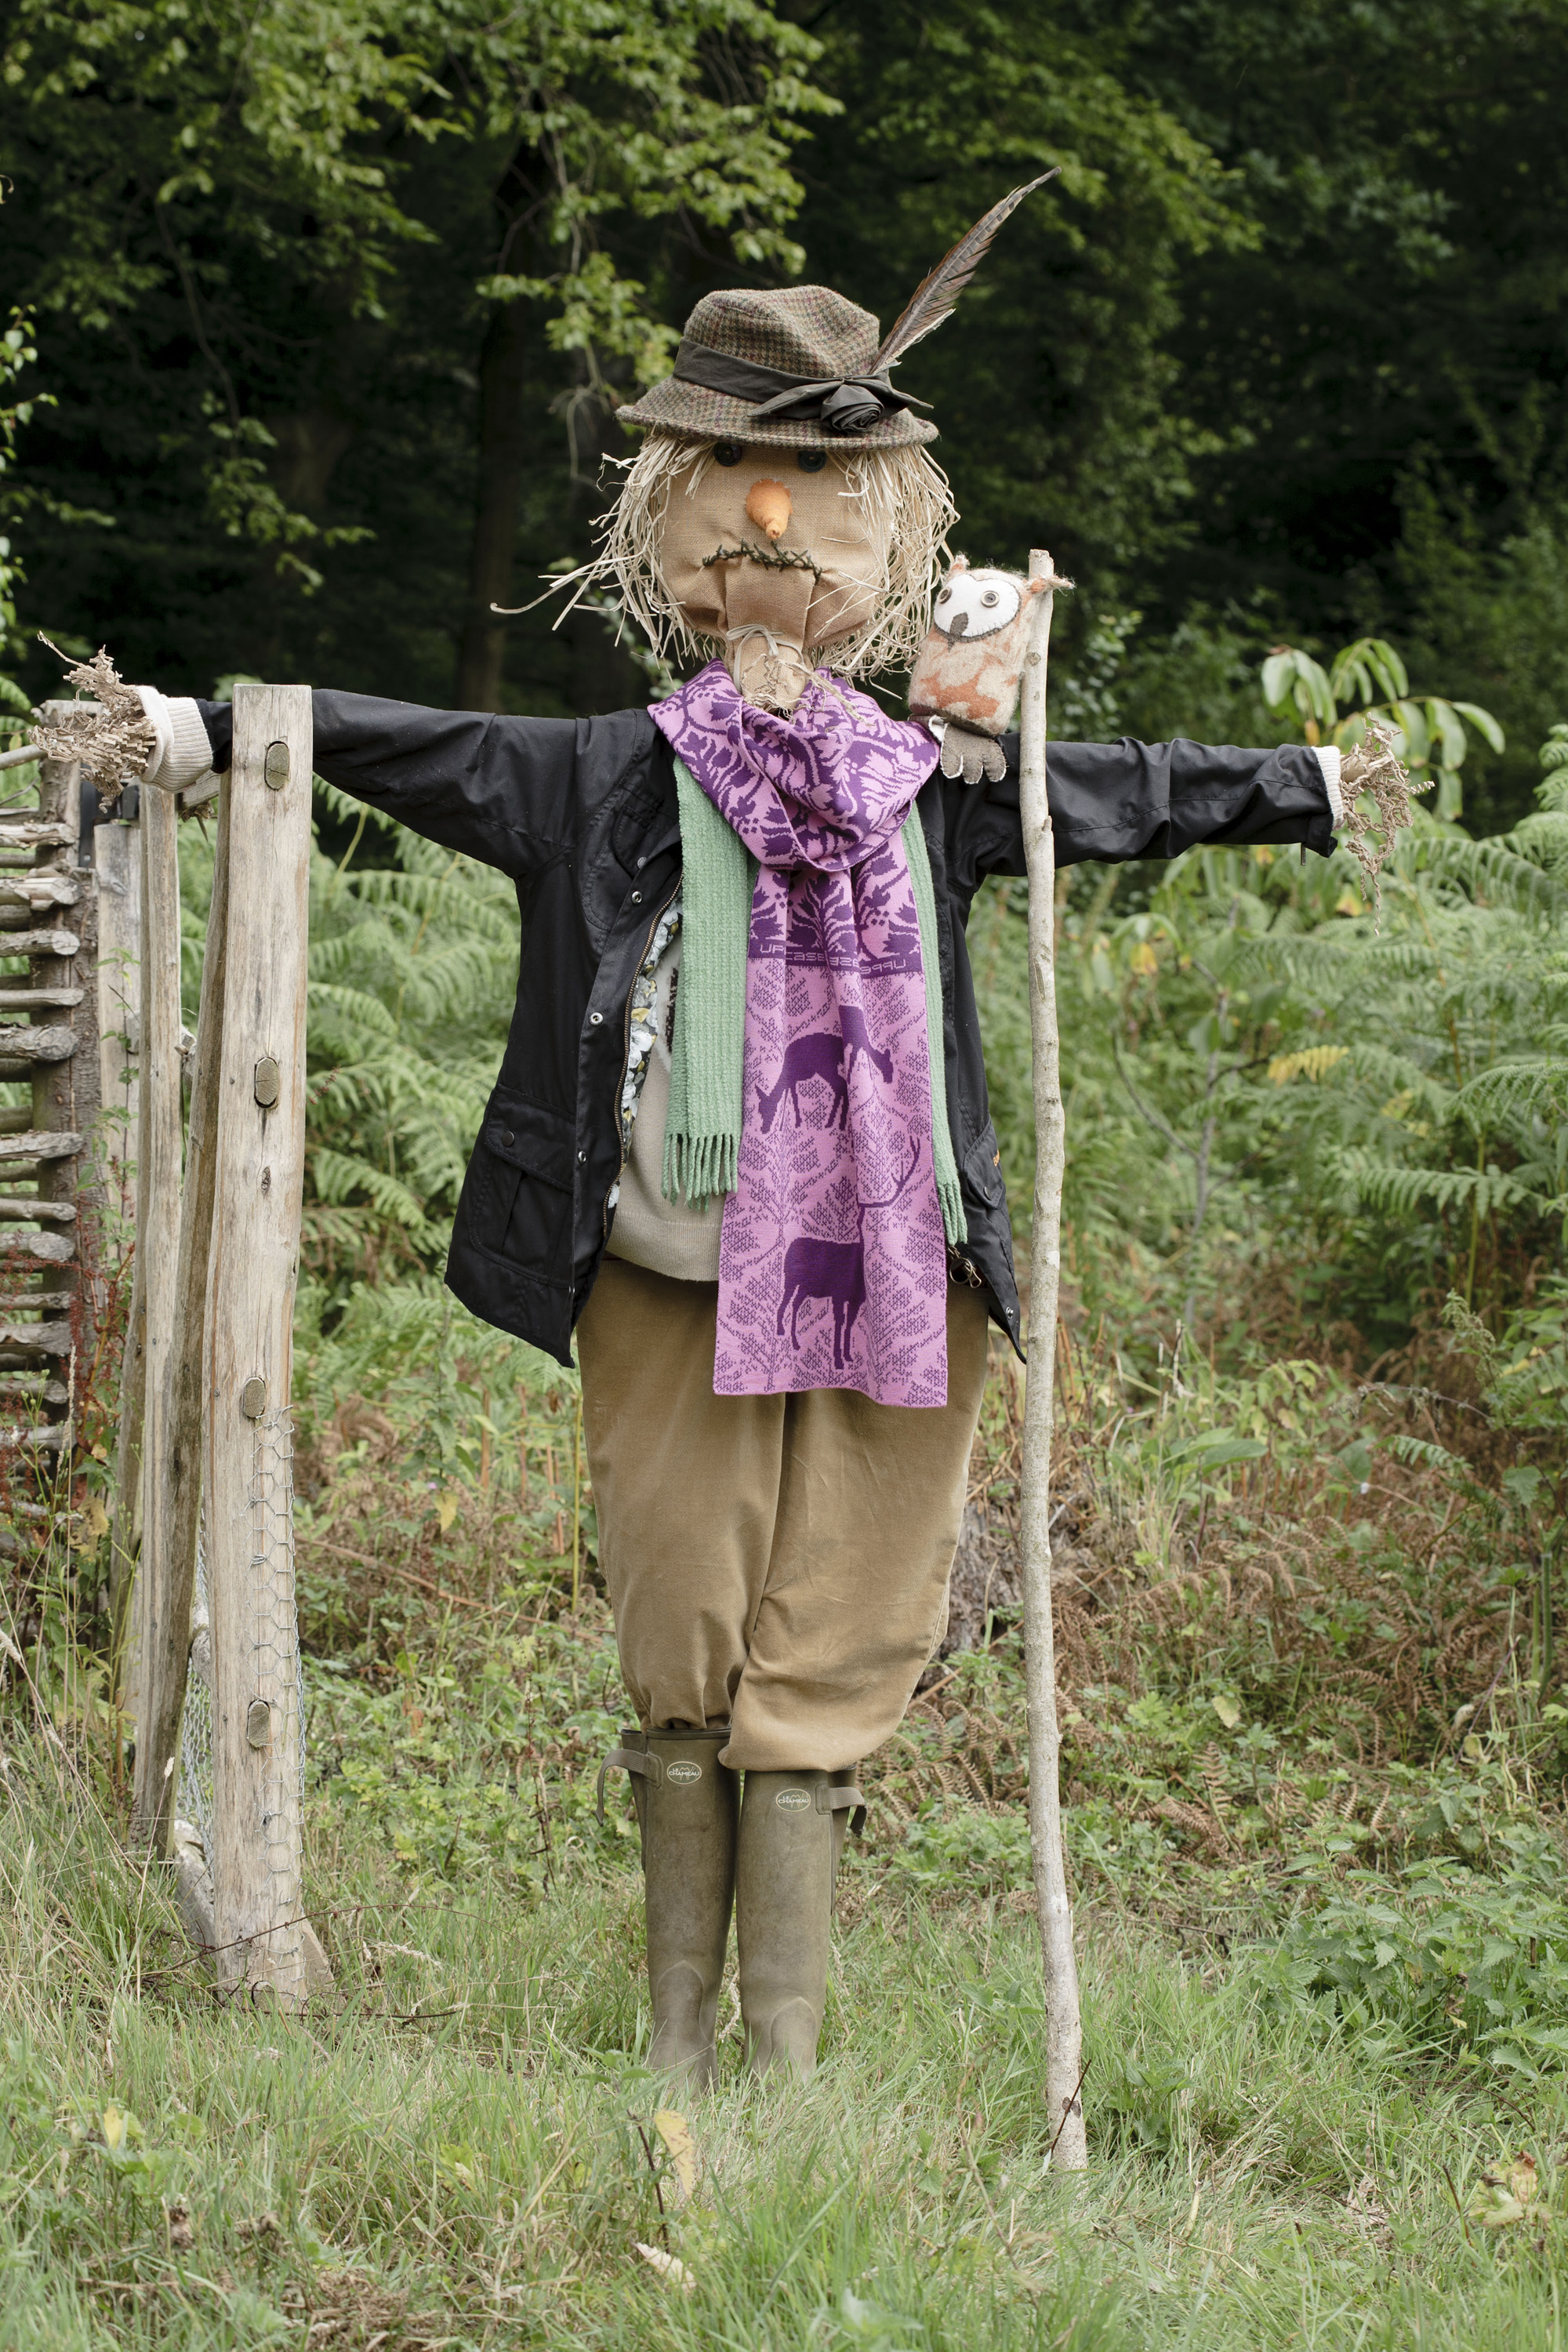
You will need:
- Two wooden poles or sturdy bamboo canes, approx 6ft and 4ft long
- Hessian or sacking, enough to make the head
- Straw or rags for stuffing
- Old tights, if using
- Waterproof paint marker pens or indelible felt tip pens, or you could use buttons
- A selection of old clothes including a button-up shirt, and trousers with belt loops
- Accessories such as an old hat, a bandana or cravat, a tie, beads, bags and glasses
Step one: start with the scarecrow head
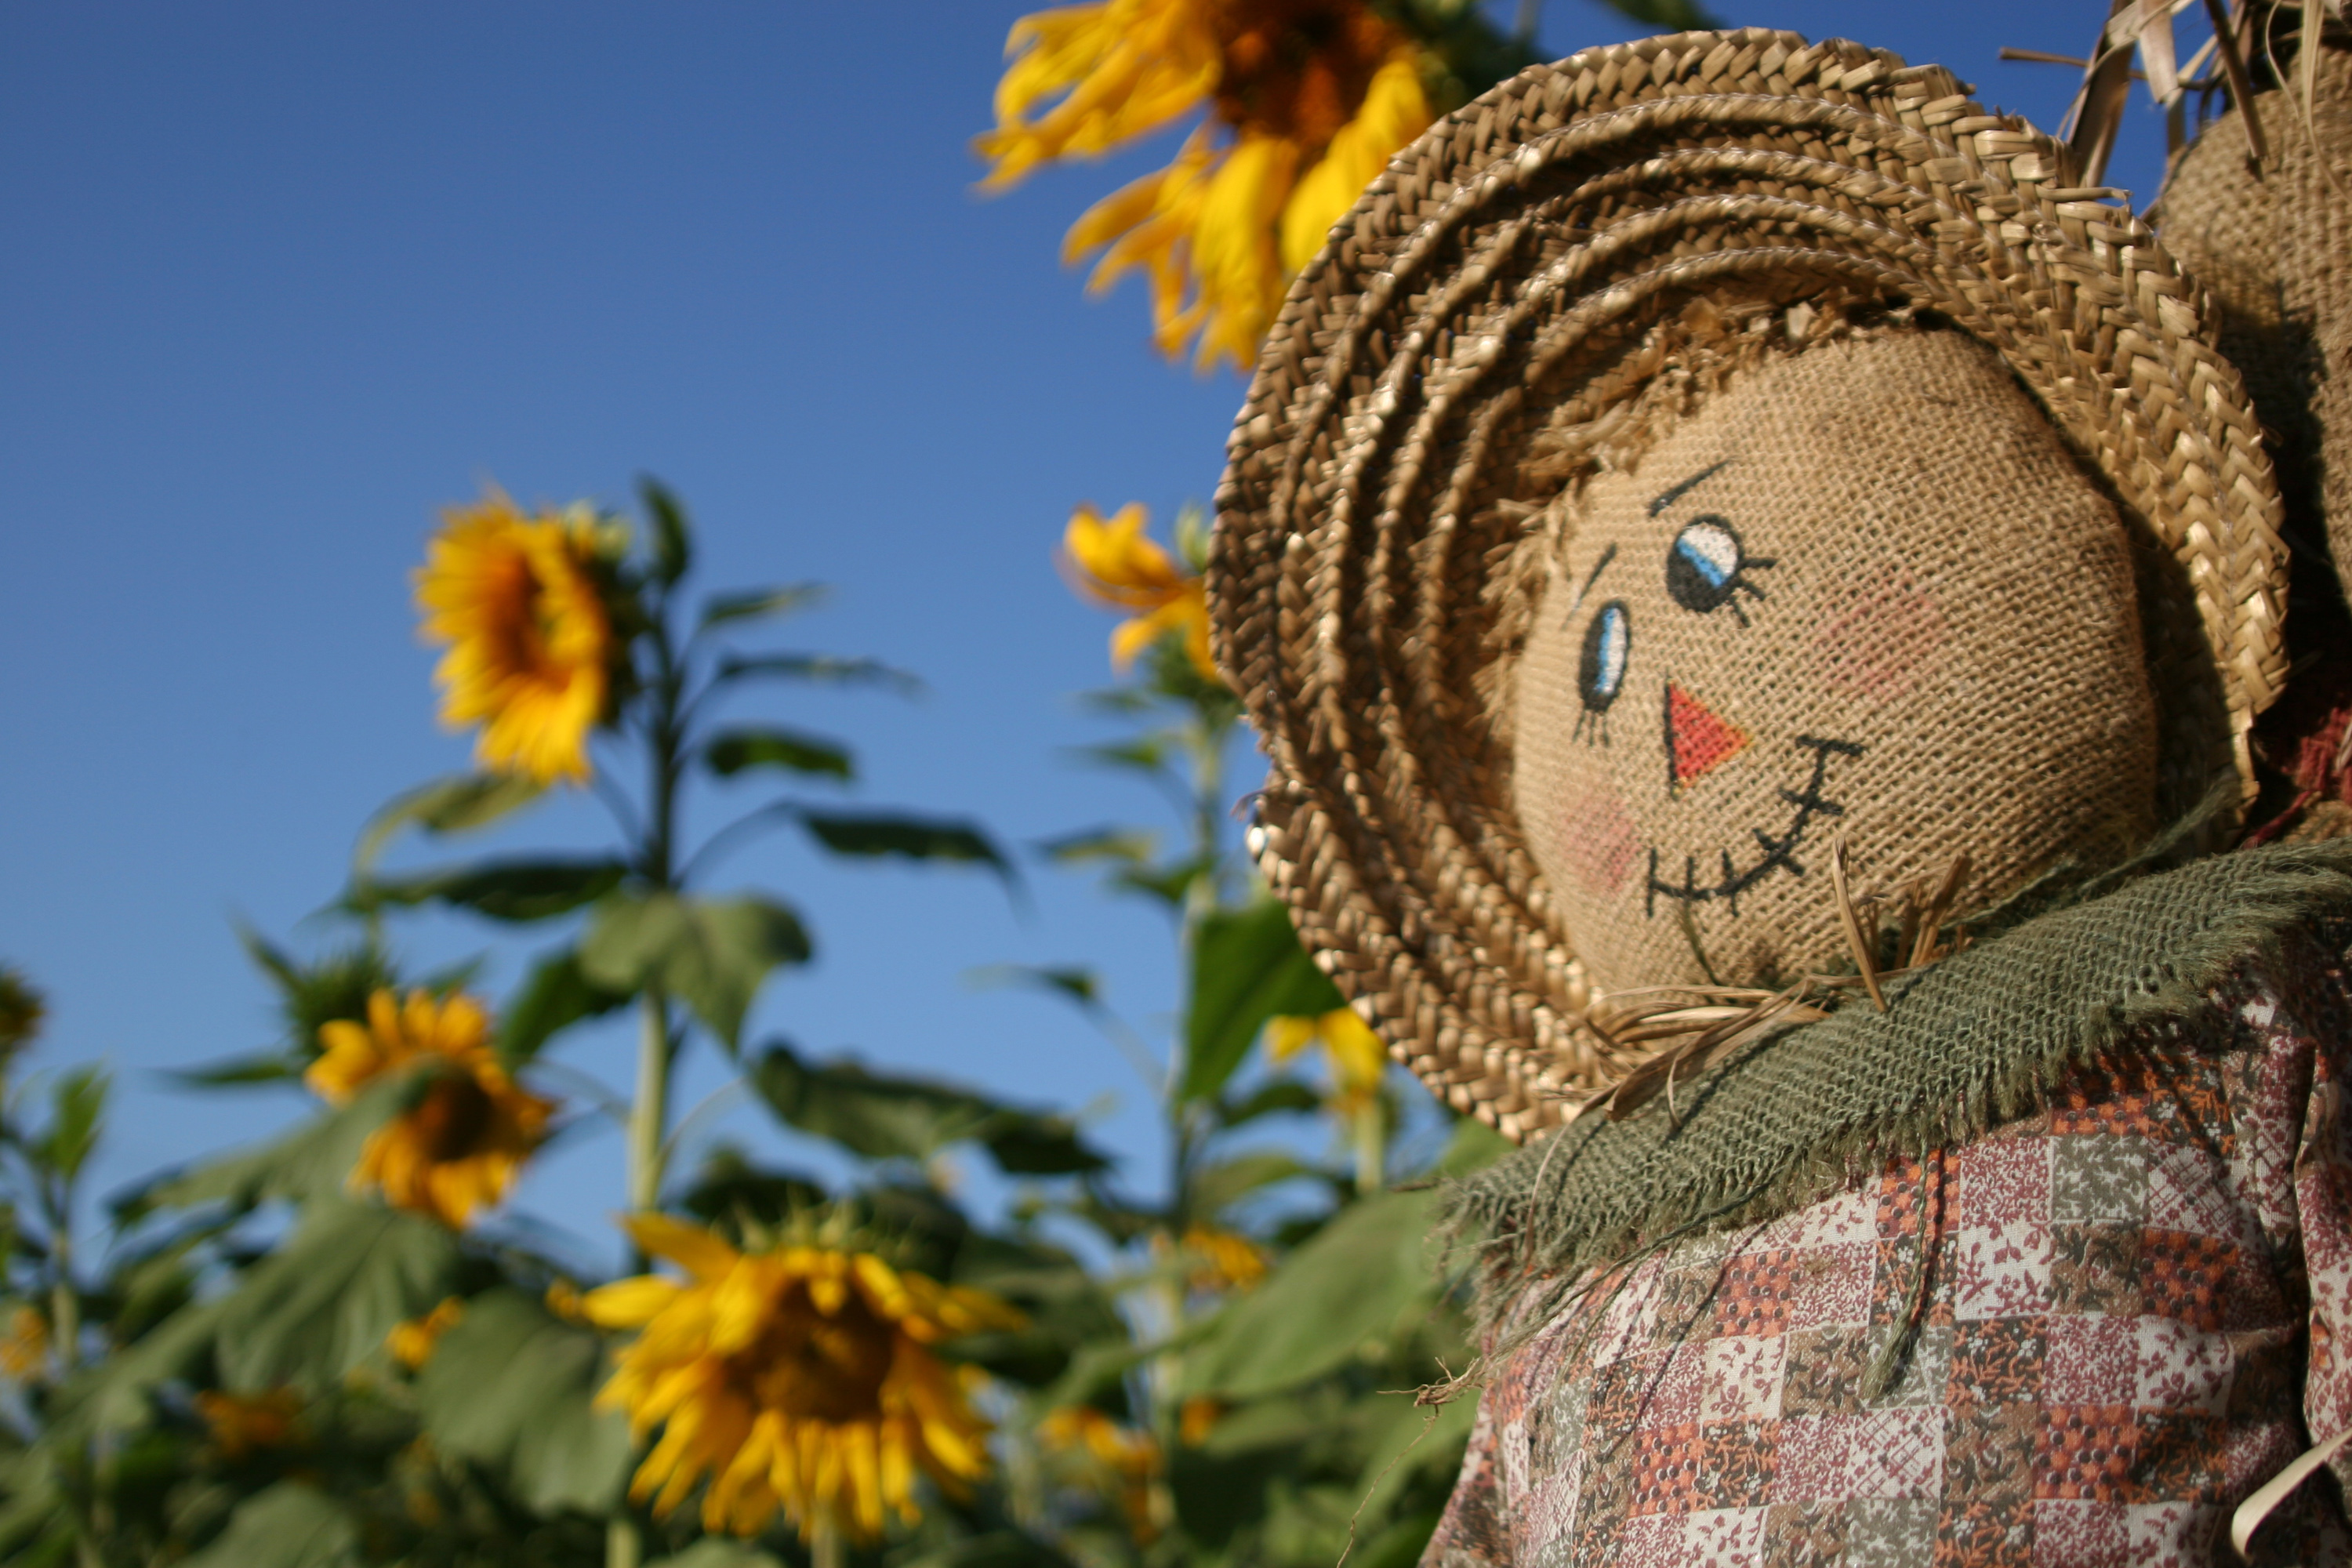
For the head, start to staple hessian from an old shopping bag or a piece of sacking around a football to get a good shape, not forgetting to remove the ball while there’s still an opening big enough to do this. Leave enough space to insert a stick. Turn the hessian inside out and stuff it with straw or rags to create a nice round head shape.
Using waterproof paint makers or indelible felt-tip pens, draw on eyes, a nose and mouth, giving your scarecrow a nice friendly face. Alternatively you could use buttons.
Step two: create the frame for the scarecrow
Create a cross shape with the two sticks. This the frame for your scarecrow. The longer one will be the ‘body’ while the shorter one is the base for the arms. Secure carefully with string so it holds the cross shape firmly.
Step three: make the scarecrow's body
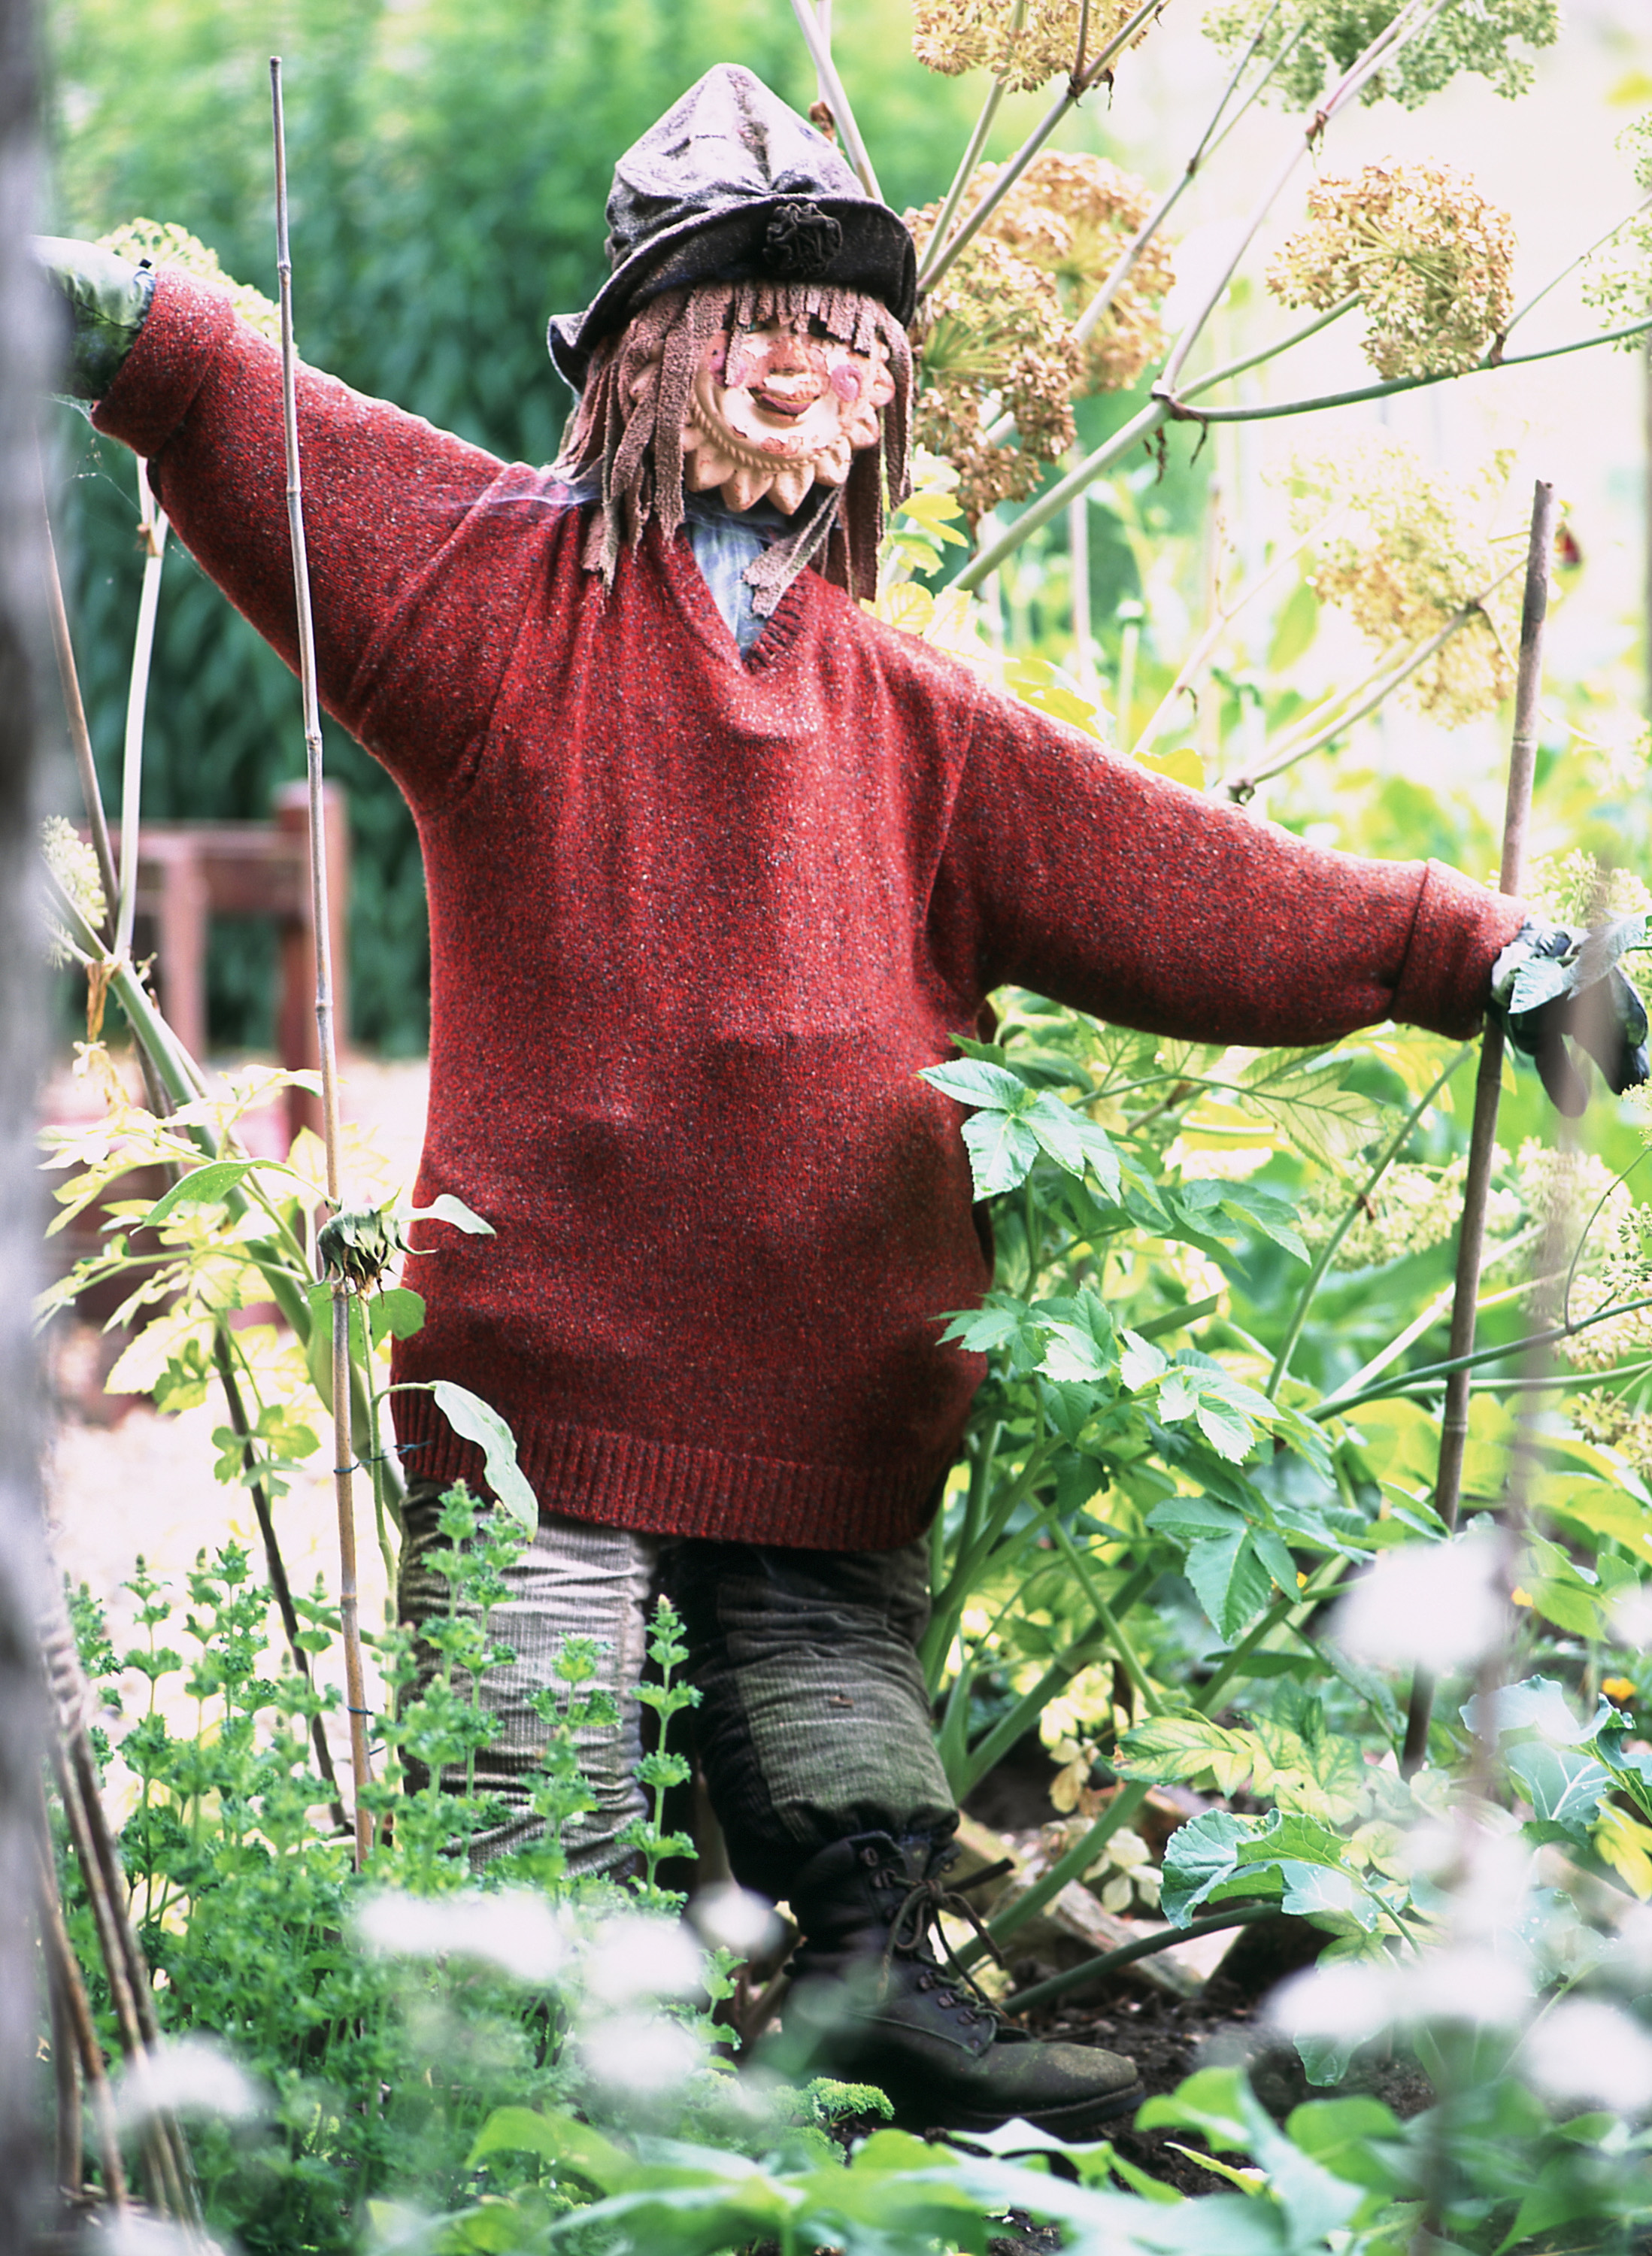
To make the body, pad more straw or rags around the top section of the longer stick until you have created a plump torso shape, securing with twine as you go, then dress it with the shirt. Pad out as necessary.
Tie off the cuffs of the shirt with rubber bands or twine so the filling can’t escape then stuff the shirt sleeves with more straw or rags to flesh out the arms. Alternately, you can stuff an old pair of tights to create two arm shapes.
Repeat the same process with a pair of trousers, preferably ones with belt loops, to create the legs, tying off the ends of the legs so the stuffing can’t escape. Again, this can be done by stuffing an old pair of tights.
Step four: secure the scarecrow's head in place
Stand the scarecrow up, supporting it against a wall. Make a pair of string suspenders, taking the twine through the belt loops, to secure the trousers to the ‘shoulders’ of the scarecrow frame.
Next, attach the head by pushing it onto the stick. Add the hat and a bandana or cravat if you have one.
Step five: create the hands and feet
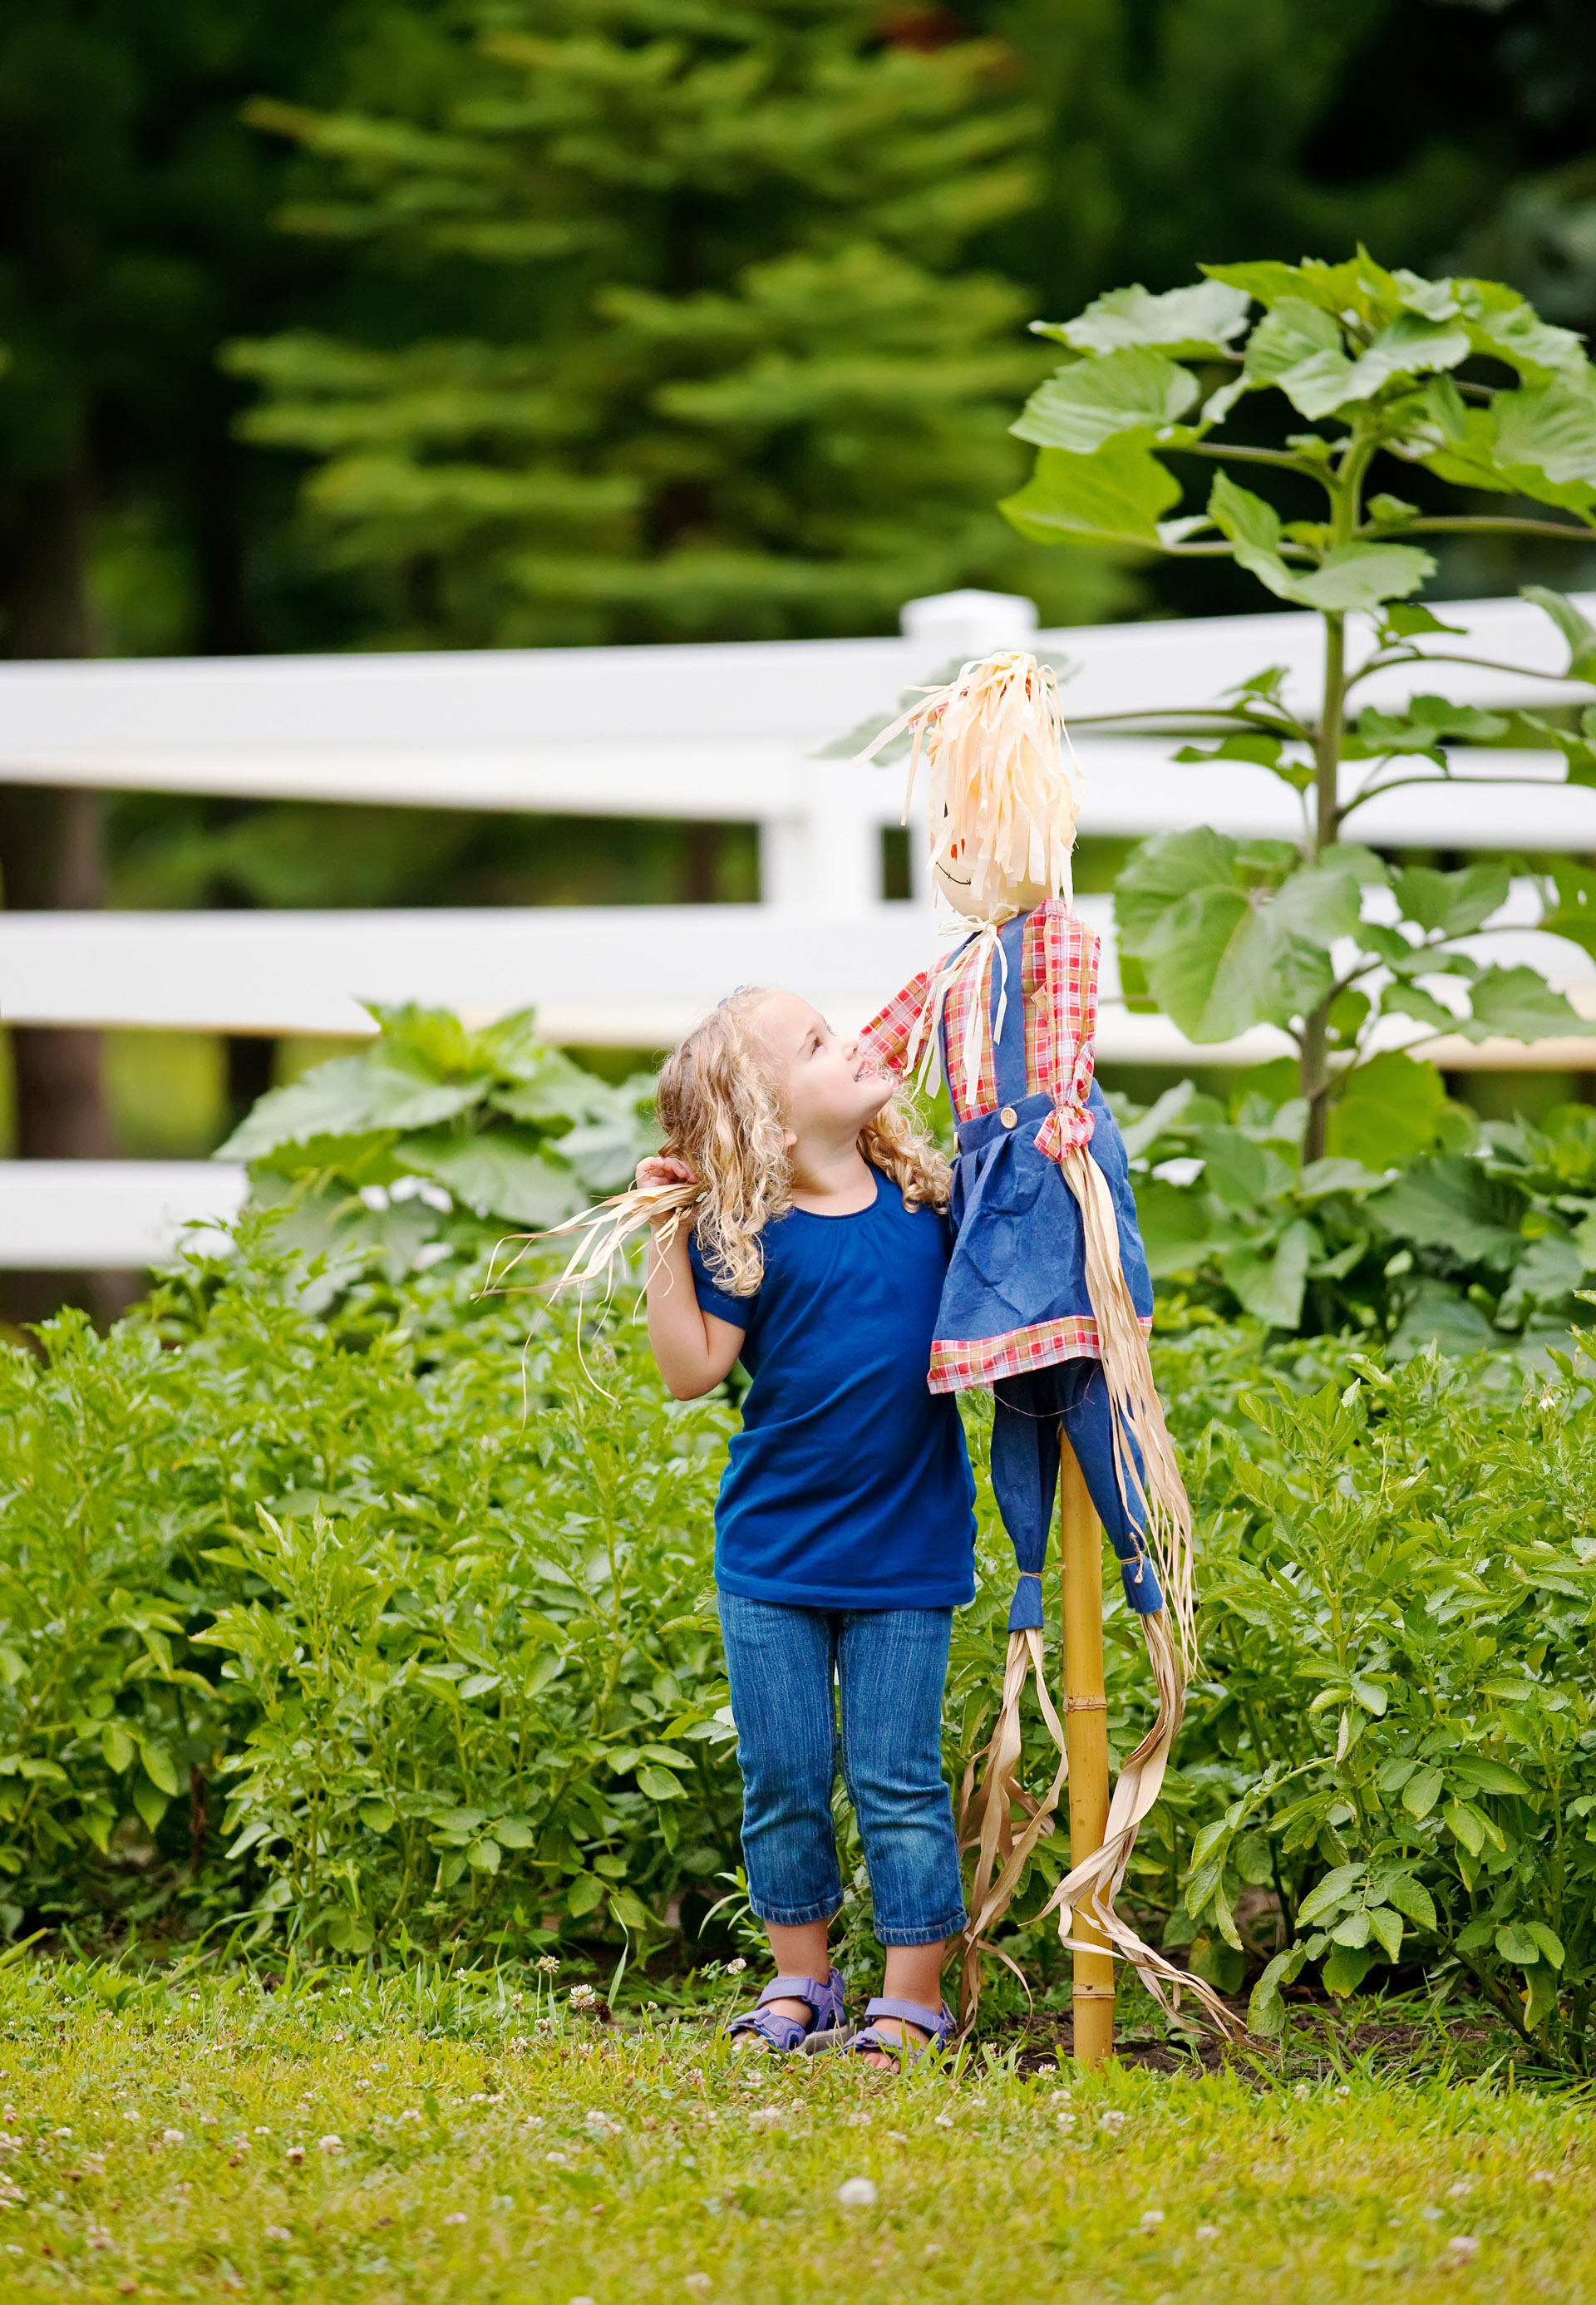
Tie bundles of straw to the arms and legs to make hands and feet, securing them with string. Or tie on an old pair of gardening gloves for the hands and use wellingtons for the feet.
Step six: choose the perfect spot for your scarecrow

Put your scarecrow into position and sink the wooden stick securely into the ground. You could place it in the middle of your raised beds or veg patch to keep birds away from your homegrown crops.
Add streamers, CDs attached to strings or anything else that will act as bird scarers to protect your patch. And that's it – we told you it was easy!
What can I use to stuff a scarecrow?
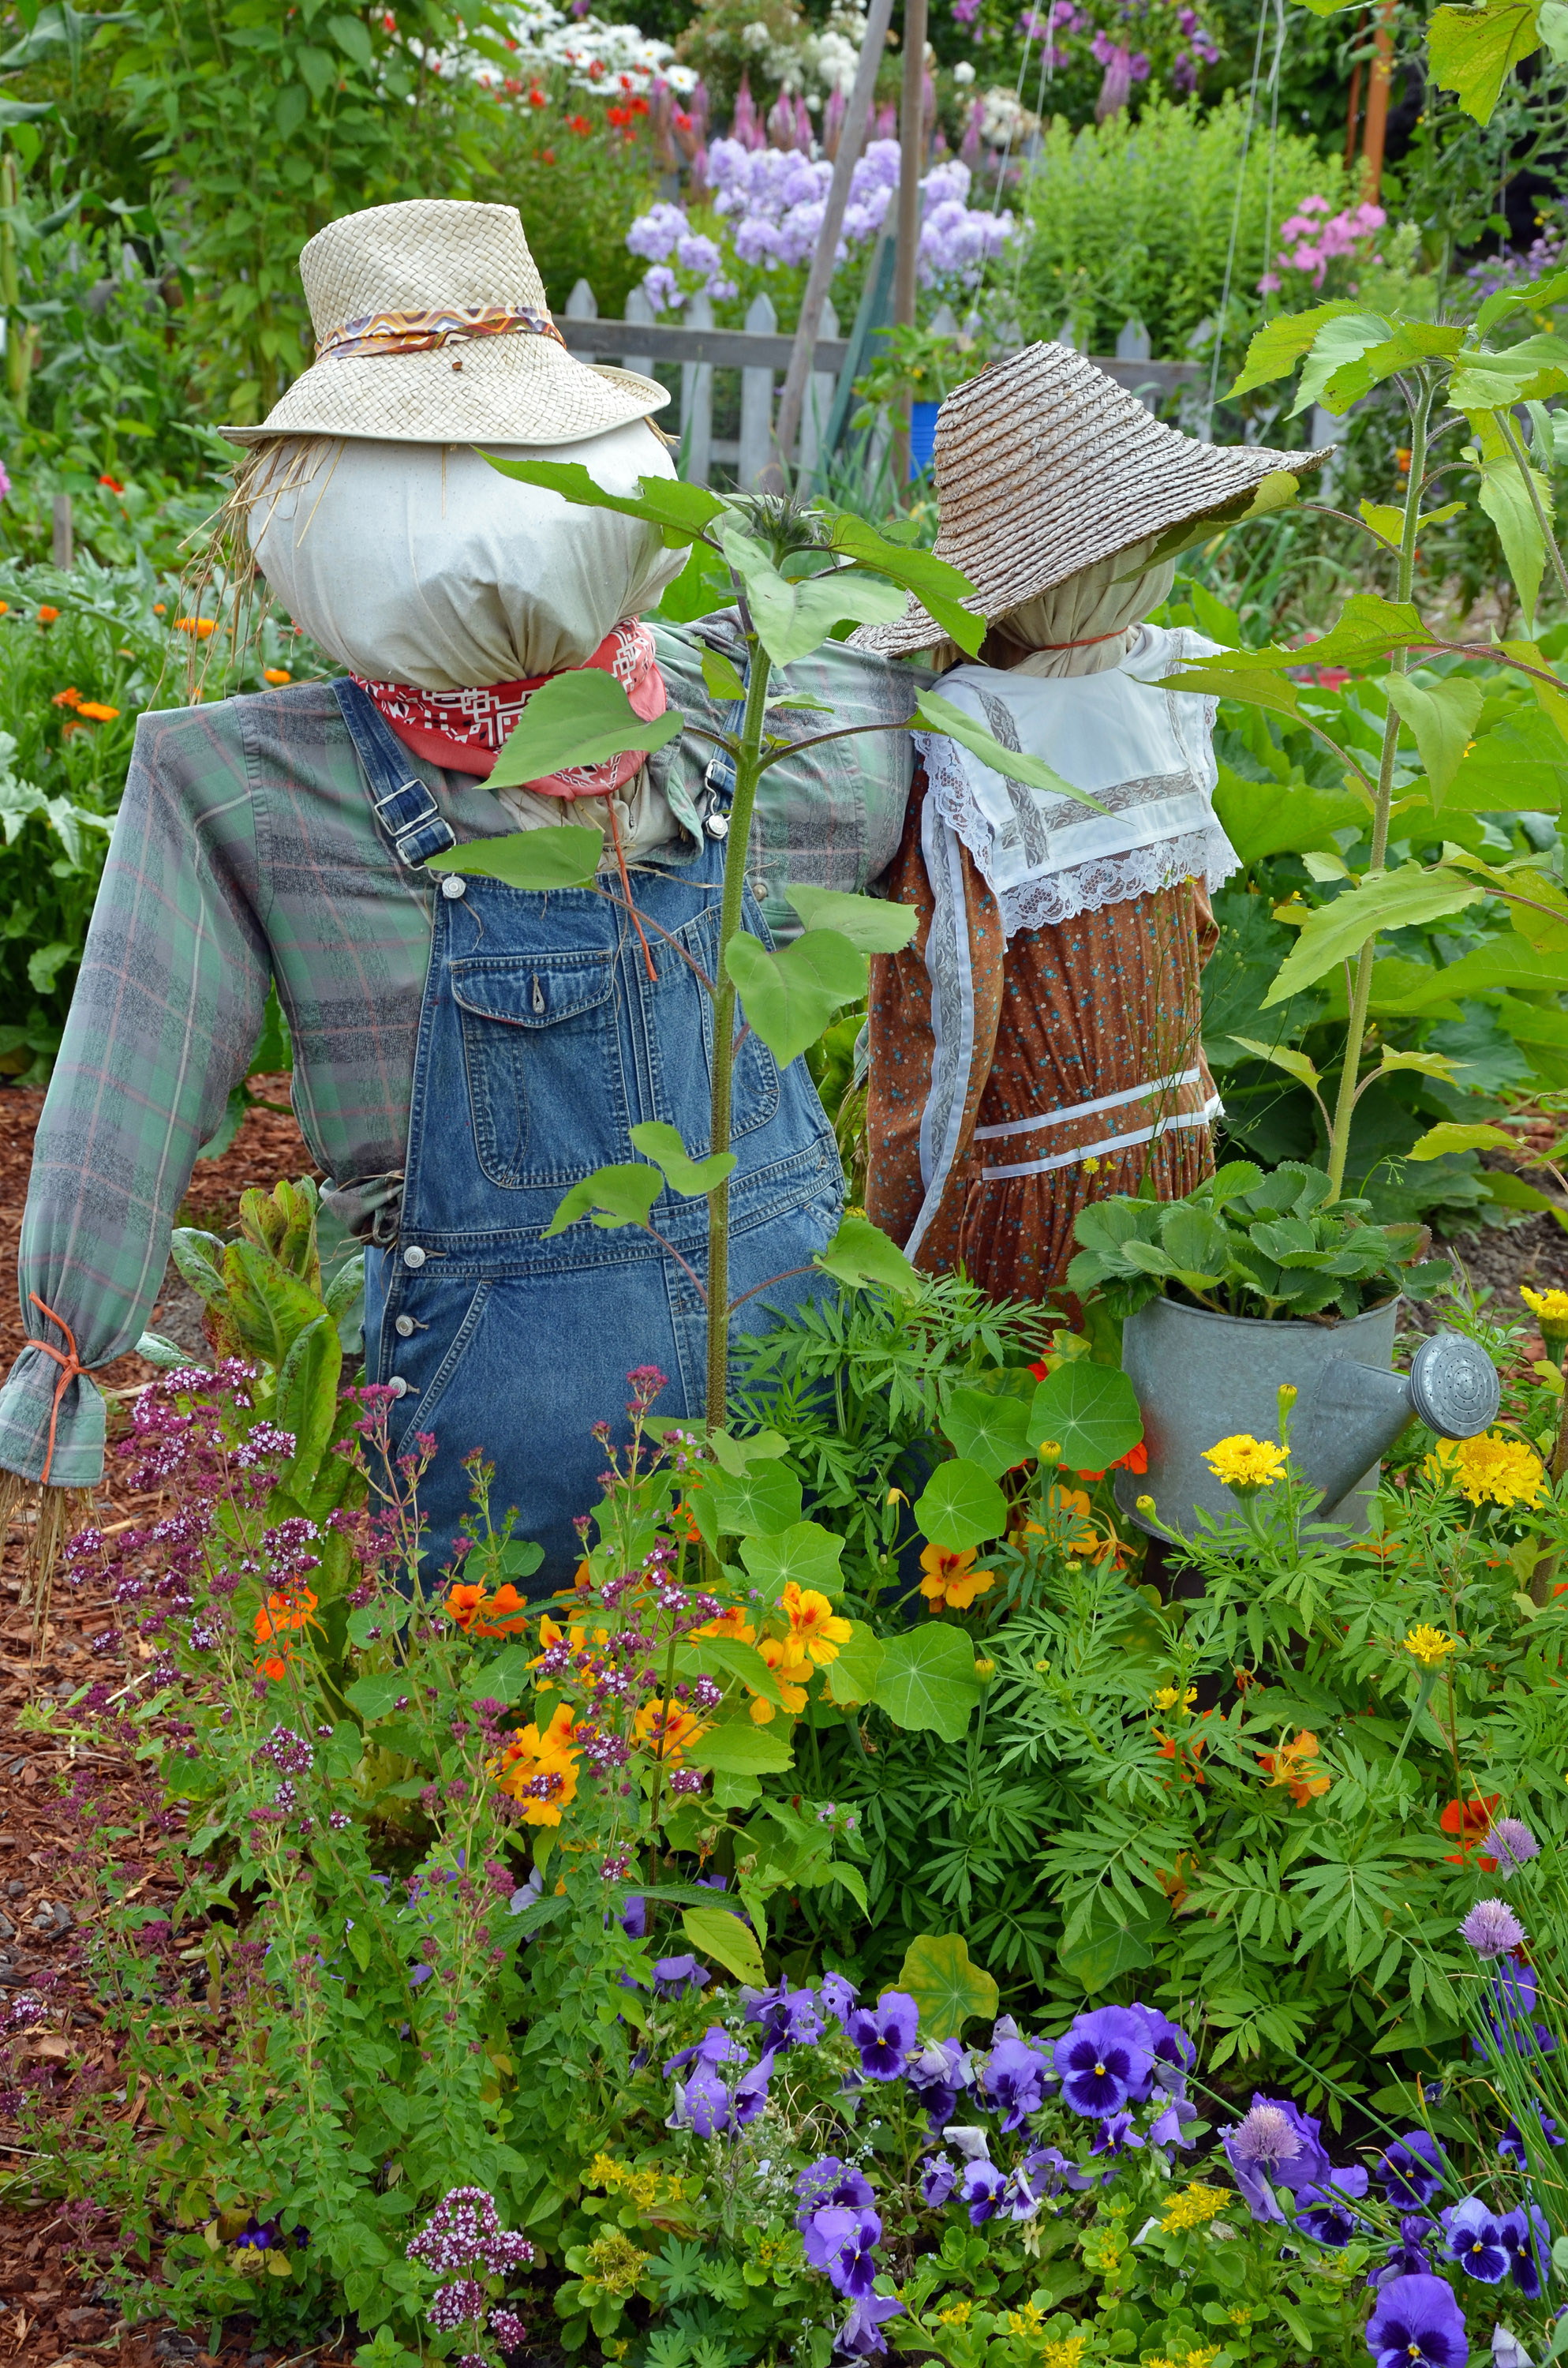
It's a question of using whatever you have available. As well as the more obvious choices of straw and rags you can also use dry leaves, grass clippings, wood chips, scrunched up polythene bags, and leftover packing material such as polystyrene balls or bubble wrap.
The smaller the material then the better it is to fill a pair of tights with them. Don't use newspaper though as it will become soggy if it rains.
How do you make a scarecrow head and face?
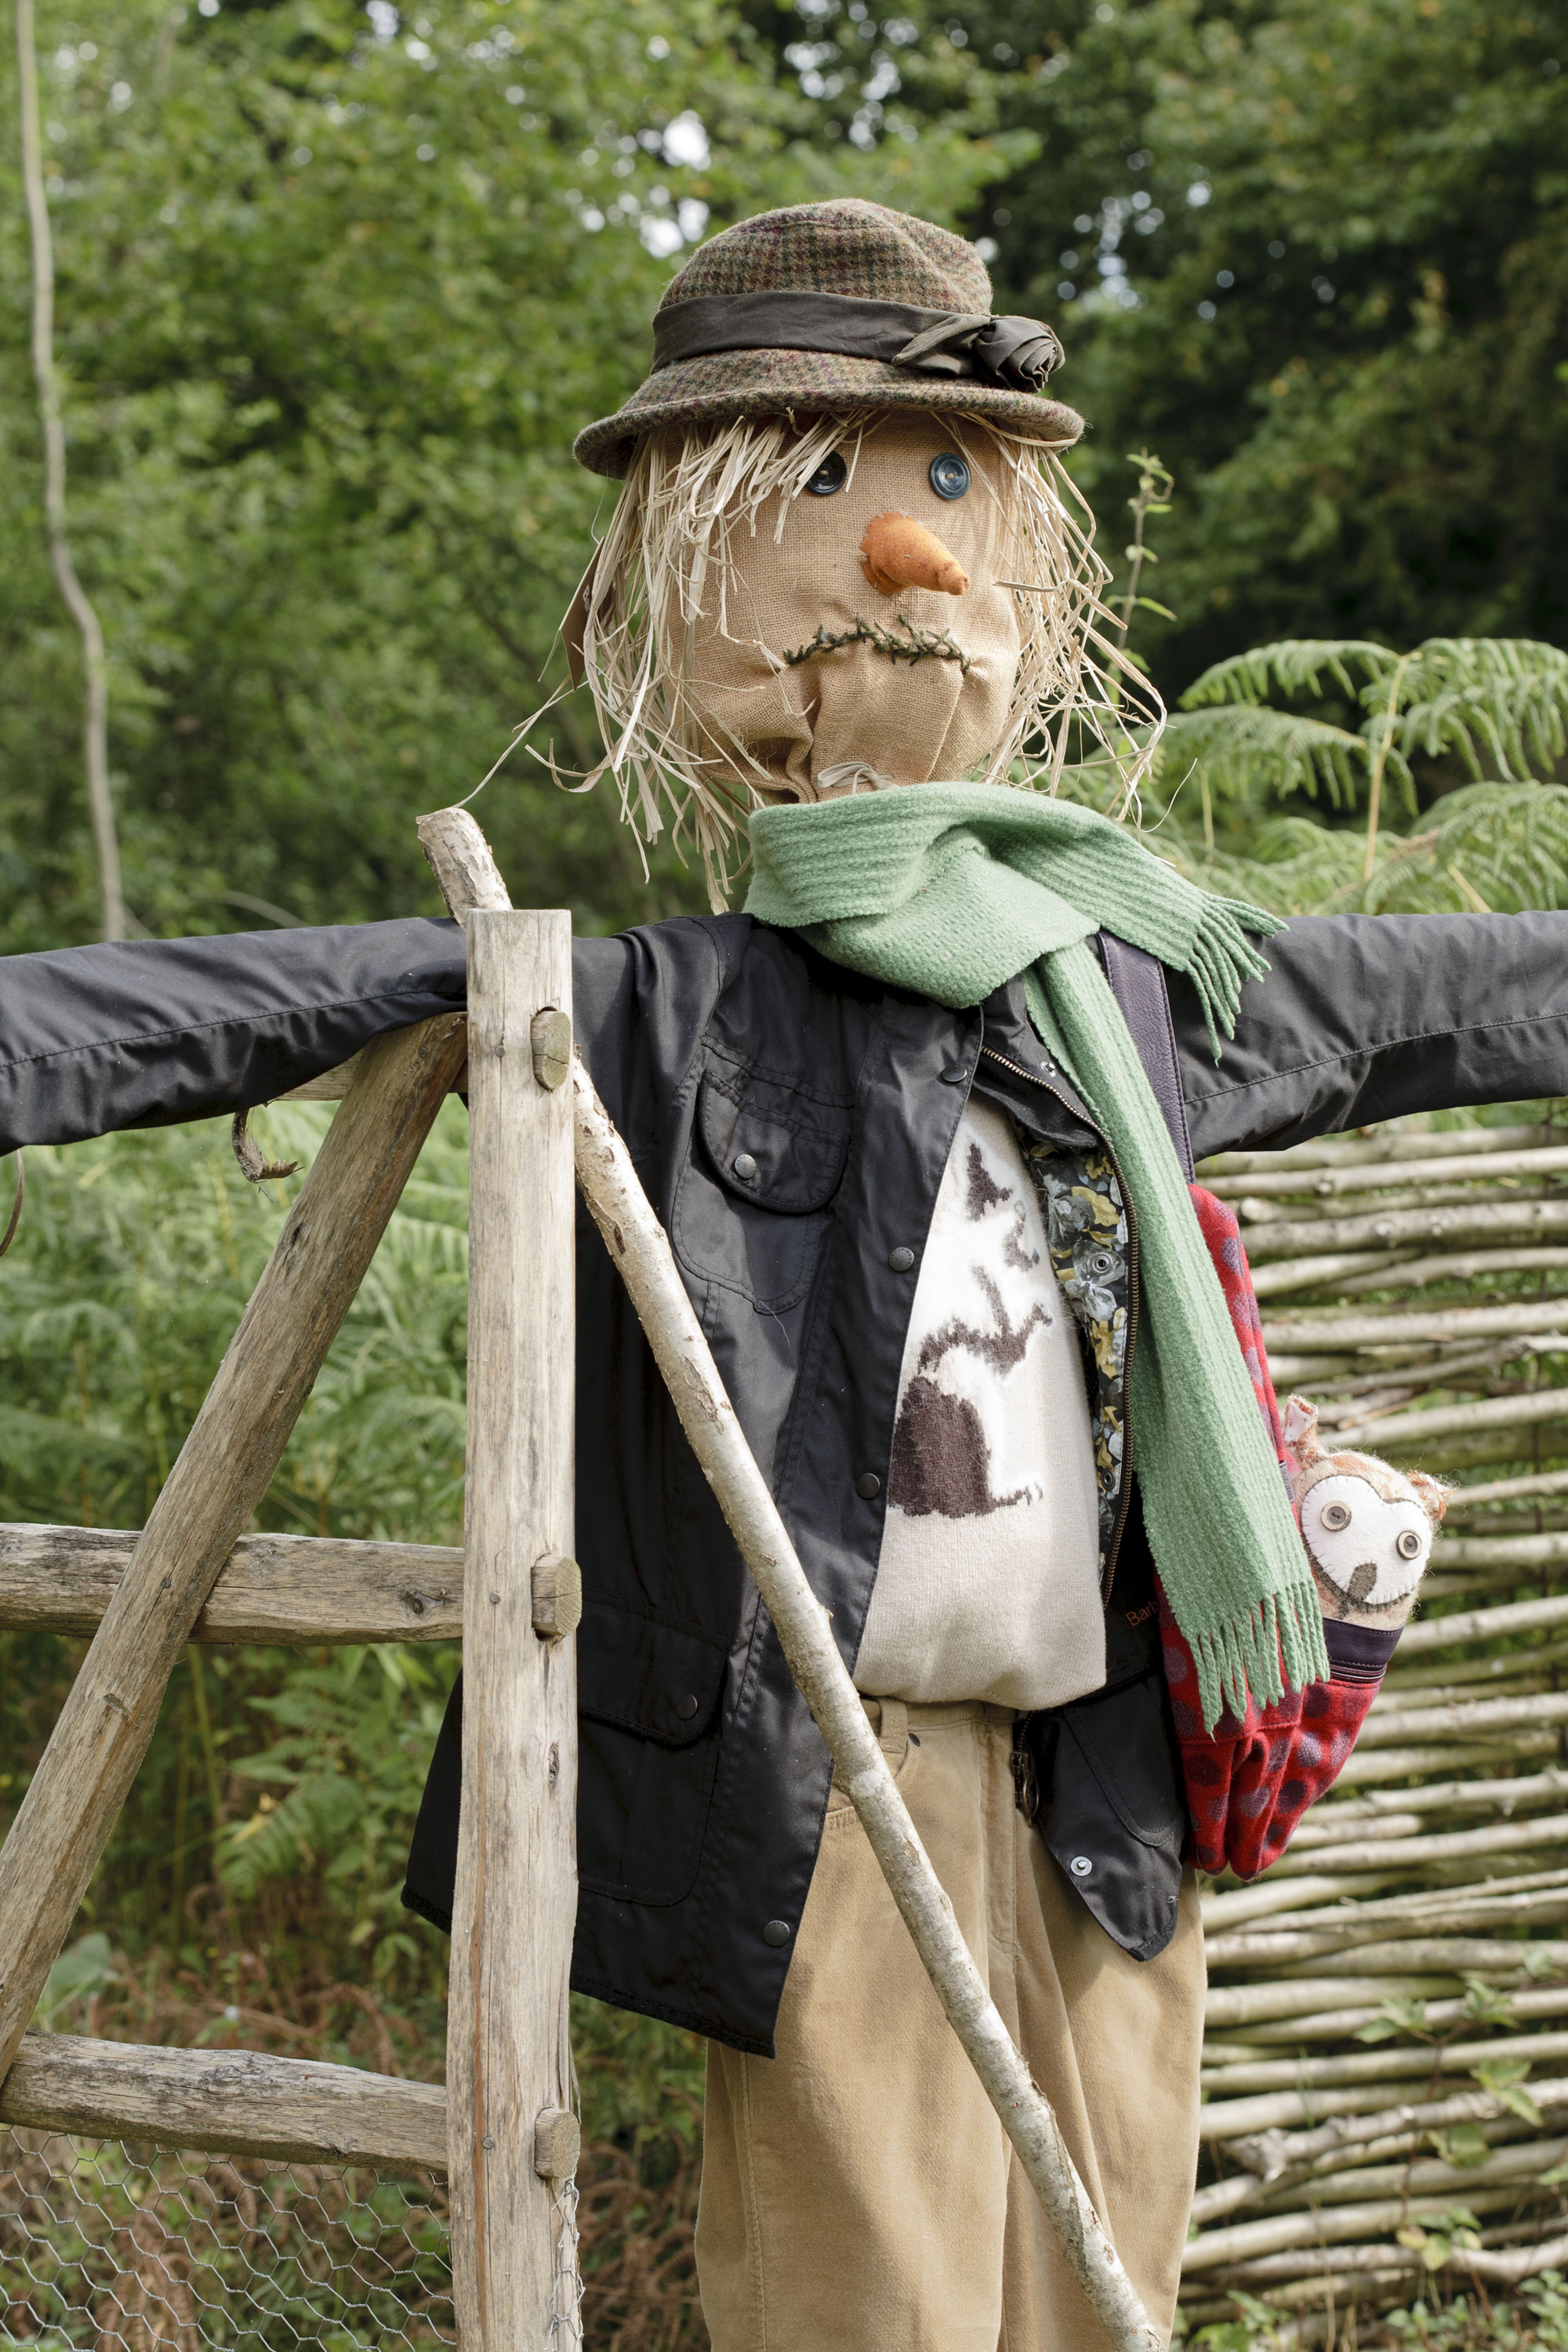
You can make a head by stuffing a piece of hessian or sacking and using a marker pen to add the facial details. Alternatively use an existing object to create the head. In autumn try a Jack O Lantern as it's a great way of recycling your carved Halloween pumpkin so it gets a second lease of life rather than being dumped.
You could also try customising an upturned flowerpot. Make sure it's in proportion to the size of your scarecrow so it looks realistic. Plastic is best, as it will be lightweight and can easily be popped on the end of your long 'body' cane. Glue the nose, eyes and mouth onto the plastic with a glue gun. Use shapes cut out of felt or fabric, as well as buttons.
Read more:
- How to build a raised bed: follow our easy guide
- The best vegetables to grow in raised beds: start your grow your own journey
- How to make a bug hotel: get the kids involved with this fun activity

Lifestyle journalist Sarah Wilson has been writing about gardens since 2015. She's written for Gardeningetc.com, Livingetc, Homes & Gardens, Easy Gardens and Modern Gardens magazines. Having studied introductory garden and landscape design, she is currently putting the skills learned to good use in her own space where the dream is establishing a cutting garden.
