How to lay turf: 6 steps for a lush green lawn in your garden
Our step-by-step guide will show you how to lay turf for a verdant stretch of green, fast

Holly Crossley
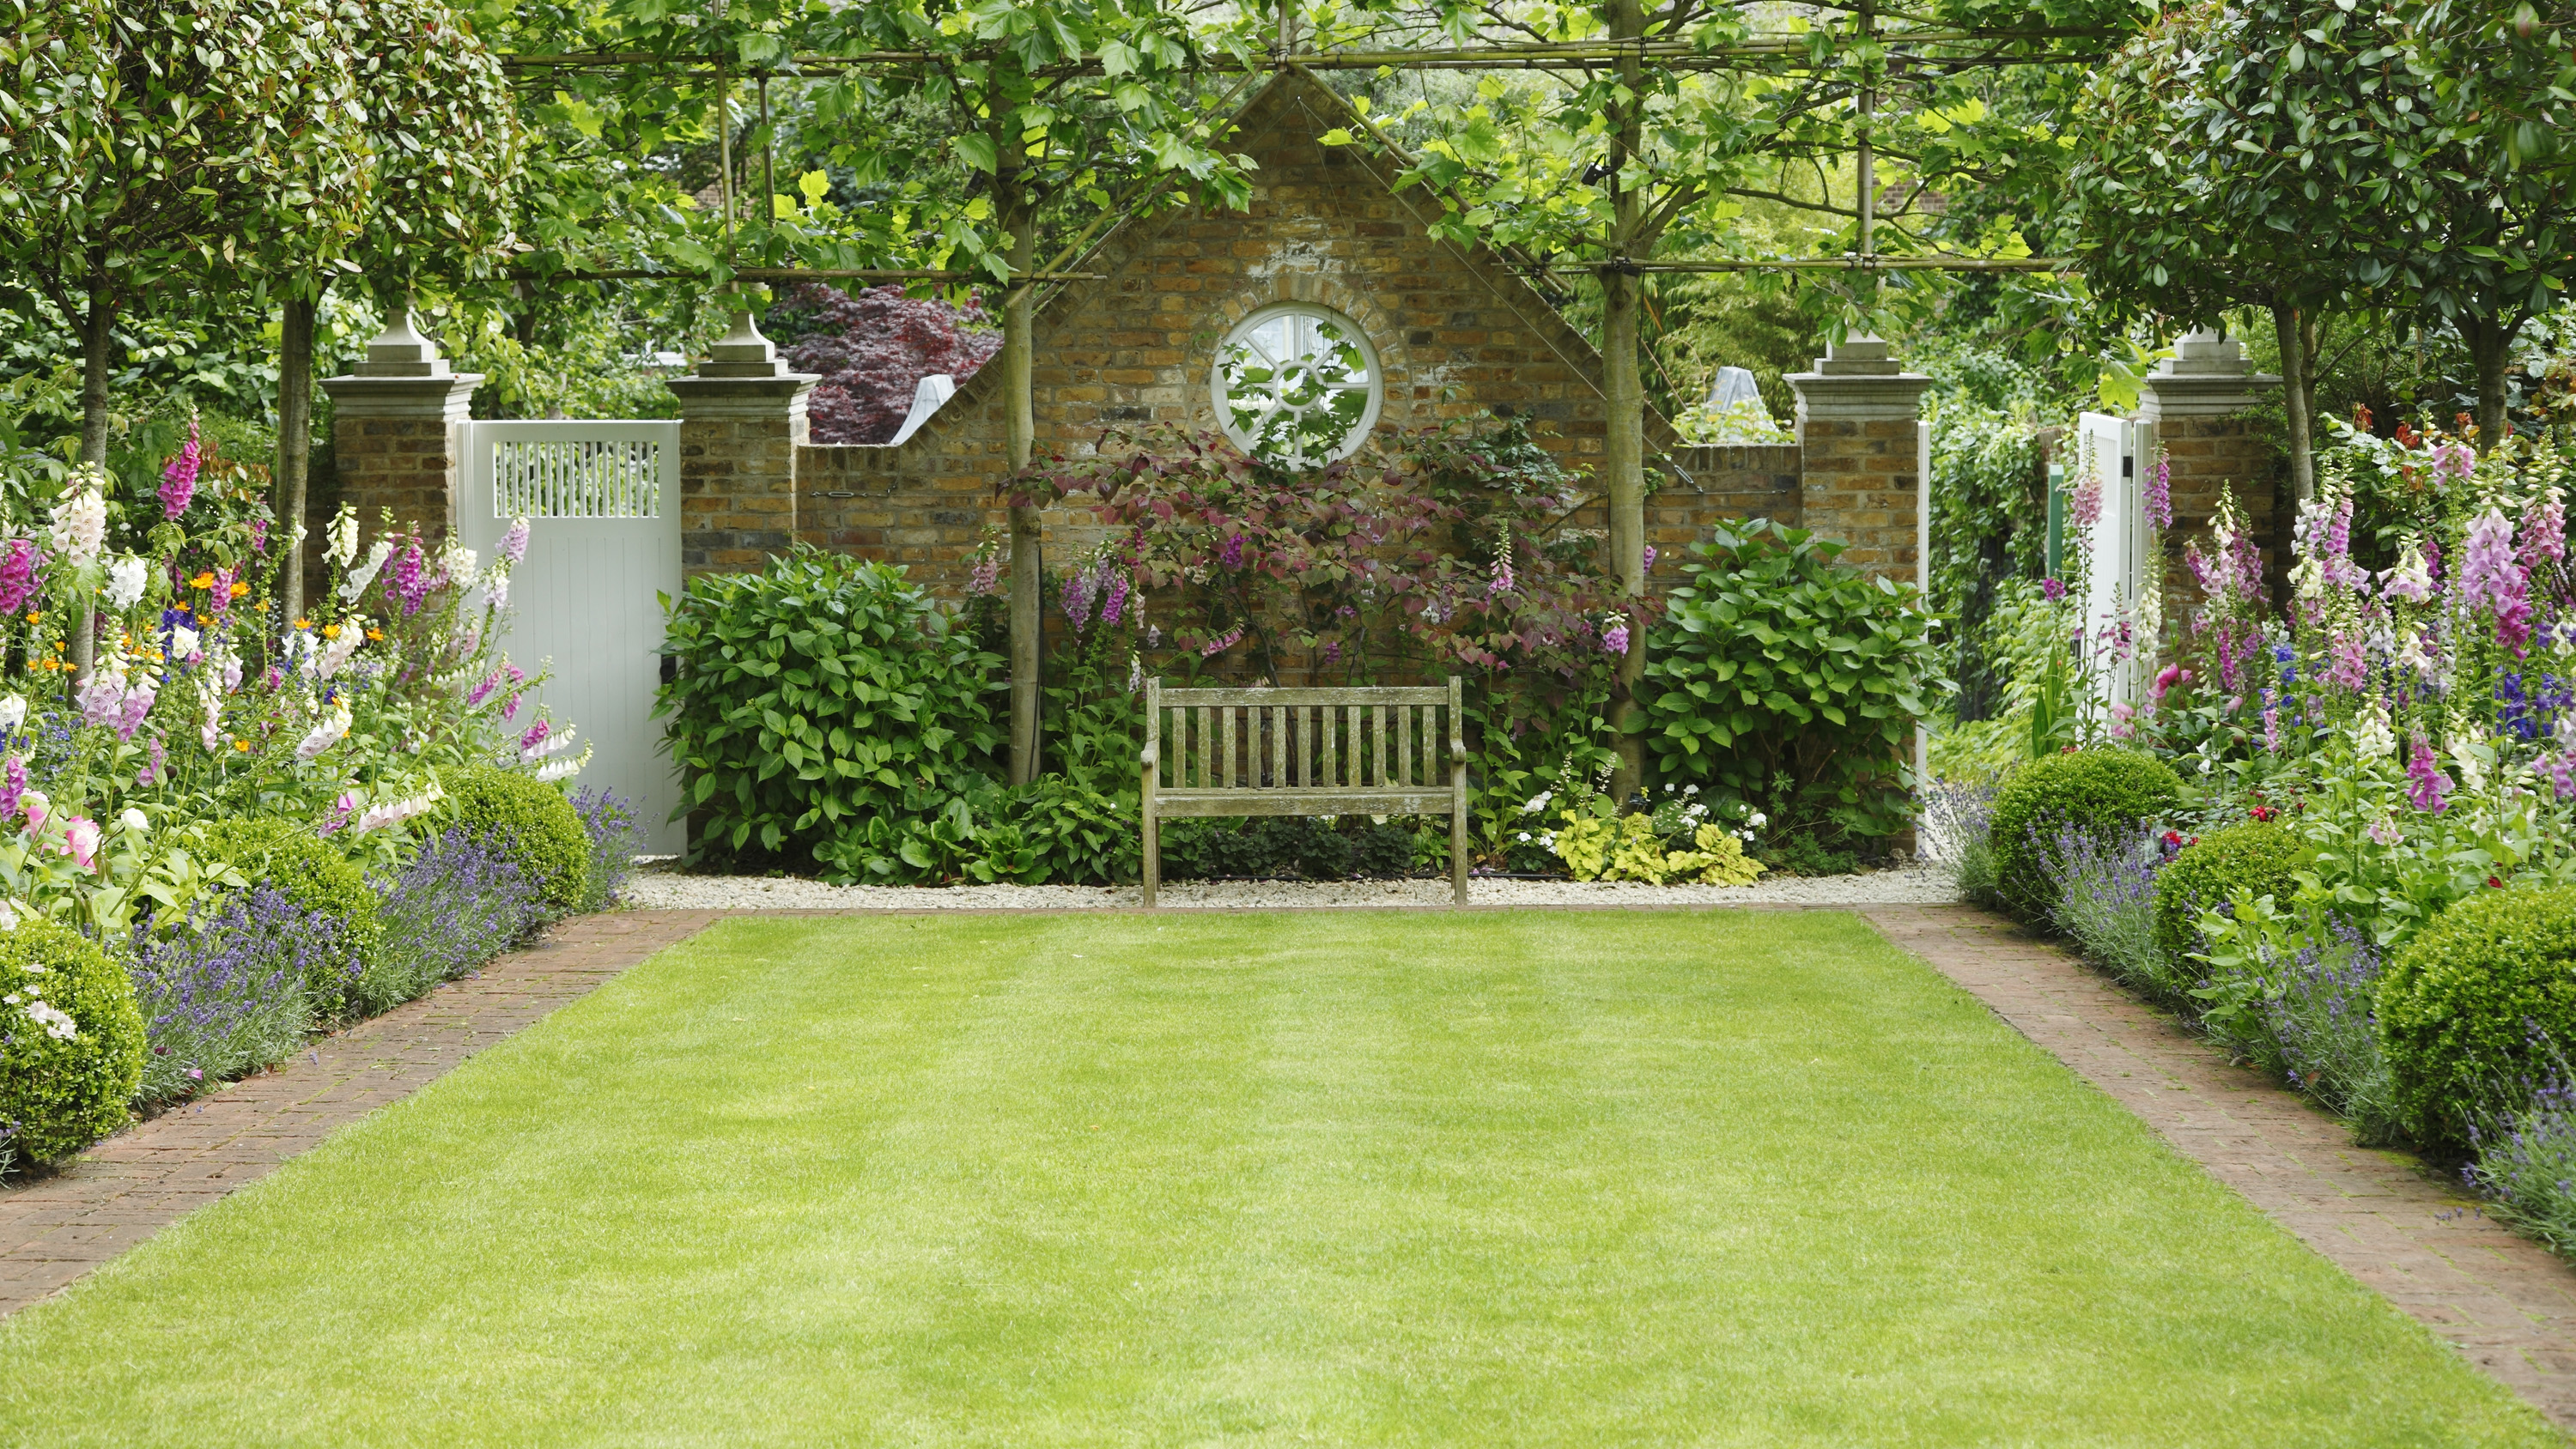
Starting from scratch with a lawn? You'll need to know how to lay turf – it's the quickest and most straightforward way to grow an expanse of healthy green grass in your garden.
Whether you're looking to cover a large space, complete with stylish lawn edging ideas, or revamp a small courtyard or front garden, we've brought together all the tips you need for successful results. You'll have one of these timeless backyard features in no time.
6 simple steps for how to lay turf
Installing a lawn is simpler than you might expect. And, once you've learned how to lay turf, don't forget to check out our guide to the best lawn mower so you can keep it looking its best.
1. Assemble your kit
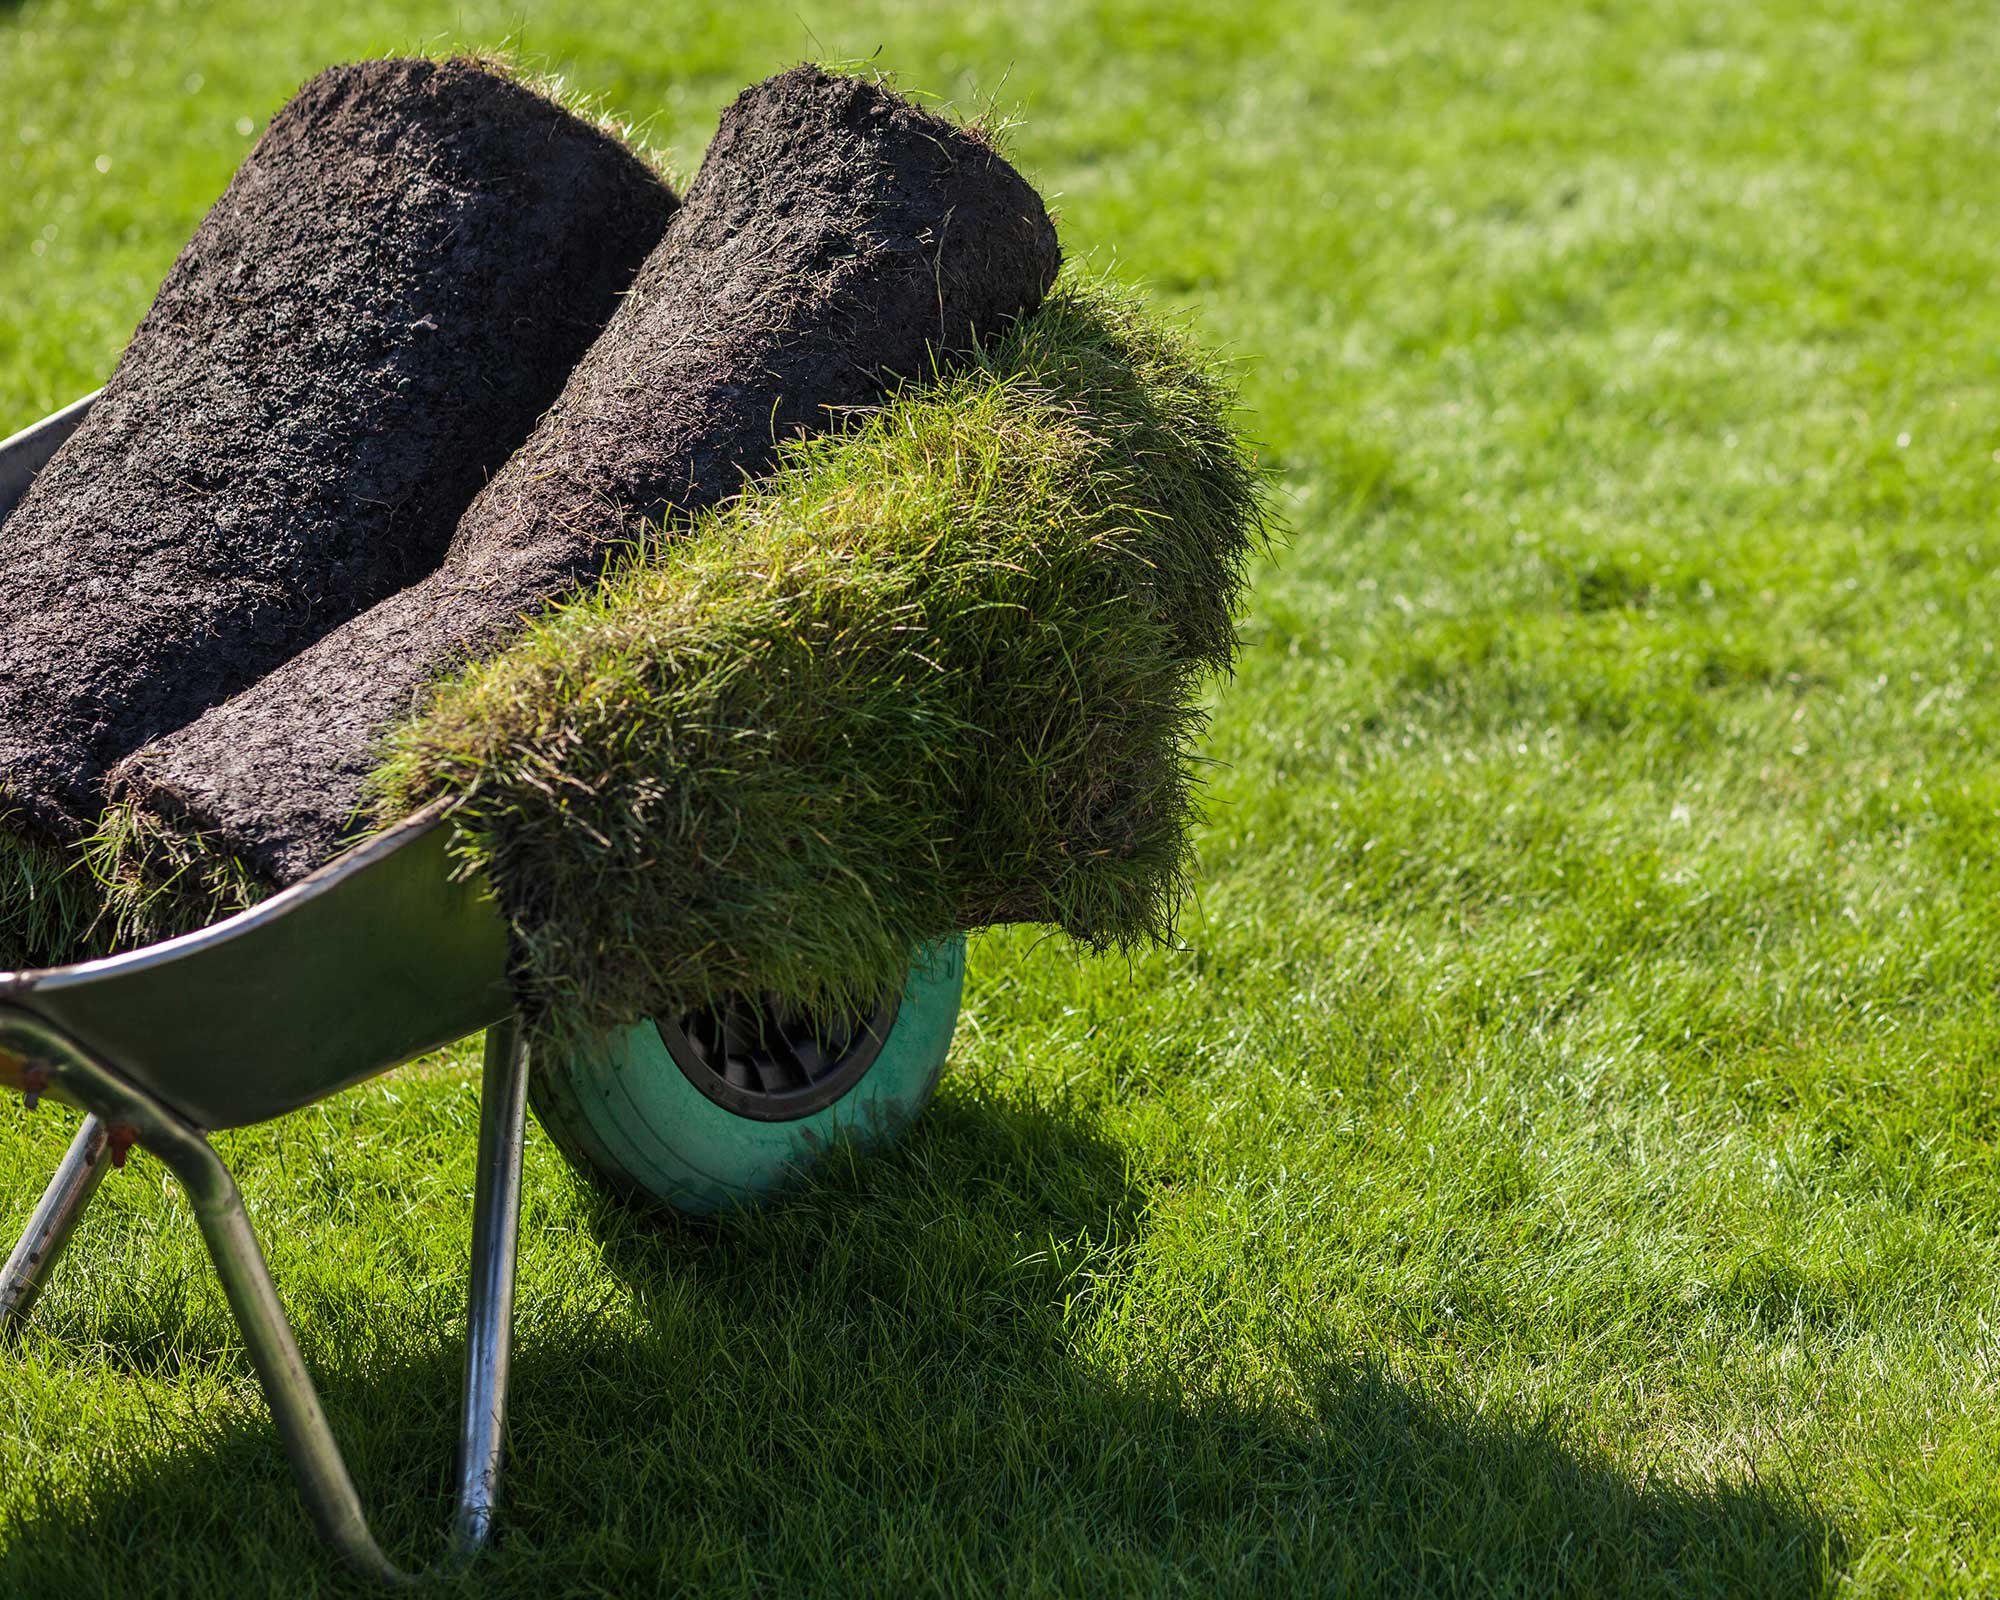
Avoid letting rolls of turf dry out
The first step in learning how to lay turf for your new lawn ideas is getting all the right tools together.
Here's what you’ll need to complete your project:
- Fork
- Wheelbarrow
- Well-rotted manure or other organic matter
- Topsoil, if required
- Garden roller (optional)
- Rake
- Pre-turf fertilizer (optional)
- Turf
- Builder's line, pegs and string (optional)
- Spade or sharp knife
- Timber boards to stand on (eg., scaffold boards)
- Garden sprinkler, hose, or watering can
2. Prepare the lawn area
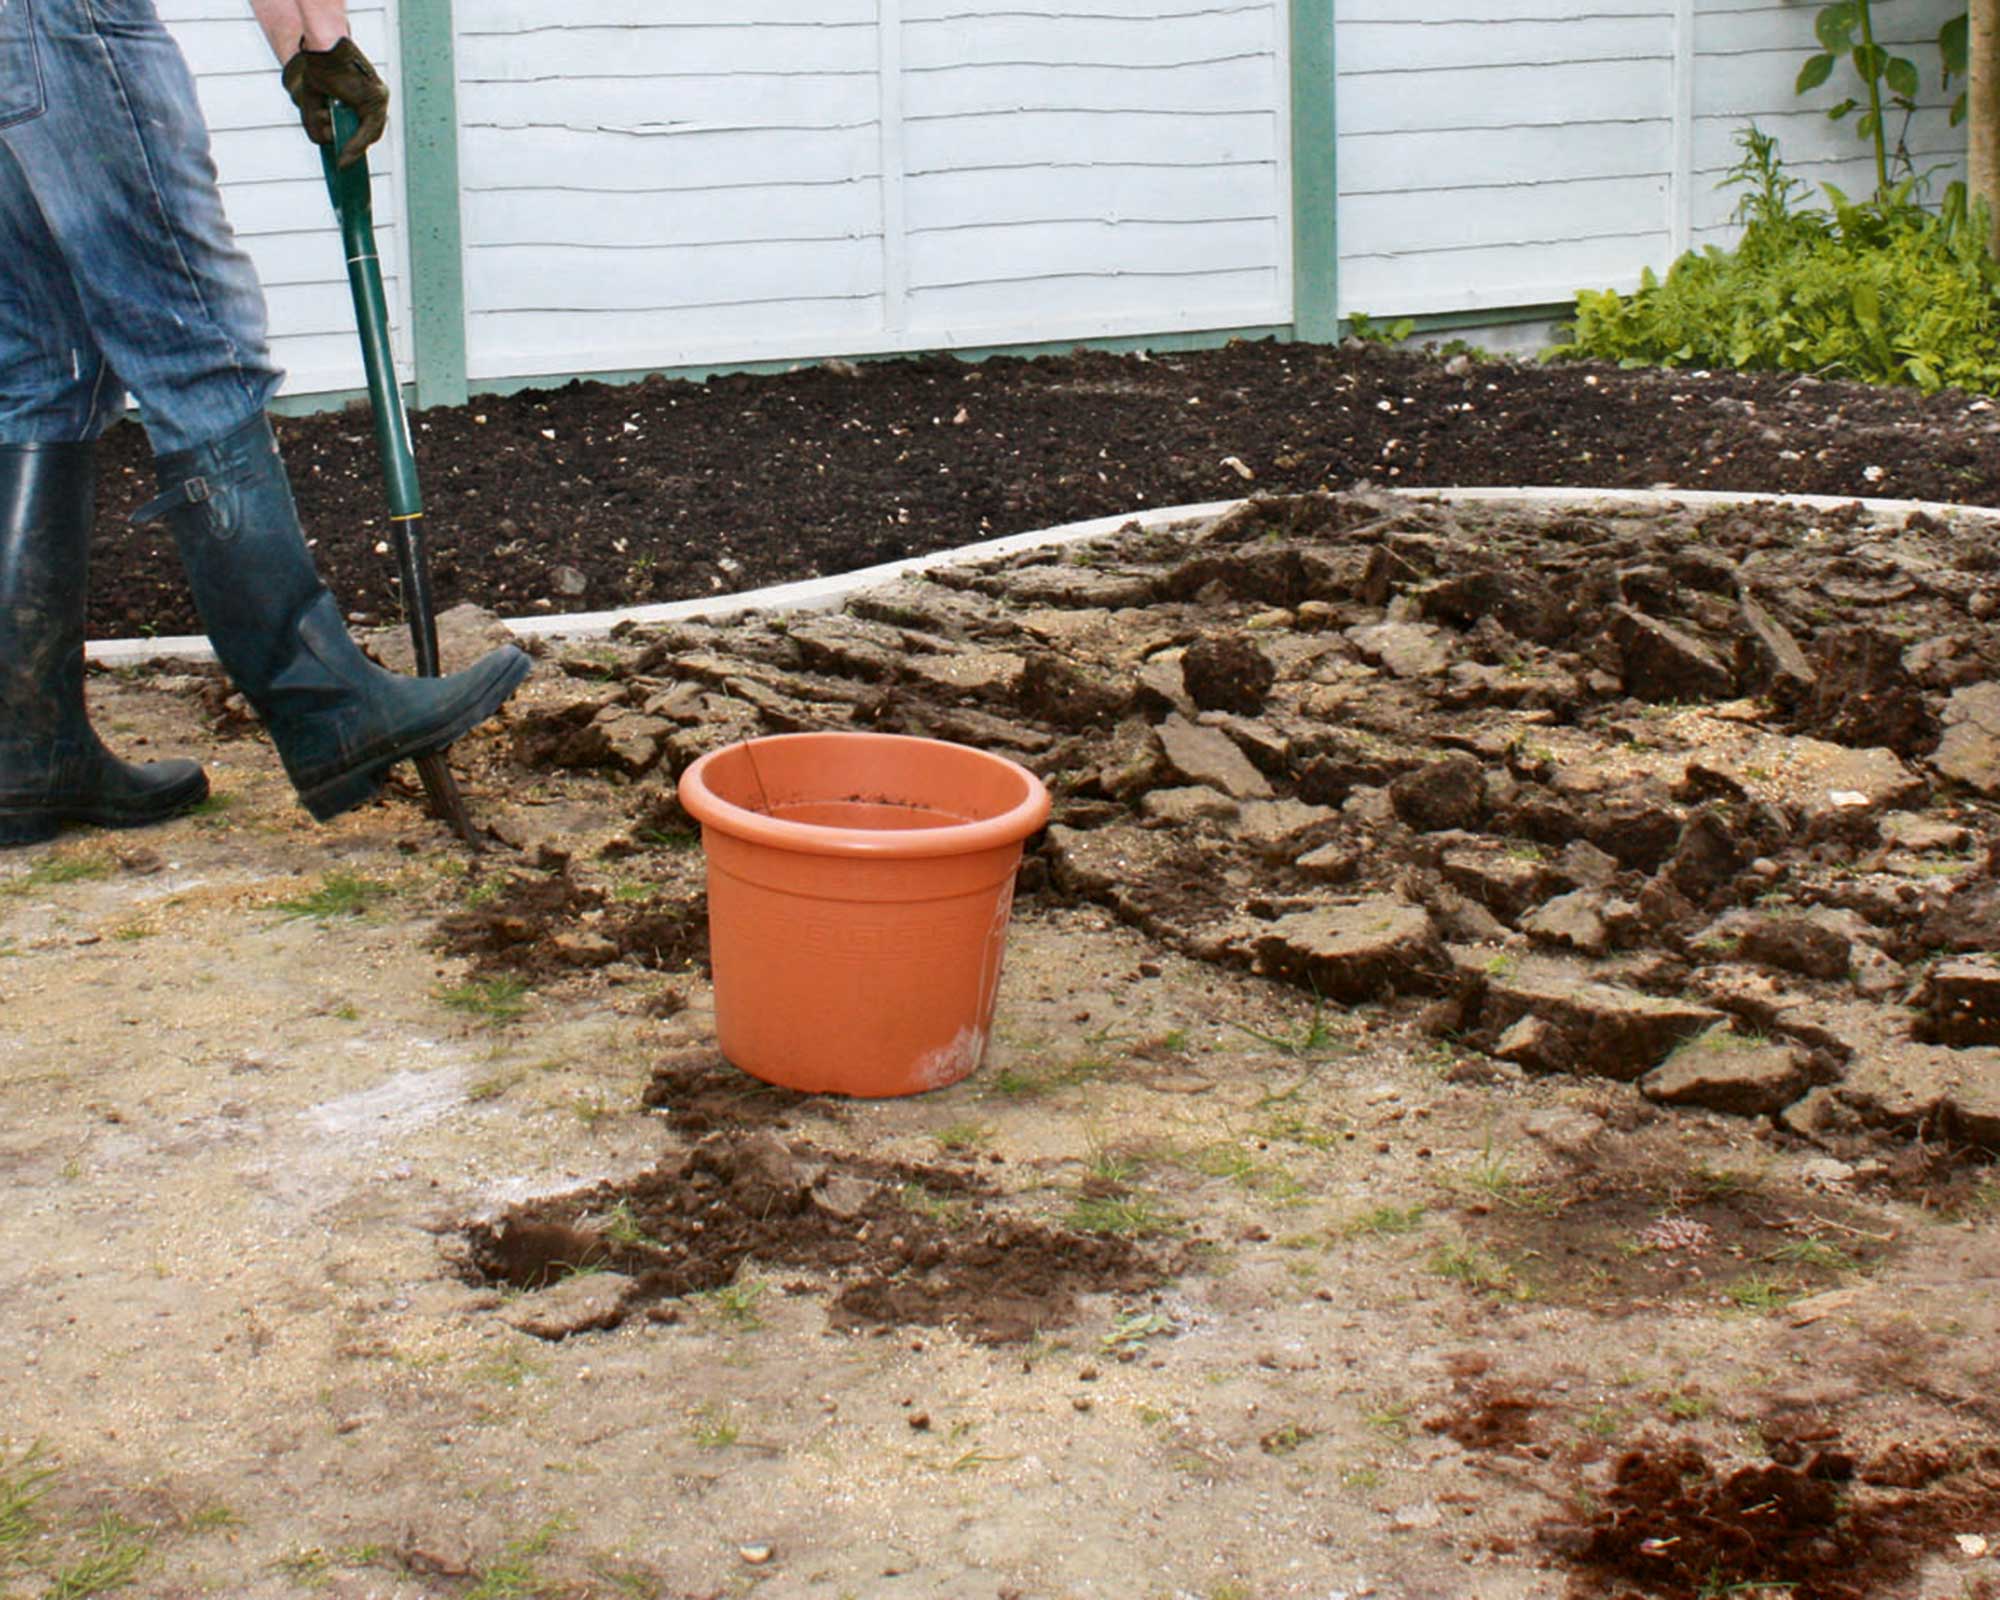
Dig up any rocks or debris from the soil
It is preferable to prepare the site before buying (or getting a delivery of) turf. Remove perennial weeds by hand or use the best weed killer if necessary. If the latter, be sure to use a non-residual product: a residual weedkiller will prevent the lawn from establishing.
Then, use a fork to dig the soil in the area where the turf will be laid to a depth of about 8–10in (20–25cm). Remove any roots, large stones, and debris.
Dig in well-rotted manure or other organic matter, then leave the soil to settle for a few days or longer – gardening expert Ruth Hayes of Amateur Gardening says that a month is ideal.
Remove any weeds that have germinated in the meantime and, if the surface is uneven, add topsoil to it and rake to level the area.
Walk over the ground, treading it with your heels across the entire area to firm the surface. Alternatively, you can use a garden roller, but roll lightly. Grab your best garden rake and go over the area several times, making sure you work in different directions.
If you want to use pre-turf fertilizer to promote root development, sprinkle this onto the ground, following the packet instructions, and rake over.
3. Lay the turf
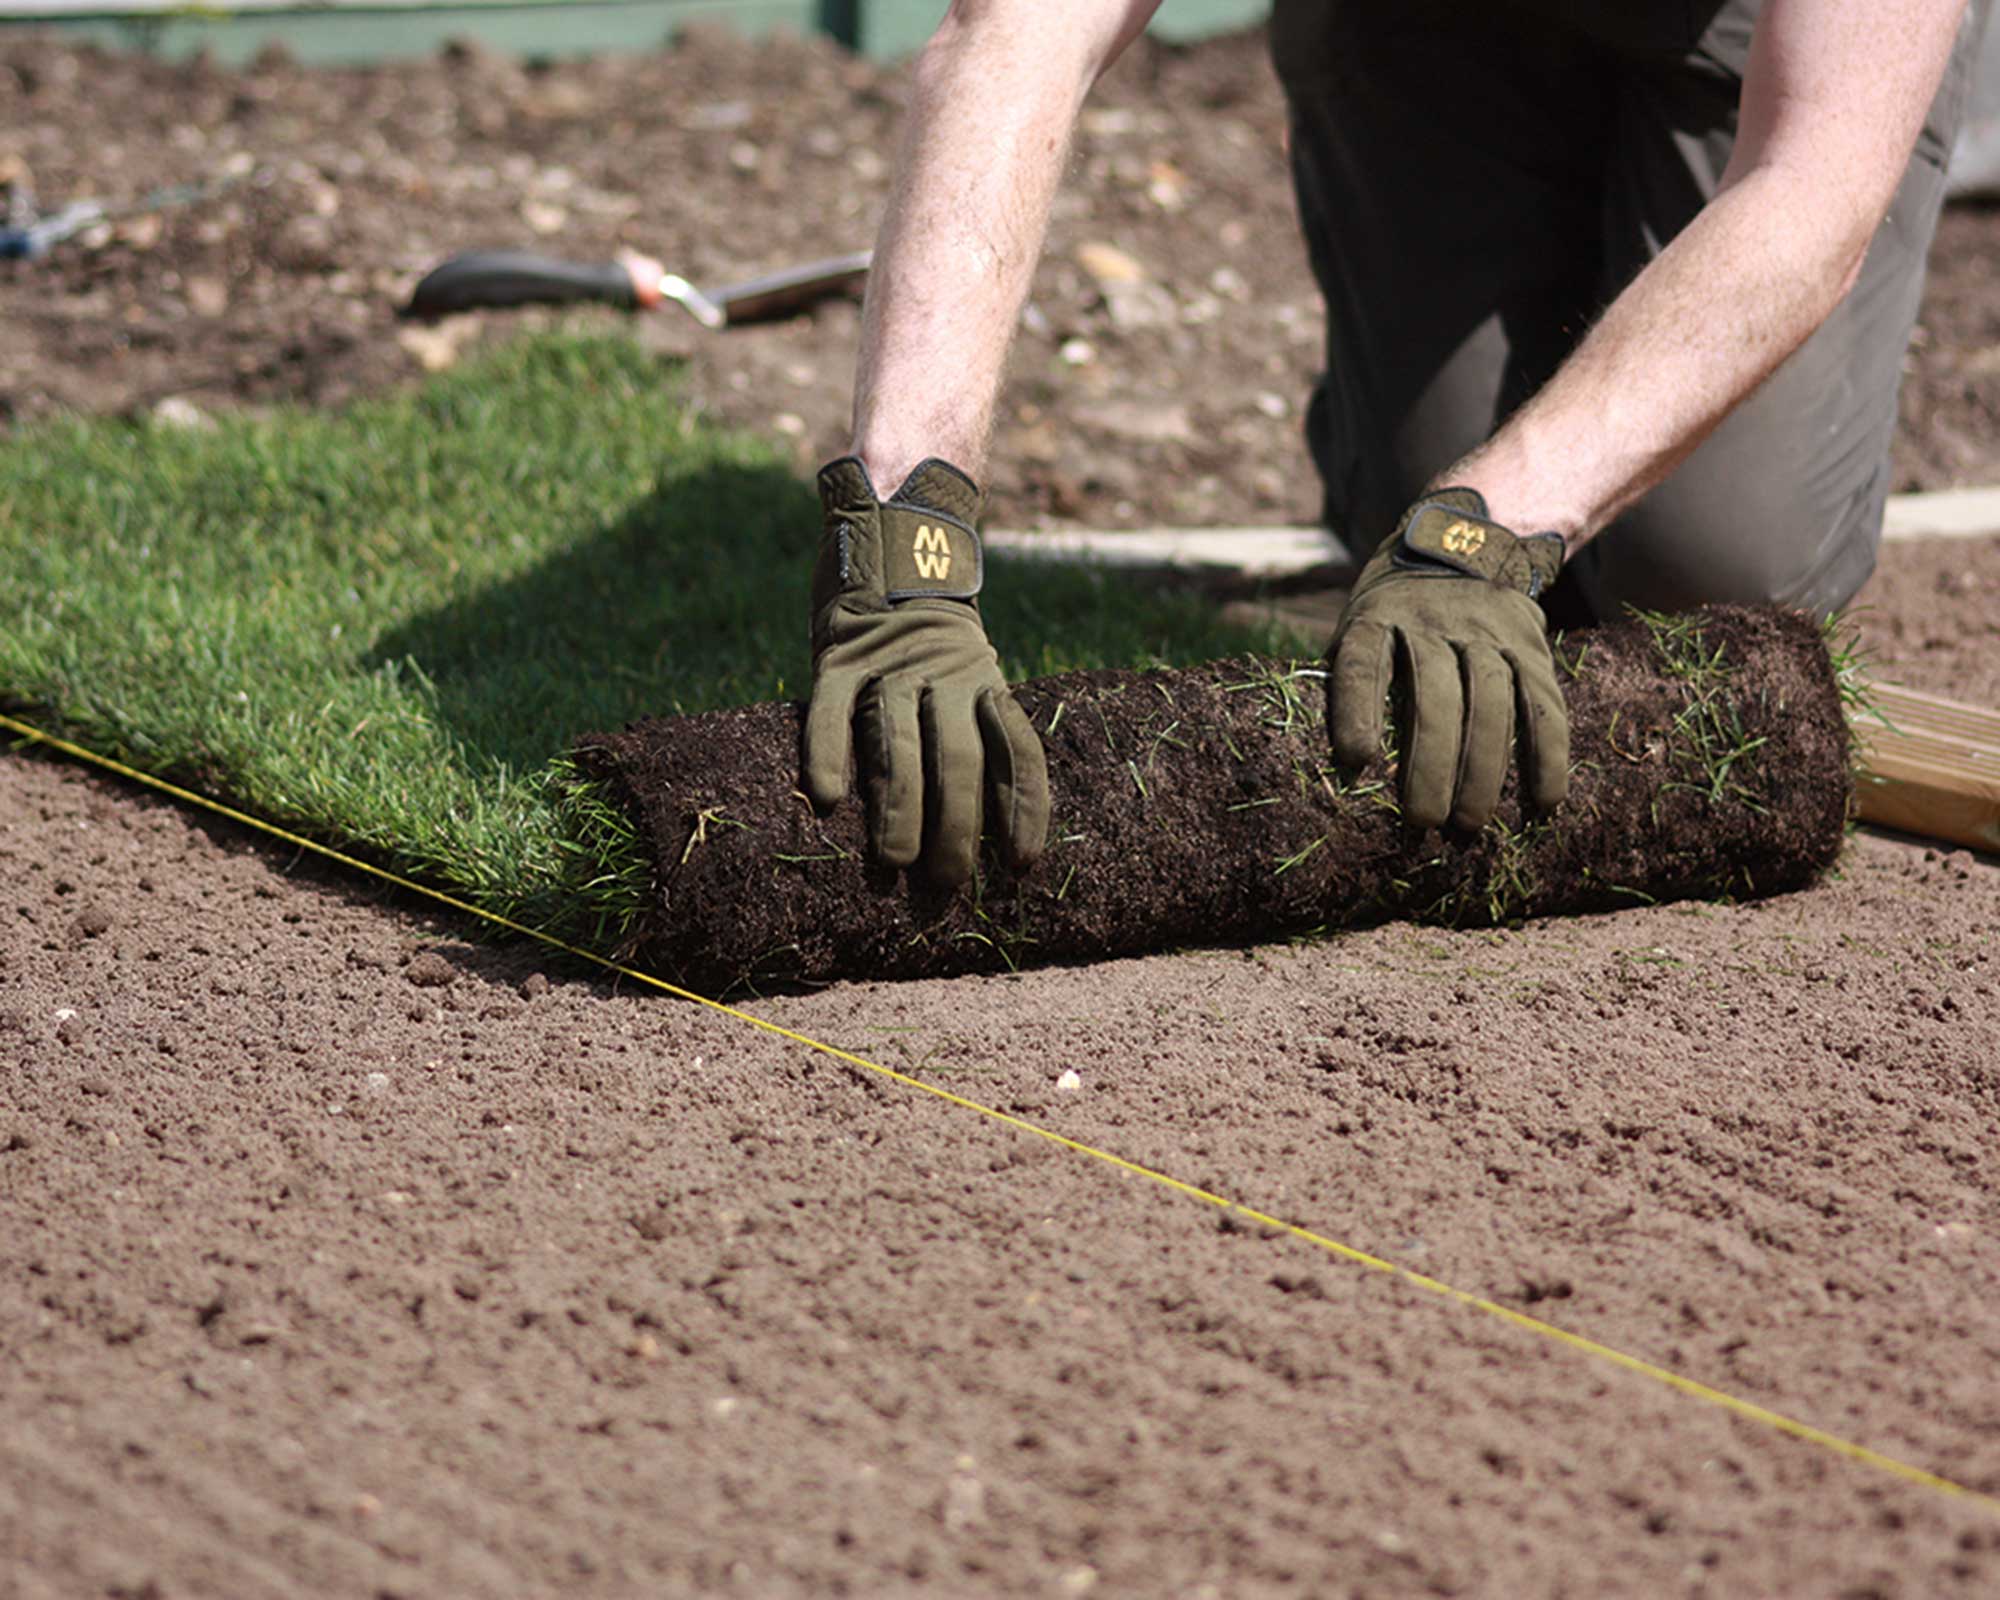
Roll out your turf by hand
Start from the edges of the area, and work inwards to lay the turf. It's easiest to begin from a straight line, such as a path, driveway, or fence line. If you need to, you can use a builder's line, then pegs and string to mark the boundaries.
Lay the long side of the first roll parallel to the edge of the area, and continue around all the edges. Use a spade or sharp knife to cut off any excess as necessary.
Put down a timber board to stand on and continue laying the turf in rows. Make sure you stagger the joints from one row to another, like a brick wall. The ends and edges should be butted together to avoid gaps, but don't stretch the rolls of turf. Add or remove soil as you lay the lawn to keep it level.
4. Flatten the turf and fill in the gaps
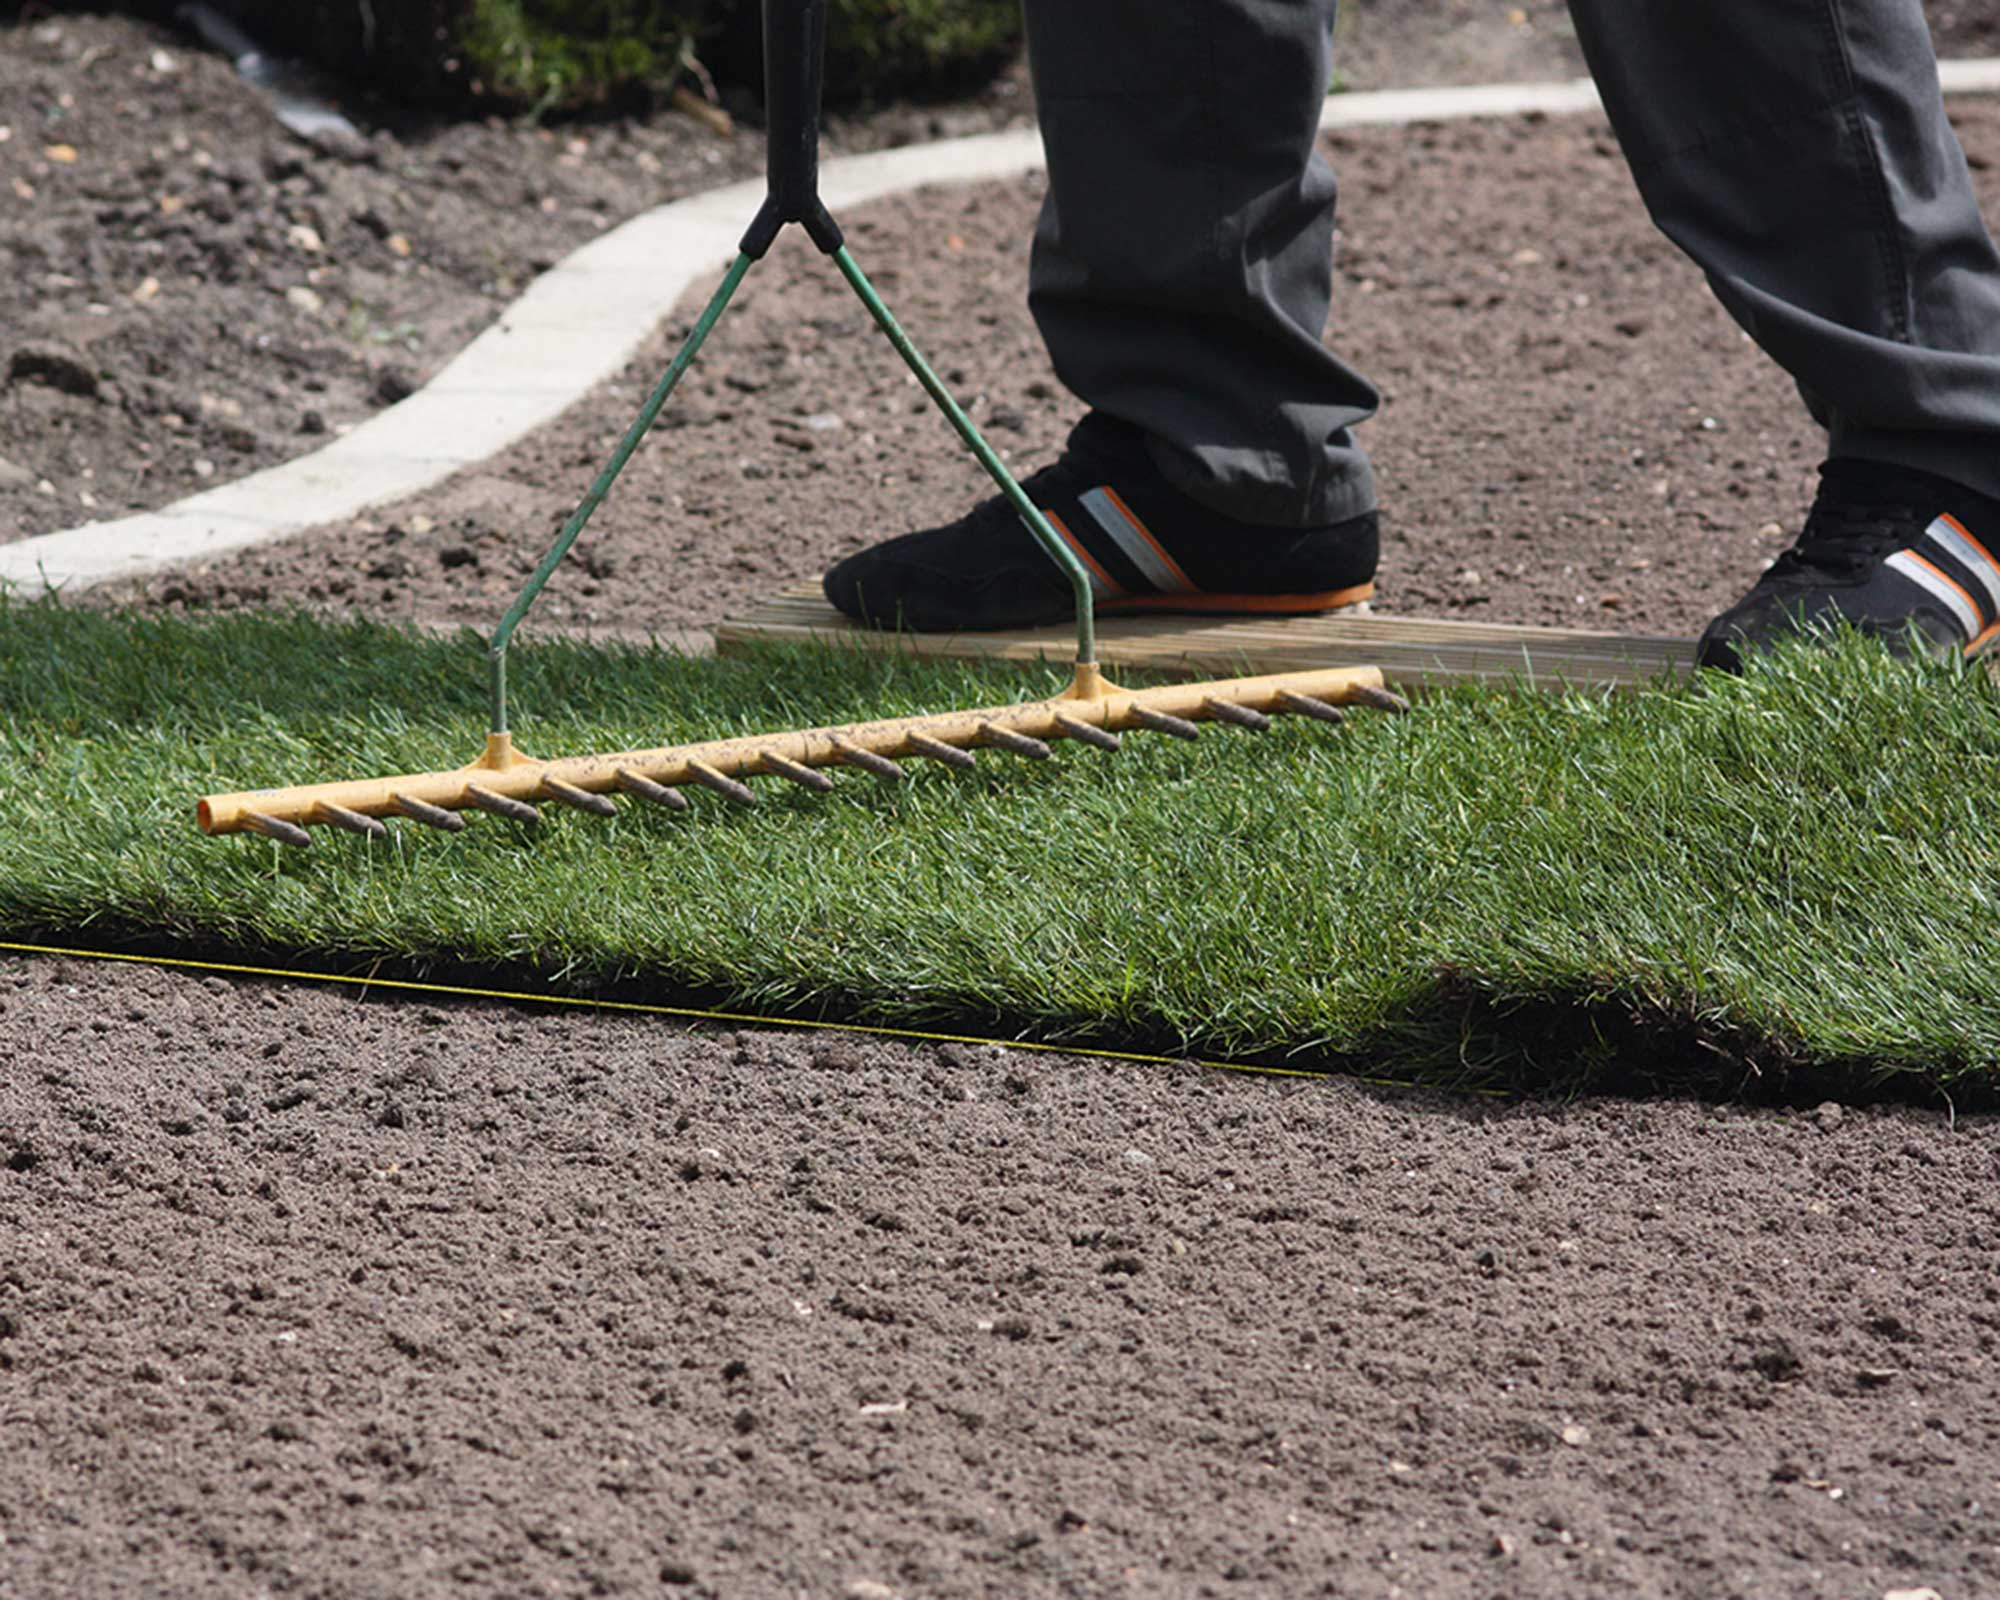
Push the turf down with a rake, garden roller, or plank of wood
When you've finished, use a garden roller to firm the turf and ensure it has good contact with the soil. If you don’t have a roller, you can use a plank of wood to apply pressure across the area. For a small lawn, it's also possible to bang each turf all over with the back of a rake.
After firming in your turf, brush sand into the gaps between each one to help them knit together and fill in any small indentations.
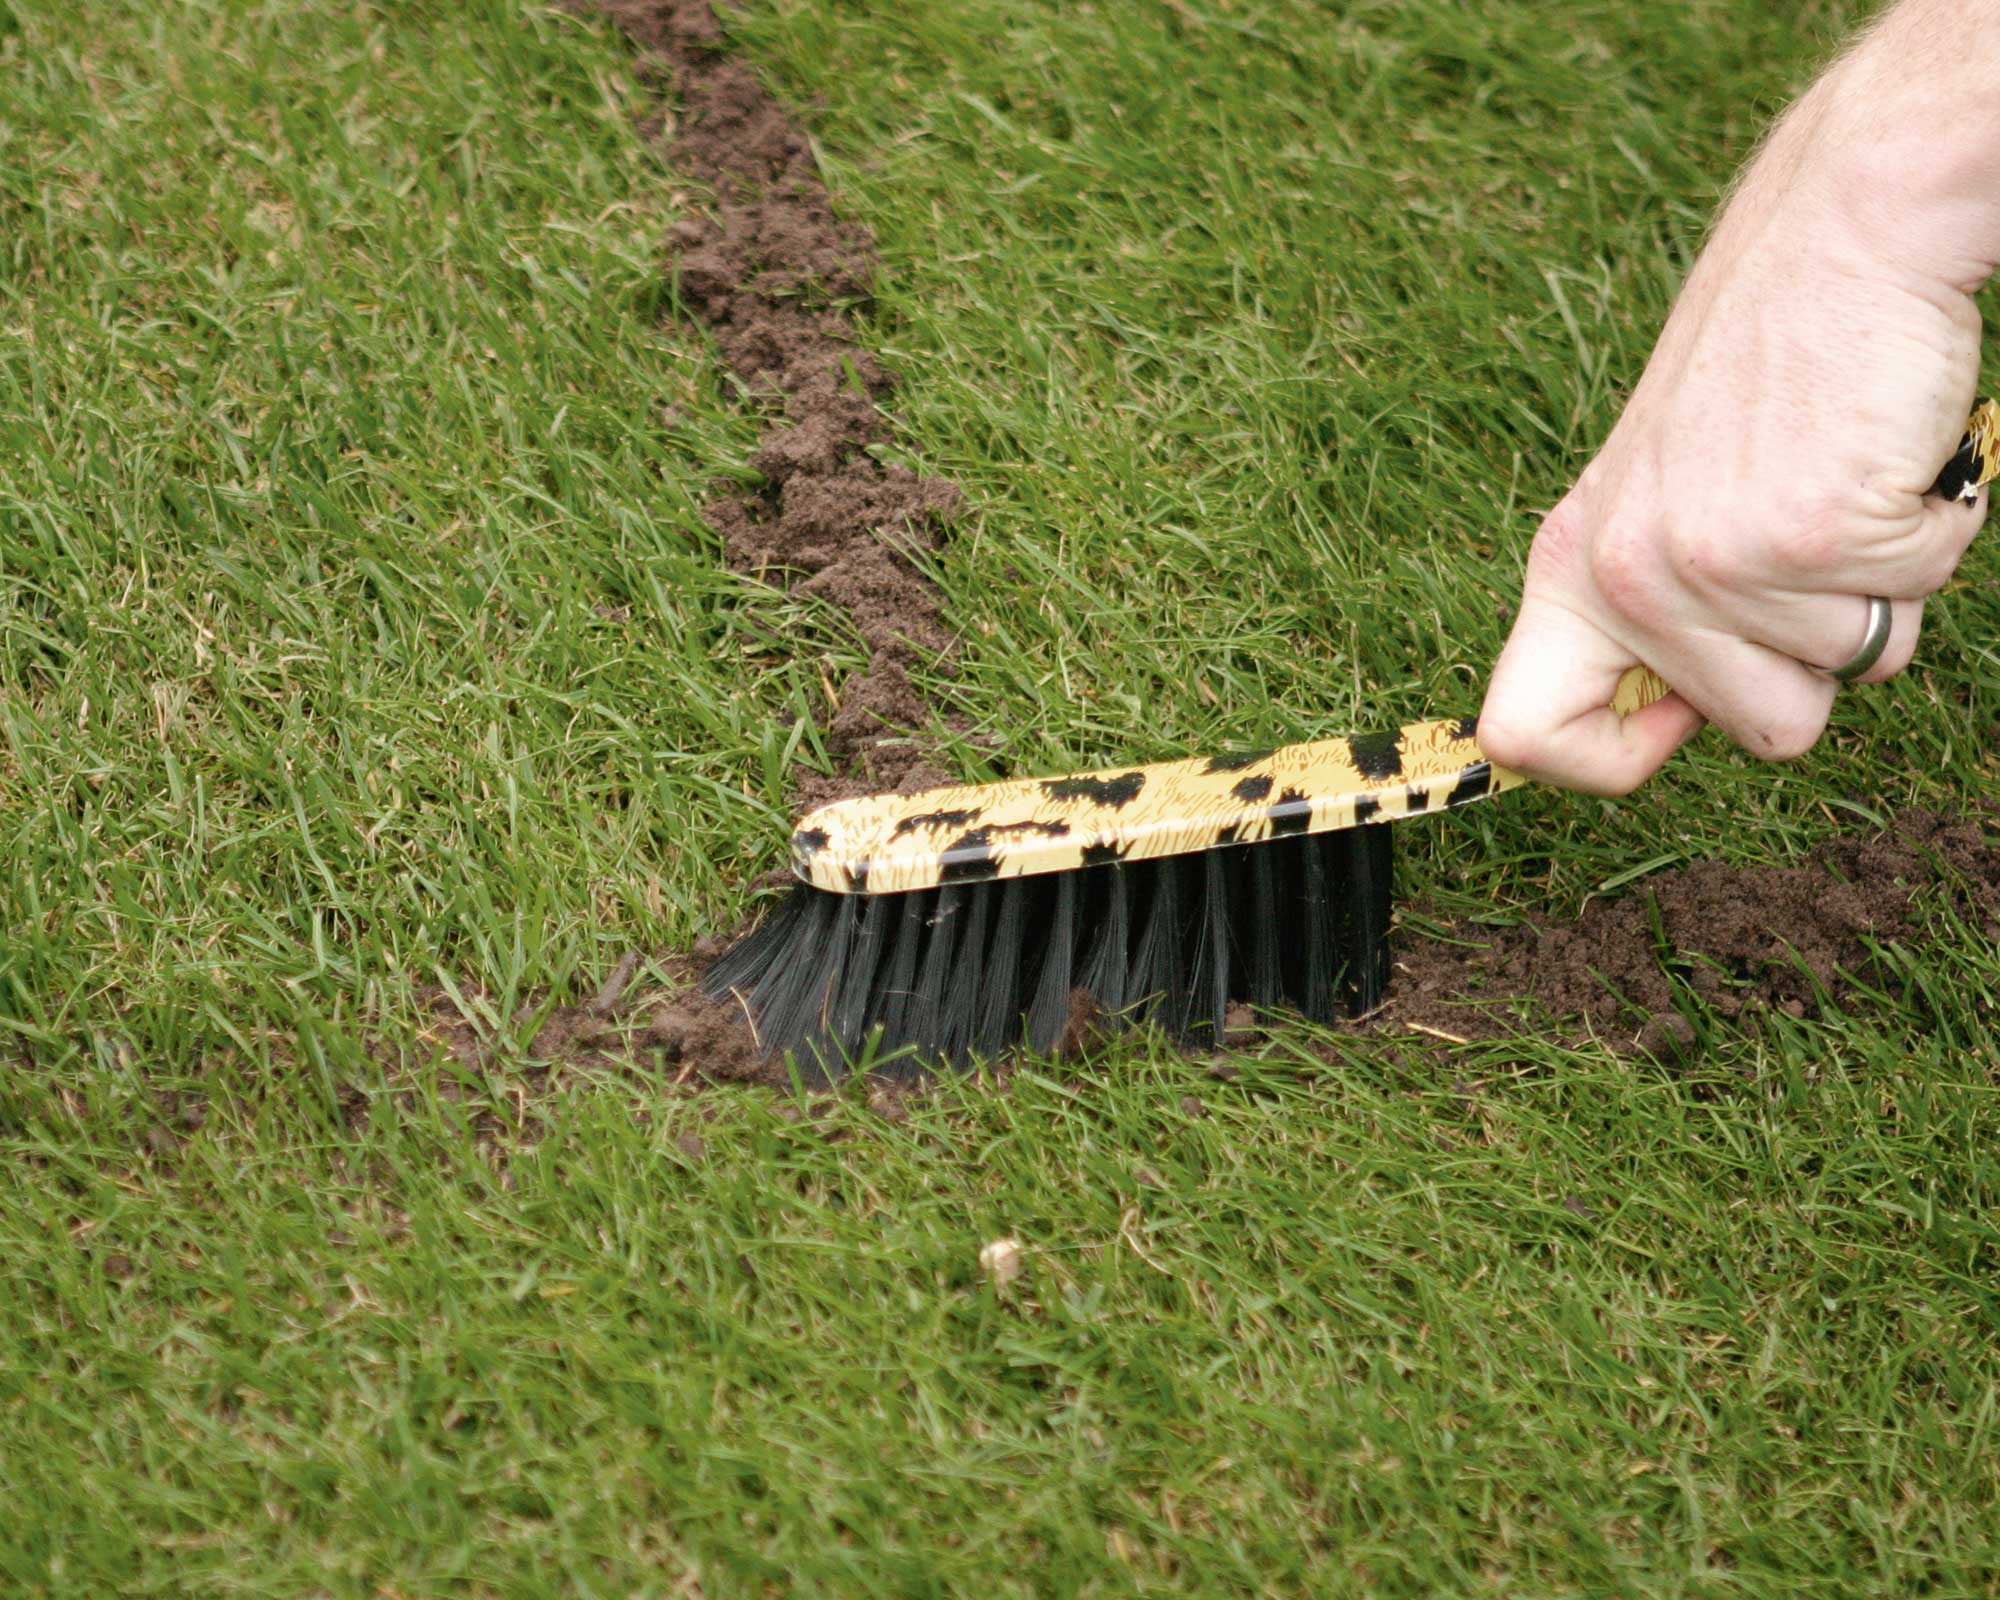
Fill in the gaps
5. Water your new lawn
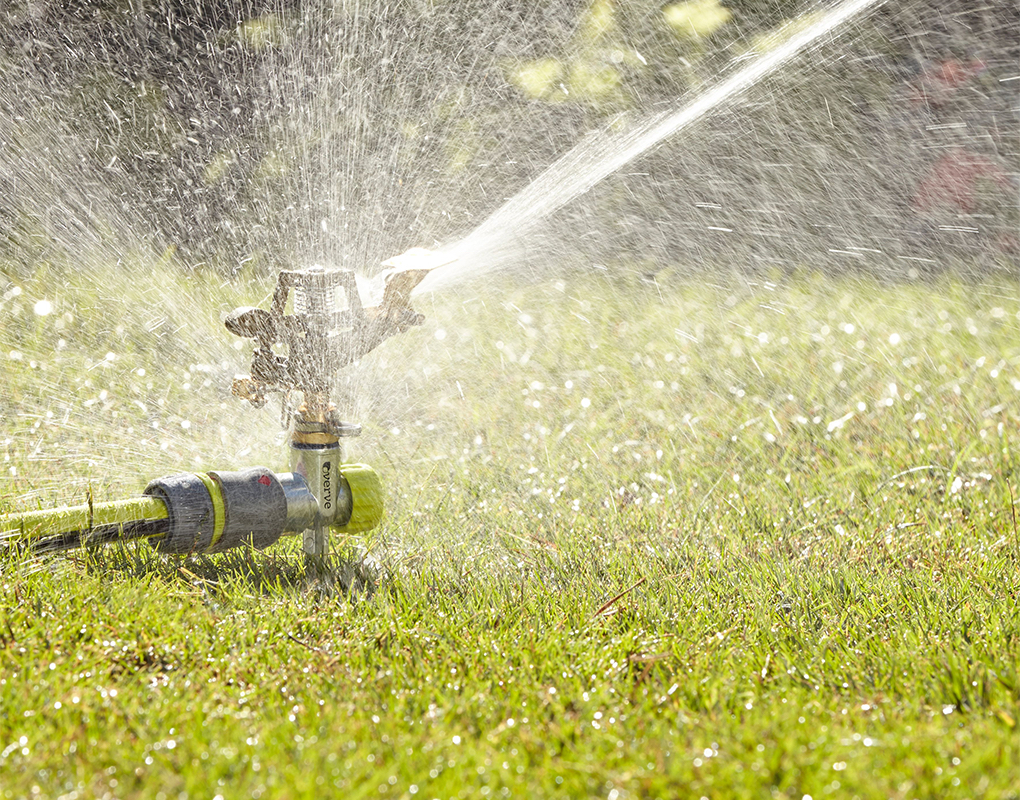
A lawn sprinkler will keep your turf hydrated
Water the newly laid lawn. Using our choice of the best garden sprinkler is ideal for even coverage, but you can use a hose with a spray attachment or a watering can for smaller areas.
You'll need to continue to water the lawn regularly until it is established if it doesn't rain sufficiently – the turf should never dry out. Windy conditions, as well as hot weather, can have this effect, causing the turf to shrink and gaps to appear.
It's also best to stay off the lawn for the first two weeks after laying the turf.
6. Maintain it properly
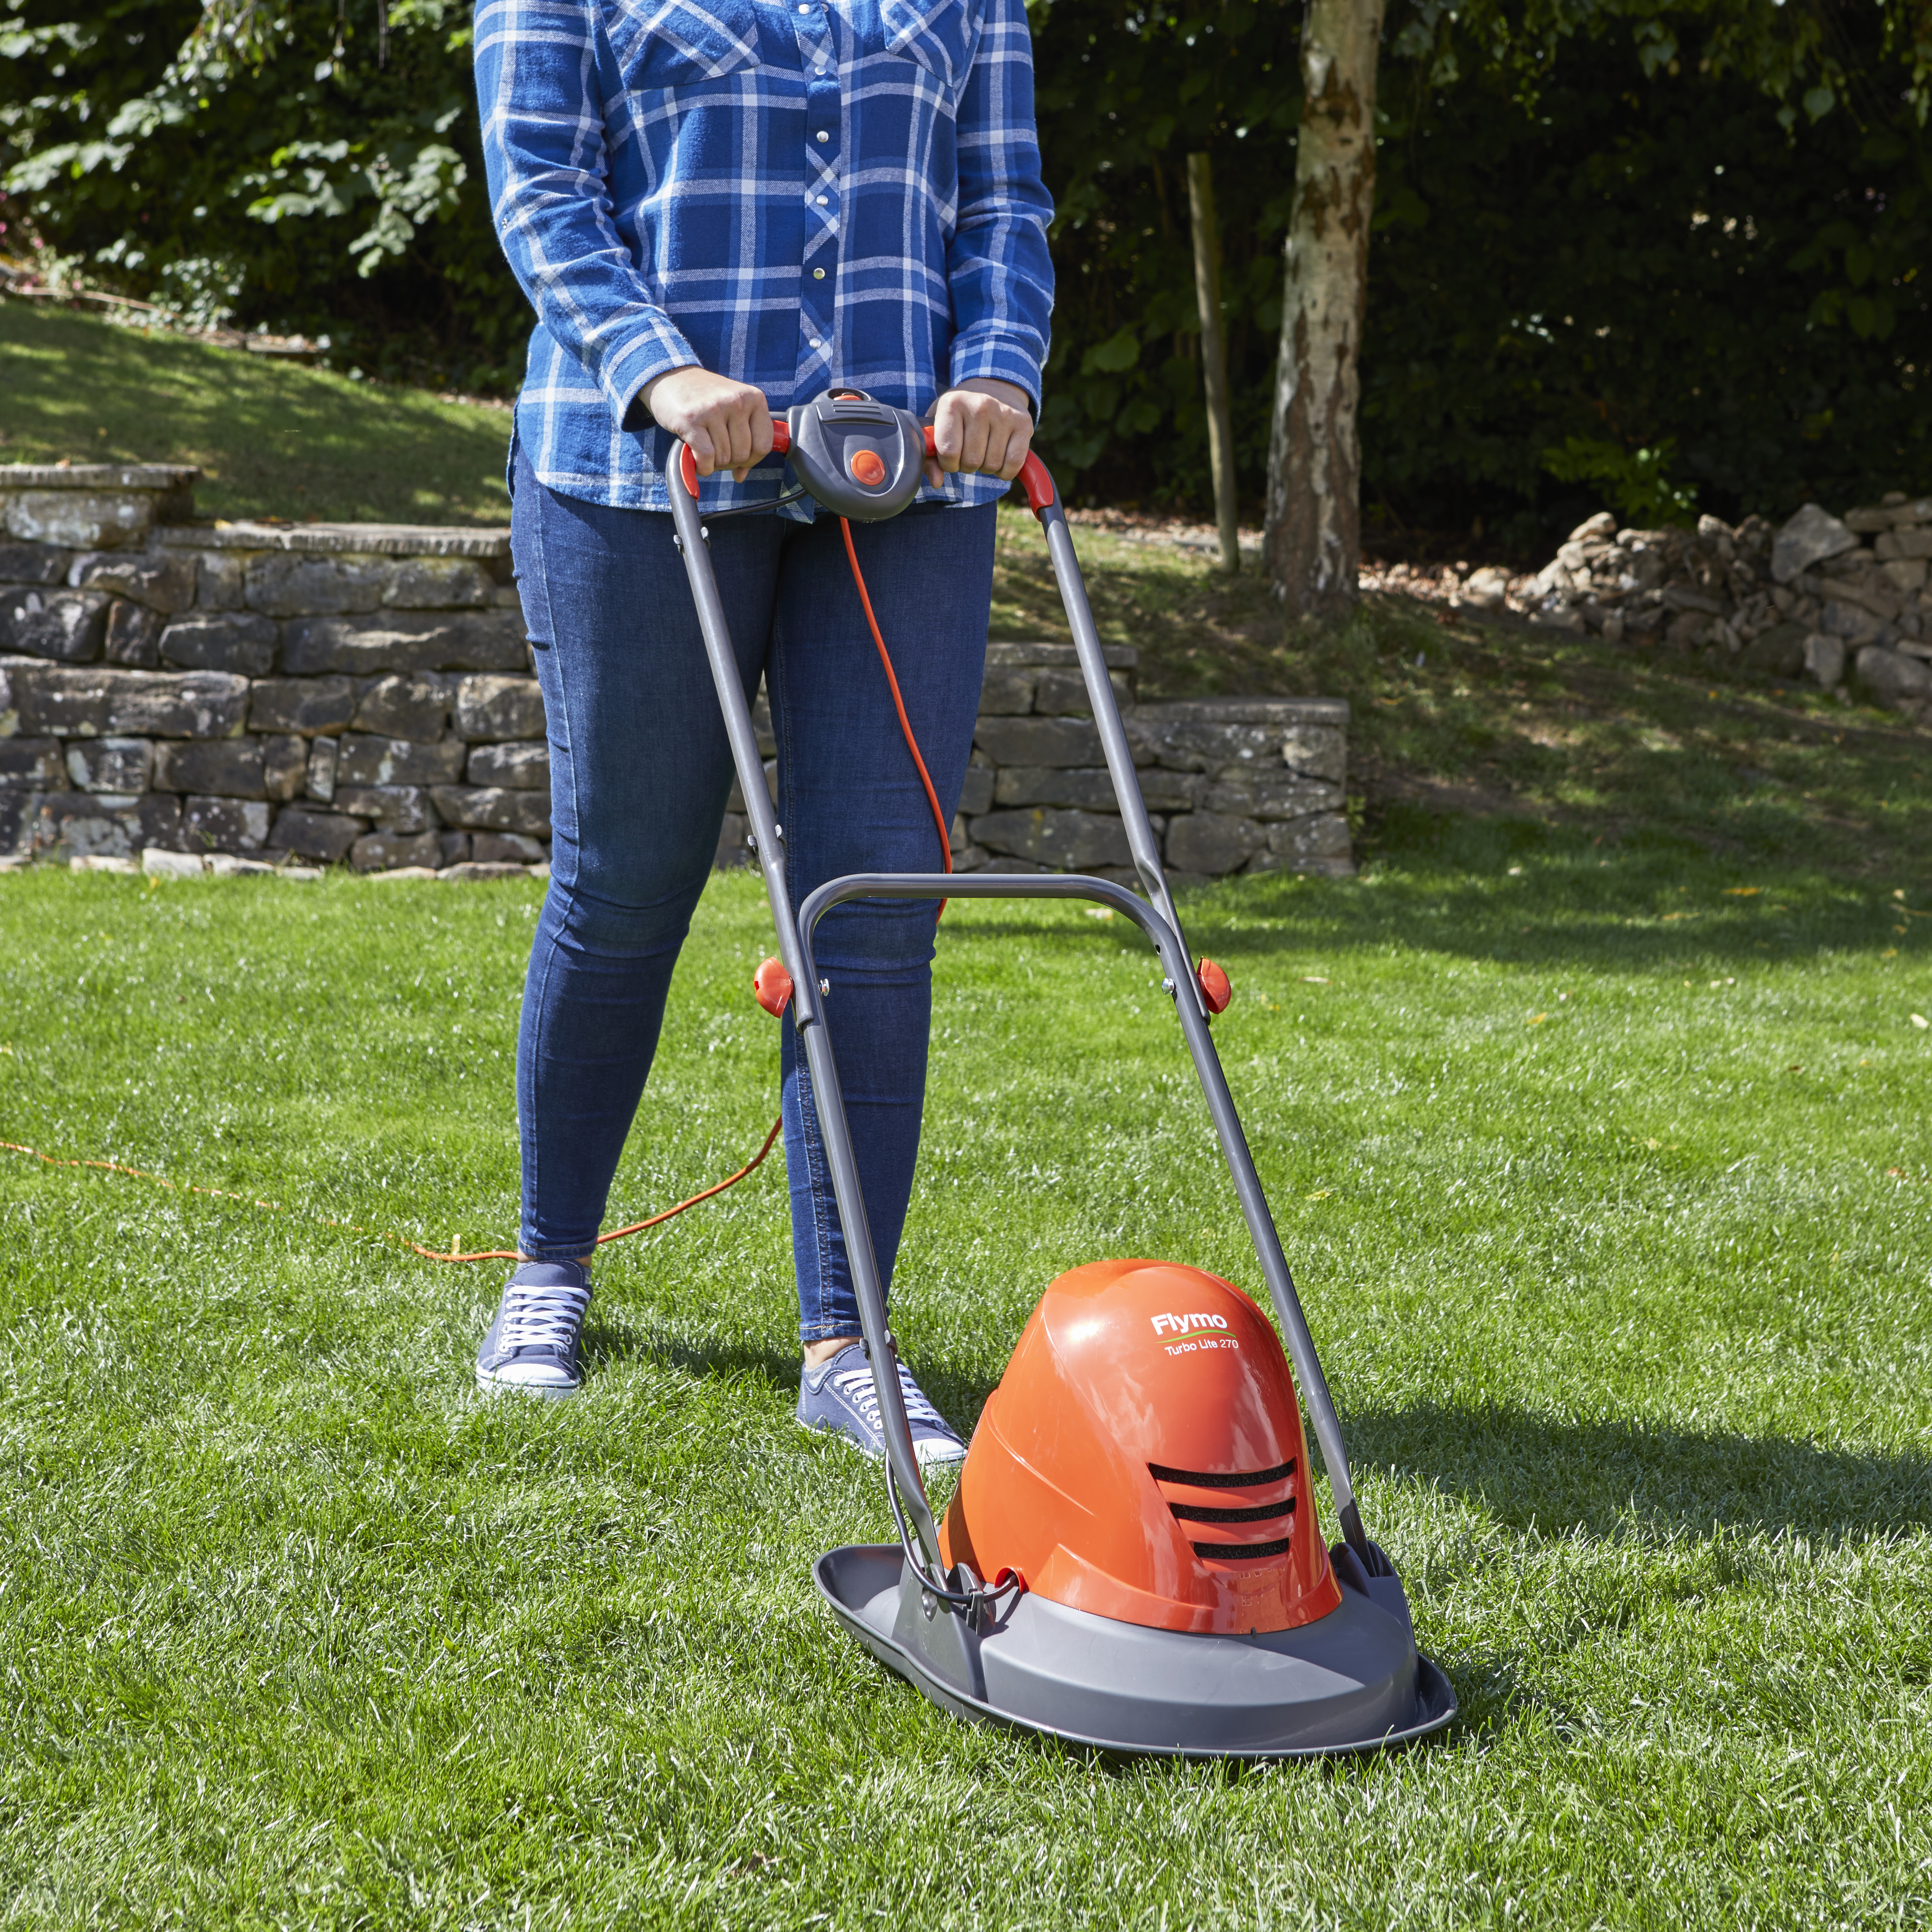
Wait for your new lawn to establish before the first mow
You should mow when the grass is about 2in (5cm) high. The first time you mow, the blades should be on the highest setting. Don't remove more than one-third of the total height of the grass at any one time.
Our guide on how to mow a lawn is packed with tips and tricks to ensure you get top results every time.
Maintenance isn't just about mowing though, you'll also want to know all about spring lawn care and autumn lawn care for the best lawn on the block.
When to lay turf
Autumn gives a respite between the two extremes of scorching summers and frosty winters. It is the ideal time for laying turf, as 'the ground is warm and regularly dampened by rain,' says Ruth Hayes. You can lay turf between September and mid-winter, though the later you leave it, the greater the risk of frosts that will harden the ground and potentially damage or kill off tender grass.
You can also sow lawns from seed at this time of year – our guide on how to plant grass seed has all the info you need.
How do you lay turf for a curved lawn?
The easiest way to lay turf for a curved or circular lawn is to do so in a square or rectangle and then cut out the desired shape.
If creating a circle, you can push a cane into the ground to make a centerpoint. Tie a length of string around it (this will be the length of the radius of your circle), and a can of line-marking spray paint at the other end, and you can use this to mark out a perfect circular shape. Remove the turf outside of the line and you'll be left with your lawn.
If laying lawn around curves – such as garden paths or borders – simply lay the strips as usual and then use a handsaw or long knife to trim away the unwanted excess. As Rolawn advises, it's a good idea to cover outer, exposed edges of turf with soil to prevent them from drying out. This can be removed after a few weeks.
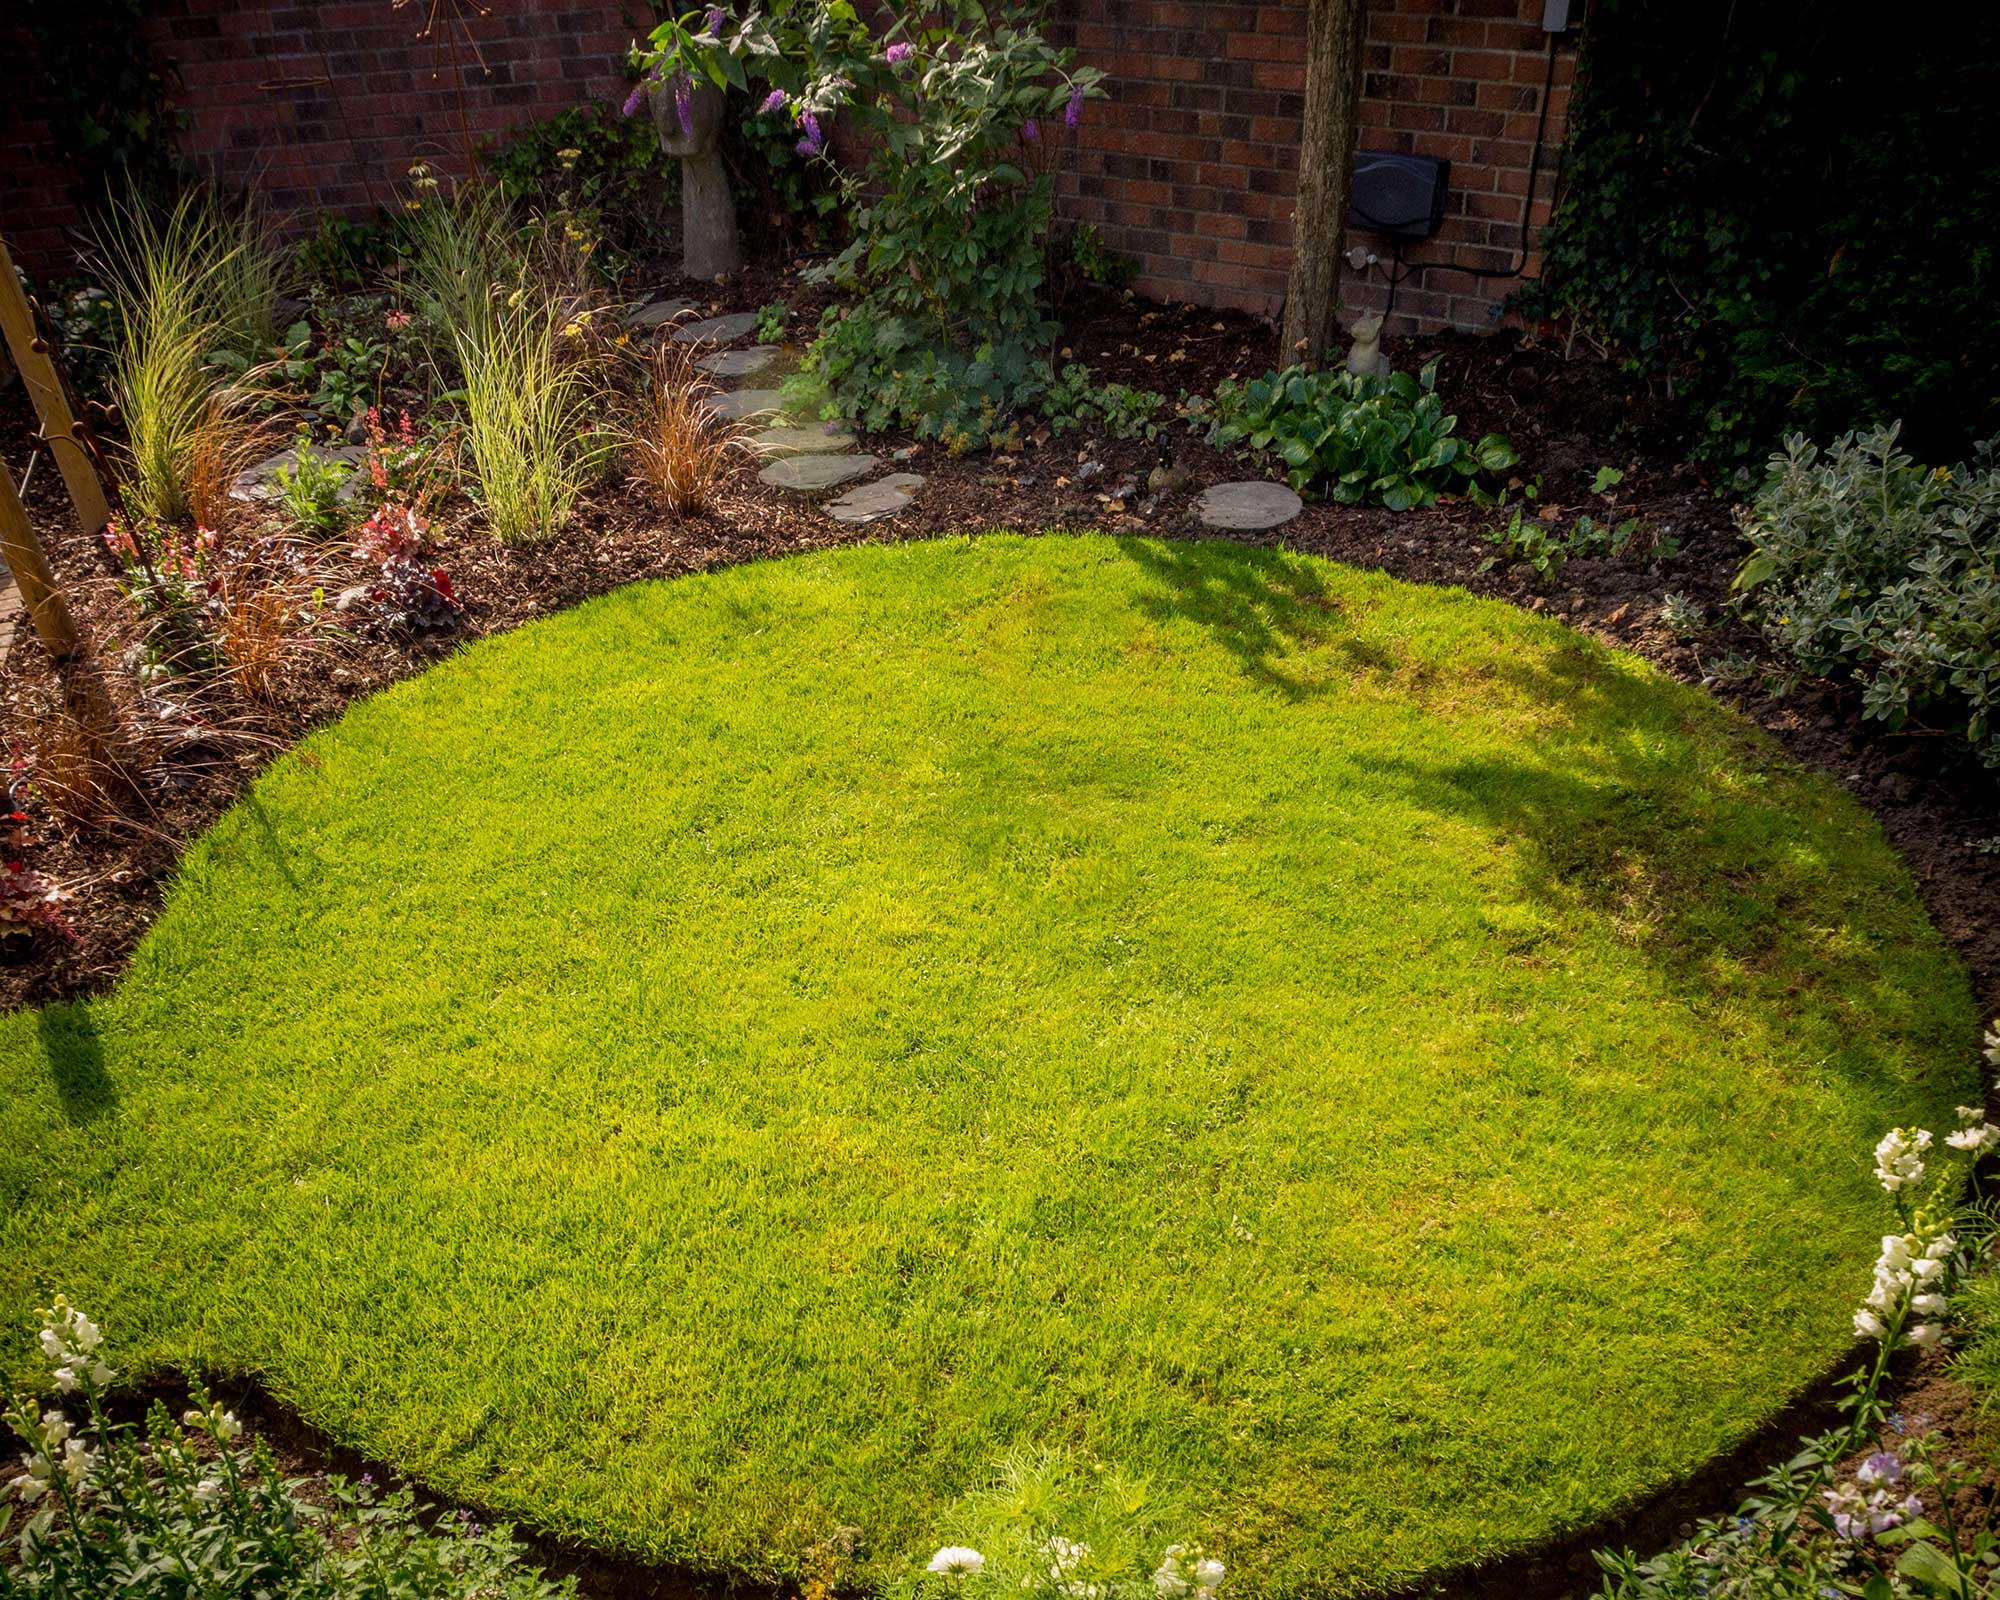
You can cut out curves from your lawn
How do you work out how much turf you need?
Turf isn't the cheapest, so when adding lawn to your landscaping ideas, you'll want to ensure you buy the right amount.
It's quite simple: whether working in square feet, meters, or yards, you can work out the size of the area by multiplying the width by the length. There are also lots of useful turf calculator tools online.
This is easy for square or rectangular lawns, but if yours is a more irregular shape, then break the space up into squares or rectangles and then add the totals together.
According to Flymo, the area of circular lawns can be measured by dividing the diameter by two to get the radius. This number should then be squared and multiplied by pi.
Irregular, curved lawn? The experts at Rolawn advise drawing your lawn to scale on a piece of graph paper and counting the squares your lawn fills to get a reasonable 'guesstimate'.
If in doubt, round up rather than down. In fact, whatever size or shape your lawn is going to be, they recommend purchasing 5% more turf than you need to, to allow for cutting and shaping.
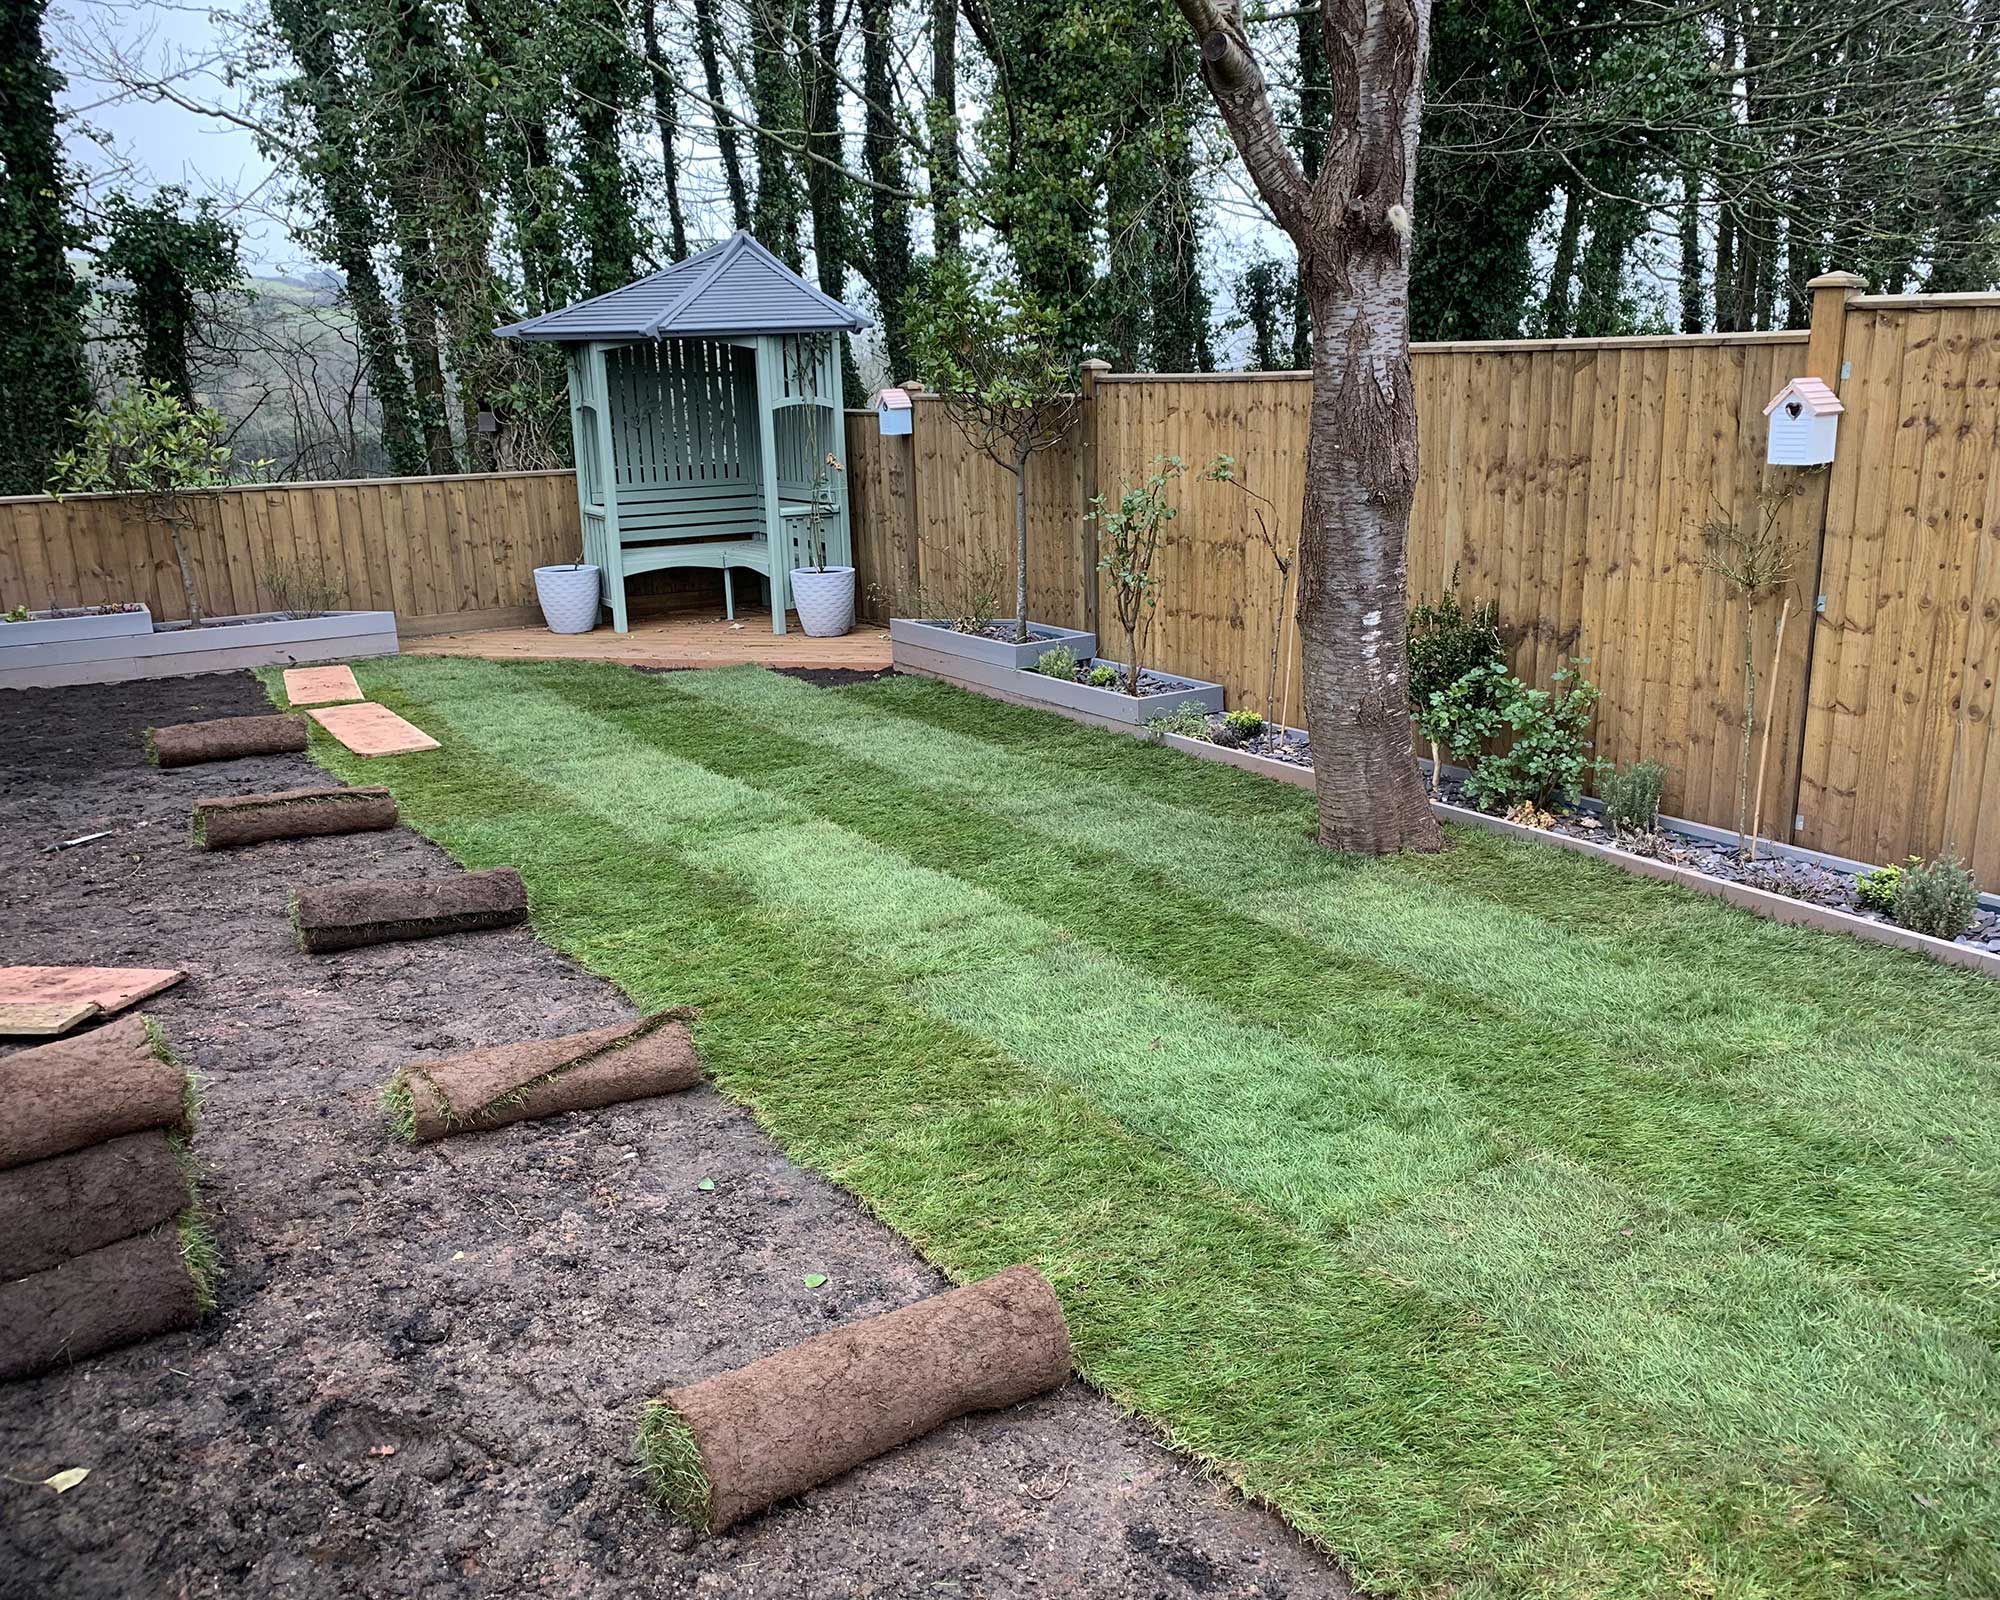
Measure out the amount of turf you'll need
How do you fix a bumpy lawn?
If you lay turf correctly, lumps and bumps should be avoided. However, if they have appeared, Ruth of Amateur Gardening explains how you can easily remedy them:
- Cut and lift the area of turf using a spade or edging tool.
- Rearrange and flatten the soil beneath.
- Replace the turf, tamp it down, and water it well.

Sarah is a freelance journalist and editor writing for websites, national newspapers, and magazines. She’s spent most of her journalistic career specialising in homes and gardens and loves investigating the benefits, costs and practicalities of home improvement. It's no big surprise that she likes to put what she writes about into practice, and is a serial house revamper.
- Holly CrossleyActing Deputy Editor
