How to lay porcelain tiles outside: update your plot with this step-by-step guide
Want to learn how to lay porcelain tiles outside? Follow these straightforward tips and give your patio or pathways a fresh new look
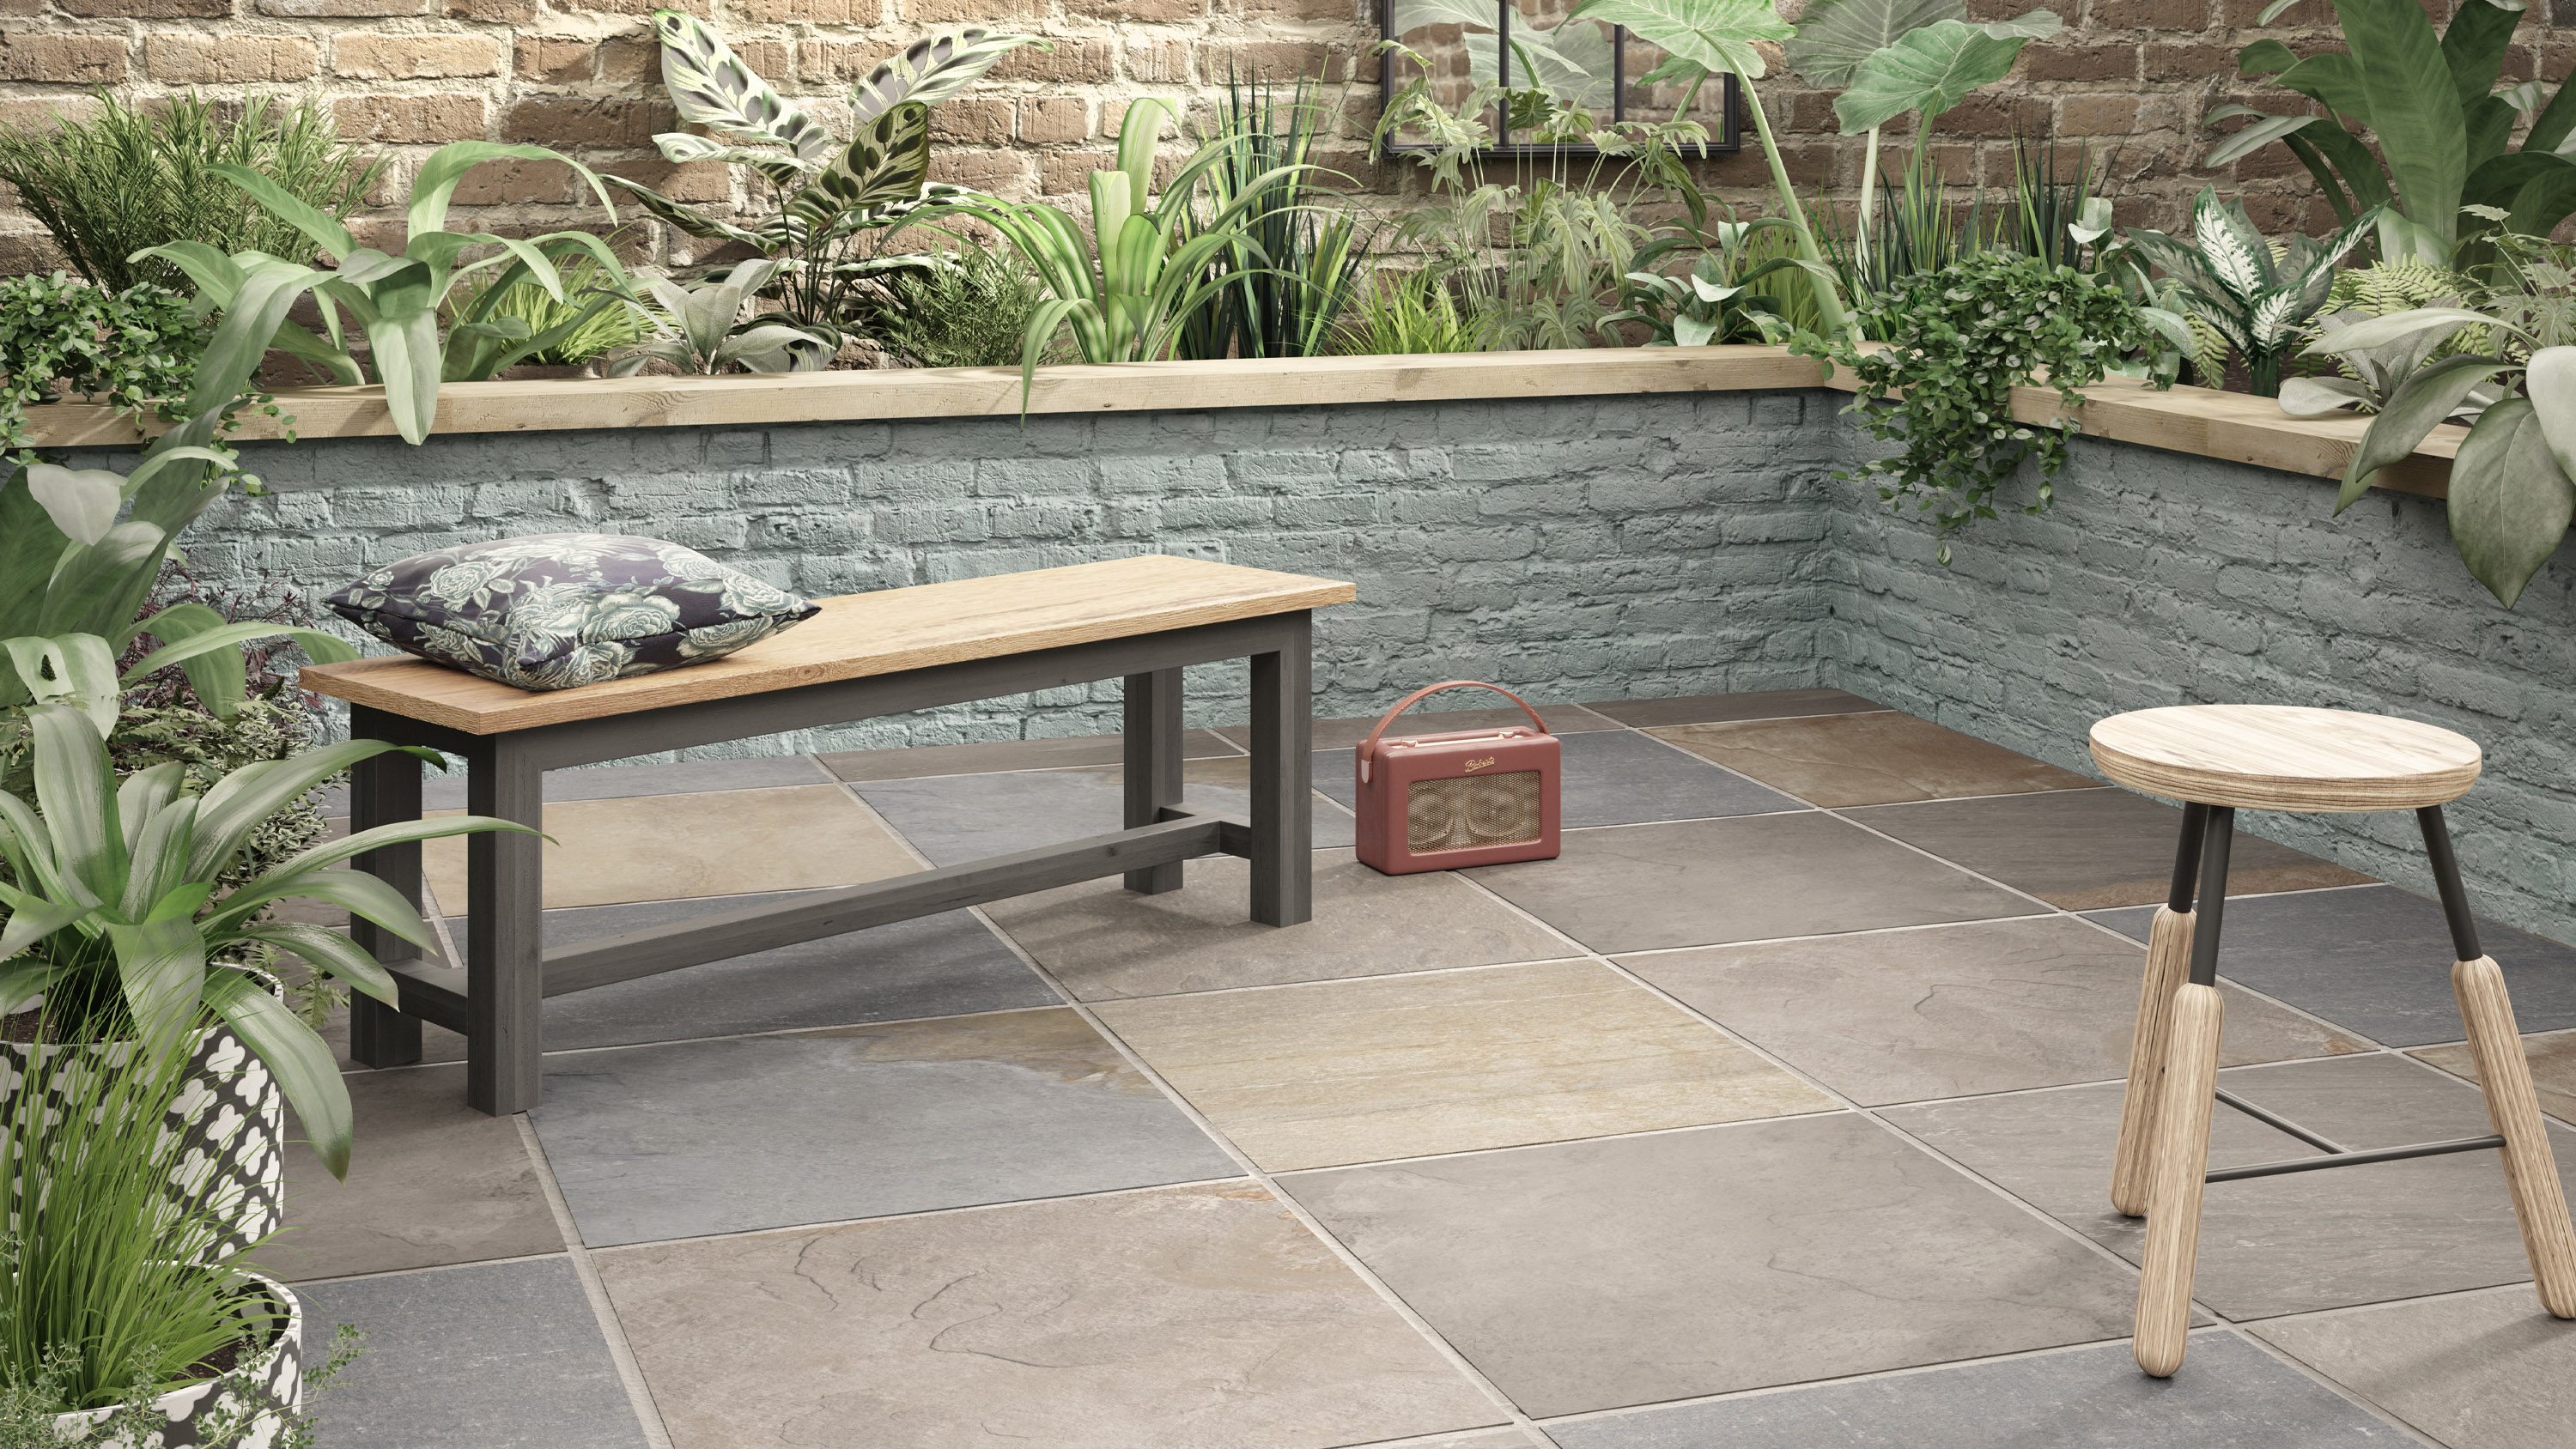

Have you been wondering how to lay porcelain tiles outside? When it comes to hard landscaping ideas, they are the new, must-have trend.
Sleek, chic, and practical, porcelain pavers give any sized space a contemporary edge and come in a variety of stylish tones. And, it's not too tricky to lay them yourself. If you're looking for a DIY project out in the fresh air this coming weekend, why not give it a try?
Verona, the UK's largest ceramic and porcelain tile distributor, has shared their advice on exactly how to achieve the look in eight simple steps. So, to give your garden a stylish update in time for summer, just keep reading. You'll know exactly how to lay porcelain tiles outside in no time.
And, if you're looking for more inspirational designs, remember to check out our paving ideas feature, too.
How to lay porcelain tiles outside
Before you get started, make sure you have the correct tools and appropriate protective equipment, advises the team at Verona. Always wear gloves and safety footwear when working with outdoor porcelain tiles, especially if you need to make cuts. Handle your tiles with care to avoid chips and breakages, and get someone else to help you when lifting the tiles into place.
1. Mark it out
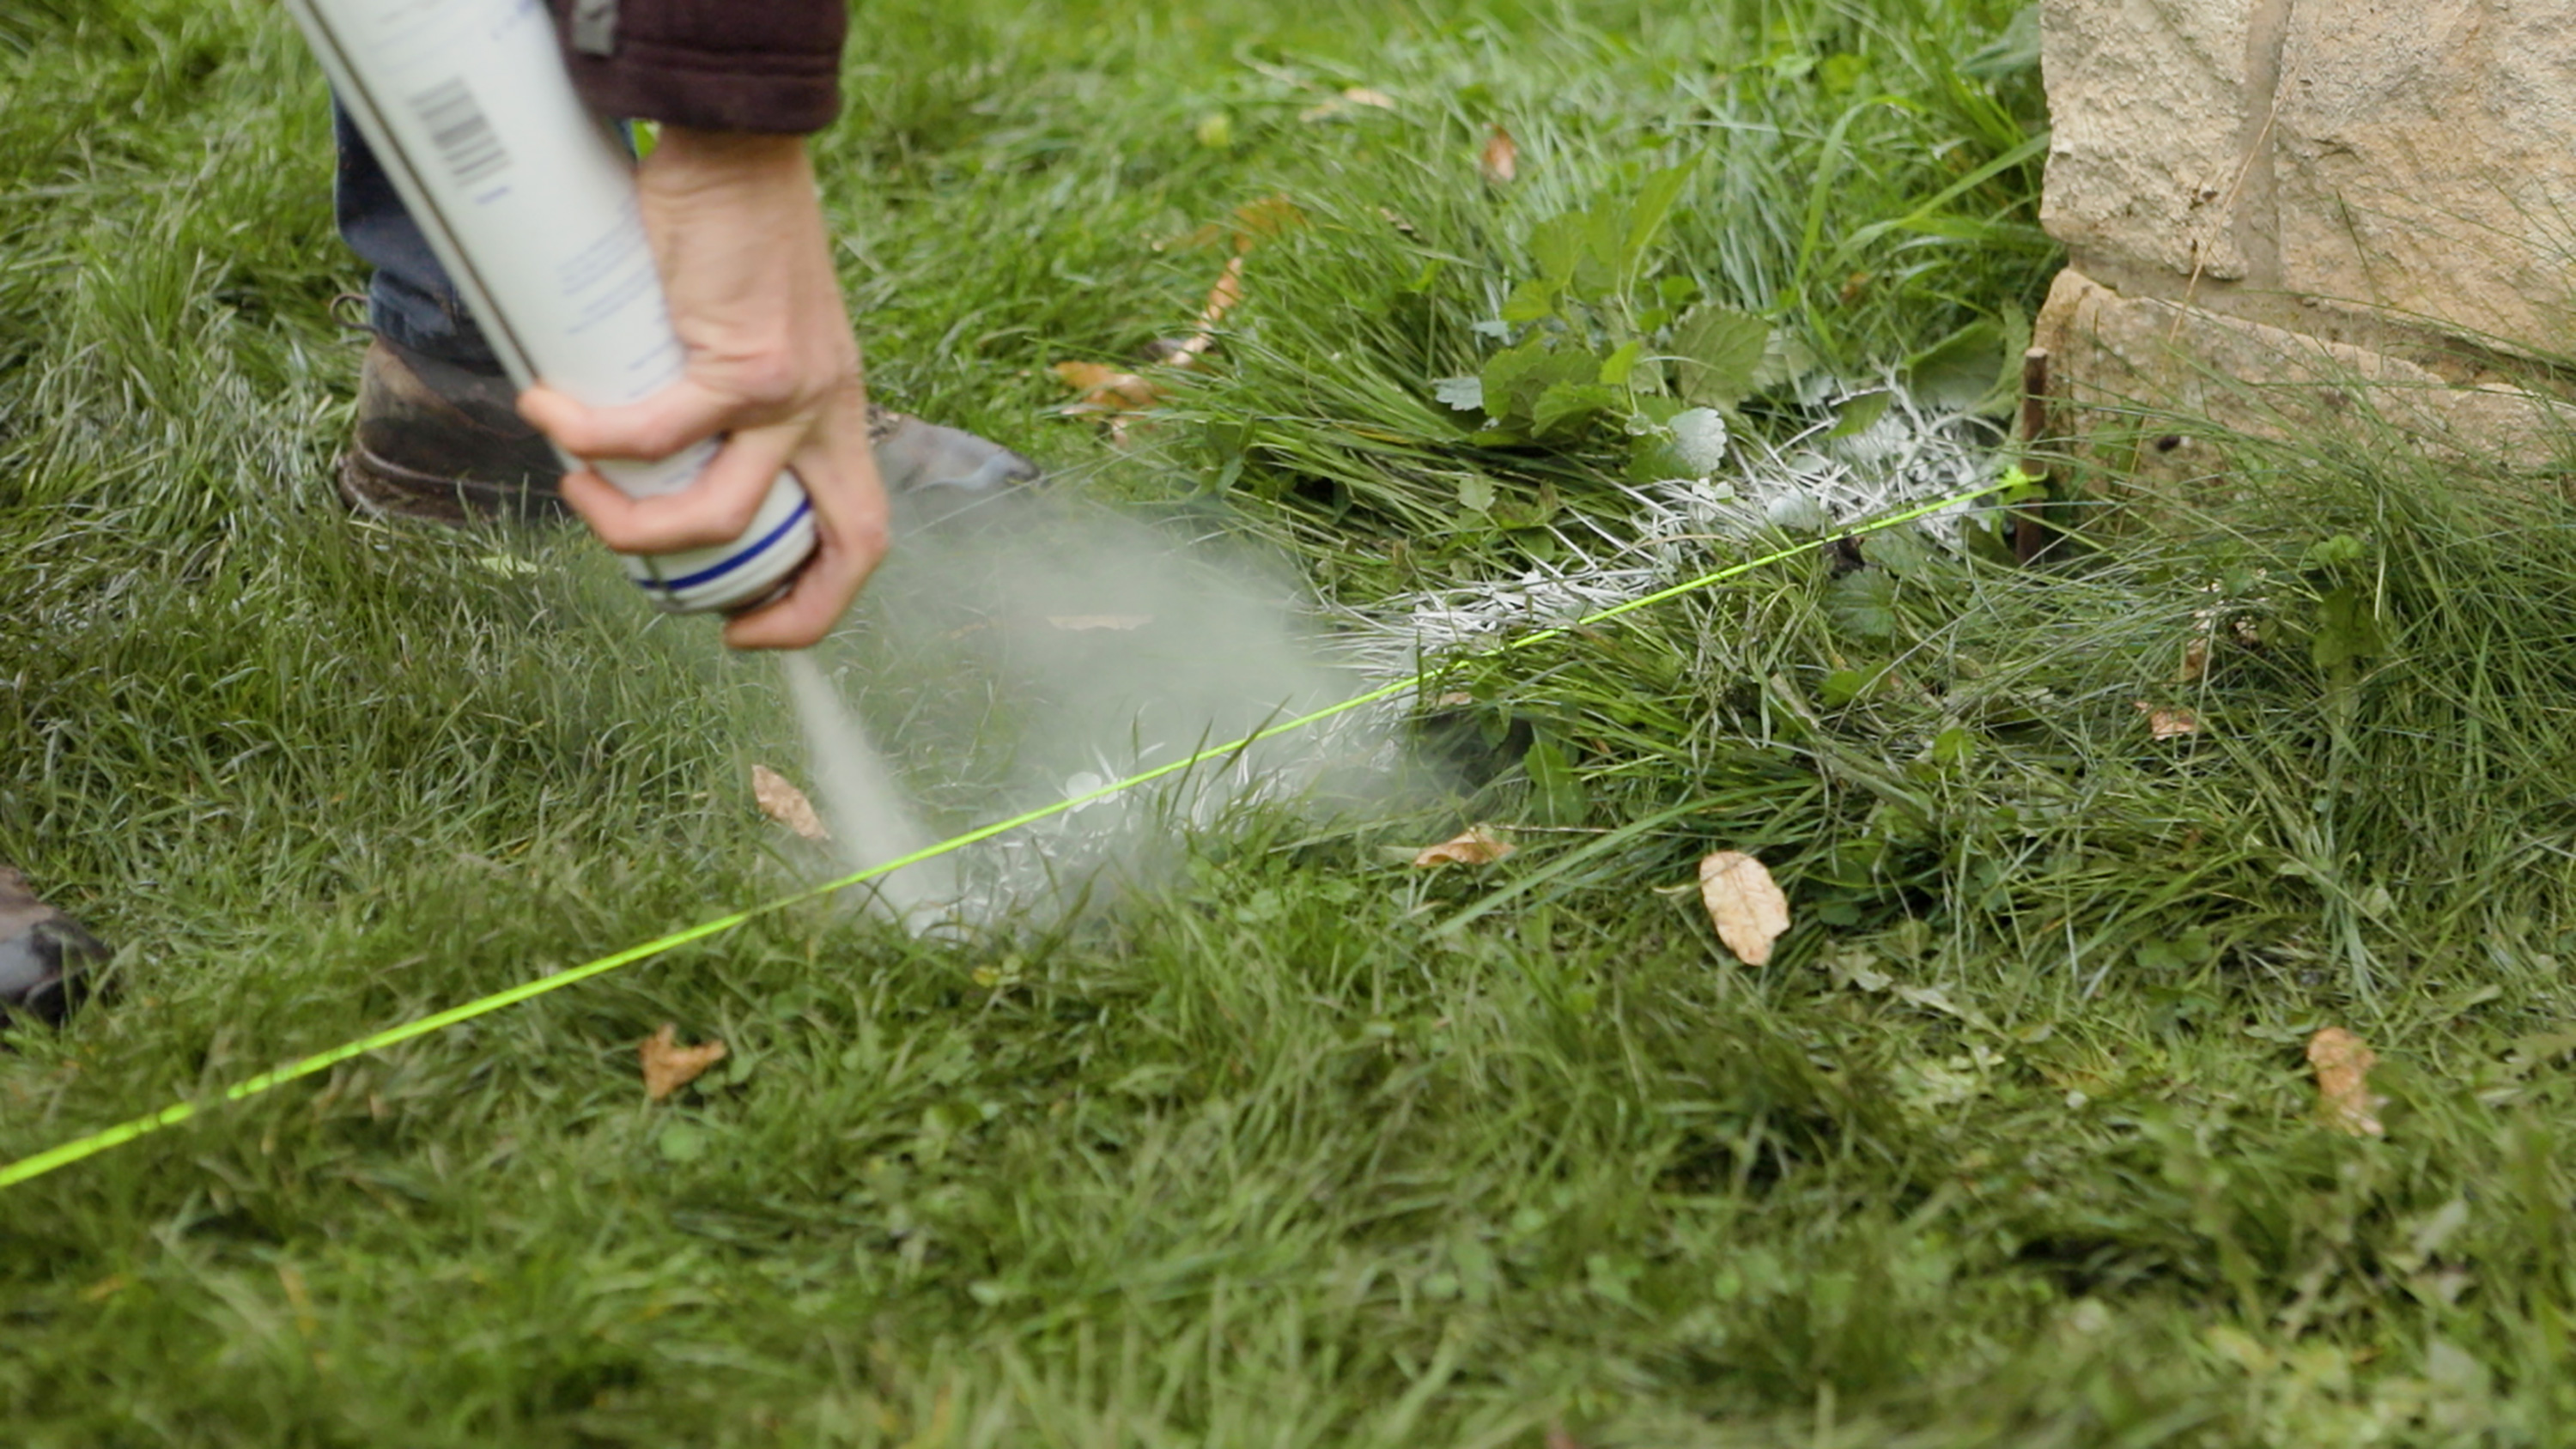
Decide where you want to lay your porcelain tiles
Start by marking out the area where you want your patio or path to be with posts and string. Measure the length and width of your area and multiply these values together to calculate the square meterage.
If your area is not a straightforward square or rectangle, break each area down into smaller rectangles. Calculate each rectangle, then add these values together. Once you've calculated the total square meterage, multiply this number by 1.1. This adds 10% extra on to your total to allow for cuts and wastage.
Step 2: Apply a protective coating
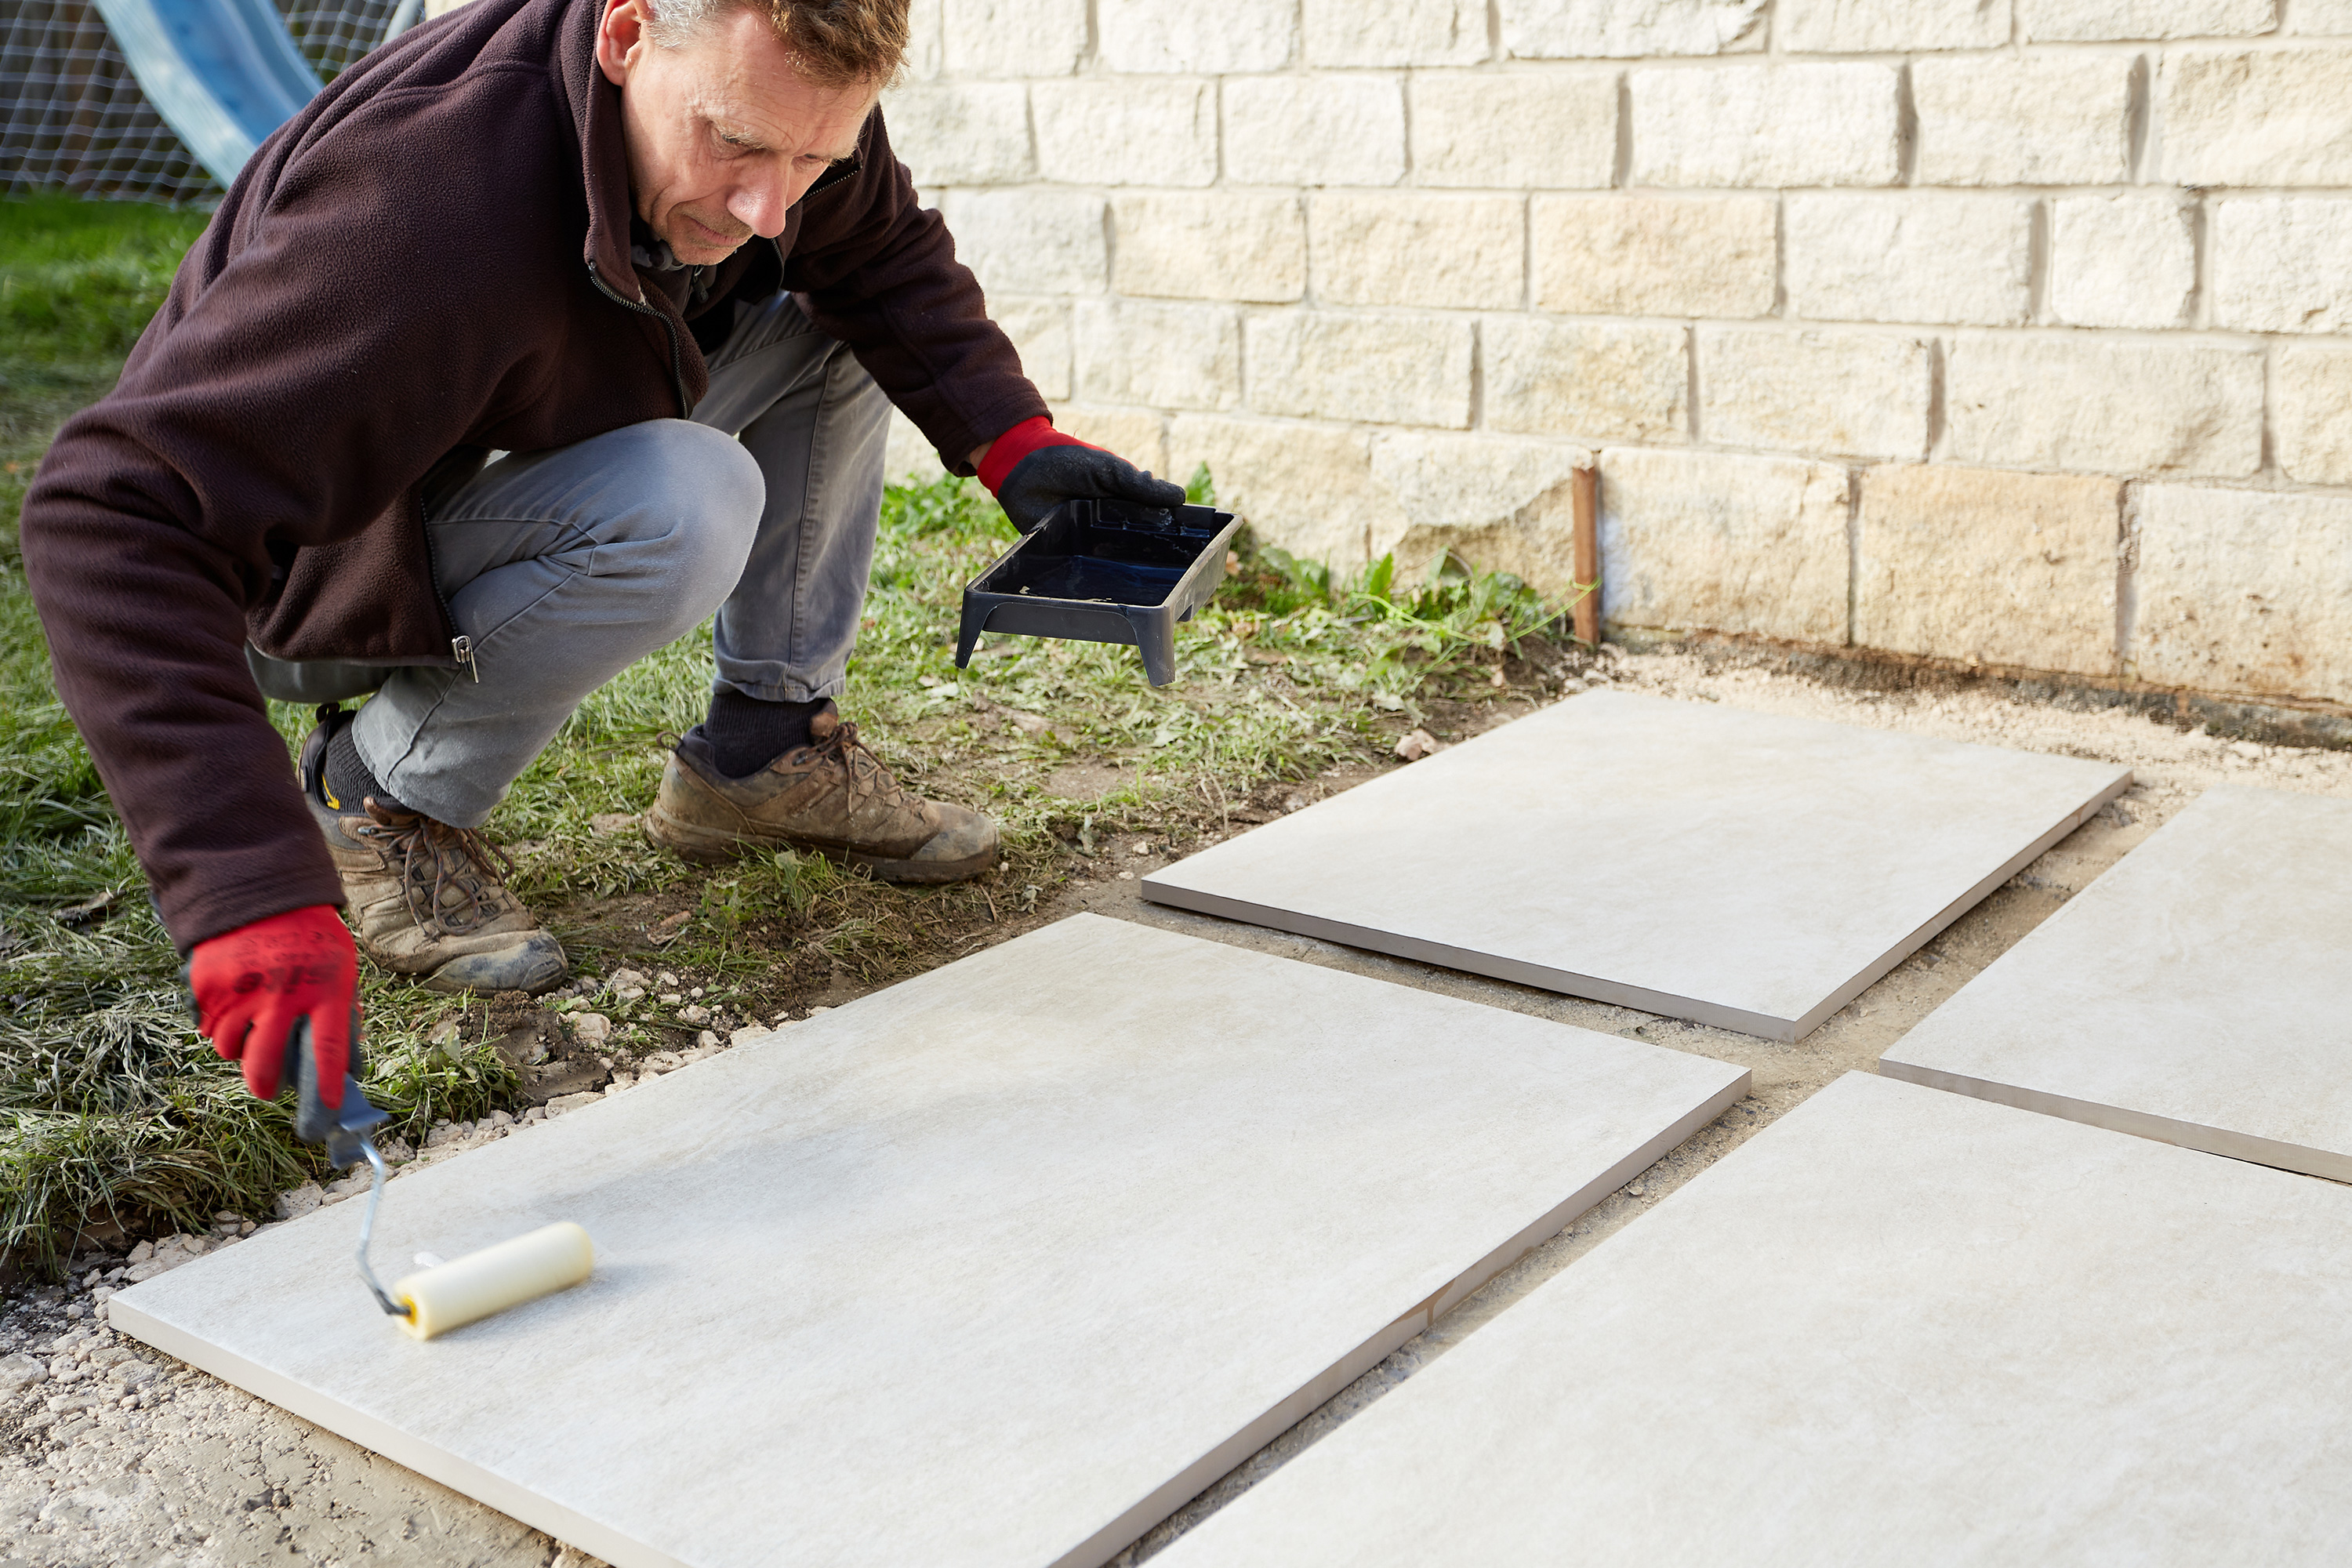
Make longterm maintenance easier by applying a tile protector
Although outdoor porcelain tiles don't need to be sealed to protect them from water penetration, you may find the installation process easier if you coat the tiles beforehand with a tile protector. This prevents mortar and slurry from becoming ingrained in the surface of the tiles and makes cleaning up after even easier.
Apply it to the surface of the tile with a foam roller, taking care not to coat the edges as this can prevent the grout from bonding. This will also help with general upkeep once installed to protect your tiles against the dirt of everyday use.
Step 3: Dig out the space
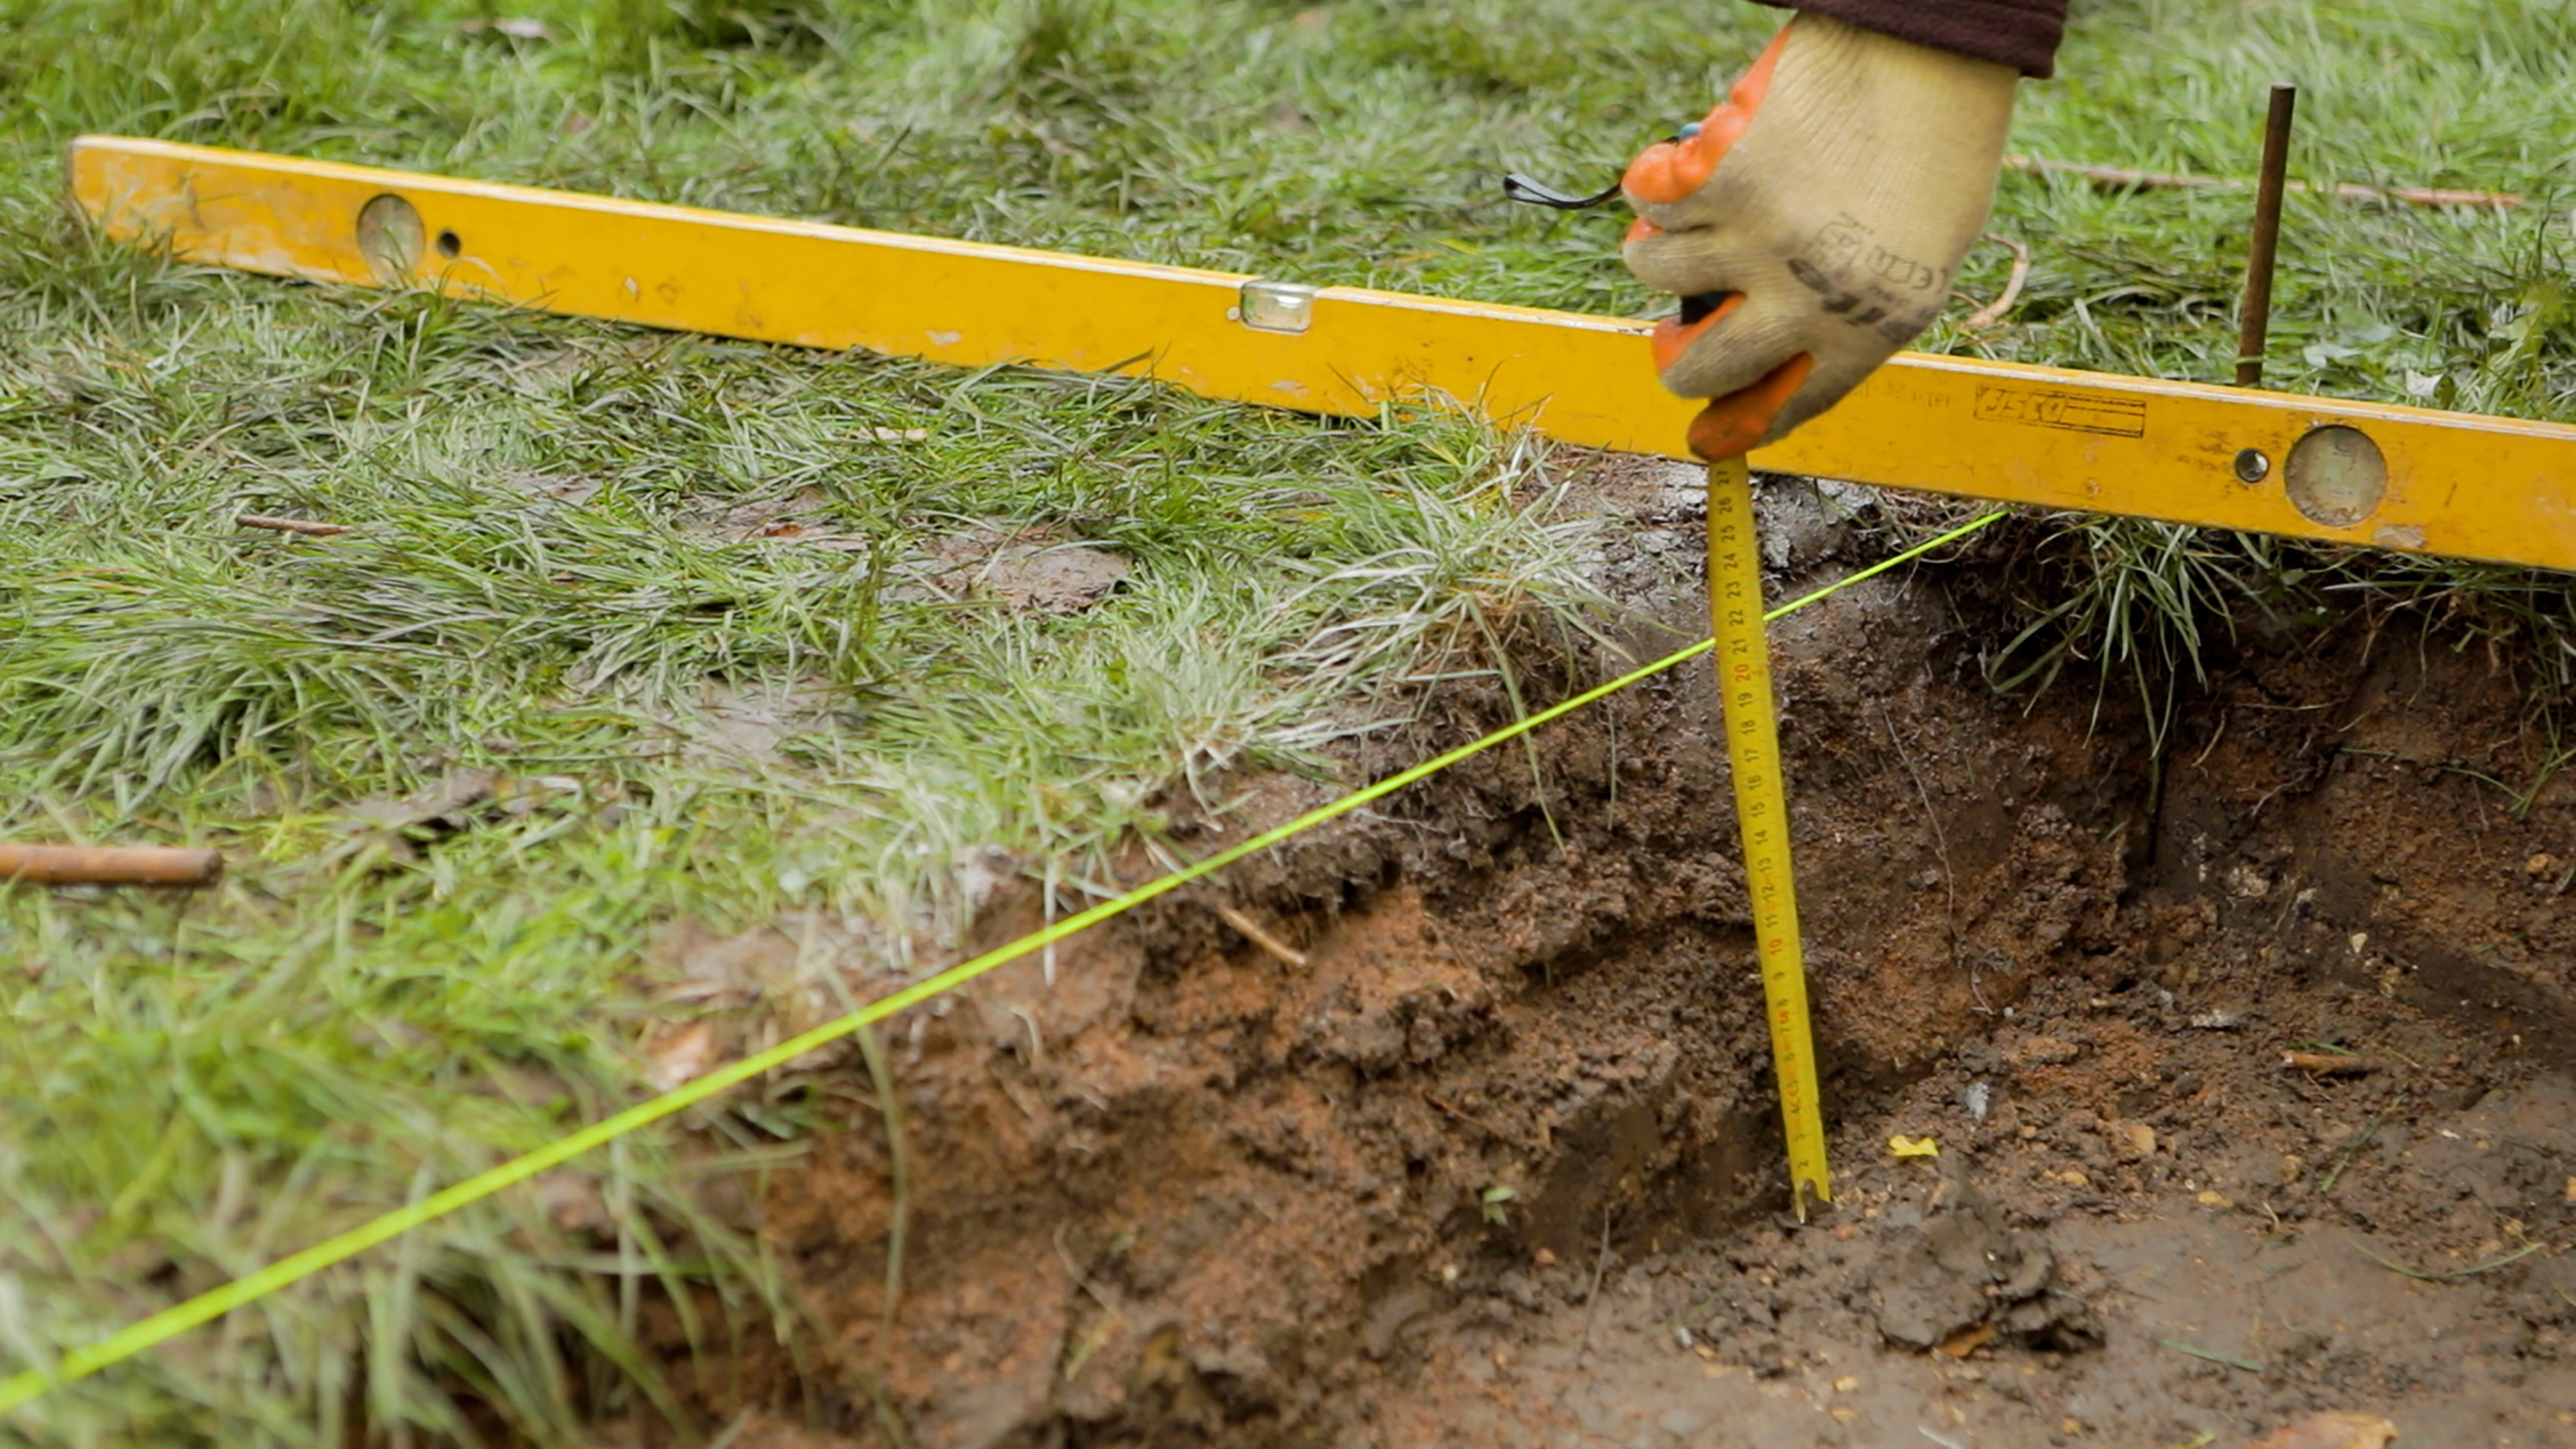
Prepare the ground
Before you lay your tiles, you will need to prepare the ground by digging to a depth of around 150-200mm. Our best garden spades buying guide will come in handy if you need an update for the job.
The ground should have a slight slope to allow for drainage. If you're tiling up to the edge of a house or wall, the slope should run away from the structure to avoid water pooling.
Step 4: Fill with hardcore
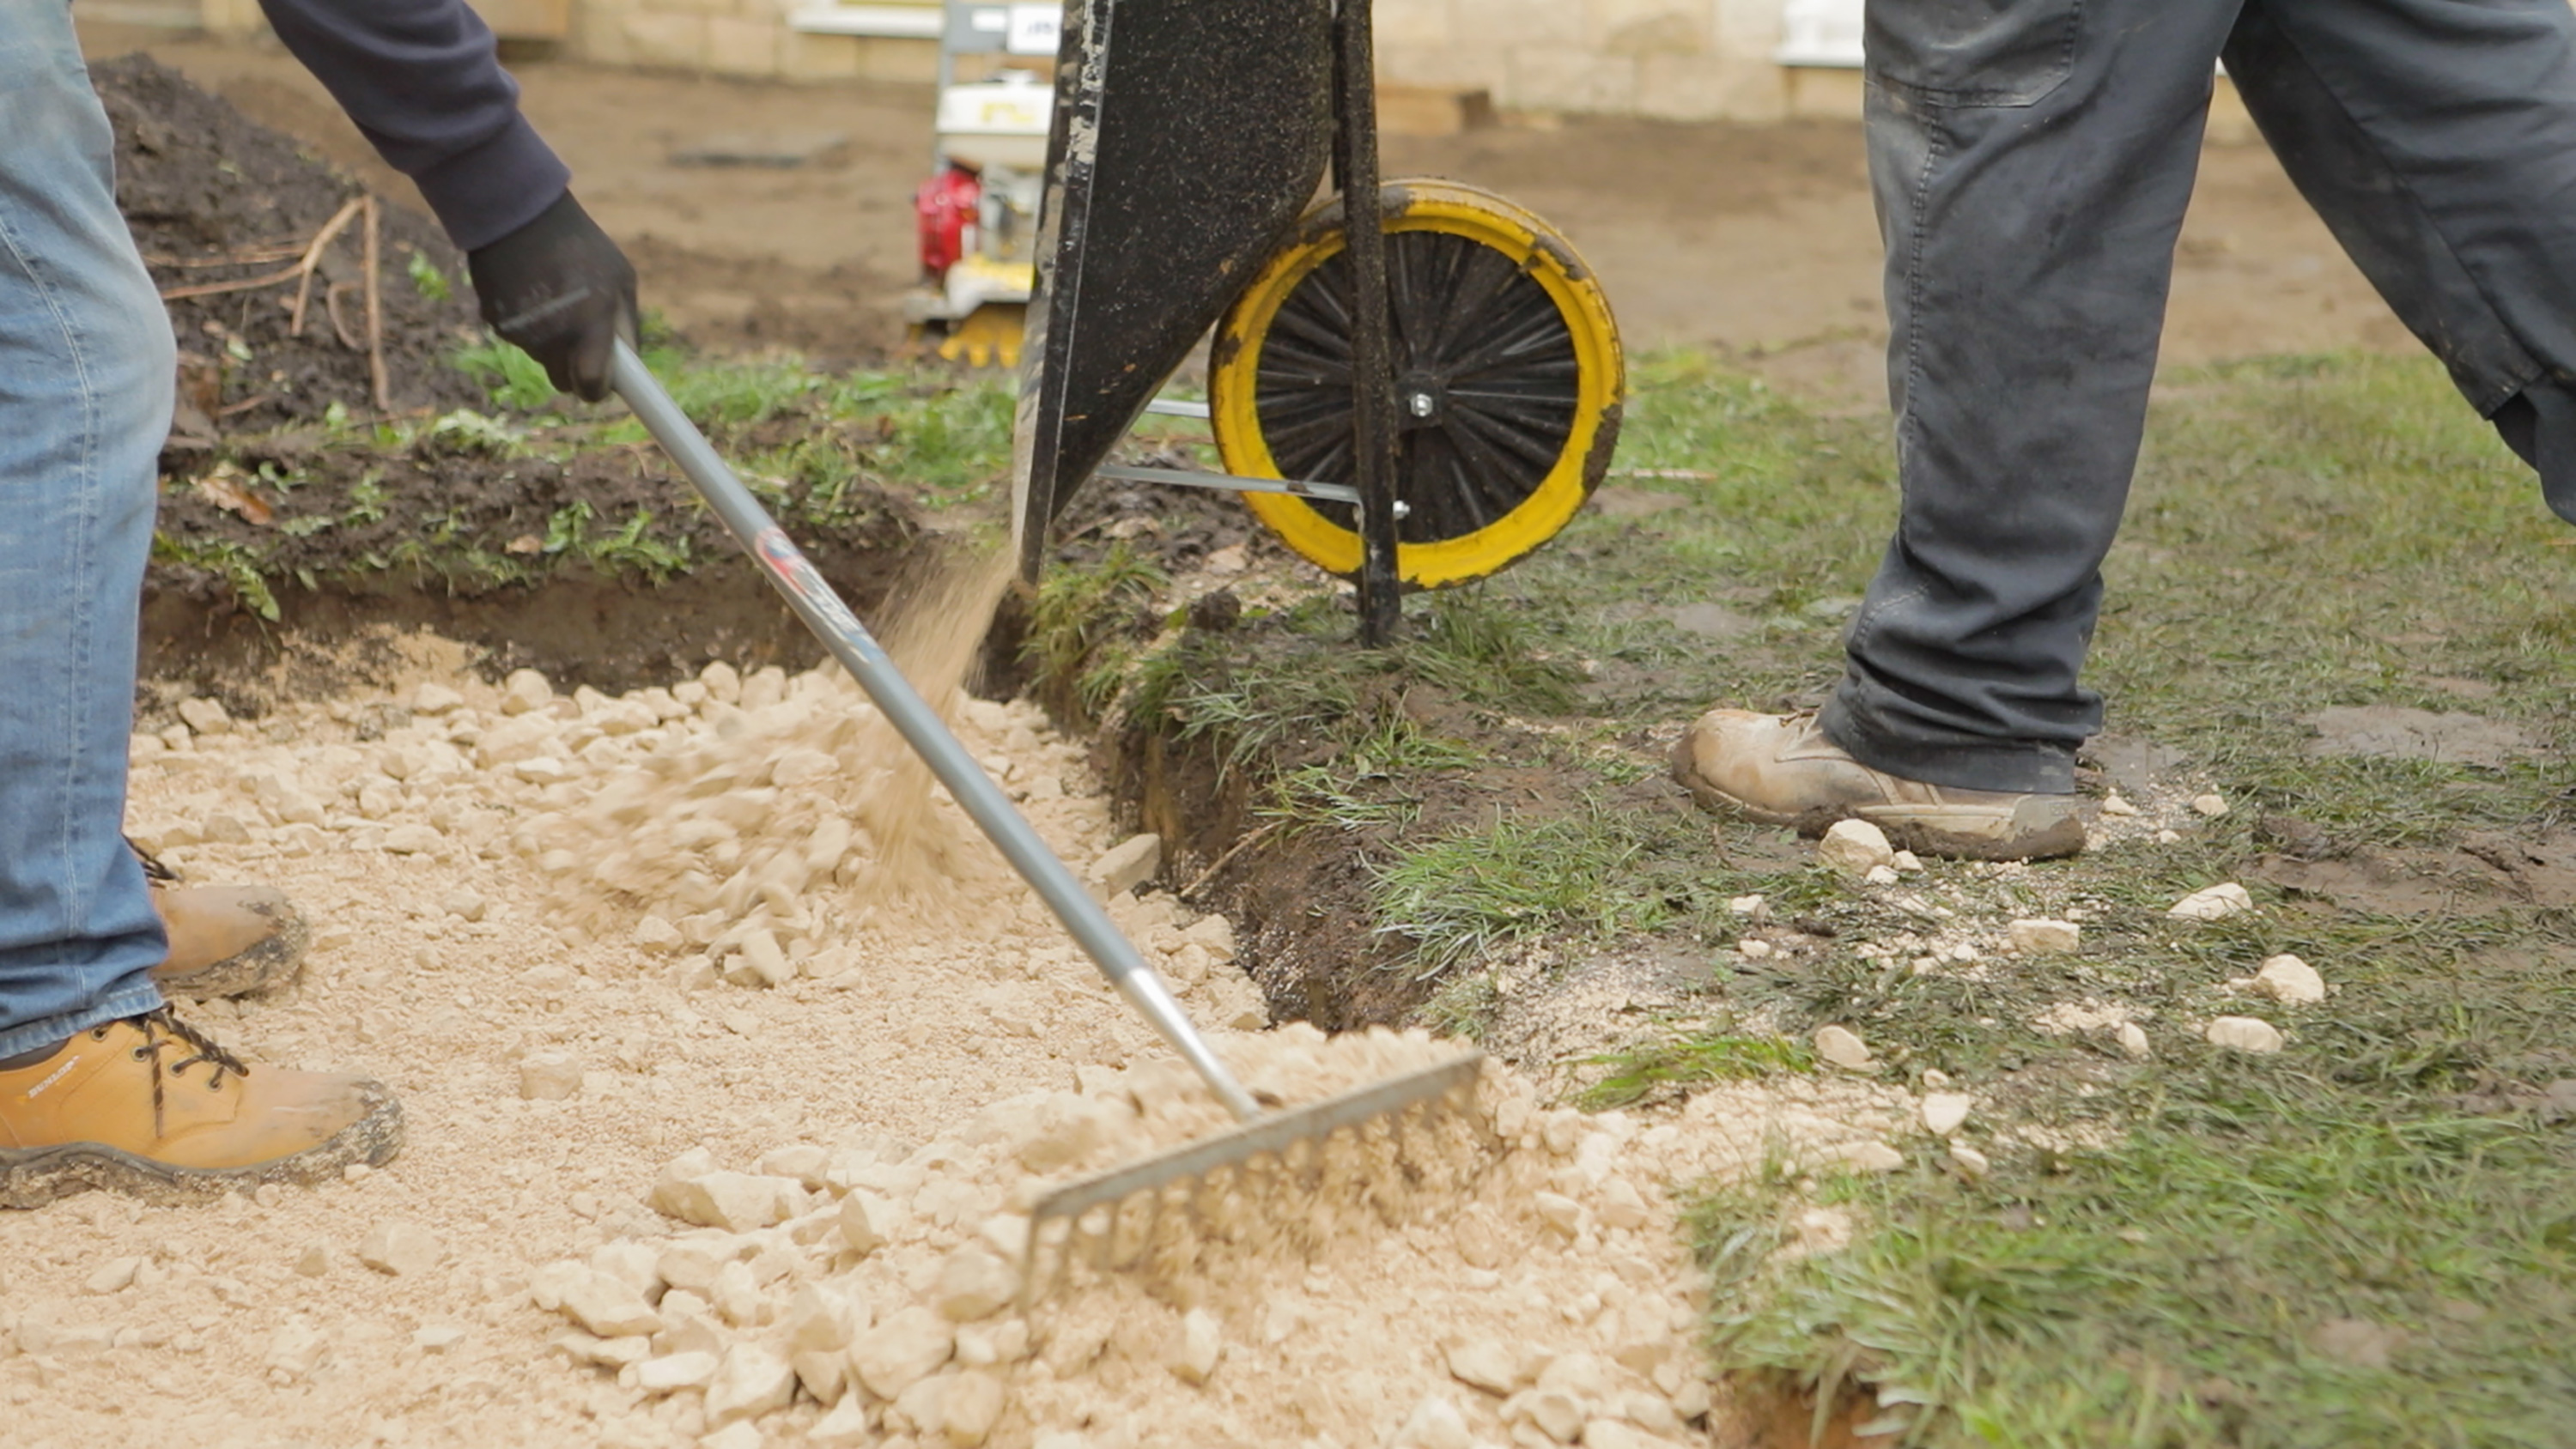
Pour gravel and crushed hard rock into the dug out space
Fill the dug out area with hardcore (gravel and crushed hard rock) to a depth of 100-150mm and use your best garden rake to spread it evenly.
Compress the hardcore using a whacker power plate, building up in layers.
Remember to check that your ground still has a slight slope by using a long spirit level or line level. Do this throughout the process to maintain the gradient.
Step 5: Apply mortar
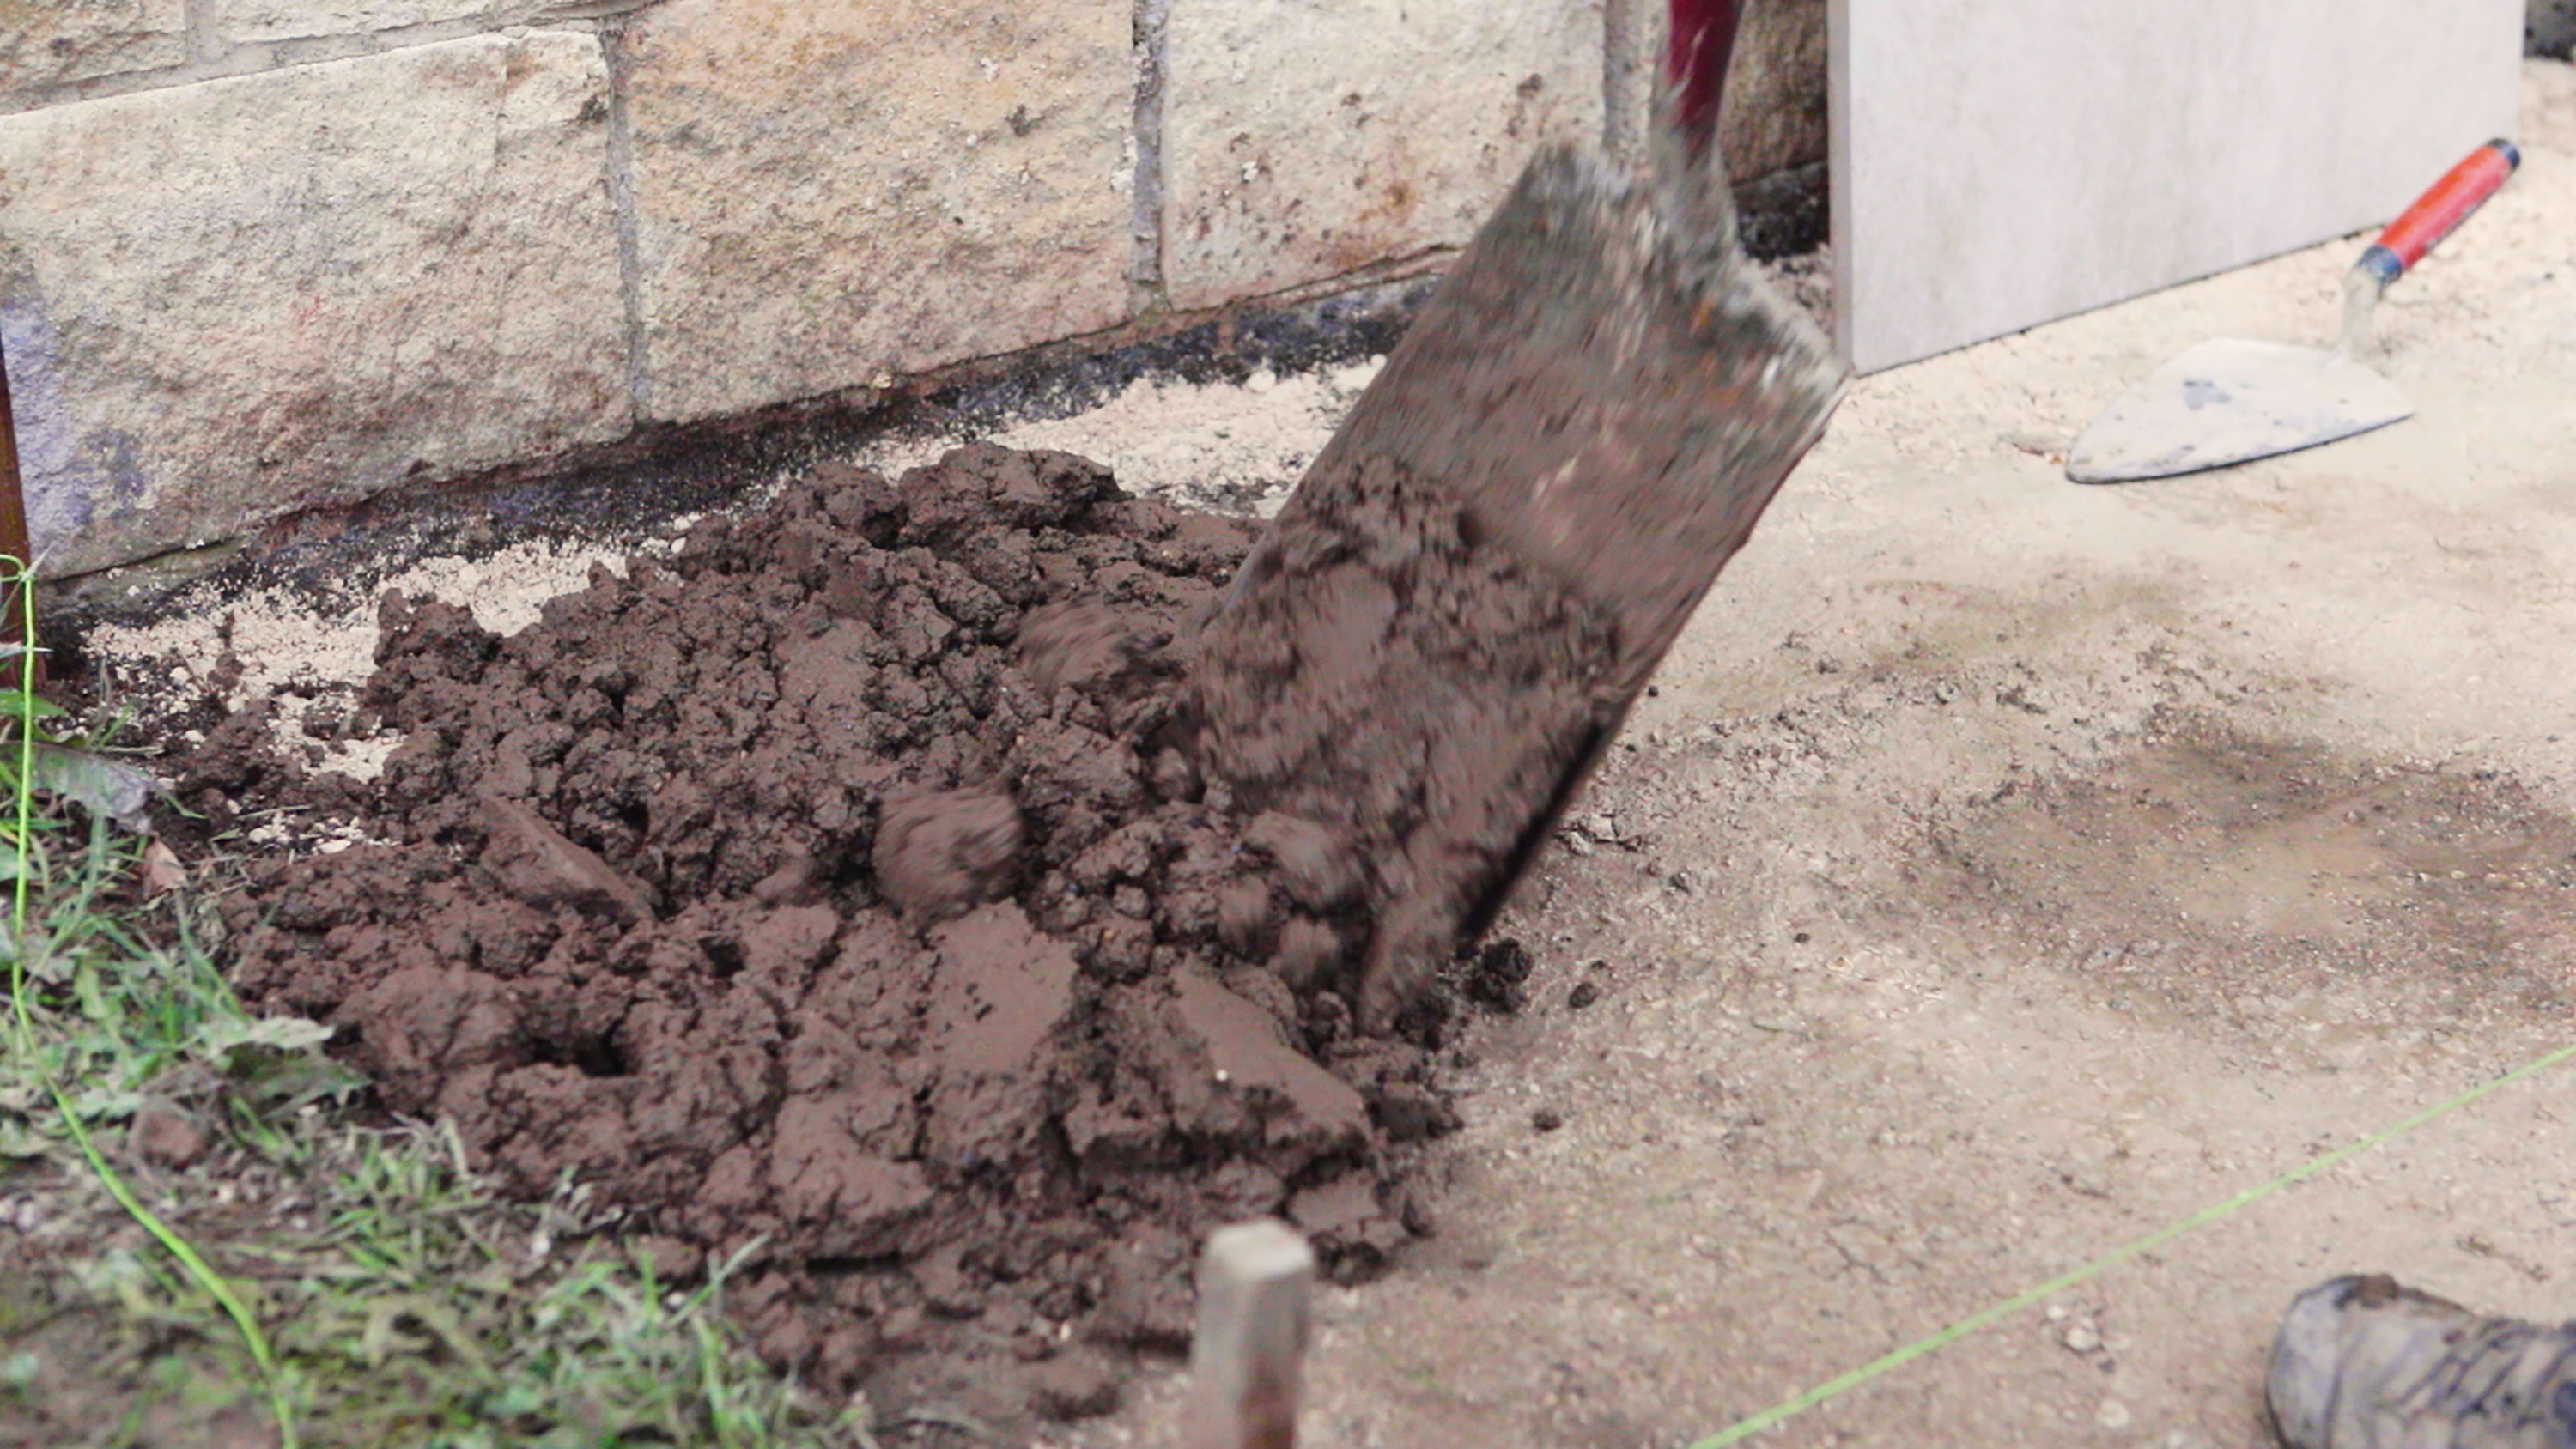
Add a mix of sand and cement
Add a layer of mortar on top of the compressed hardcore. Verona recommends four parts sand to one part cement.
Step 6: Roll on the primer
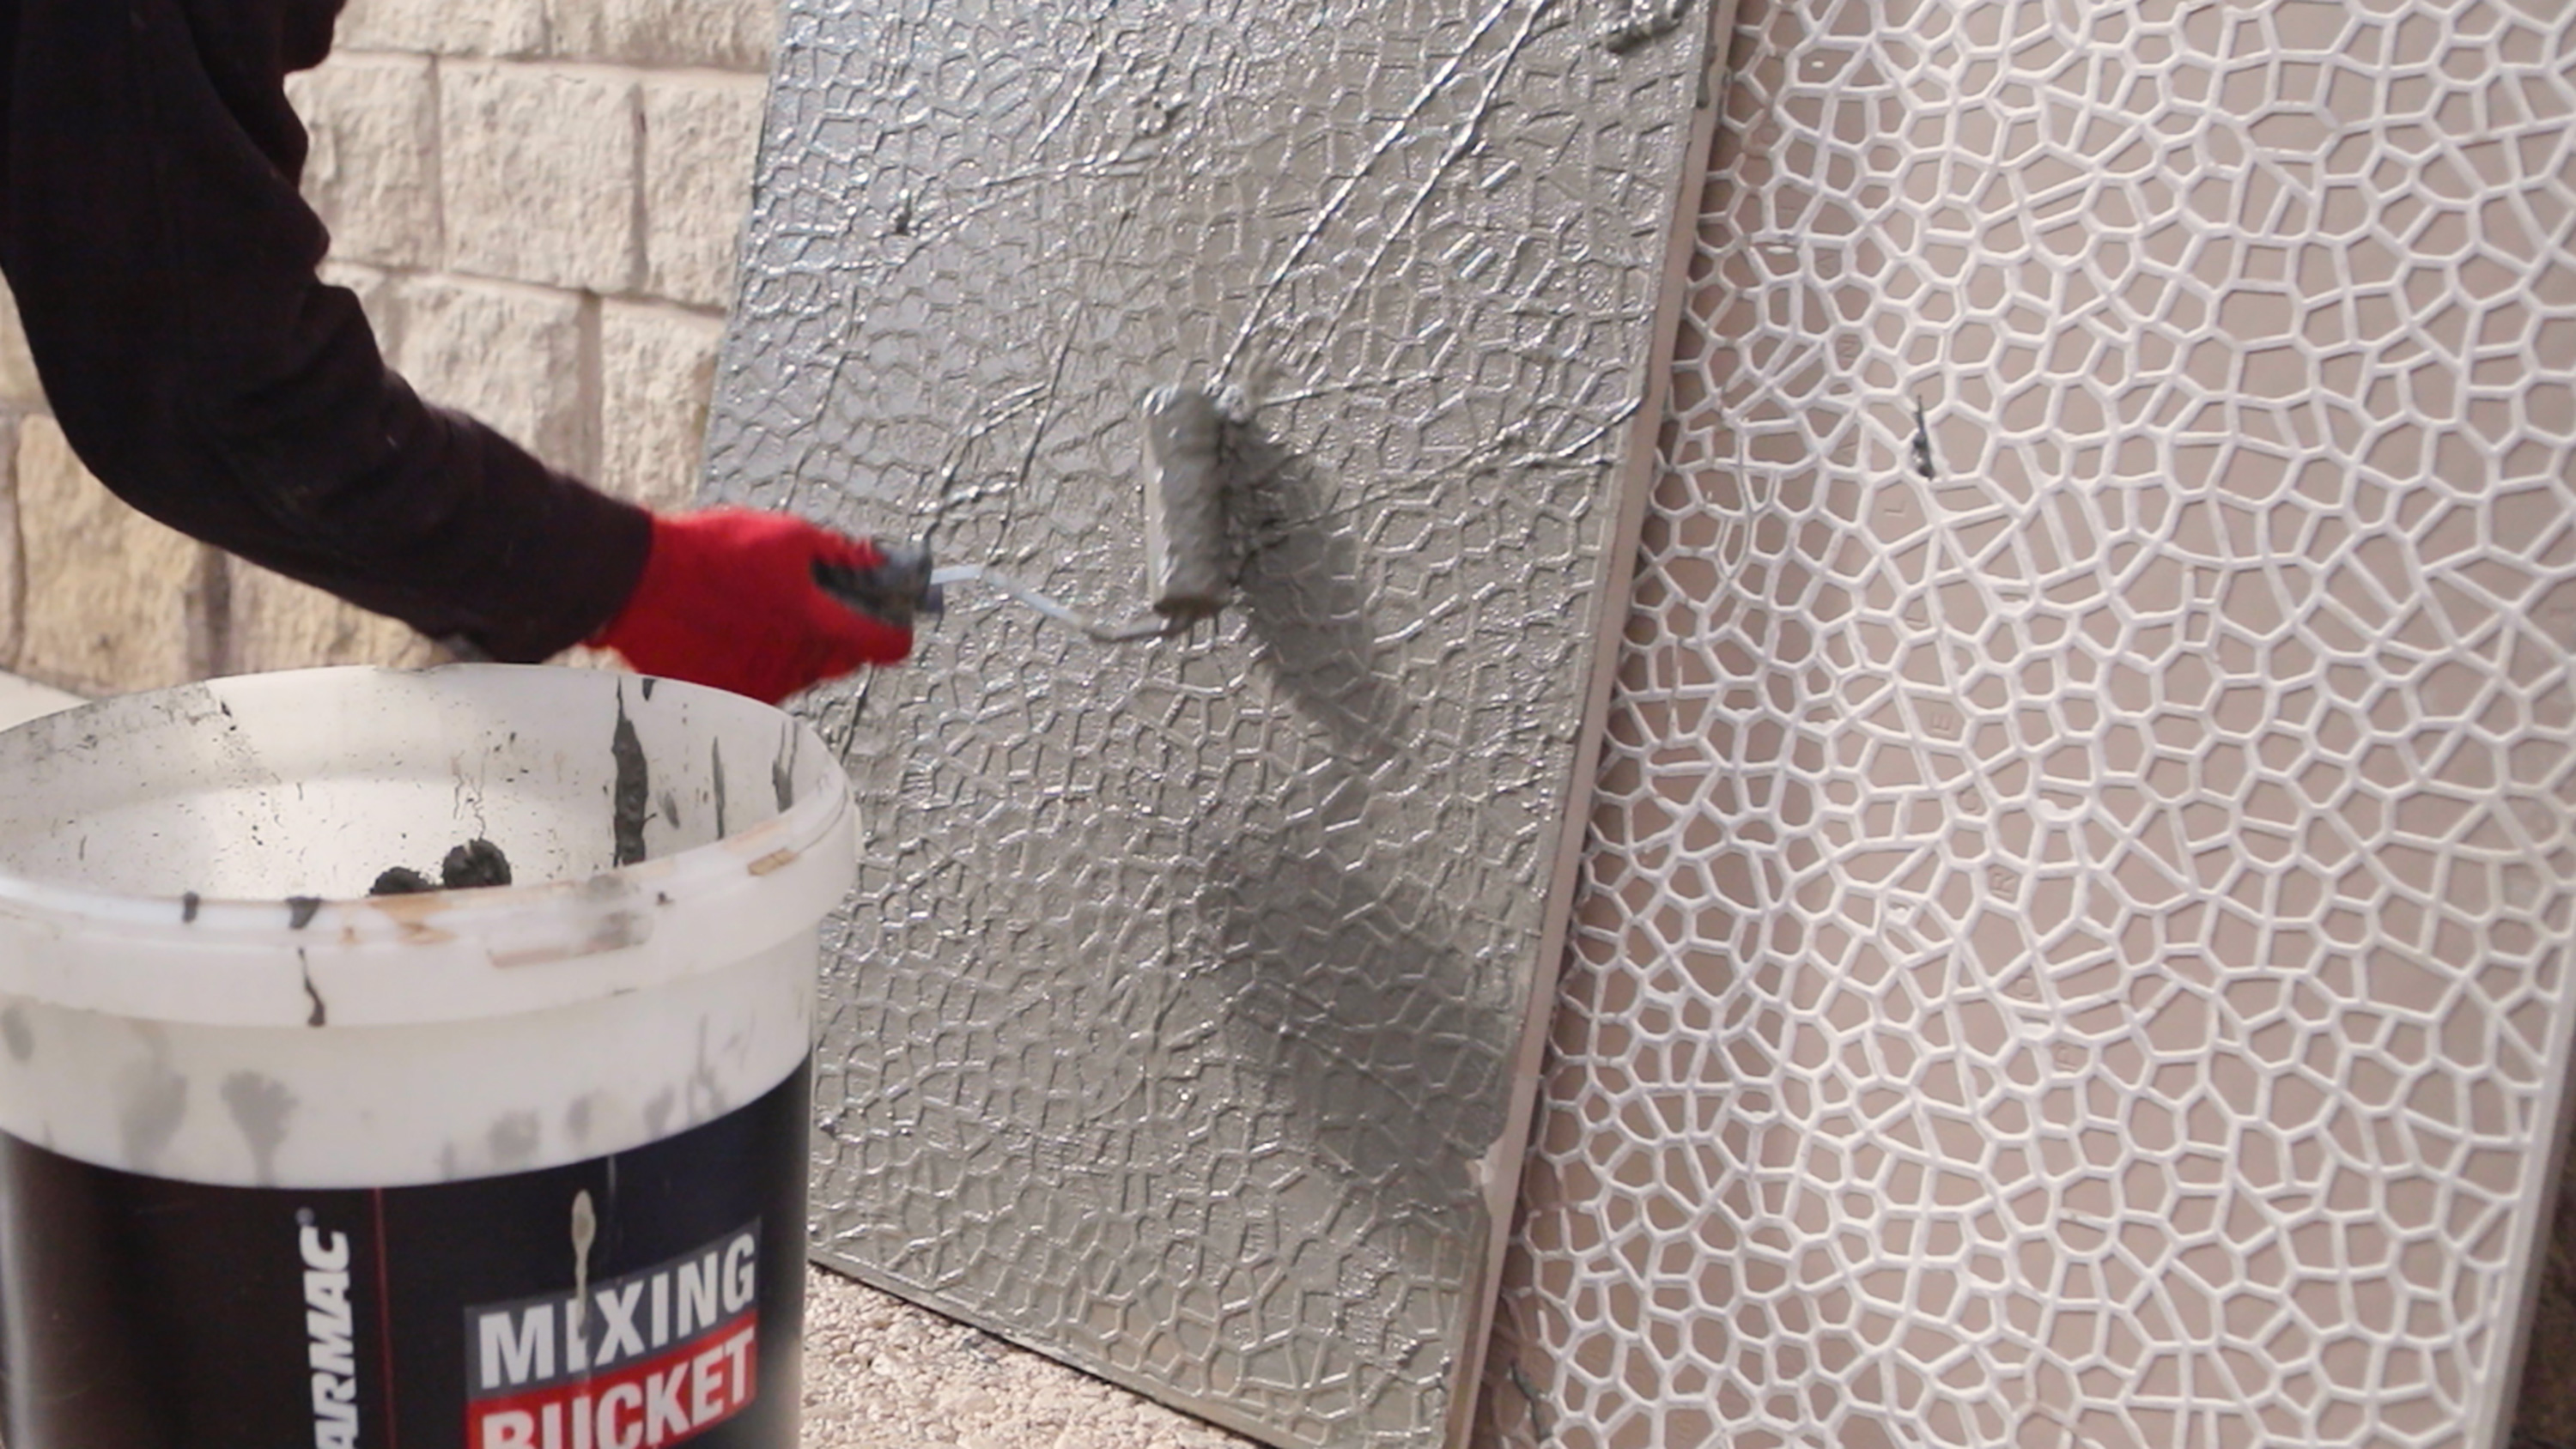
Mix up a priming slurry to coat the underside of your tiles
Place seven litres of clean water in a suitable container. Add your slurry powder slowly (Verona uses UltraScape Pro-Prime) and mix for three to five minutes to create a smooth, lump-free consistency.
Then, coat the underside of the first tile with this priming slurry.
Using priming slurry is an essential step to ensure that your tiles stick to the mortar bed.
Step 7: Place your tiles
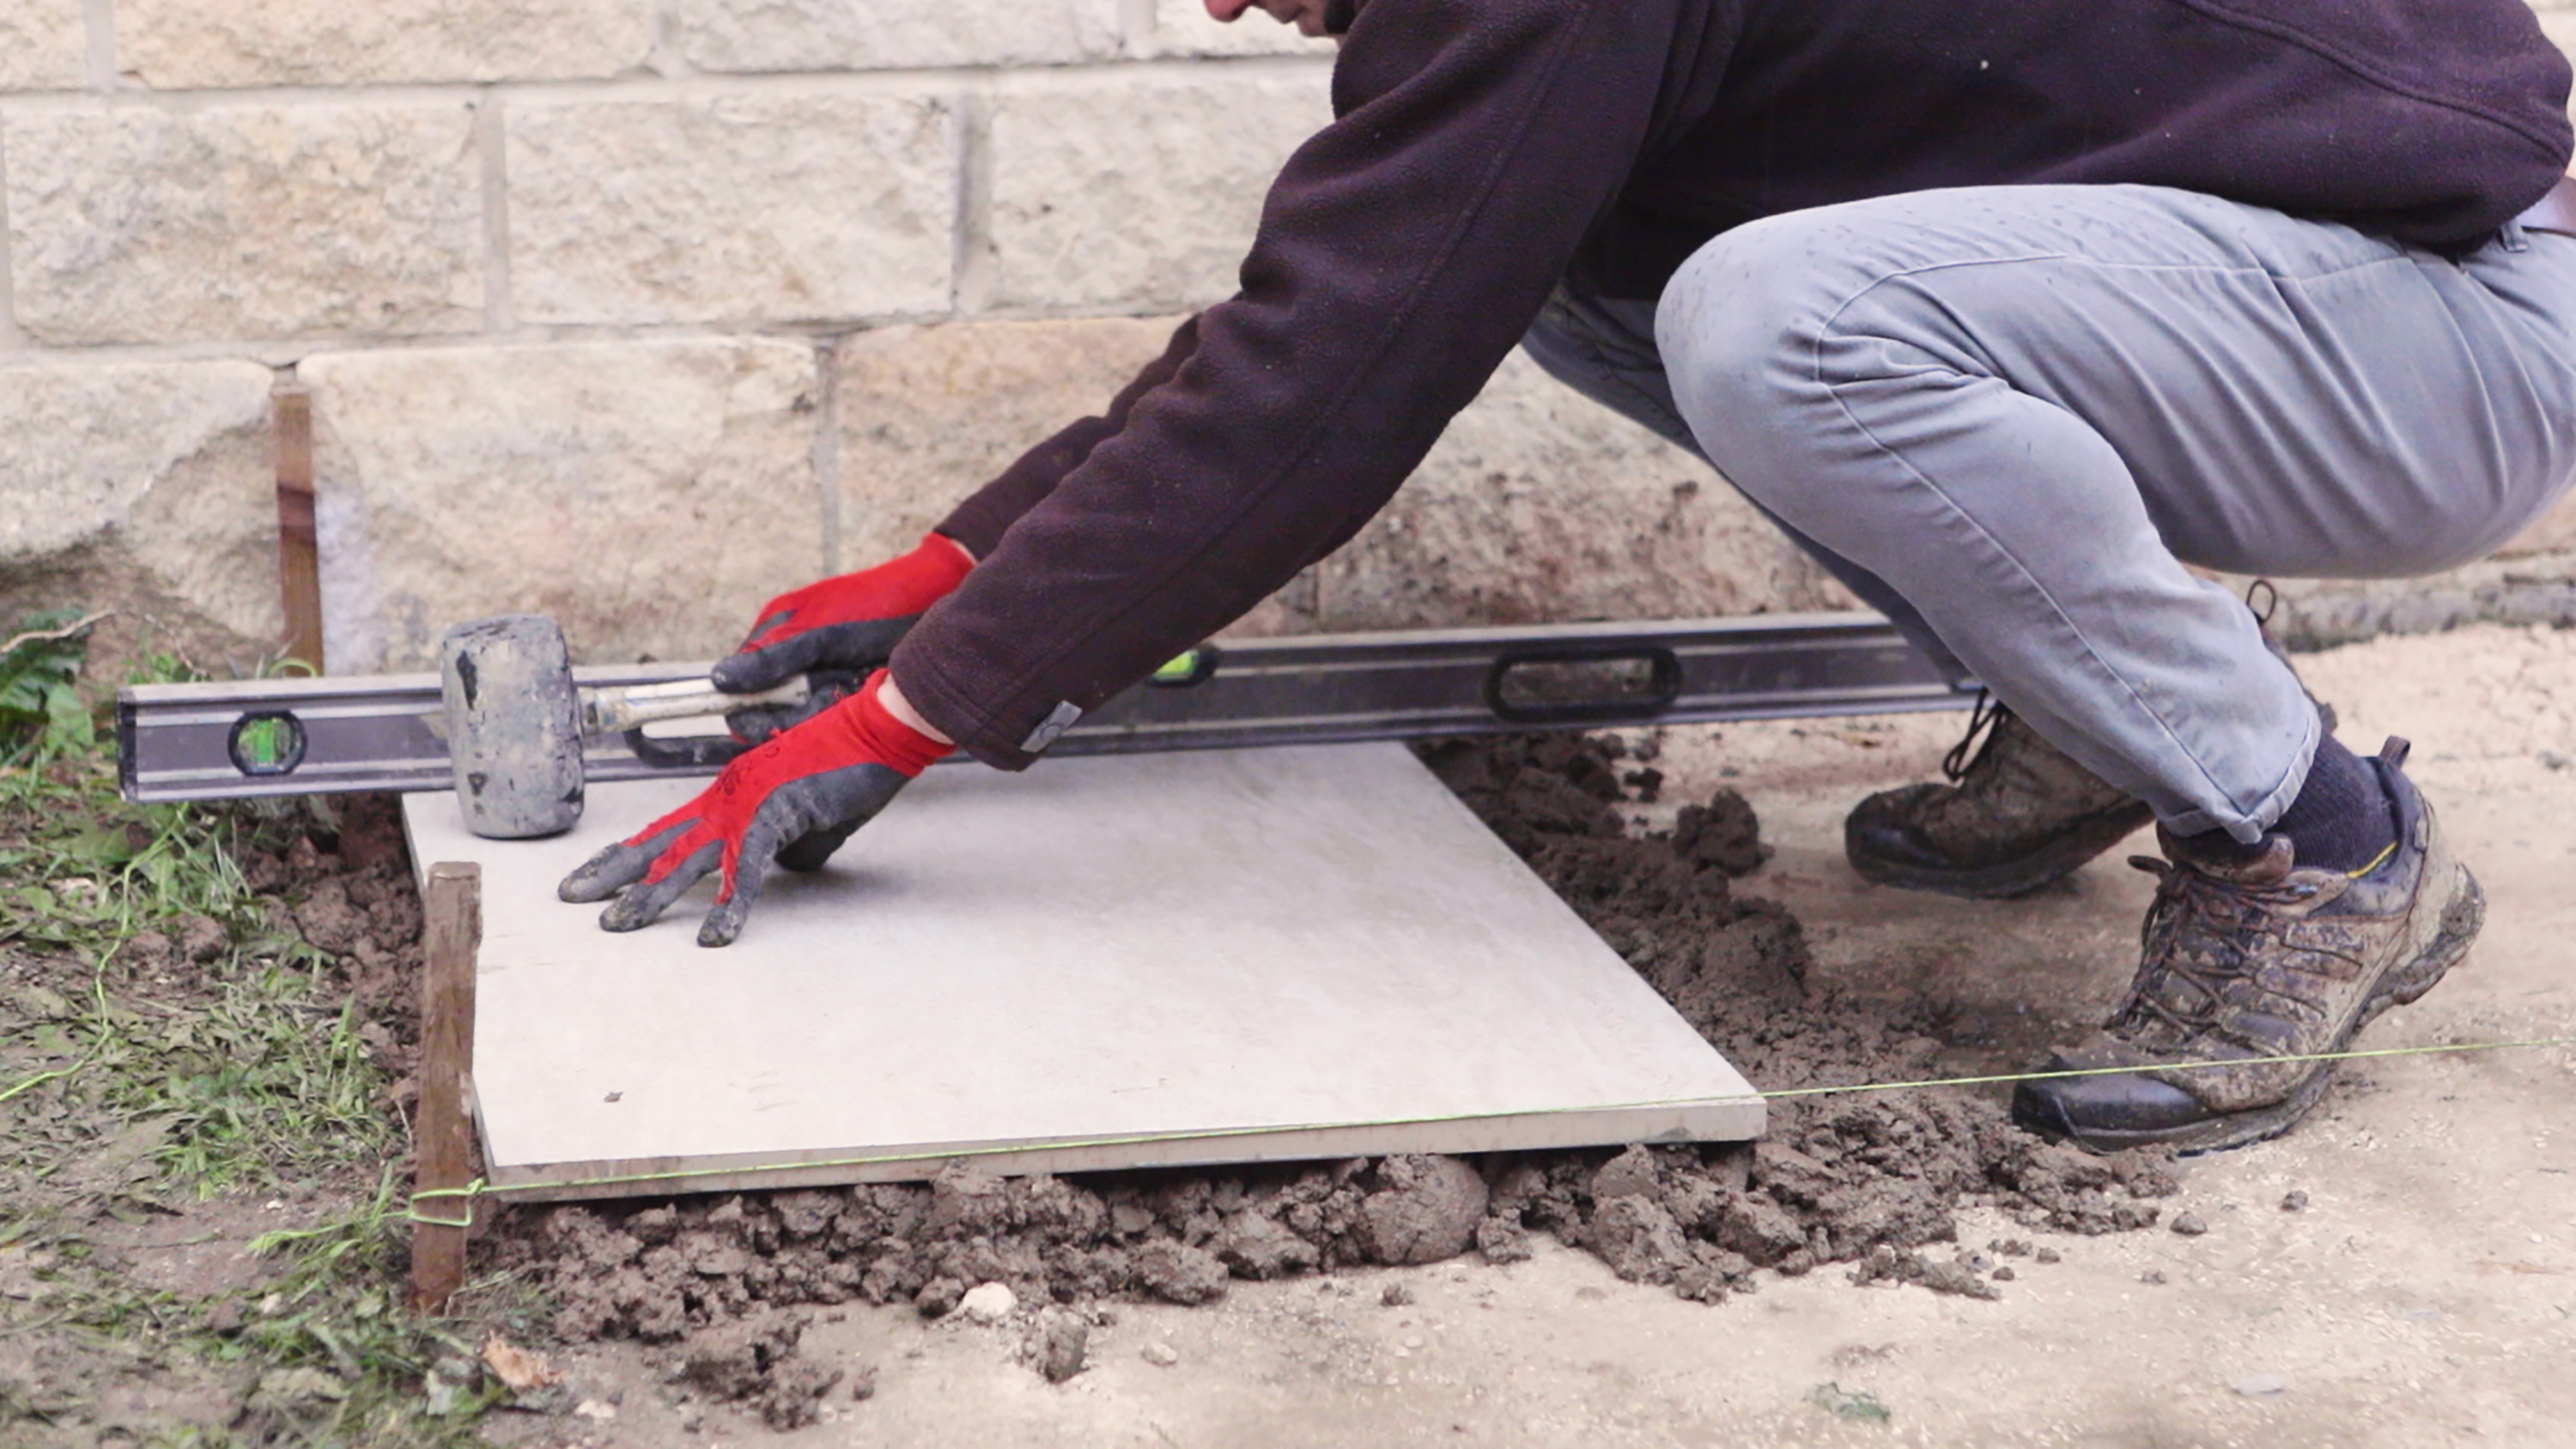
Lay your patio or pathway
Place the first tile into position, using a corner as a starting point – for example, next to a wall or house. Press into place and use a rubber mallet and spirit level to secure and adjust the level, remembering to take drainage into consideration.
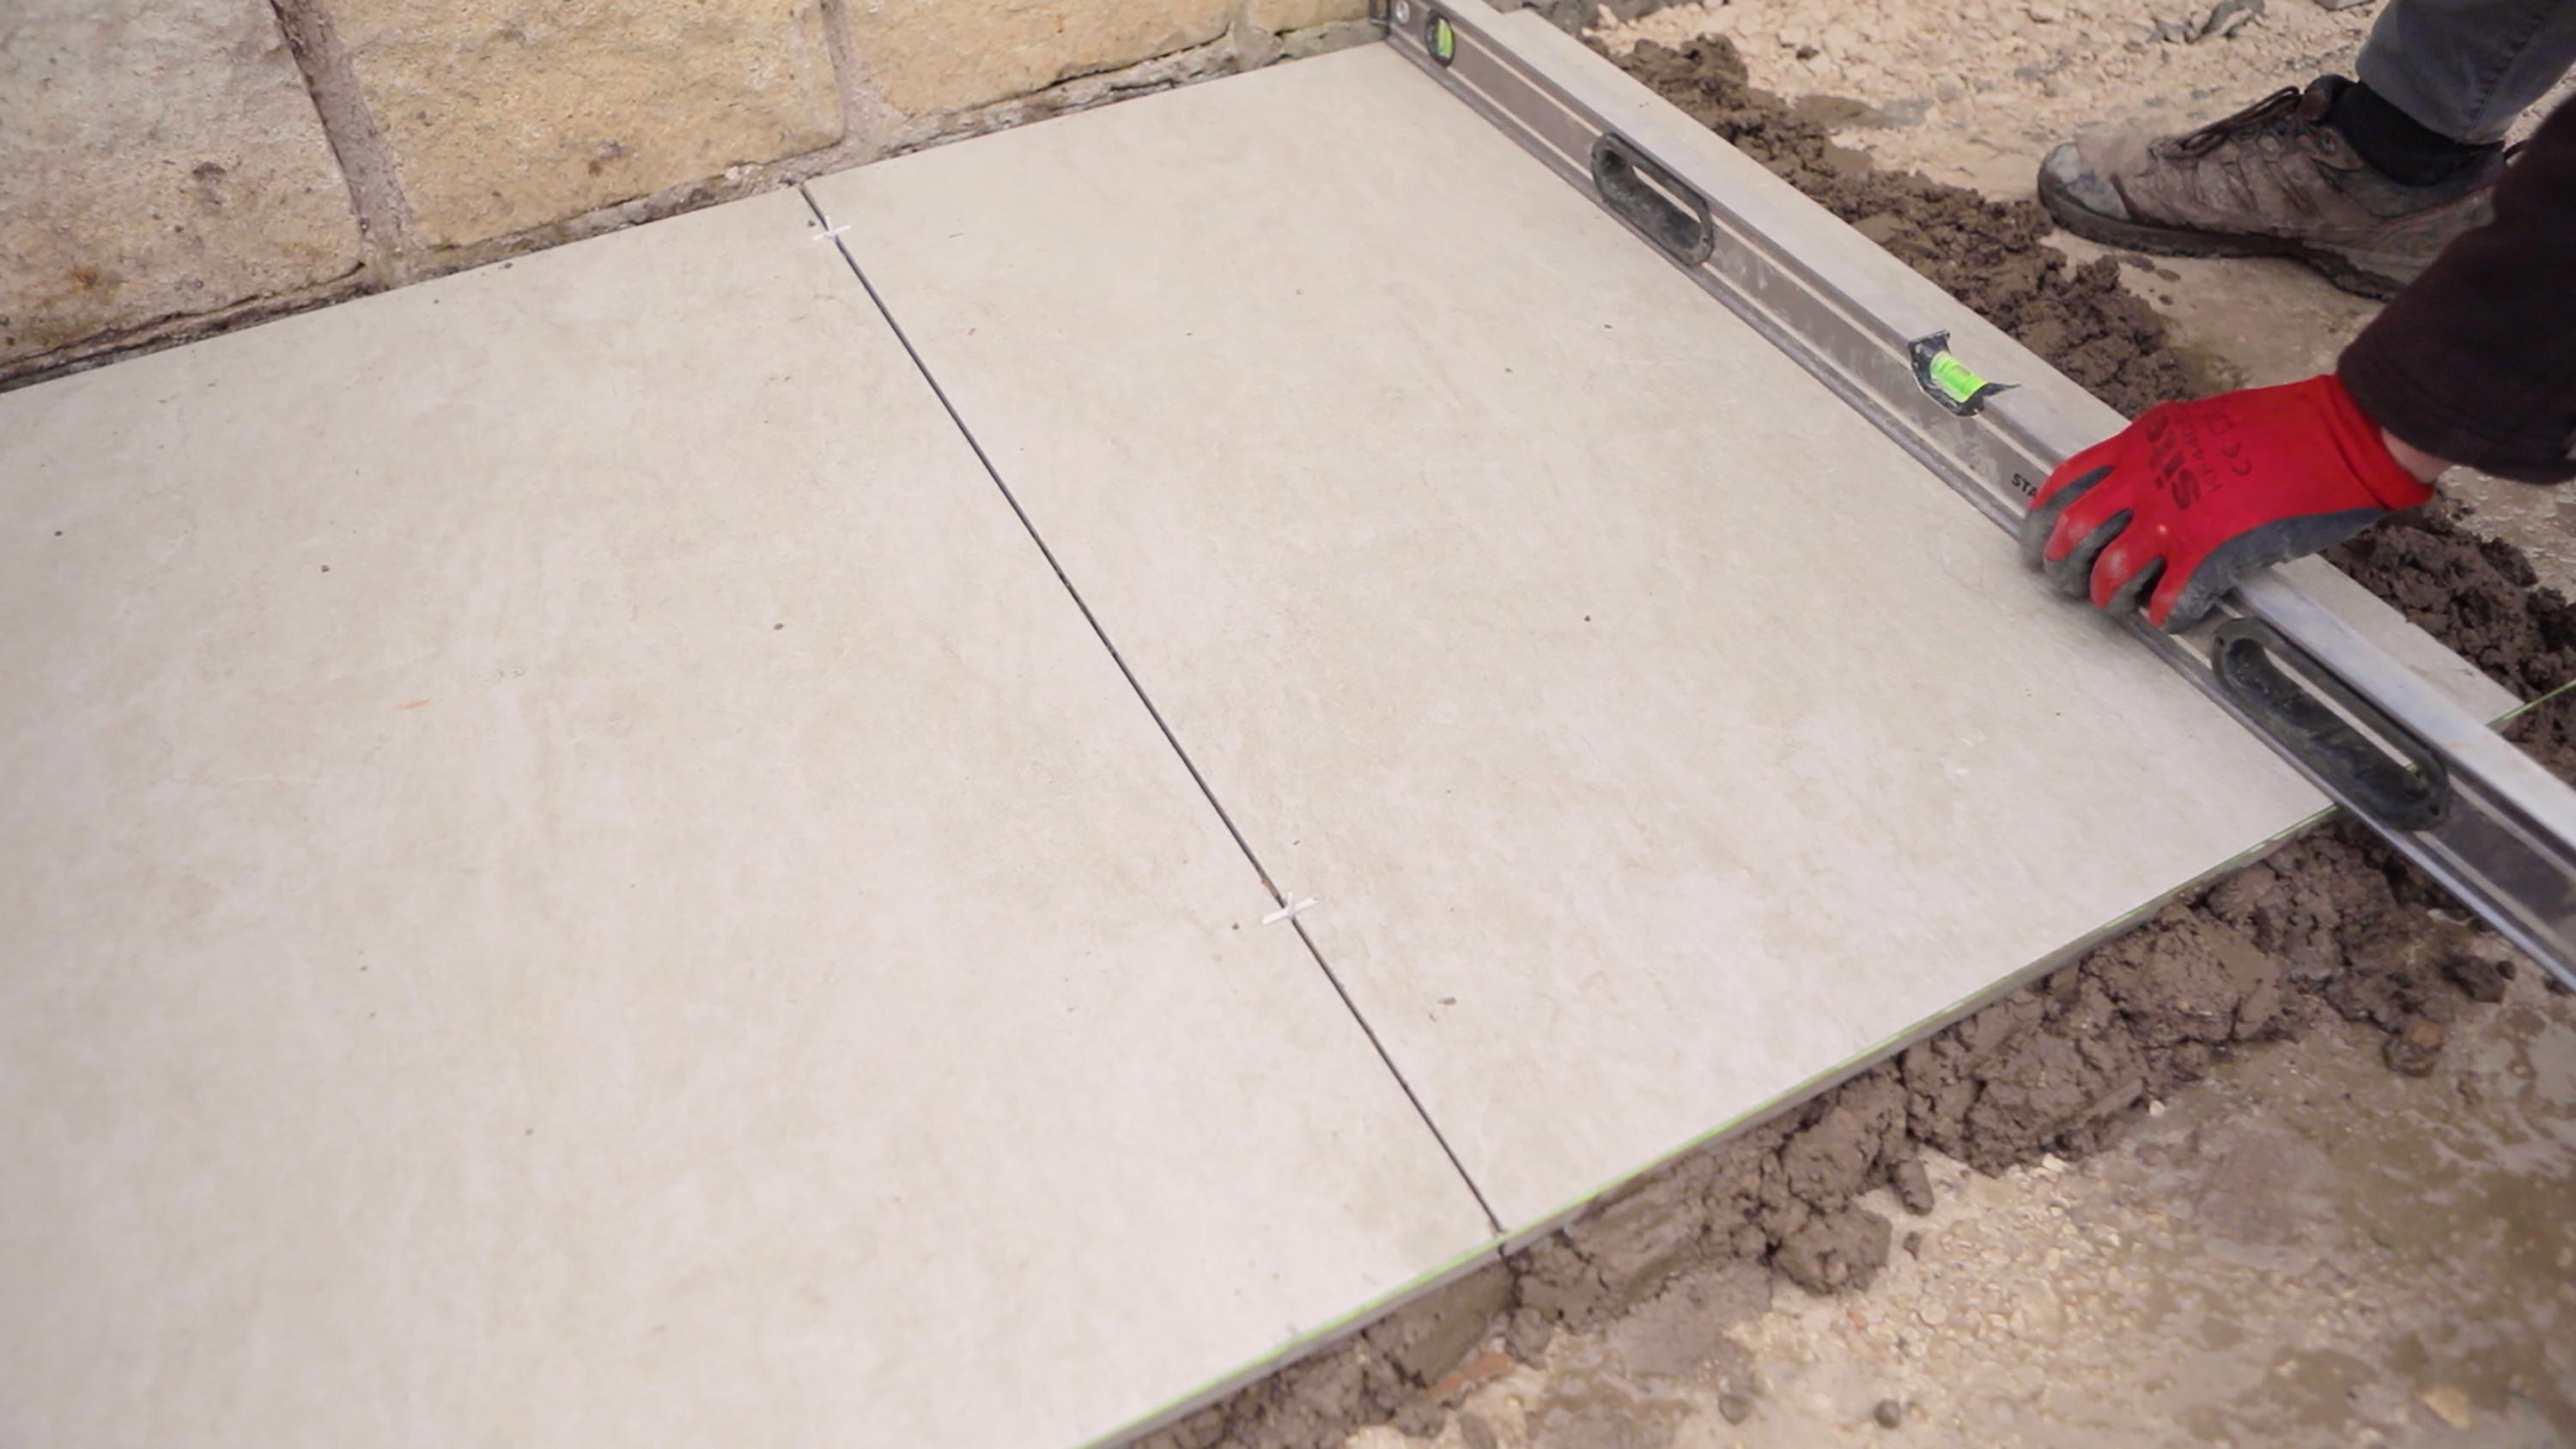
Line them up and leave a small gap between each one
Continue to lay tiles in this way leaving a 3-5mm gap between each one. Use a bucket of water and sponge to clean up any mortar or slurry as you go.
Step 8: Add the final touches
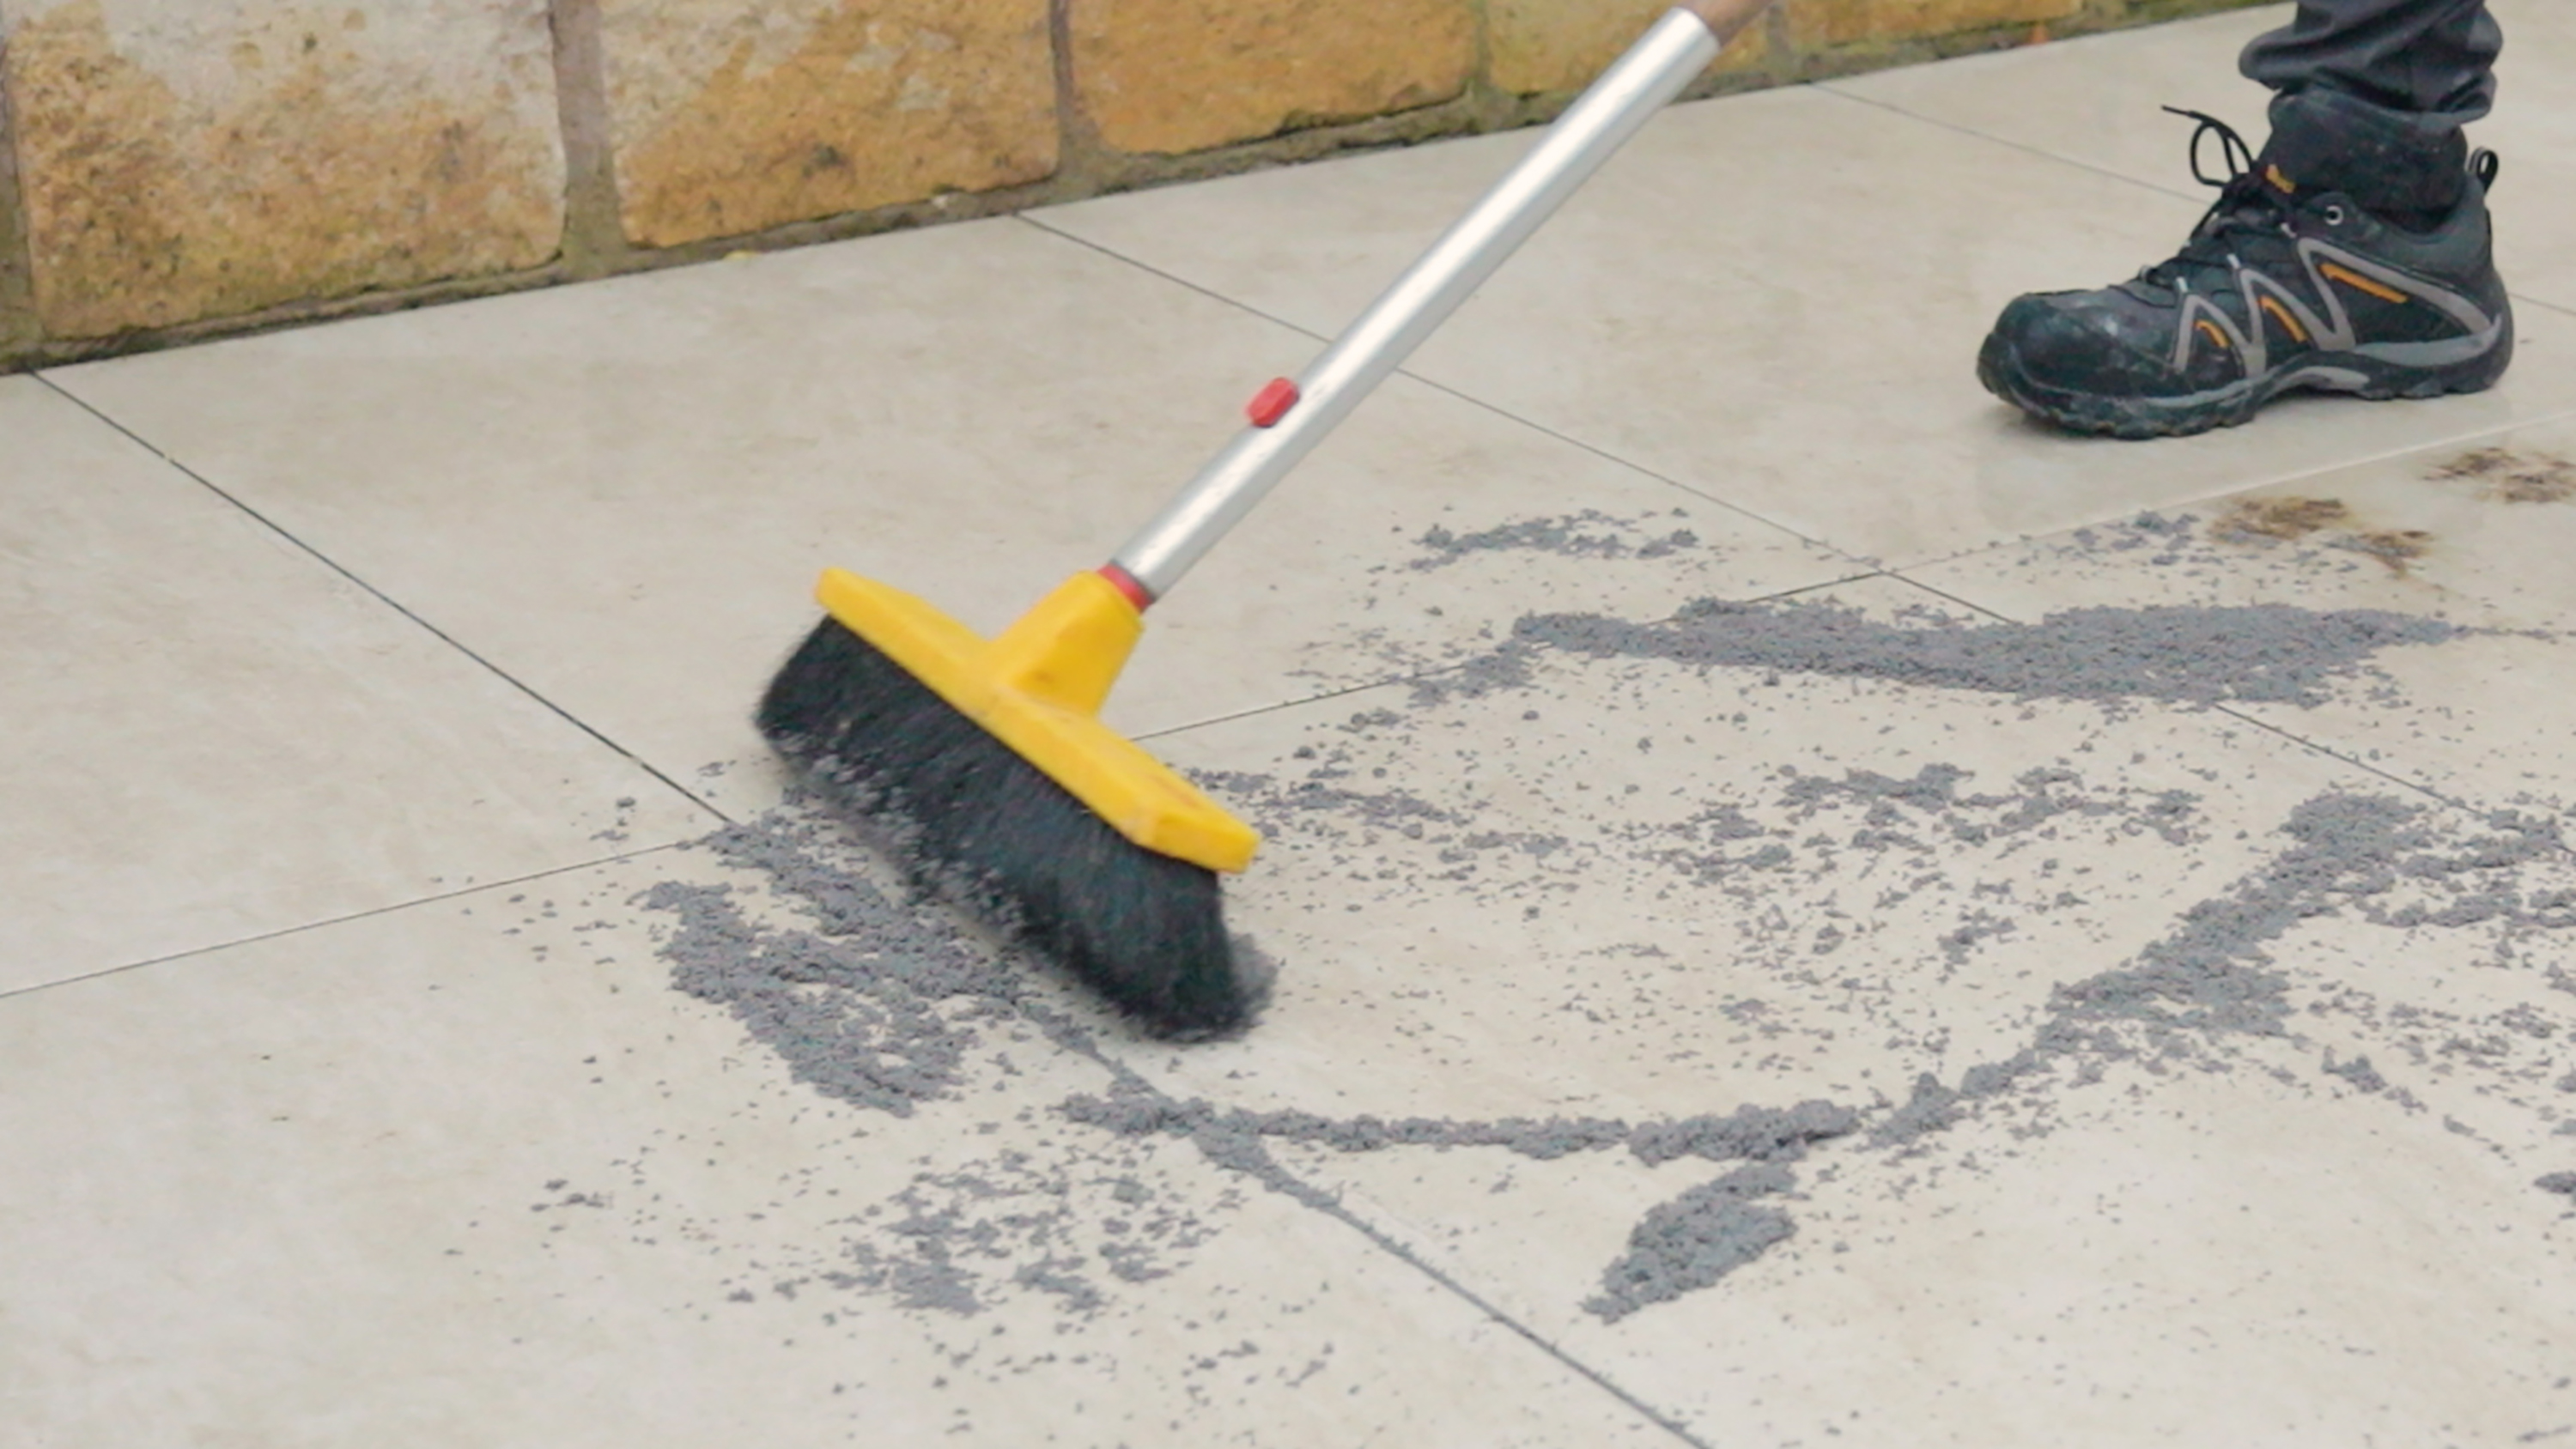
Apply a brush-in grout
Avoid walking on your newly laid patio for a minimum of 24-48 hours to allow it to dry and strengthen.
If you wish to infill any joint gaps, Verona recommends using ProPave Brush-In Grout designed for outdoor porcelain tiles. Use a brush to mix over the joints, gradually and evenly filling them all in.
Once the joints are filled, use a pointing trowel to firm the grout into place. Add more grout if needed to create a clean and level finish.
Admire your work
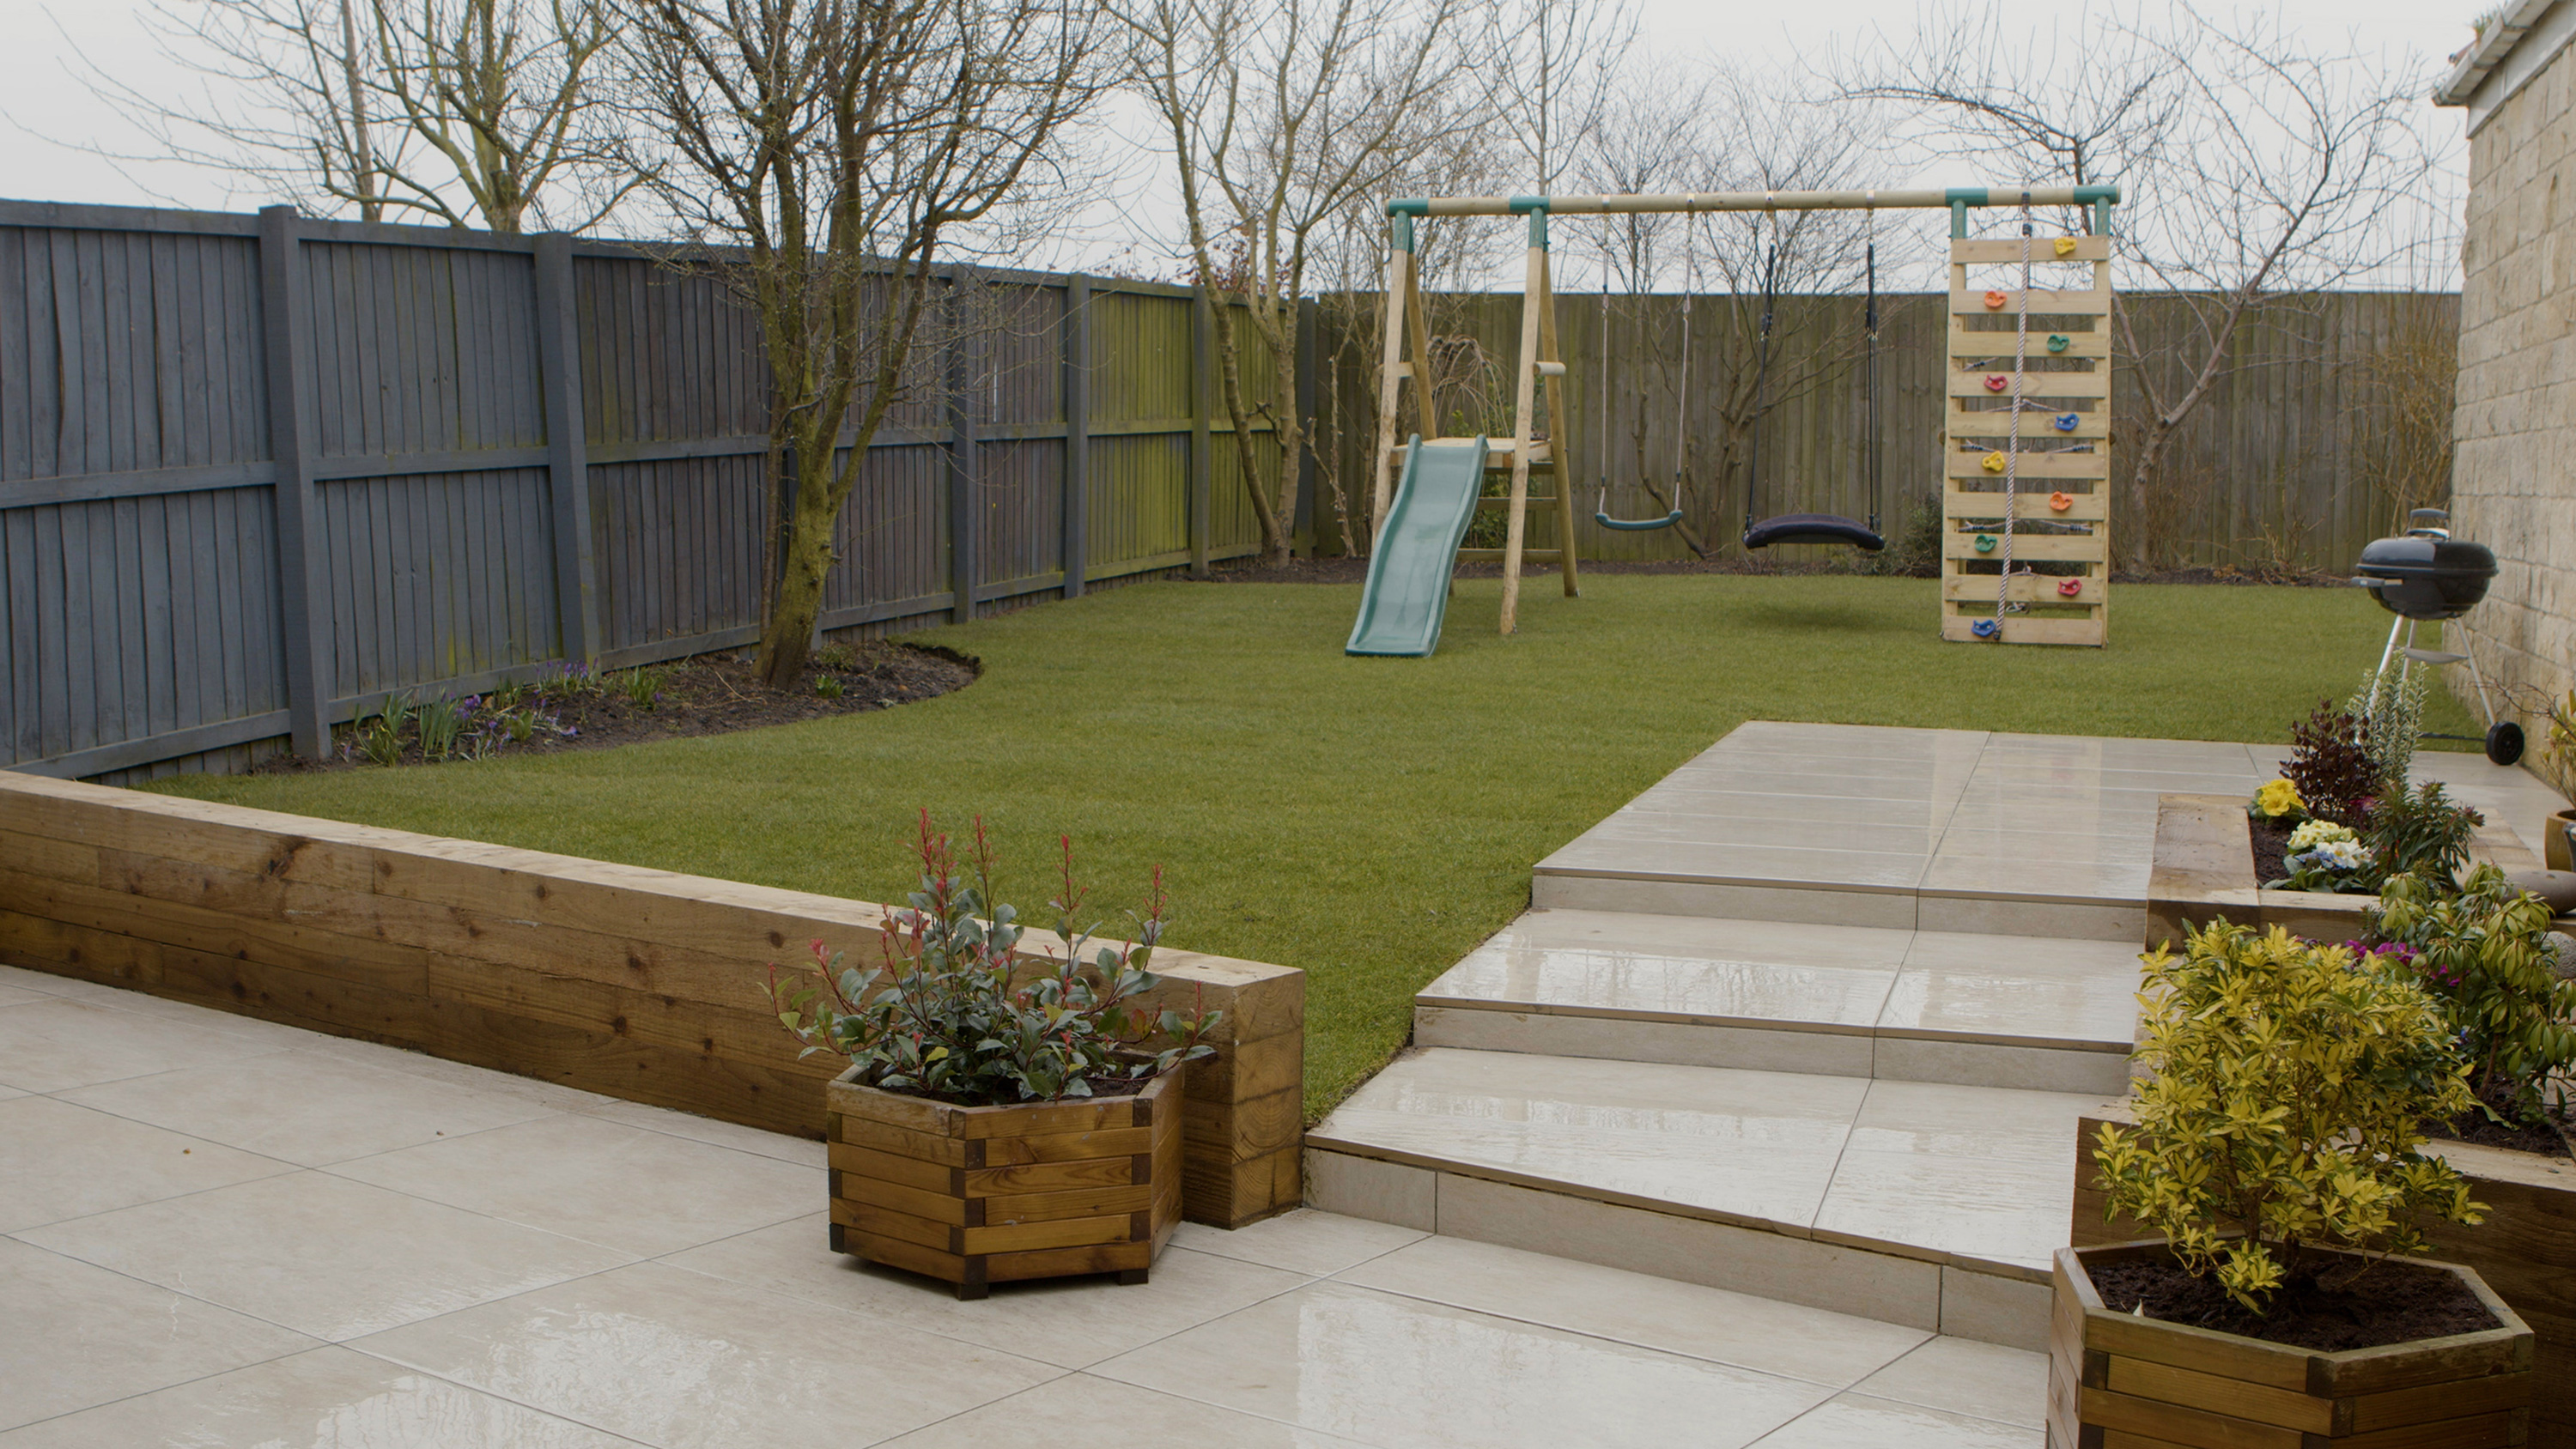
Step back and enjoy the results of your hard work
And, that's it! Enjoy your plot's stunning new look – perhaps you'll want to complete the scene with some new garden furniture ideas, too.
How do you cut outdoor porcelain tiles?
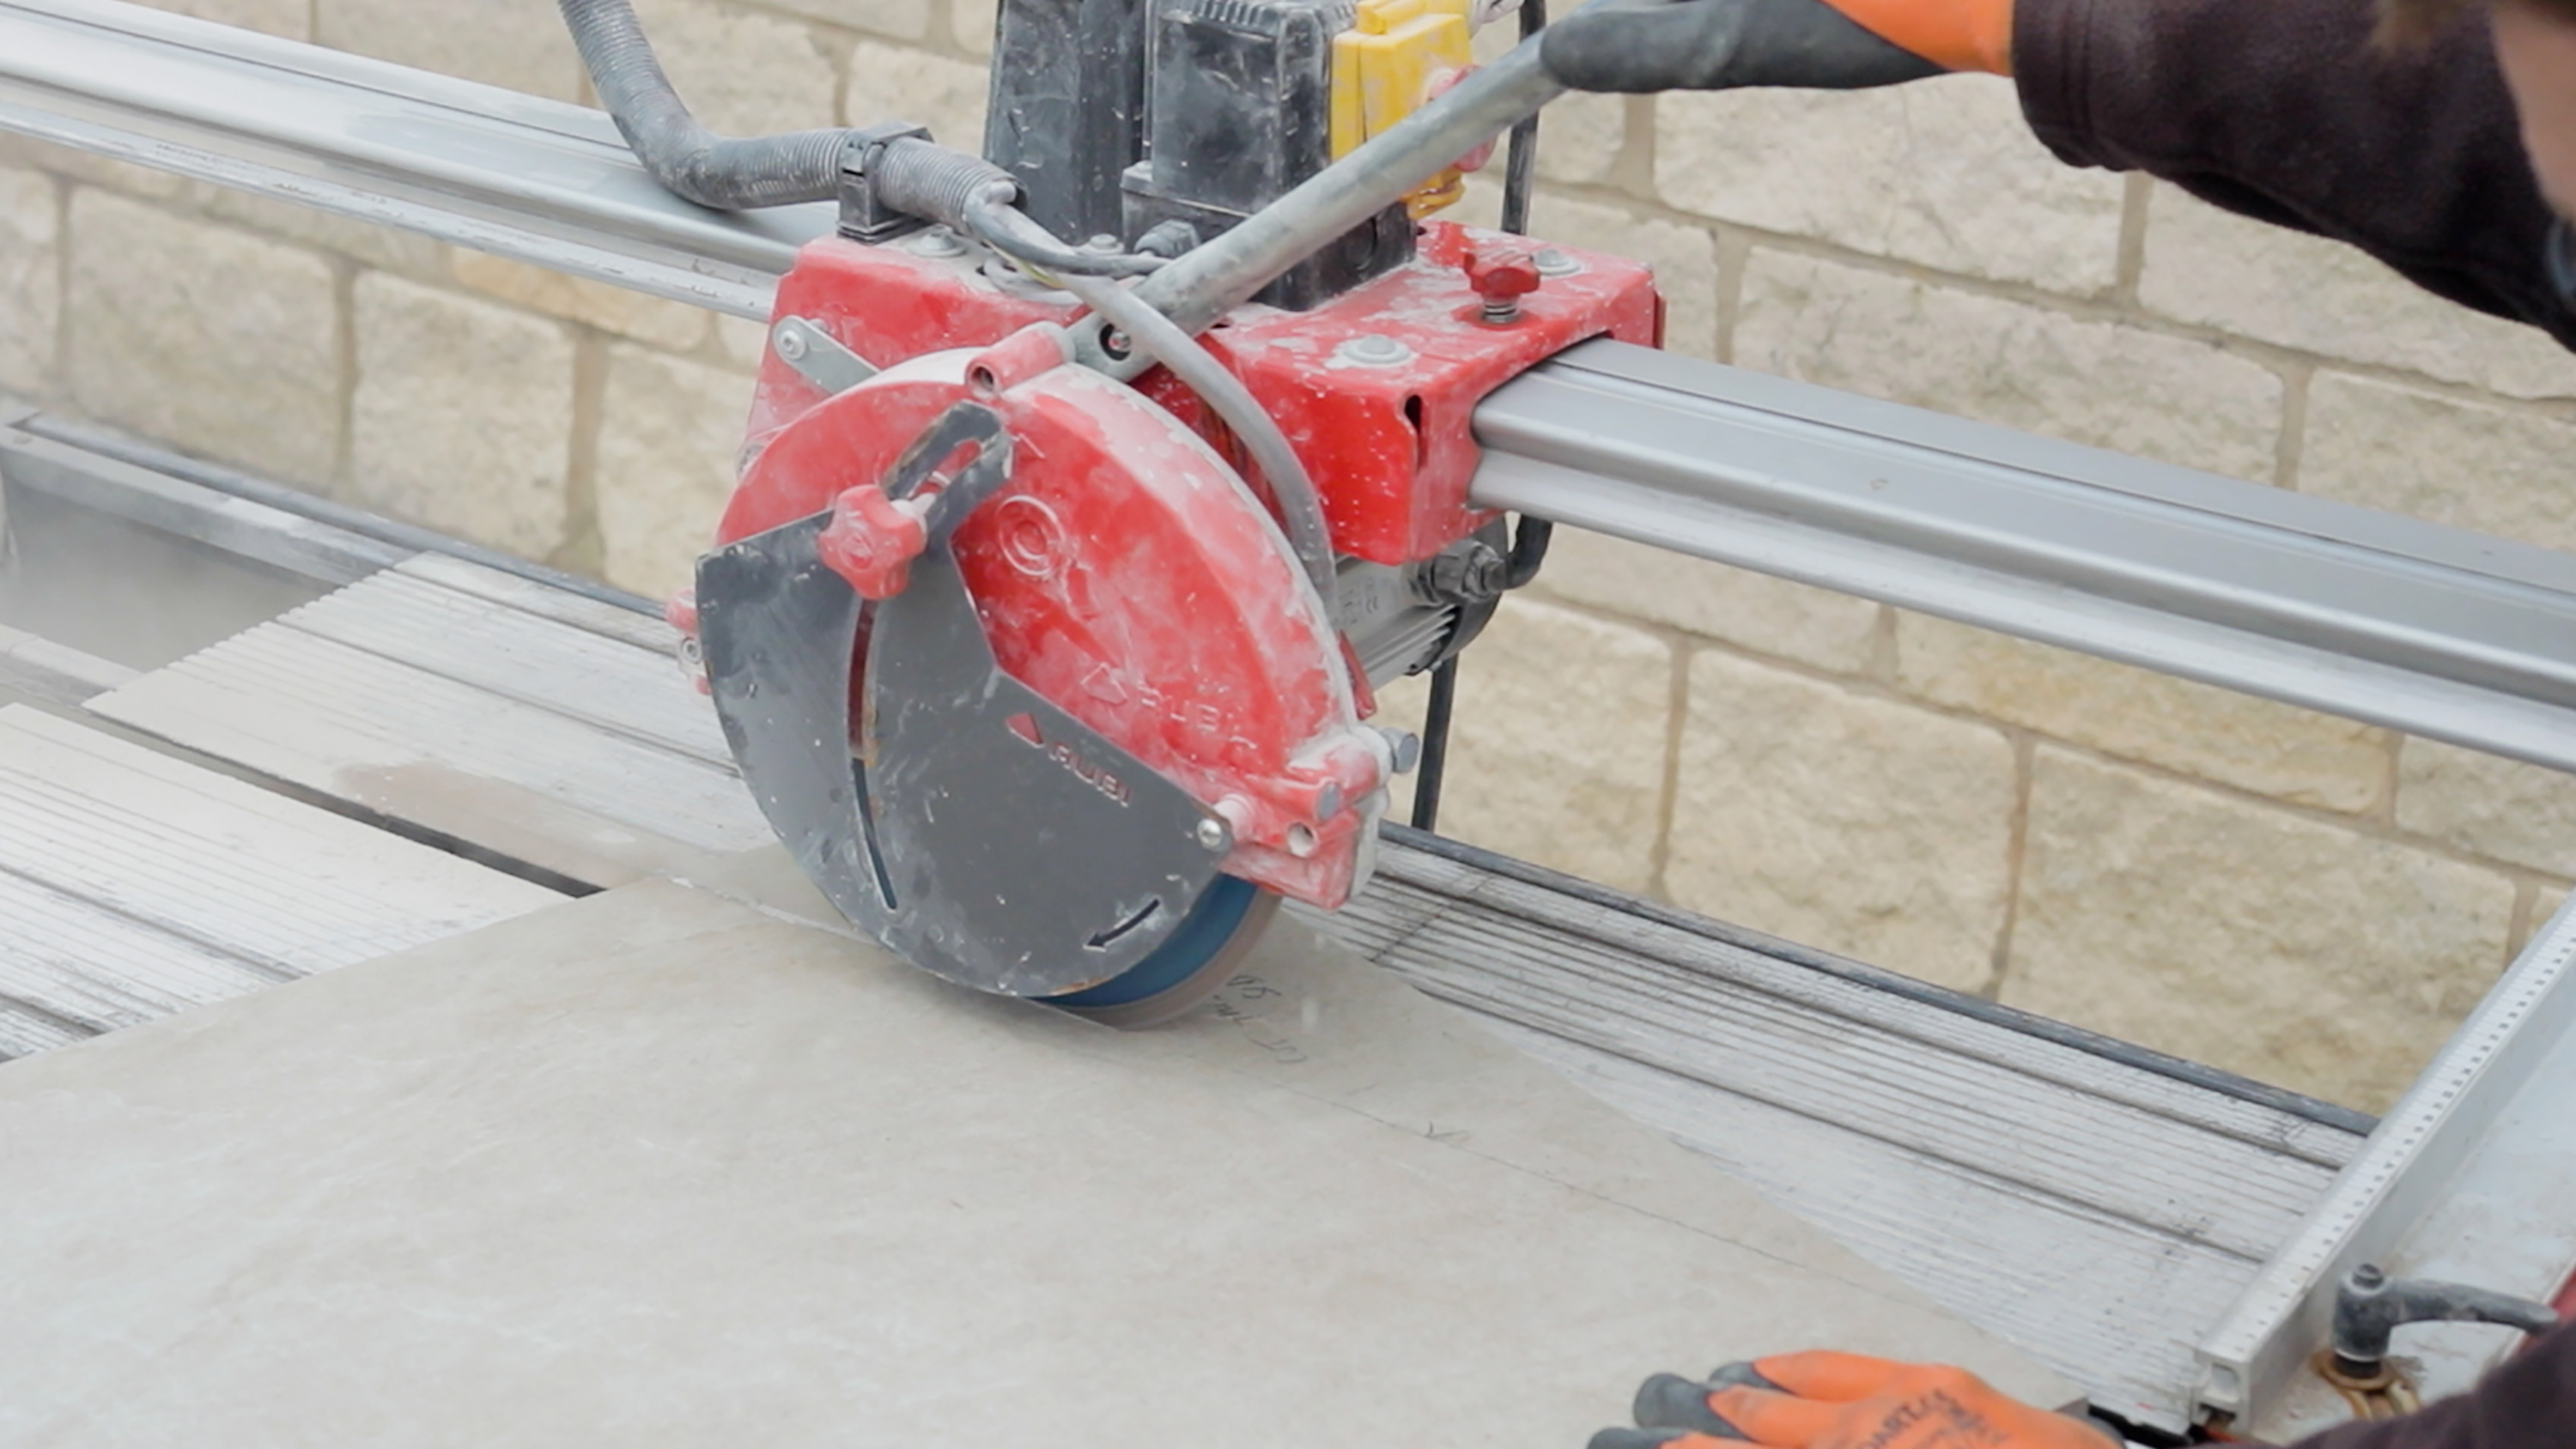
Use a water fed cutter with a diamond blade to cut porcelain tiles
Outdoor porcelain tiles are super strong and cannot be cut using traditional hand tools. In order to minimise breakages and spoiled cuts, Verona recommends using a water fed cutter with a diamond blade. This will also help to minimise dust.
- Start by measuring and marking a line where you would like to cut the tile.
- Cut from the top surface with the blade running at half-revs.
- Bring the blade into contact with the tile. As the blade bites the tile, increase the revs if necessary and progress along the marked line.
- Ensure the blade is water fed throughout and remains evenly balanced.
- Do not attempt to plunge the blade through the tile in one go – progress steadily and repeat the process until the tile is cut.
How do you lay stepping stones or staggered patios?
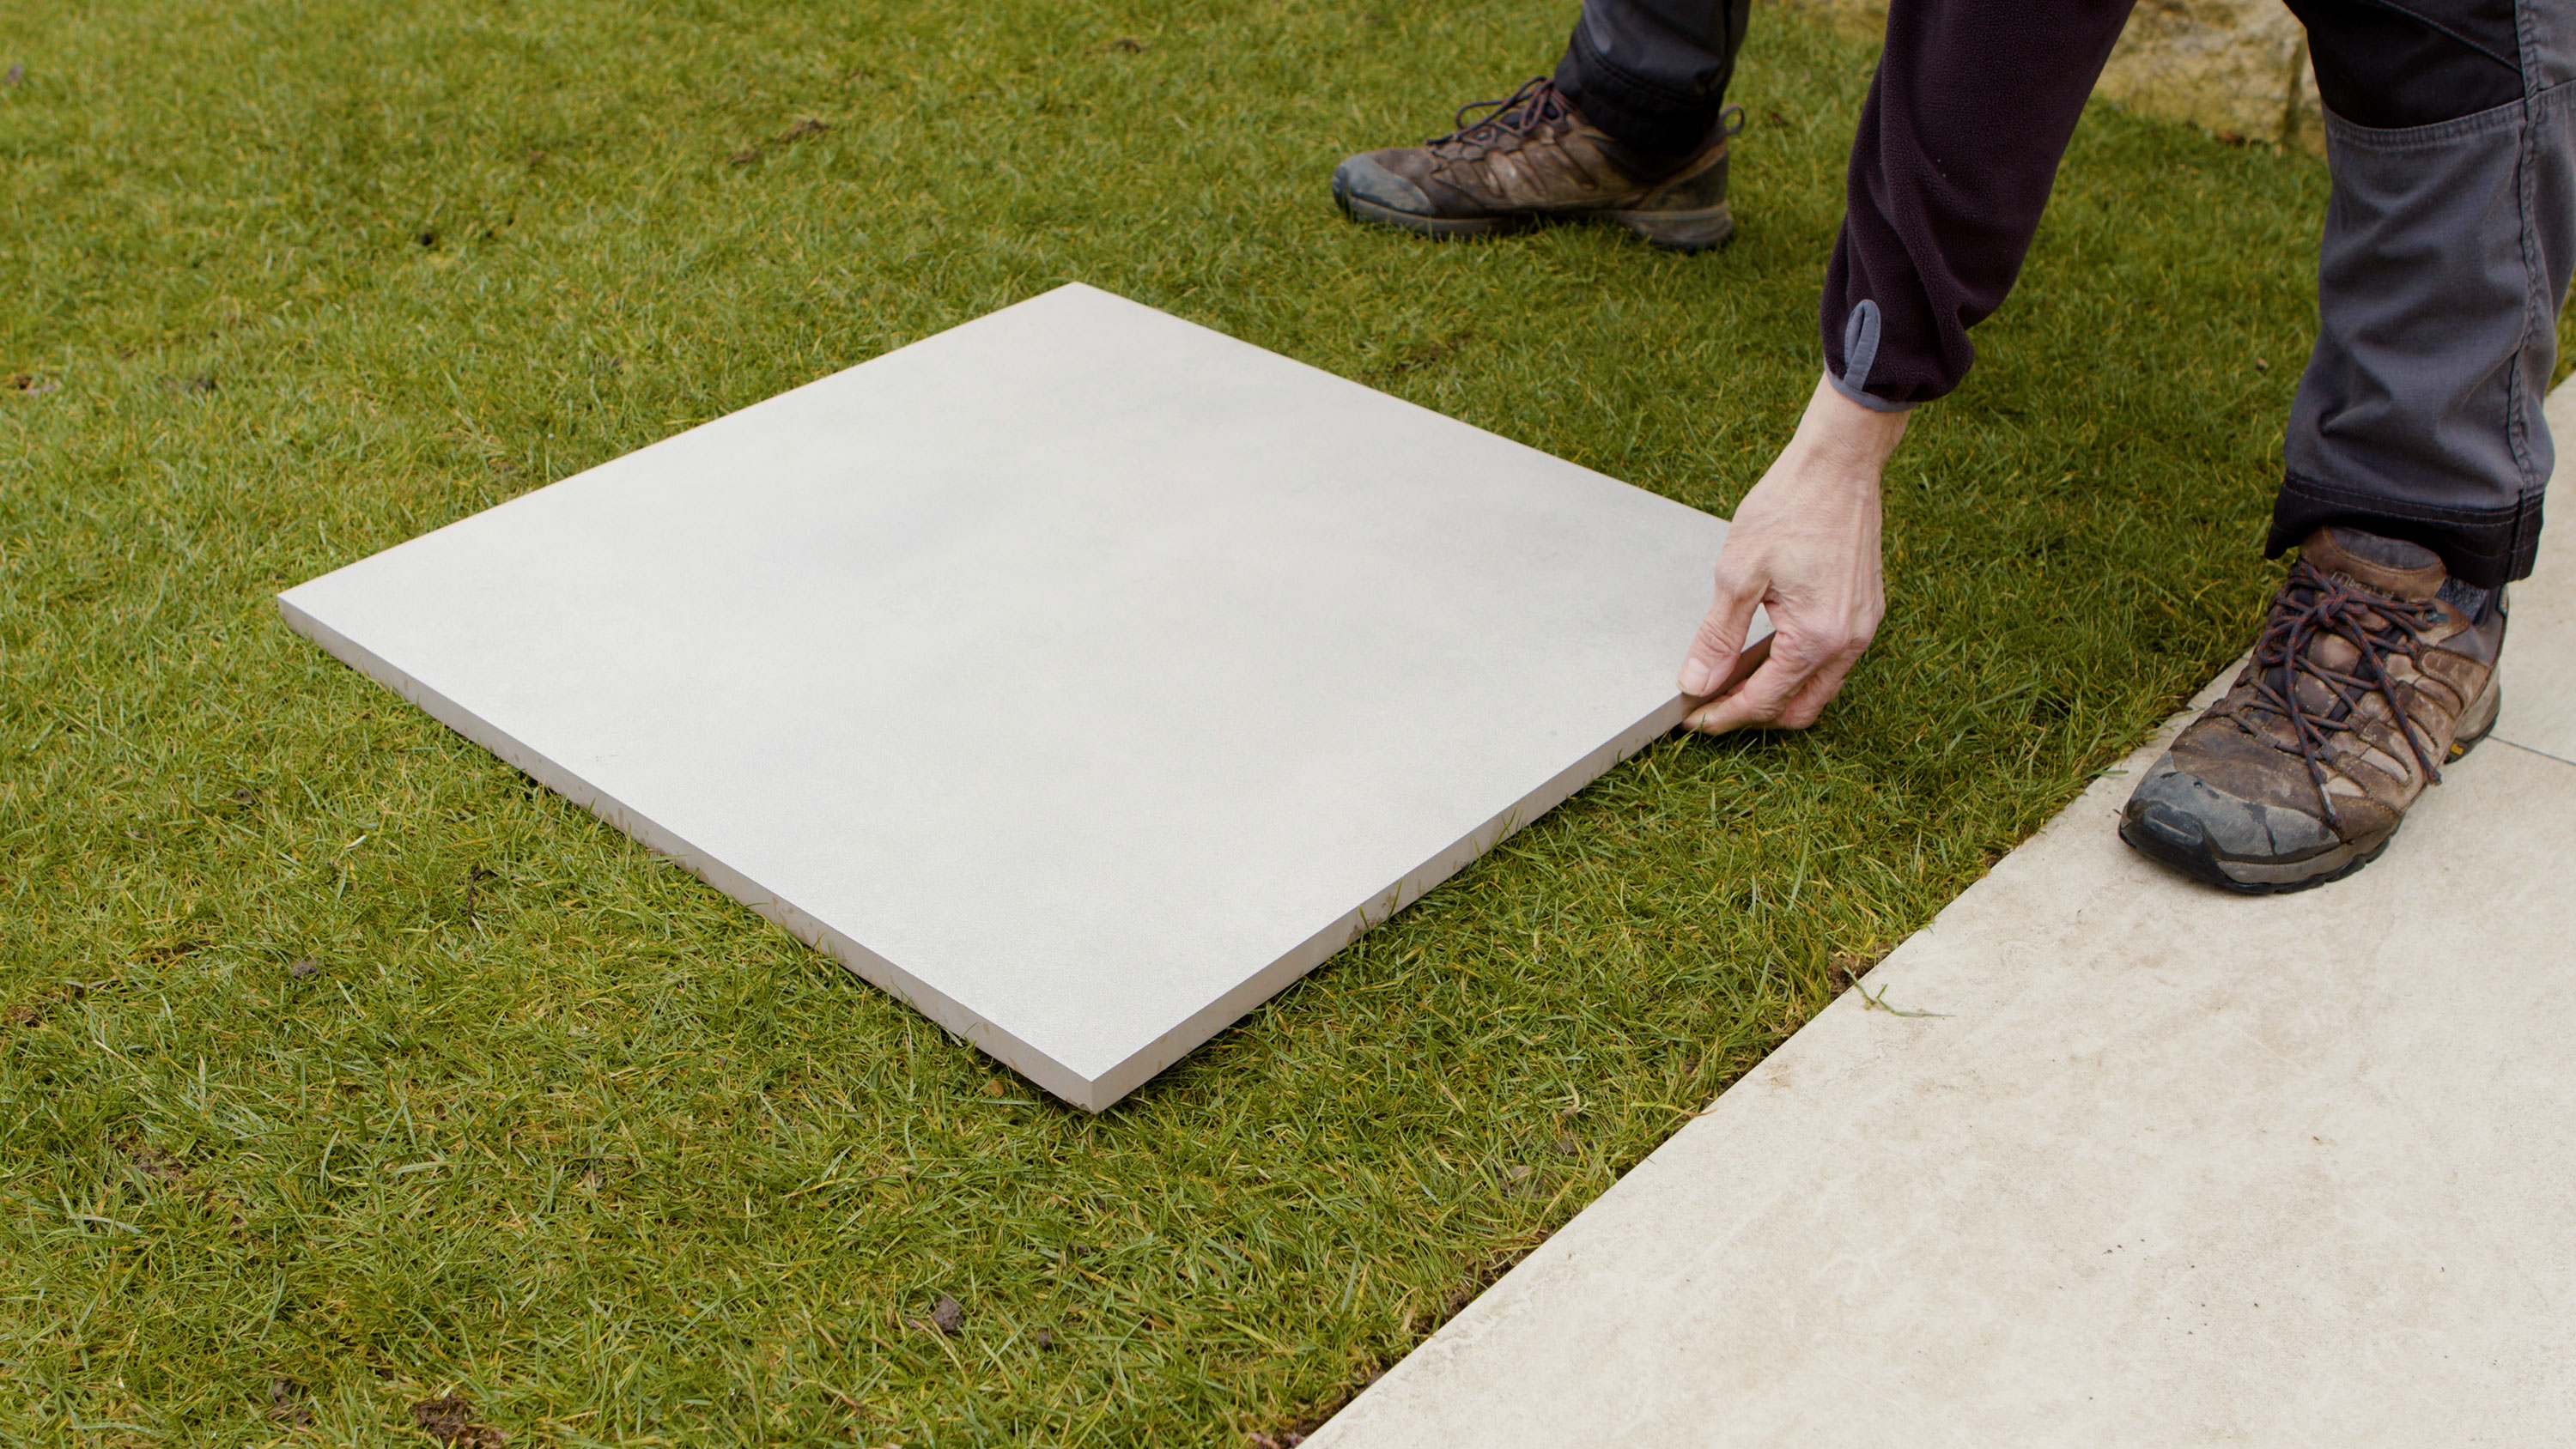
Give your plot a playful feel with stepping stone pathways
If you fancy getting a little creative with your garden path ideas or patio ideas, you can opt for a more unique layout for your pavers. It's easy to create a staggered design or a stepping stone walkway by loose laying your outdoor tiles.
- Assess the substrate. If your surface is solid and secure, outdoor porcelain tiles can be simply placed on the ground. If the ground is soft or uneven in any way, you will need to make the surface stable.
- If you need to make a stable surface, create a base with a layer of sharp sand or fine gravel, then place your tile on top. If you're laying your tiles on to grass, you may wish to cut away a square of turf and dig down slightly so that the tile lays flush with the surface.

The garden was always a big part of Holly's life growing up, as was the surrounding New Forest where she lived. Her appreciation for the great outdoors has only grown since then. She's been an allotment keeper, a professional gardener, and a botanical illustrator – plants are her passion.
