How to install fence panels and replace any that are damaged
Need to know how to install fence panels to put up a new fence, or renovate an existing version? Here’s how to get the job done
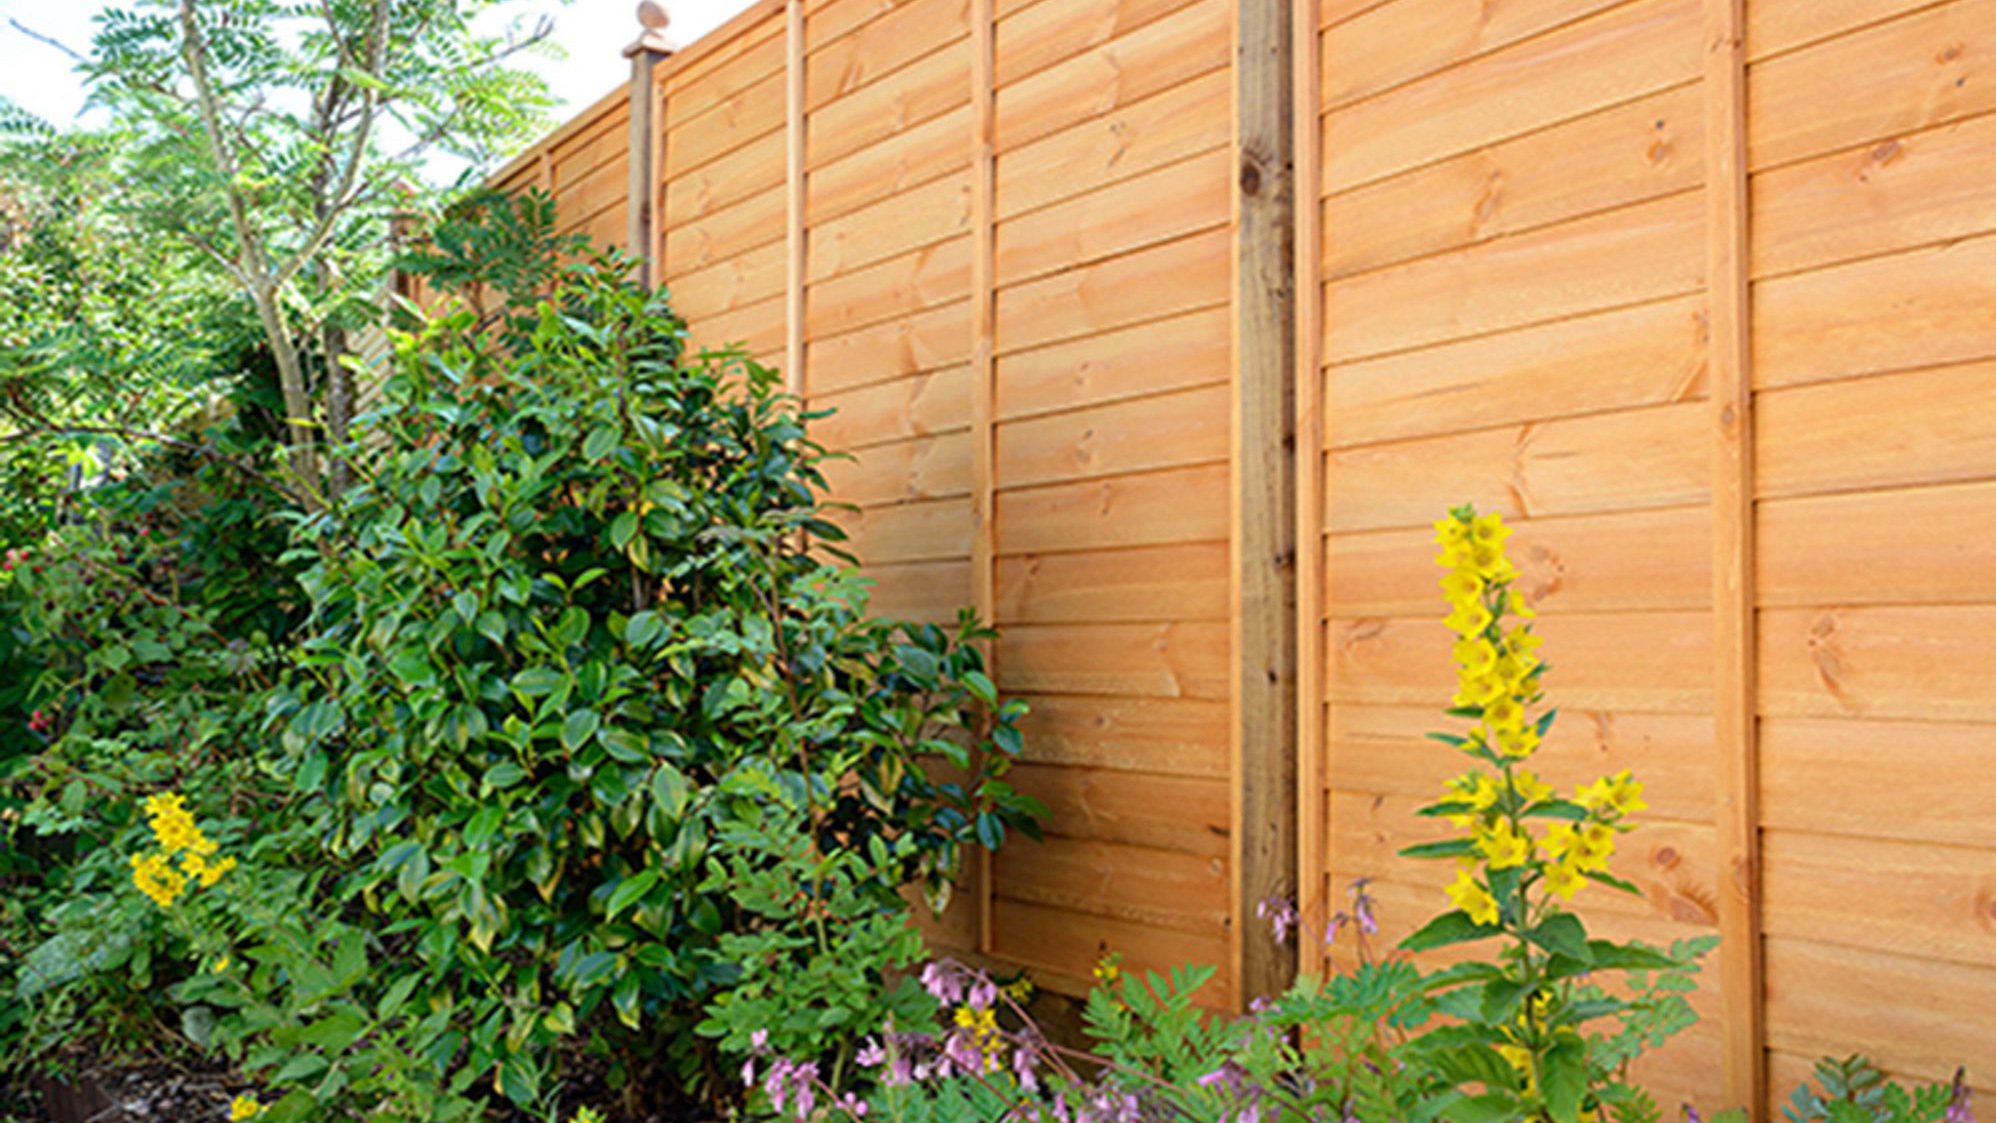

It can be handy to know how to install fence panels so you can replace and repair any that get damaged. You'll save yourself some money too by doing it yourself instead of hiring someone to do the work for you.
Fencing is a popular way to enclose your garden, and it can also create an attractive feature in its own right. You can call someone in to put up a fence for you, but knowing how to install fence panels yourself can save you plenty when it’s time to update your plot’s boundaries, or if you like the idea of using them as dividers to distinguish different zones within the space.
And with winter storms a distinct possibility, it’s also worth knowing how to replace individual panels as well as how to make repairs on them to return a weather-battered fence to its formerly smart state.
If you’re looking for inspiration for your garden’s boundaries and zones, check out our stylish garden fence ideas, and scroll down to discover how to install fence panels and make repairs.
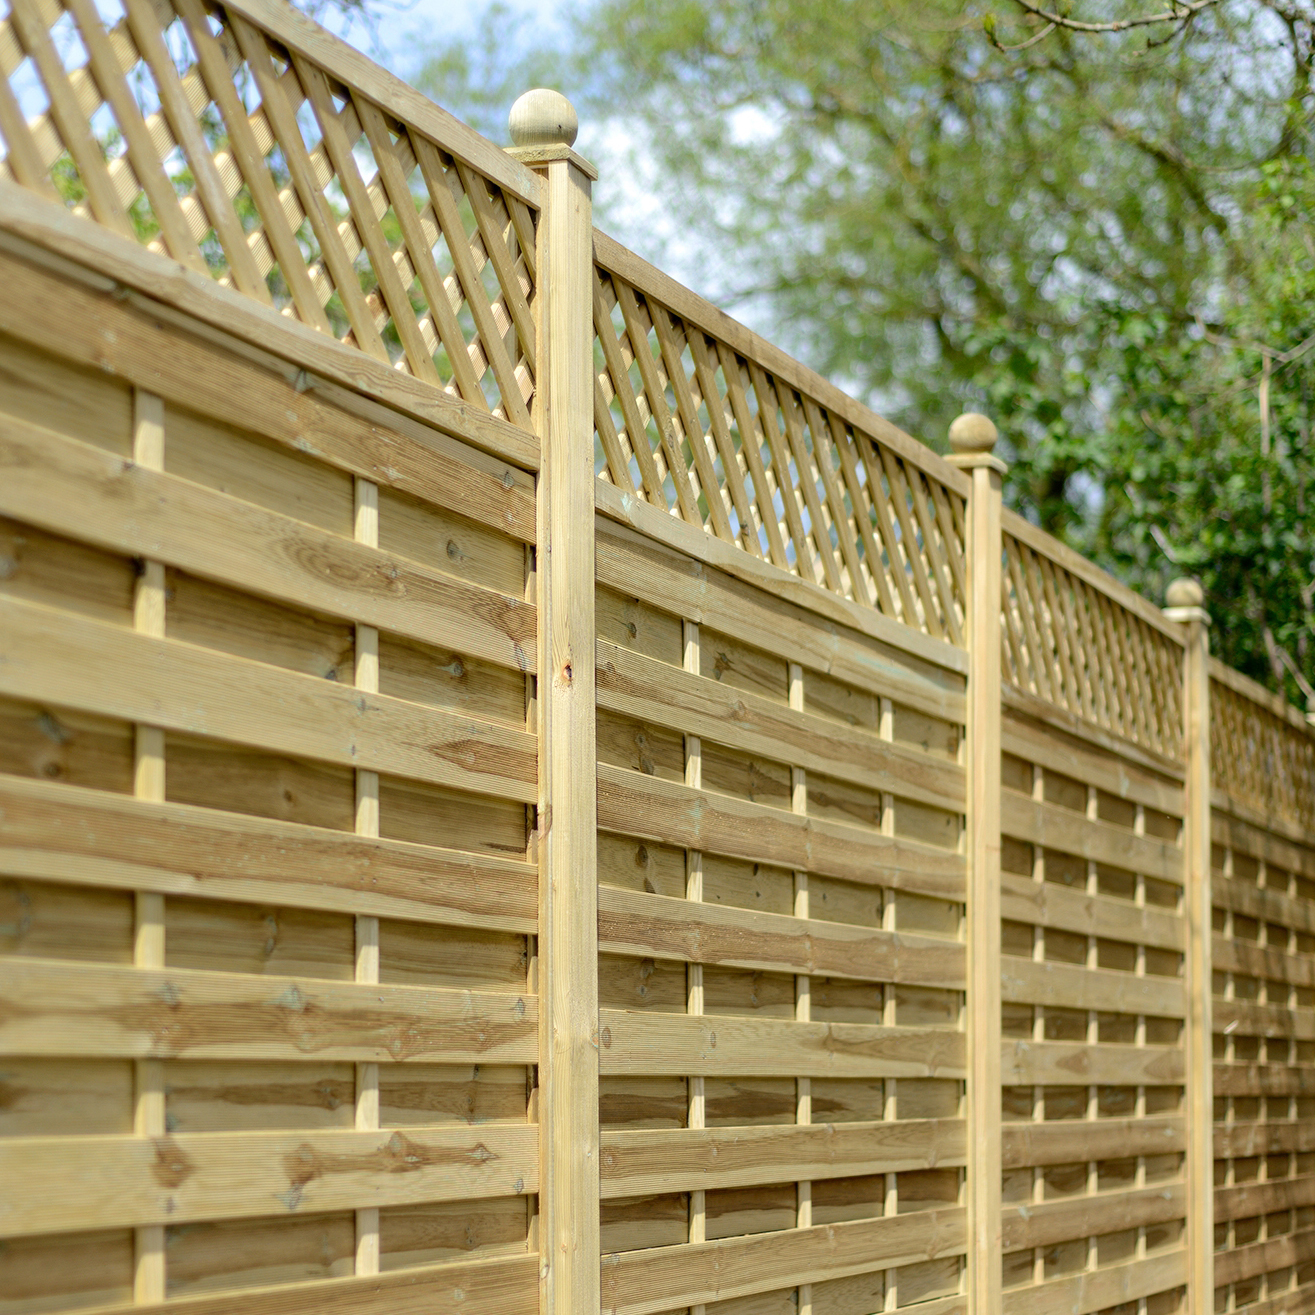
Step one: assemble your fence panel kit
These are the tools and materials you’ll require:
- Steel tape measure
- Bamboo canes
- Spade or post-hole borer
- Fence posts
- T or L-shaped timber props
- Club hammer
- Screws
- Spirit level
- Builder’s lines
- Fence panels
- Pencil
- Drill
- Bricks
- 75mm galvanised nails
- Cement and all-in aggregate
- Trowel
- Post caps
- Gravel boards, if using
Step two: mark out the position of fence posts
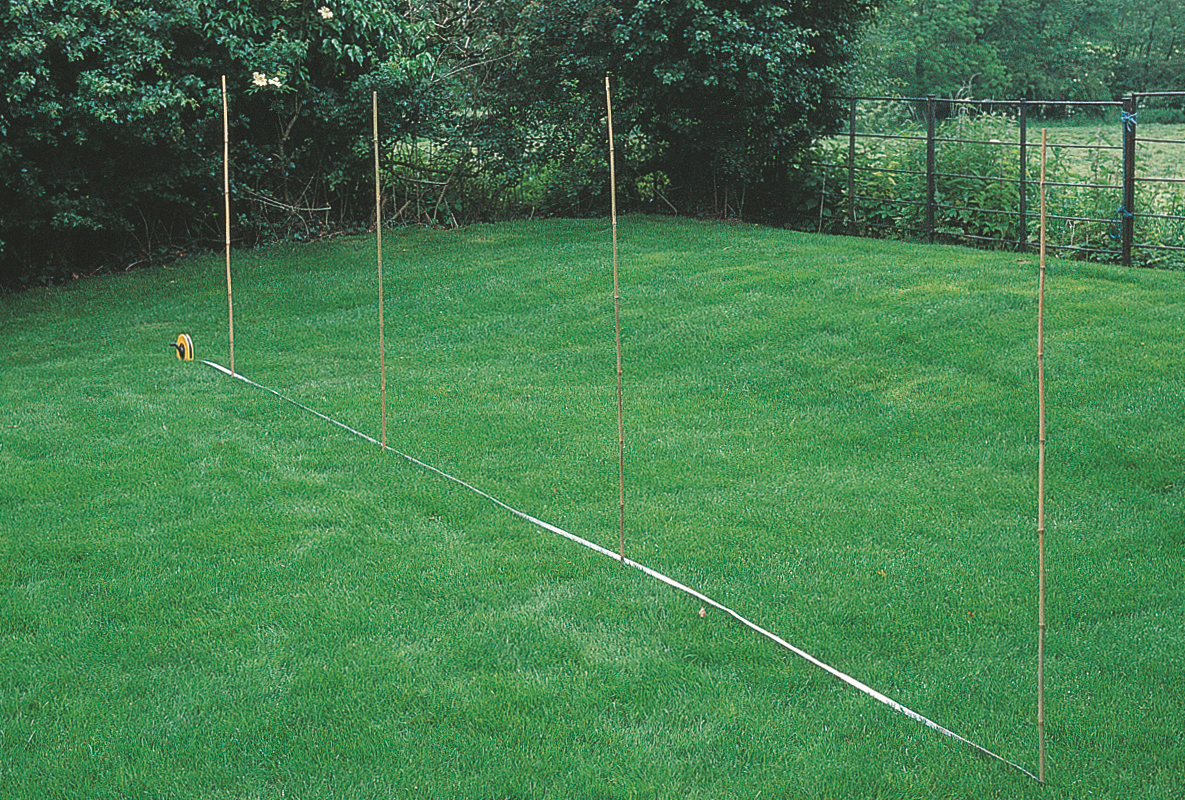
Mark out the position of the posts and panels
Fence panels need to be attached to fence posts, so if you’re building a new fence from scratch, you’ll need to mark out the posts’ positions first, and dig the holes they go into.
Our instructions apply to timber posts concreted into the ground. Always opt for posts pre-treated with preservative. As an alternative to concreting posts in, you can use post spikes (see below).
To mark out the position of the posts, run the tape measure along the line the fence will follow. Measure and mark the position of each post centre using a bamboo cane.
Step three: dig post holes and position posts
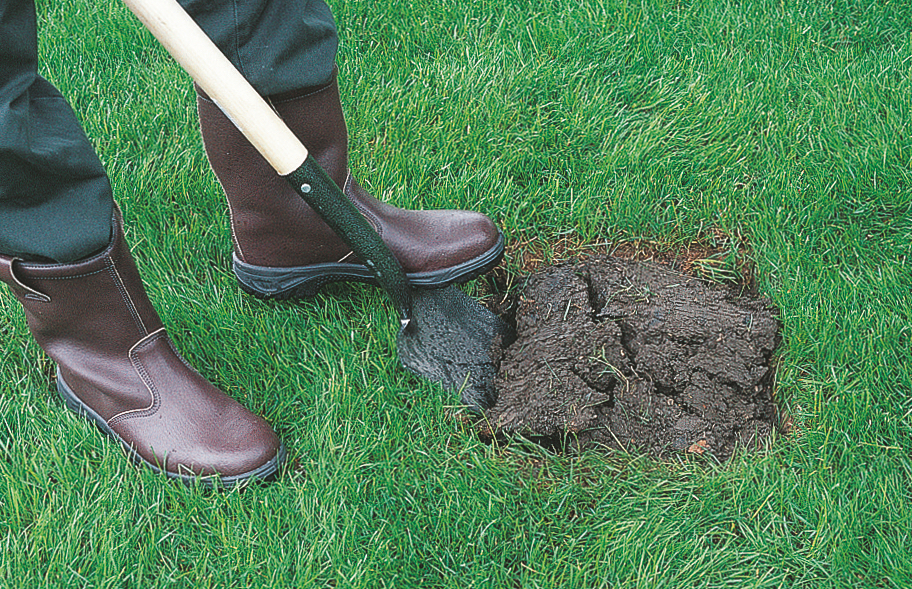
You'll need to ensure the holes are deep enough to support your fence post
Dig the post holes to the size of the post and a depth of 450mm unless your fence will be taller than 1.2m in which case a post depth of at least 600mm is better.
To hold the first post in place in its hole, drive your T or L-shaped props into the ground using a club hammer. Put the post into the hole and temporarily screw it to the props, checking it’s vertical with a spirit level.
Repeat for the last post, then run builder‘s lines at the top and bottom of the posts along the line of the fence. Rest the poles which will go in between in their holes.
Top tip: If you are using post spikes rather than setting the post in concrete, you will need to drive these into the ground in the marked positions using a sledge hammer. Use a spirit level to check each spike is level as you go.
Step four: put up fence panels
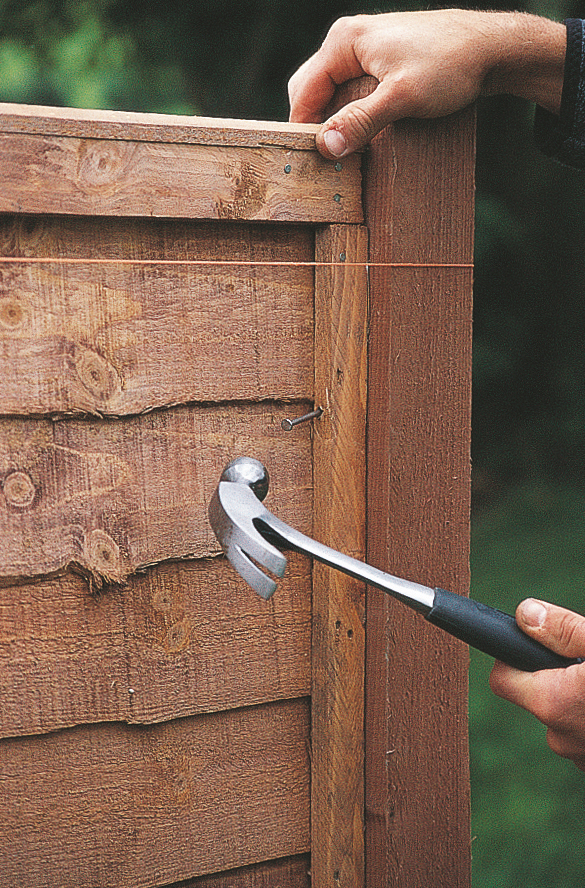
Nail the fence panels into place
Work from the first post, fitting panels then posts alternately as you work along the fence.
Measure and mark with a pencil six positions for pilot holes at an even distance down the inner face of the framing of the first fence panel frame on both sides and at each end. Drill pilot holes in the marked positions.
Use bricks to raise the fence panel 50 to 75mm above the ground. (The gap helps prevent the panel rotting.) If you prefer to fit gravel boards below the fence panels, leave a 150mm gap below. As you work, make sure each panel is the same distance of at least 25mm below the top of the post.
Check the first fence panel is horizontal using a spirit level. Hammer a galvanised nail into the first pilot hole to begin fixing the panel to the fence post. Repeat for all the pilot holes to secure the panel to the post. Drive the nails in at a slight upward or downward angle.
Prop the second post in place vertically against the first fence panel and attach the next panel as before. Continue until all the posts and panels are in place.
Step five: concrete in the posts
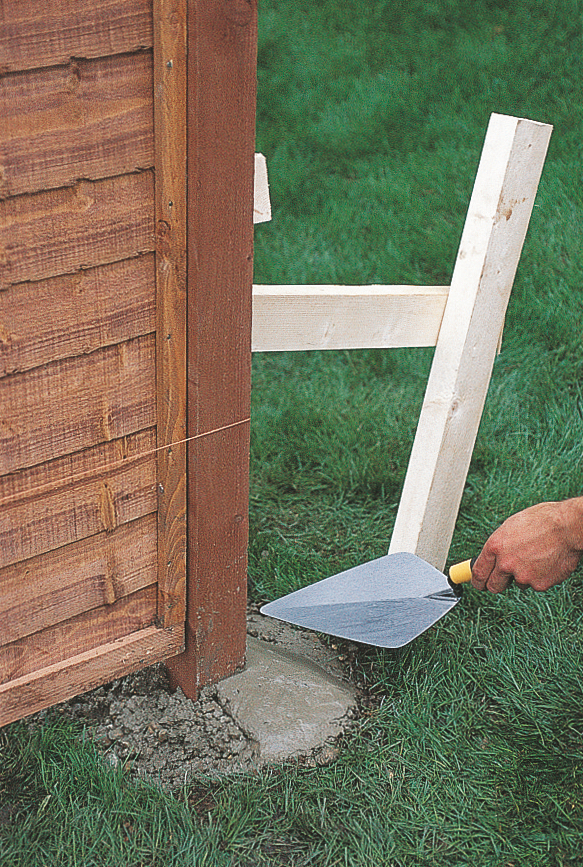
Concrete the posts in place
Make sure each post is touching the builder’s lines at top and bottom, and use a spirit level to check that each is vertical.
Mix concrete and fill each post hole to just above ground level. Use a trowel to slope the surface slightly downwards so rainwater will drain away from the post.
Step six: add post caps and any gravel boards
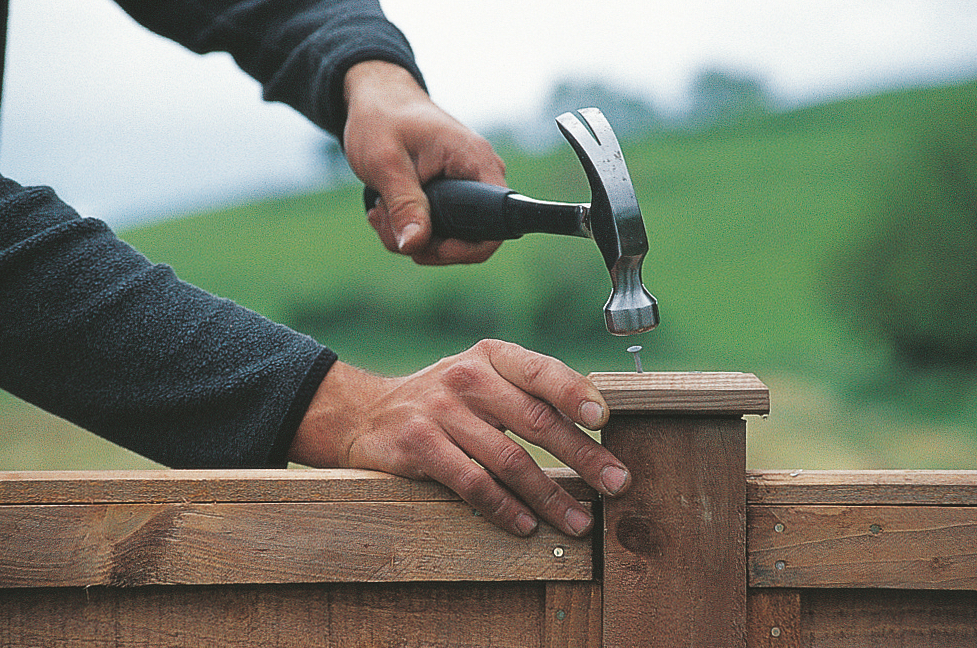
Add the finishing details to your fence and posts
With all the posts and panels in place, nail on the post caps. If you’re using gravel boards, cut them to size and fix to the base of the fence panels with galvanised nails.
How to replace an individual fence panel
You can replace an individual fence panel that’s been damaged and, as they are made in standard sizes, it should be a straightforward task. If it does prove a little too big, though, you can plane off a bit of the frame on each side. Too narrow? You can add a fillet of wood, pre-treated with preservative, between the panel and the post.
To remove the damaged panel, use a nail bar to lever it away from the post until the nails are exposed. Saw through them with a hacksaw and hammer in or remove protruding nails. Repeat on the other end.
Fit the new panel by drilling pilot holes and fixing with galvanised nails as in step three, above.
Can fence panels be repaired?
Winter storms may damage a fence’s arris rail, which is the horizontal timber on the back. You can use an arris rail bracket to mend it. This is made from metal to fit the rail and has holes in it ready for galvanised screws or nails.
If the arris rail is broken near a fence post, use a flanged arris rail bracket to fix it. The flanges should be fastened to the post.
Feather-edged fence panel boarding that’s damaged or rotten can also be repaired. Make sure you replace the boards with timber treated with wood preservative. Bear in mind that you will need to loosen overlapping boards to do so as overlapped boards are fixed with one nail.
Want to try your hand at more DIY garden projects? Find our how to lay a patio and how to build decking in our expert guides.
Read more:
- Landscaping ideas: inspiring solutions for your space
- How much does landscaping cost? We've got the lowdown
- Garden wall ideas: stunning solutions for garden boundaries

Sarah is a freelance journalist and editor writing for websites, national newspapers, and magazines. She’s spent most of her journalistic career specialising in homes and gardens and loves investigating the benefits, costs and practicalities of home improvement. It's no big surprise that she likes to put what she writes about into practice, and is a serial house revamper.
