How to grow turnips: expert planting, growing and care tips
Find out how to grow turnips and enjoy your own sweet and spicy taproots and tender greens throughout the year
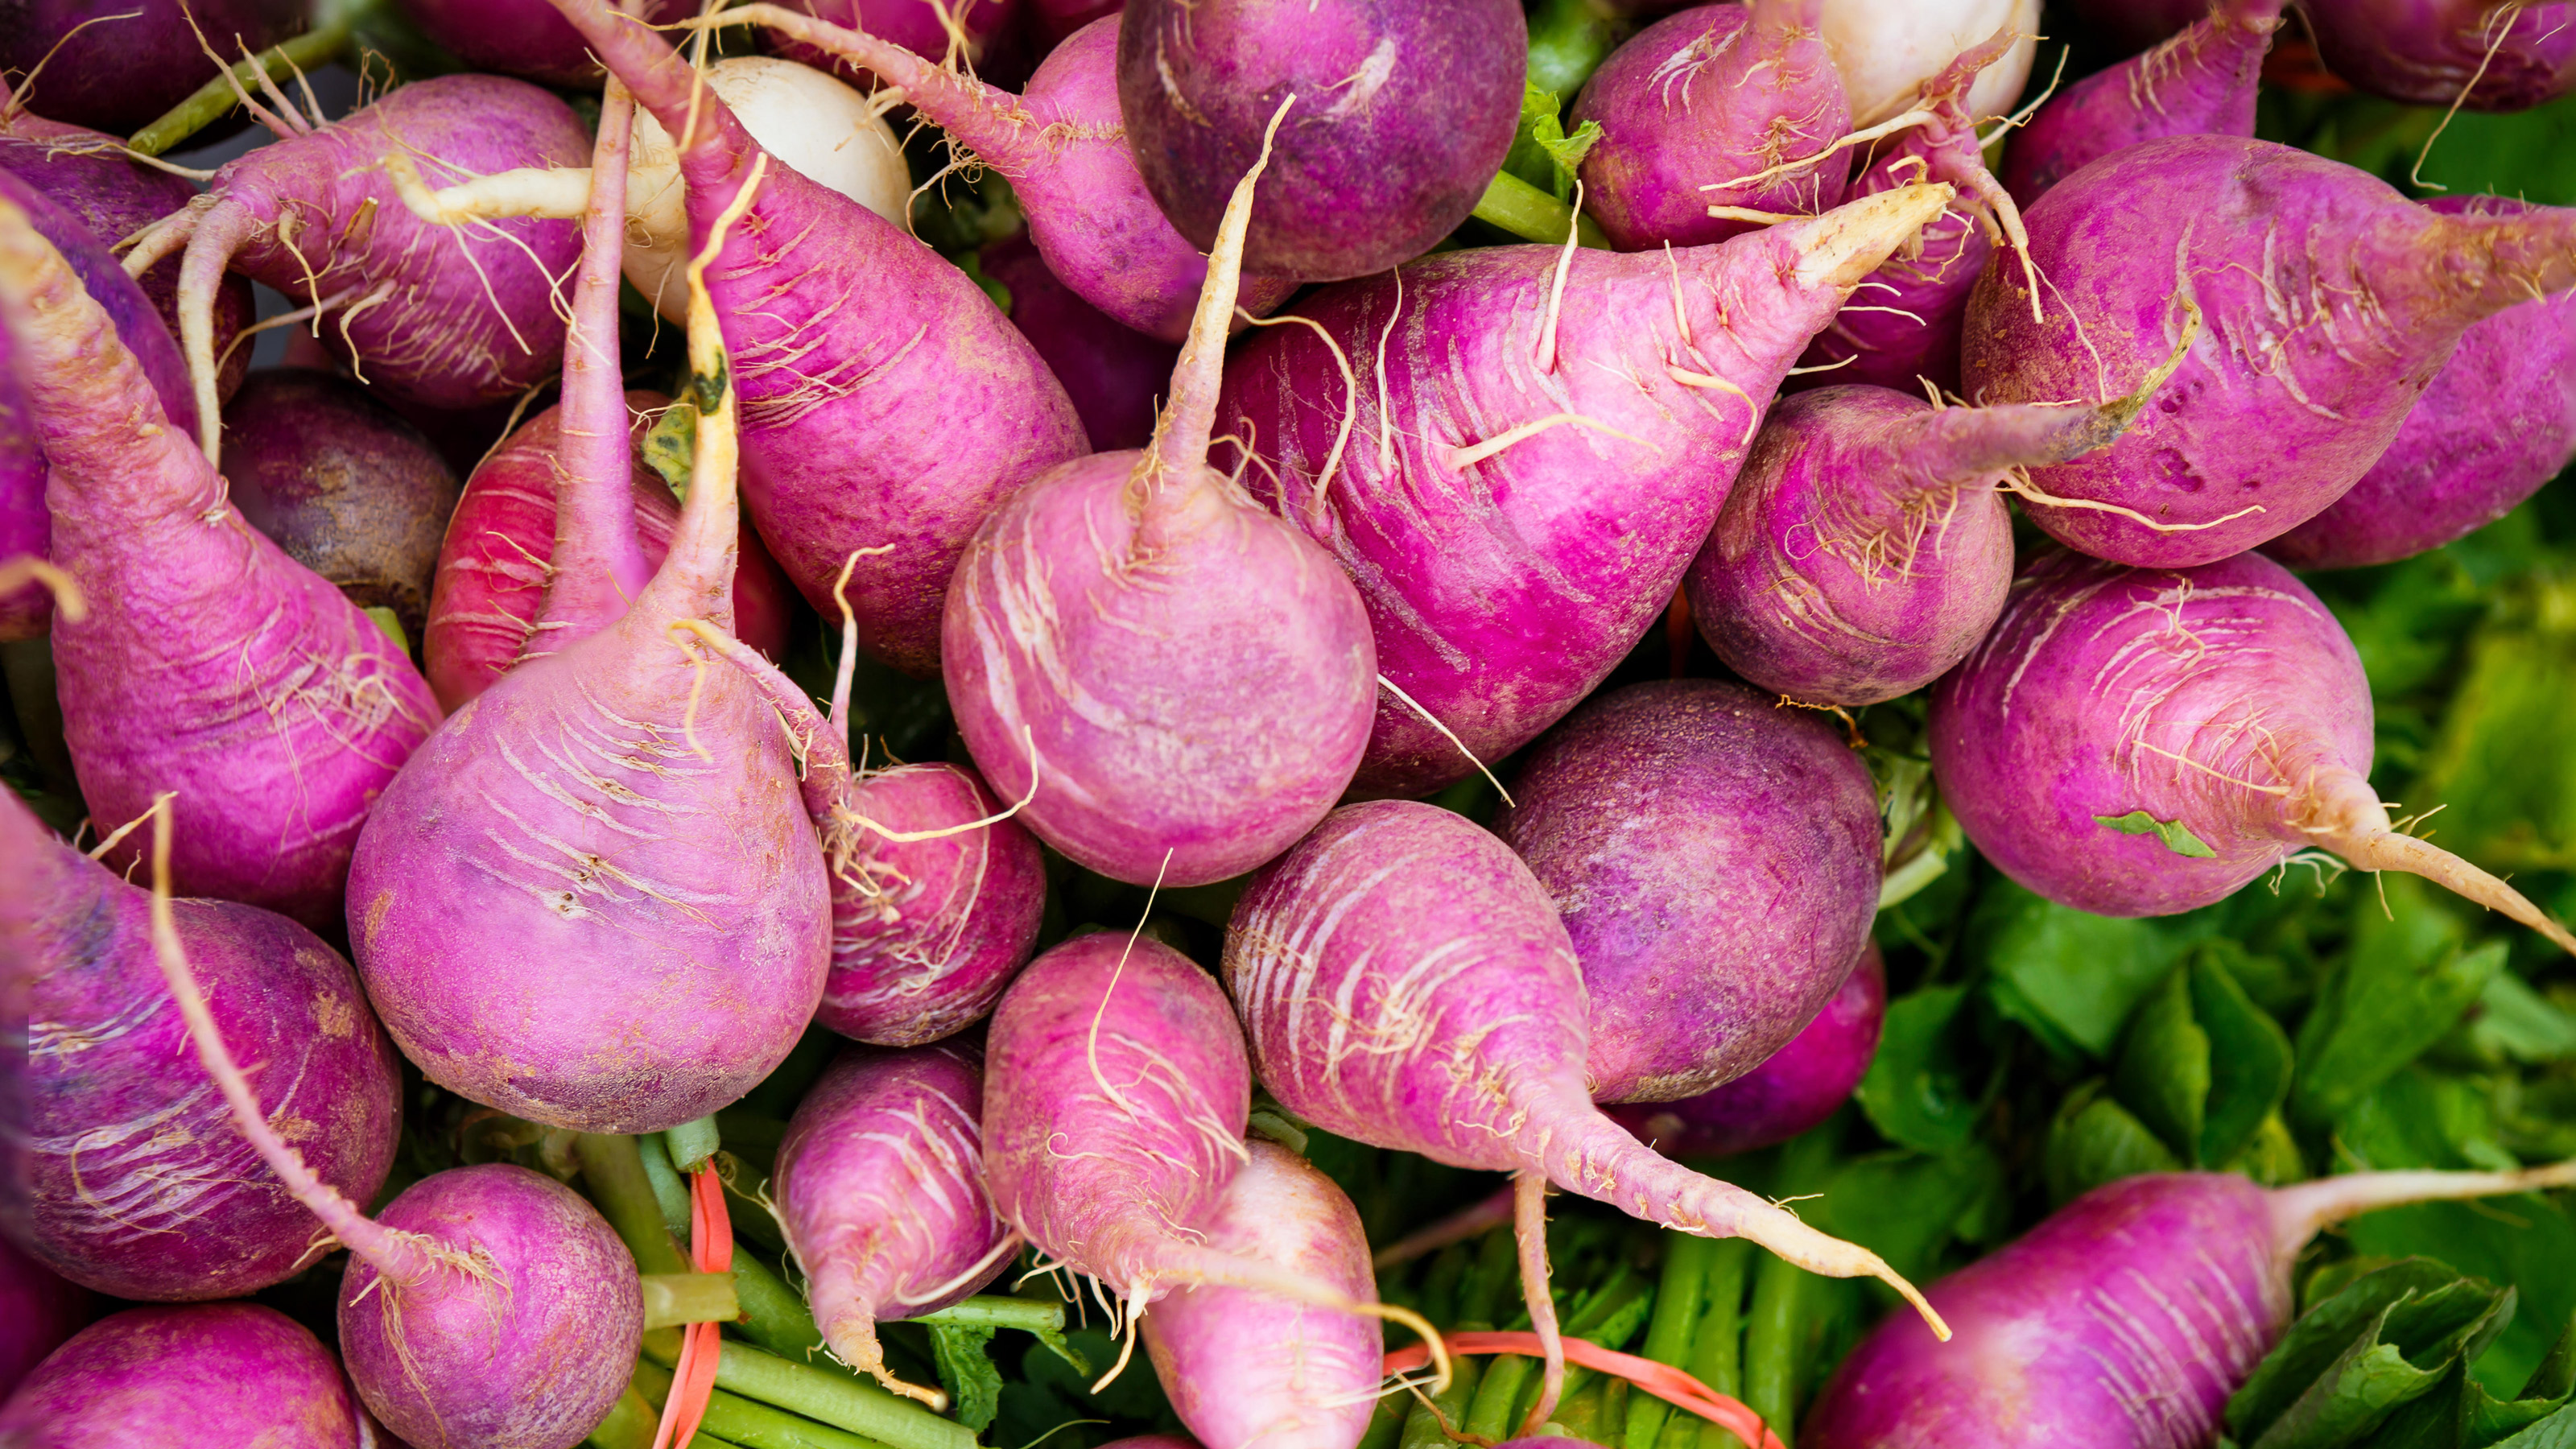

Knowing how to grow turnips rewards you with an easy, quick-maturing root vegetable full of tasty cropping potential. Turnips (Brassica rapa subsp. rapa) may not win any awards for looks – but the double whammy of tasty swollen taproots and tender tops makes them an essential grow for the garden. What’s more, there’s a lot more variety and flexibility with turnips than you might first expect.
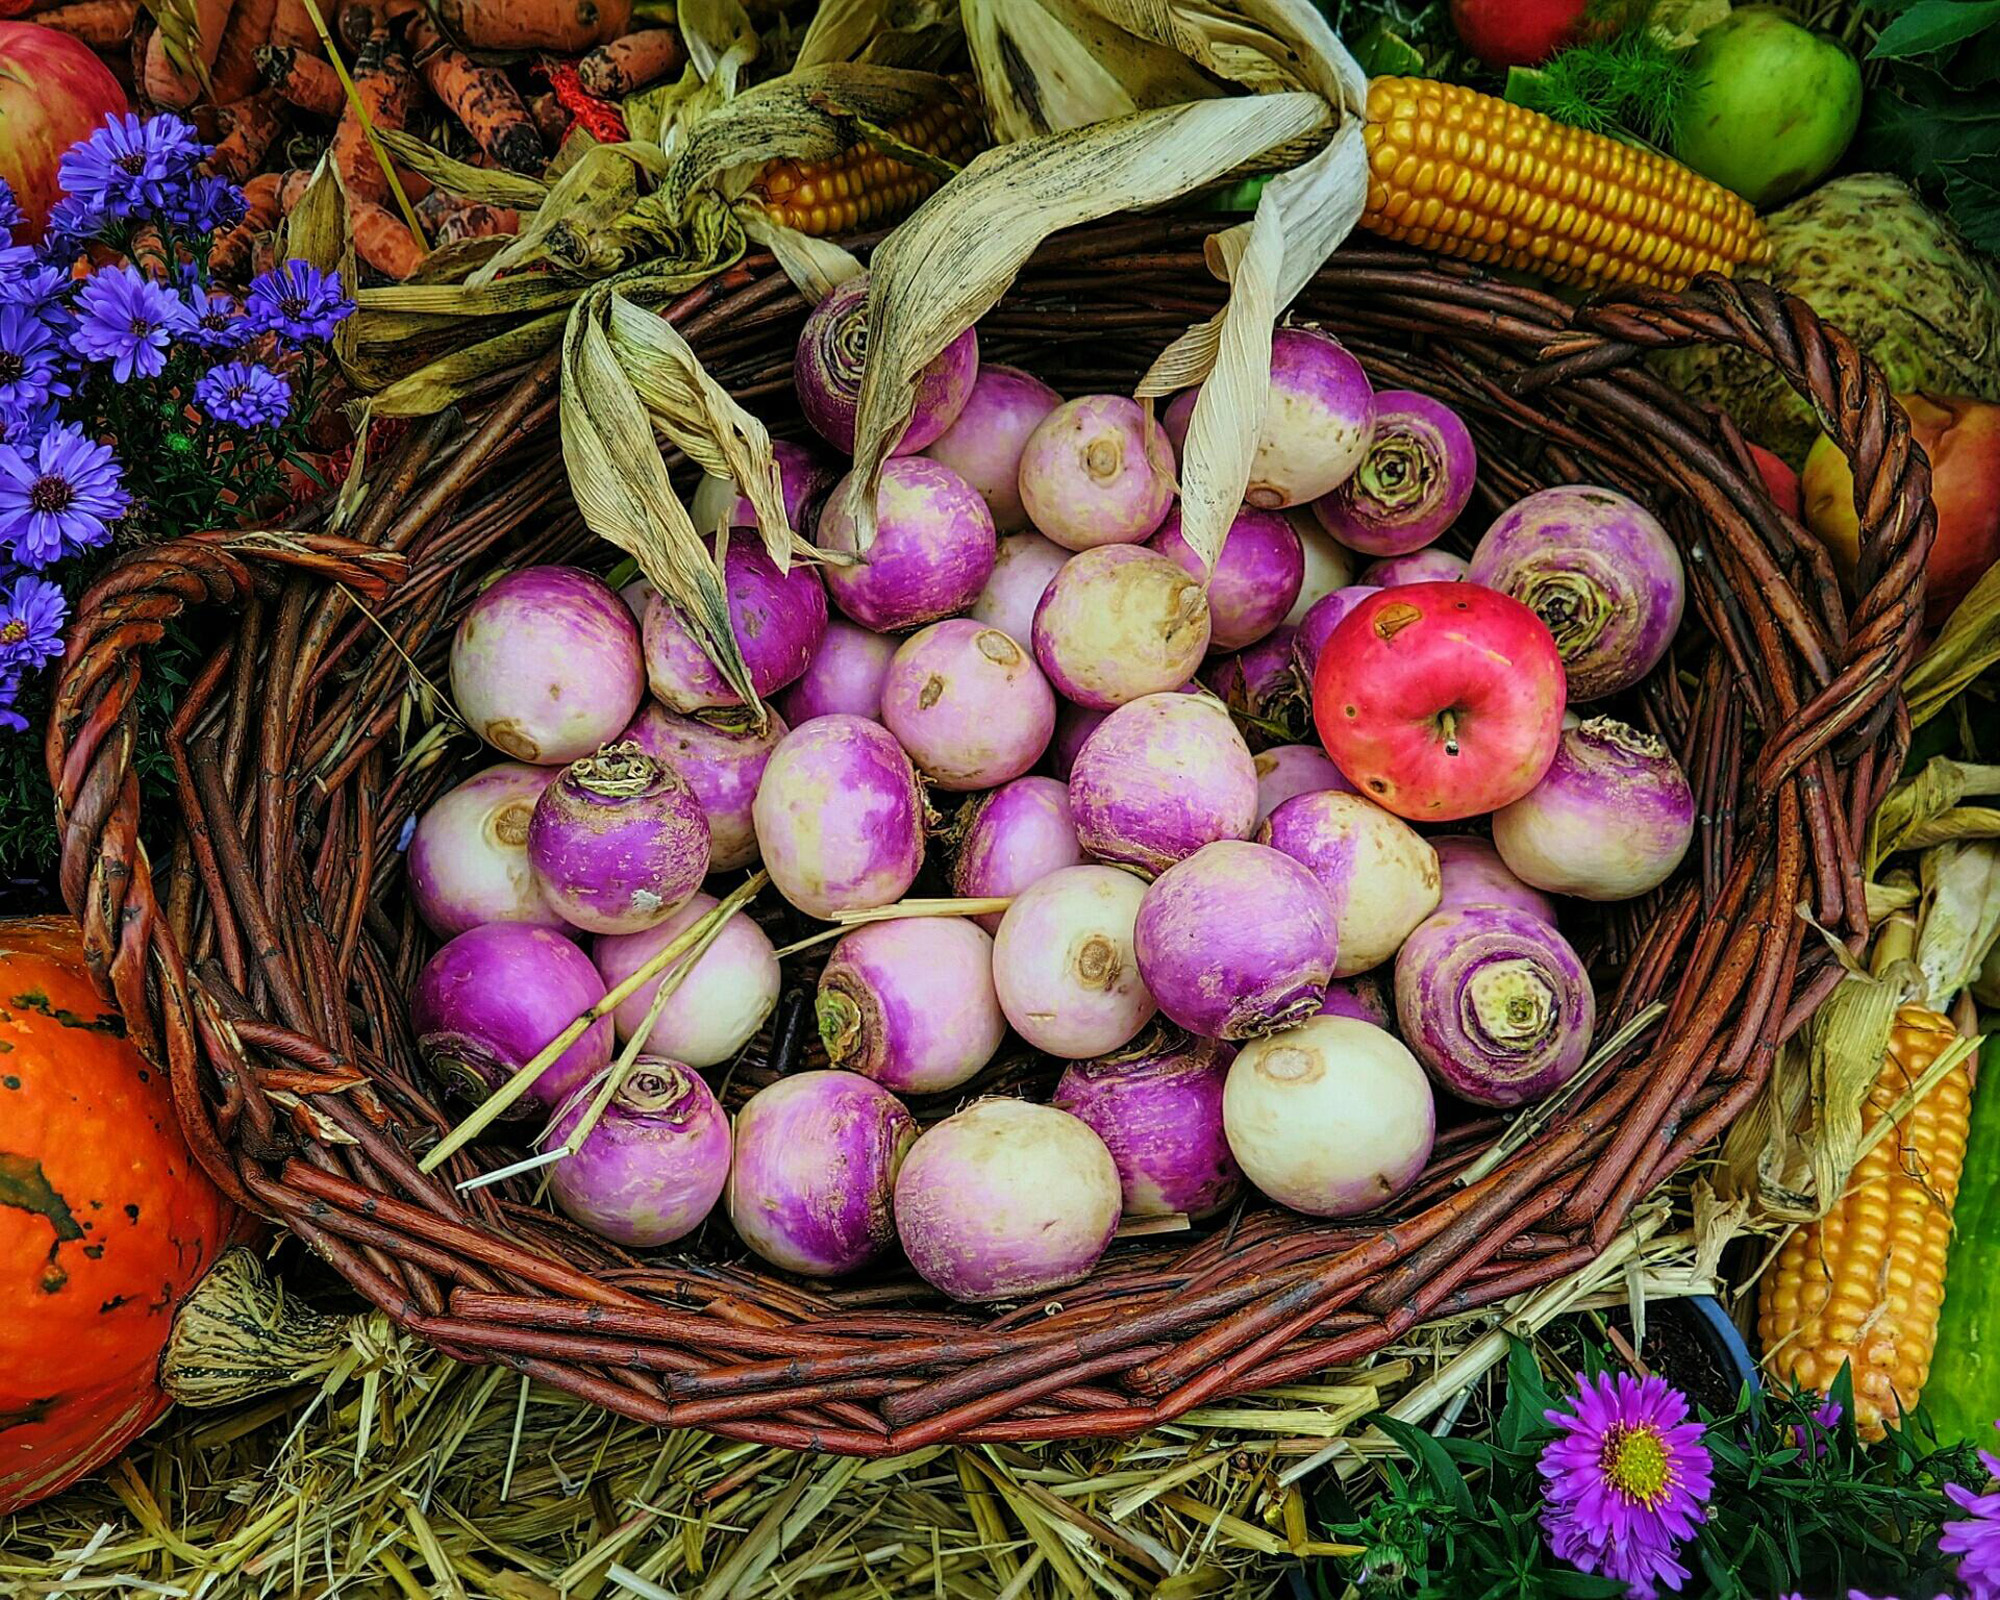
Hearty, spicy or nutty, white, yellow or purple, bulbous or radish-sized – turnips are ideal for all kinds of gardening. Whether you want sweet baby hybrids or more capacious crops, turnips quickly hit their stride in all manner of kitchen gardens from modest raised beds to expansive allotments.
Delicious roasted, grilled, mashed or raw, the taproots are packed with fiber and vitamins A and C and low in calories, while the greens are loaded with calcium. These fleshy nips help boost memory, improve skin health, lower blood pressure and strengthen bone health. Not bad, for such unassuming-looking veggies!
All you need is sunshine and shelter, temperate growing conditions and plenty of moisture, and you’ll soon be feasting on some of nature’s most nourishing roots.
Getting started with how to grow turnips
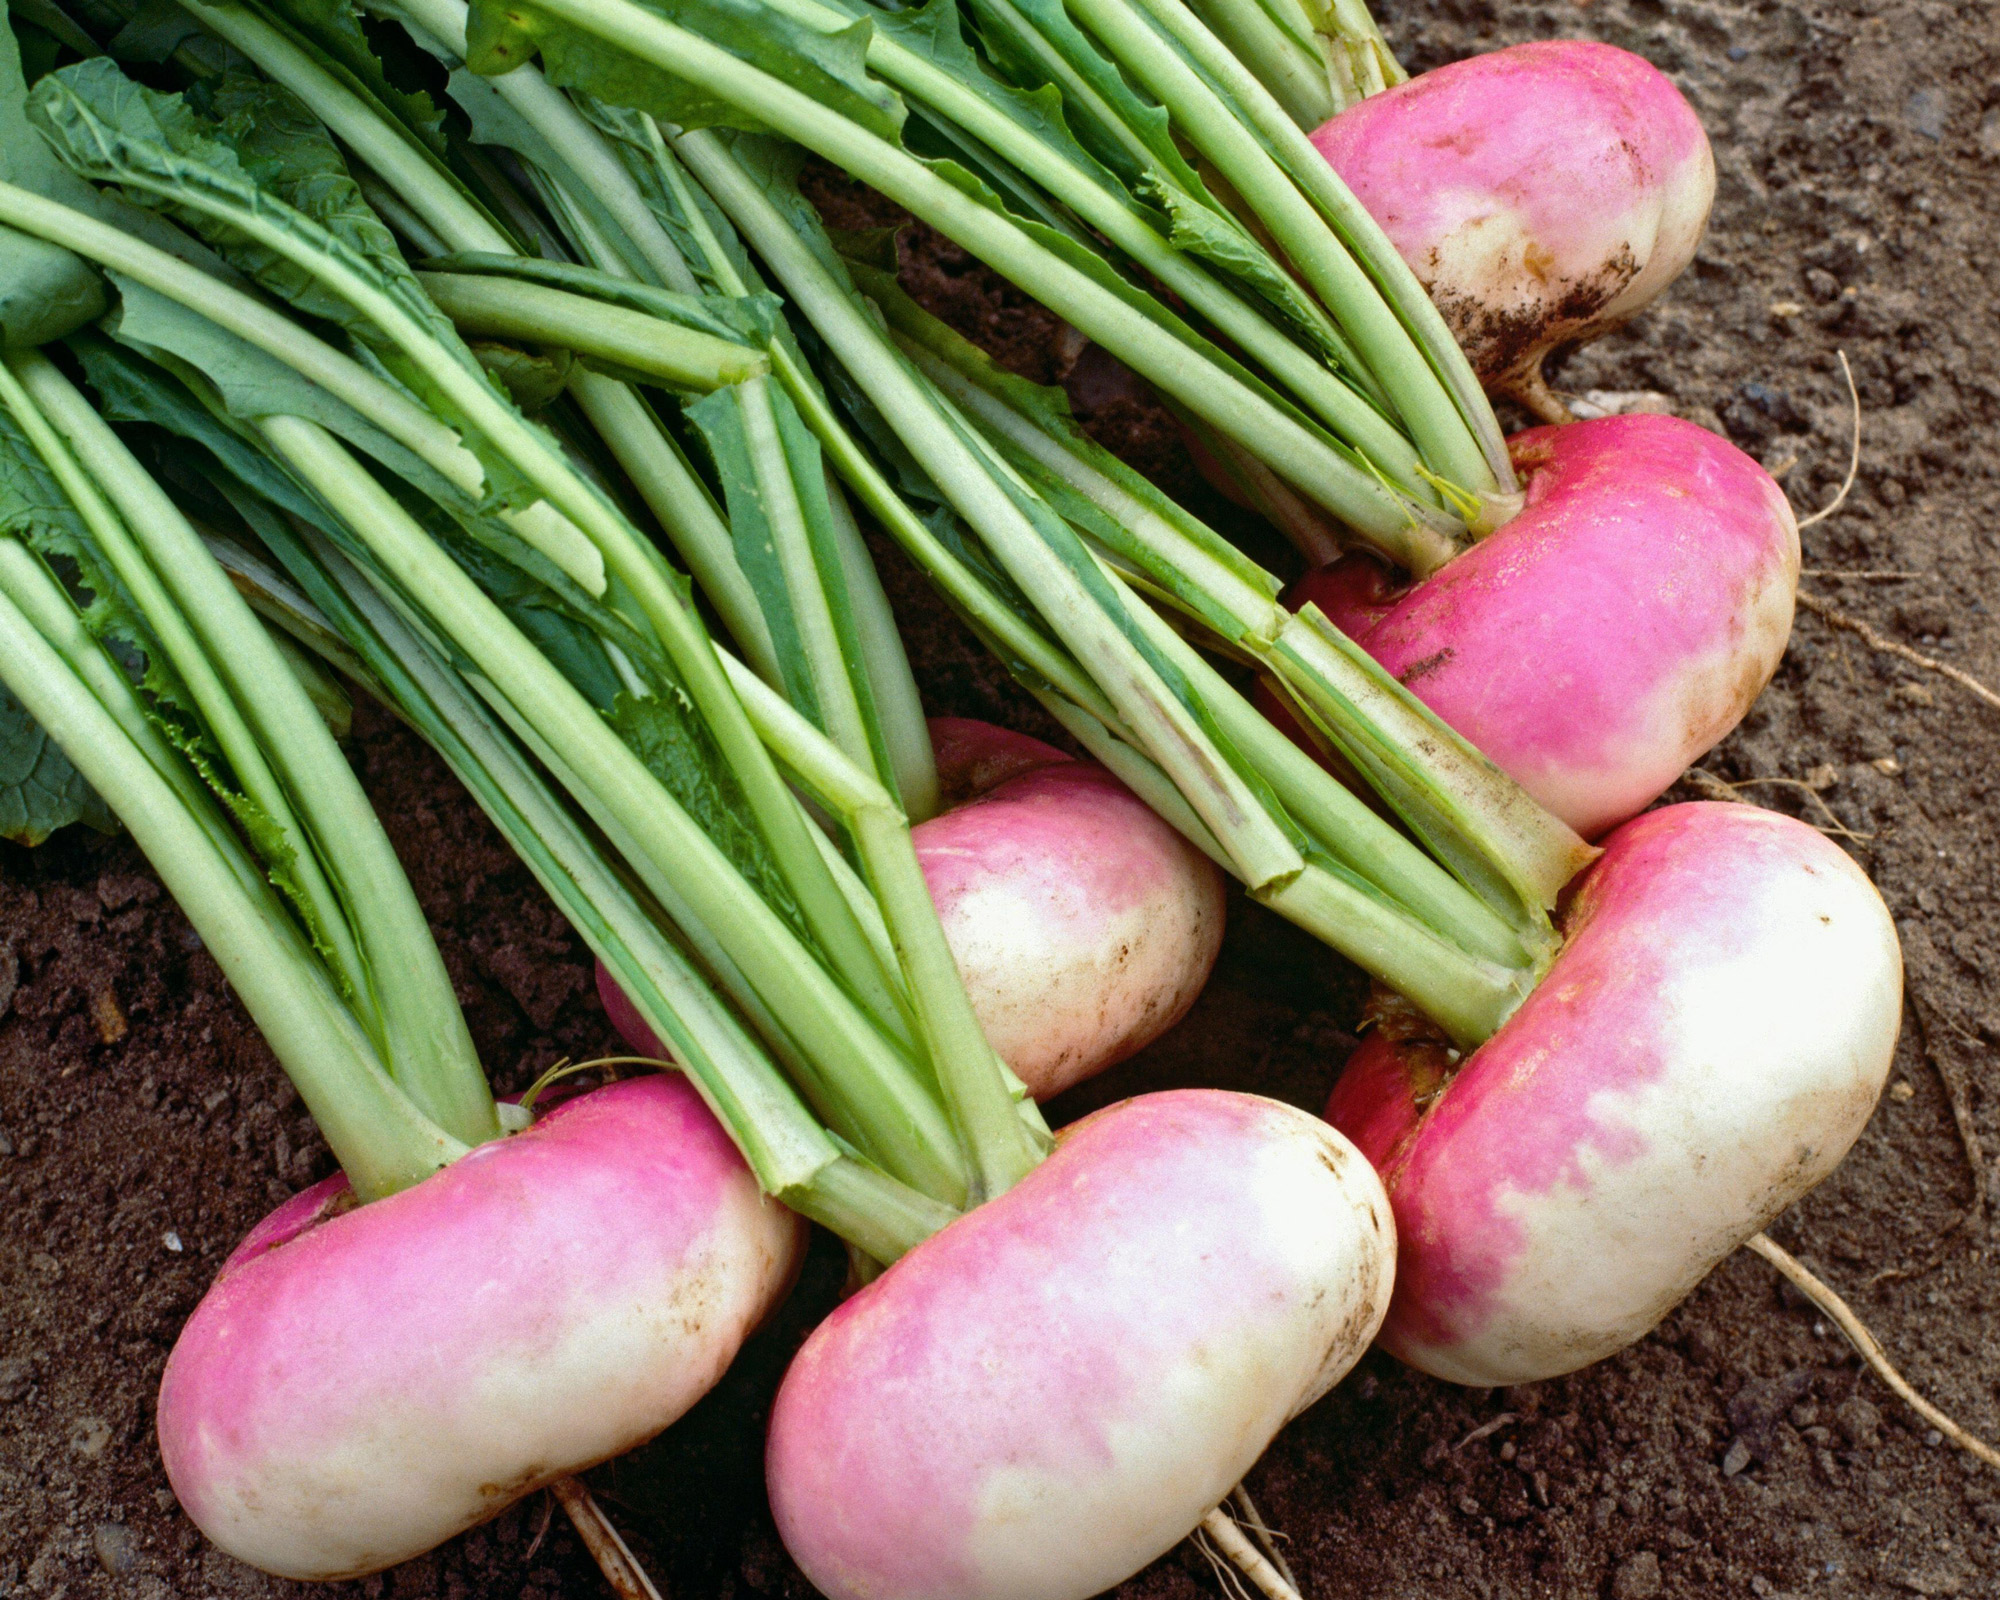
Growing turnips is straightforward in terms of deciding the best spot. Quite simply, these rotund roots are not fussy, as long as they have a spot in direct sun or partial shade and are kept fairly cool. So if you have a sunny patch in your small vegetable garden or raised garden bed, you should be fine.
The desired size of harvests will have a bearing on where you can grow them. For big turnips, give ample space and spacings to individual plants in dedicated vegetable beds. For baby-sized crops, a well-drained trough or planter can work well if positioned in sunshine.
Make sure the soil is well-drained and moist – as turnips are moisture-loving crops. It’s a good idea to add some aged organic compost to the ground a couple of months before planting. It’s also wise to loosen the ground to around a foot (30cm). If you are able to check the ground temperature then do so, as turnips do best when the soil is between 40-50˚F (5-10˚C). As long as the ground conditions permit it, you can direct-sow seed rather than transplanting indoor-sown turnips later.
Finally, if you aren’t sure about soil types, it’s worth getting a pH kit. Turnips are happiest in soil with a pH around 5.5-6.5. If your soil is too acidic or alkaline, adjust accordingly with lime or sulfur respectively.

When to plant turnips
One of the best things about knowing how to grow turnips is that you aren’t constrained to a tiny window of opportunity. There’s a wealth of planting opportunity across the whole vegetable planting calendar. Choice of variety; size and maturity required; and even whether you fancy some sweet and tender turnip greens as opposed to full-size rotund roots; all these factors have a part to play in when to reliably start sowing and planting for the best chances of success.
As we have touched on, turnips are cool-season vegetables. So the main thing to consider with timing is to make sure young plants aren’t exposed to too much heat. Cool and moist conditions help you avoid plant stress and bolting (early flowering), which leads to bitter-tasting crops. So the best times for starting off are early to mid spring or late summer to mid fall, depending on whether you want early or late (maincrop) harvests.
You can use DIY cold frames, cloches and greenhouse space to regulate growing conditions and protect against sharp drops in temperature and keep leaves tender. As Lucy Chamberlain of Amateur Gardening says, this is especially important for exposed plots and spots with less shelter.
Just bear in mind that, depending on variety and size needs, taproots generally need two months to reach full maturity. Work backwards from the eventual optimal harvest dates to plot the best starting points. If you are sowing direct it’s best to wait until the ground is 40˚F (5˚C), although you can start earlier under cover if you prefer. In most places, early varieties like ‘Milan Purple Top’ can be sown in late winter undercover.
How to plant turnips from seed
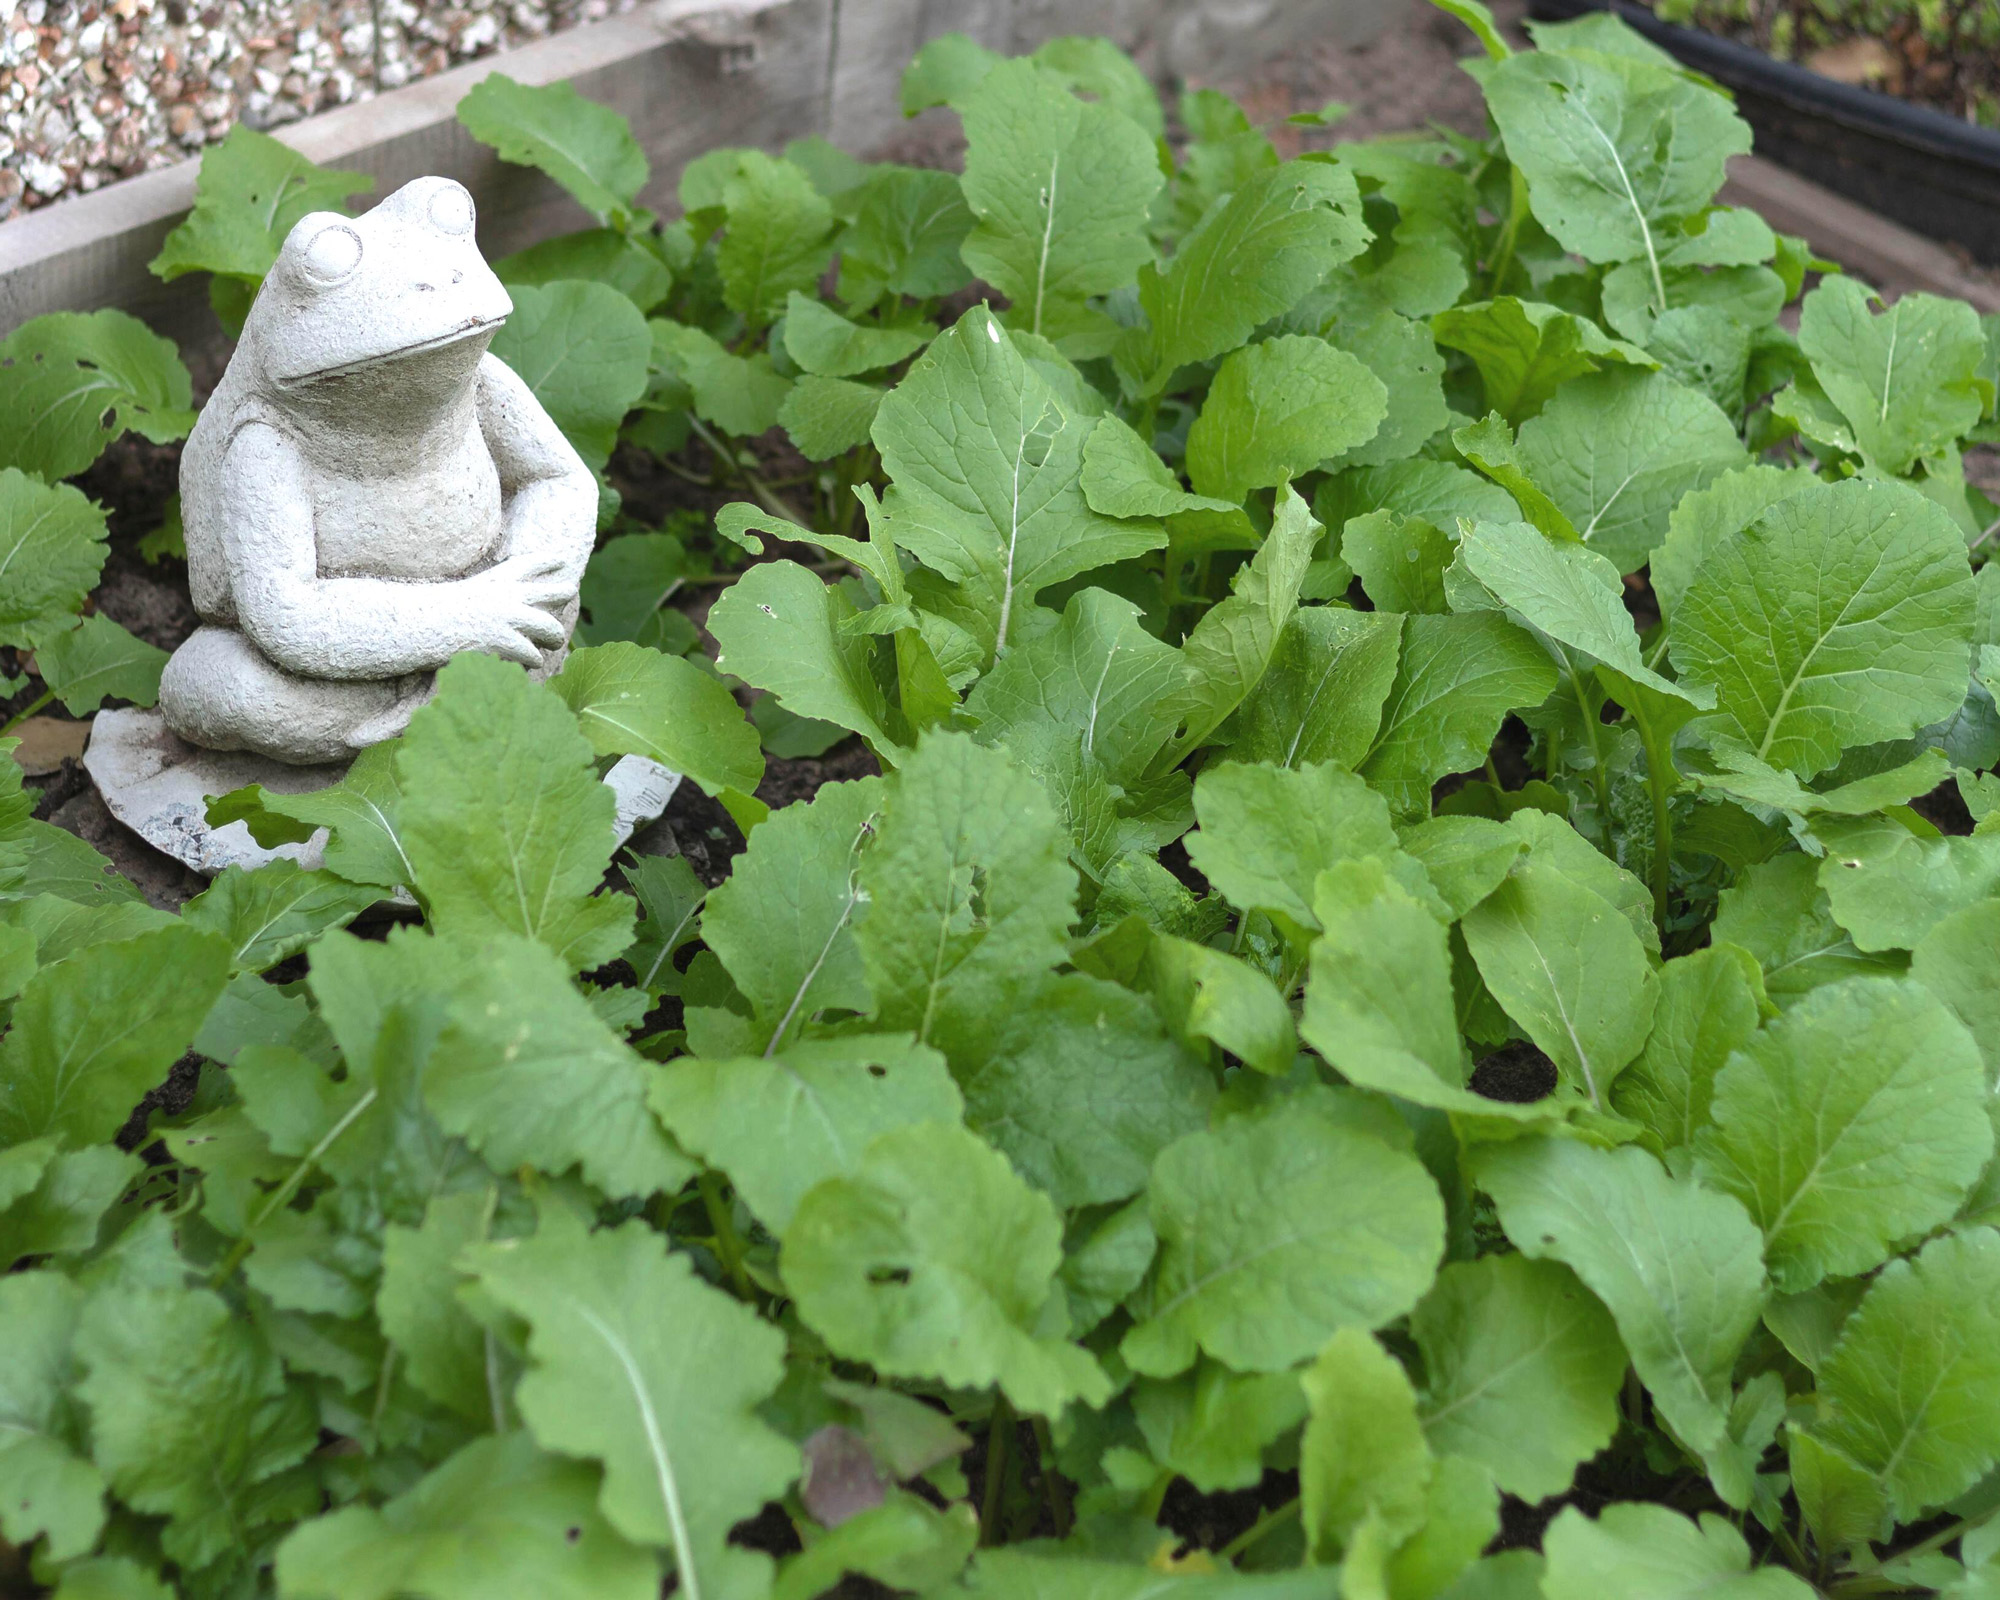
Assuming you have checked soil pH and added some aged compost, there isn’t much to do in the way of soil prep before growing turnips. However, Chris Bonnett of Gardening Express has one word of warning about pre-planting. ‘Avoid nitrogen-rich compost, which will produce leafy greens at the expense of a big root,' says Chris. There is nothing to stop you starting off turnips indoors so you can transplant seedlings out later – but as long as the soil is warm enough, you can sow direct. Just follow these steps for successful planting:
- To start indoors, sow two seeds per module and place in a propagator set at around 59˚F (15˚C). Germination should take only 10 days or less.
- Thin to the strongest seedling in each module. Once you see four or five true leaves, harden off young plants for a week before transplanting.
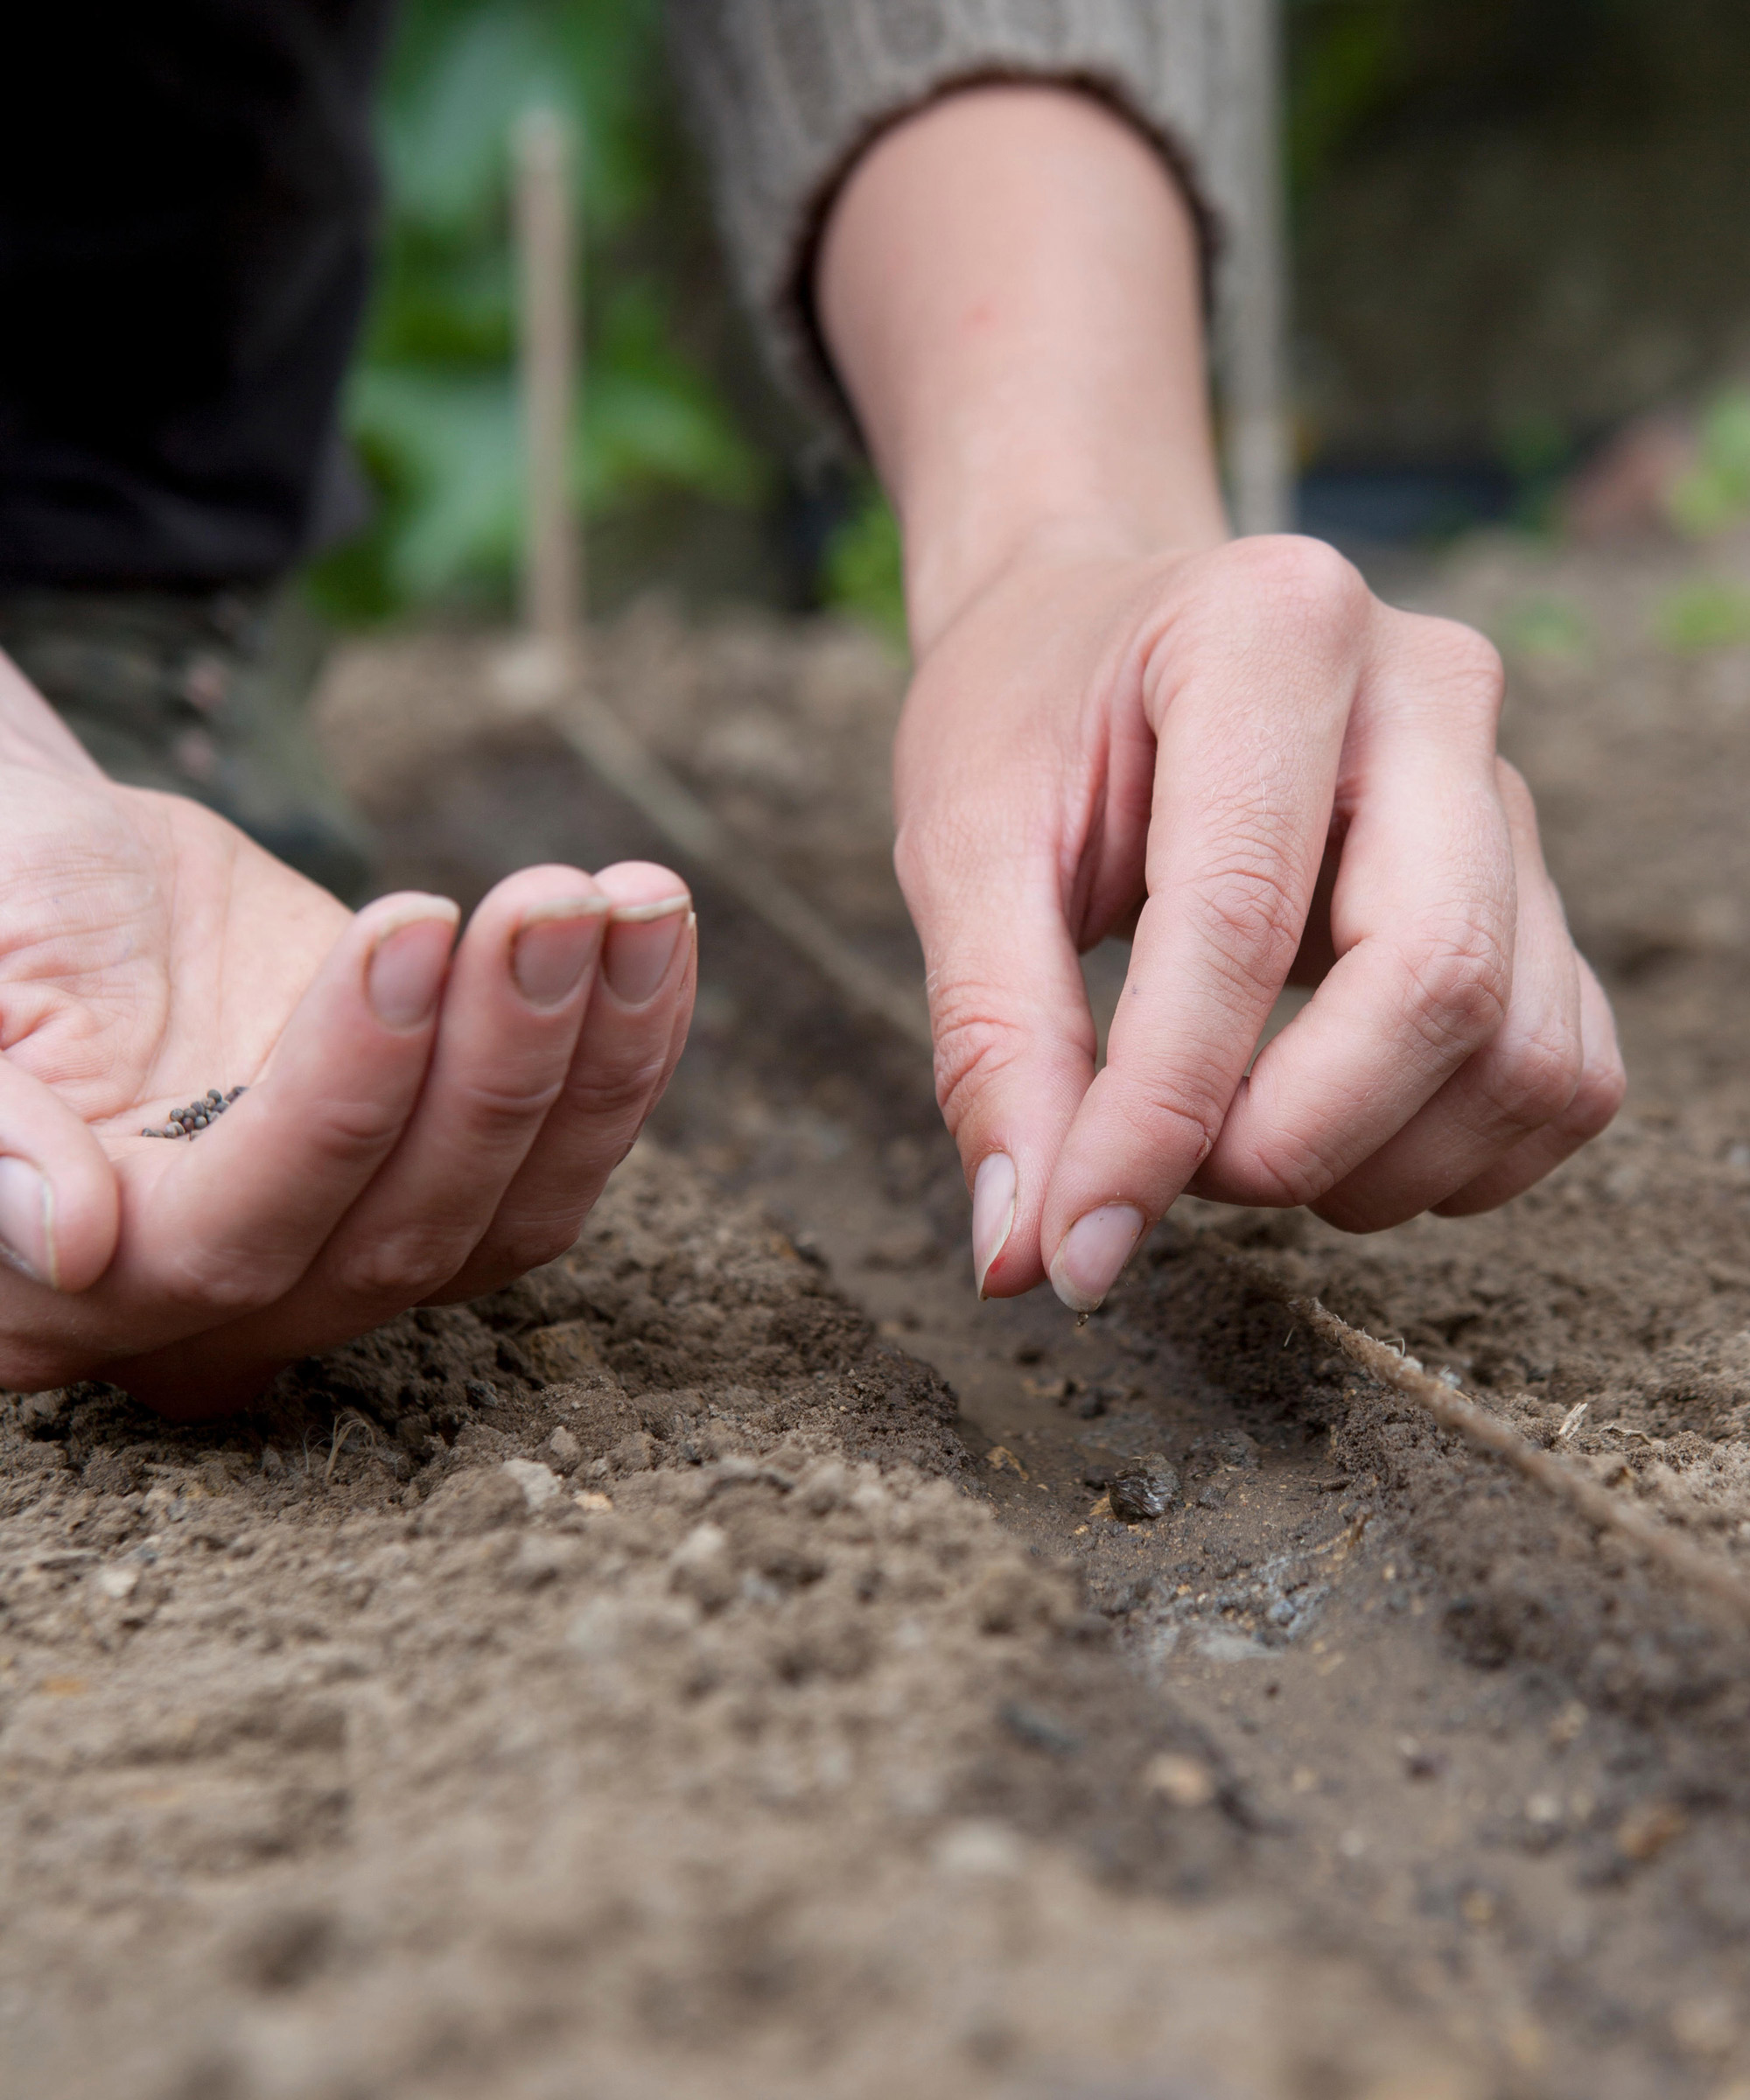
- If you are sowing direct, sow 1in (2.5cm) deep. Lucy Chamberlain suggests sowing in groups of five to encourage the strongest to jostle for space. Water well.
- Thin seedlings at 4in (10cm) high. Depending on the size you want, Chris suggests thinning to 4-6in (10-15cm) for small turnips or 9in (23cm) for bigger crops.
- Keep watering regularly and check regularly that no weeds are popping up on the plot, removing gently so as not to disturb the crops.
- Make successive sowings every two weeks. Filling any gaps on the plot will increase your chances of enjoying a longer, more prolific yield.
How to grow turnips in containers
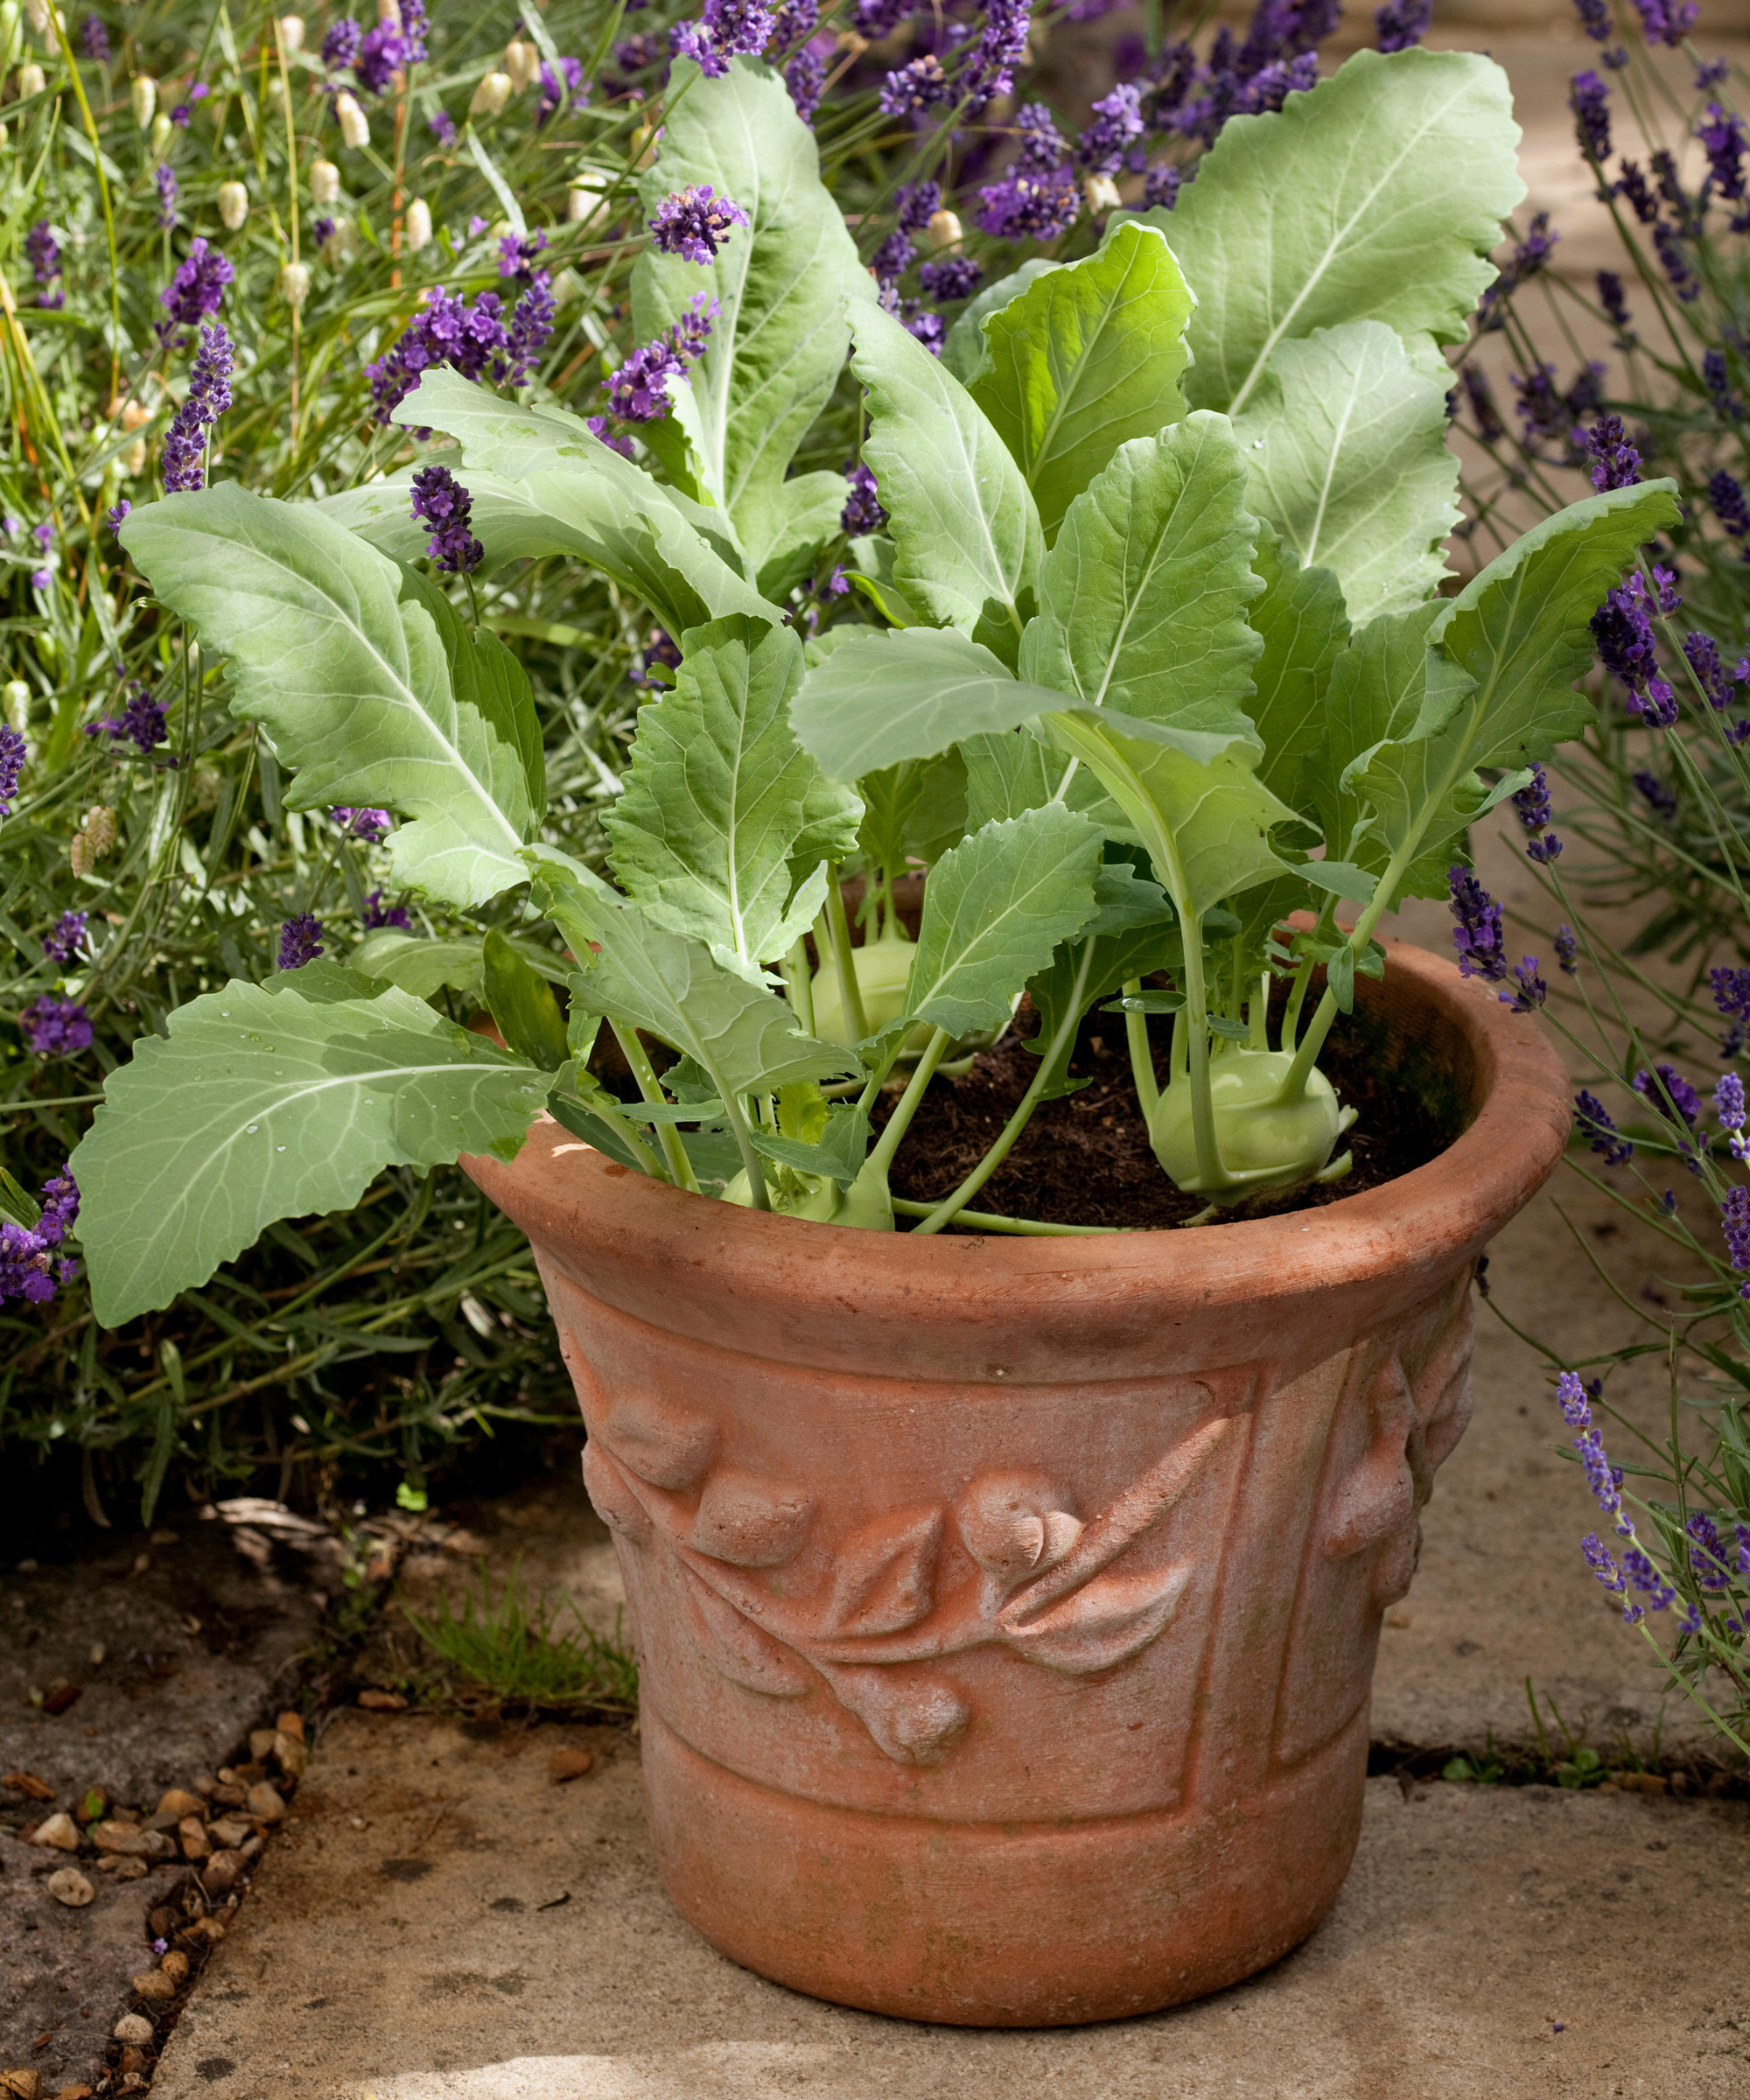
Turnips are adaptable enough to cope with large pots, planters, troughs and sizable terracotta pots. So if you enjoy growing vegetables in pots and are happy with mini roots or baby leaves, grab some containers and get planting!
Lucy Chamberlain recommends pots on the large and deep side, as they are less prone to drying out quickly. ‘Thick containers like wood protect the roots from excess heat more than thin types such as plastic pots. Grouping pots together is also a good idea, as it shades the roots and reduces plant stress,’ she says Lucy.
Multi-purpose compost should be fine for container gardening, since your turnips are only likely to be in the pots for a couple of months. Just ensure adequate drainage holes to avoid the risk of rotting.
Choose varieties carefully as well. Naturally compact baby turnip breeds like ‘Baby Bunch’ and ‘Hakurei’ are best for pot-grown turnips. Get this right, and as long as you can closely monitor the moisture levels in your pots, growing turnips in containers is easy and relatively trouble-free.
Top care tips for turnips
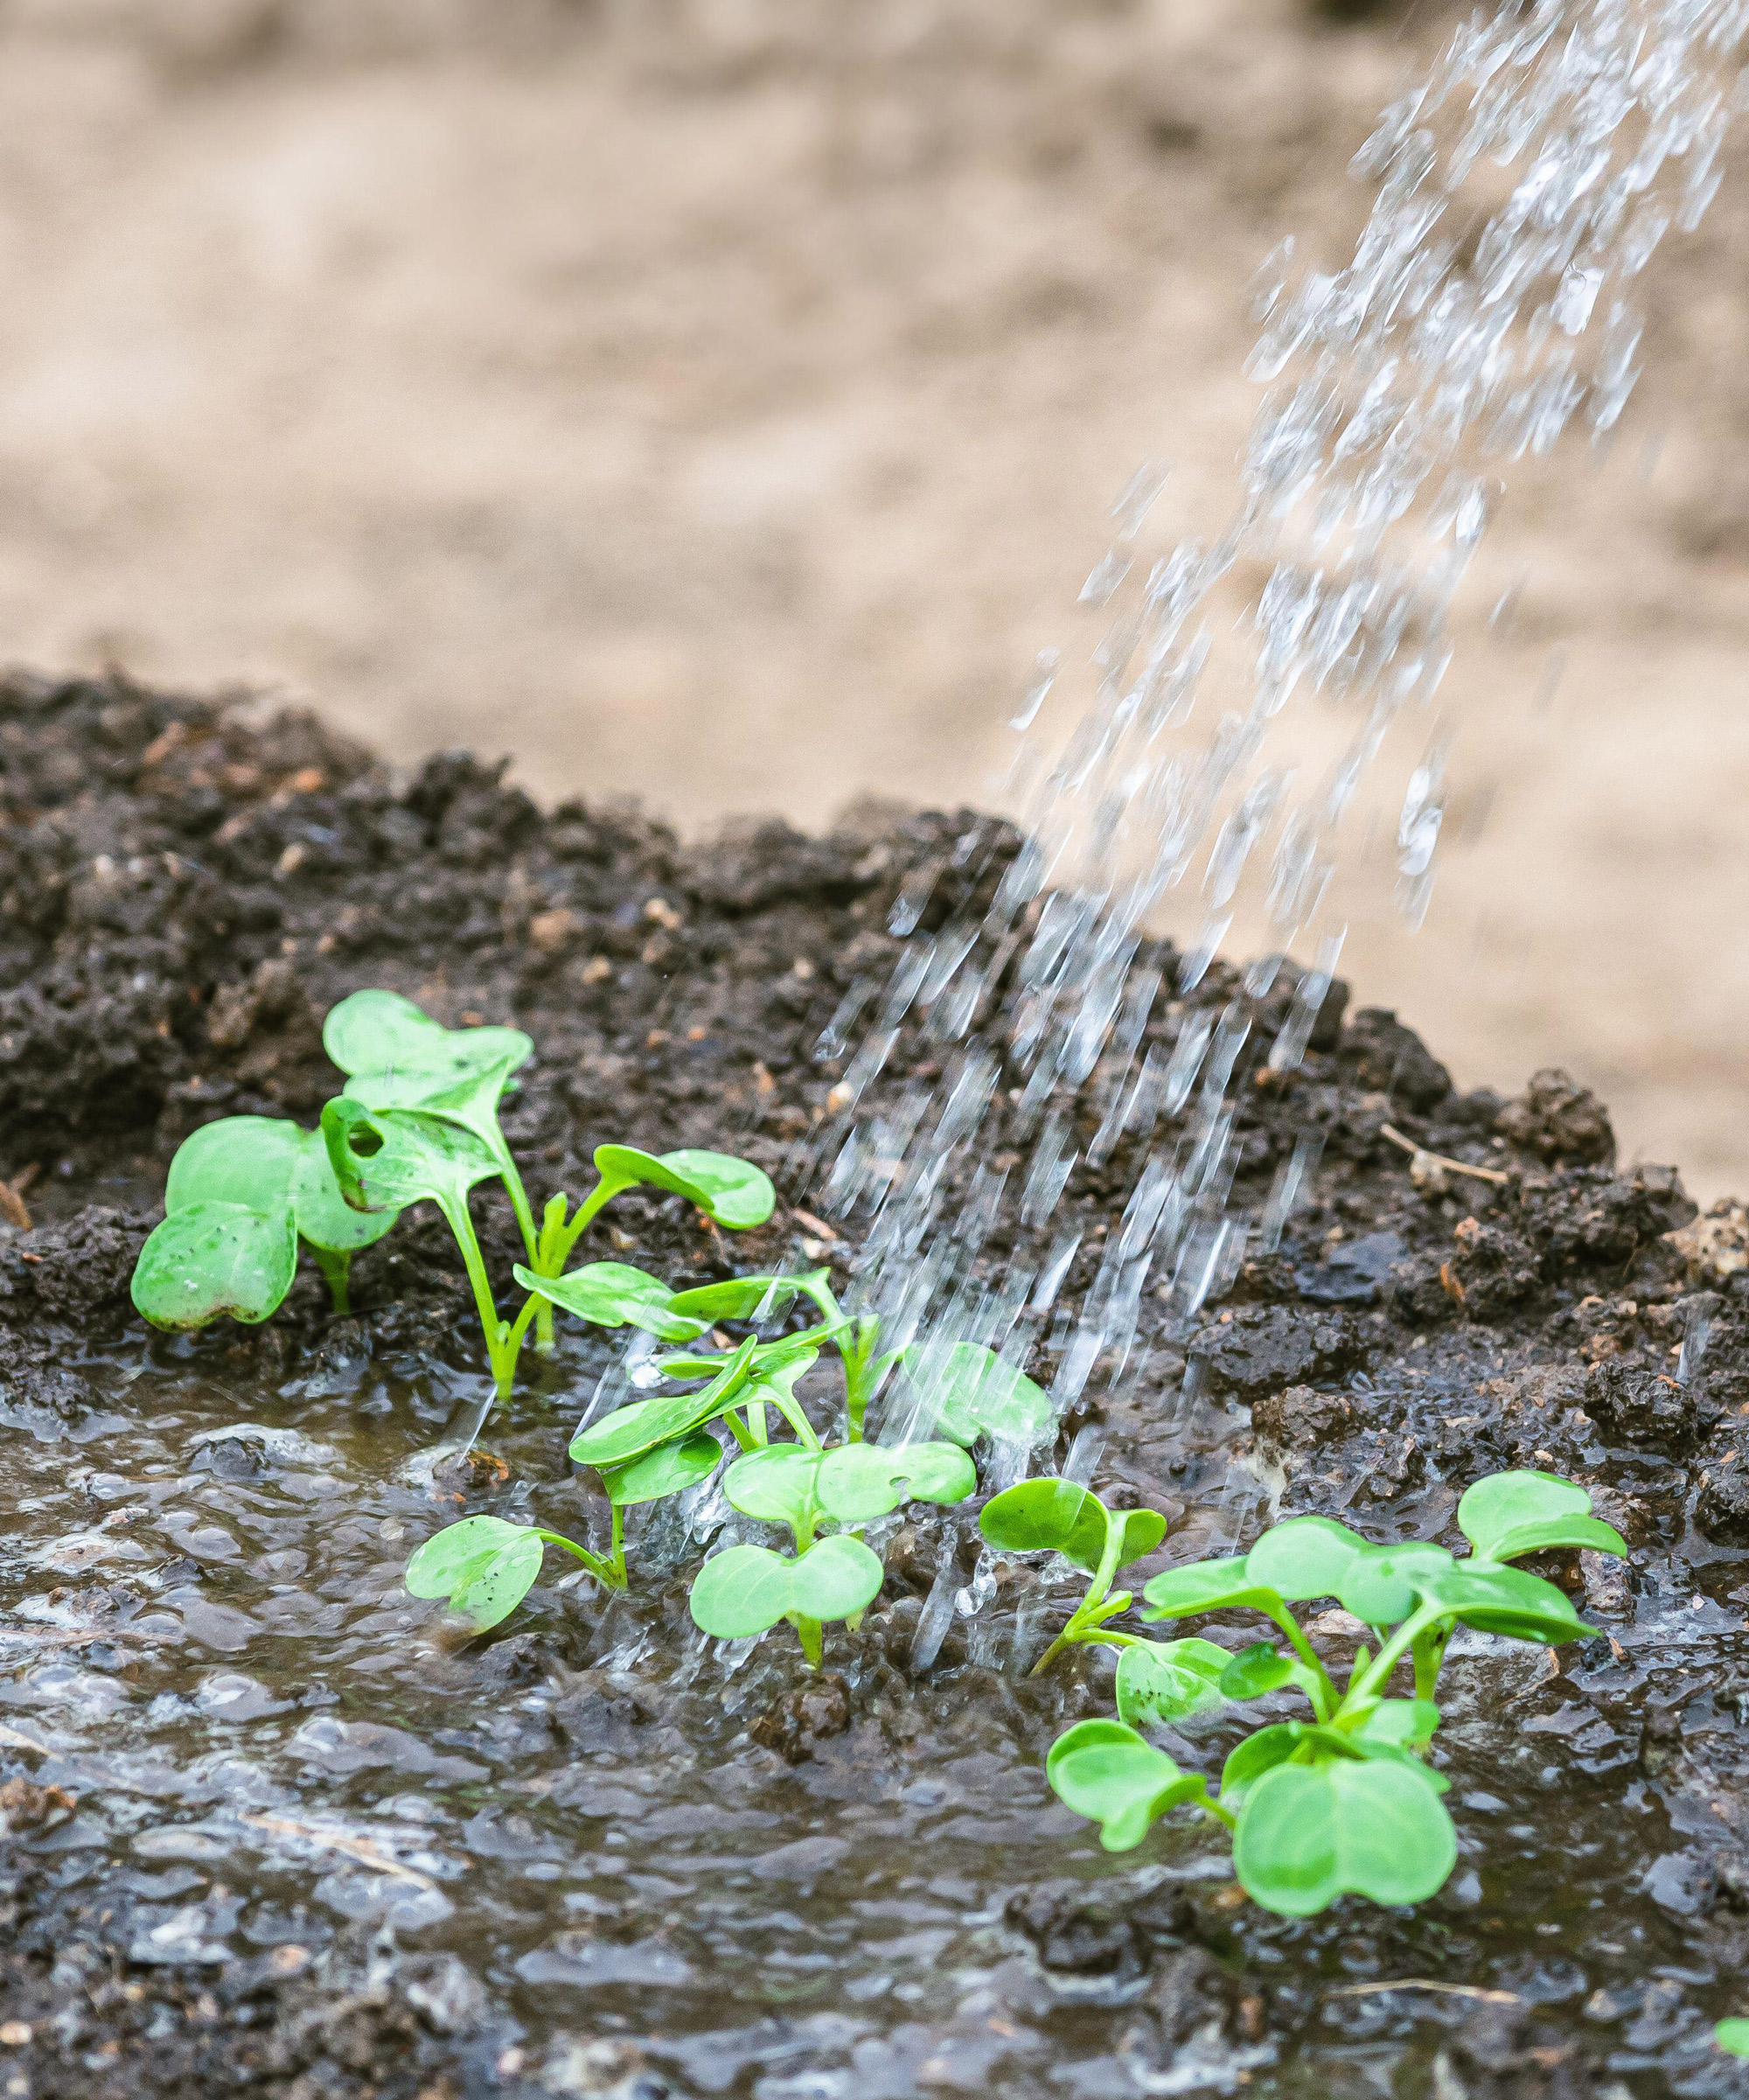
Once your turnips are planted, the good news is that there isn’t an awful lot of ongoing work required and they are quite happy left to their own devices. The number one thing to stay on top of is watering your roots. Excessive dry weather can stress plants, cause bolting, stunt swelling and even stop growth altogether.
‘Hydrate regularly, especially during dry weather, to avoid small and woody roots,’ says Chris Bonnett. At least an inch of water a week should allow for the strongest roots and tastiest harvests.
Keep a watchful eye out for extremes of weather too. While turnips are moisture-loving plants, they won’t develop well in boggy conditions. Make sure the ground is kept well-draining so roots don’t rot. A little light hoeing can help prevent soil impaction. It’s also a good idea to work a hoe around any weeds – the last thing you want is unwanted growth smothering your nips in their infancy. Just remember to get rid of weeds gently so as not to disturb the precious root systems of your crops.
Chilly weather won’t be a problem – in fact, it can enhance the flavor of your turnips. Just make sure the ground doesn’t freeze, as this will also halt growth and diminish yields. Get this right, and these are some of the most low-maintenance vegetables you can grow on the plot.
Turnip problems and how to solve them
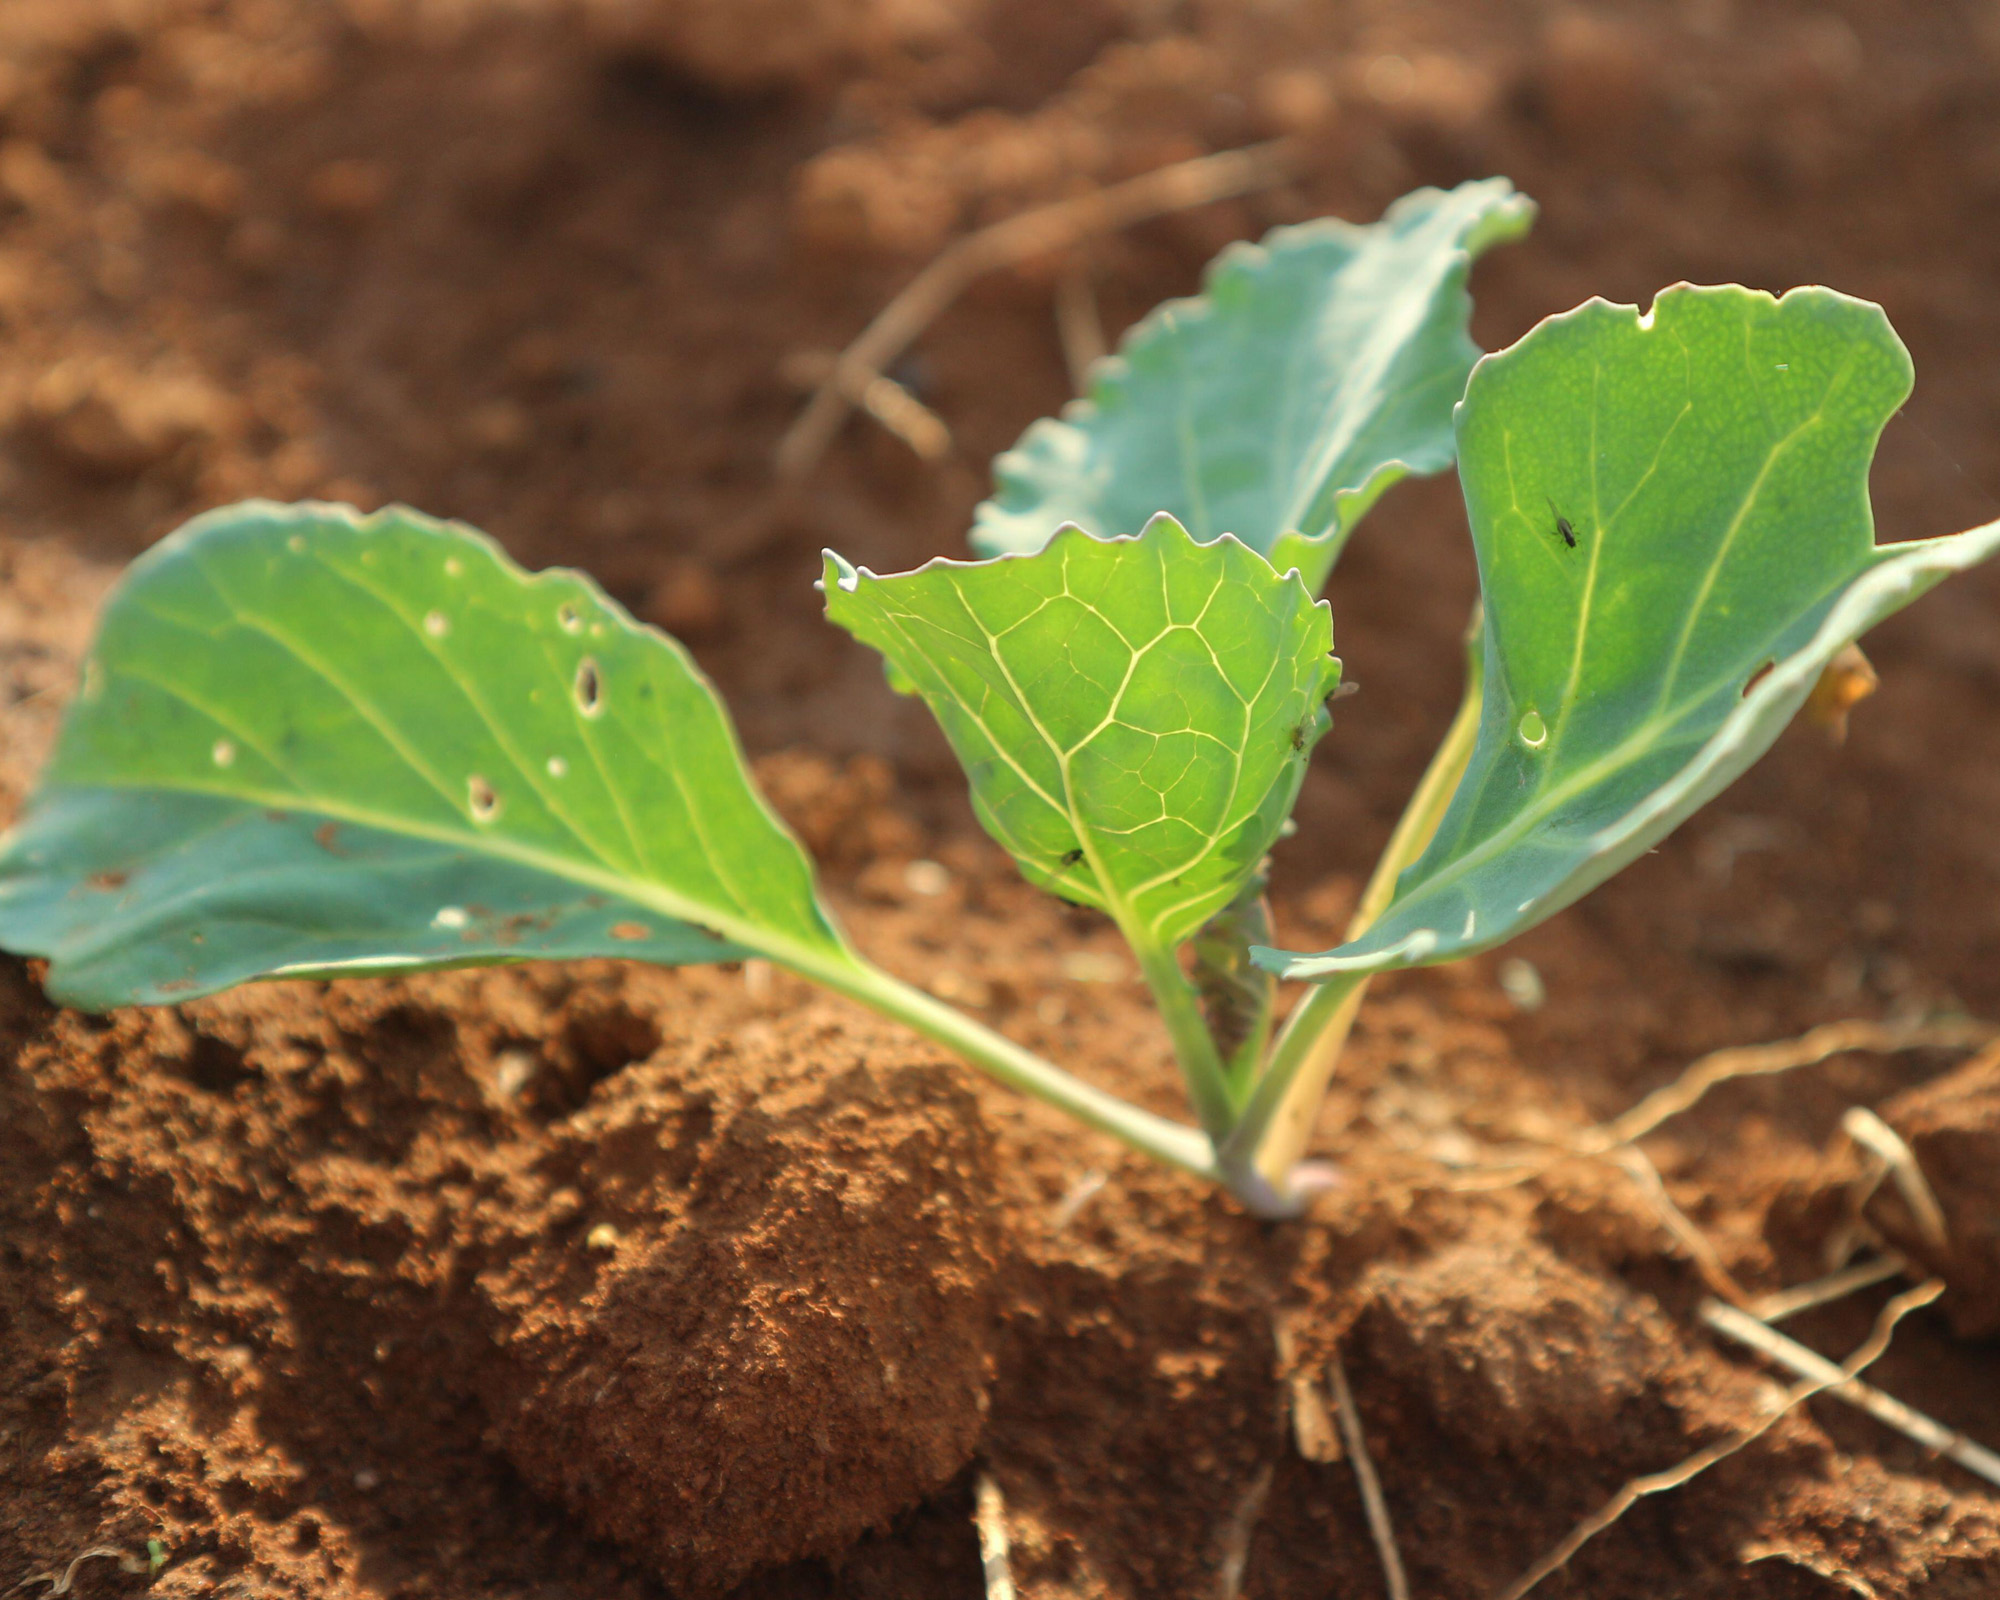
You might expect that as a member of the brassica family, turnips would be beset with pests and viruses. However, you’ll find growing turnips is a refreshingly fuss-free experience. There are relatively few problems to worry about. The big issue in the early weeks after planting is the flea beetle. This makes a beeline for tender green shoots, and leaves tell-tale holes in its wake. You can help keep flea beetles at bay by covering young plants with insect-proof mesh or horticultural fleece.
Keeping the soil moist and well drained and ensuring conditions remain cool and well spaced will prevent most common brassica problems, such as powdery mildew and clubroot. You shouldn’t have to worry about how to get rid of aphids, either. Turnips are excellent aphid repellers: just one of their many charms! And because your turnip plants are so quick-growing, they will soon outpace any superficial damage caused by passing pests that plague other crops on the plot.
How long do turnips take to grow?
One of the best things about growing turnips is how quick they are to develop, establish, mature and yield. For those looking to enjoy baby veg and super-tender turnip tops, some varieties of turnip can be ready as little as four weeks after sowing. Assuming you have positioned your plants in an open, sunny spot with moist soil and consistently cool temperatures, they are some of the easiest vegetables to grow so you will be hastening on tasty turnips in no time.
Of course, time of year can influence growing speeds to some extent, and late spring sowings are likely to see slightly quicker returns than those made in the fall because of the likely dips in daylight. But in the main, it should only take around six to 10 weeks to see success with your roots if you are after more rotund harvests (two months is the average). This is generally a good benchmark for ensuring the spiciest, nuttiest tastes.
Tips for harvesting turnips
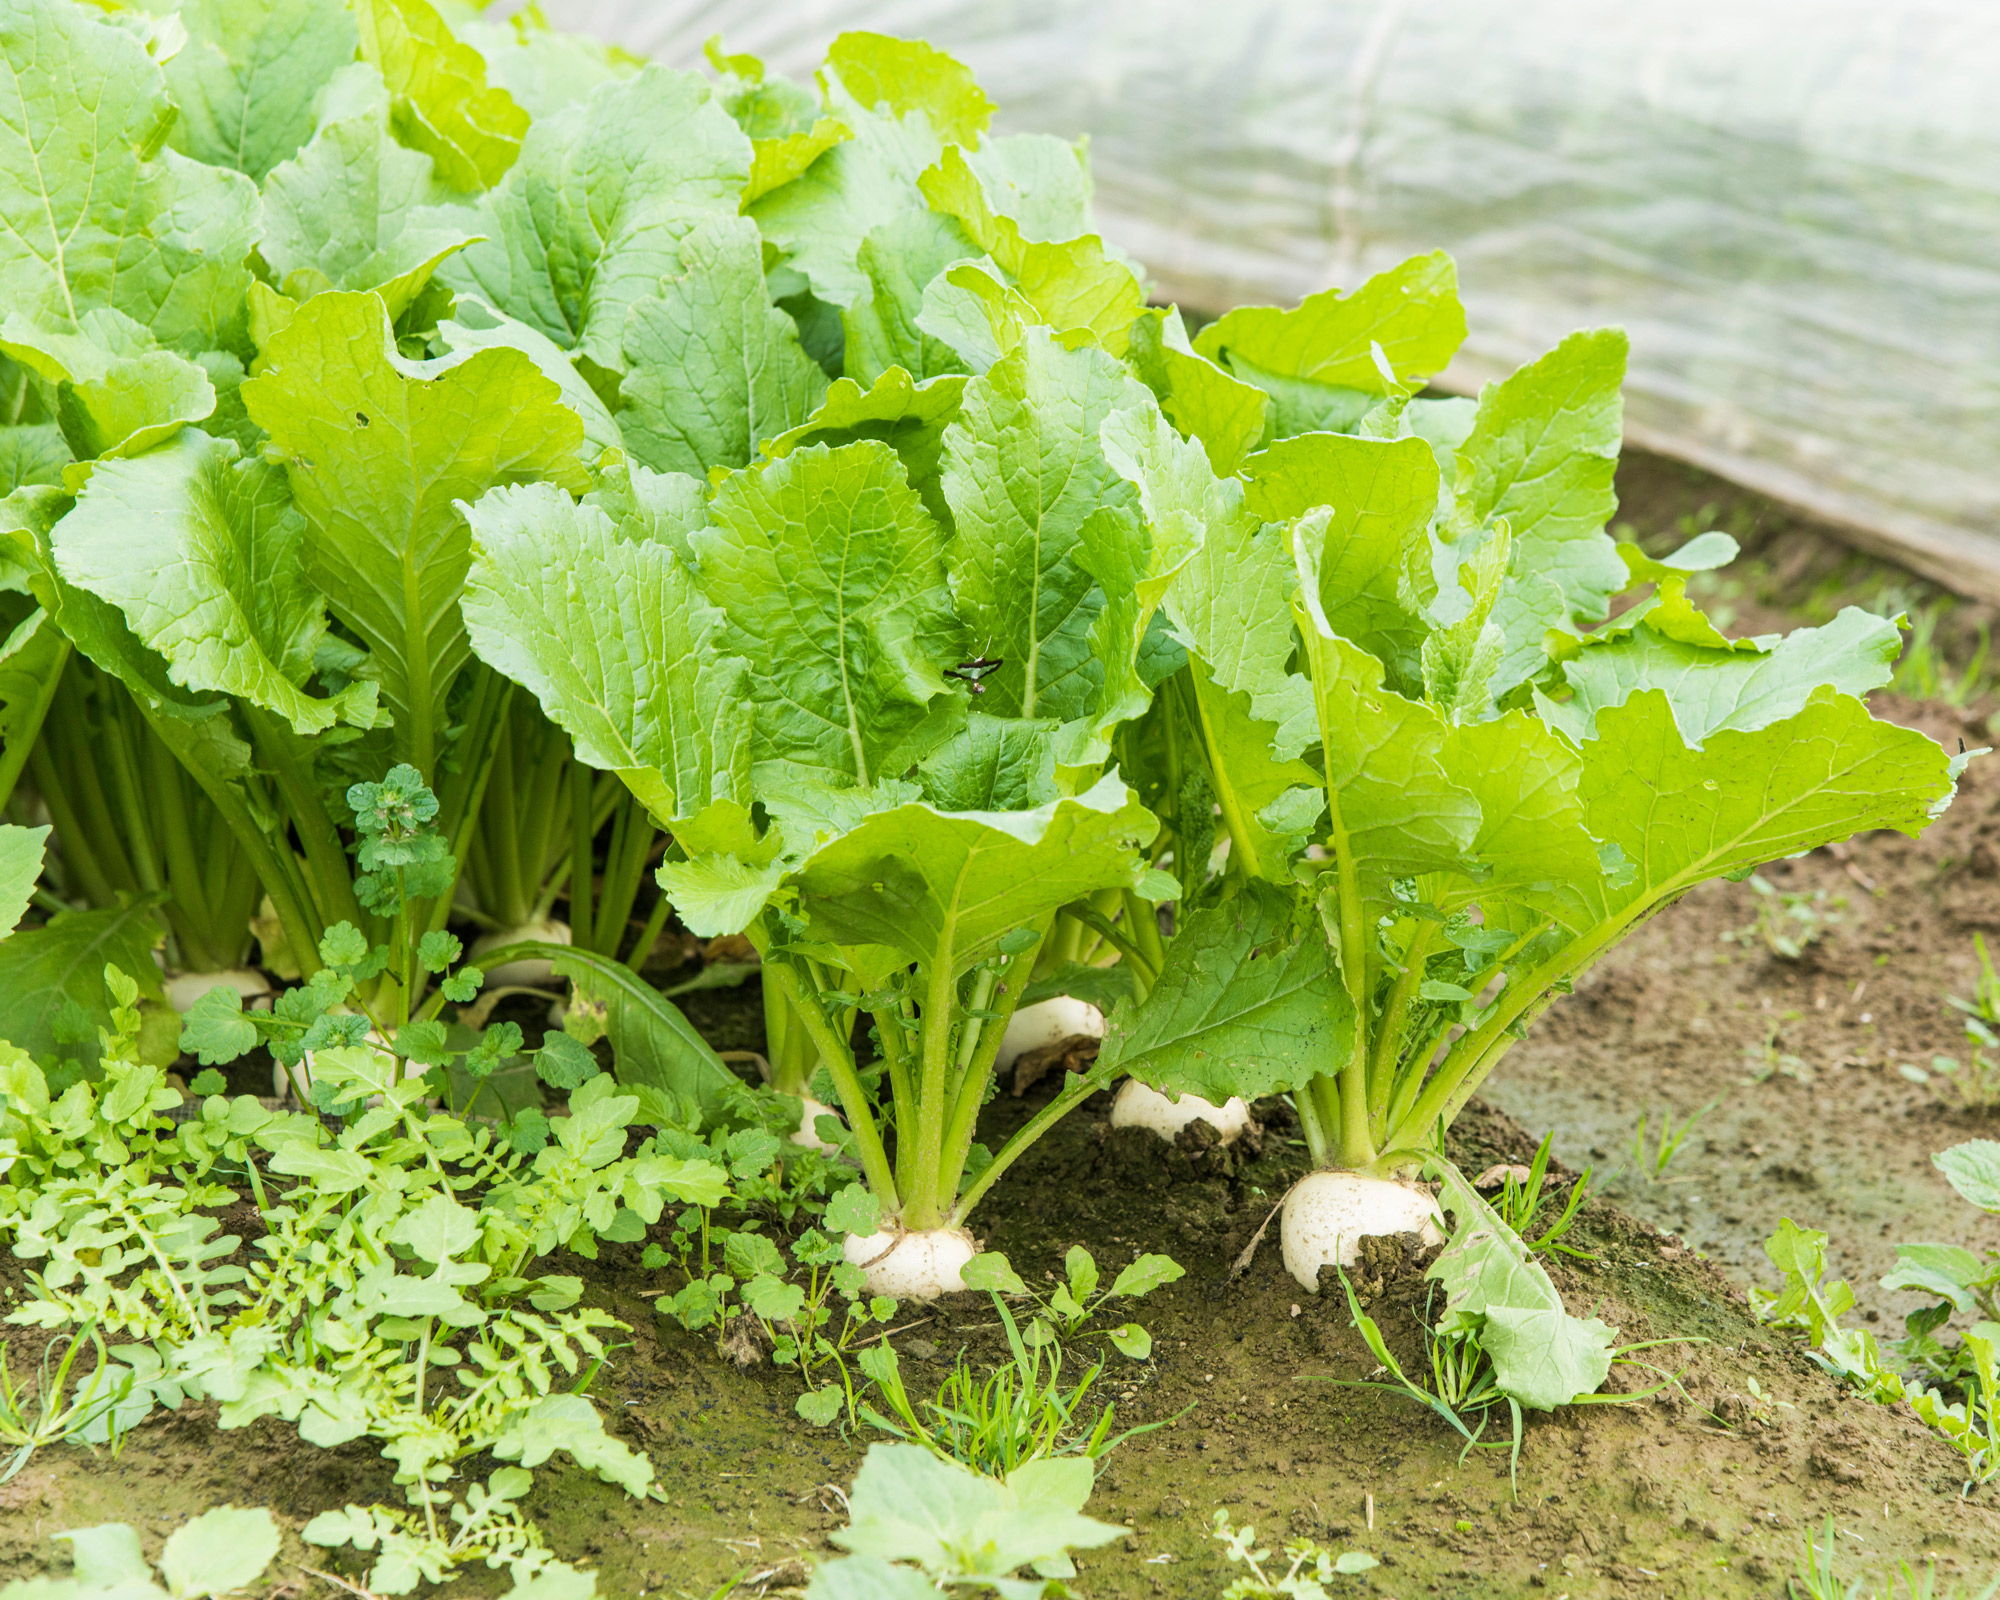
Chris Bonnett recommends pulling up a turnip at the six-week mark to see if the root is ready to be harvested. ‘Grab firmly by the leaves where the stem meets the root and pull up while twisting,’ says Chris. As anyone with experience growing radishes knows, harvesting early ensures tenderness – don’t delay too long or you may wind up with chalky or woody roots. If the taproot is 2-3in (5-7cm) wide, it’s good to go.
Several experts indicate that roots the size of a golf ball are good for eating raw, whereas roots around the size of a tennis ball are good for cooking. If you are interested in harvesting the greens, though, there isn’t much of a value judgement to factor in. The only thing to bear in mind is that greens can regrow from the roots of early varieties as long as you take care not to damage the tops. ‘Harvest the leaves when they are 6in (15cm) long,’ says Chris. ‘The longer you let them grow, the more bitter they will likely be.’
While you are encouraged to harvest vegetables while young for the best taste, don’t worry if you aren’t quite ready to lift all your maincrop turnips in winter. You can leave them in the ground a little while if the ground is protected from freezing. Covering with straw or mulch keeps the last crops safe, and the chill can enhance the sweetness of your yield.
What to grow alongside turnips
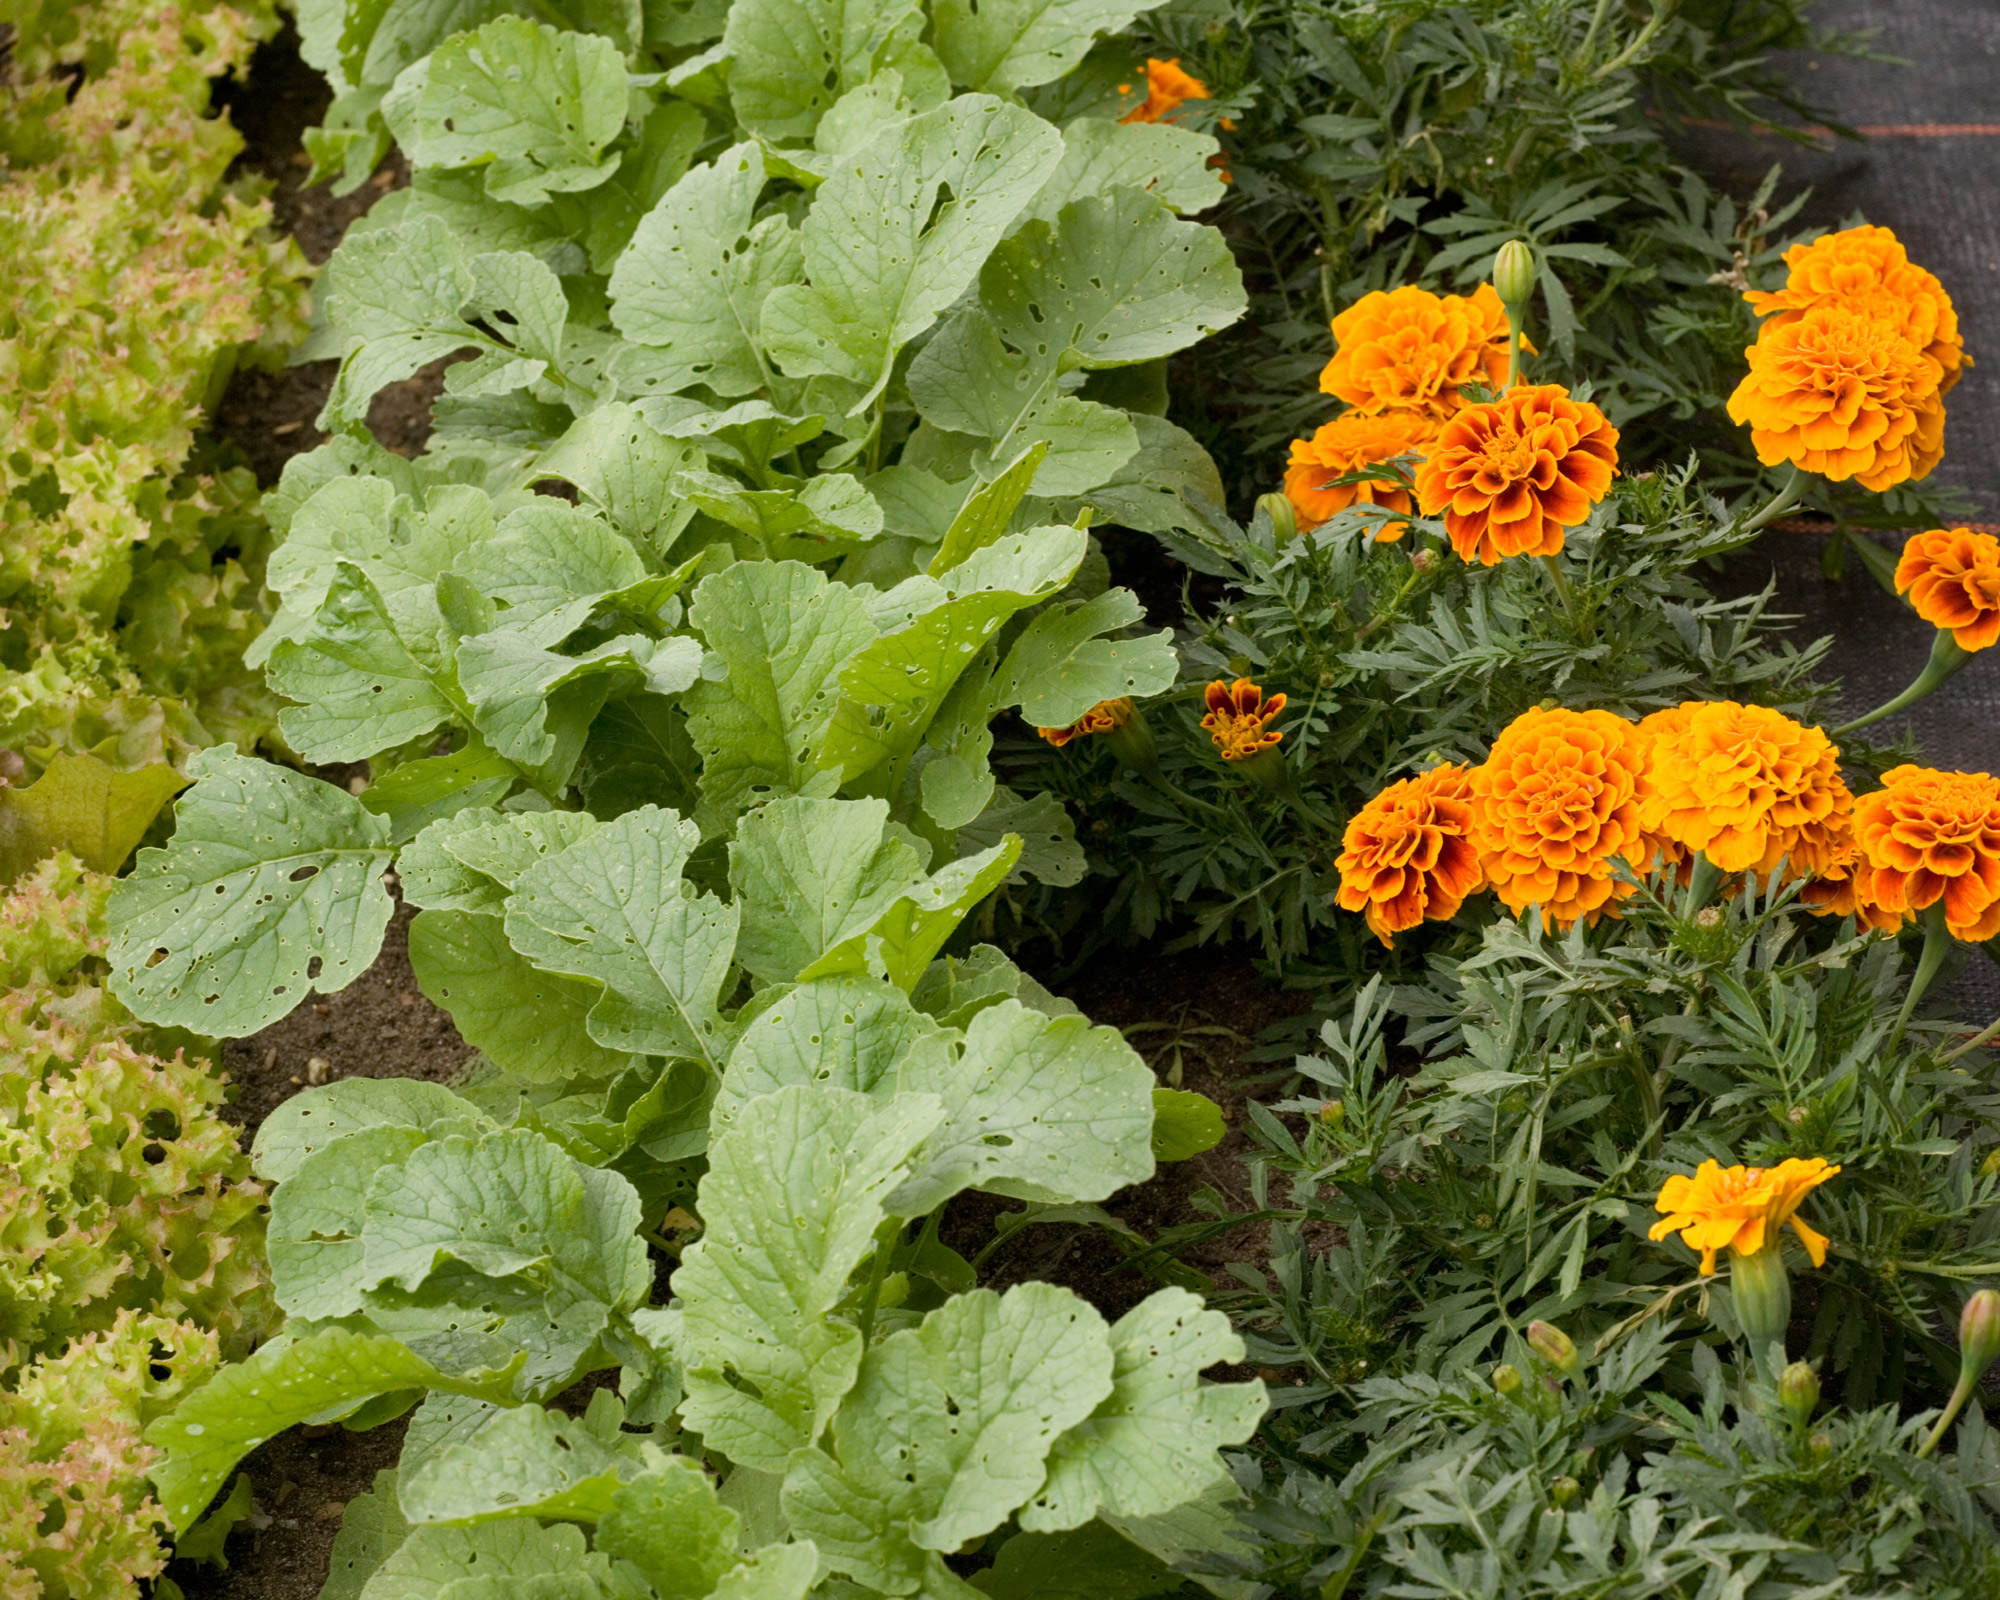
While turnips grow perfectly well in isolation, you will find that a good grasp of companion planting and intercropping (placing quick-growing crops in spaces around slower-developing vegetables) will be invaluable. It can help with pest controls on the plot across different veggie groups. In addition, it can also help enhance the taste of neighbouring crops. Here are some of the main partnerships worth considering on the plot:
- Turnips make excellent companion plants for garlic as they ward off pests that target garlic. In return, garlic deters flea beetles from turnips.
- Lucy recommends sowing turnips in short drills around brassicas like kale and cabbage. Harvest as baby roots, and they won’t have time to impact growth of their larger brassica companions.
- If you grow peas nearby, you’re in luck: they add nitrogen into the ground which gives turnip roots a much-needed fertility boost.
- One of the best repellers of the turnip’s arch foe, the flea beetle, is mint. So grow mint nearby – ideally in pots to curb its spread.
- For anyone looking to grow tomatoes, squash or celery, turnips are ideal for planting in the vicinity as they are excellent aphid repellers.
- Although nasturtiums and marigolds make fantastic companions for lots of veggies, they are particularly efficient at keeping pests from munching on burgeoning turnip shoots and roots.
The only two veggies you should avoid growing near your turnips are potatoes and onions. This is because they tend to compete for space, leading to collective stunted growth. That said, once you have harvested your onions and spuds, turnips can benefit from being planted in the same soil. They love the soil-borne nitrogen left behind. Hence the reason turnips are often called ‘mop-up’ crops.
Are turnips and swedes the same?
Once you know how to grow turnips, you’ll be keen to stockpile other roots for the winter pantry. Some, like beetroot, are dramatically different and often stand out with their vibrant hues. Others, like carrots, are easily identifiable. However, a few (like swede) can cause confusion for turnip growers. If you’ve ever looked at a swede and a turnip side by side, you’d be forgiven for thinking they are one and the same. However, there are a few discernible differences – they are not interchangeable.
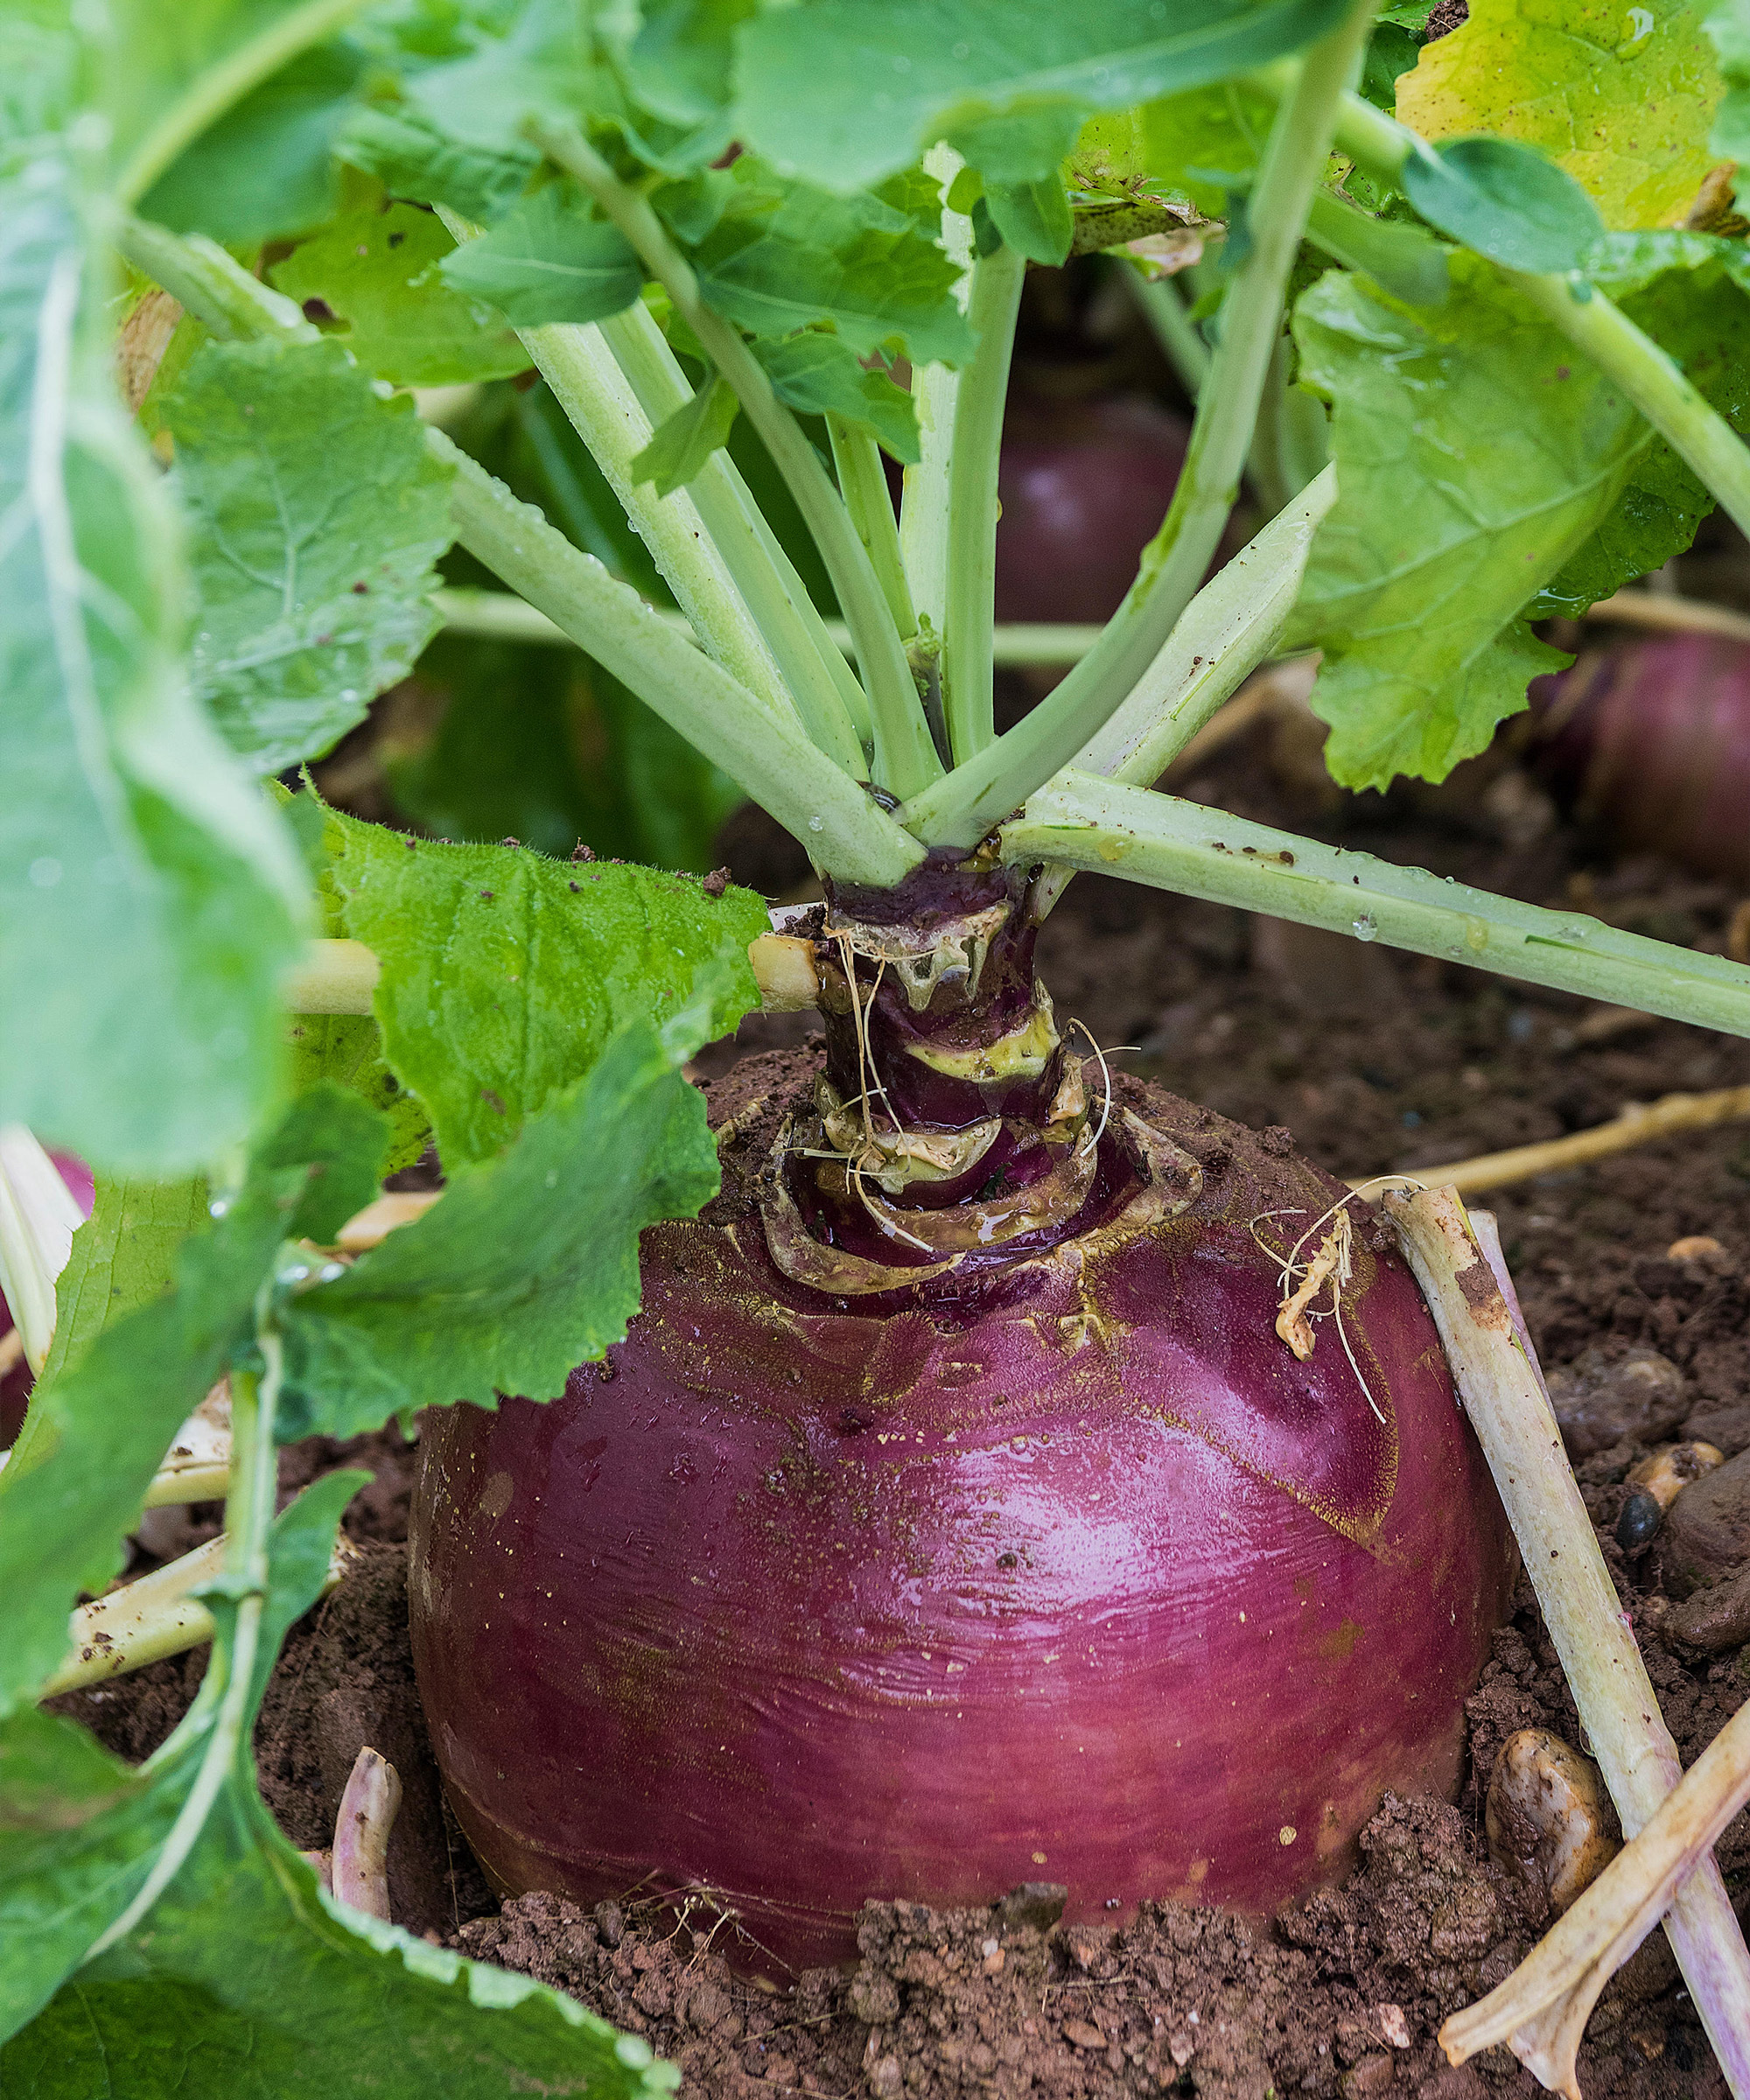
They both appreciate moist, well-draining planting and cool growing conditions – but don’t imagine they will all come out looking the same. Turnips tend to be smaller. They have a white inner flesh, although their exteriors can be purple, white or green. Swedes (or rutabagas, as they are also known) are mostly larger than turnips. They have a purple-yellow external coloring and a distinctive yellow interior that gets more orange as they mature. Rutabagas are actually a hybrid of both the turnip and the wild cabbage and so they have qualities and characteristics of both.
To confuse matters further, there is also kohlrabi. This is often referred to as the ‘german turnip’ but it isn’t really a turnip at all – indeed, it isn’t even a root vegetable. It’s actually a member of the brassica clan (along with kale, sprouts and collard greens) and another kind of wild cabbage. Despite this, it’s an interesting next step for turnip lovers and well worth a try if you’re looking to expand your repertoire.
Where to buy turnips
Growing turnips can be accomplished from seed or plugs, depending on how much time you need prior to harvesting. Some breeds such as bright ‘White Lady’ and juicy Japanese ‘Snowball’ can be eaten 30 days after sowing, while the likes of ‘Golden Ball’ hit their peak of flavor in a couple of months. A few, like ‘Hakurei’ and ‘Oasis’, are fruity, while ‘Tokyo Cross’ is more spicy. Others, like heirloom ‘Purple Top Milan’, thrive in colder climes, while ‘Atlantic’ is great for container growing. There’s a range of plugs and seeds available online, so use our quick links to start growing turnips.
Where to buy turnips in the US:
- Shop turnip seeds at Amazon
- Shop turnip seeds at Burpee
- Shop turnip seeds at Home Depot
- Shop turnip seeds at Super Seeds
- Shop turnip seeds at Walmart
Where to buy turnips in the UK:

As assistant editor of Amateur Gardening magazine, Janey's gardening passion was fostered from an early age, when her amazing mum had her deadheading hydrangeas, mulching roses, and propagating strawberry plants from runners for school open days. She's also taken part in lots of conservation and rewilding projects for the RHS and TCV as a way of exploring her horticultural horizons.
