How to grow flowers from seeds
Follow our expert tips on how to grow flowers from seeds and you can you fill your garden with colour and scent without breaking the bank
Once you know how to grow flowers from seeds, you'll soon discover that scattering a handful of tiny dried brown seeds in the garden and watching them flourish into a rainbow of bright blooms is one of the most uplifting actions imaginable. You don’t need to be a super-confident or experienced grower to gain success with these miracle mini-packages, but there are some basic rules to follow to give seeds the best chance of thriving.
Whether you're hoping to grow annuals, perennials or biennials, we've got all the advice you need to get you started, plus top tips on how to sow seeds direct into the ground or in trays or containers to grow under cover. Keep reading to find out how you can have a garden that's packed with colour and interest without having to spend a fortune on plants. And if you want more ways to save money in your garden, head over to our budget garden ideas.
WHERE AND WHEN TO SOW SEEDS
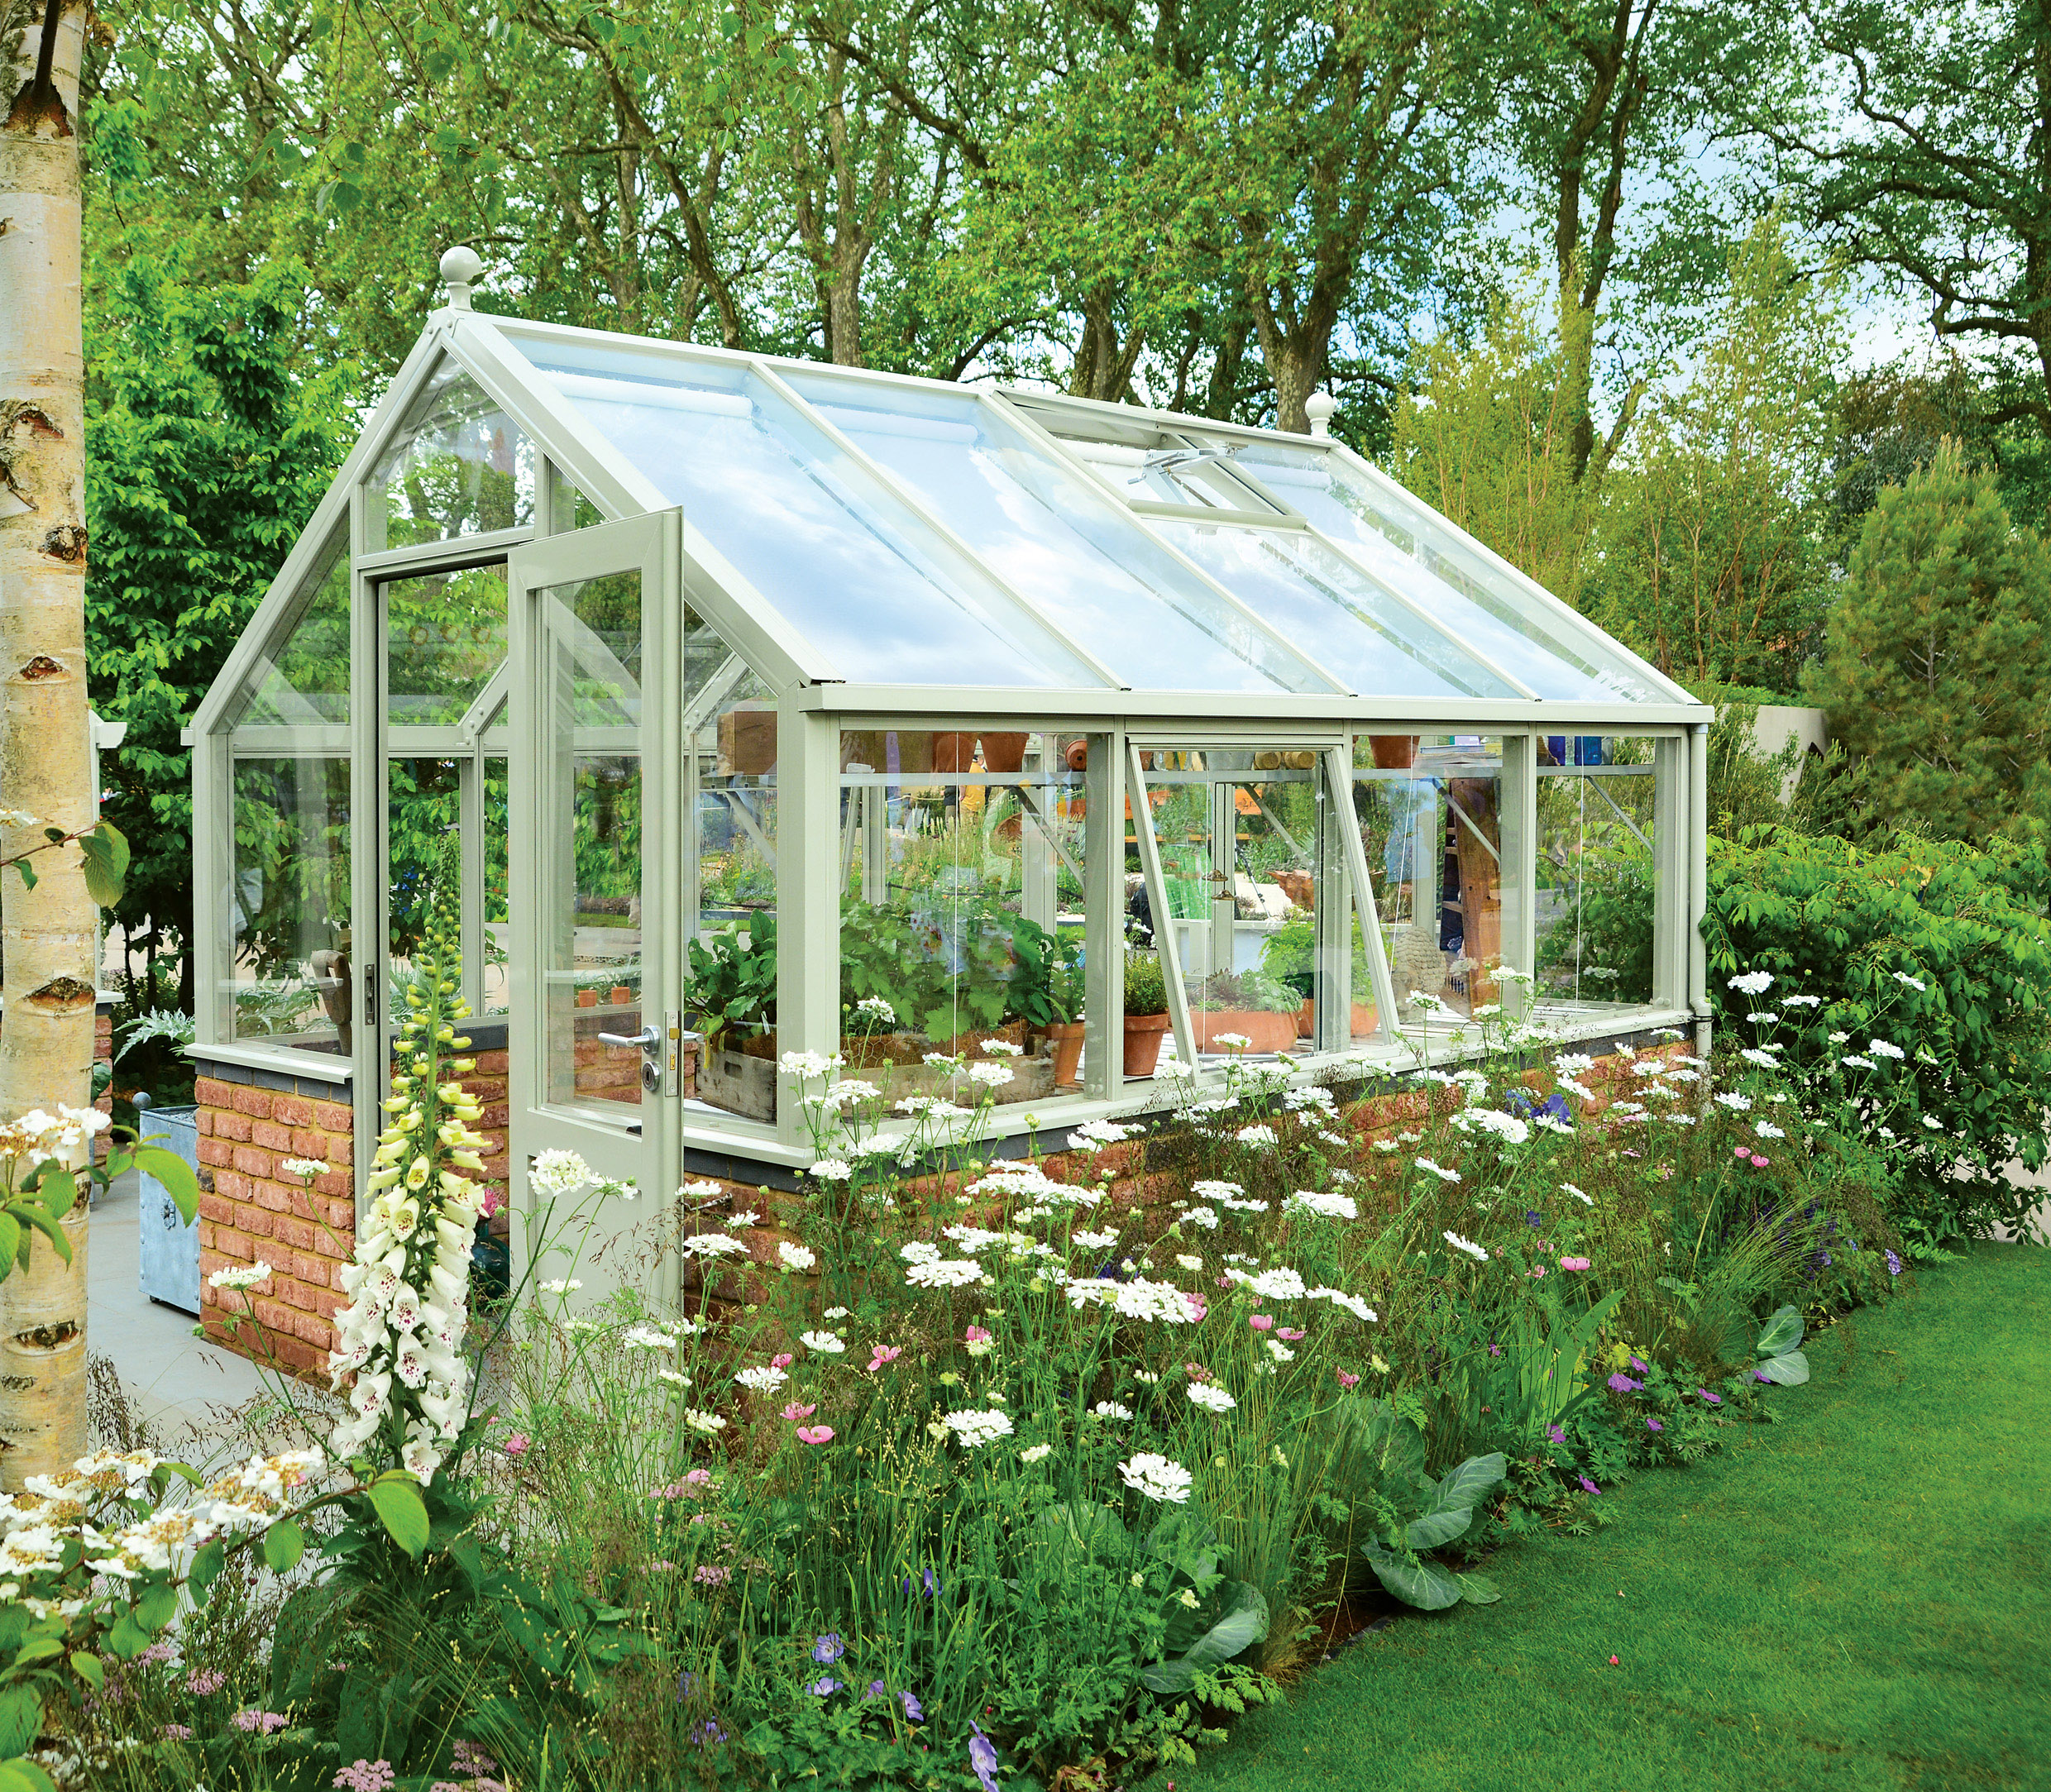
There are two methods of sowing flower seeds. They can be put straight into the ground or they can be sown under cover in pots or seed trays, and grown on a window ledge, in a greenhouse or in a conservatory before they are planted out in the garden. The method you choose depends on what type of plant you are growing, and when you are doing it.
There are three main groups of plants – annuals, perennials and biennials. In general, each category requires slightly different treatment, so step one is to know which one your seeds belong to.
Hardy annuals
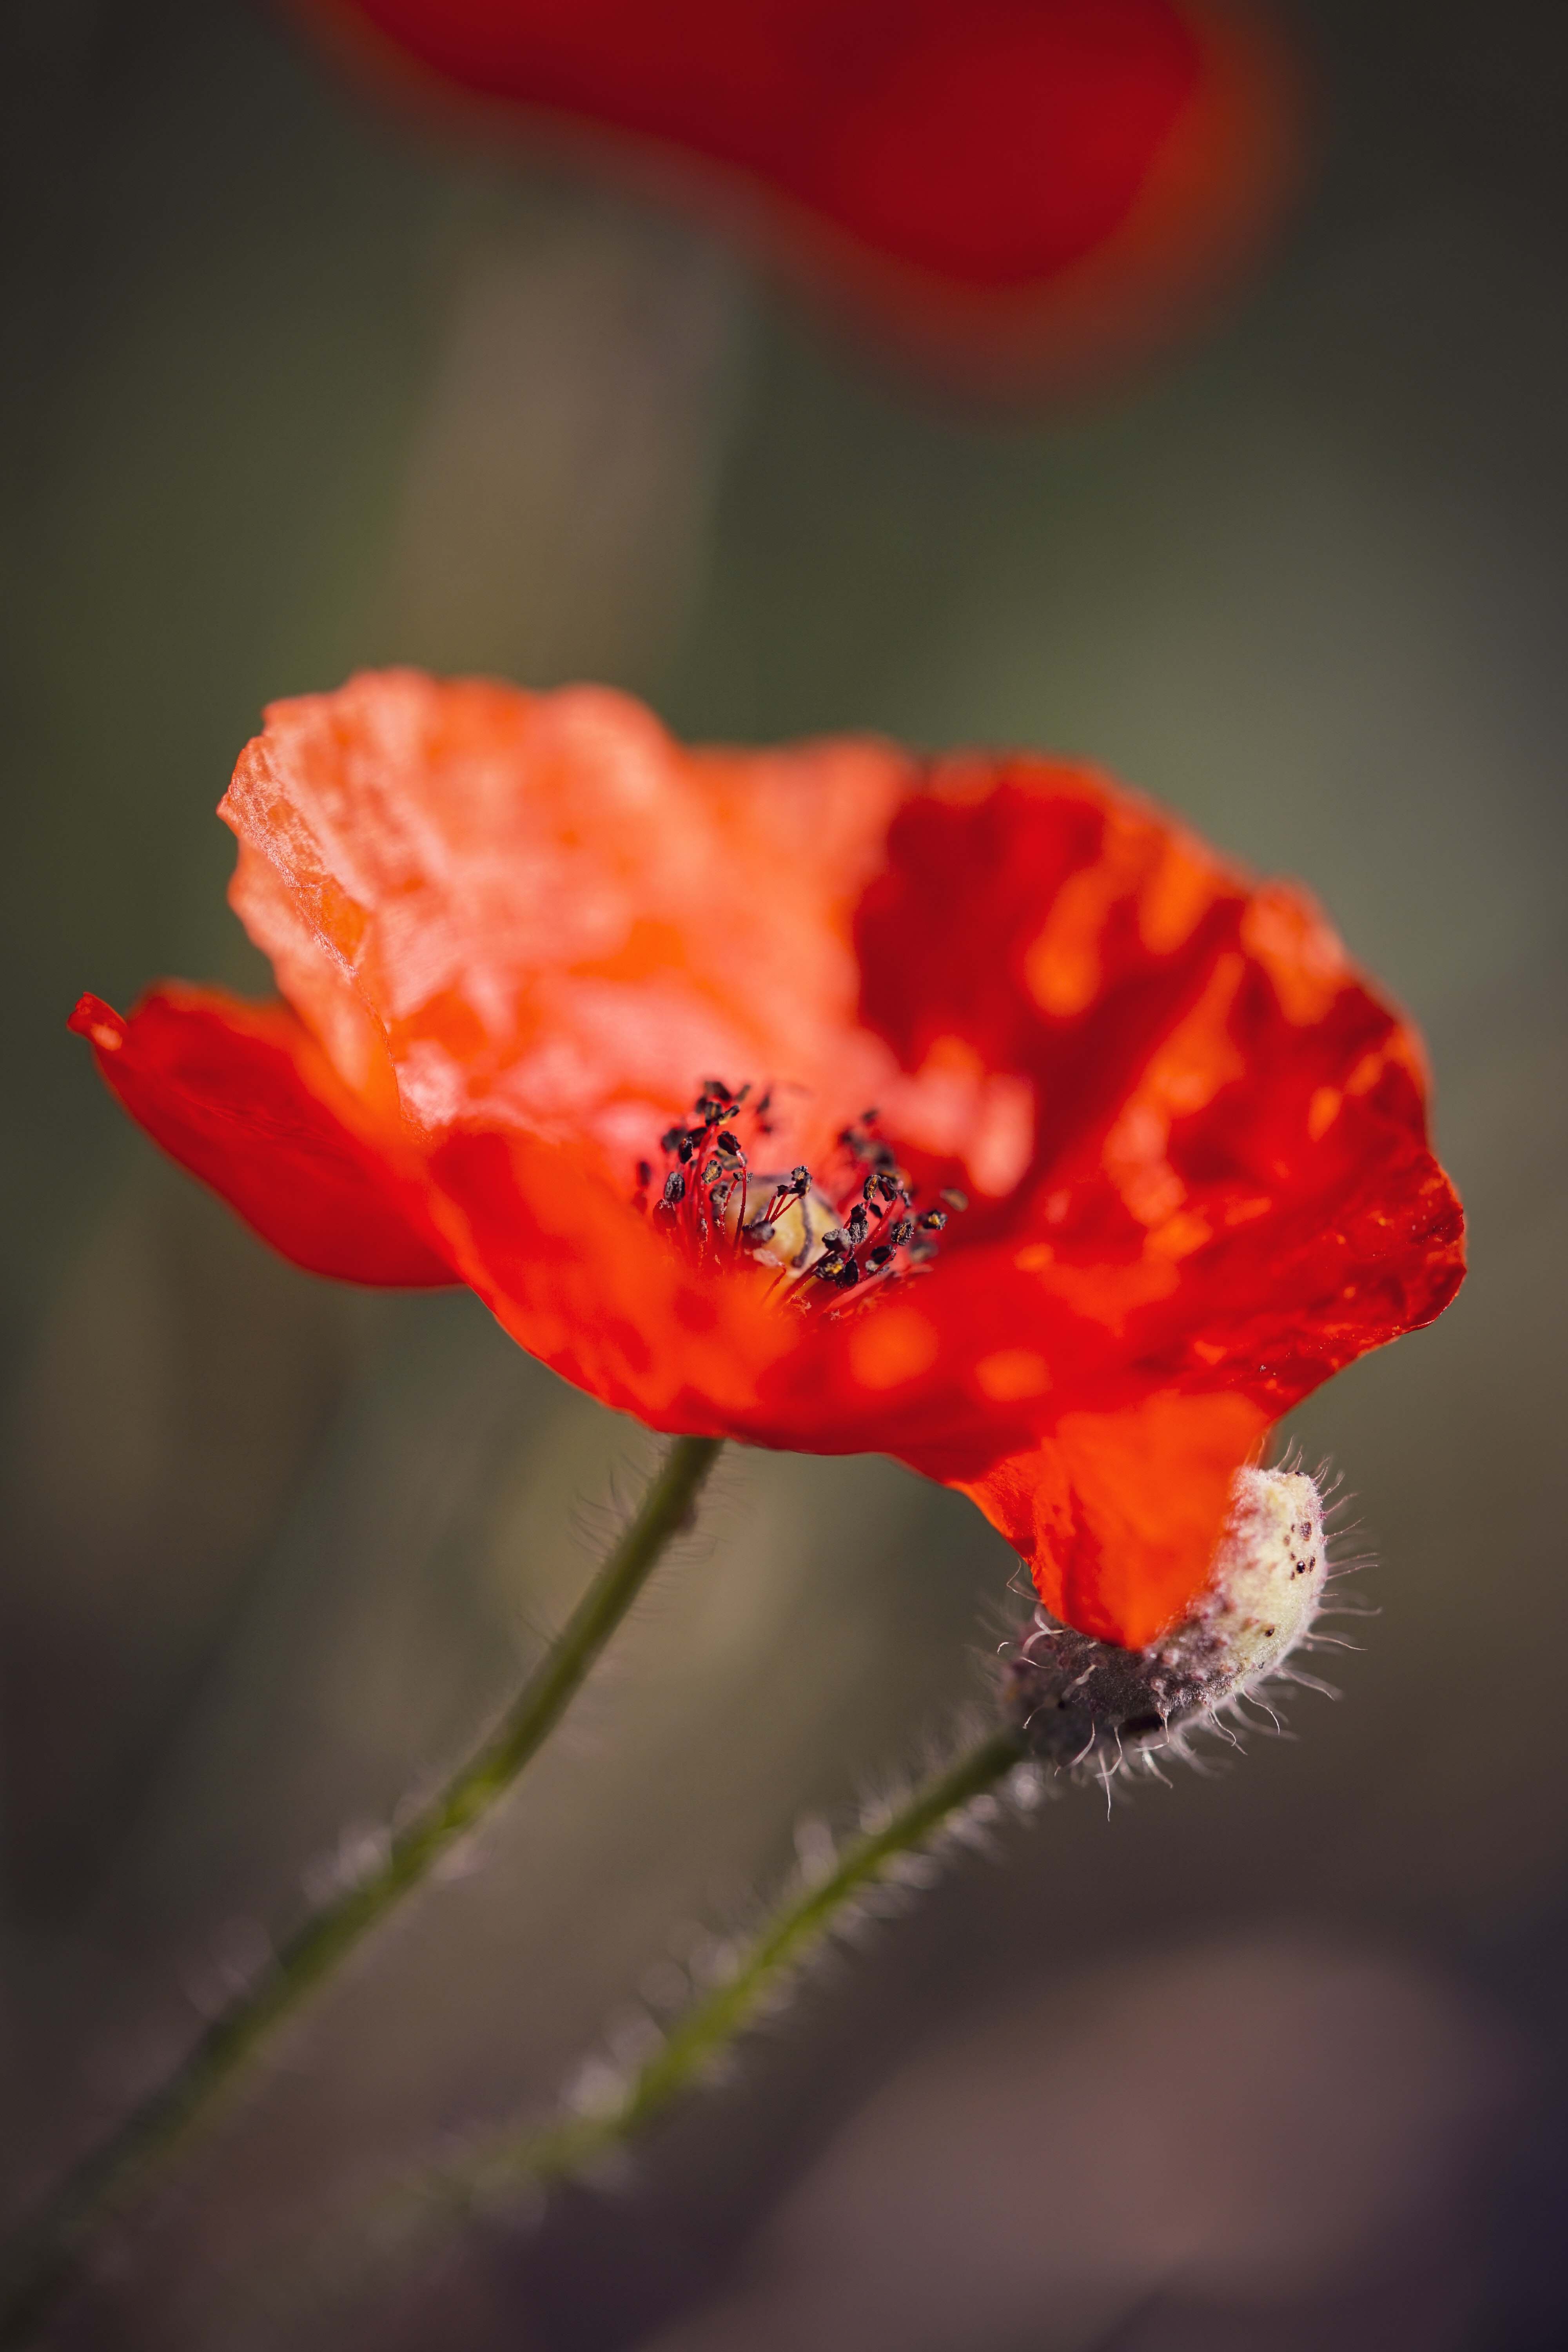
These are plants which flower in summer and bloom and die within a year. These are the best choice for beginners to grow from seed. Examples include poppies, sweet peas, sunflowers, honeywort and cornflowers. Perfect for filling gaps in borders or creating billowing beds of informal, natural looking planting, they are tough customers which can be sown directly into the ground. Many annuals can withstand frosts, so they can be planted in the autumn, before the end of September, for a lovely display the following year. Planting any later means there will not be enough daylight for them to start growing before winter. The advantage of autumn-sown annuals is that they will be stronger, taller and flower earlier than those planted in the spring.
However, it is also fine to sow annual seeds in spring. The golden rule is to wait until the soil has warmed up. A good way to tell is when young green weeds start to pop up. Then you know that it is safe to sow.
Half-hardy annuals
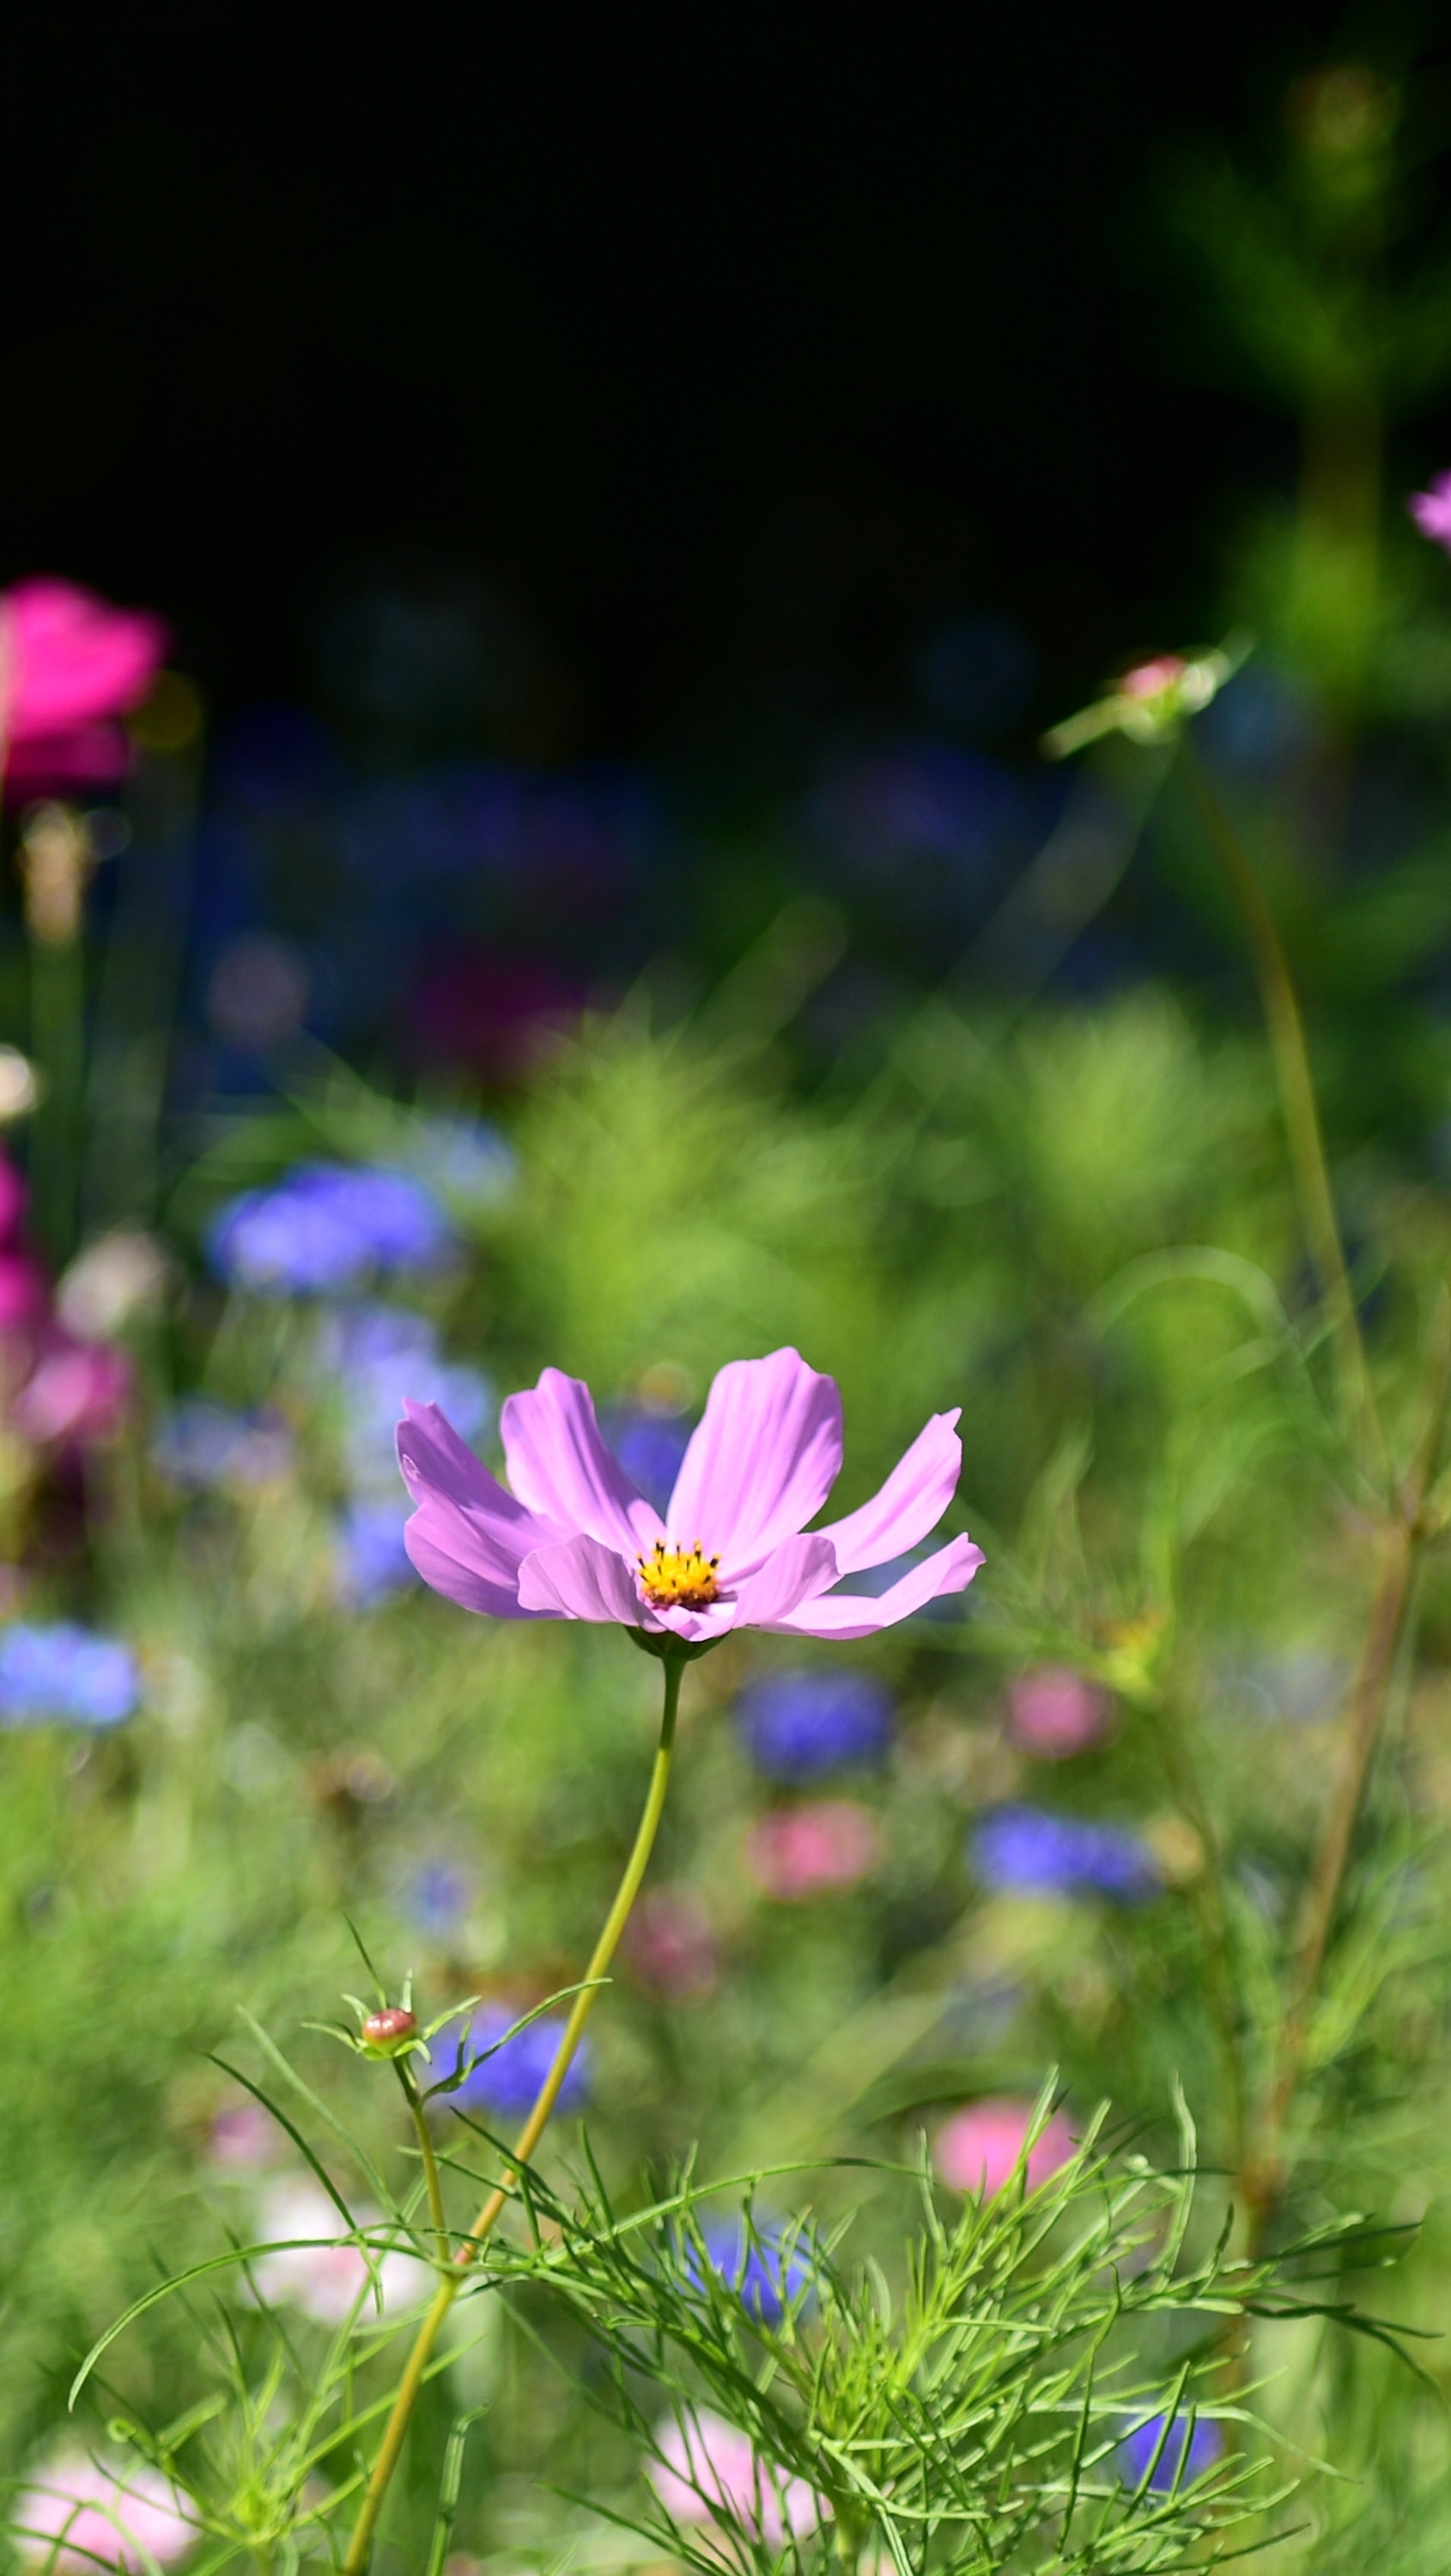
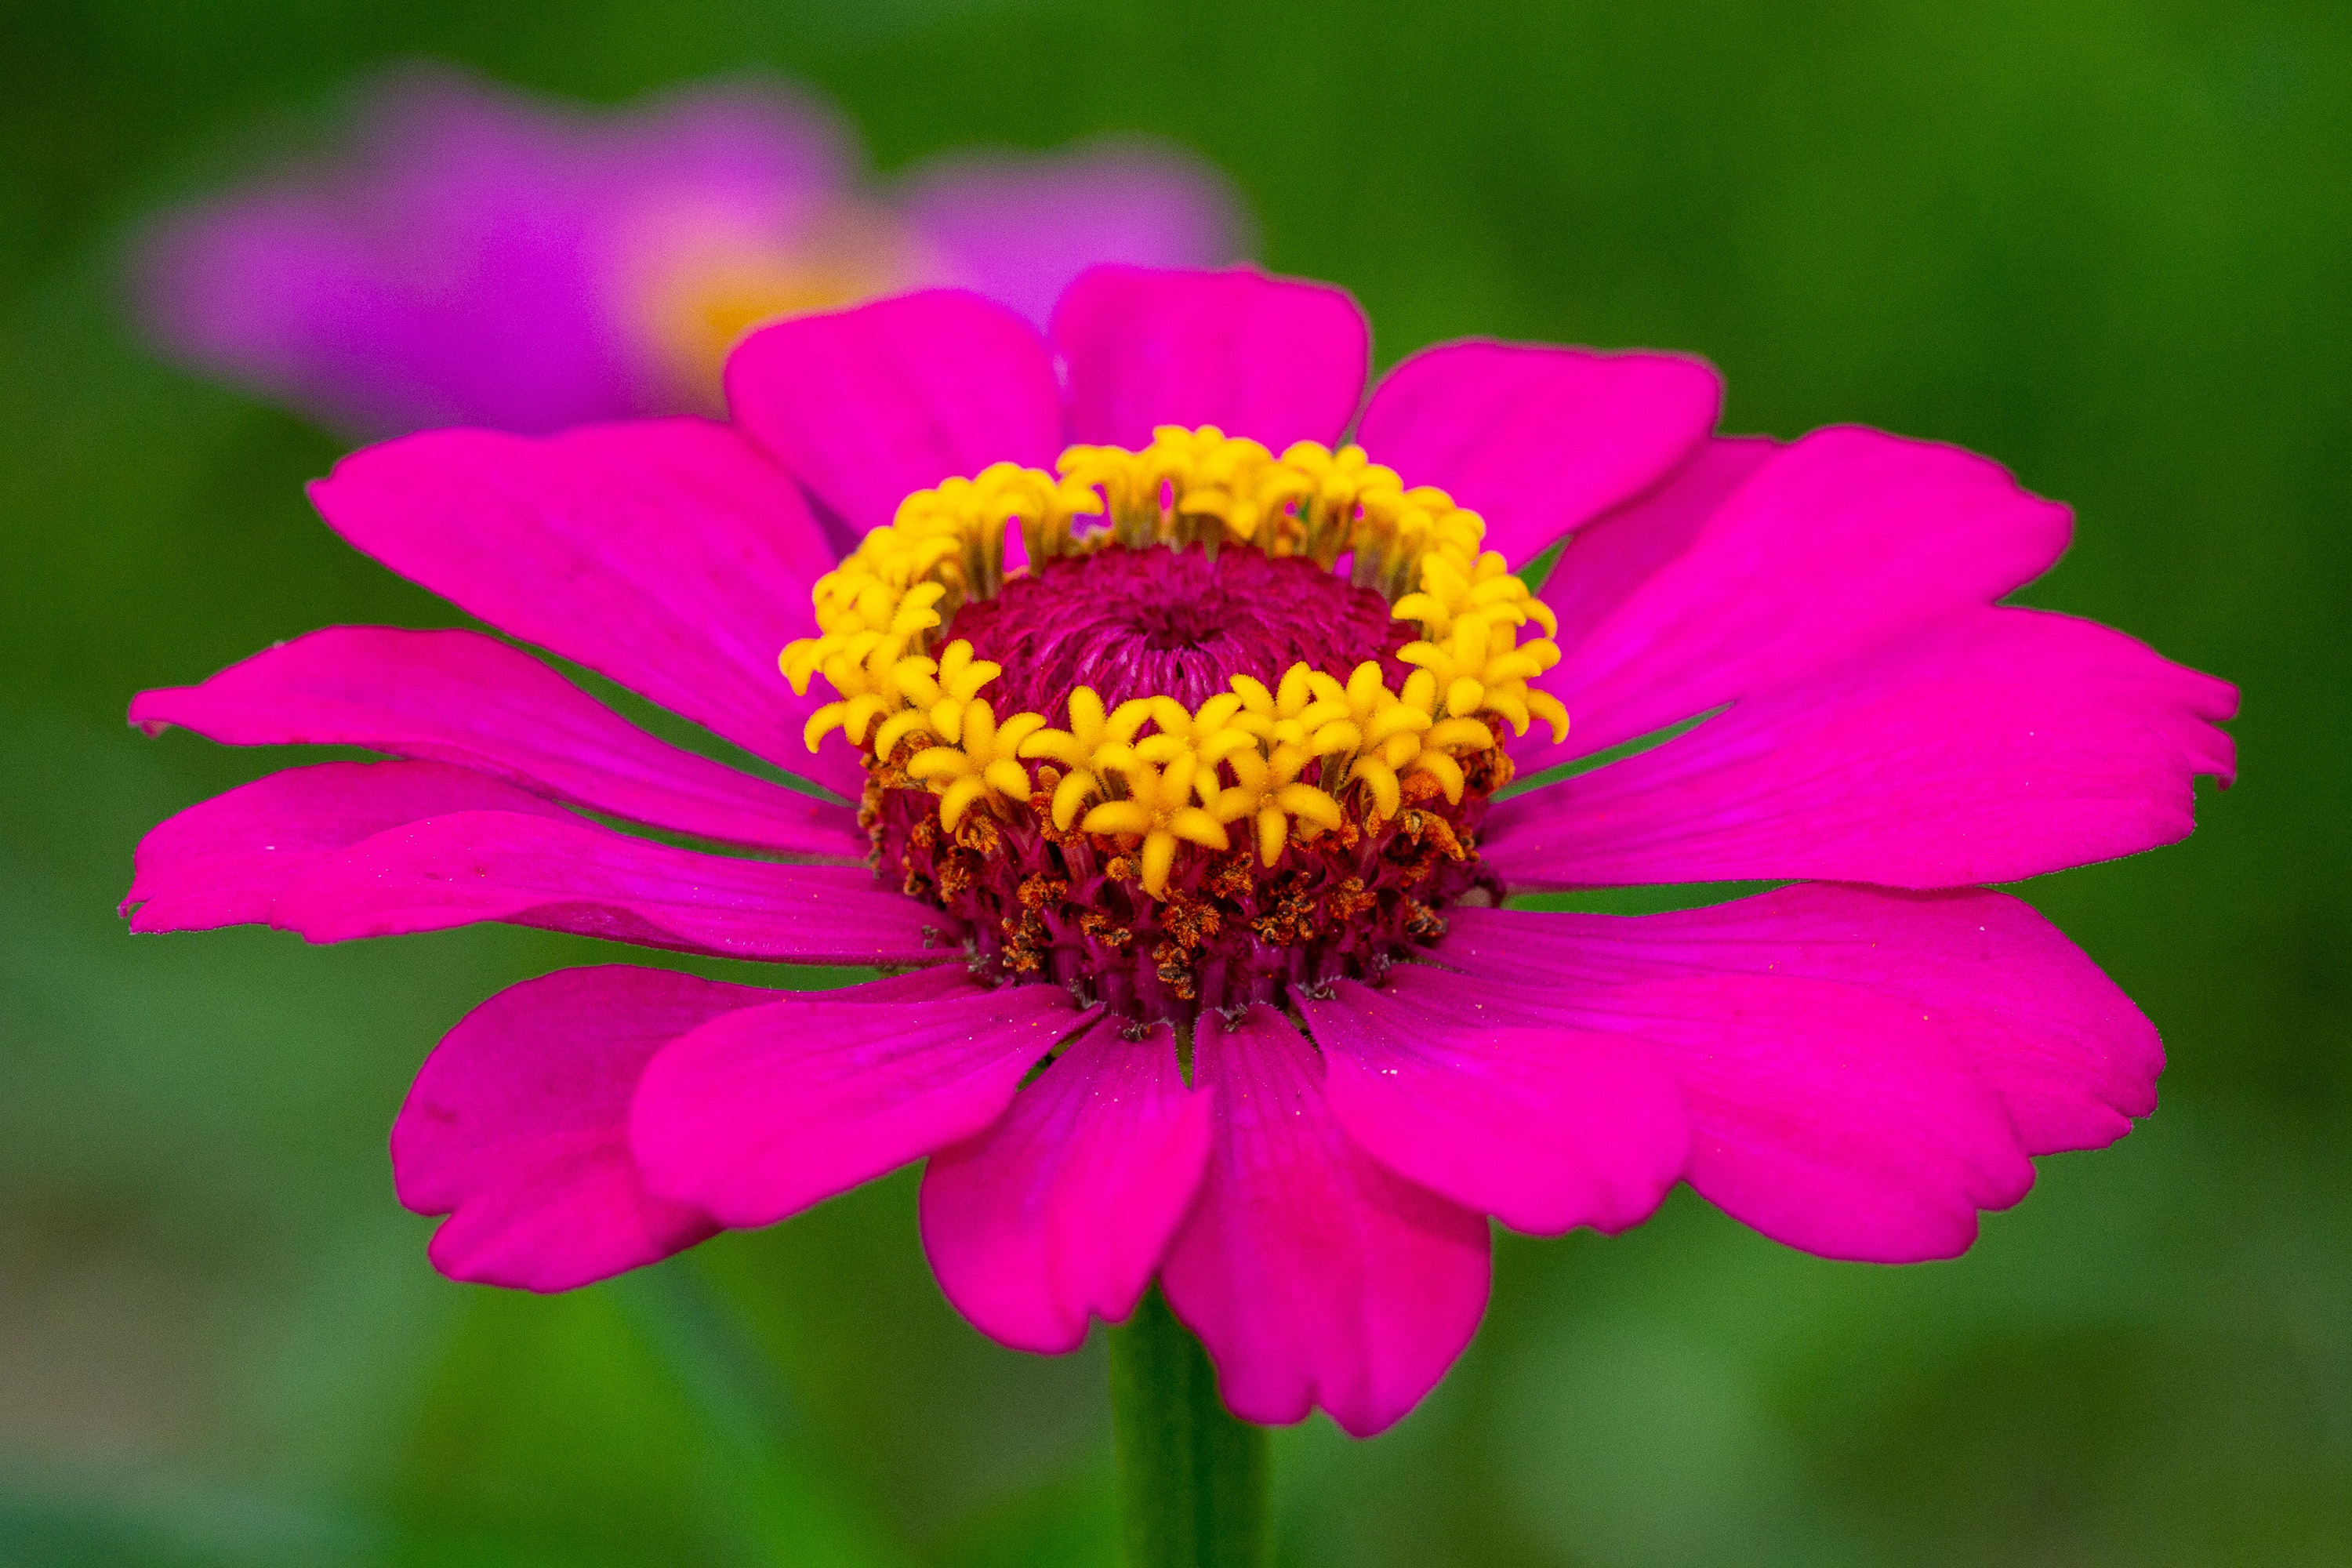
Cottage garden favourites such as cosmos, zinnias, nigella and nicotiana are all classed as half-hardy annuals. They can’t survive if temperatures drop below freezing. Instead, they are usually germinated and grown under cover to start with, and then the young plants can be transferred outside in late spring or early summer (usually by the first two weeks in May), when the risk of frosts has passed. Many half hardy annuals flower in mid- to late-summer, and they will keep going into early autumn. They are often cut-and-come again plants, which means the more you pick, the more blooms you will get.
Half hardy annual seeds should be sown indoors in mid to late spring, and placed on a window ledge, or in a greenhouse. Once they have germinated, they should stay inside. The tiny seedlings will soon grow and will need to be potted on once, or even twice.
Biennials
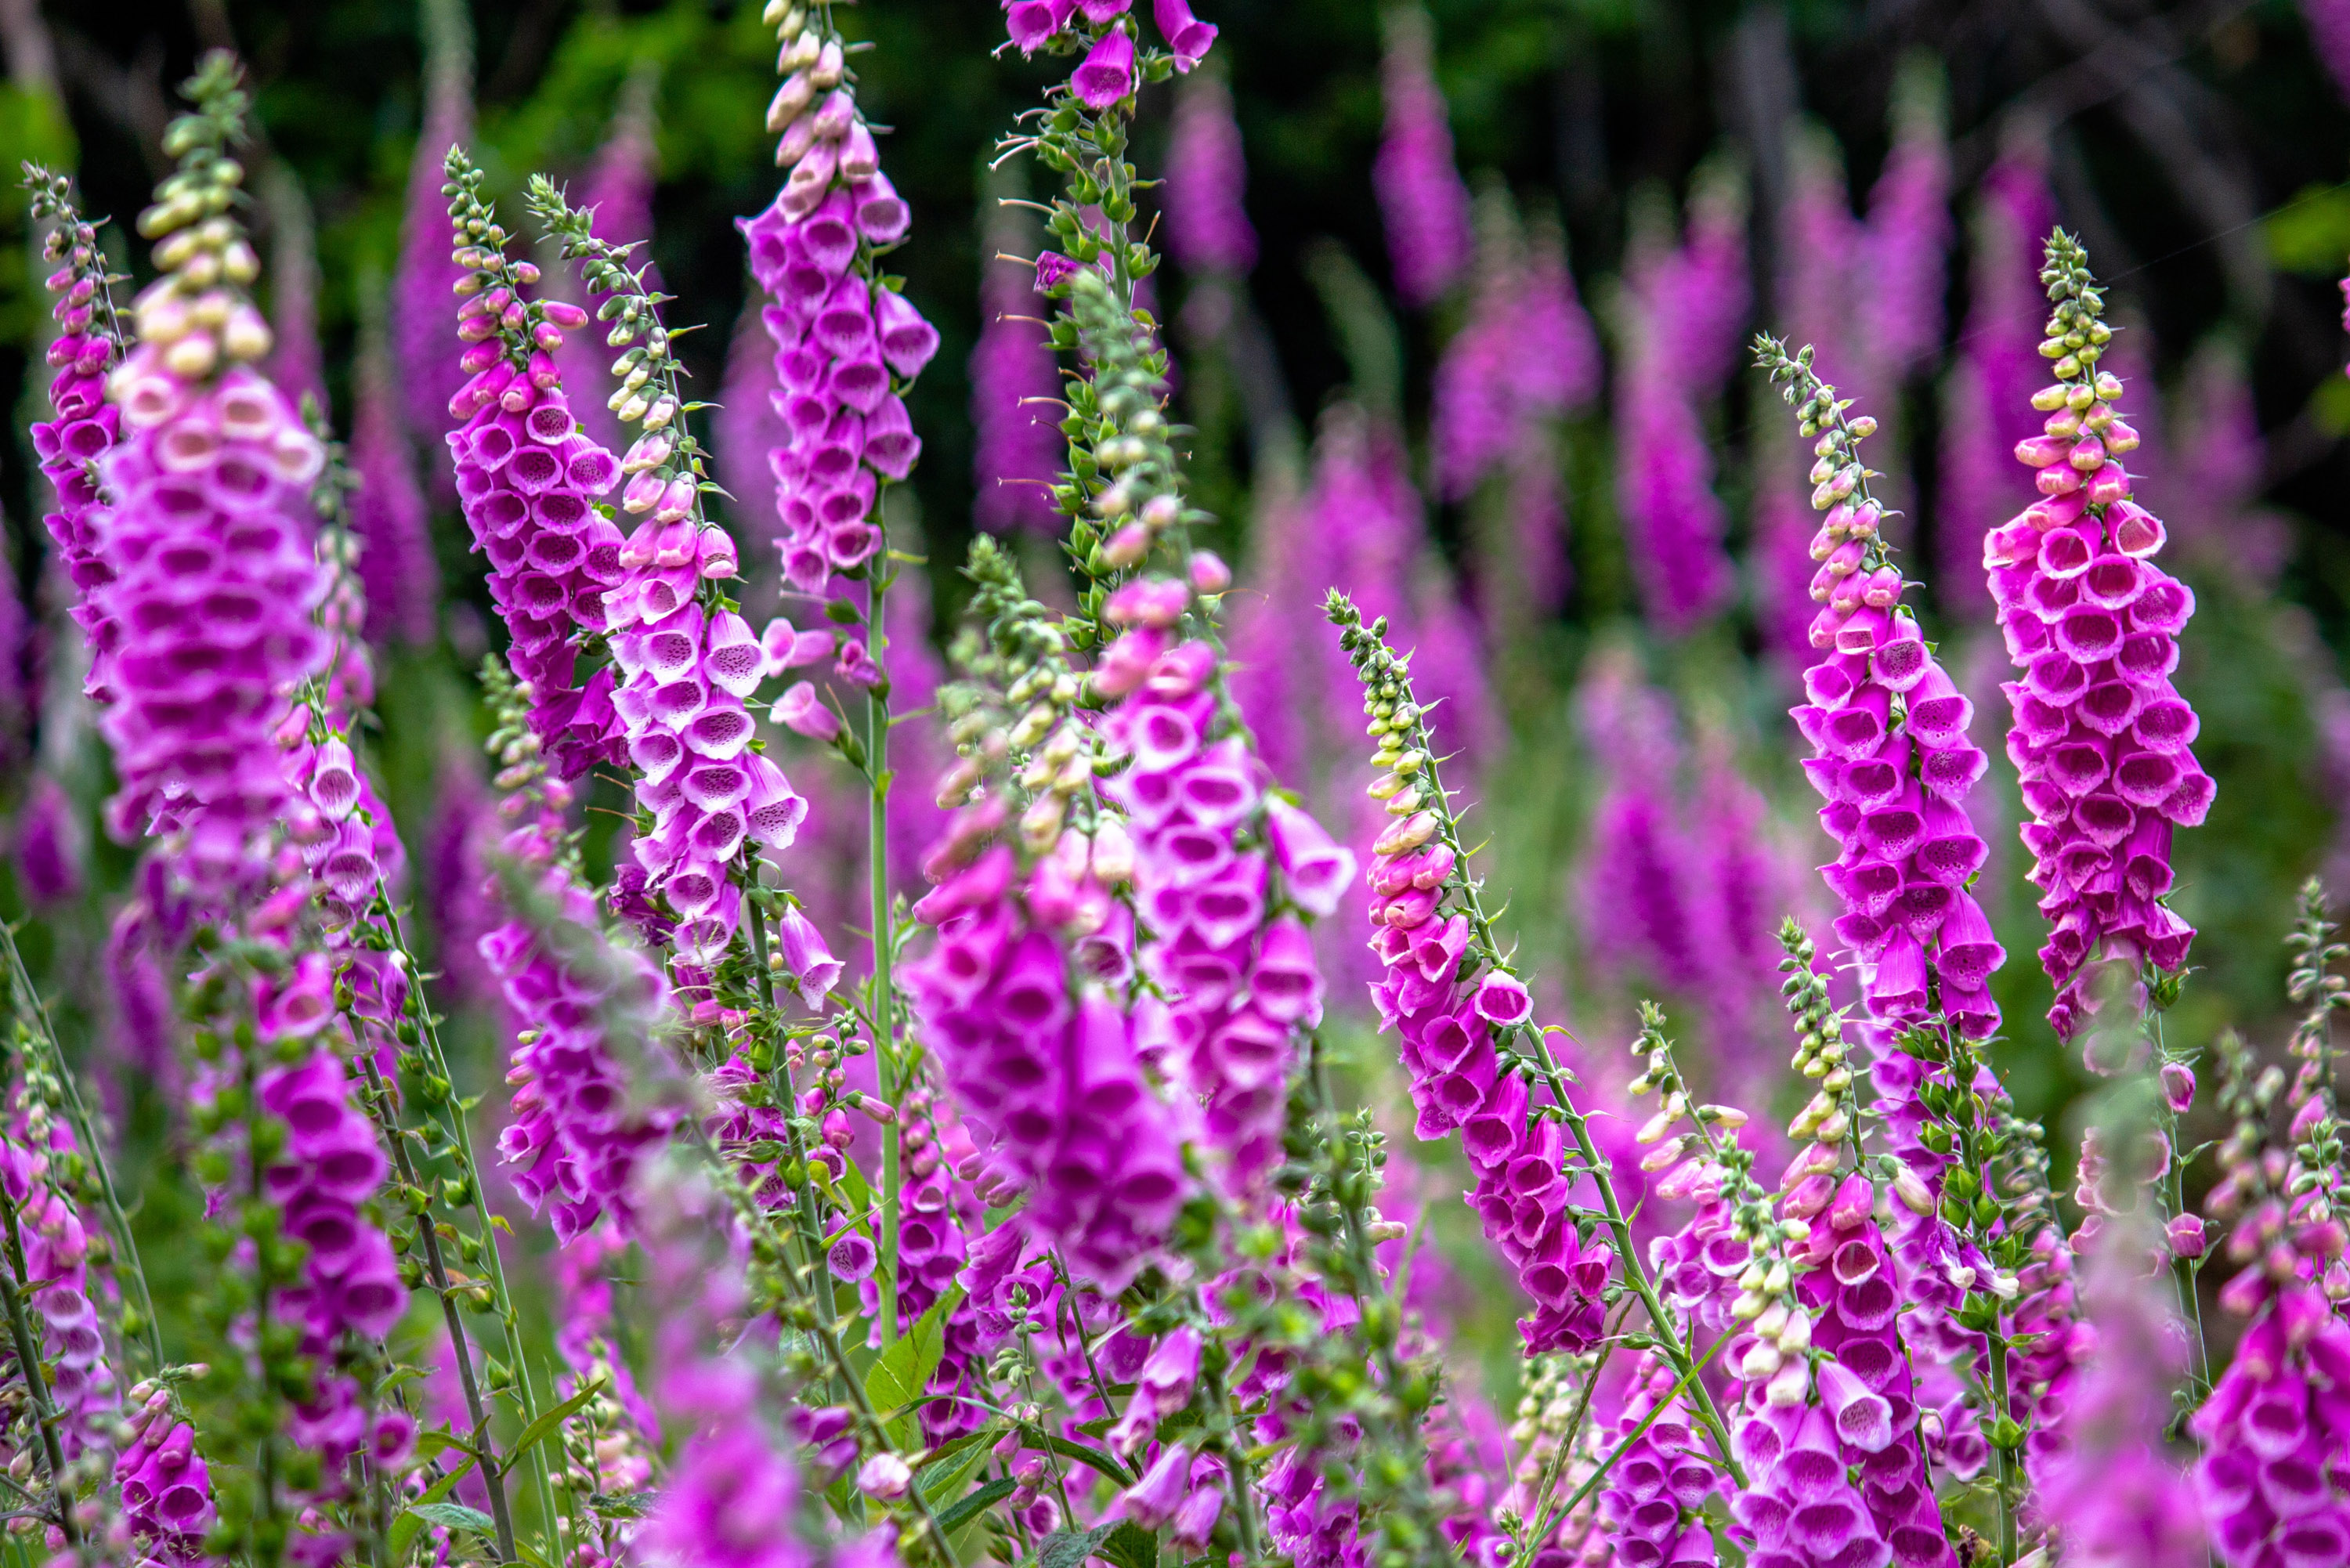
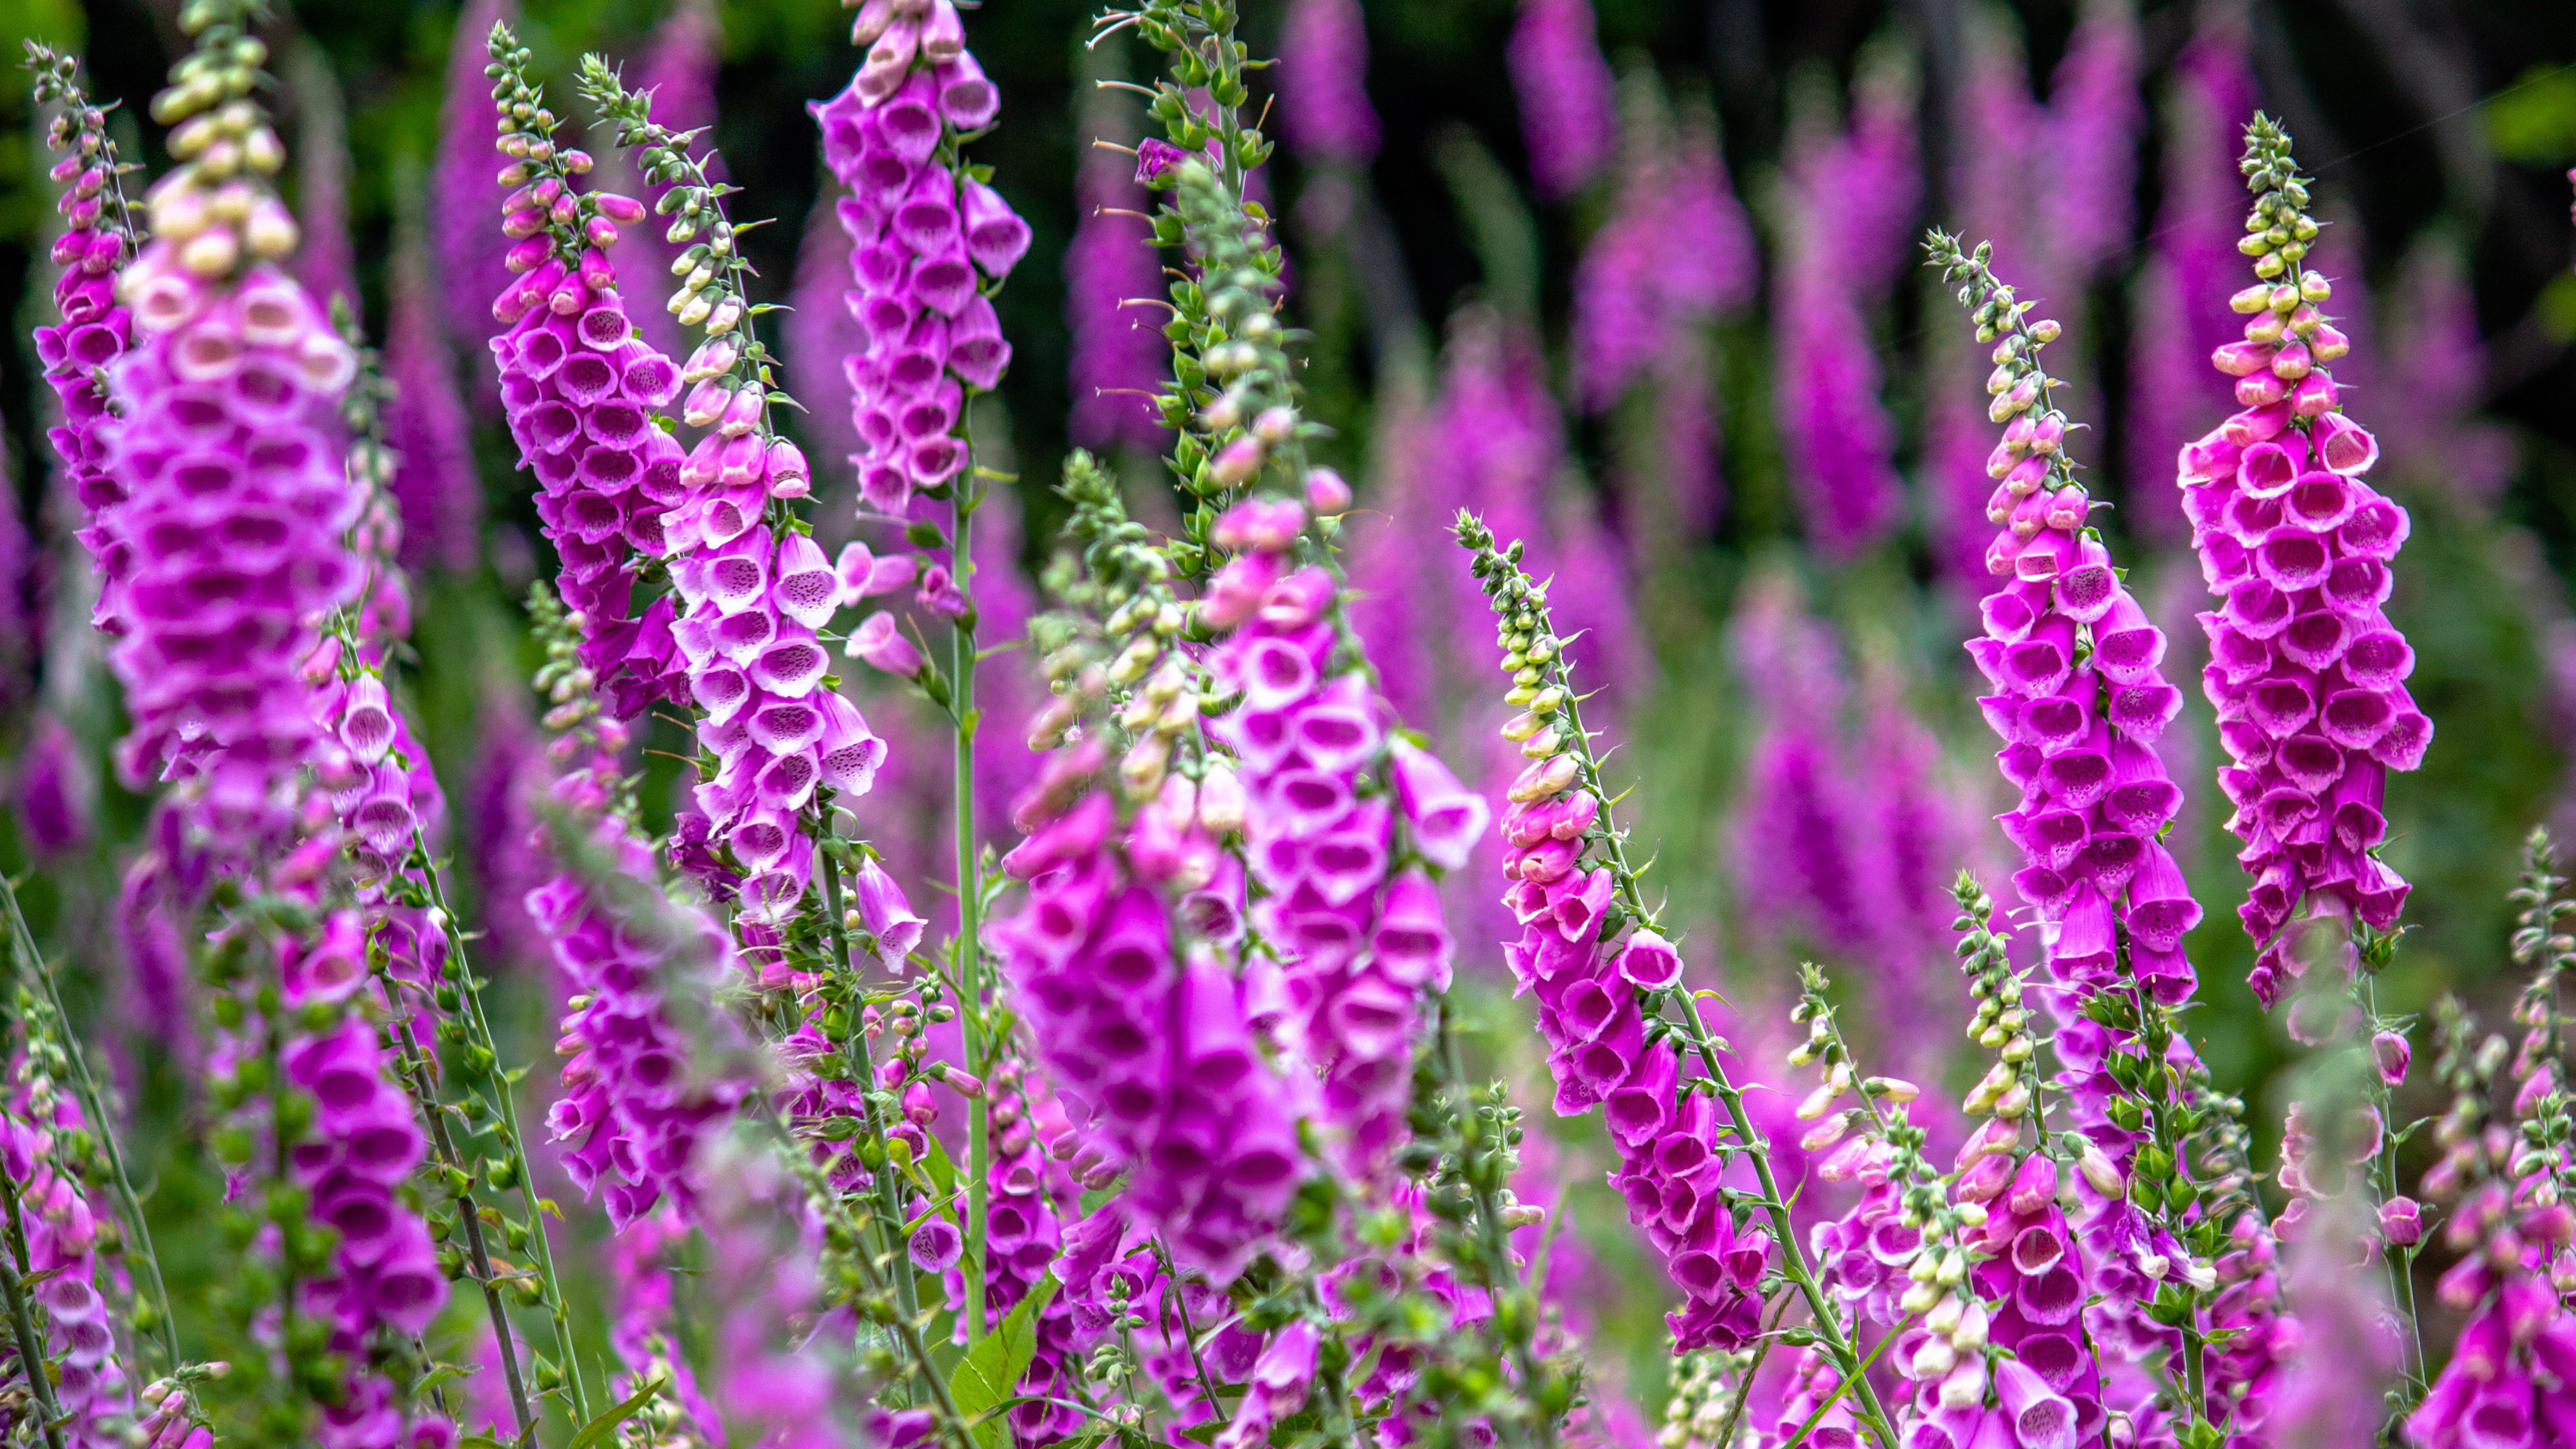
Foxgloves, delphiniums, sweet rocket, wallflowers and echiums all fall into this category of plants which take two years to complete their life cycle. Once the seeds are sown in late spring or summer, the plants develop foliage, then they will usually flower the following spring. They can be sown direct into the ground, but seasoned gardeners often advise that for best results, they should be grown under cover in late spring, kept in pots over summer, then planted out in borders and beds in the autumn.
Hardy perennials
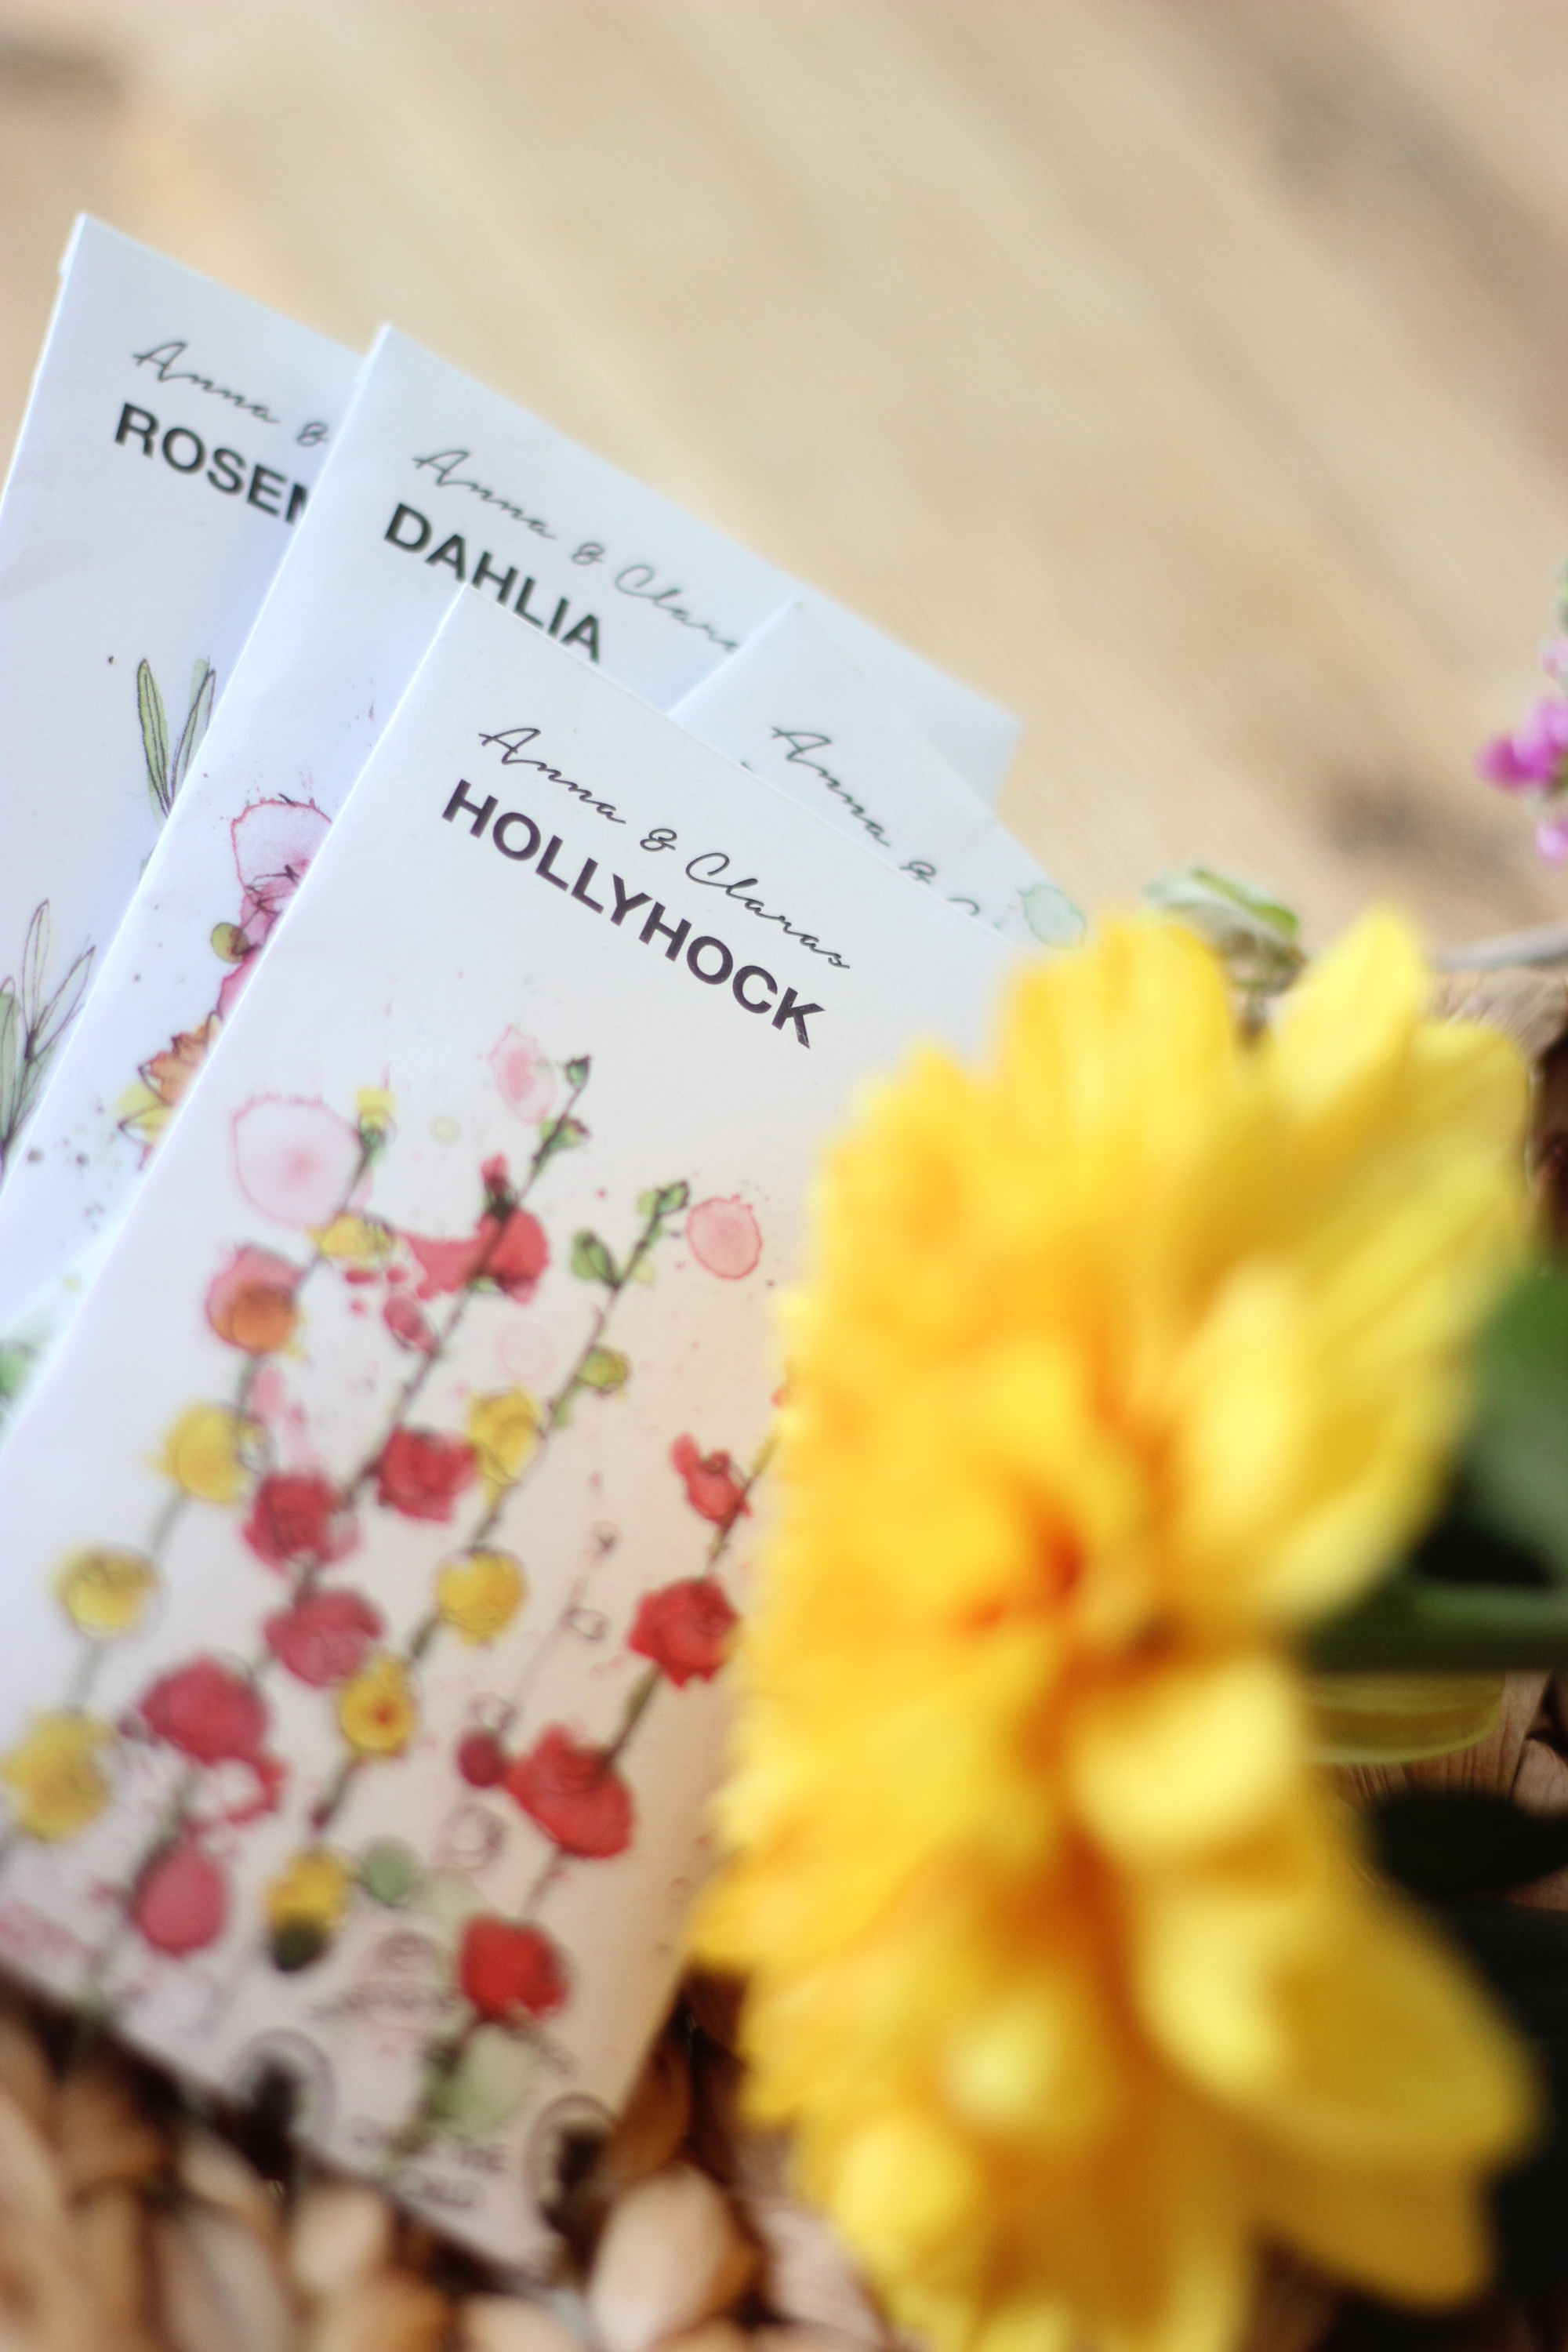
These are the trickiest category of seeds to grow, and if you’re a gardening novice, it might be better to invest in ready grown versions instead. Examples include achillea, echinacea and rudbeckia. Perennials can be hard to germinate, and they may not flower in the first year, but if you want to give them a go, easier choices include hyssop, hollyhocks and lupins. They should be sown in seed trays in late summer or autumn, then put under cover for the winter or early spring. As the seedlings grow, they can be potted on, and then planted out when the soil warms up. Always make sure that seeds are fresh (most packets are date-stamped) as this brings the best chance of success with hardy perennials.
HOW TO SOW SEEDS DIRECT IN THE GROUND
Prep your soil
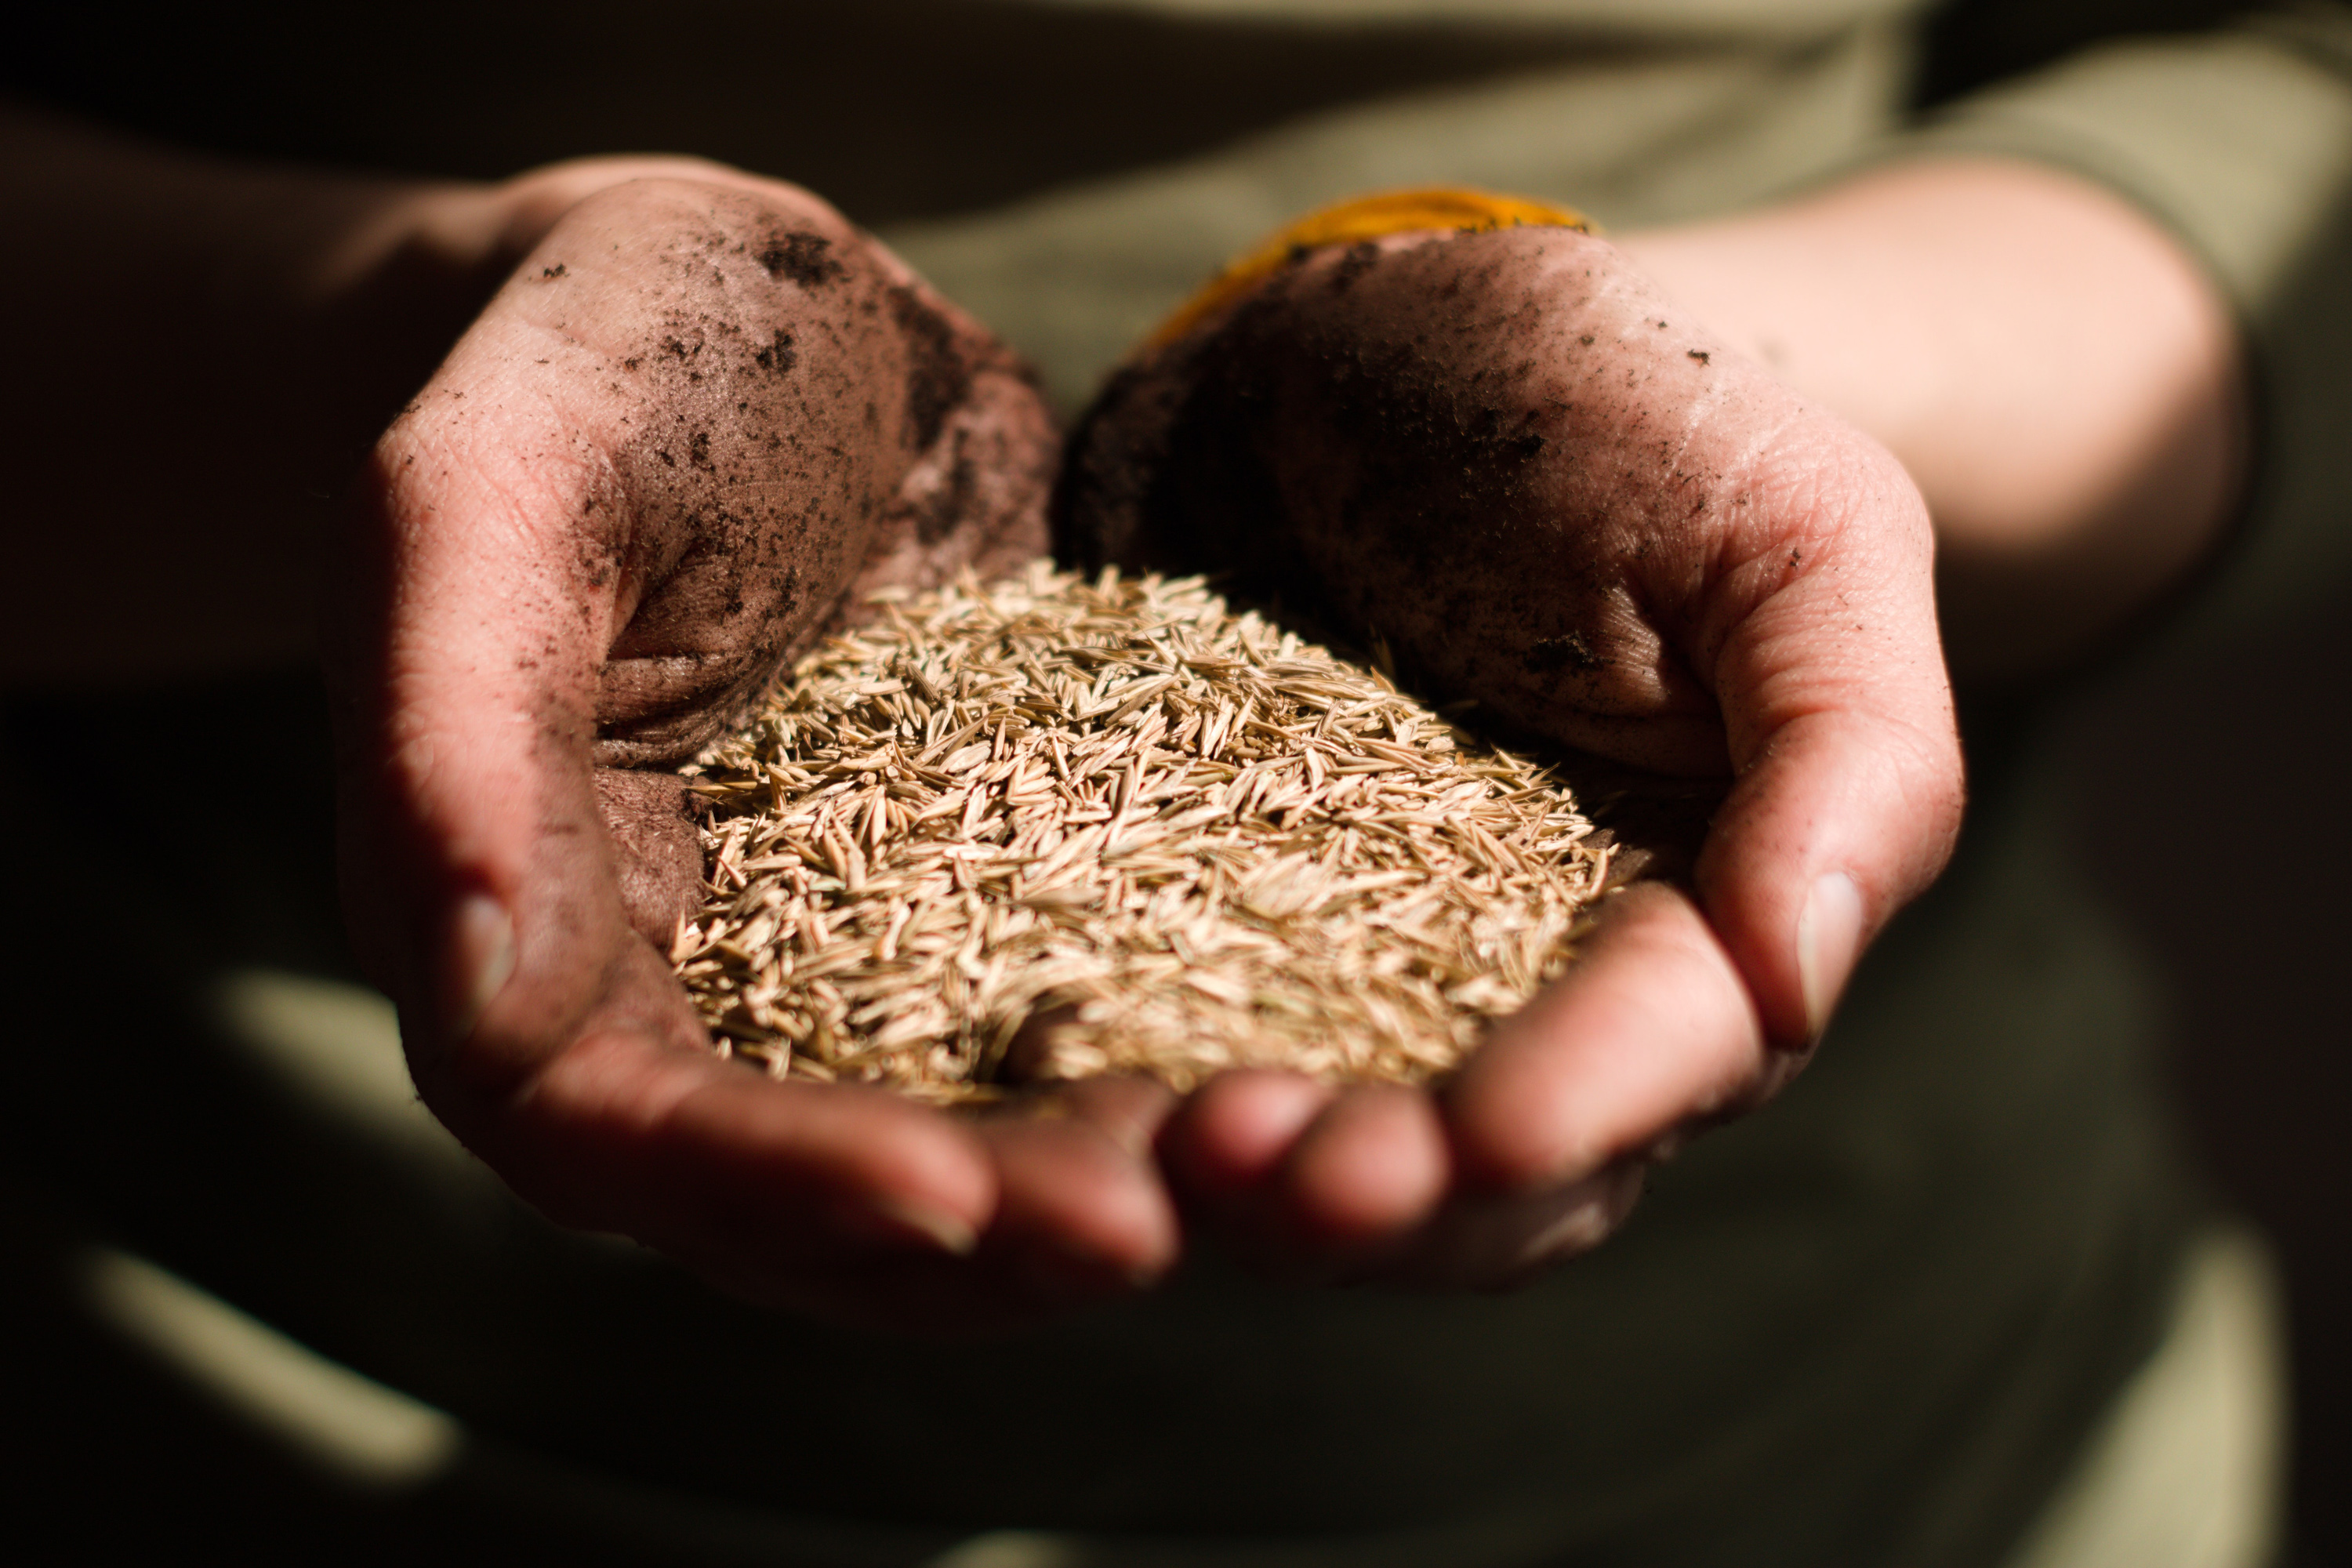
Seeds love healthy, well-nourished soil, so before you plant any, it’s worth preparing the ground. Add some well-rotted manure or compost, and if your soil is soggy or clay type, digging in sand or grit will help to improve drainage. For spring seed sowing, prepare beds in the autumn, and when the seeds are ready to go in, simply dig over and rake the soil to a fine consistency (it is called ‘tilth’). Find out how to compost in our guide.
Sowing seeds
Sow seeds thinly, as overcrowding will not make for healthy plants. Mark out a row using your finger or a dibber to make a shallow indent (the seed packet will advise how deep to plant). Rather than sowing by pouring direct from the packet, use your finger and thumb to spread a small pinch. One good tip is to mix very small seeds with sand. This means they will be less likely to clump together when you sprinkle them on the soil.
Keep them well watered
Once the seeds are sown, keep them watered, using a watering can with a very fine rose to avoid washing the seeds away. Hardy annuals should germinate within a week to ten days after planting.
Thin out seedlings
As the seedlings sprout and grow, they need to be thinned out. Overcrowding can cause plants to ‘bolt’ and go to seed. Gently remove the smaller ones, leaving stronger specimens to grow with a space between them of about 20-30cm.
TROUBLESHOOTING
Slugs and snails love to munch the tender shoots of freshly sprouted seedlings. To put them off, try mulching the soil with fine grit, add some organic slug pellets, or use beer traps. For these, sink some flower pot saucers in the ground until level with the surface, and fill with beer. The slugs are attracted to it and will fall into the liquid.
Even if you do not succeed with every batch of seed at first, don’t be disheartened: even the most experienced gardeners will say that growing from seed involves a certain amount of trial and error.
SOWING SEEDS INDOORS
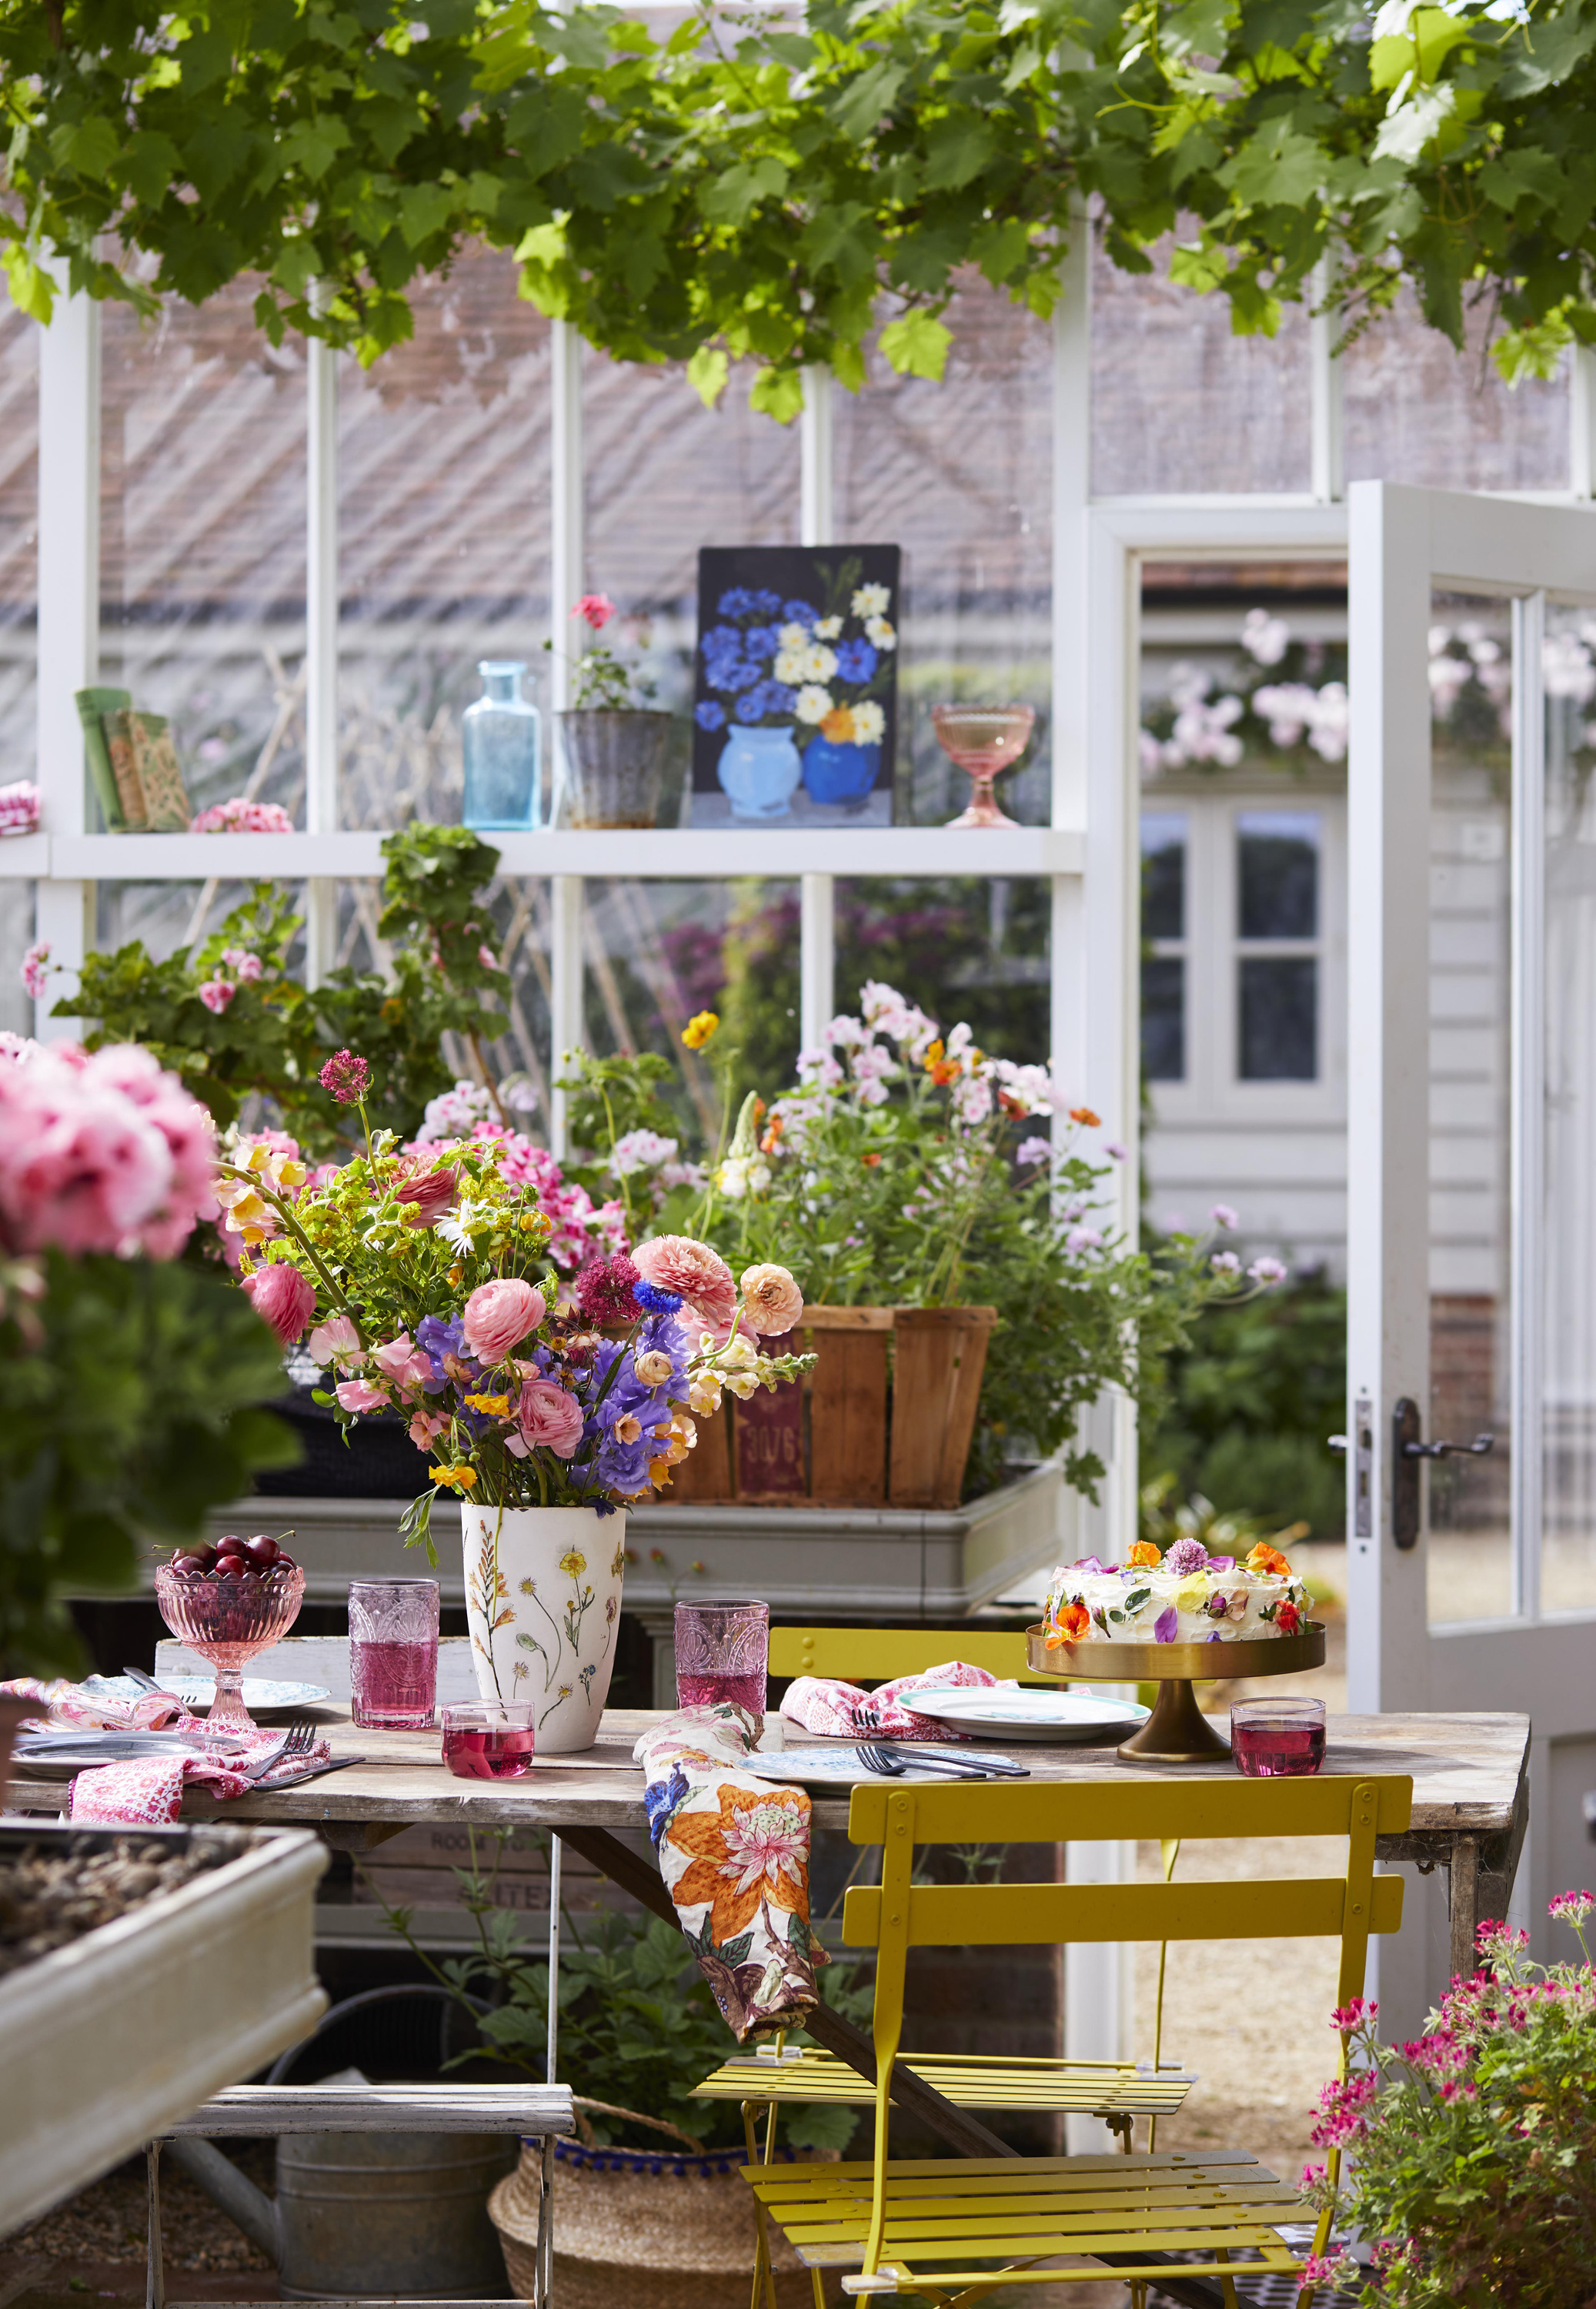
Some seeds need to start life under cover, whether that’s in a greenhouse or a bedroom window ledge. It means that they can get established without being affected by freezing temperatures or hungry pests. There are a few plants which thrive better only if they are sown in the ground, leaving their roots undisturbed, so always check the seed packet to make sure that starting them off inside is the best way.
You can buy bags of seed compost to plant them in, as this is formulated for their growing needs, although larger seeds such as sweet peas can be sown in multi-purpose compost.
Choosing the right container for your seeds:
Large seeds including sweet peas and sunflowers can be planted direct into small 7cm flower pots (one per pot), or you can make your own compostable pot by cutting a loo roll in half, filling it with compost and standing it in an open seed tray. Avoid pressing in the compost too firmly.
Medium sized seeds can be sown in trays with small removable compartments and a plastic lid (find these at Wilko). Again, do not compact the soil too firmly. Once the seeds have germinated, remove any small, weak seedlings, leaving just the strongest one to thrive.
Tiny seeds are best planted in an open rectangular tray filled with compost. Sow them very sparingly, so they are not too crowded. A sheet of clingfilm or a clear plastic bag placed over the top of the tray will help to create the warm, moist environment that the seeds need to germinate. This should be removed once the seedlings push through.
Depth of planting is always given on seed packets, but as a general rule, large seeds are best planted at around 1cm deep (or twice the depth of the size of the seed), medium seeds need a sprinkle of compost on top and tiny seeds should not be covered at all. The compost should be kept moist but not soggy.
Once the seedlings have germinated, remove the lid of the seed tray, or the plastic sheet, and put them in a cooler place. If they are kept in conditions which are too warm, the plantlets grow too fast, and their root system will not be strong. Moving them to a greenhouse or a cold frame outside is ideal for this, but if they are indoors, keep them away from the direct heat of a radiator.
POTTING ON
This is just a term for moving the growing seedlings from small to larger pots to give their roots a chance to spread out and develop. Aim to put them in a container one size up. You will need to add some fresh compost. Keep it moist, but not soggy.
HARDENING OFF
Plants which have been grown in a warm place need to be acclimatised to cooler temperatures before they are planted out permanently. If they are in a greenhouse or a conservatory, start by keeping the door open in the daytime. After a few days, the plants can then be moved on to an outside table during daylight hours. Keep an eagle eye on the weather forecast. If there is any mention of frost, the plants need to be brought back inside asap, or they won’t survive and the hard work will be wasted!
PLANTING OUT
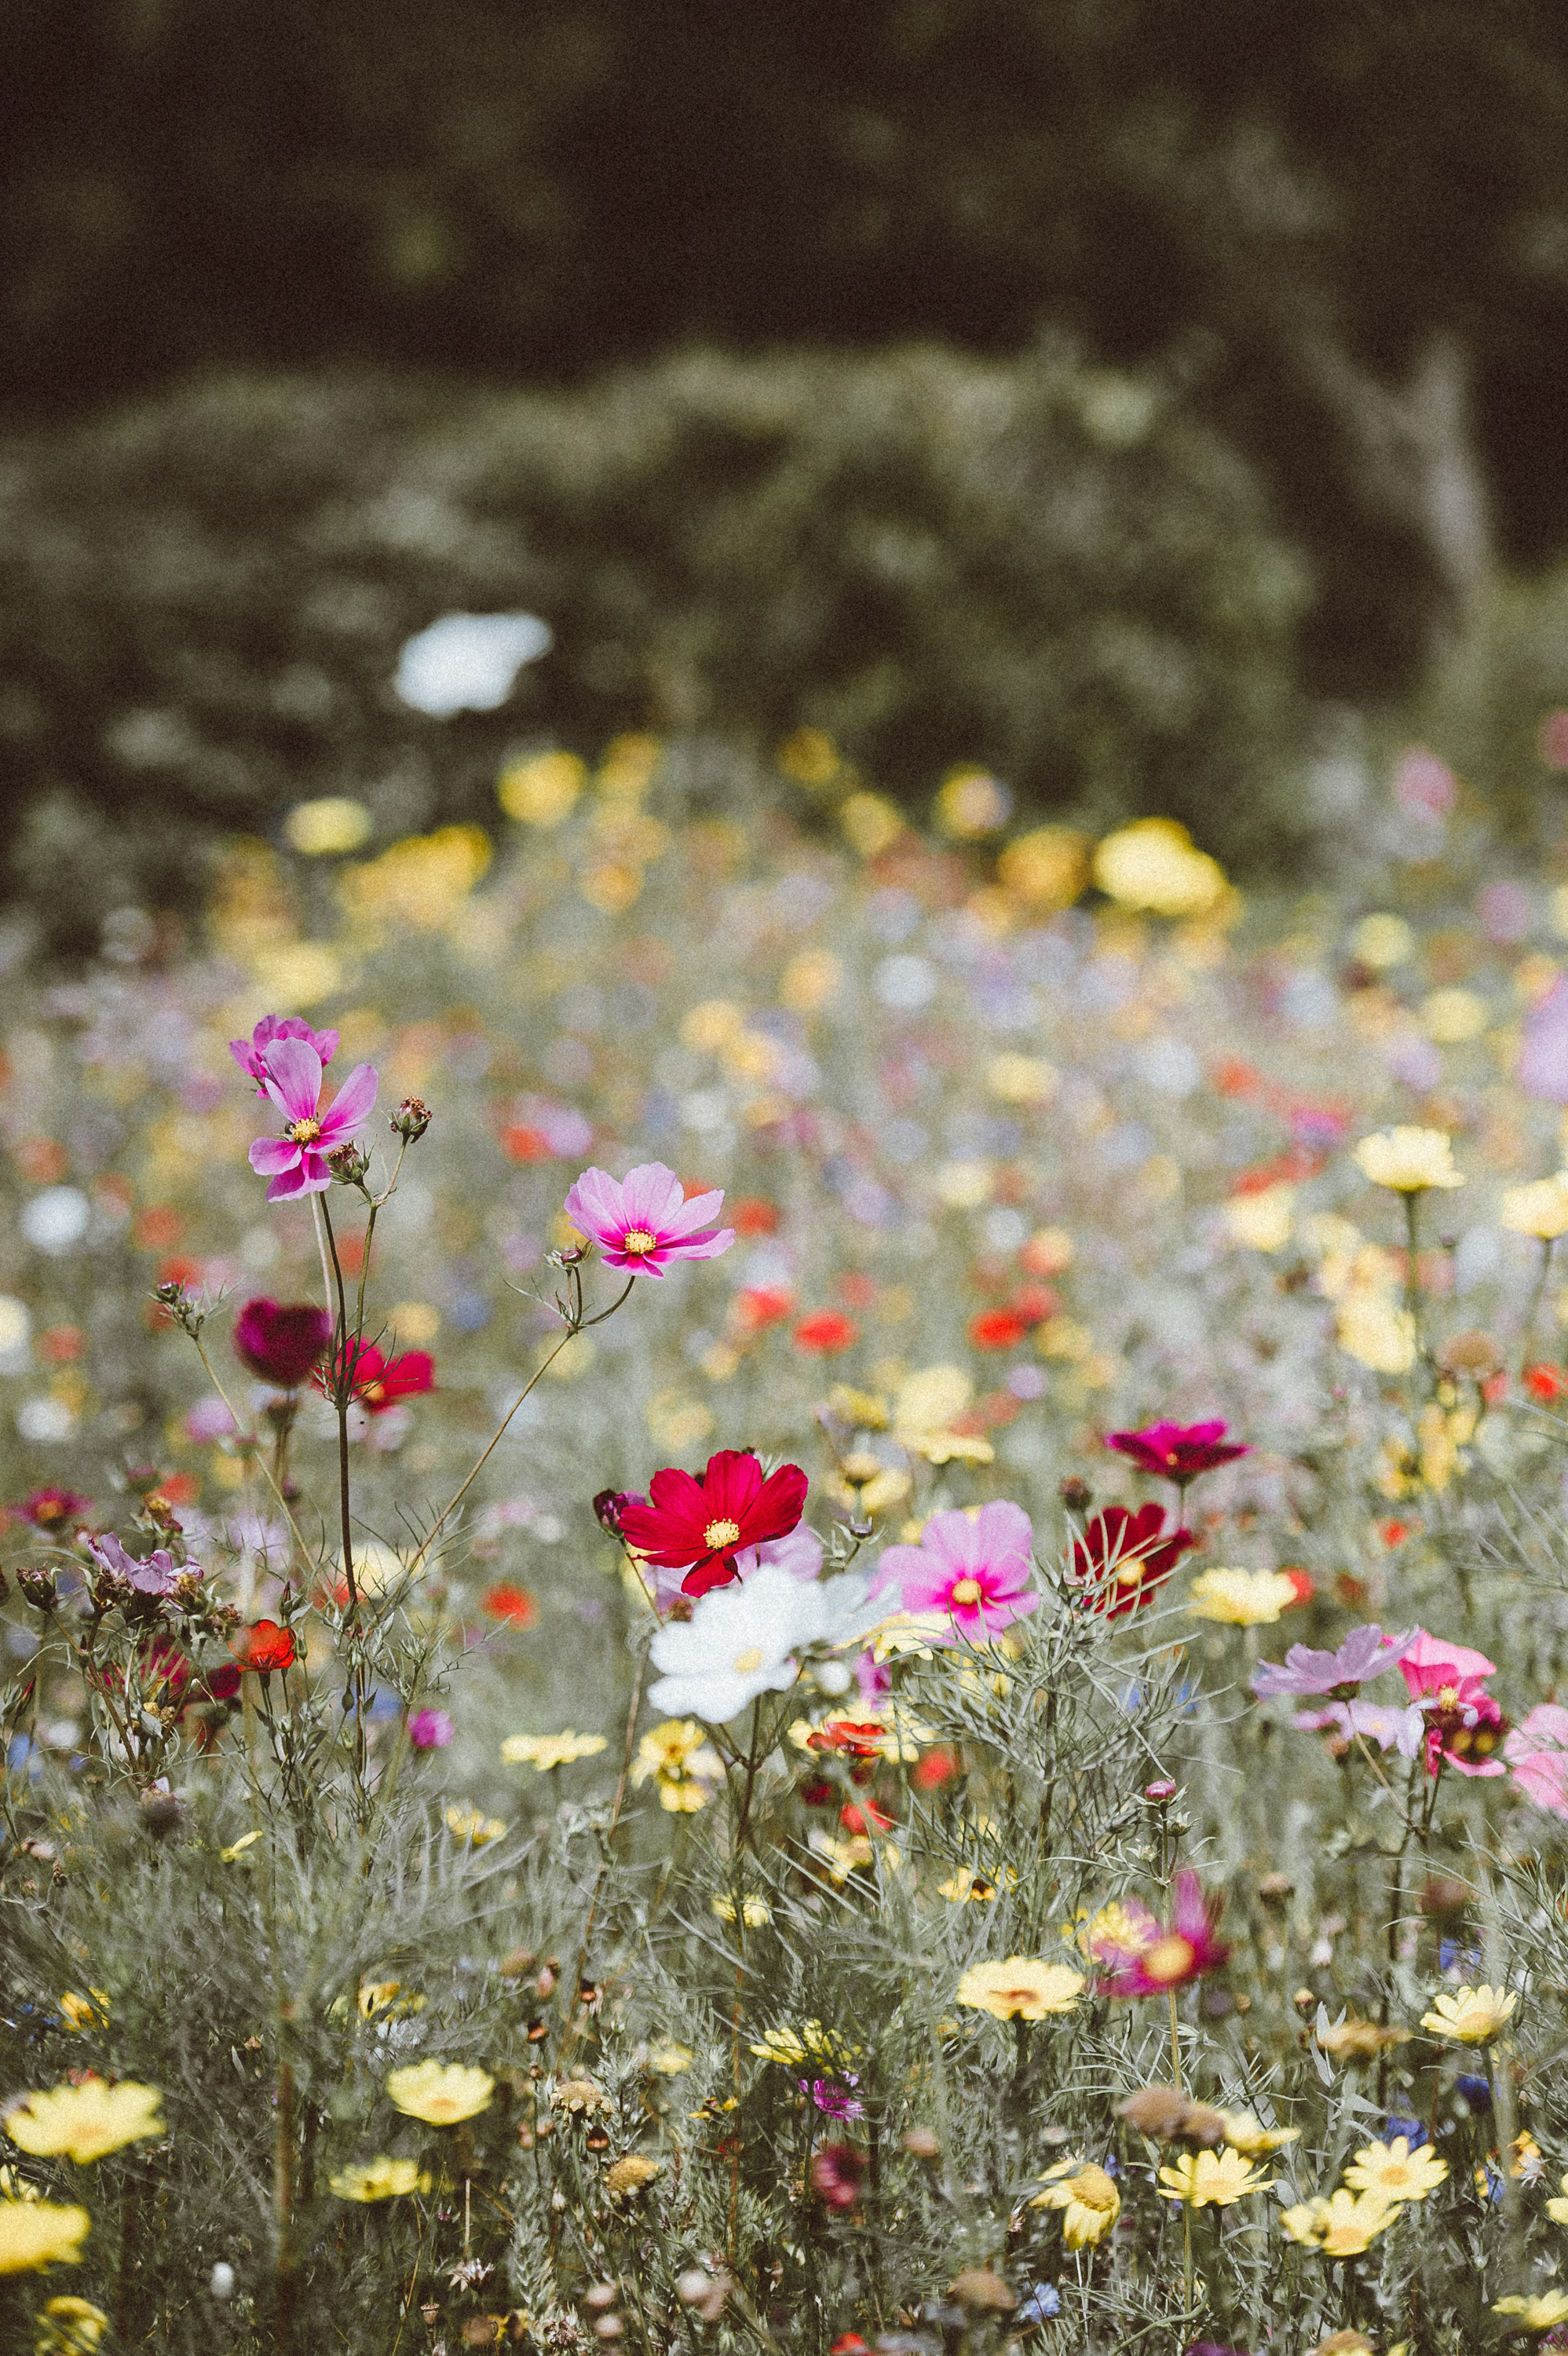
When frosts are off the agenda (usually in early May), young plants can be put in their permanent home in the ground. Keep them well watered, without washing them away.
Read more:
- How to take cuttings from plants and get plants for free
- Guide to planting bulbs: how and when to do it
- Greenhouse ideas: create a space that's not just for plants
An experienced freelance journalist, editor and columnist writing for national magazines and websites, Fiona now specialises in gardens. She enjoys finding and writing about all kinds, from the tiniest town plots to impressively designed ones in grand country houses.
