Composting: a step-by-step guide on how to compost at home
Composting will help you reduce waste, save money and grow healthy plants in your garden – here's everything you need to know
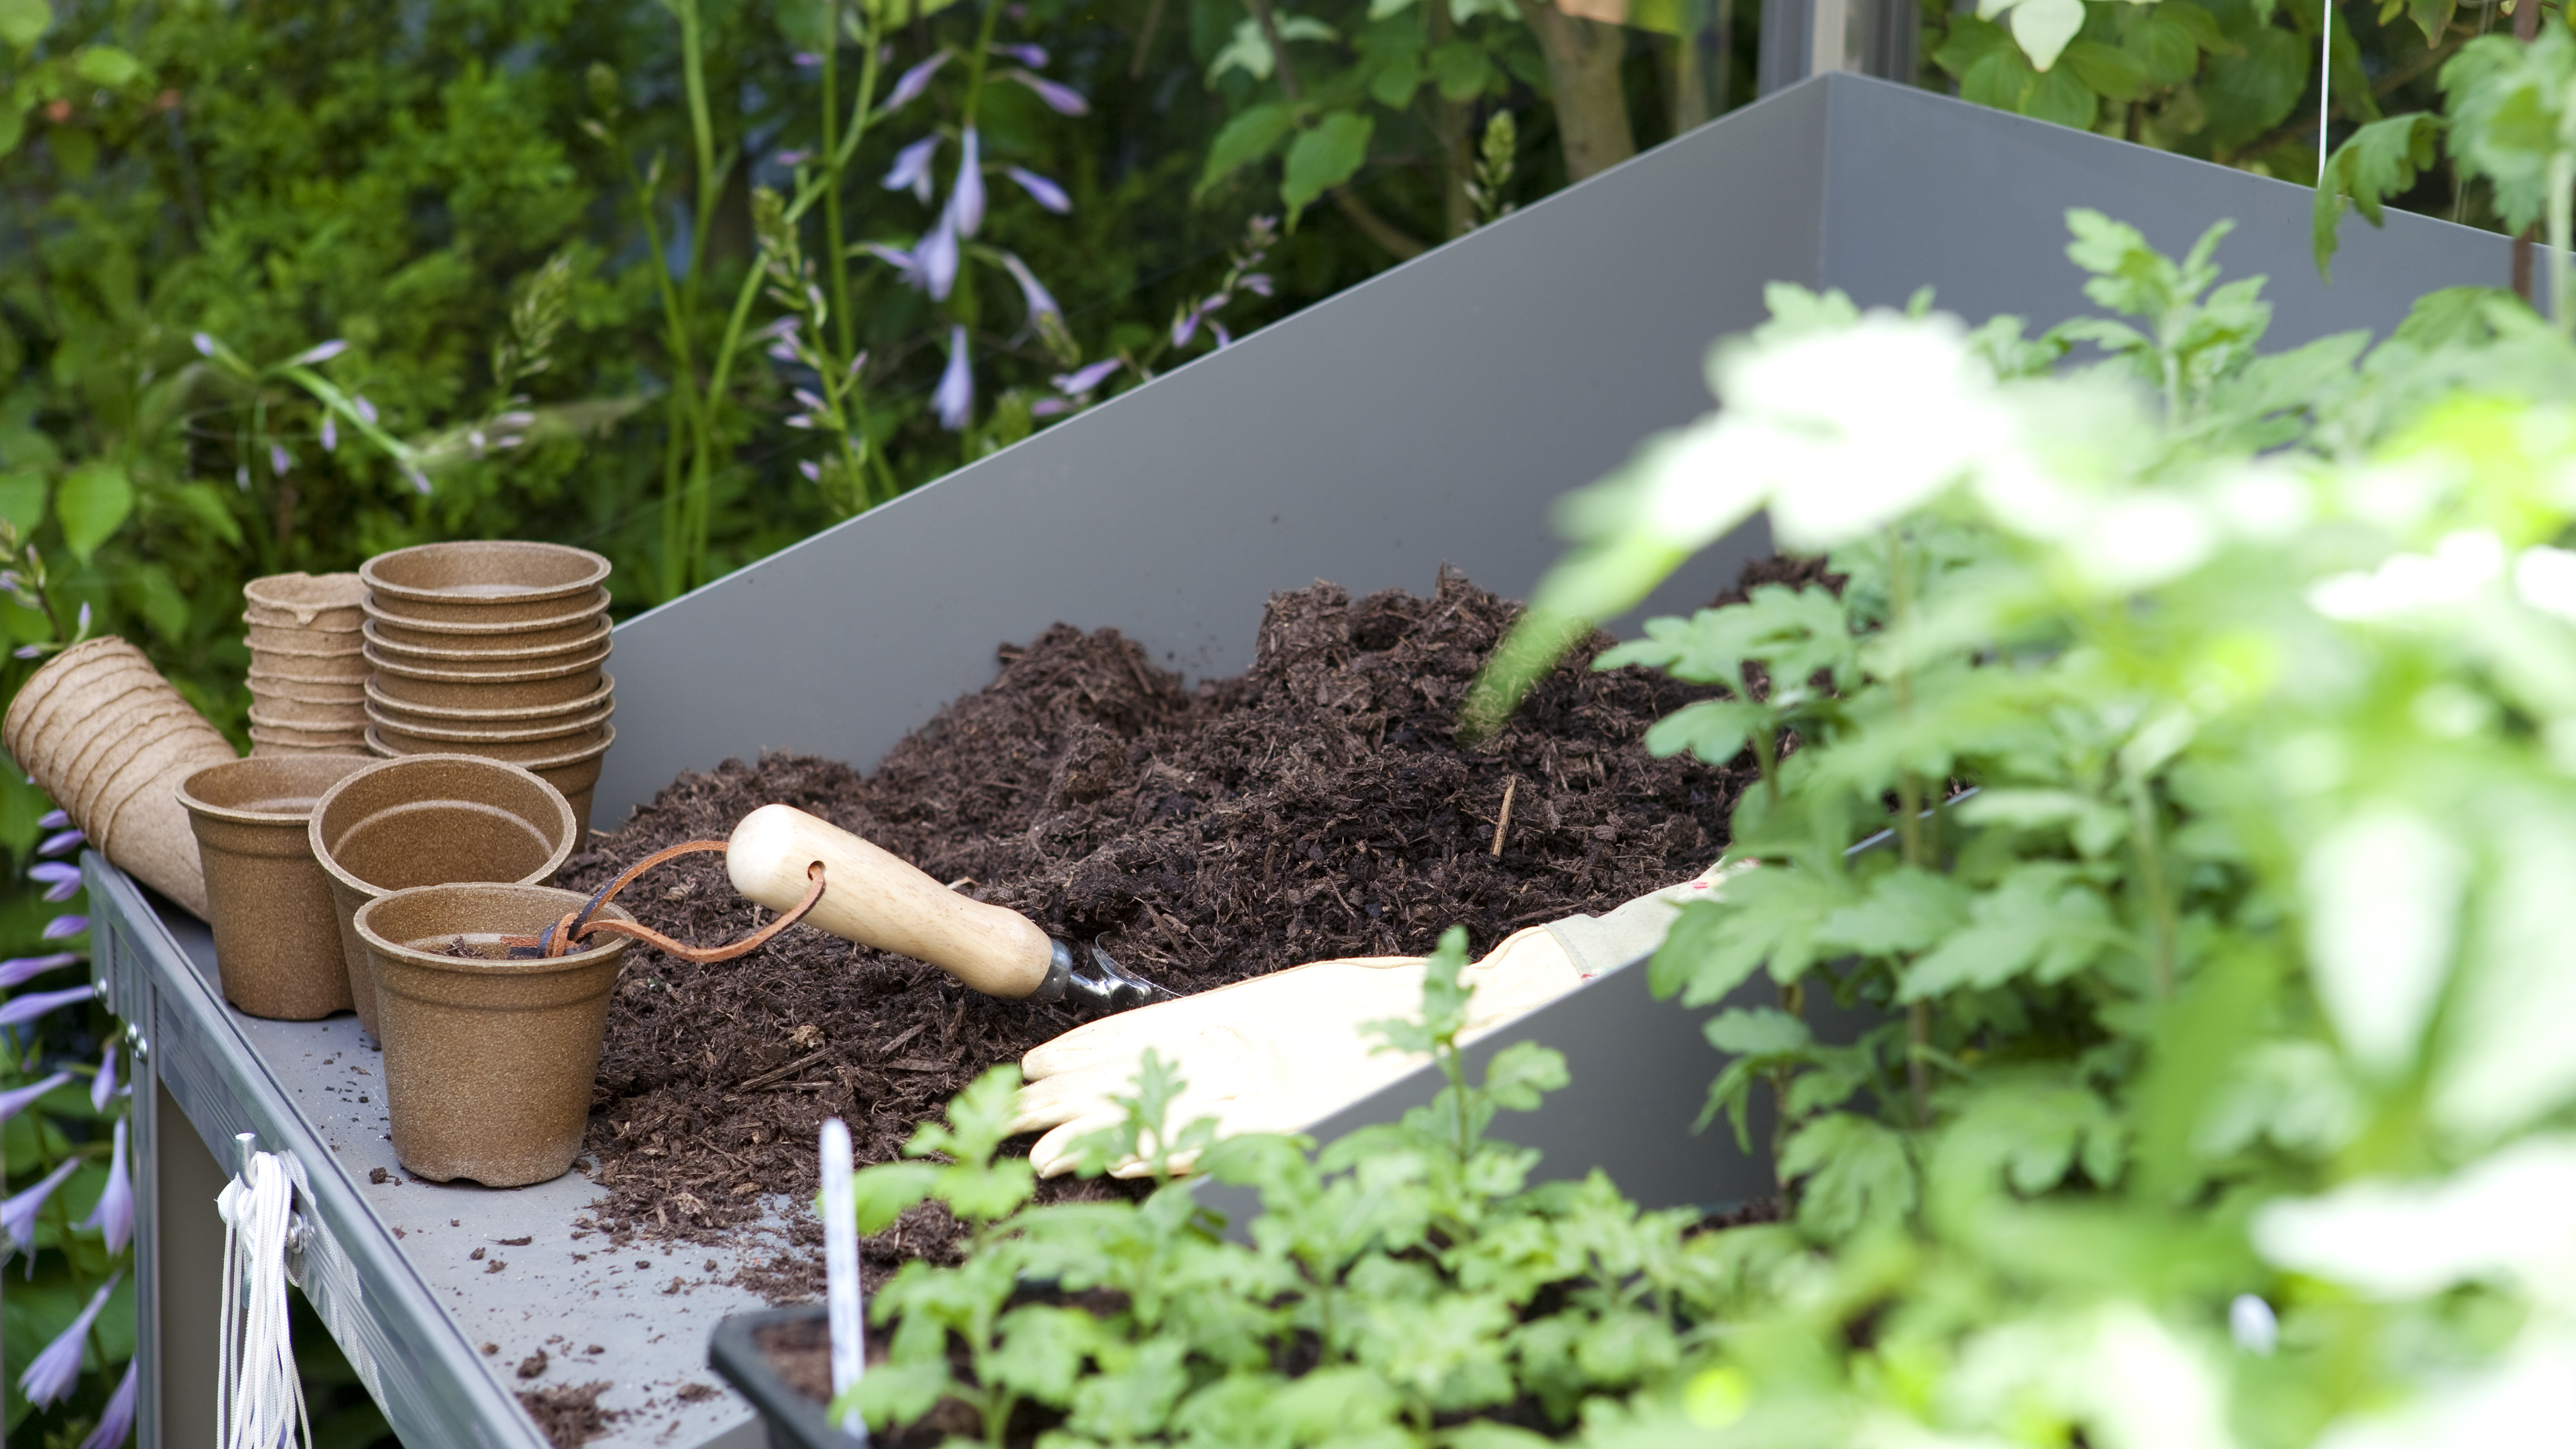
Want to get the lowdown on composting? There are tons of benefits to learning how to compost at home, not to mention it's easy and really quite enjoyable once you know how.
Perhaps you're trying to cut down on the amount of household waste you throw away. Maybe you're keen to come up with your own homemade, peat-free alternative to do your bit to protect fragile peatland habitats. Or, perhaps you'd simply like to save money on soil improvers, fertilizers, and material for mulching by giving your garden an all-natural boost.
Whatever your reasons, composting can be done in all kinds of plots – even in very small gardens. In fact, even if you don't have a garden, you can still follow the same method on a smaller scale. Simply use a kitchen compost bin to make compost for window boxes and container plants.
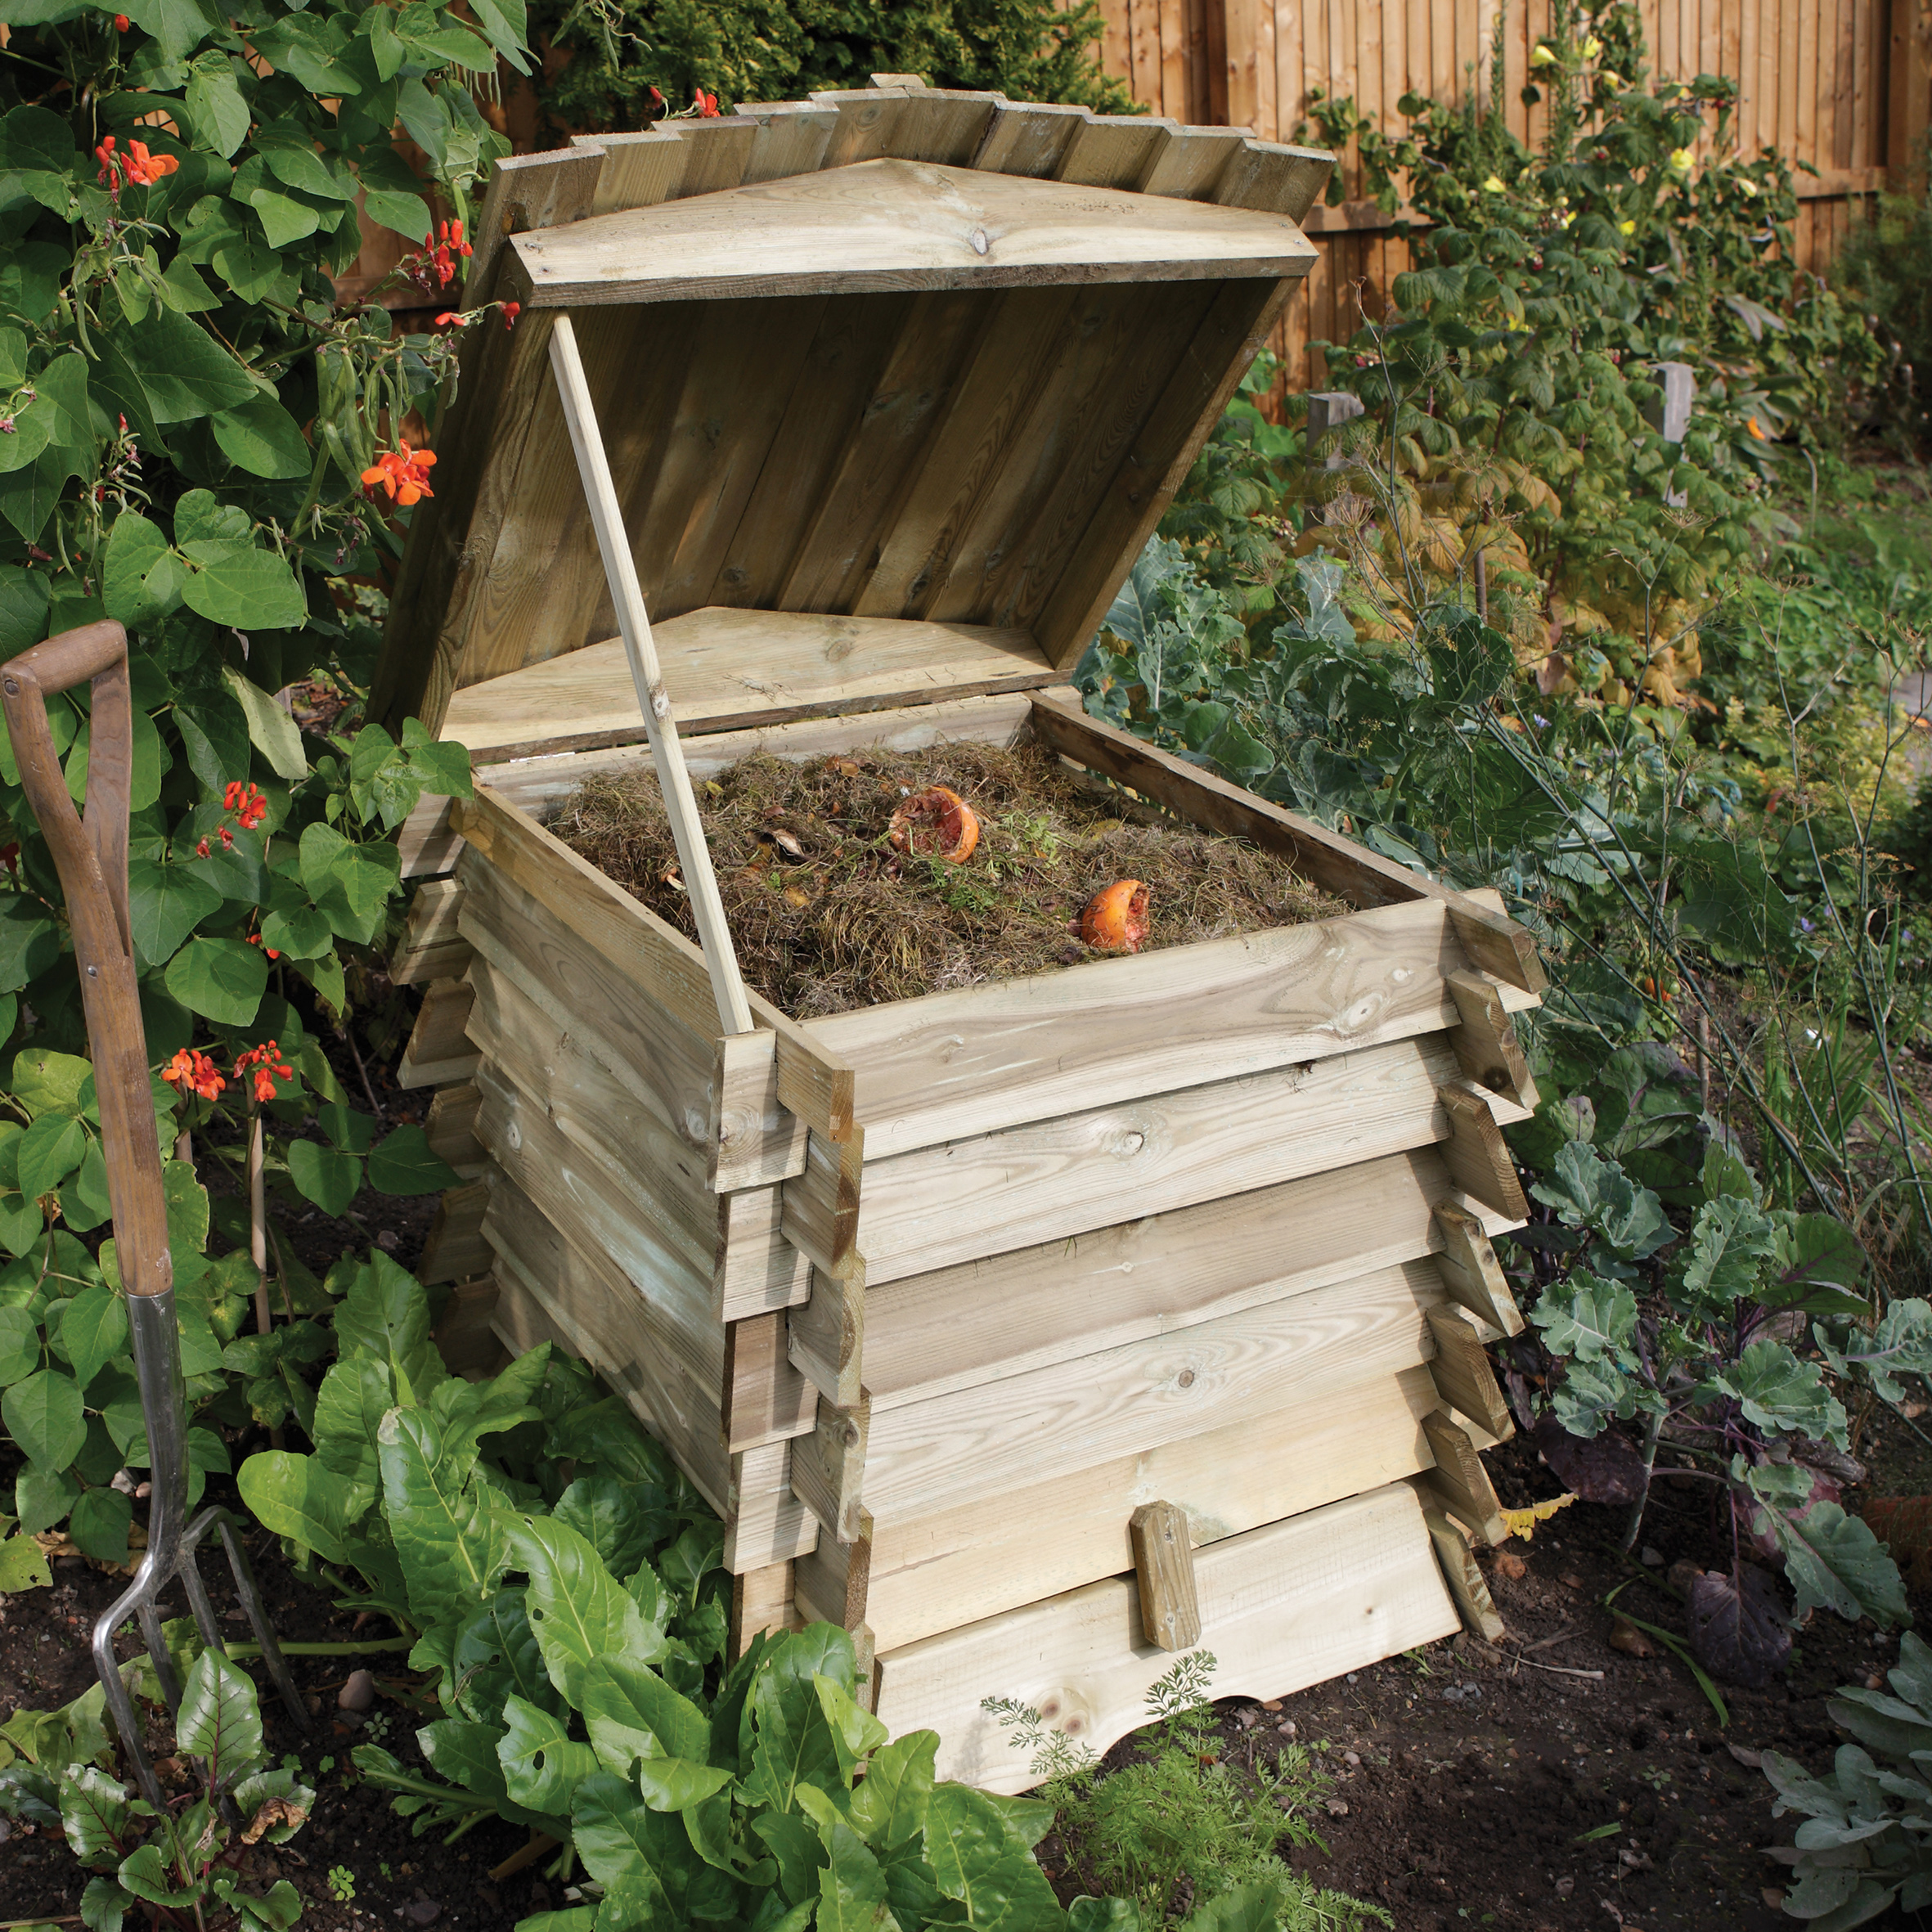
A natural-looking Rowlinson Beehive Composter from Dobbies
Composting: a straightforward guide
If you're not sure where to start, you've come to the right place. We've rounded up all the info you need – from easy step-by-step instructions to expert tips for getting the best results.
How to choose and position a compost bin
First, you'll need a sturdy lidded compost bin. Choosing the correct compost bin is crucial to correct composting. Ideally, you want a bin that's made from metal or wood. However, plastic ‘Dalek’ bins (which have an open base, a fitted plastic lid and a sliding front access hatch) work well for small gardens and are easier to use than traditional wooden ones. They can also be used for ‘continuous composting’ – where you add green waste at the top and dig rotted compost out at the bottom.
A garden compost bin should ideally have ventilation (think a slatted construction, for instance), and contact with the ground. 'An earth base allows drainage and access to soil organisms, but if you have to compost on a hard surface, then add a spadeful of soil to the compost bin,' advises the RHS. It should also have a cover to protect your compost from the rain, or you'll end up with a mixture that is too wet.
If it's a kitchen composting bin, place it away from direct sunlight – under the sink is ideal. Add a layer of garden soil to the bottom of the bin to help the composting process. Whether it's an indoor or outdoor compost bin, the larger the better.
It's also possible to make compost without a bin and use a shady corner of the garden instead. Ideally, choose an area covered by a tree or some sort of canopy to protect it from the rain. That said, most gardeners prefer to use a container to deter mice and rats. You can find our pick of the best compost bins in our buying guide.
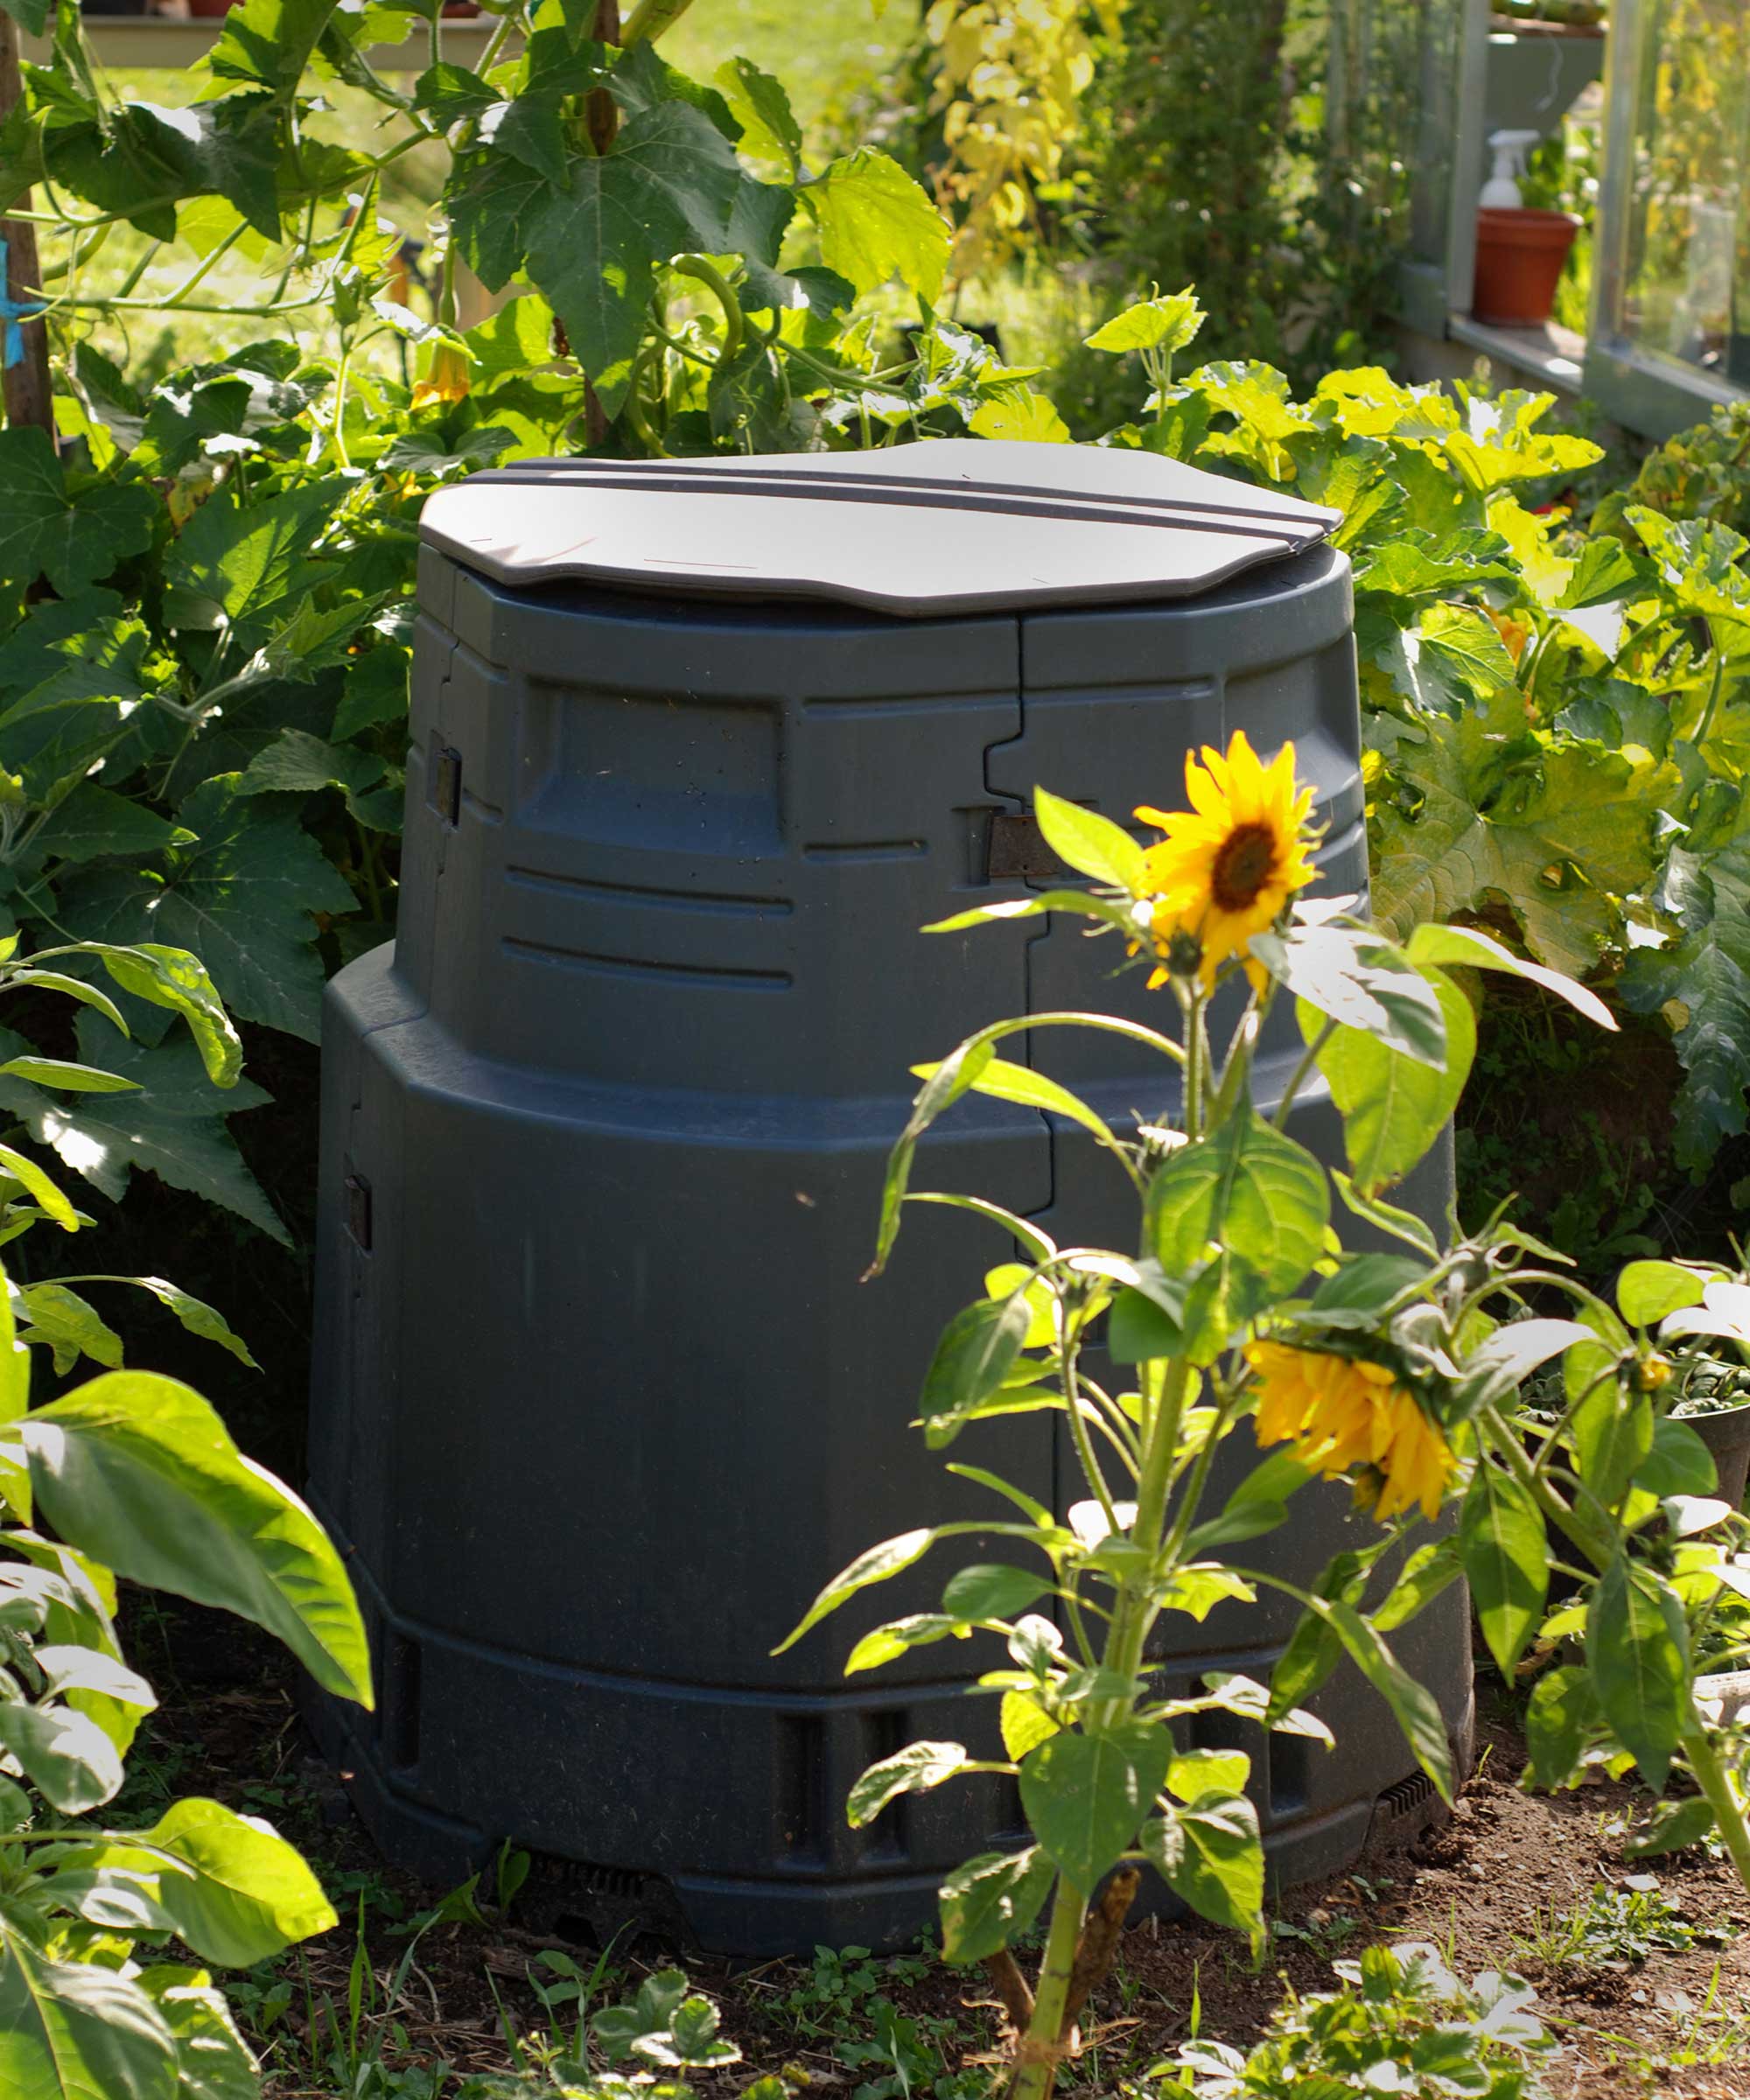
A small compost bin in the garden
What can you put in a compost bin?
The best way to create good compost is with a wide range of green and brown waste materials. Layer up green material (grass, deadheadings, kitchen peelings, and soft prunings) with brown waste such as shredded cardboard and paper, and woody prunings cut as small as possible. Leftover ash after firing up your best BBQ is good too, but it should be cold and not contain food scraps. 'Ideally, place a lot of composting materials on the heap in one go,' says the RHS.
Green waste
Between a quarter and half of your compost should be organic waste, primarily from vegetables and fruit. Cut grass from your lawn and annual weeds (before they've gone to seed) are also good sources of green waste for your compost. No-dig gardening expert Charles Dowding even adds the roots and leaves of perennial weeds such as docks, nettles, buttercups, and dandelions – 'They break down even in winter's cooler heaps, and regrow only if left exposed to light,' he says.
Brown waste
This is the dry waste that helps to aerate your compost and prevent it from getting too wet and rotting, as opposed to composting. Use dead, dried plants, shredded paper and cardboard. But bear in mind that too much brown waste in your compost should be avoided, otherwise you won't get the rich, soil-like compost texture in the end.
What not to include
Don't add fish, meat, bones, or dairy waste to your compost bin – you won't get the right balance of nutrients and adding this kind of waste could attract rats or mice to the heap.
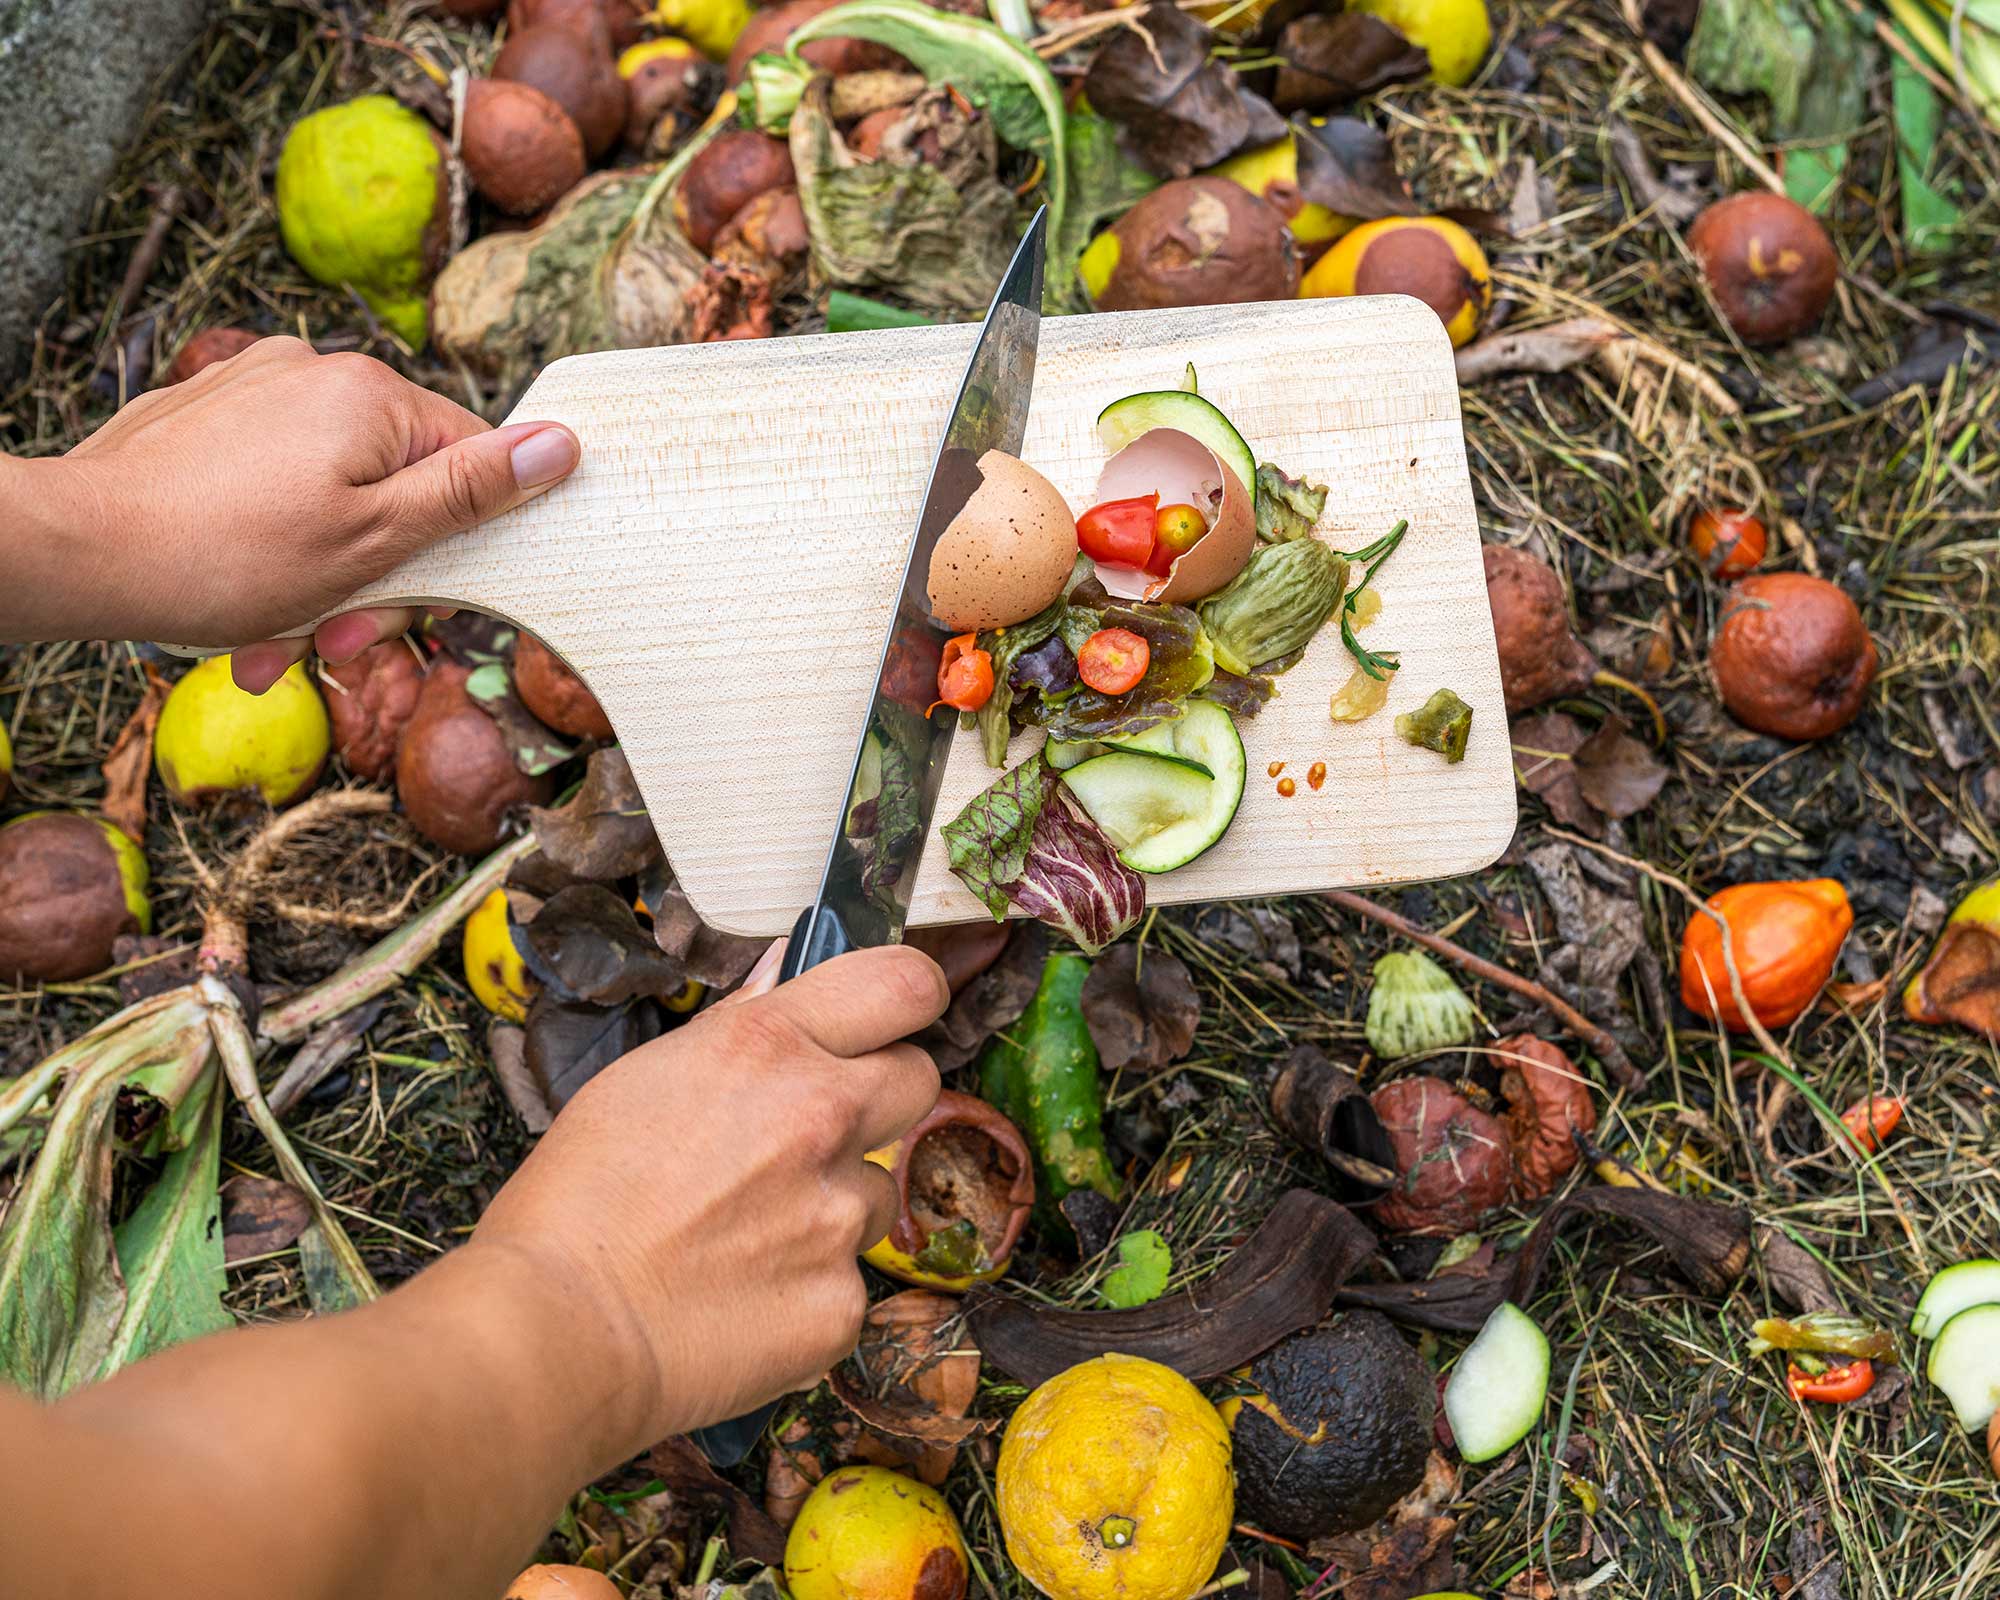
Fruit and vegetable peelings are great for compost
How to compost in 5 easy steps
- Layer it: Speed up the compost process by layering your compost heap or bin correctly: line the bottom with straw, twigs, or even old newspaper, then alternate green and brown (or wet and dry) materials. Veggie peelings, tea bags, and food scraps count as wet, whereas leaves, twigs, and wood ash or pellets count as dry.
- Feed it: Your compost will be more nutrient rich and will mature quicker if you add a nitrogen-rich feed or well-rotted manure.
- Water it: It might sound strange, but it's good practice to 'water' your compost to prevent it from drying out – rain water is fine, or you can lightly hose it. Just make sure that it's not soaking wet. You'll find more info on this below.
- Turn it: Turn your compost regularly (also see below) – about once a month. This introduces the air needed to speed up the composting process.
- Put a lid on it: Rain will cool the compost heap down and slow the composting process so it’s important to keep it covered. If using a compost bin, cover it with the lid provided.
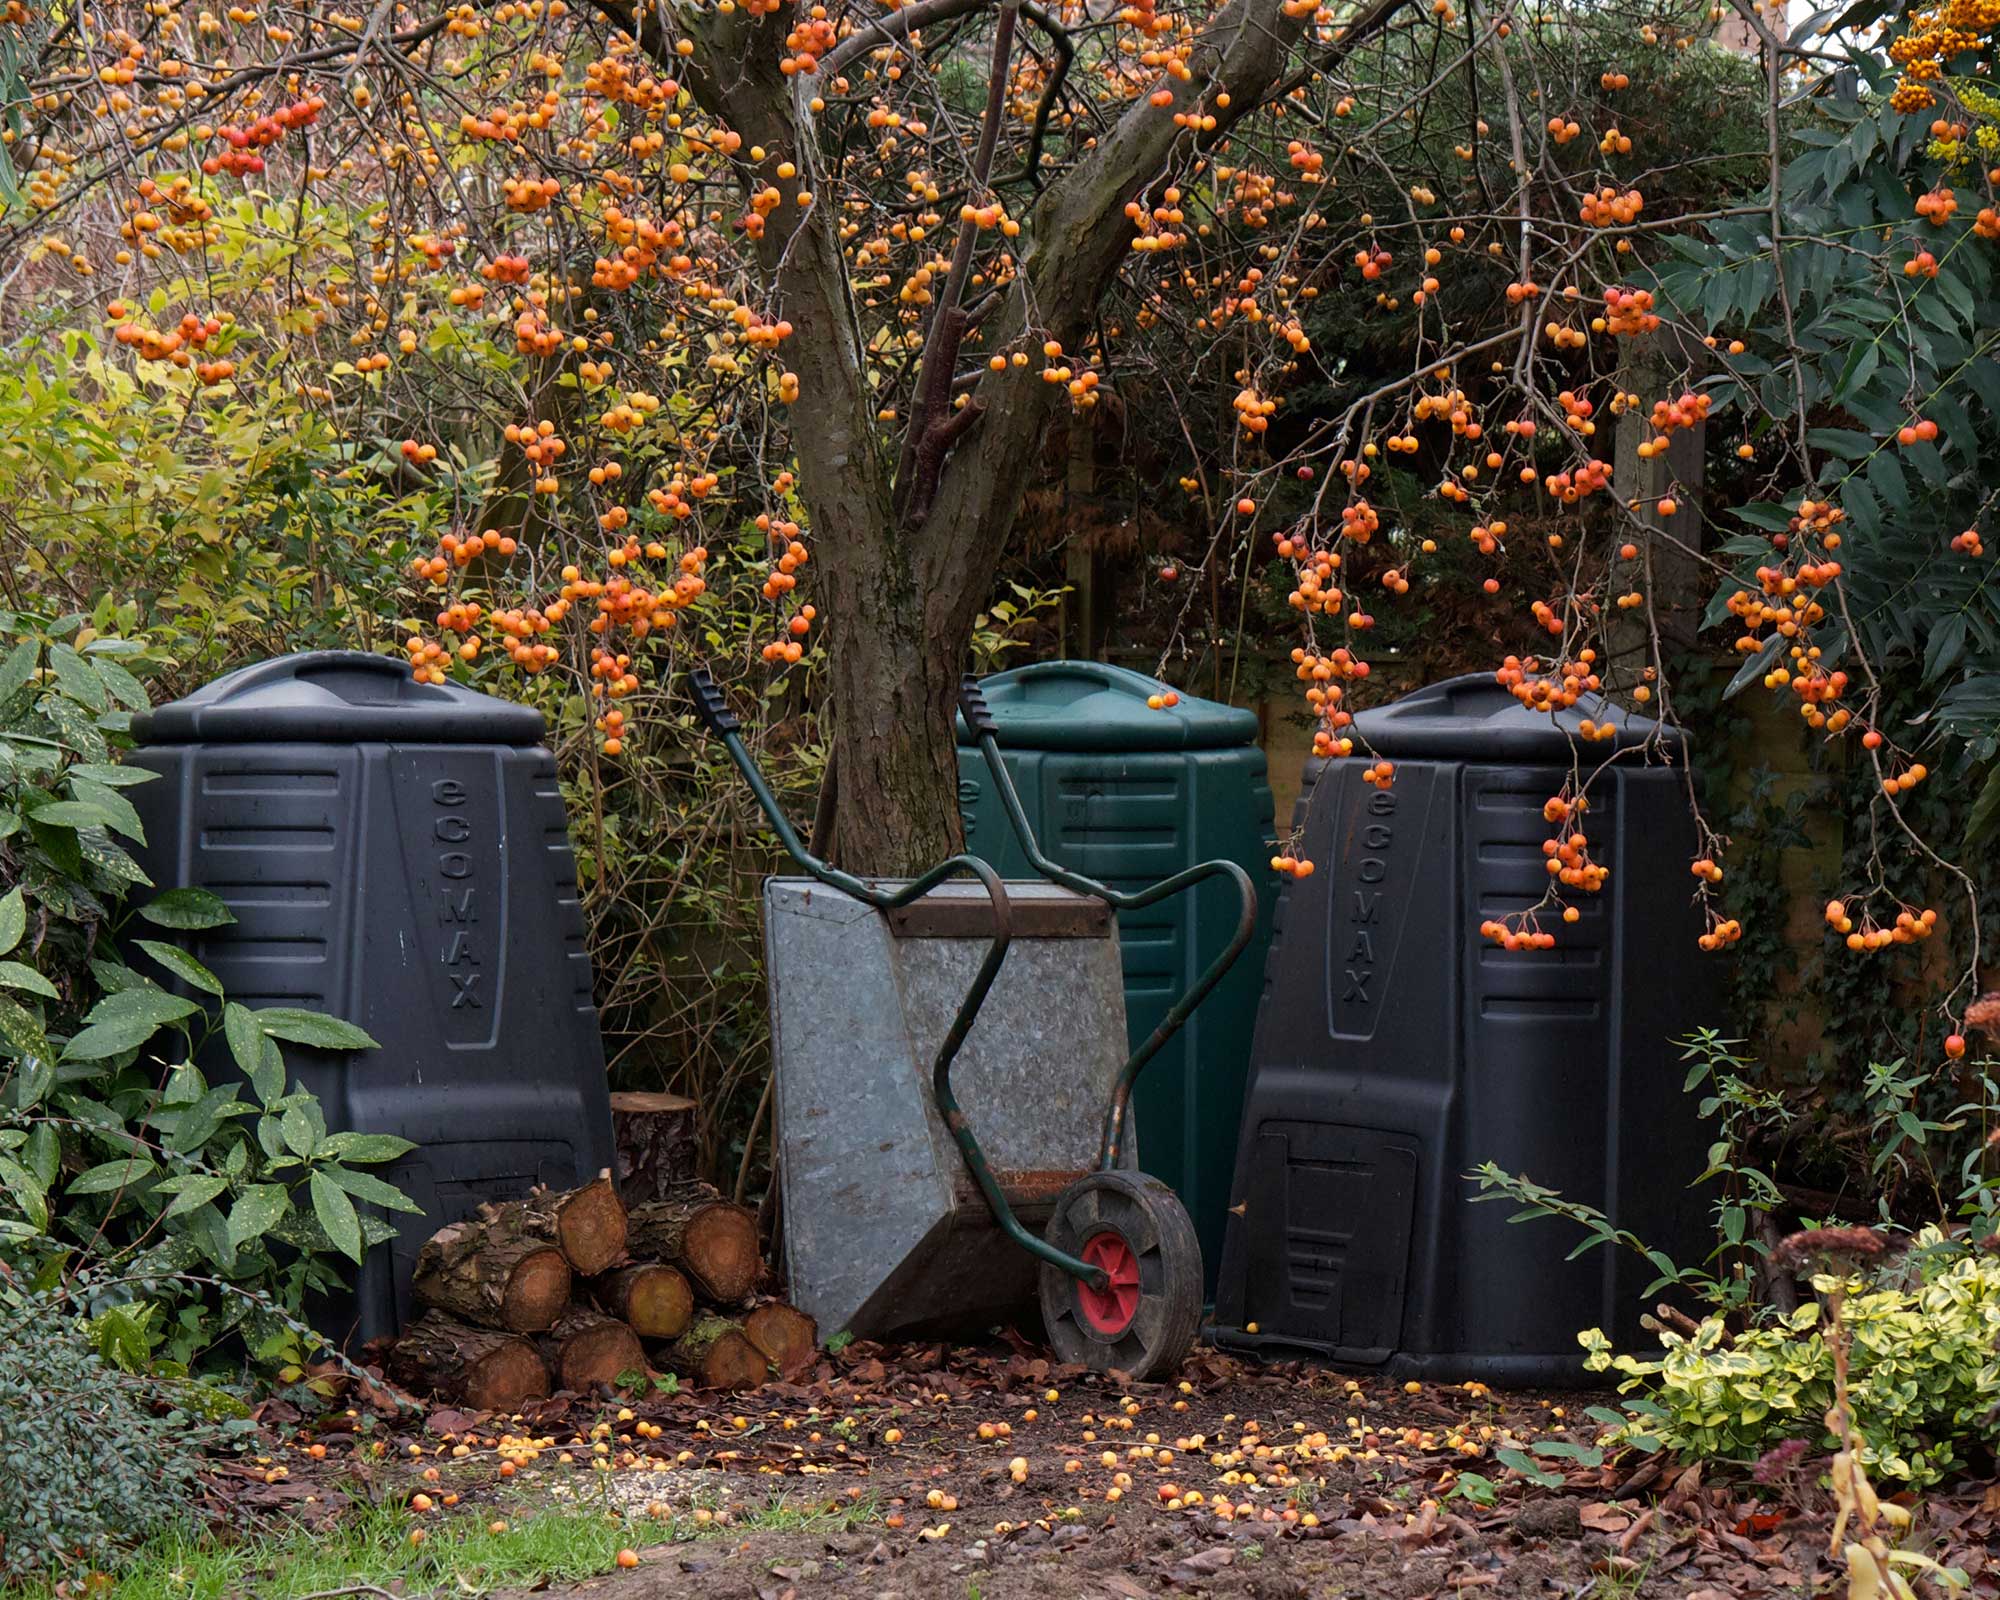
Three 'Dalek' compost bins
Do you need to turn compost?
Some gardeners swear by turning compost, saying it's important as it adds air to the mixture, which is essential for the chemical processes that make the compost. In fact, the RHS says that 'failure to turn the heap is the main cause of poor results.' Without sufficient air, the compost can be compacted, slimy, and rotting. This is often the case when you're making compost on a small scale and only add waste every so often without turning it.
So, for best results, turn your compost monthly, or as often as you can with a pitchfork. If you're making compost indoors in a small kitchen container, you can turn the contents with a long-handled kitchen utensil.
For larger outdoor compost heaps, you can also use a compost aerator to pump air into your compost. If your compost is placed in an informal pile rather than a bin, watch out for hibernating animals in autumn and winter – especially if you've introduced some wildlife garden ideas to your plot. They may be sheltering there, having been attracted to the warmth.
However, there's another school of thought that says if you layer your compost correctly, making sure that there's ample brown waste between layers of green, you shouldn't need to turn it.
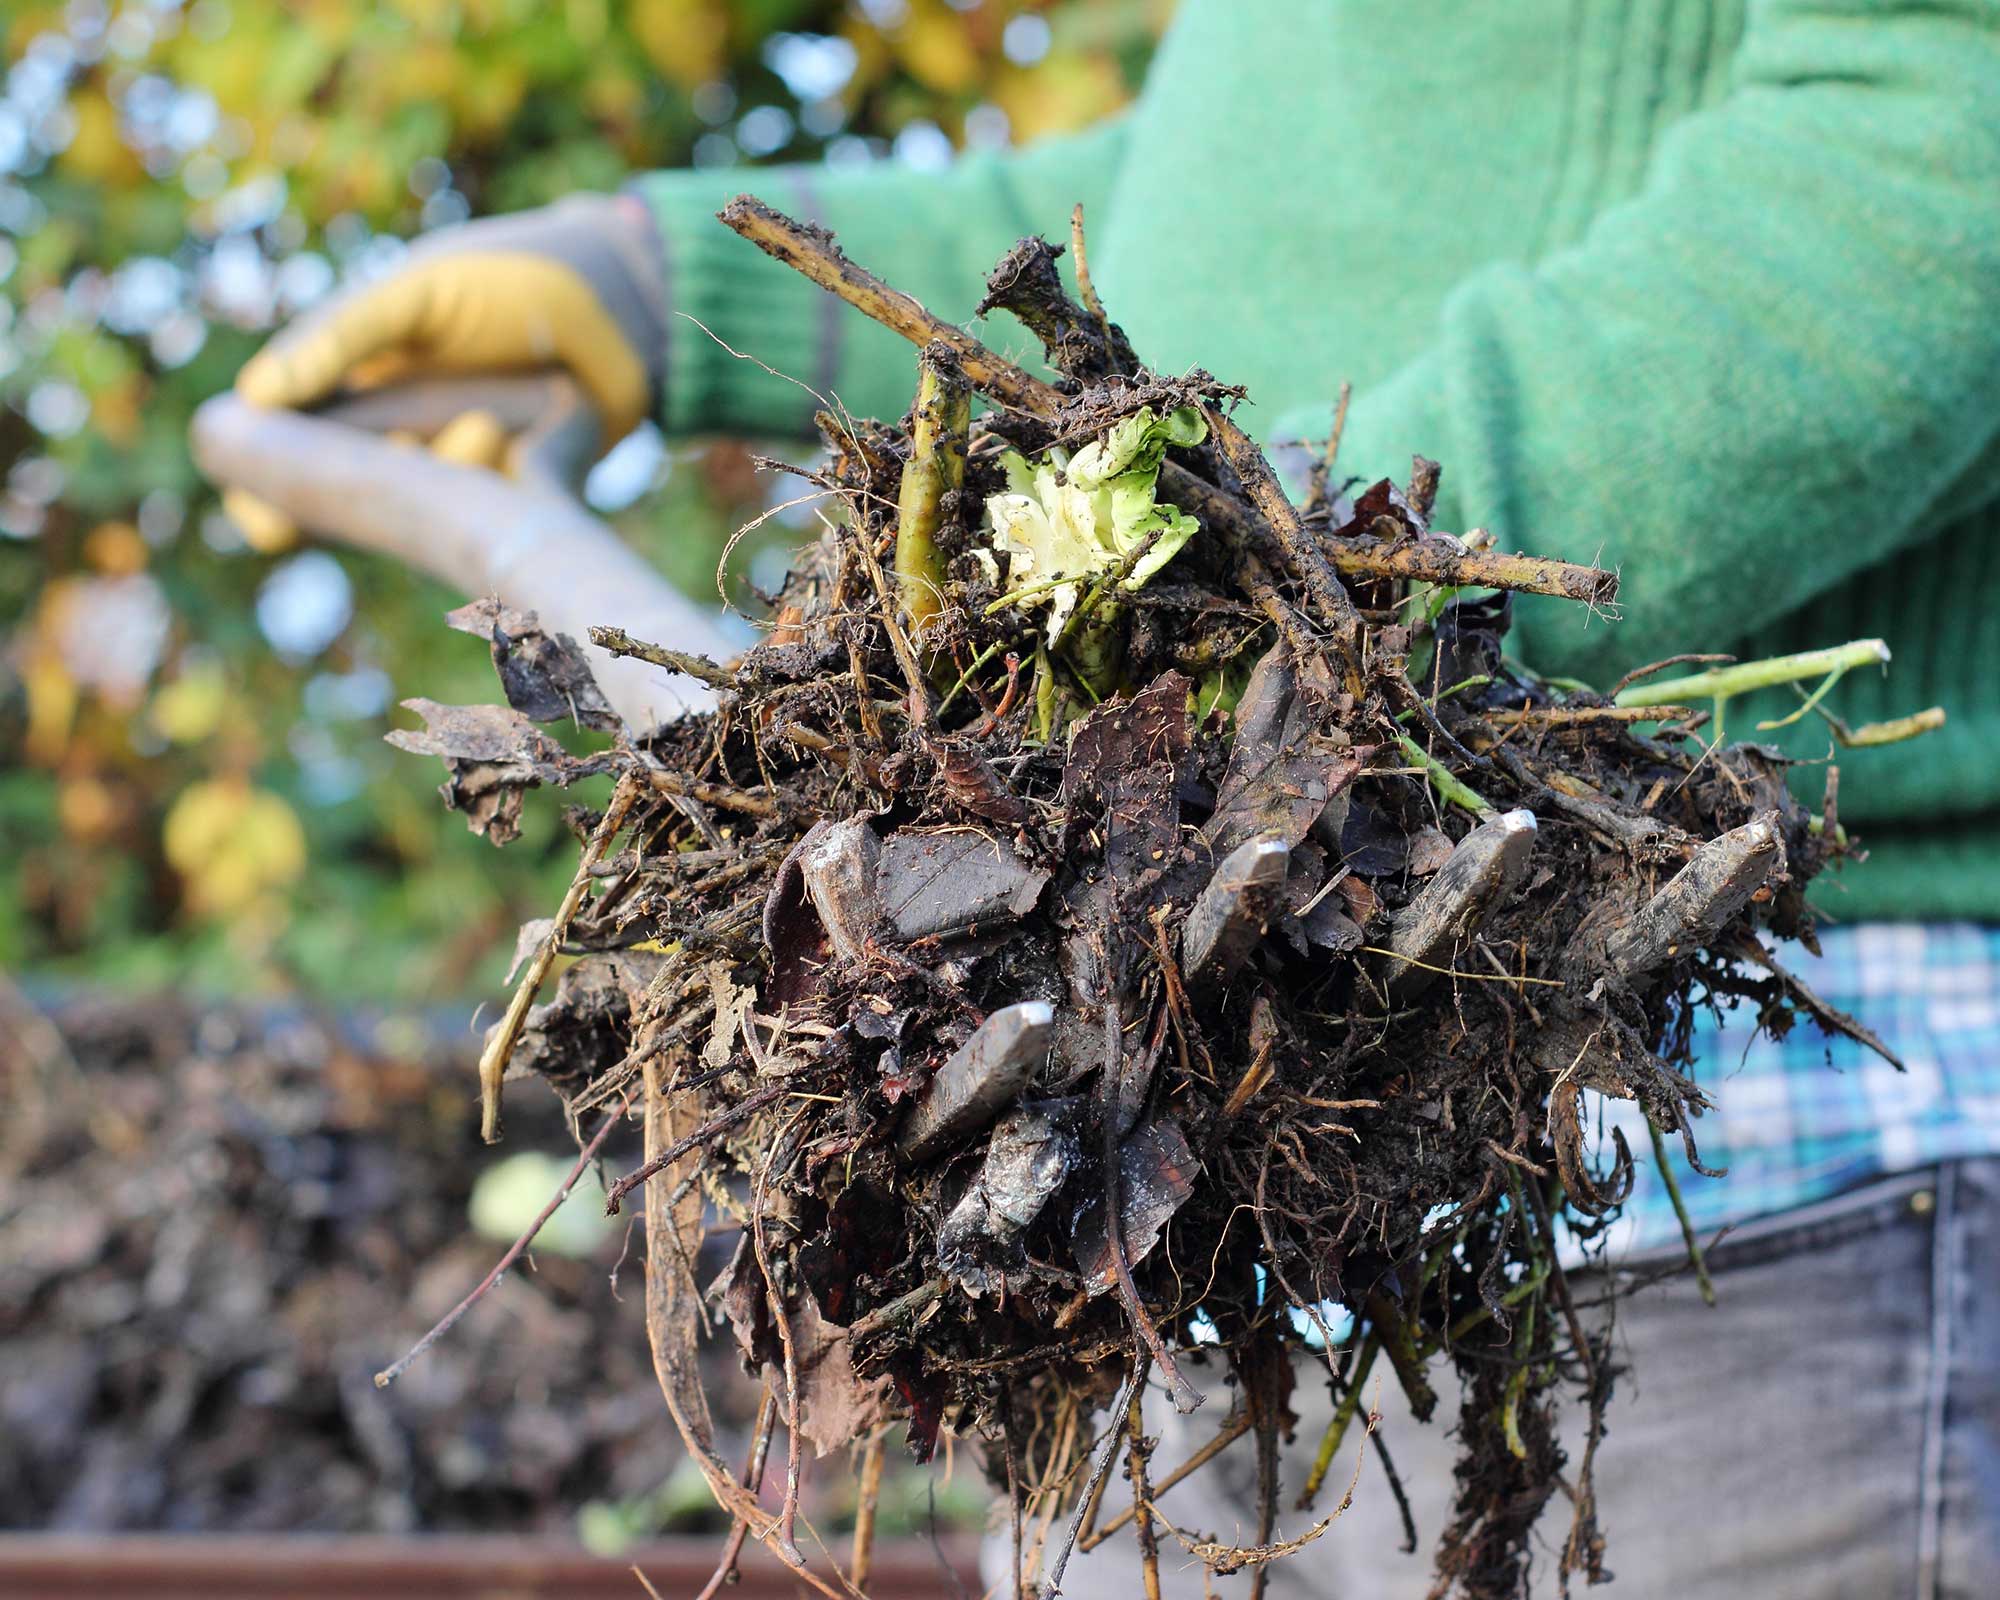
Turning compost with a garden fork will aerate it
How much water should you add to your compost?
A lack of moisture will slow down or stop the decomposition of the compost, so during very dry spells, irrespective of what time of year it is, remember to add a can or two of water every now and again. Recently learnt how to mow a lawn? Fresh grass clippings are another good material for adding moisture, as are fruit and vegetable peelings.
Getting the moisture level right can be a fine balance. If it becomes too wet, try adding some chopped woody material and shredded cardboard or paper.
How long does it take to make compost?
It can take anywhere between several months and over a year for compost to rot down enough to be ready to be used in your garden. This depends on the average temperature, the materials you're using, and how well the compost is aerated.
You'll know it's ready when it has a rich, crumbly texture, and a uniform brown color. Compost that's ready has a fairly pleasant smell of damp earth. Not all the compost in your bin or heap will mature at the same rate though, and you may end up discarding some of it, or putting it back into the container to continue rotting as you add in new layers of waste.
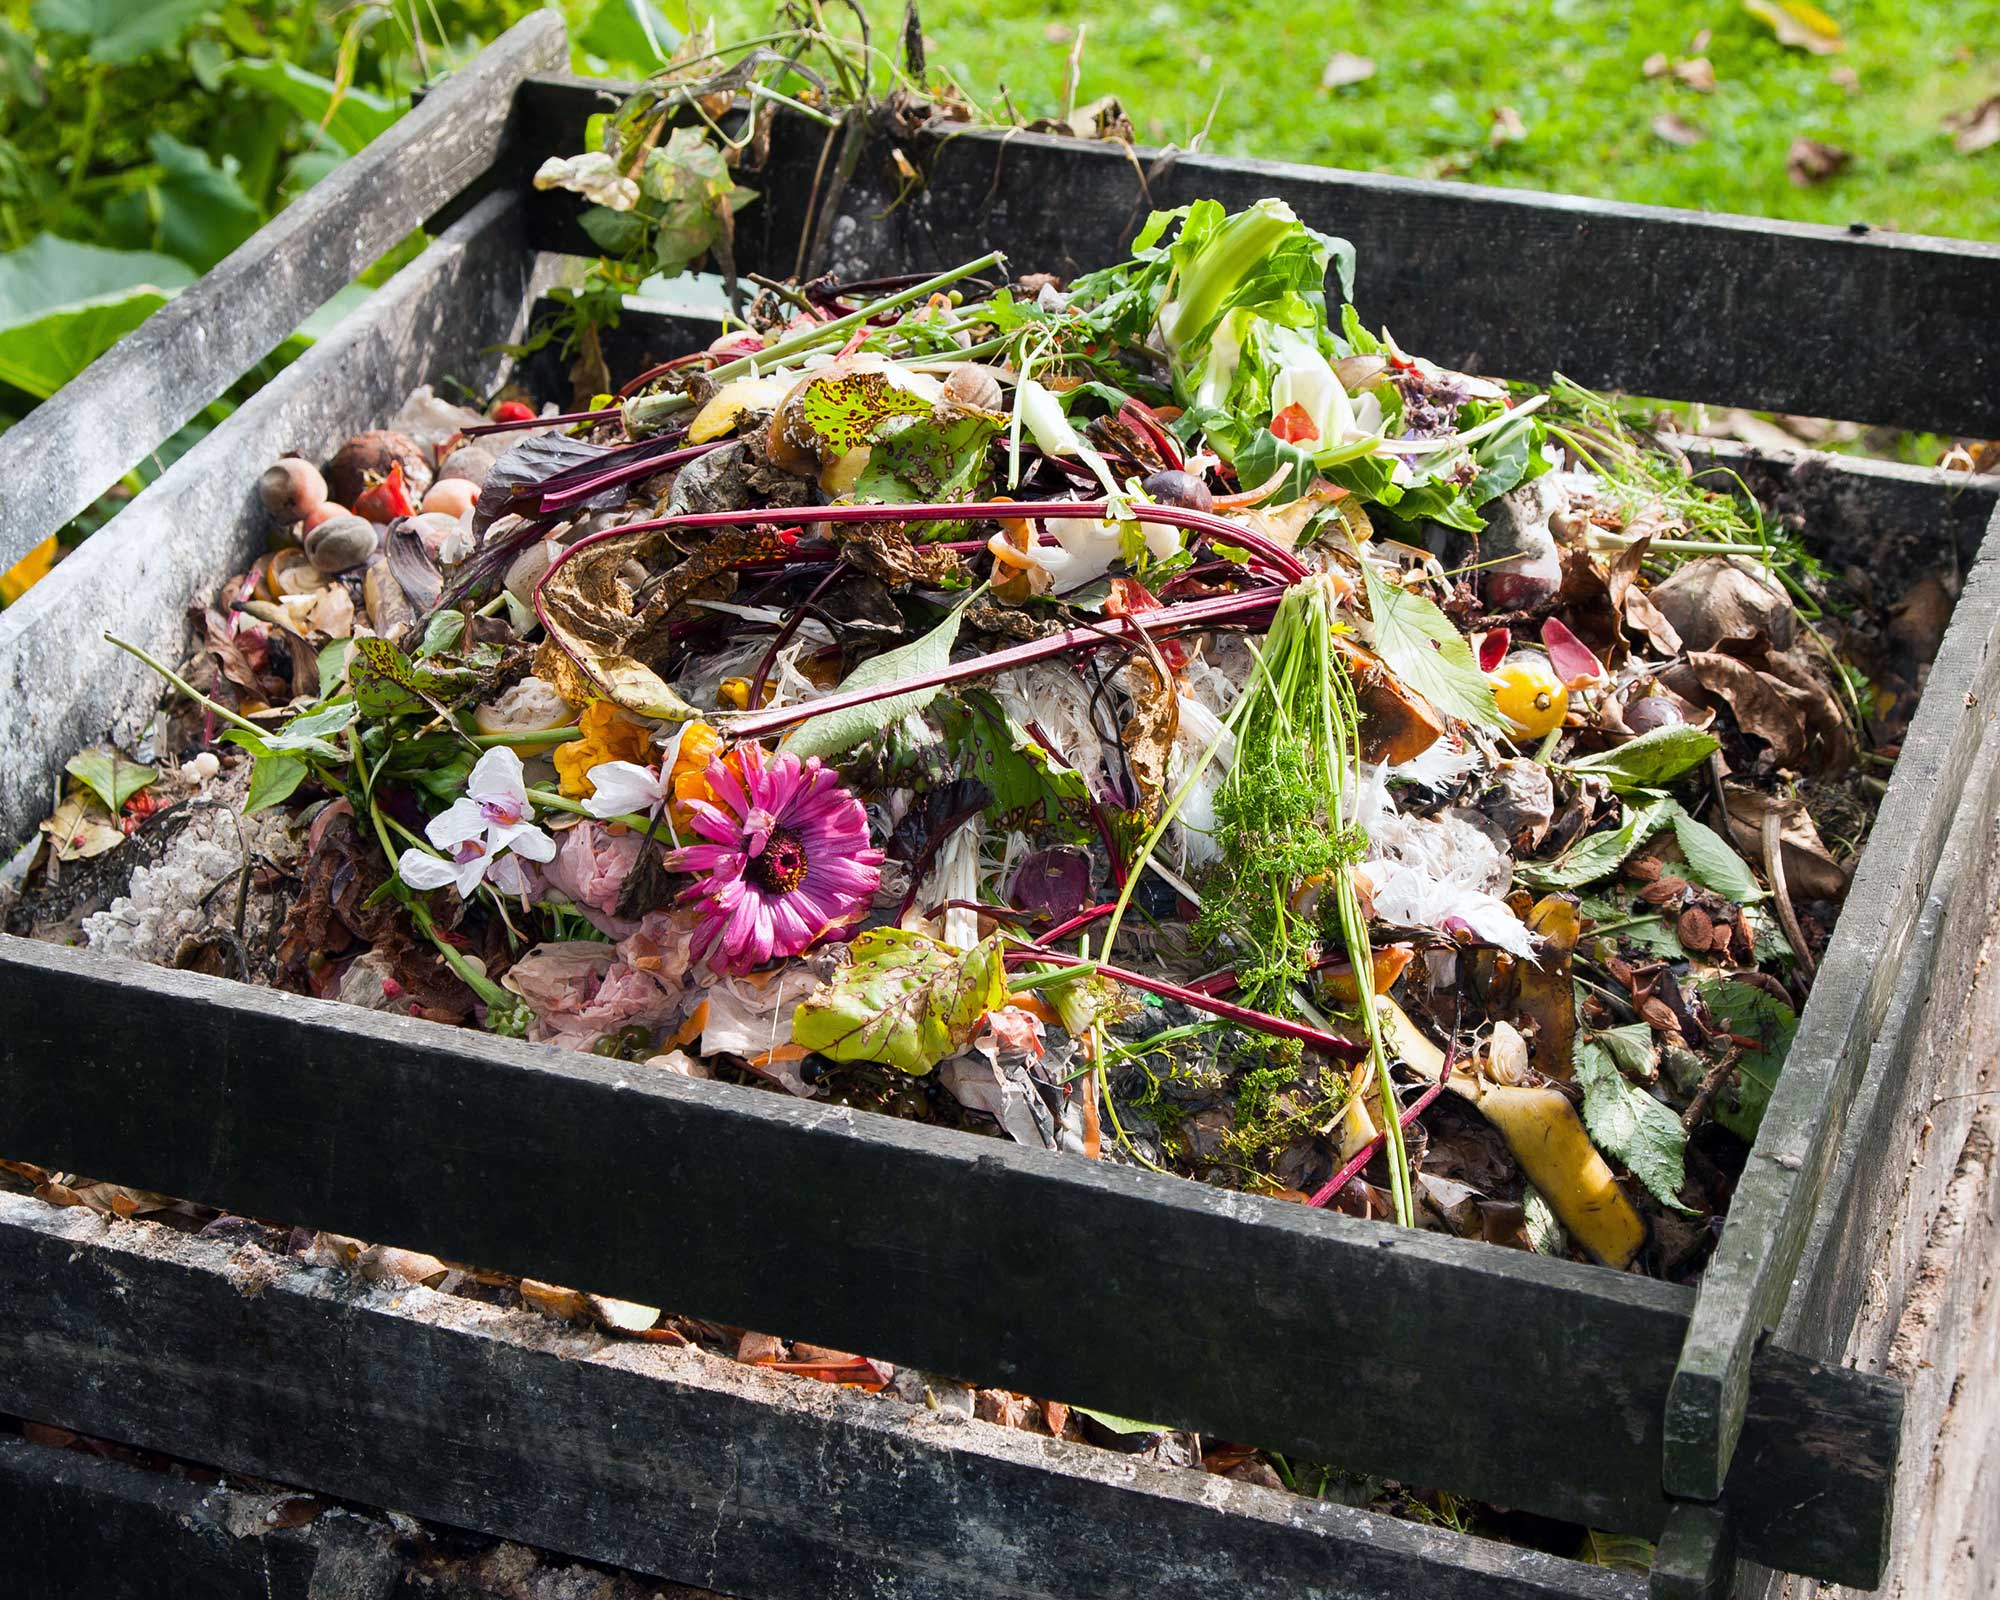
Compost can take over a year to form, but the results are worth it
What is a compost tumbler?
A compost tumbler is a sealed drum-shaped compost container on a stand, which turns on its axis with a push, or has a handle attached. With these, you place your composting material in the drum and turn the handle every 2–3 days. You should have rich, crumbly compost within 3 weeks – perfect if you're short on time and after low maintenance garden ideas.
What is worm composting?
For another speedy composting process – and handy for a household with limited outdoor space – consider worm composting. A starter kit includes everything you need to get going, including the worms themselves.
If you're squeamish about worms, fear not, you don't have to get too close. They're very self-contained and just mind their own business, turning your kitchen waste into the richest, crumbliest compost you can imagine, along with bonus concentrated liquid fertilizer that you draw off using a tap.
Another quick alternative to traditional composting is hot composting – our dedicated guide is full of info if you want to learn more.
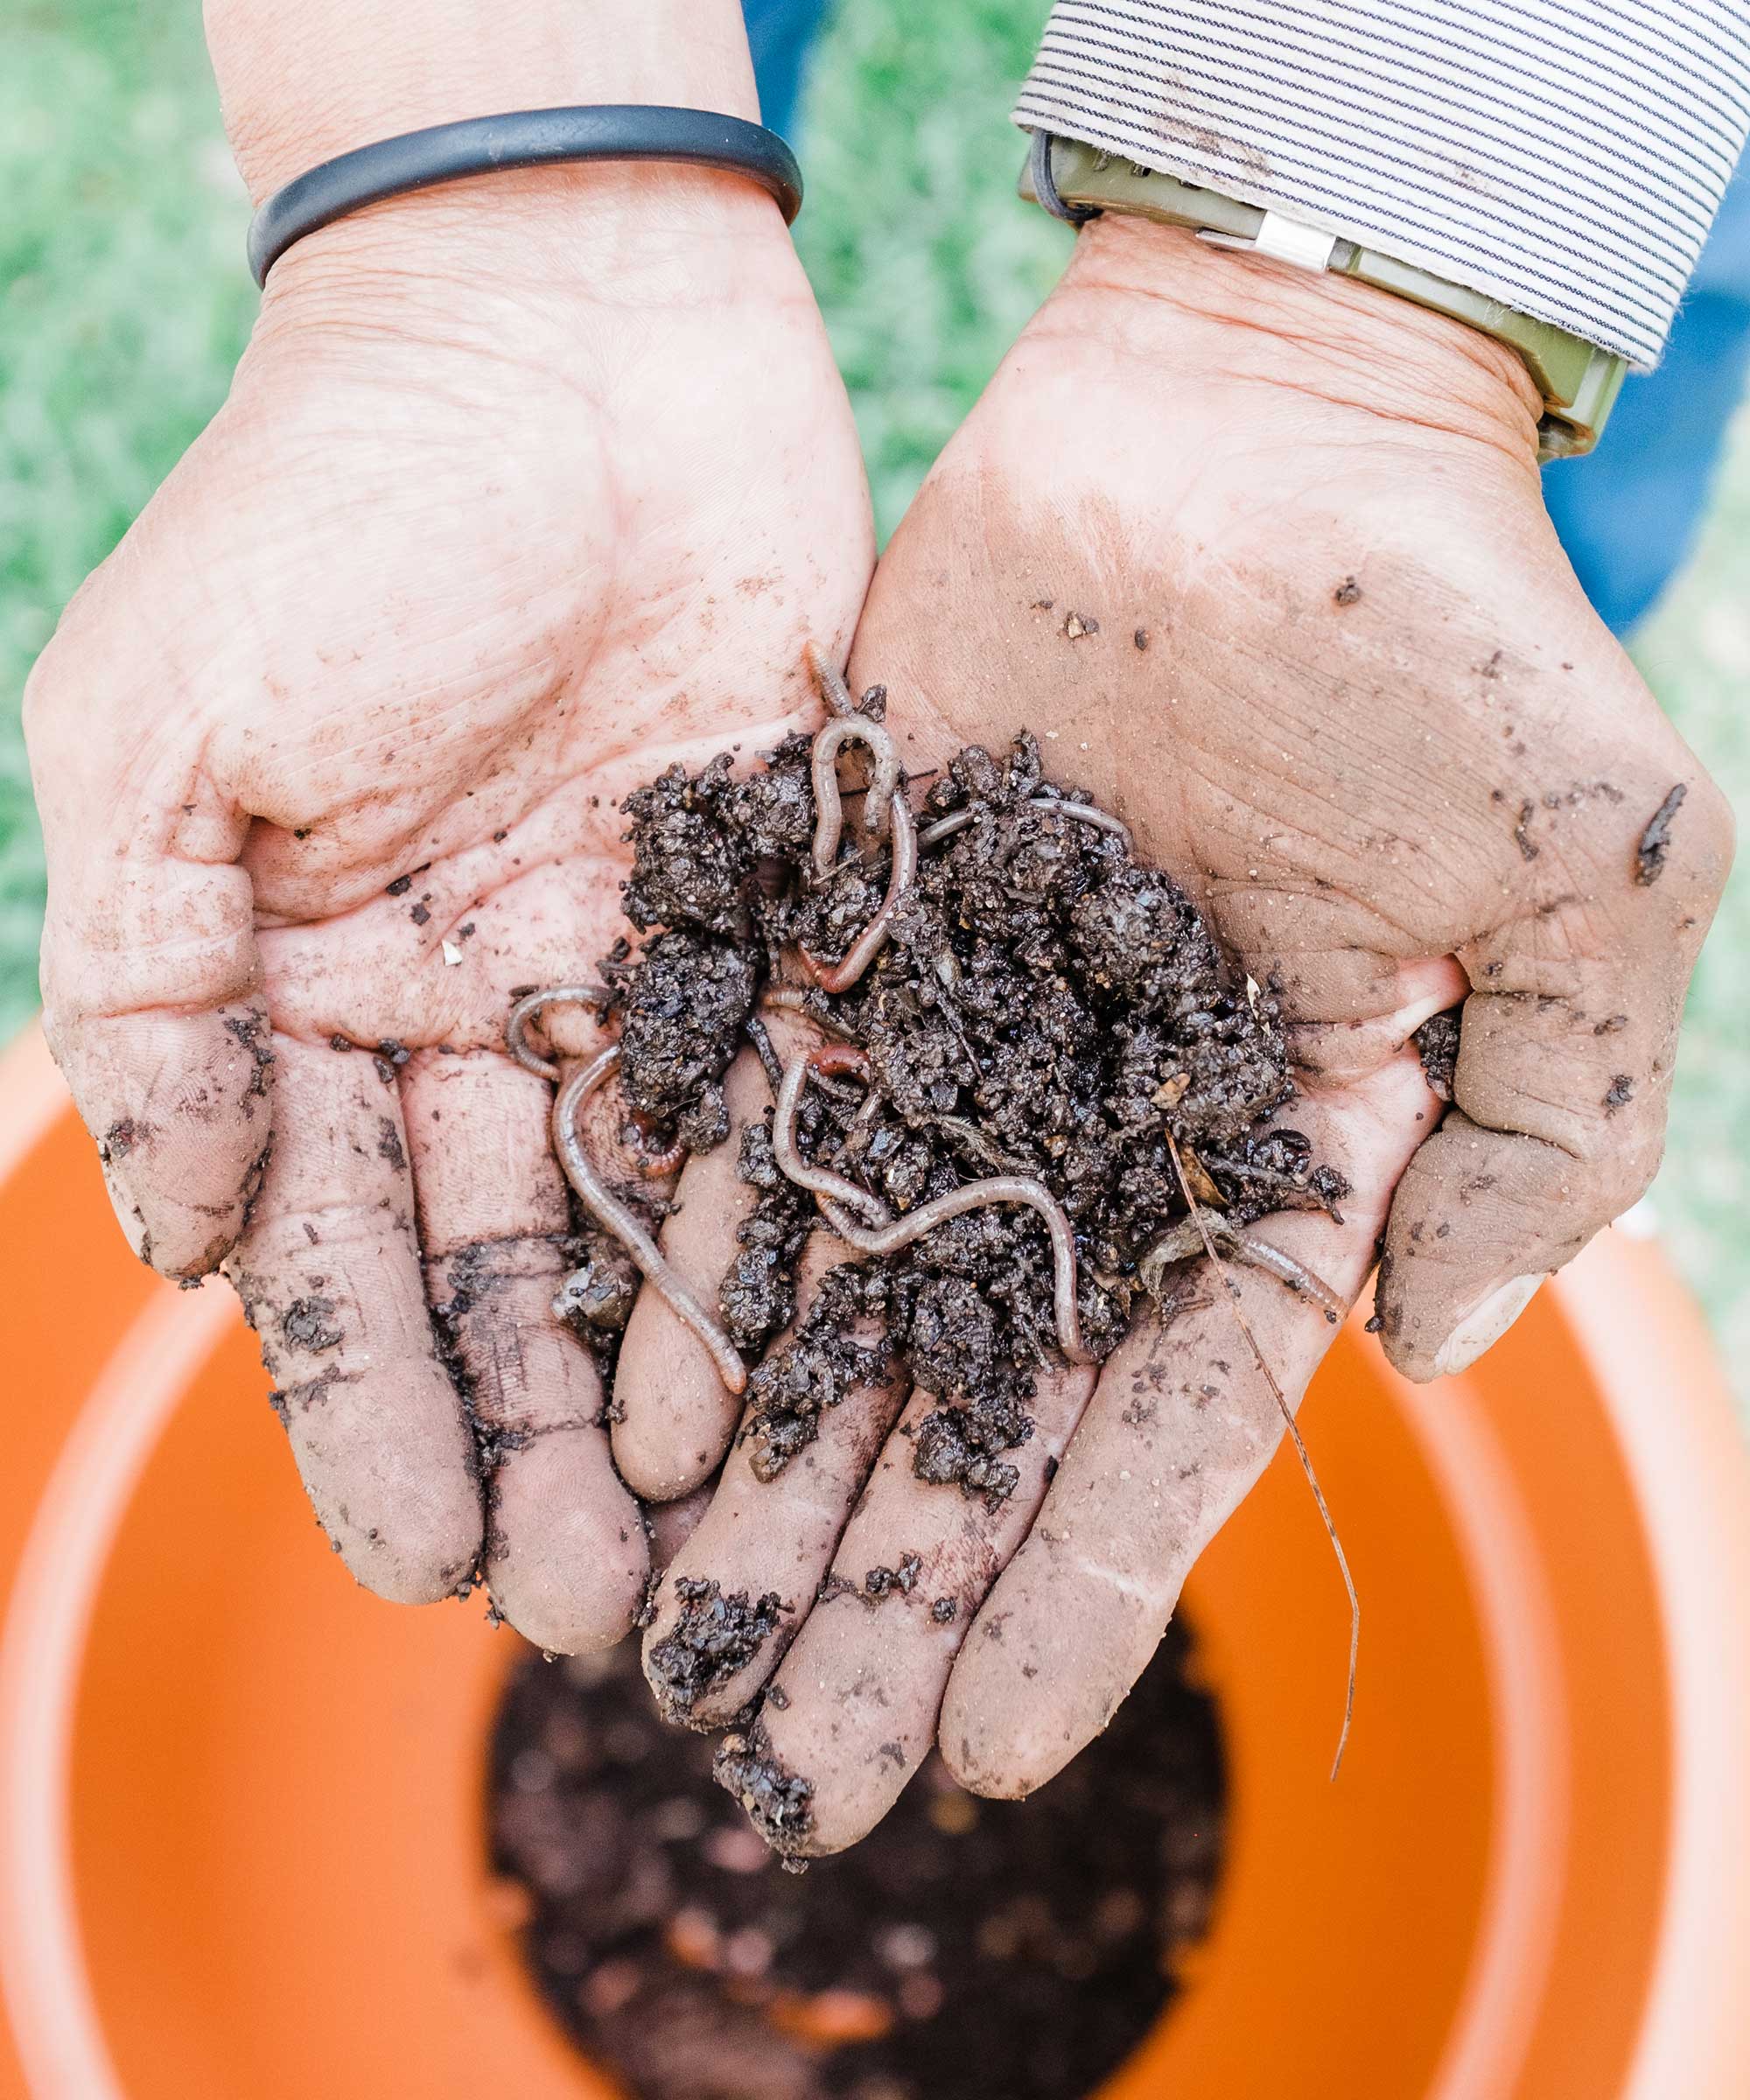
Worm composting is perfect if you're after quick results
What should you consider when choosing shop-bought compost?
Don't have the time to learn how to compost at home? You can always buy it from a garden center. However, it's important to avoid opting for mixes that include peat.
The RHS explains the things to look out for:
- 'Look for a peat-free label,' says the team. 'If the bag doesn't say peat-free then it most likely isn't.'
- 'Wording such as "environmentally friendly", "compost" and "organic" can often confuse gardeners into thinking they are buying peat-free products, but they do not infer this.'
- 'A good quality peat-free growing media is usually a little more expensive,' continues the team. 'The price does tend to reflect quality.'
- It's always a good idea to check the label on the bag to see if it is recommended for particular plant groups and the purposes you need it for.
- Read and follow the advice offered on the label of peat-free products – many will need slightly different treatment if you're used to peat composts. Watering and feeding requirements in particular tend to differ.
Looking for more ways to make your garden eco-friendly? You can find lots of tips in our sustainable gardens and organic gardening features.
After a brief foray into music journalism, fashion and beauty, Karen found herself right at home working on interior magazines with her role on Ideal Home magazine. She is now Homes Editor on Period Living magazine and loves the opportunity the job gives her to write about beautiful properties and gardens. She finds it inspiring to talk to people about their homes and gardens, and always comes away from interviews feeling inspired to try things in her own home.
