How to build a pergola: follow our step-by-step guide
Want to know how to build a pergola? It’s easy to create a fabulous garden feature with our advice
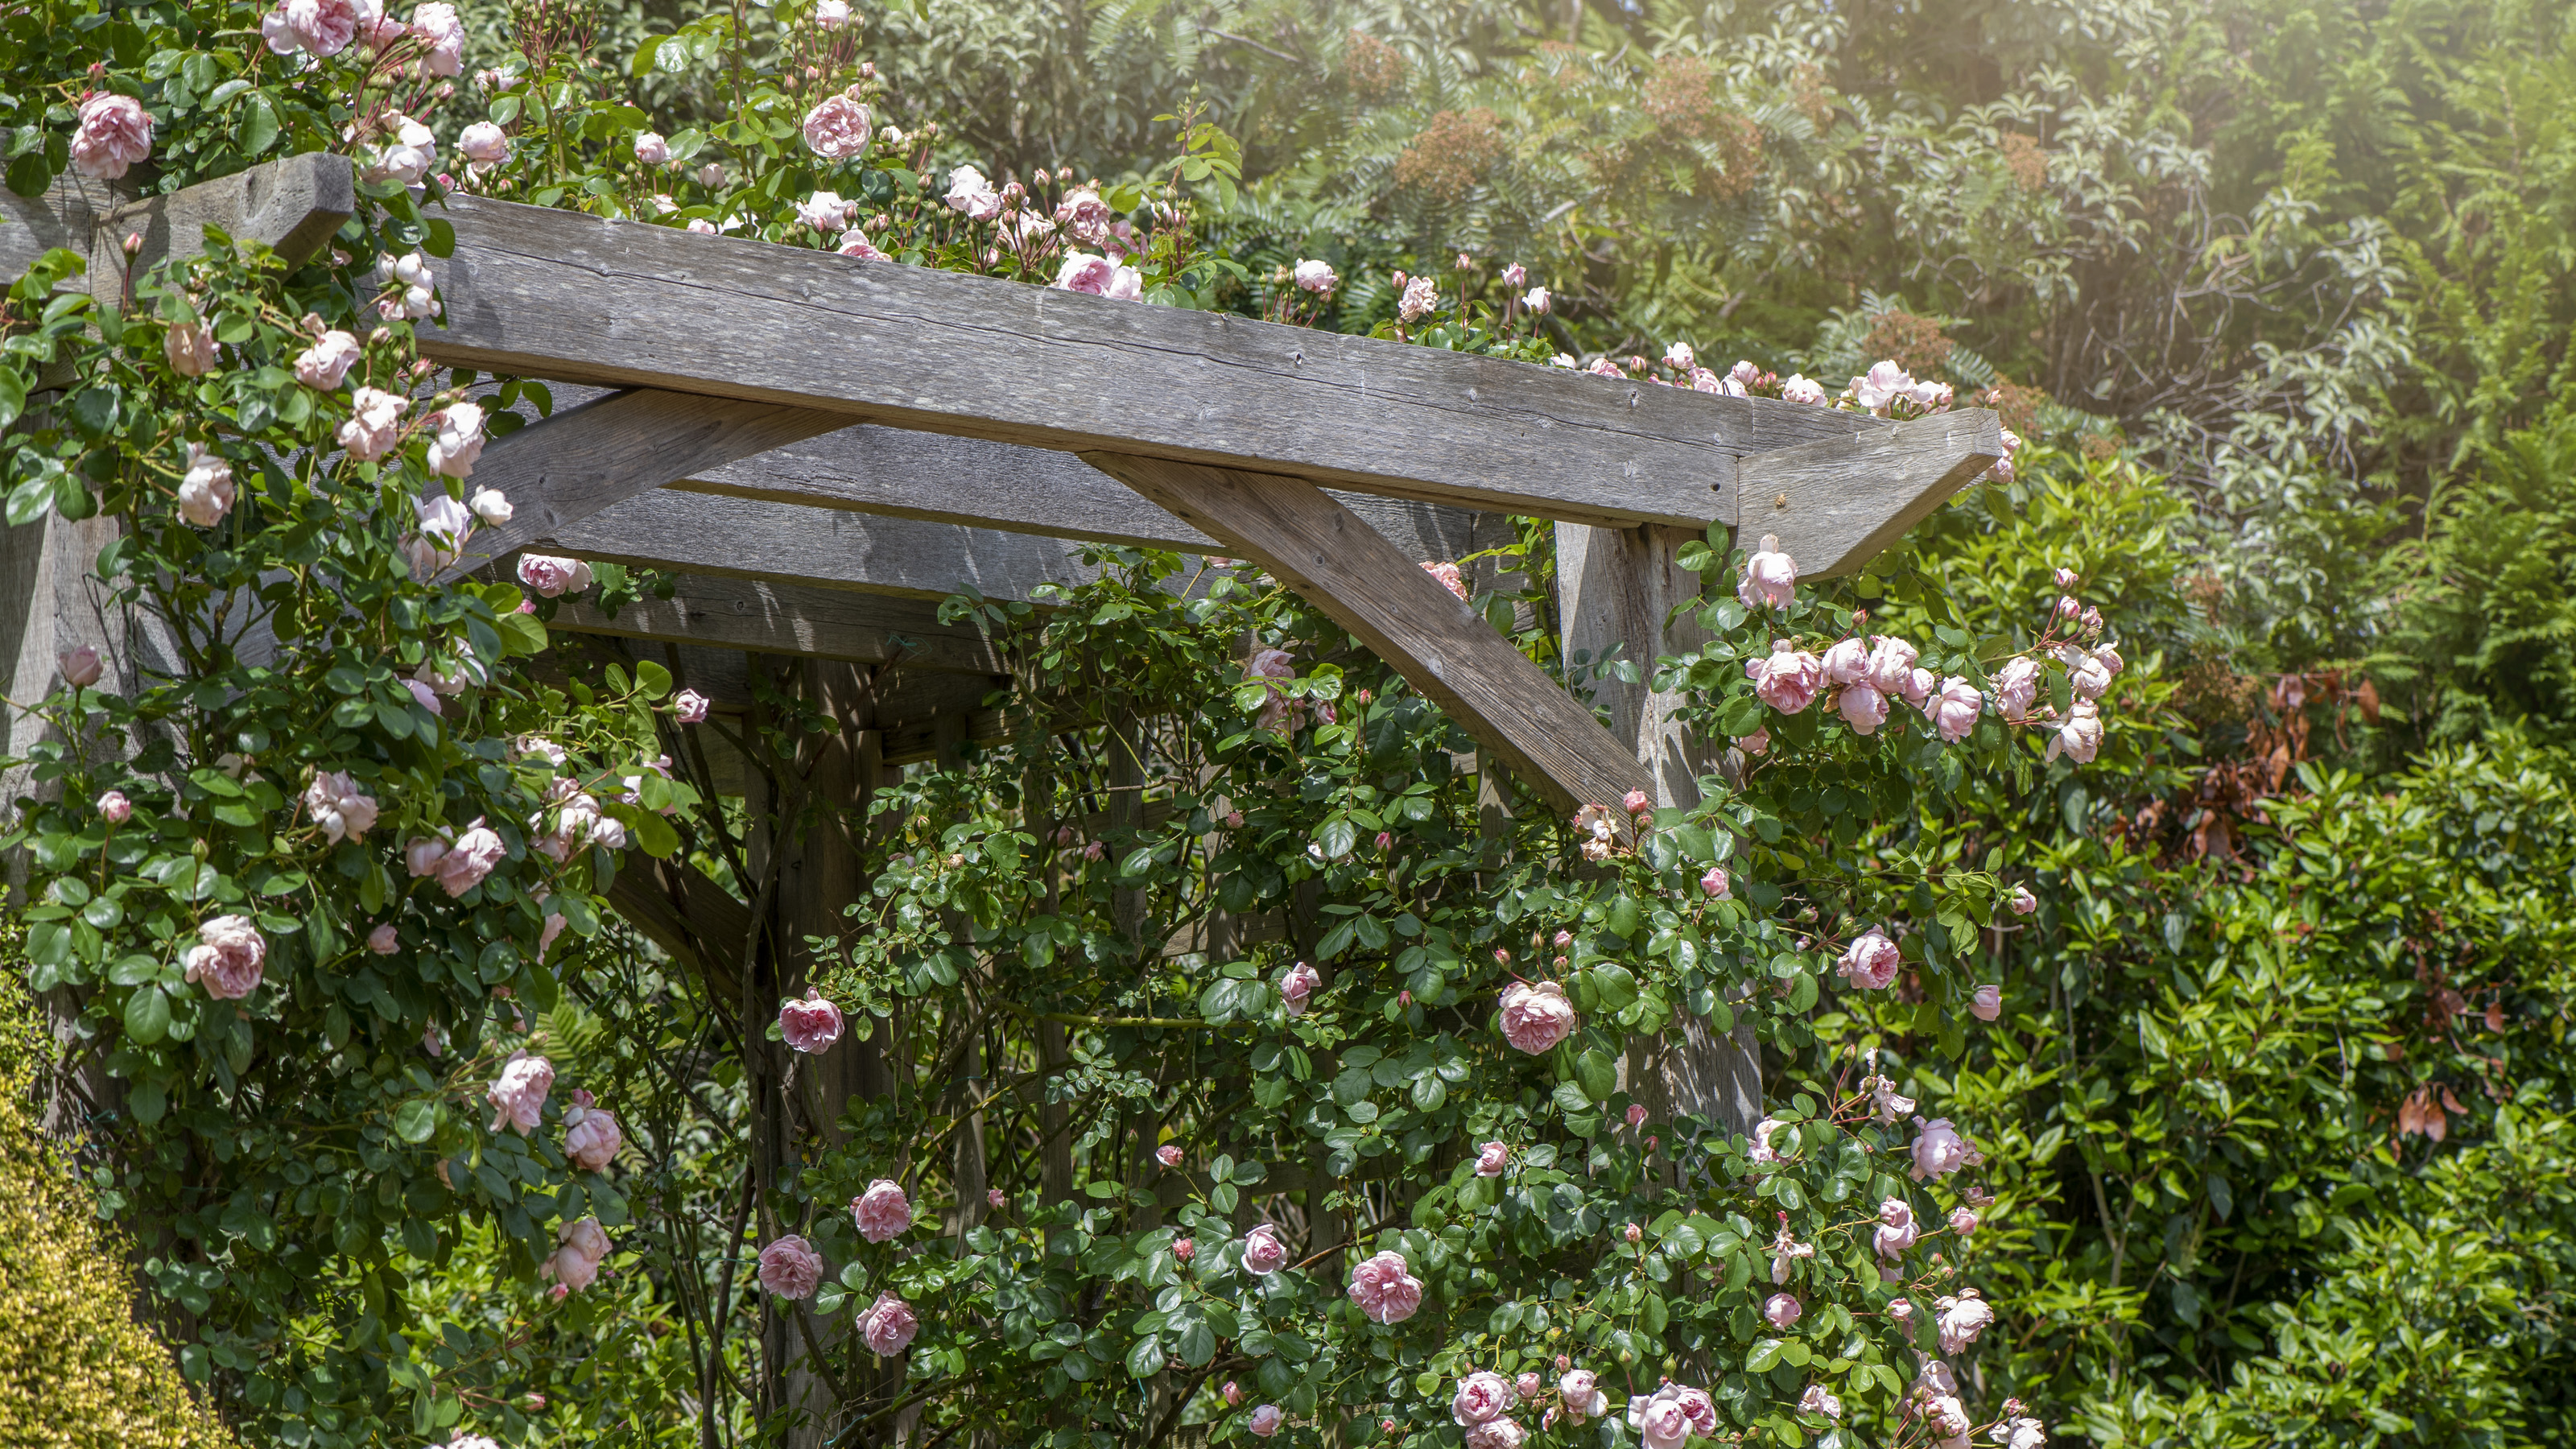

Looking for tips on how to build a pergola and add a fabulous feature to your garden? We're here to help. A pergola can create a place for growing climbers, add shade, frame a view, and connect different zones of the garden to make it a more interesting and larger-feeling space.
If you've already been inspired by our pergola ideas and want to give it a go yourself, the good news is that putting up this combination of an open roof set on posts is a job you can do yourself if you have a few basic DIY skills. Once you’ve constructed your design, you can add trellis to the sides to help plants climb the structure, too.
DIY store B&Q has shared their advice on exactly how to achieve the look in 11 basic steps, so to find out how to build a pergola, just scroll down.
How to build a pergola: a step-by-step guide
Step one: assemble the kit to build a pergola
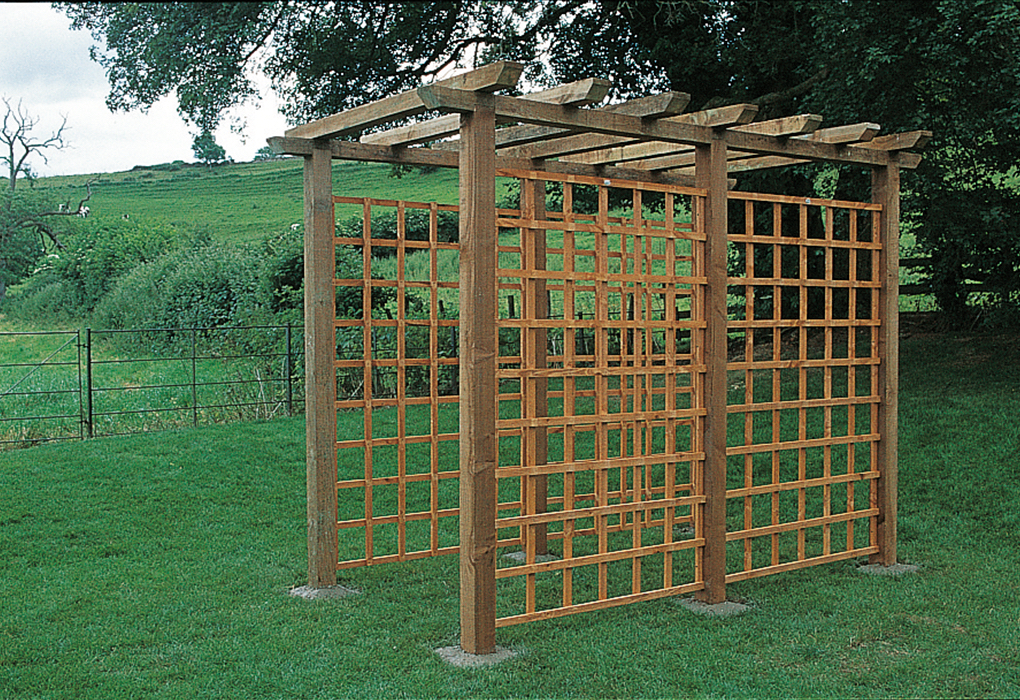
Here’s what you’ll need to build a pergola in your garden:
- 6 treated softwood posts 2.75m x 100 x 100mm
- Tape measure
- Pencil
- Timber lengths
- Saw
- 2 treated softwood rafters 3.14m x 100 x 100mm
- Wood chisel
- Mallet
- Bamboo canes
- Spade
- 7 treated softwood crossbeams 1.82m x 100 x75mm
- Drill and twist bit
- Galvanised nails
- Hammer
- Try square
- Timber props
- Spirit level
- Post cement
- 4 trellis panels 1.83 x 1.22m (optional)
Step two: lay out one side of the pergola
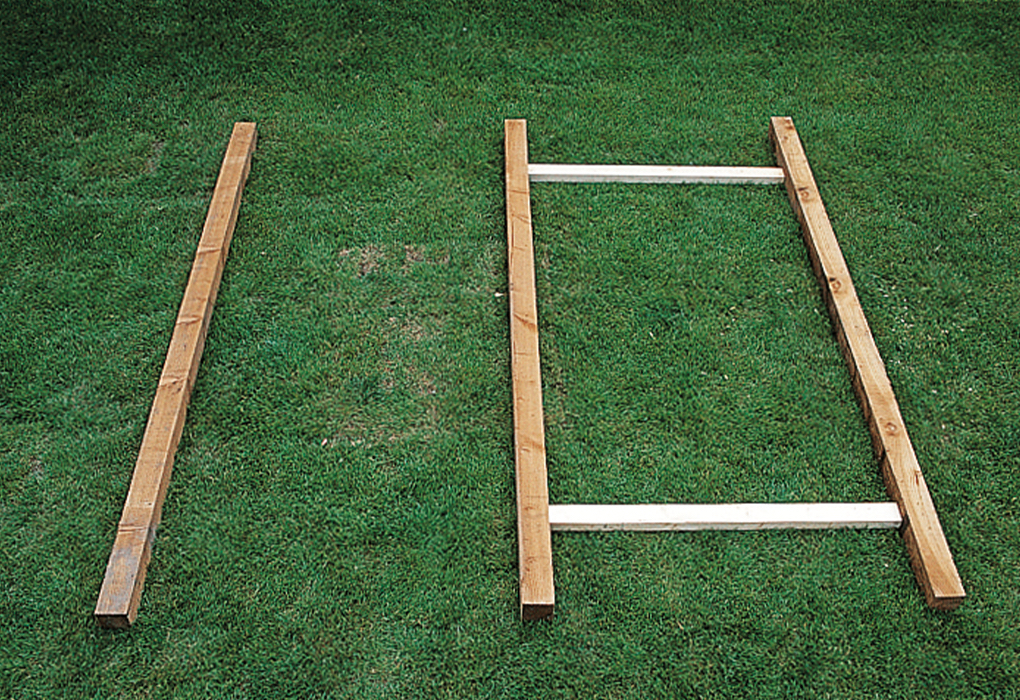
Take three of the upright posts that will form one side of the pergola and lay them on the ground. Measure and cut two lengths of timber to 1.22m and use them to mark the correct distance between the uprights at both the top and the bottom.
Step three: position a rafter
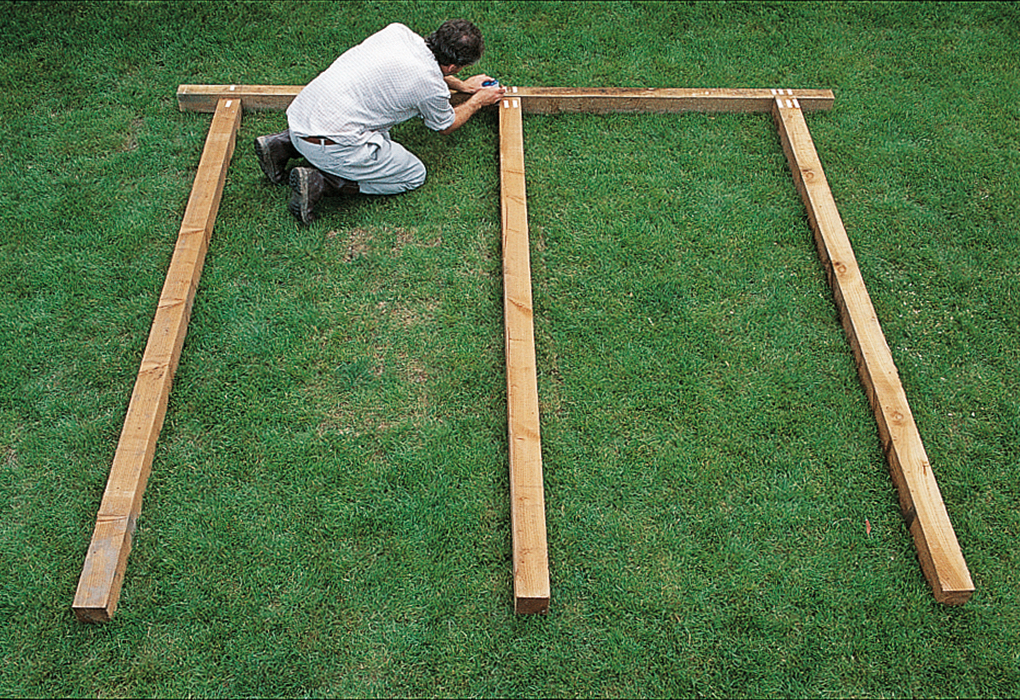
Put the first of the two rafters in position at the top of the upright posts. It should extend 200mm from the edges of each outer upright post. Use a pencil to mark the outlines of the post tops on the rafter, and number each post and the rafter in pencil so they can be easily assembled.
Repeat this process with the upright posts and rafter for the other side of the pergola.
Step four: cut out the housing for the posts
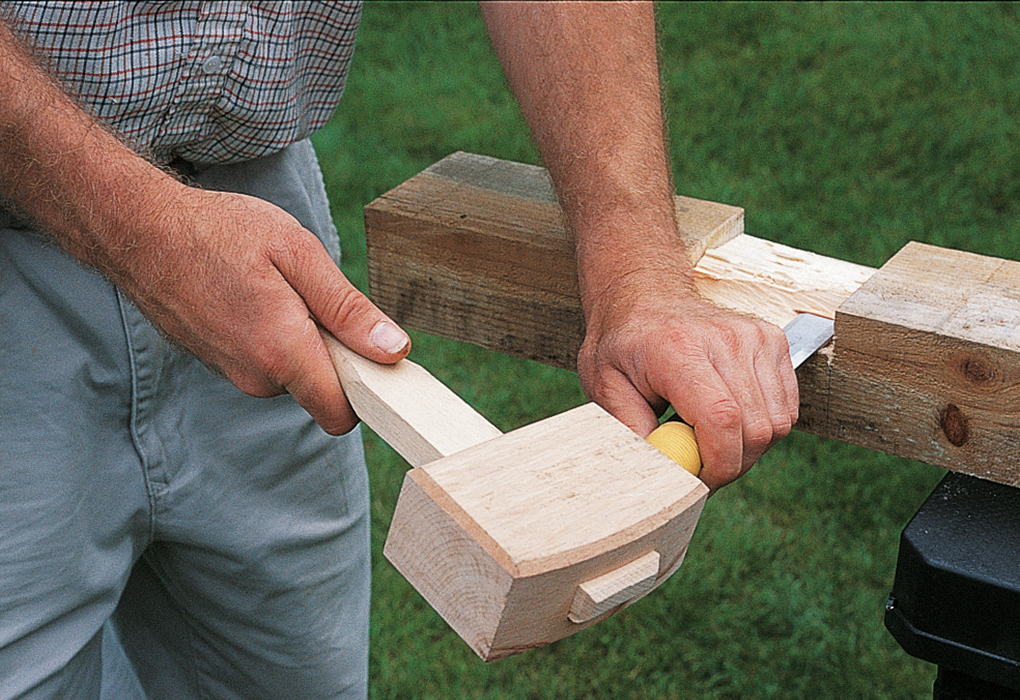
Measure and mark a 25mm deep housing for each post top on the rafters. Saw down the sides of each housing, then cut out using a wood chisel and a mallet. You will need to be precise to create a tight fit.
Step five: profile rafters and crossbeams
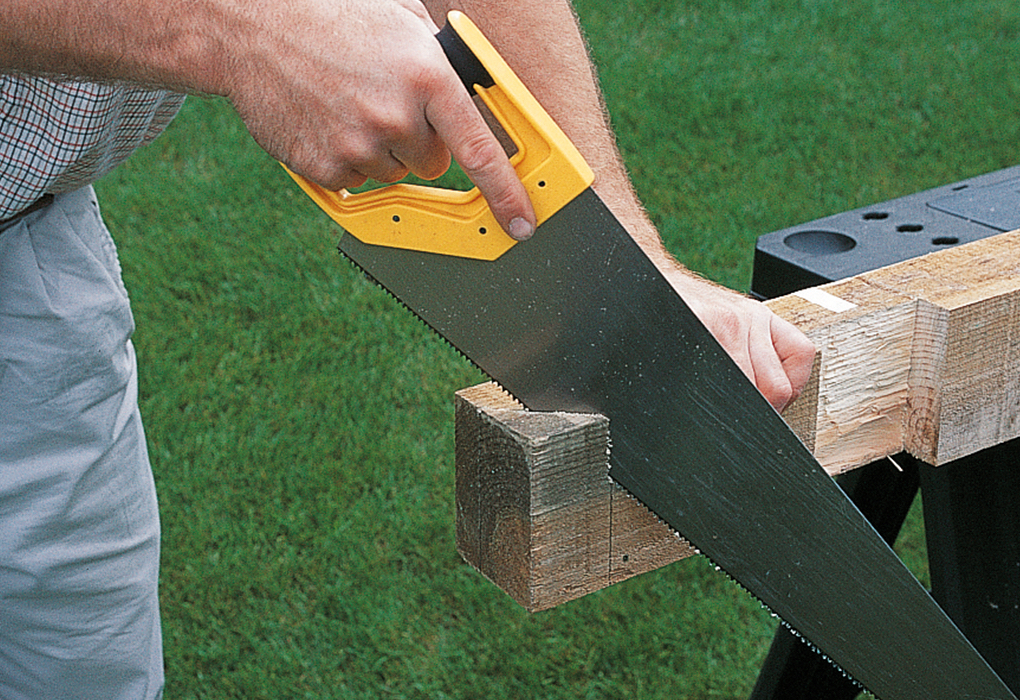
You could leave the ends of rafters and crossbeams square, or create a decorative profile. To do the latter, measure down from the top, and in from the outer edge, then mark a line between the two points with a pencil, extending the mark square down the adjacent side of the rafter or crossbeam. Saw off each marked wedge.
Step six: create post holes
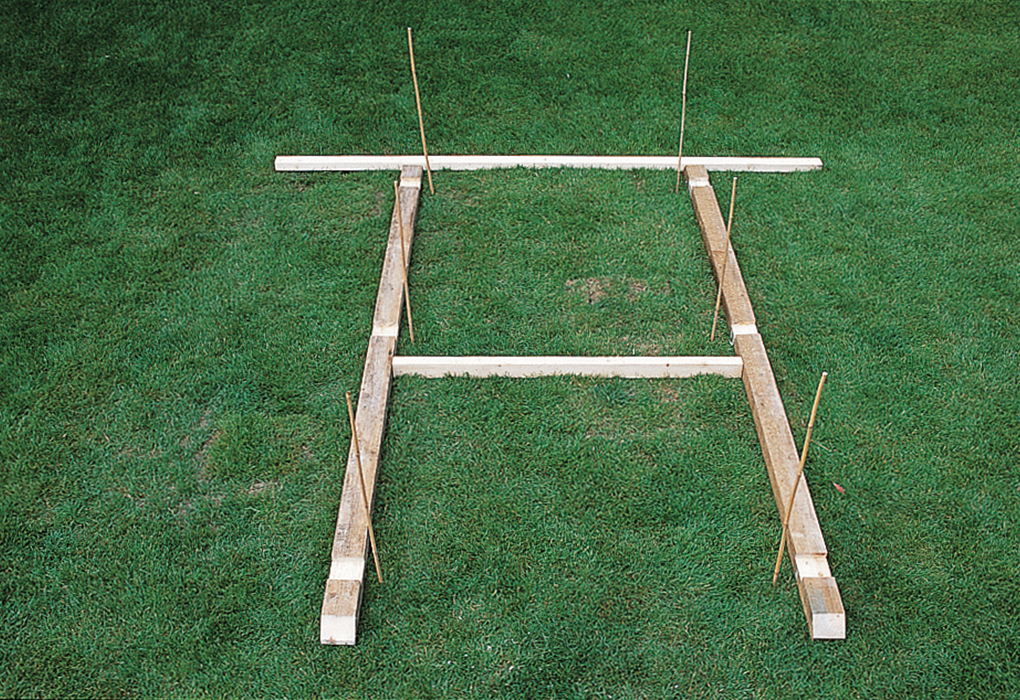
In order to make the post holes in the correct positions, lay the rafters down parallel on the ground. Use a length of timber to align them at one end and a 1.32m length of timber to ensure they are parallel and so you can mark the centre of each of the post holes. Use bamboo canes to mark the centre of each post hole, then move the timbers out of the way and dig the post holes to a depth of 450mm.
Step seven: secure posts to rafters
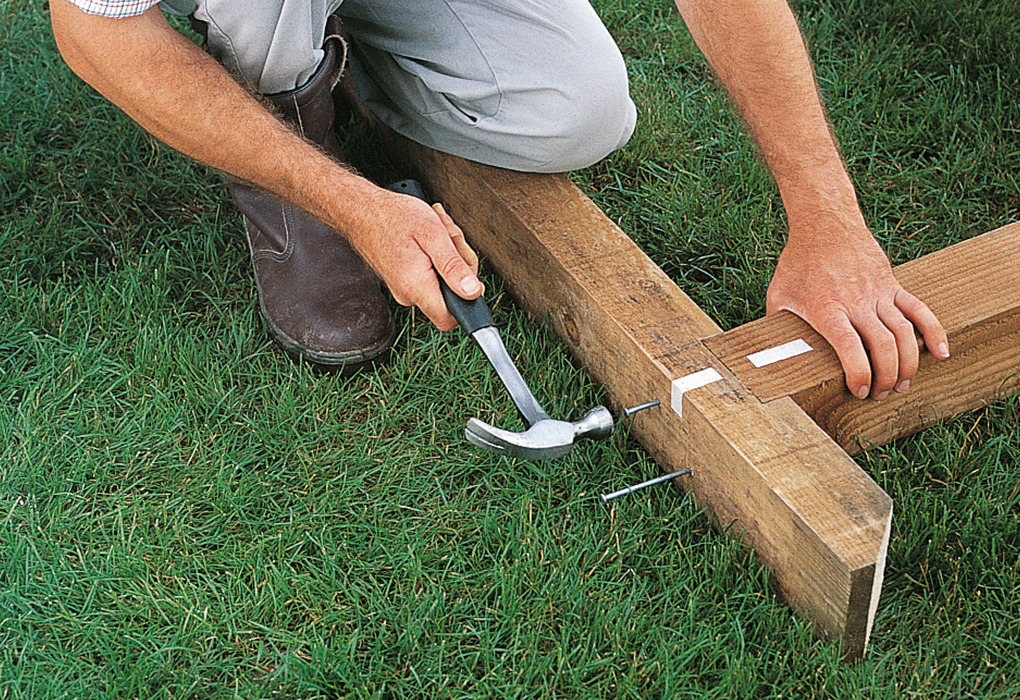
Fit the posts one by one into the housings in the rafters. They should fit snugly, and you’ll therefore need to tap them into position using a wooden mallet. Use a timber offcut between the mallet and rafter to avoid marks.
Drill pilot holes then use galvanised nails to secure them.
Step eight: brace the structure
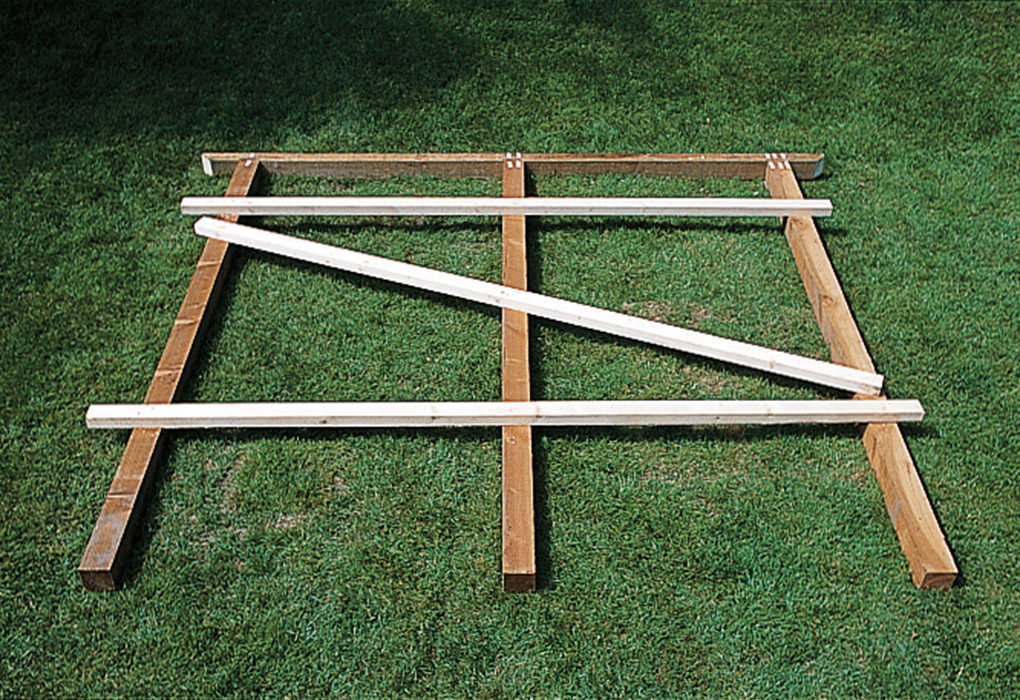
Use the 1.22m length of timber to ensure all the uprights are spaced correctly. Check they are square to the rafter with a try square. Use three lengths of timber to brace the pergola side.
Step nine: raise the side
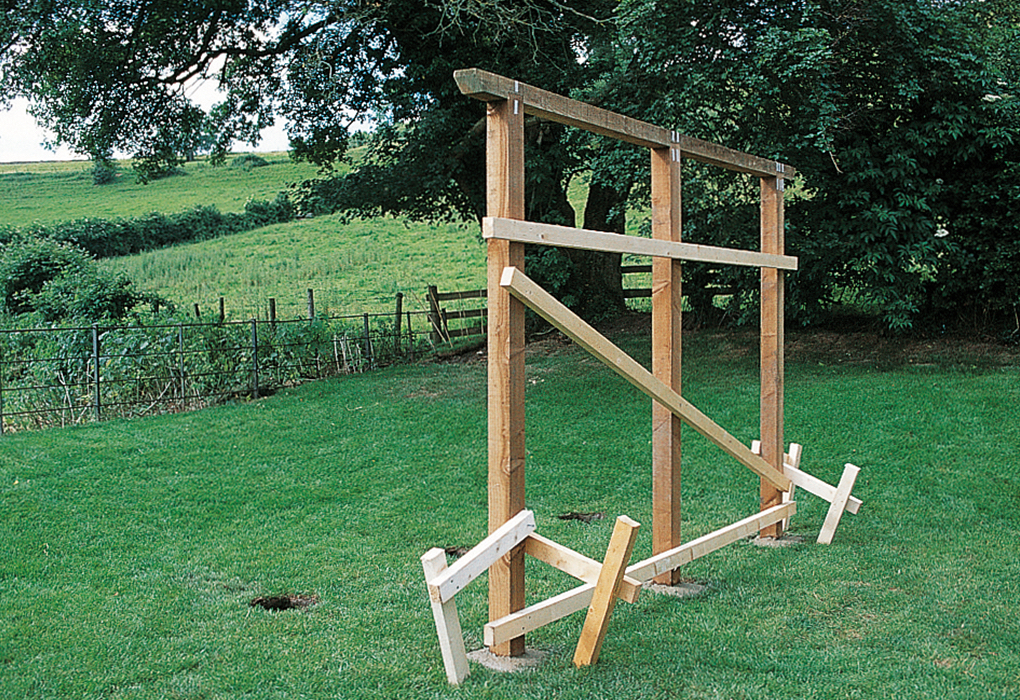
Raise one side of the pergola into the post holes. Use supports to prop it up. Check all the upright posts are vertical and aligned and that the rafter is level.
Step 10: raise the opposite side
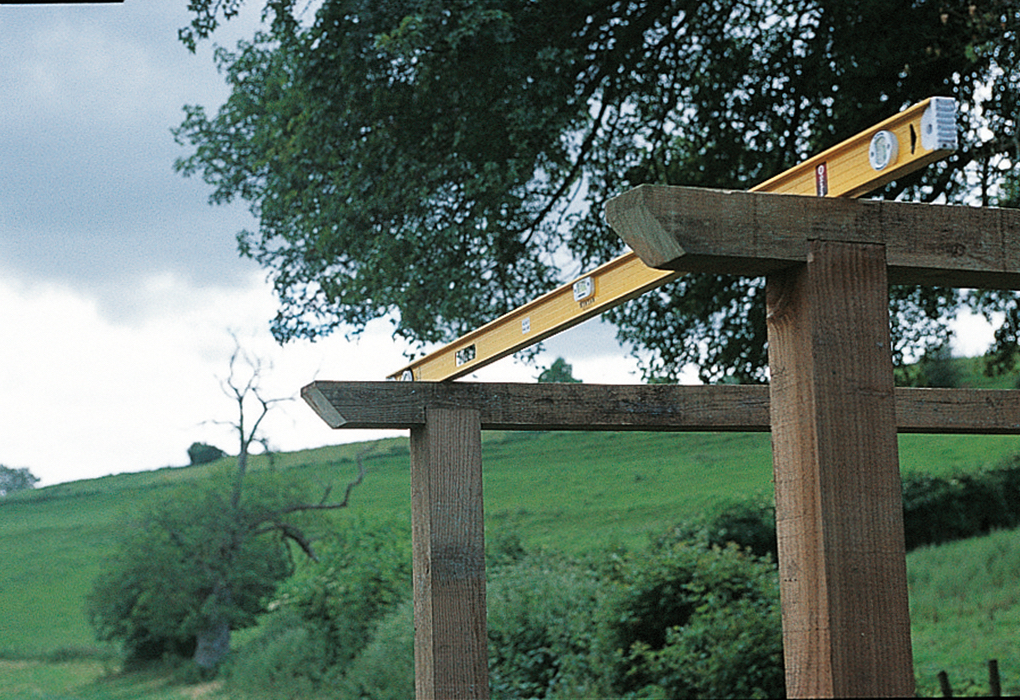
Raise the opposite side of the pergola. Check that the rafters are level with one another using a spirit level, adjusting the depth of the holes if necessary.
Concrete the posts in then leave to set for 48 hours.
Step 11: fit crossbeams
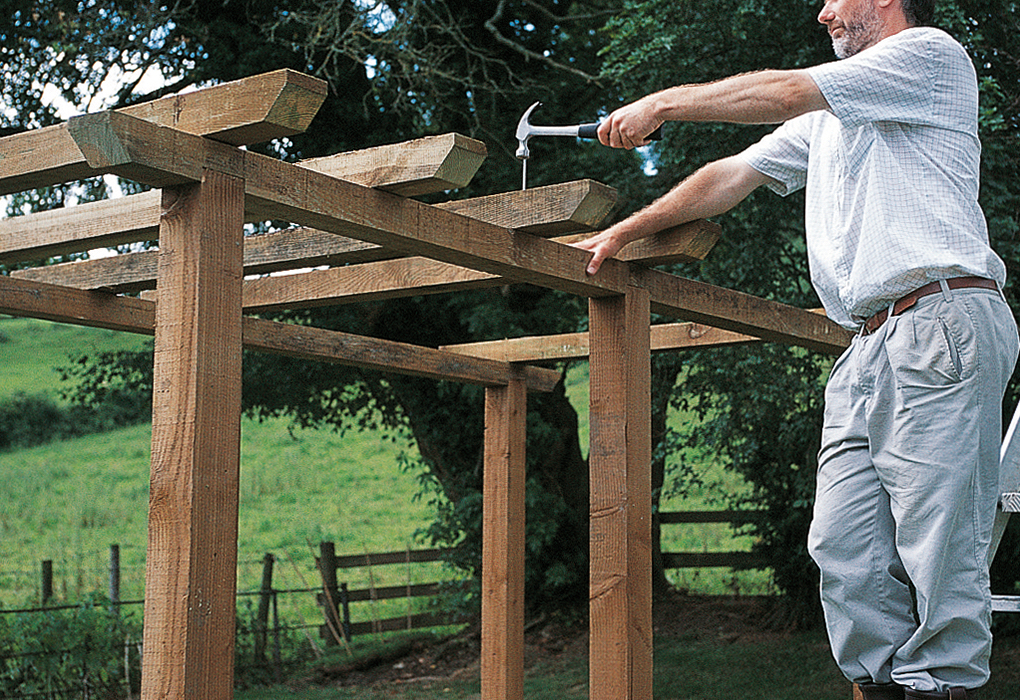
Position three of the crossbeams across the rafters in the post positions. They should extend 200mm from the edges of the posts on each side. Nail into position.
Place the other four crossbeams at even distances between the first three crossbeams and nail into position.
Fit trellis to your pergola
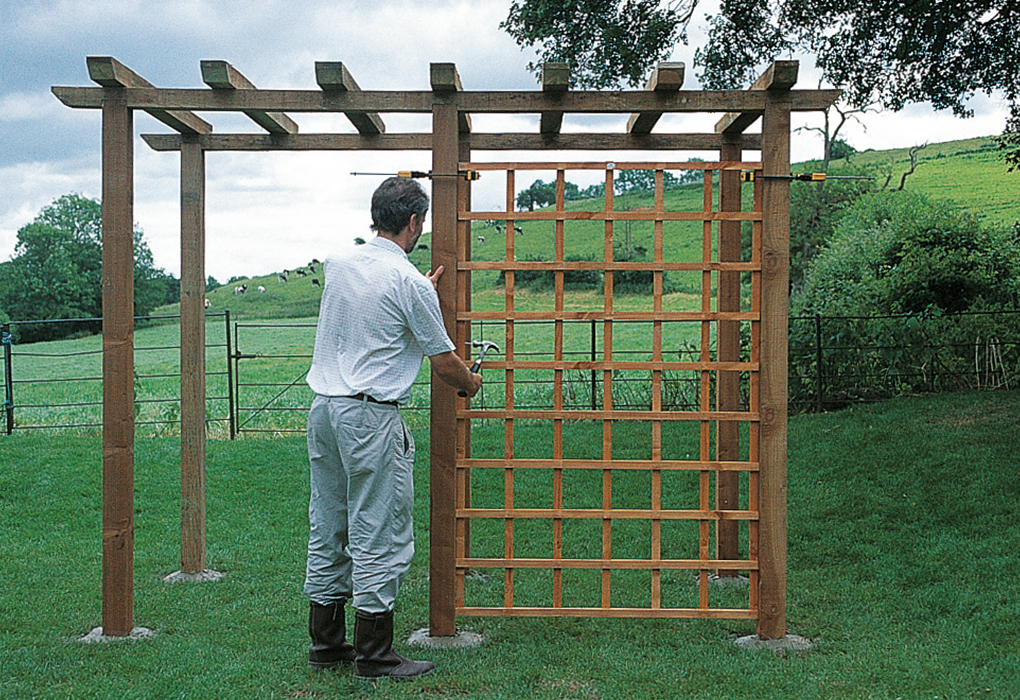
If you’re fitting trellis panels to the side of the pergola, position the first by drilling pilot holes then nailing it on with galvanised nails. There should be a gap between the ground and the base of the trellis panel. Repeat for the other three panels.
Now you've learned how to build a pergola, you can add interest to it with our choice of the best climbing plants. Or if you're a fan of roses, check out our edit of the best climbing roses for your space.

Sarah is a freelance journalist and editor writing for websites, national newspapers, and magazines. She’s spent most of her journalistic career specialising in homes and gardens and loves investigating the benefits, costs and practicalities of home improvement. It's no big surprise that she likes to put what she writes about into practice, and is a serial house revamper.
