How to build a pallet bench: follow this step-by-step guide to create a chic piece of furniture
Wondering how to build a pallet bench? Look no further – we've asked a pallet furniture expert to show you exactly how it's done
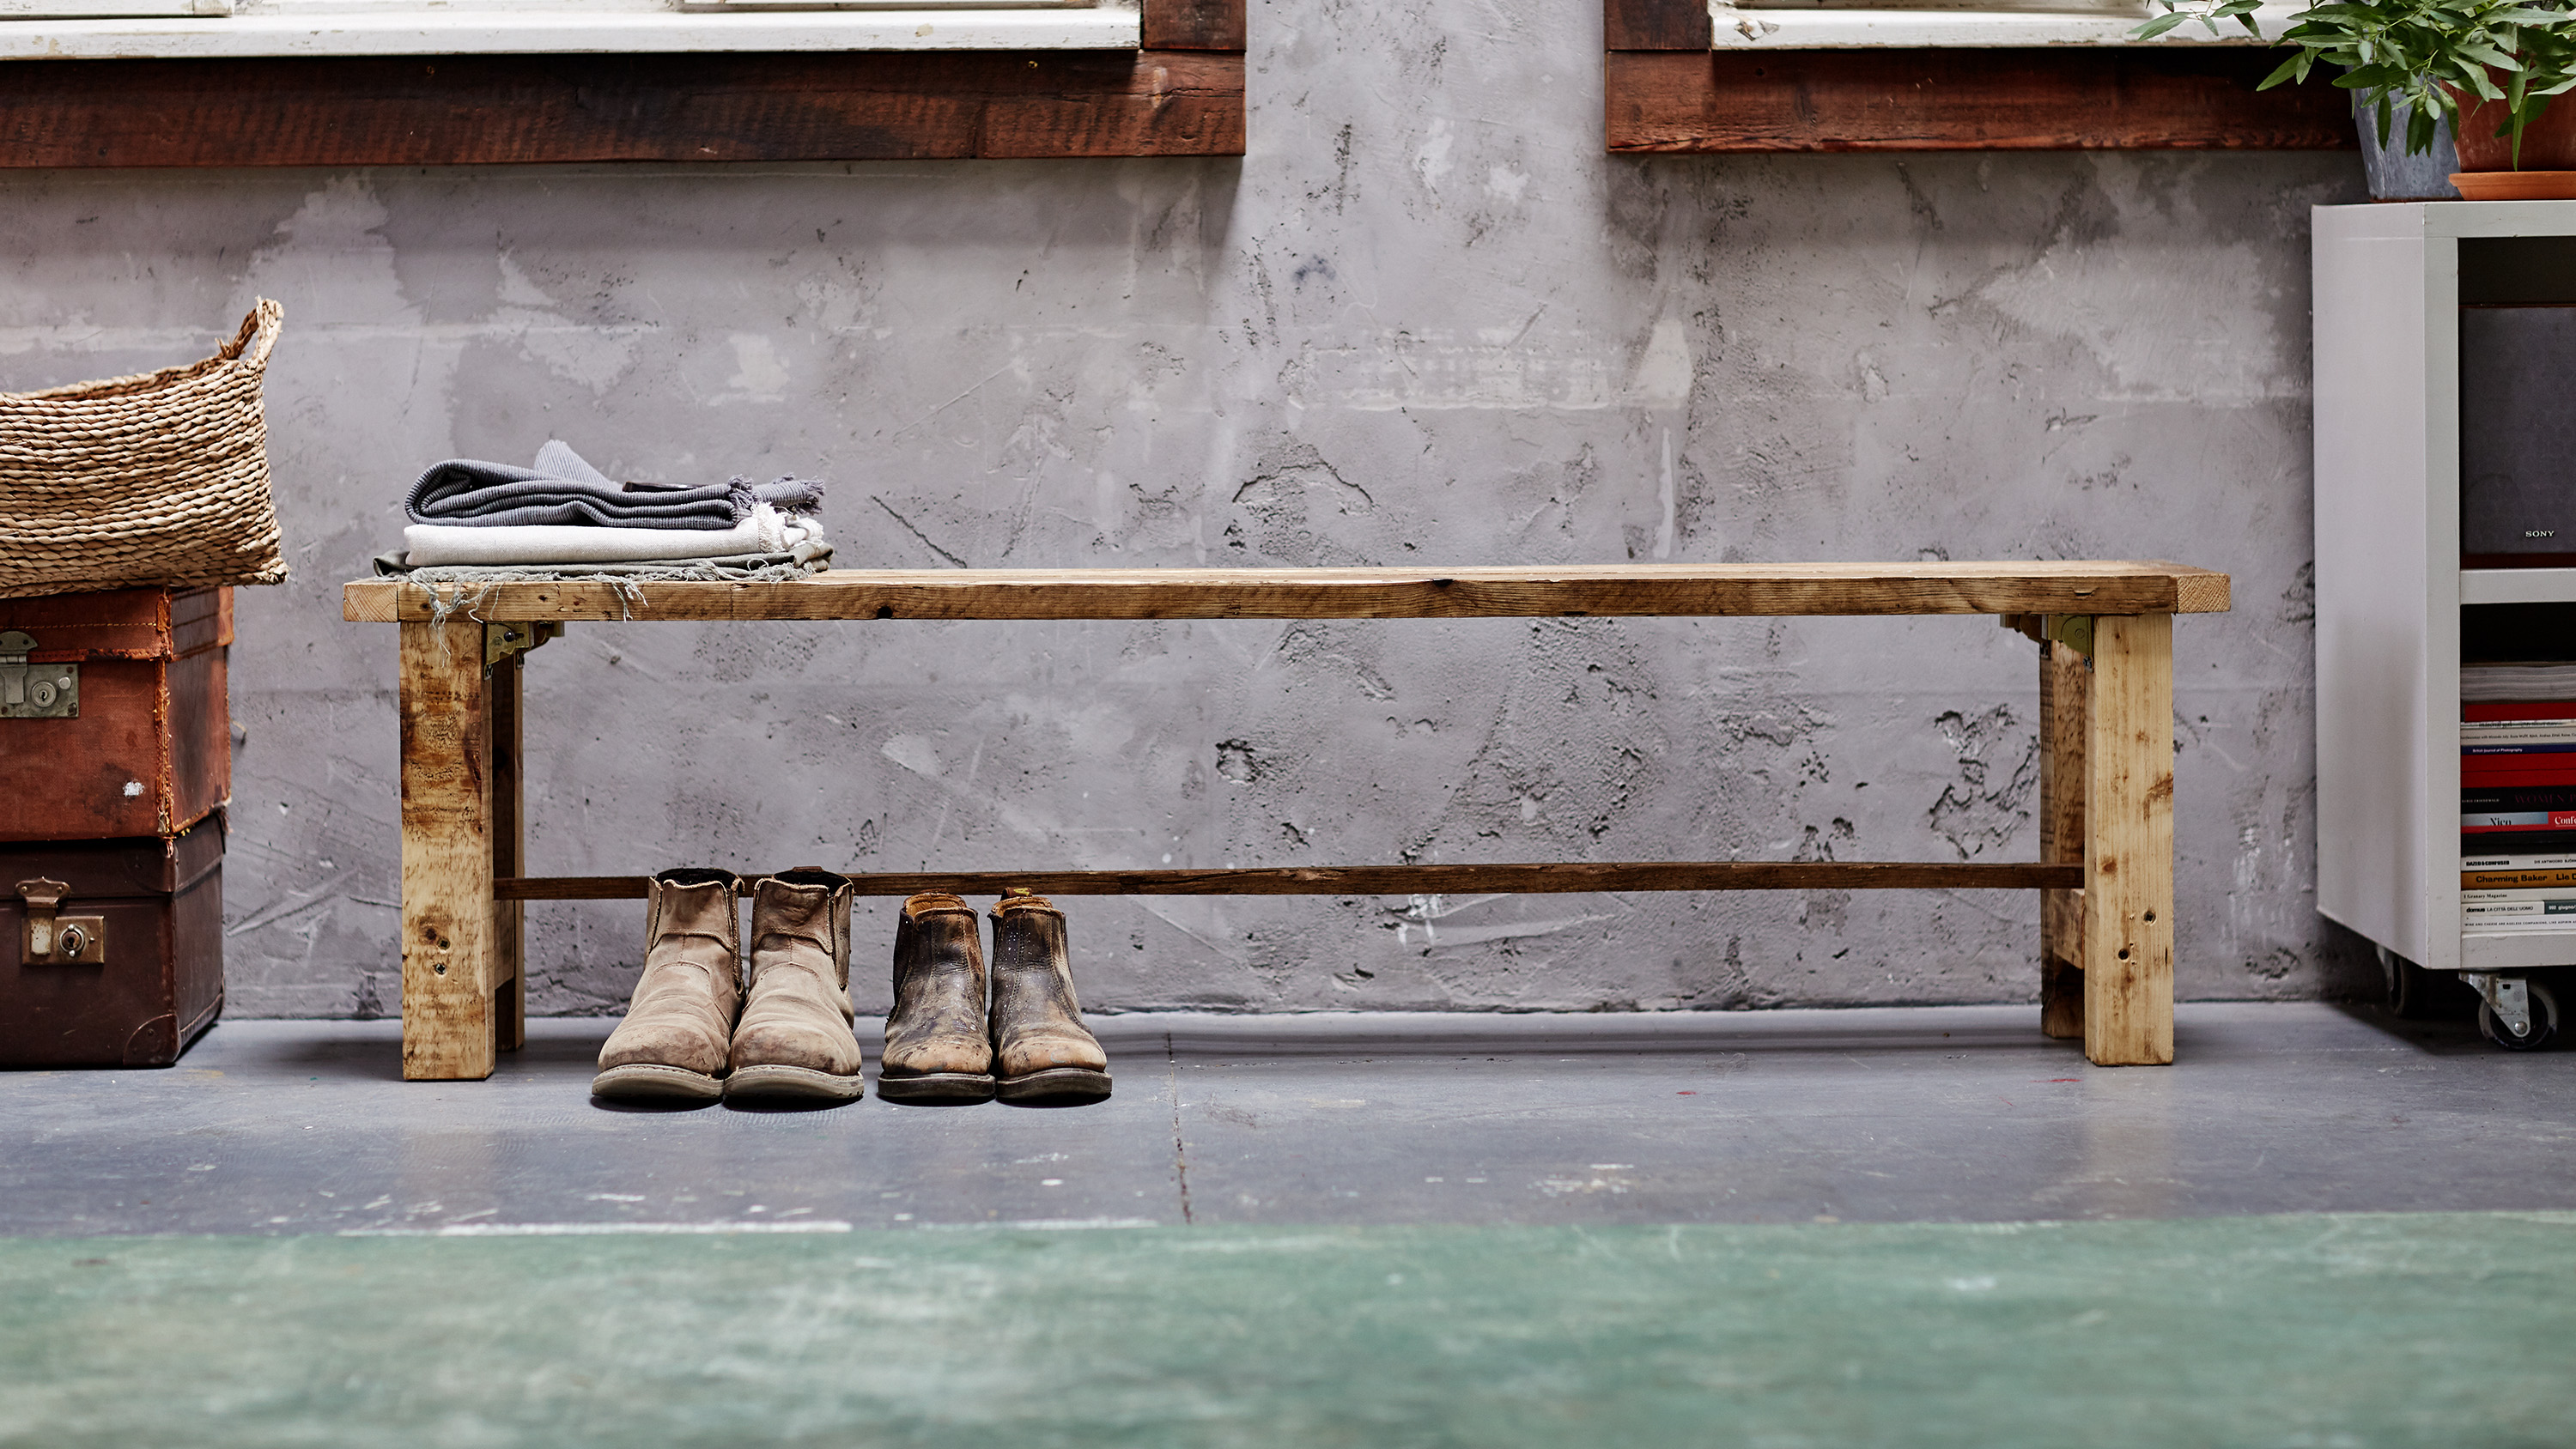

Learning how to build a pallet bench is a fabulous skill, and will result in a gorgeous piece of furniture for a budget-friendly price.
It's a great project to while away the weekend, especially if you've got a few DIY skills up your sleeve and love our pallet furniture ideas. All you need is a few tools, a couple of pallet beams, and some scaffold boards to create the look.
The finished piece can be used outdoors as well as indoors – it's perfect for a hallway or kid's bedroom. What's more, this nifty design is foldable, giving it extra points for versatility if you sometimes need a little more space.
Nikkita Palmer, author of 'Pallet Style: 20 creative home projects using recycled wooden pallets' from Kyle Books, takes us through the process. So if you're ready for a little do-it-yourself action, follow this step-by-step guide.
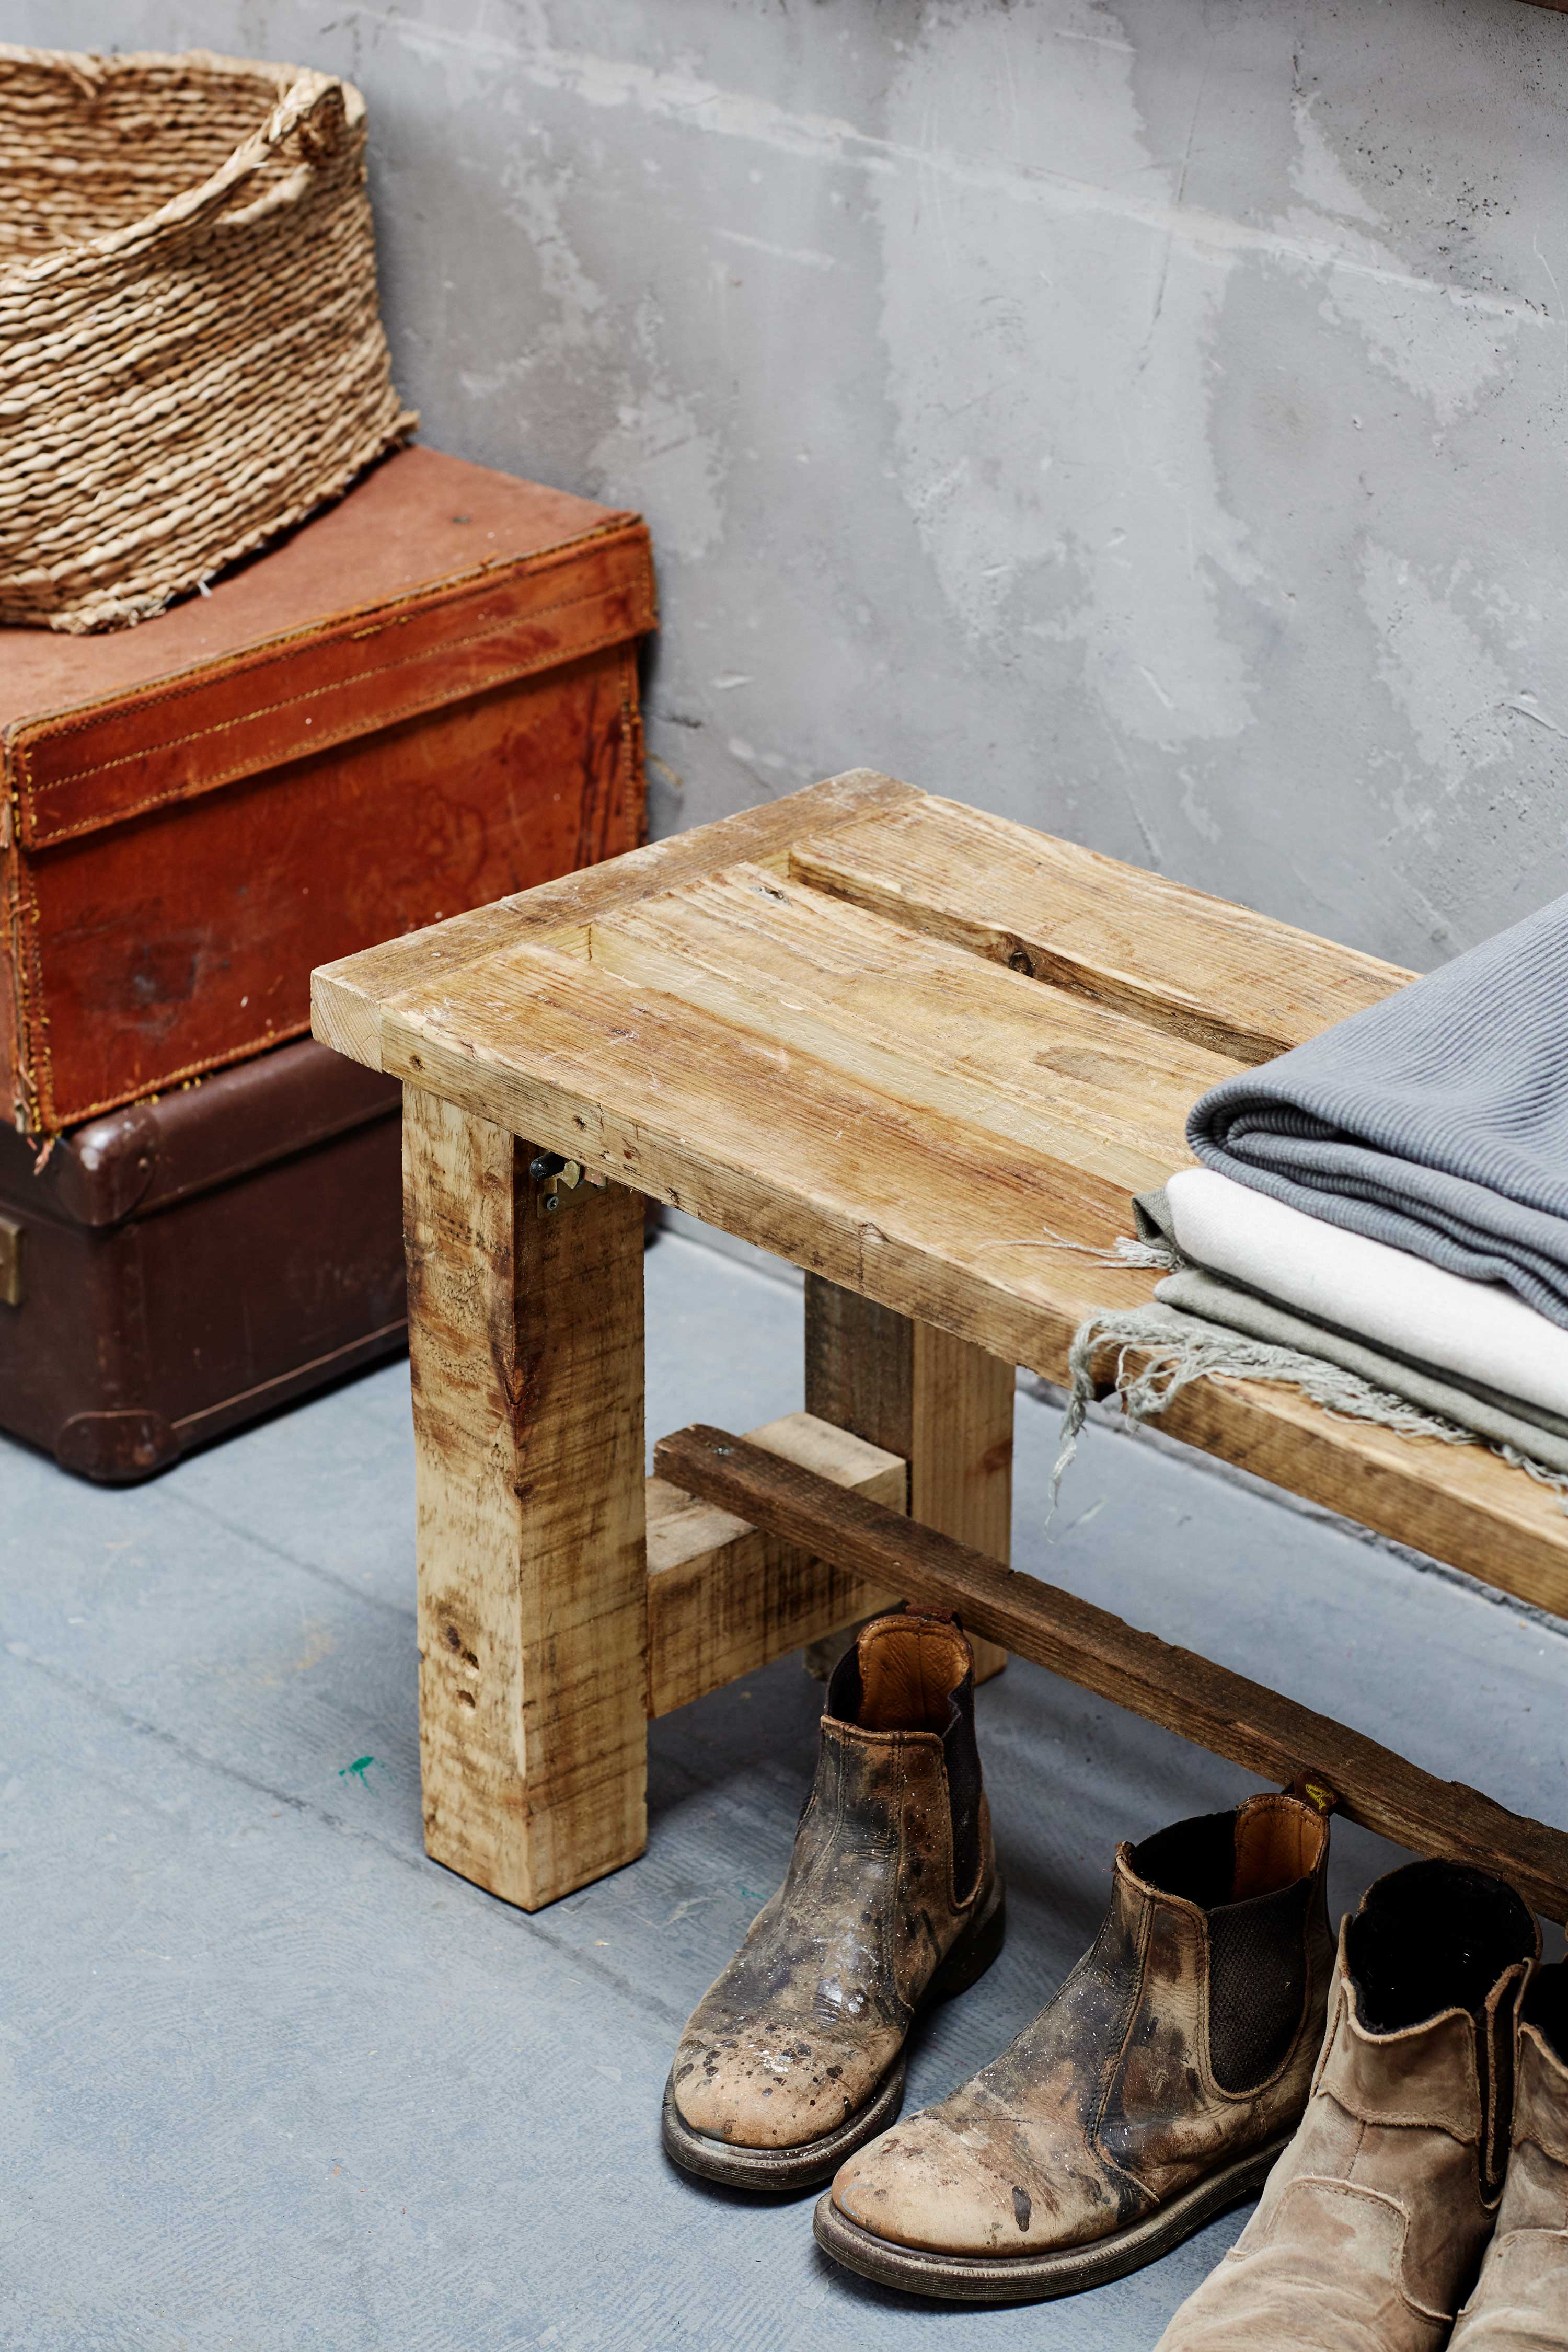
A pallet bench is a fabulous addition to a hallway or a garden
What tools do I need to make a pallet bench?
- Tape Measure
- Pencil
- Combination square
- Hand saw or electric mitre saw
- Table saw or circular saw
- Electric sander and sandpaper
- Ventilation mask and protective eye goggles
- Pilot hole and countersink drill bits
- Screwdriver bit
- Electric drill
- Paint brush or oiling cloth
What materials do I need to make a pallet bench?
Along with the tools listed above, you'll need the following materials to make your pallet bench:
- Two industrial pallet bearer beams – approx. 200cm (6ft 5in). You can use regular pallet bearer beams if you can't source industrial ones (see below).
- Two scaffold boards approx. 180cm (6ft) long (you will use 1.5 of these)
- Scaffold board offcuts or board at least 35cm (14in) long
- Large wood screws
- 30mm (1in) wood screws
- Four folding leg systems (two lockable)
- Danish oil, varnish, or some of the best exterior wood paint
As mentioned, if you can't source industrial pallet bearer beams, then you can just use normal pallet ones. If this is the case, Nikkita says that you won't necessarily need to adjust any measurements, as long as the bench legs are kept in the same place.
However, she suggests that it's a good idea in general to check that the measurements below work with your reclaimed materials before you get started, as shapes and sizes can vary. You can always adapt where necessary. In short, give it a go with what you have – it's all part of the fun of upcycling!
So without further ado, keep scrolling – you'll know how to build a pallet bench in no time.
Step one: Measure and cut the scaffold boards
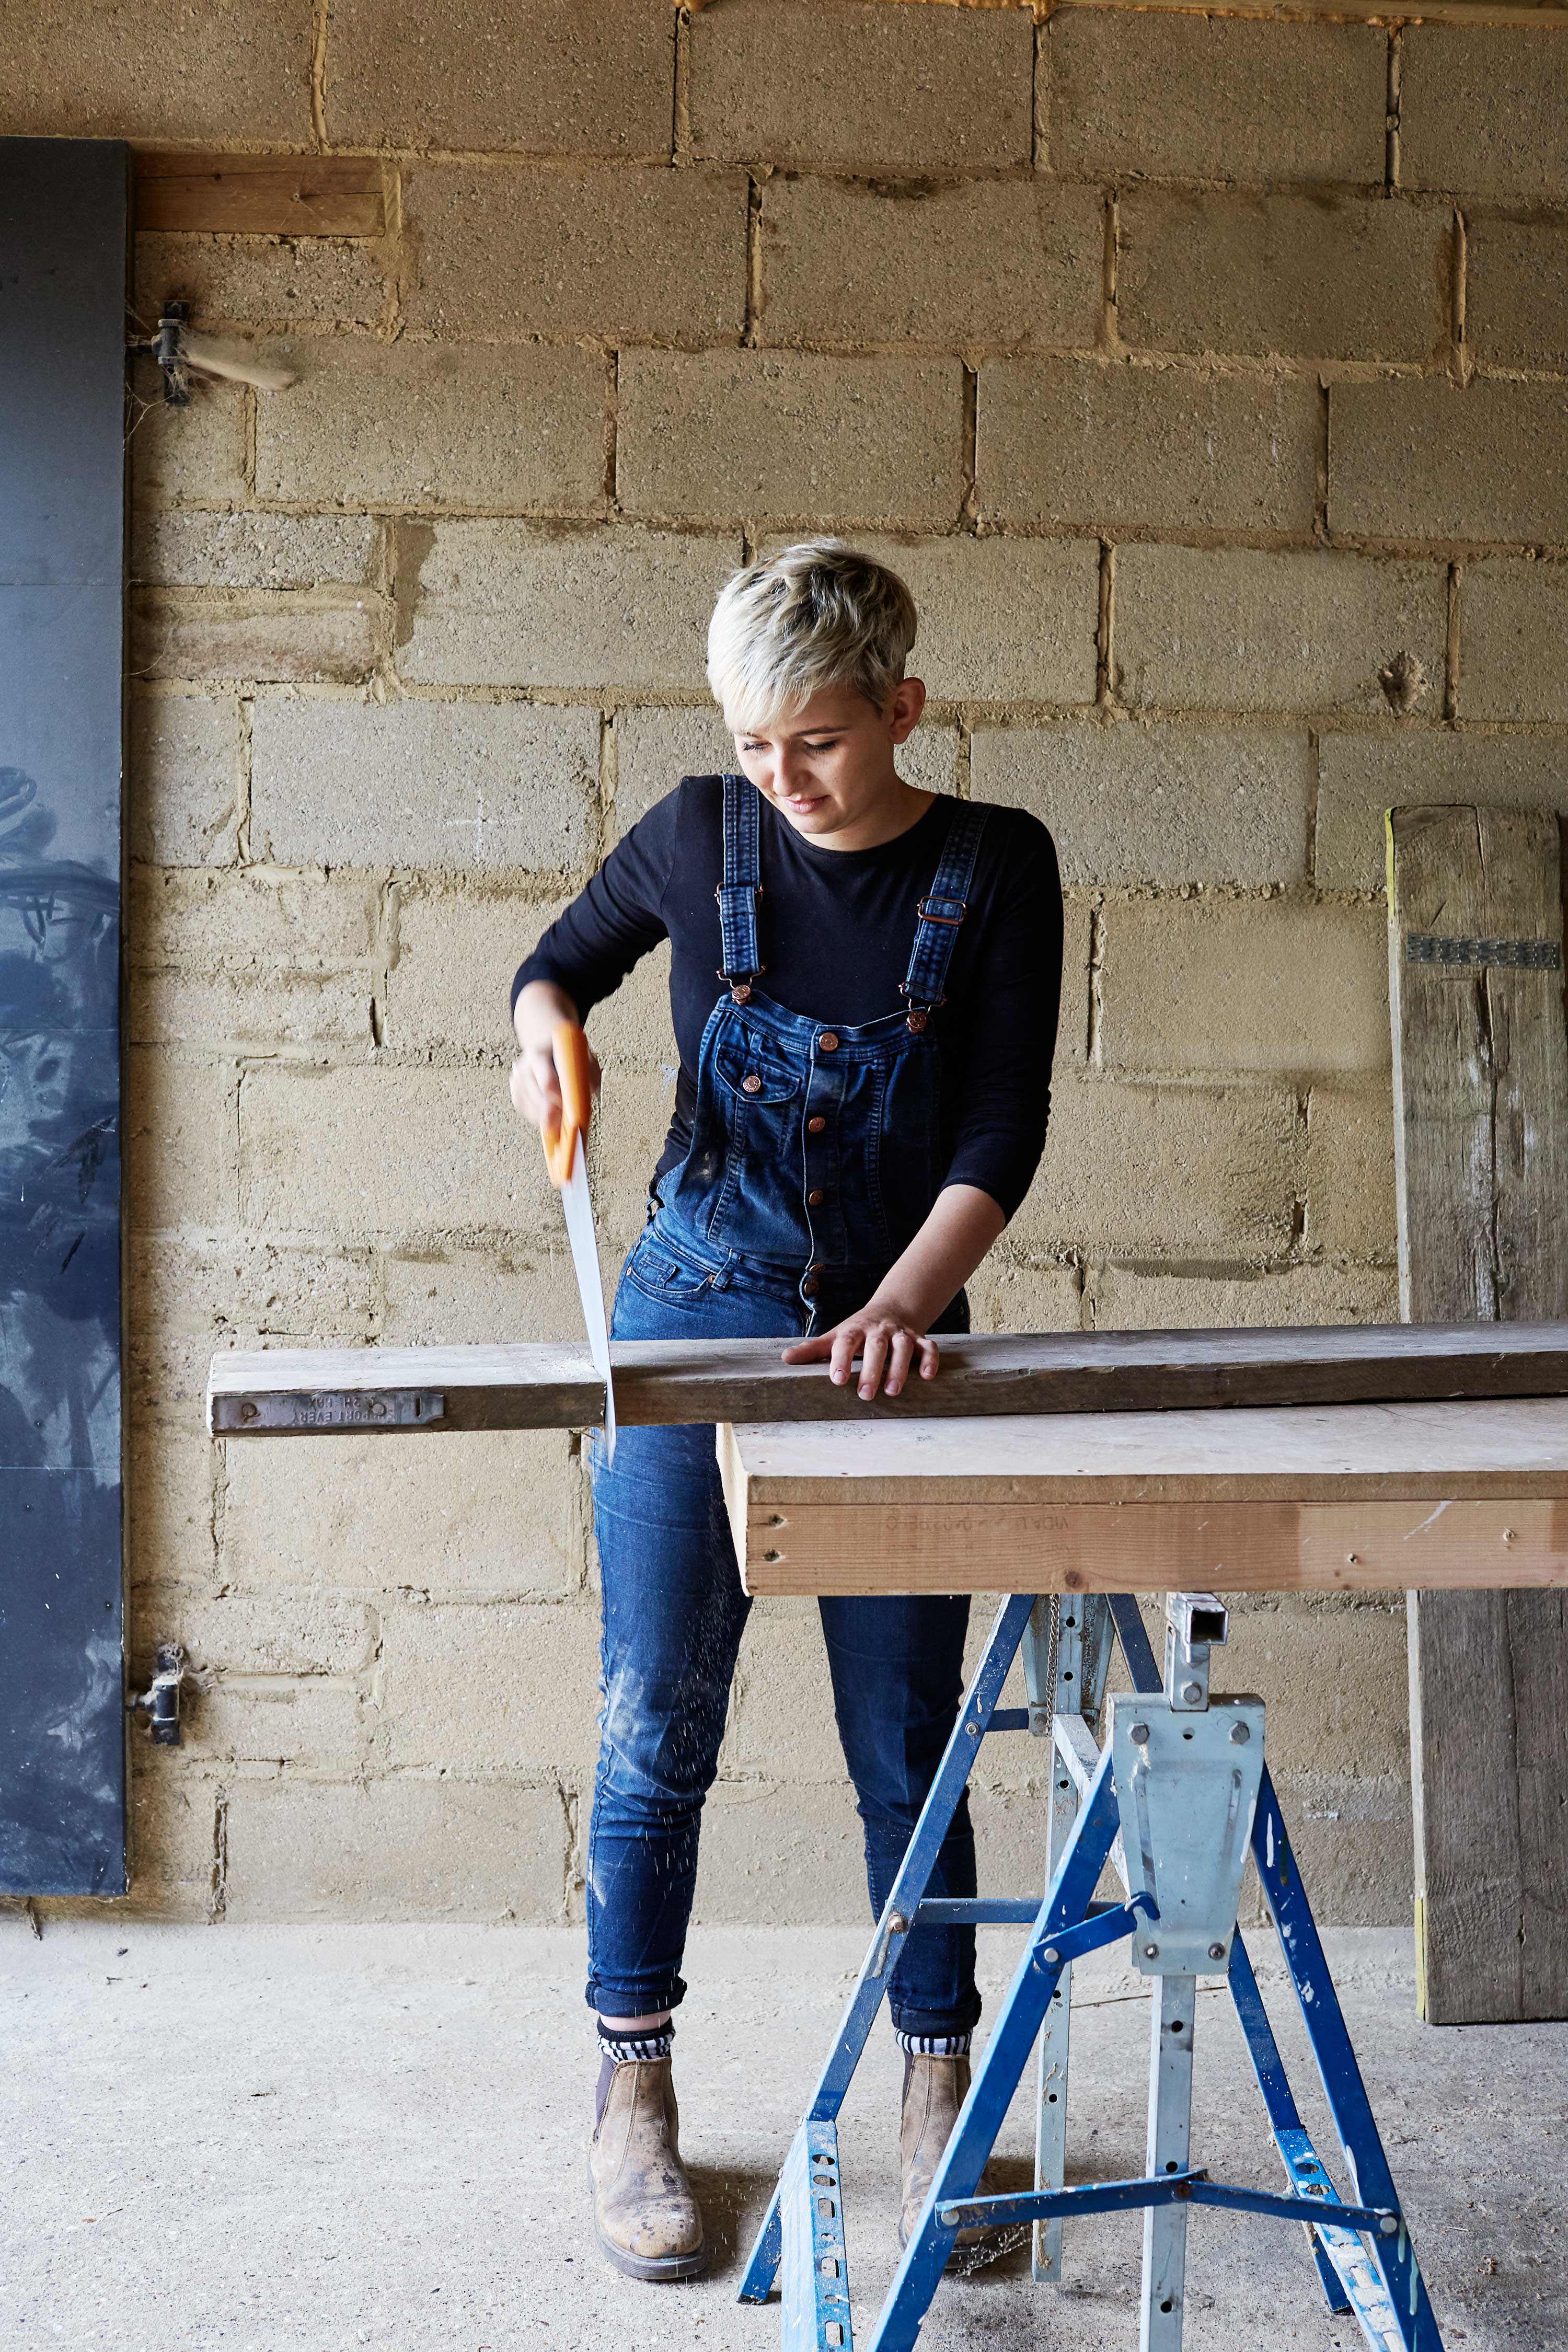
Cut your boards to size
Start by measuring the two scaffold boards at 170cm (51⁄2ft), then mark with a pencil and a combination square. As with pallet boards, we always trim the end we measure from to ensure a straight cut, says Nikkita. Cut using a hand saw or mitre saw.
Then, using a table saw or circular saw, cut these scaffold boards into three 10cm (4in) wide lengths. You'll be left with a 2cm (3⁄4in) wide offcut from one of the boards – put this to one side, you'll use it later on.
Step two: Create the end beams for the seat
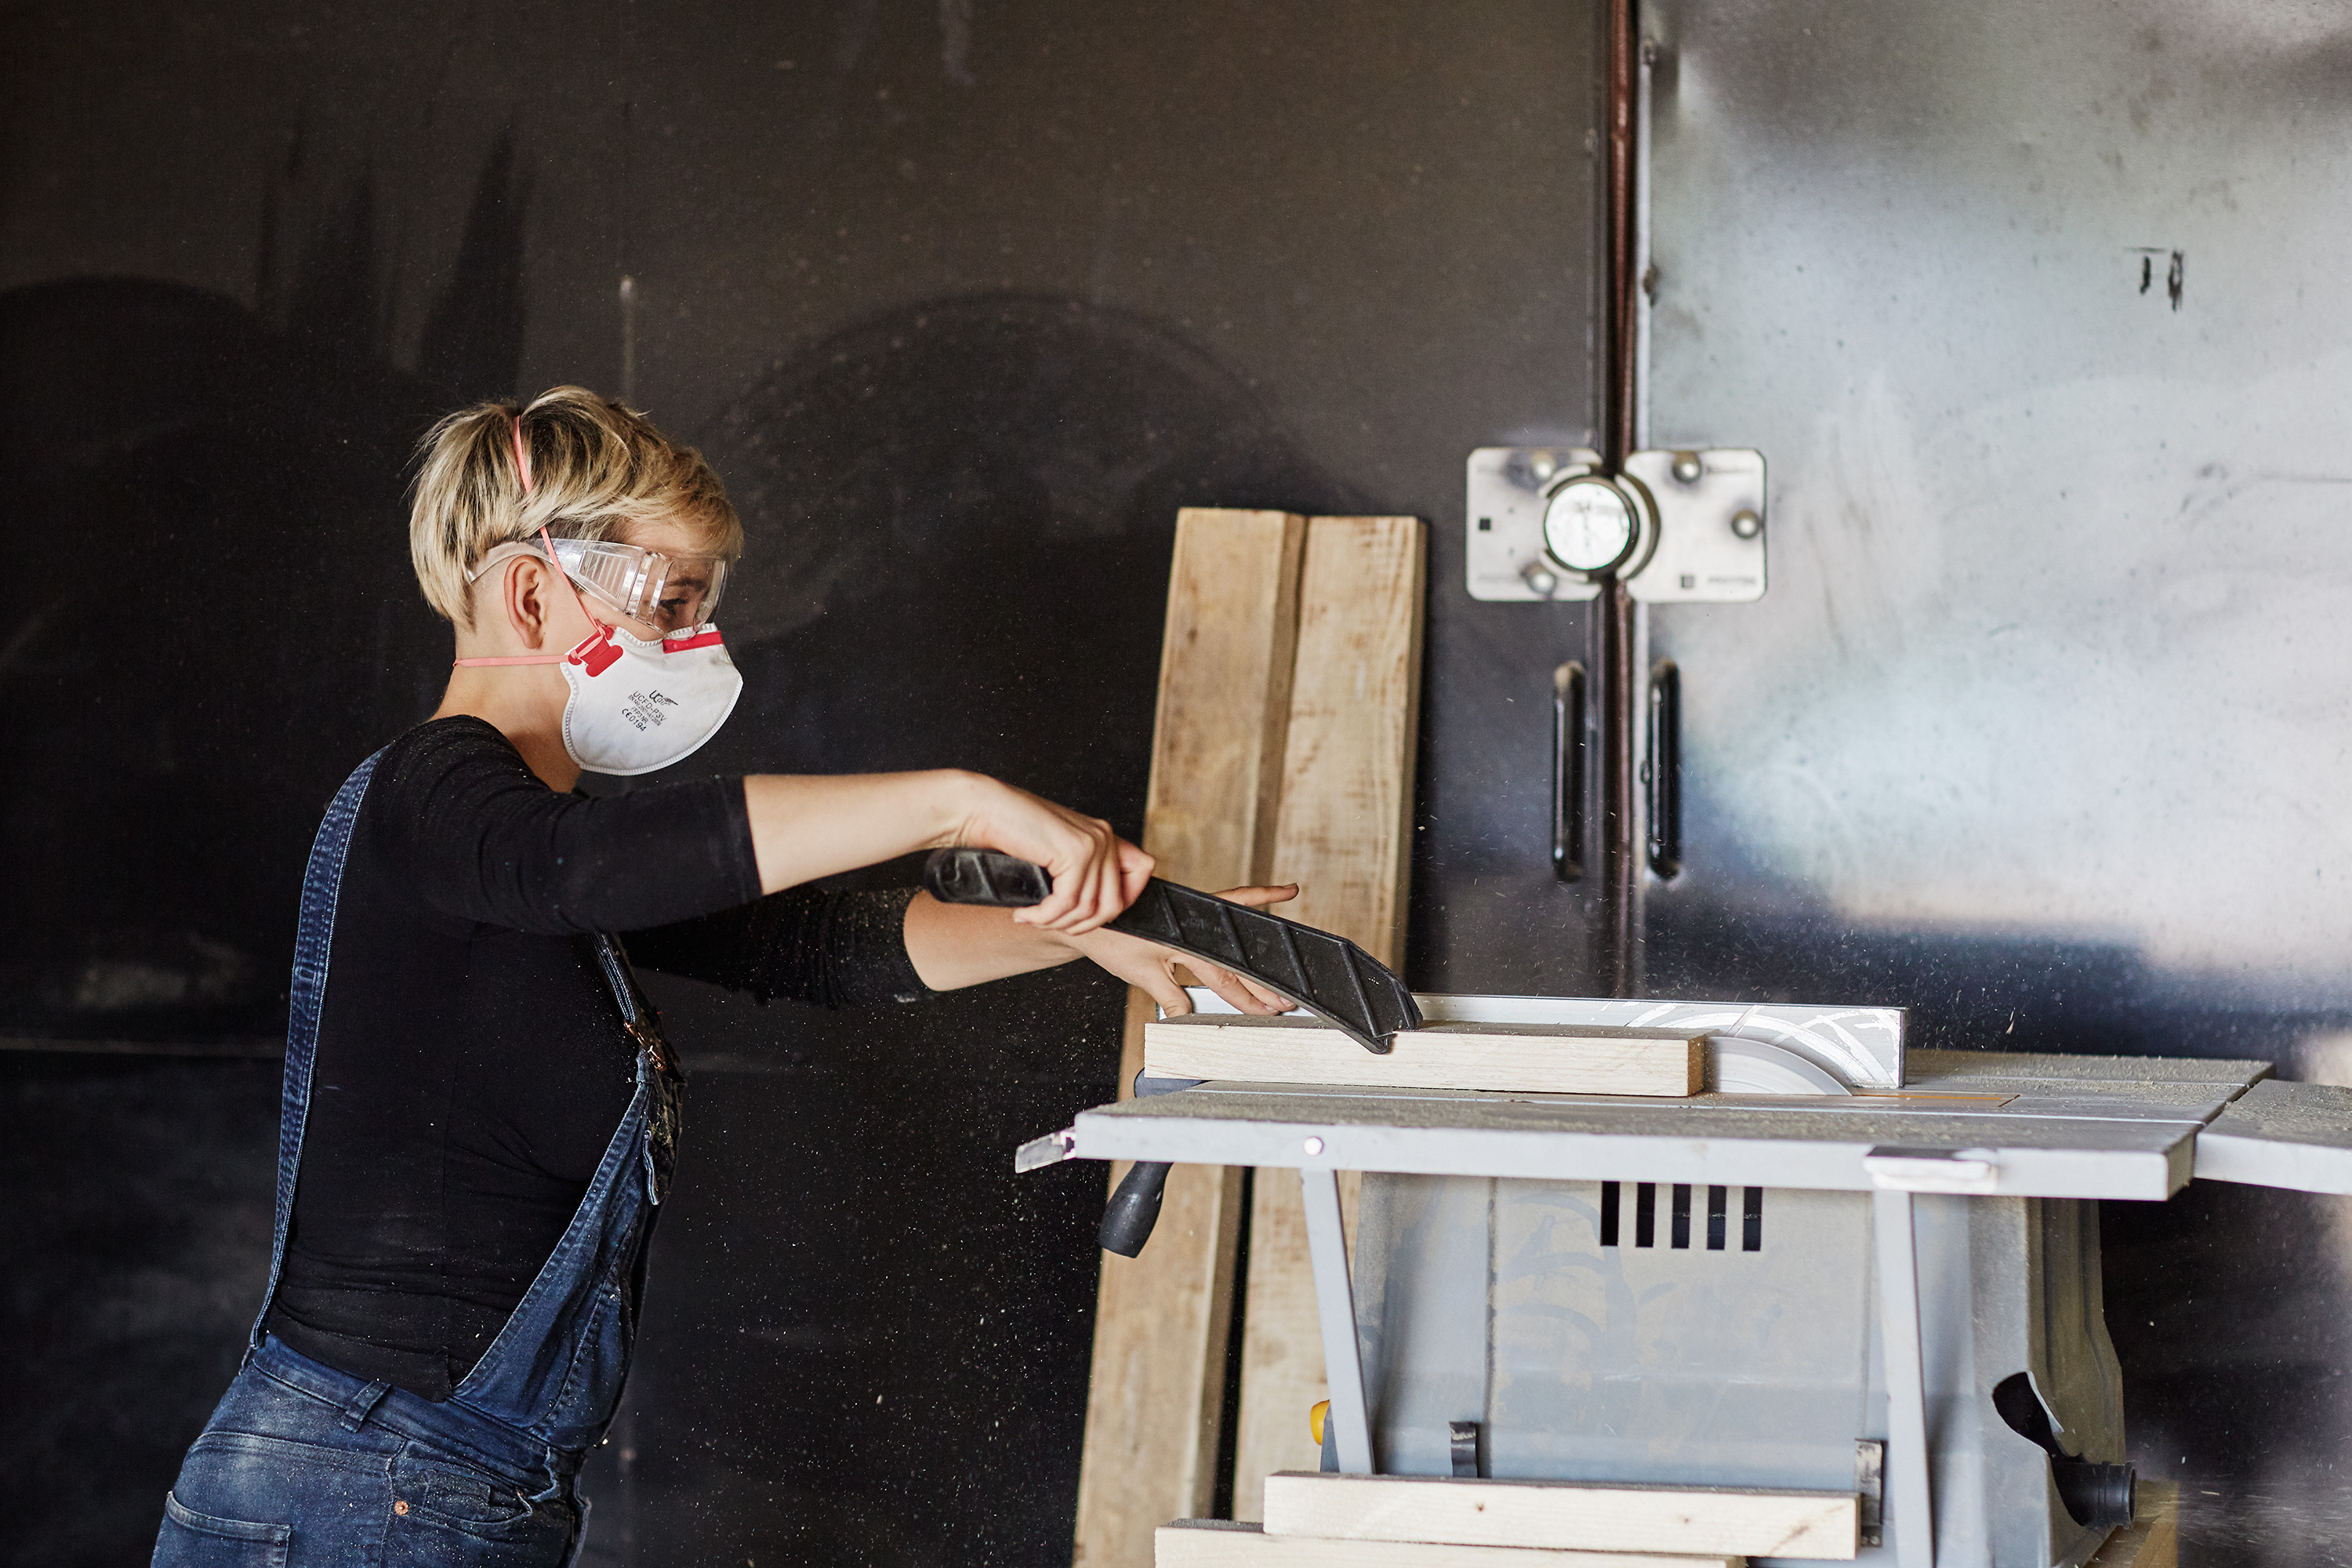
Use a table saw to cut the end beams
Next, cut a piece of scaffold board at 35cm (14in) long. Then, using the table saw, cut two 5cm (2in) wide pieces from the 35cm board. This will create the two end beams to brace the boards on the bench seat.
Don't forget to pop on your safety goggles and mask for this step, to keep yourself protected.
Step three: Sand the boards and put them into position
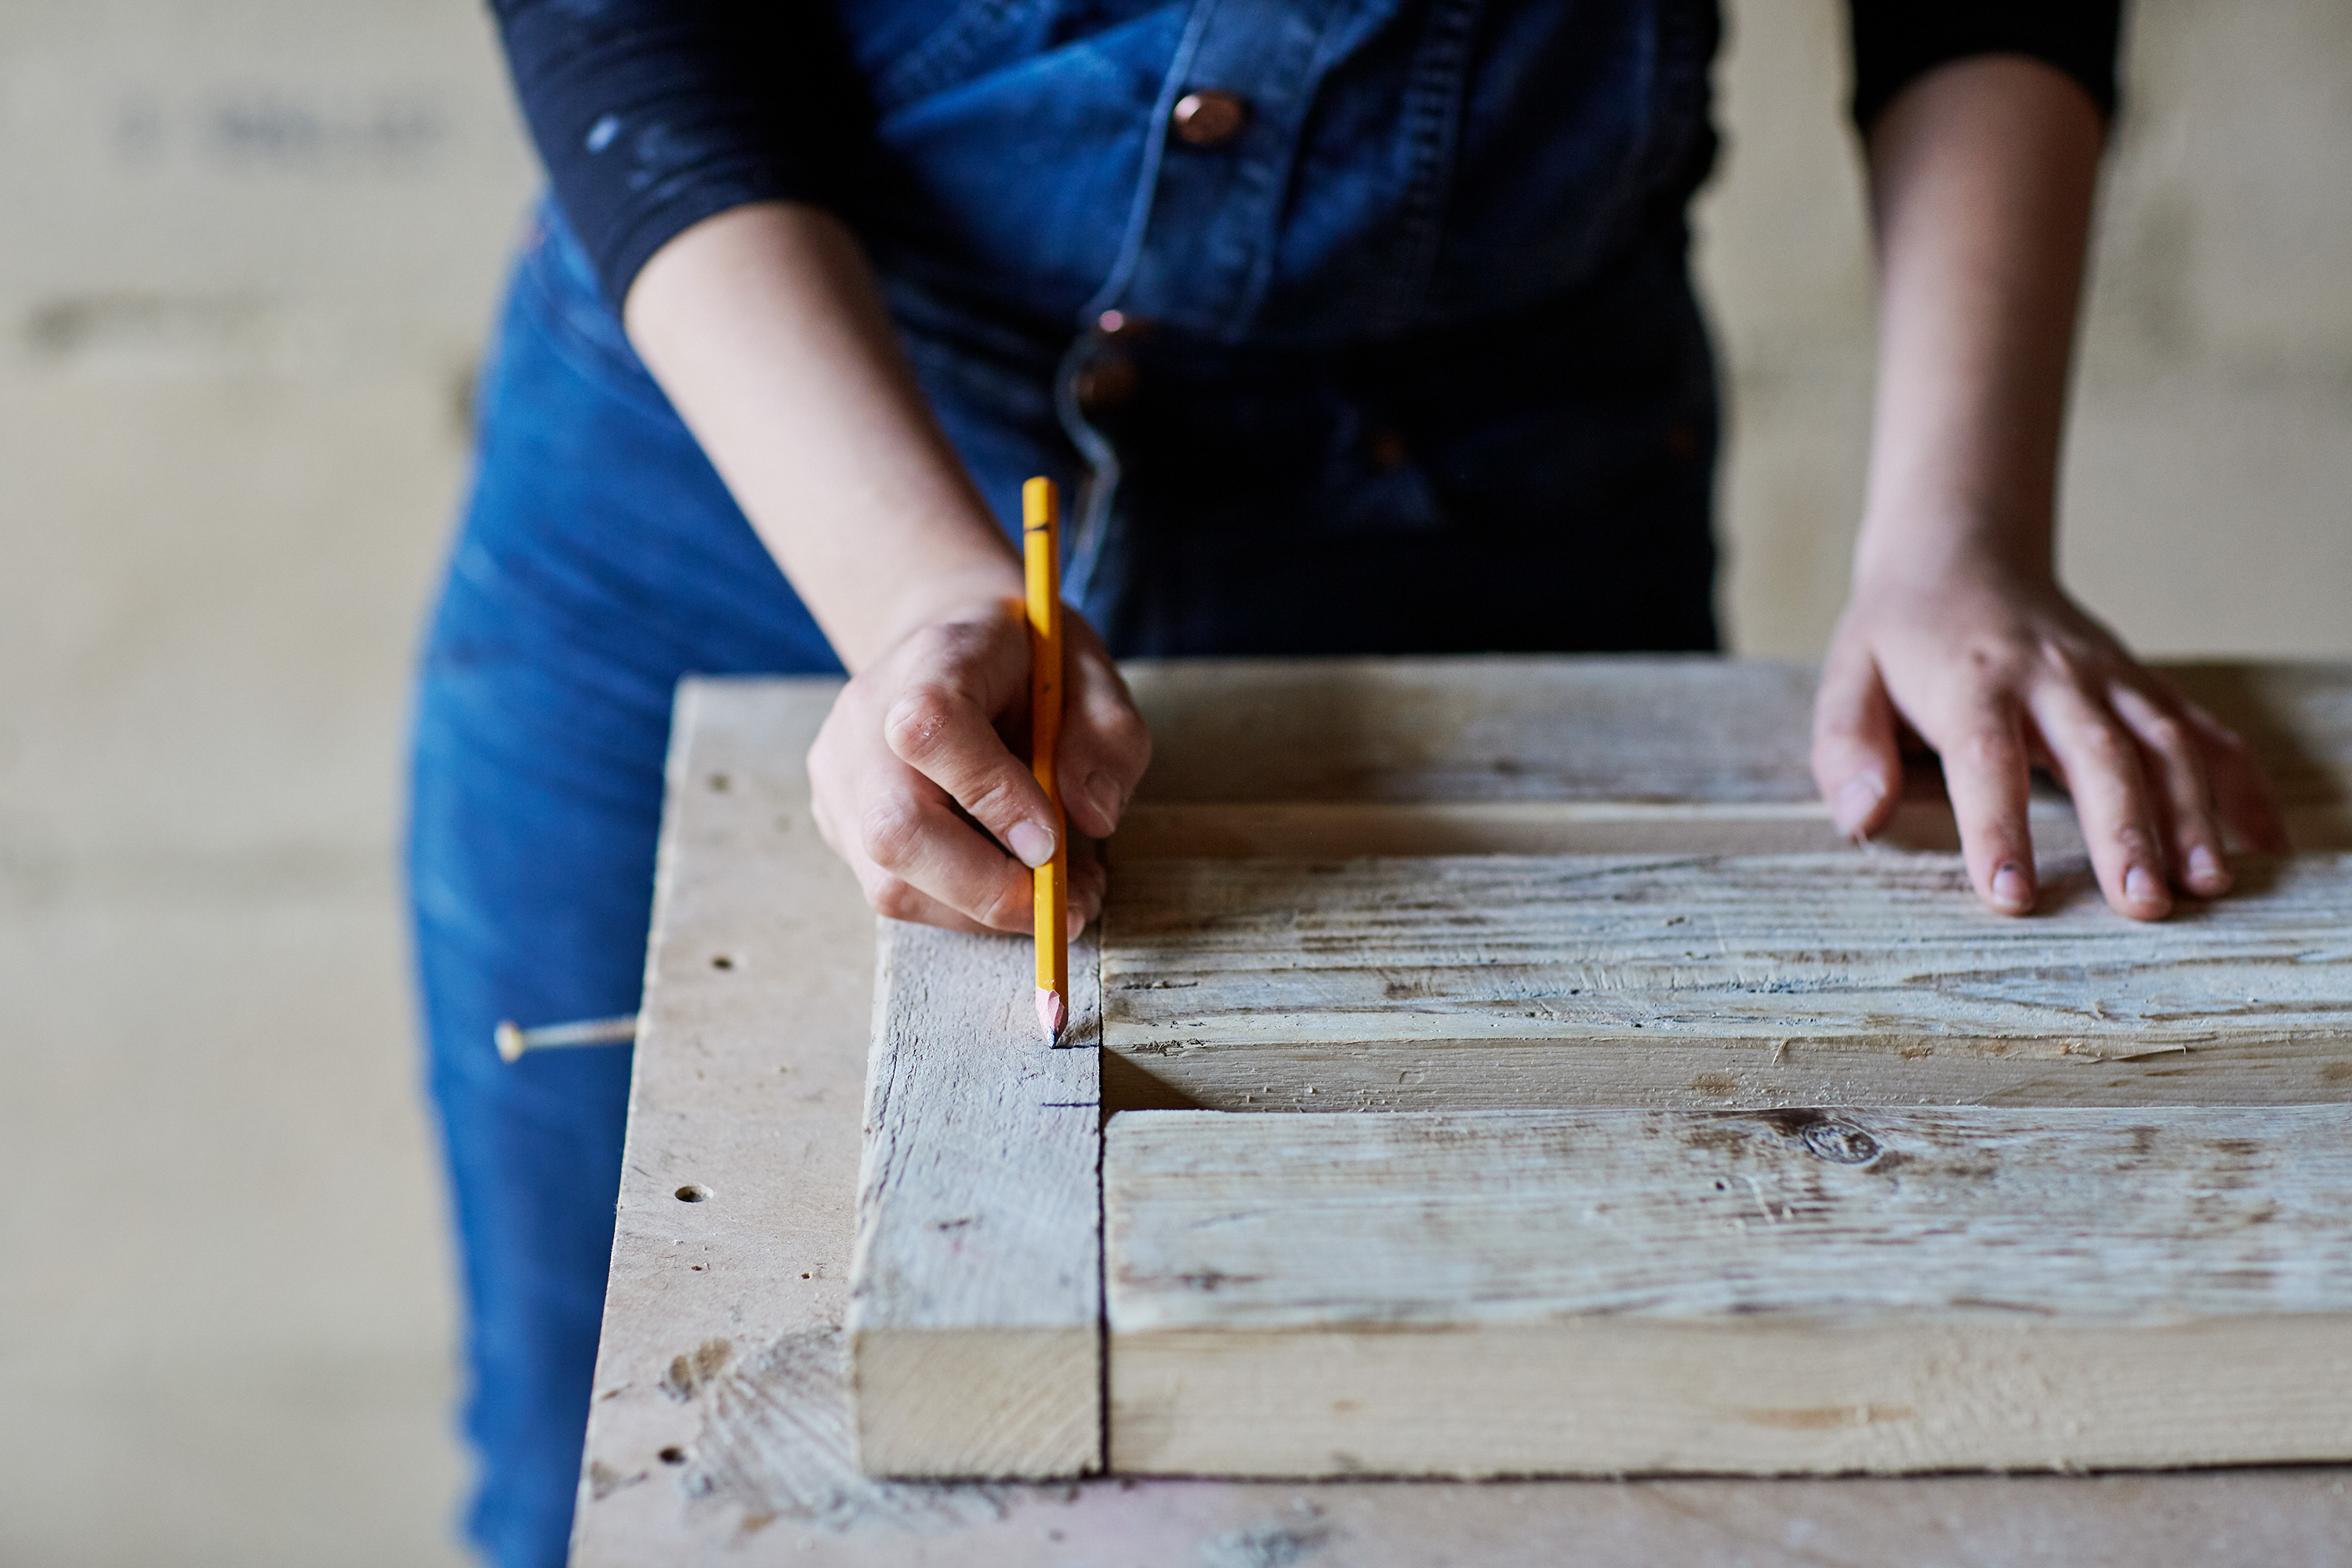
Mark up your boards so you know where to pilot
Keeping your mask and goggles on, sand all of the boards from the above steps – it's best to use an electric sander with scaffold boards.
Then, lay the three 170cm (51⁄2ft) x 10cm (4in) boards on the 'U' grain. Nikkita explains that this means placing the boards so the end grain of the wood is shaped as a 'U' and not an 'N' (see diagram below). This ensures that as the boards move and bow in time, the bench doesn't become uneven.

The difference between 'U' grain and 'N' grain
Place the two 35cm (14in) x 5cm (2in) beams at each end so that the two outer centre boards are flush with the end edges. Ensure the centre board is positioned centrally between them.
Using a pencil, mark the placement of the boards onto the ends so you can see where to drill your pilot holes.
Step four: Secure the centre boards to the end beams
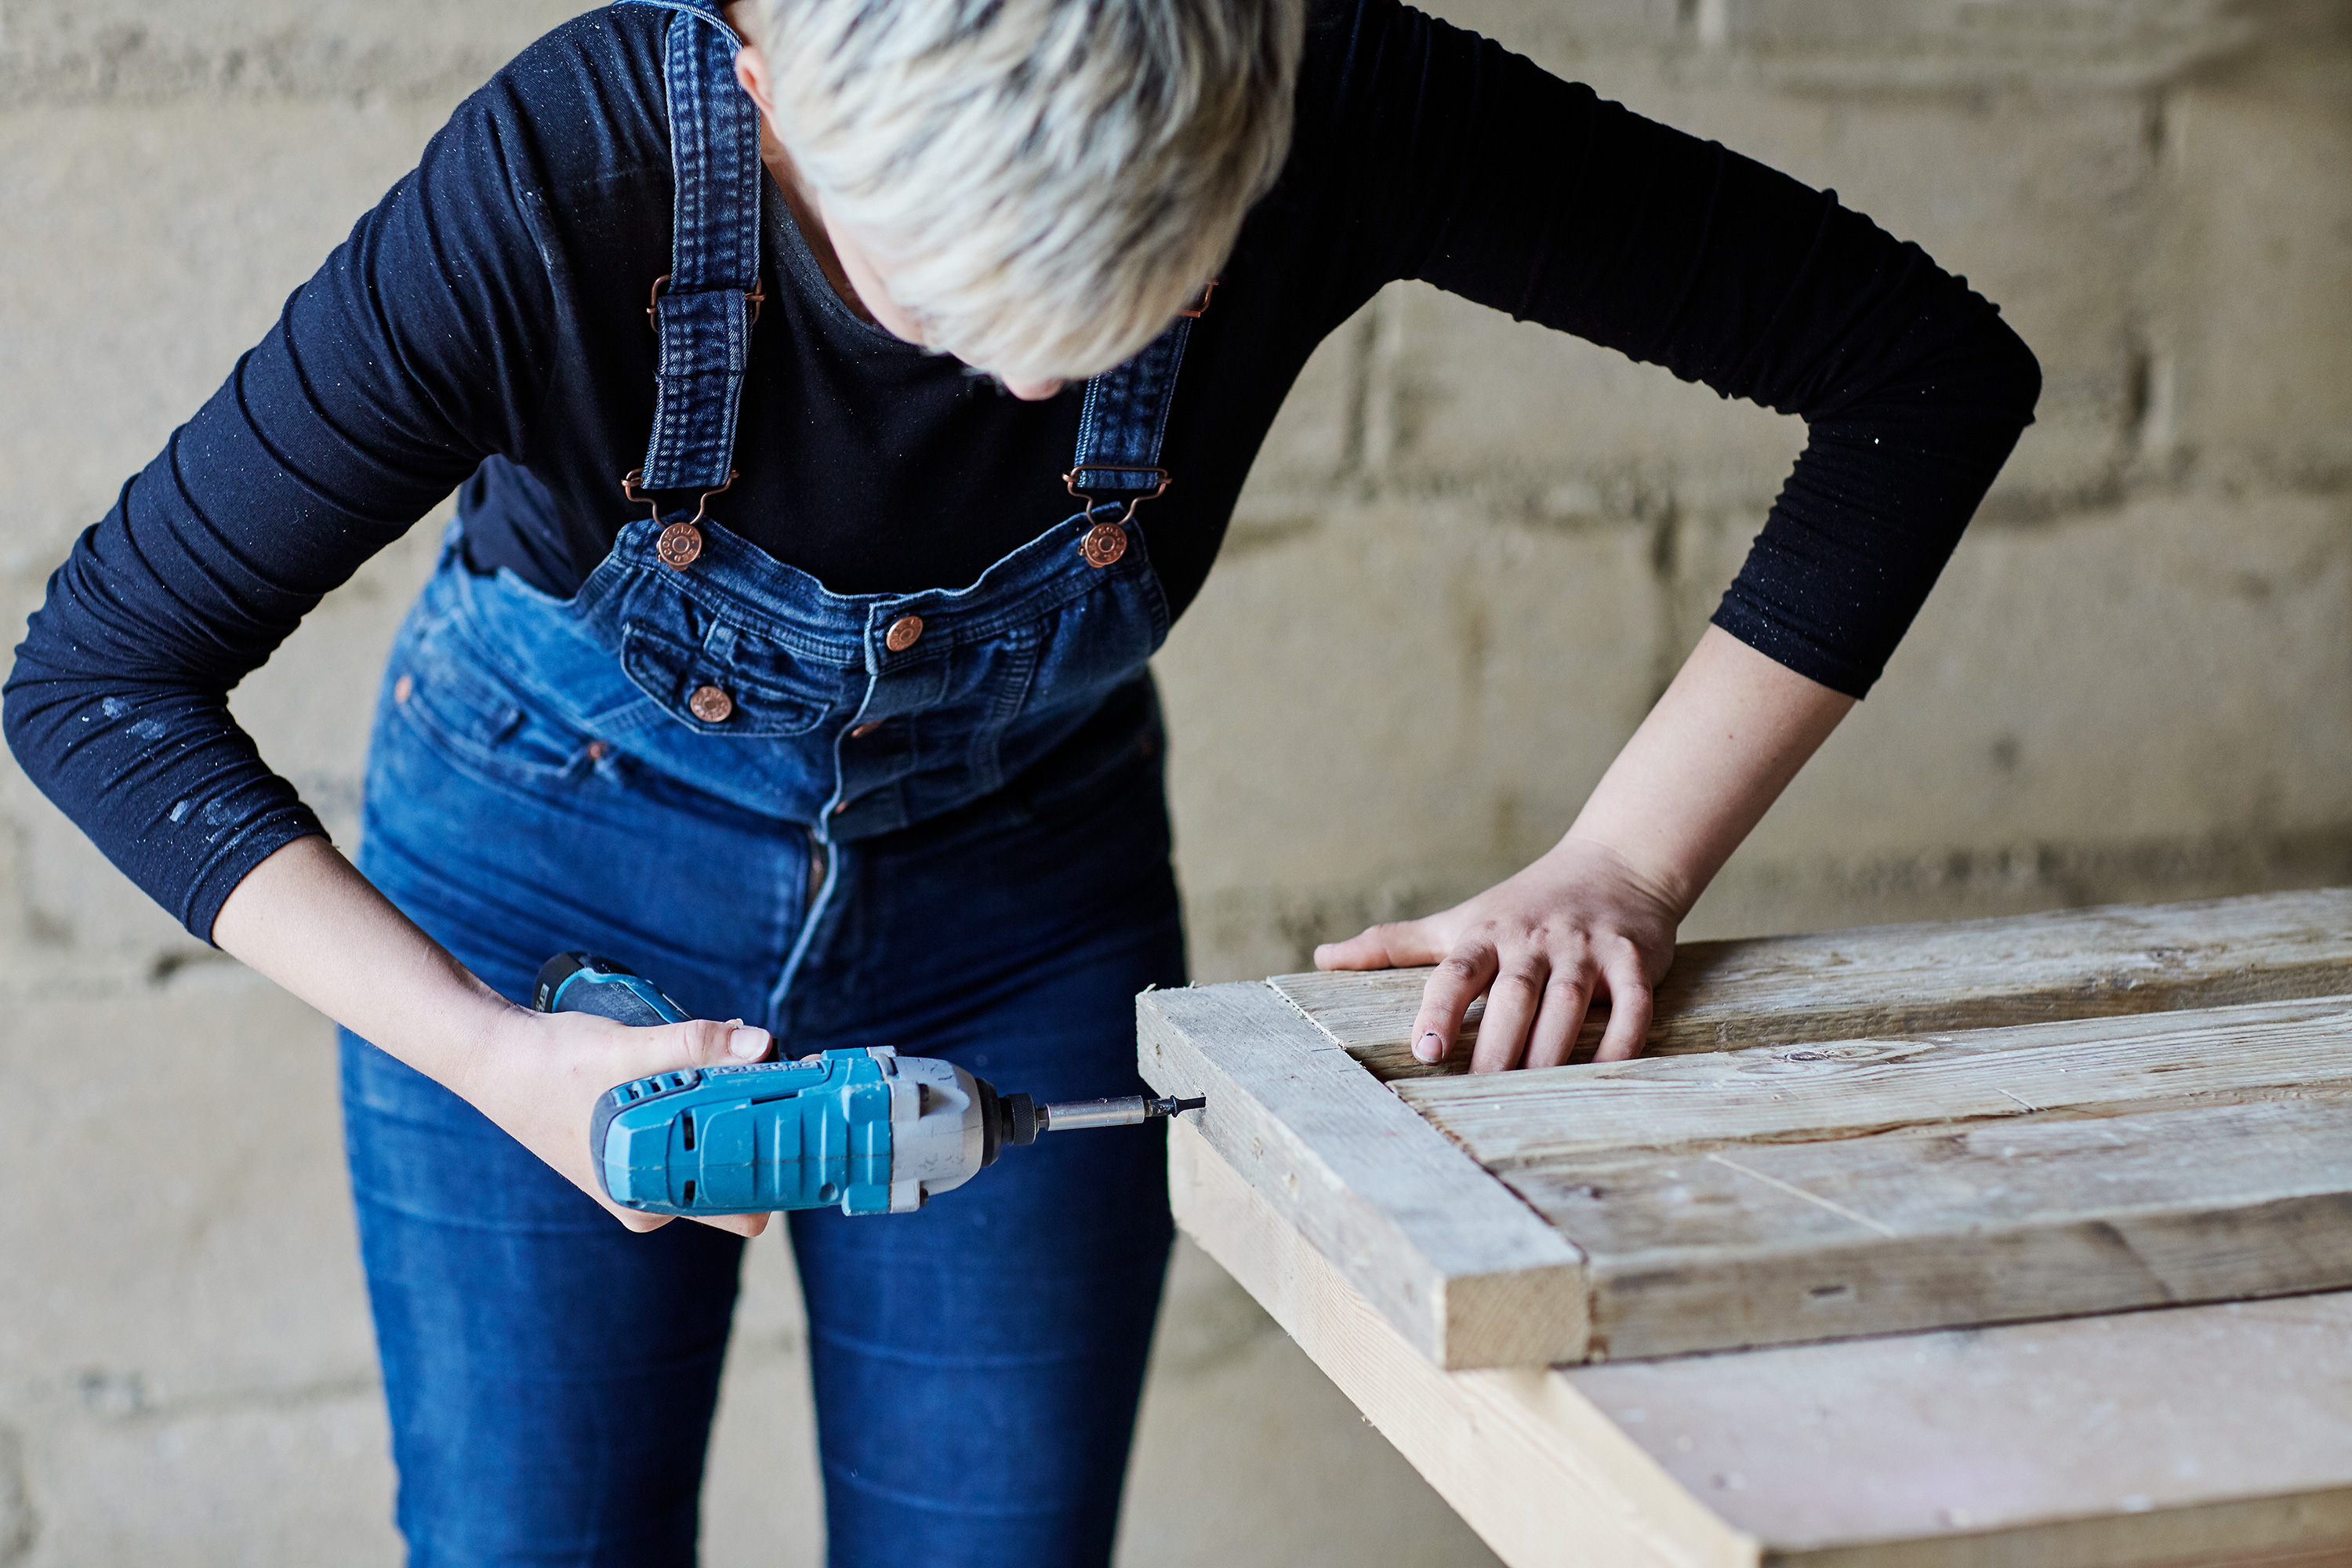
Use a drill to attach the end beams to the boards
Use an electric drill, pilot hole, countersink, screwdriver bit and screws to secure the two side centre boards flush with the end beams. Secure the central board in the middle. Repeat this process at both ends.
Step five: Measure up your pallet beams and give them a sand
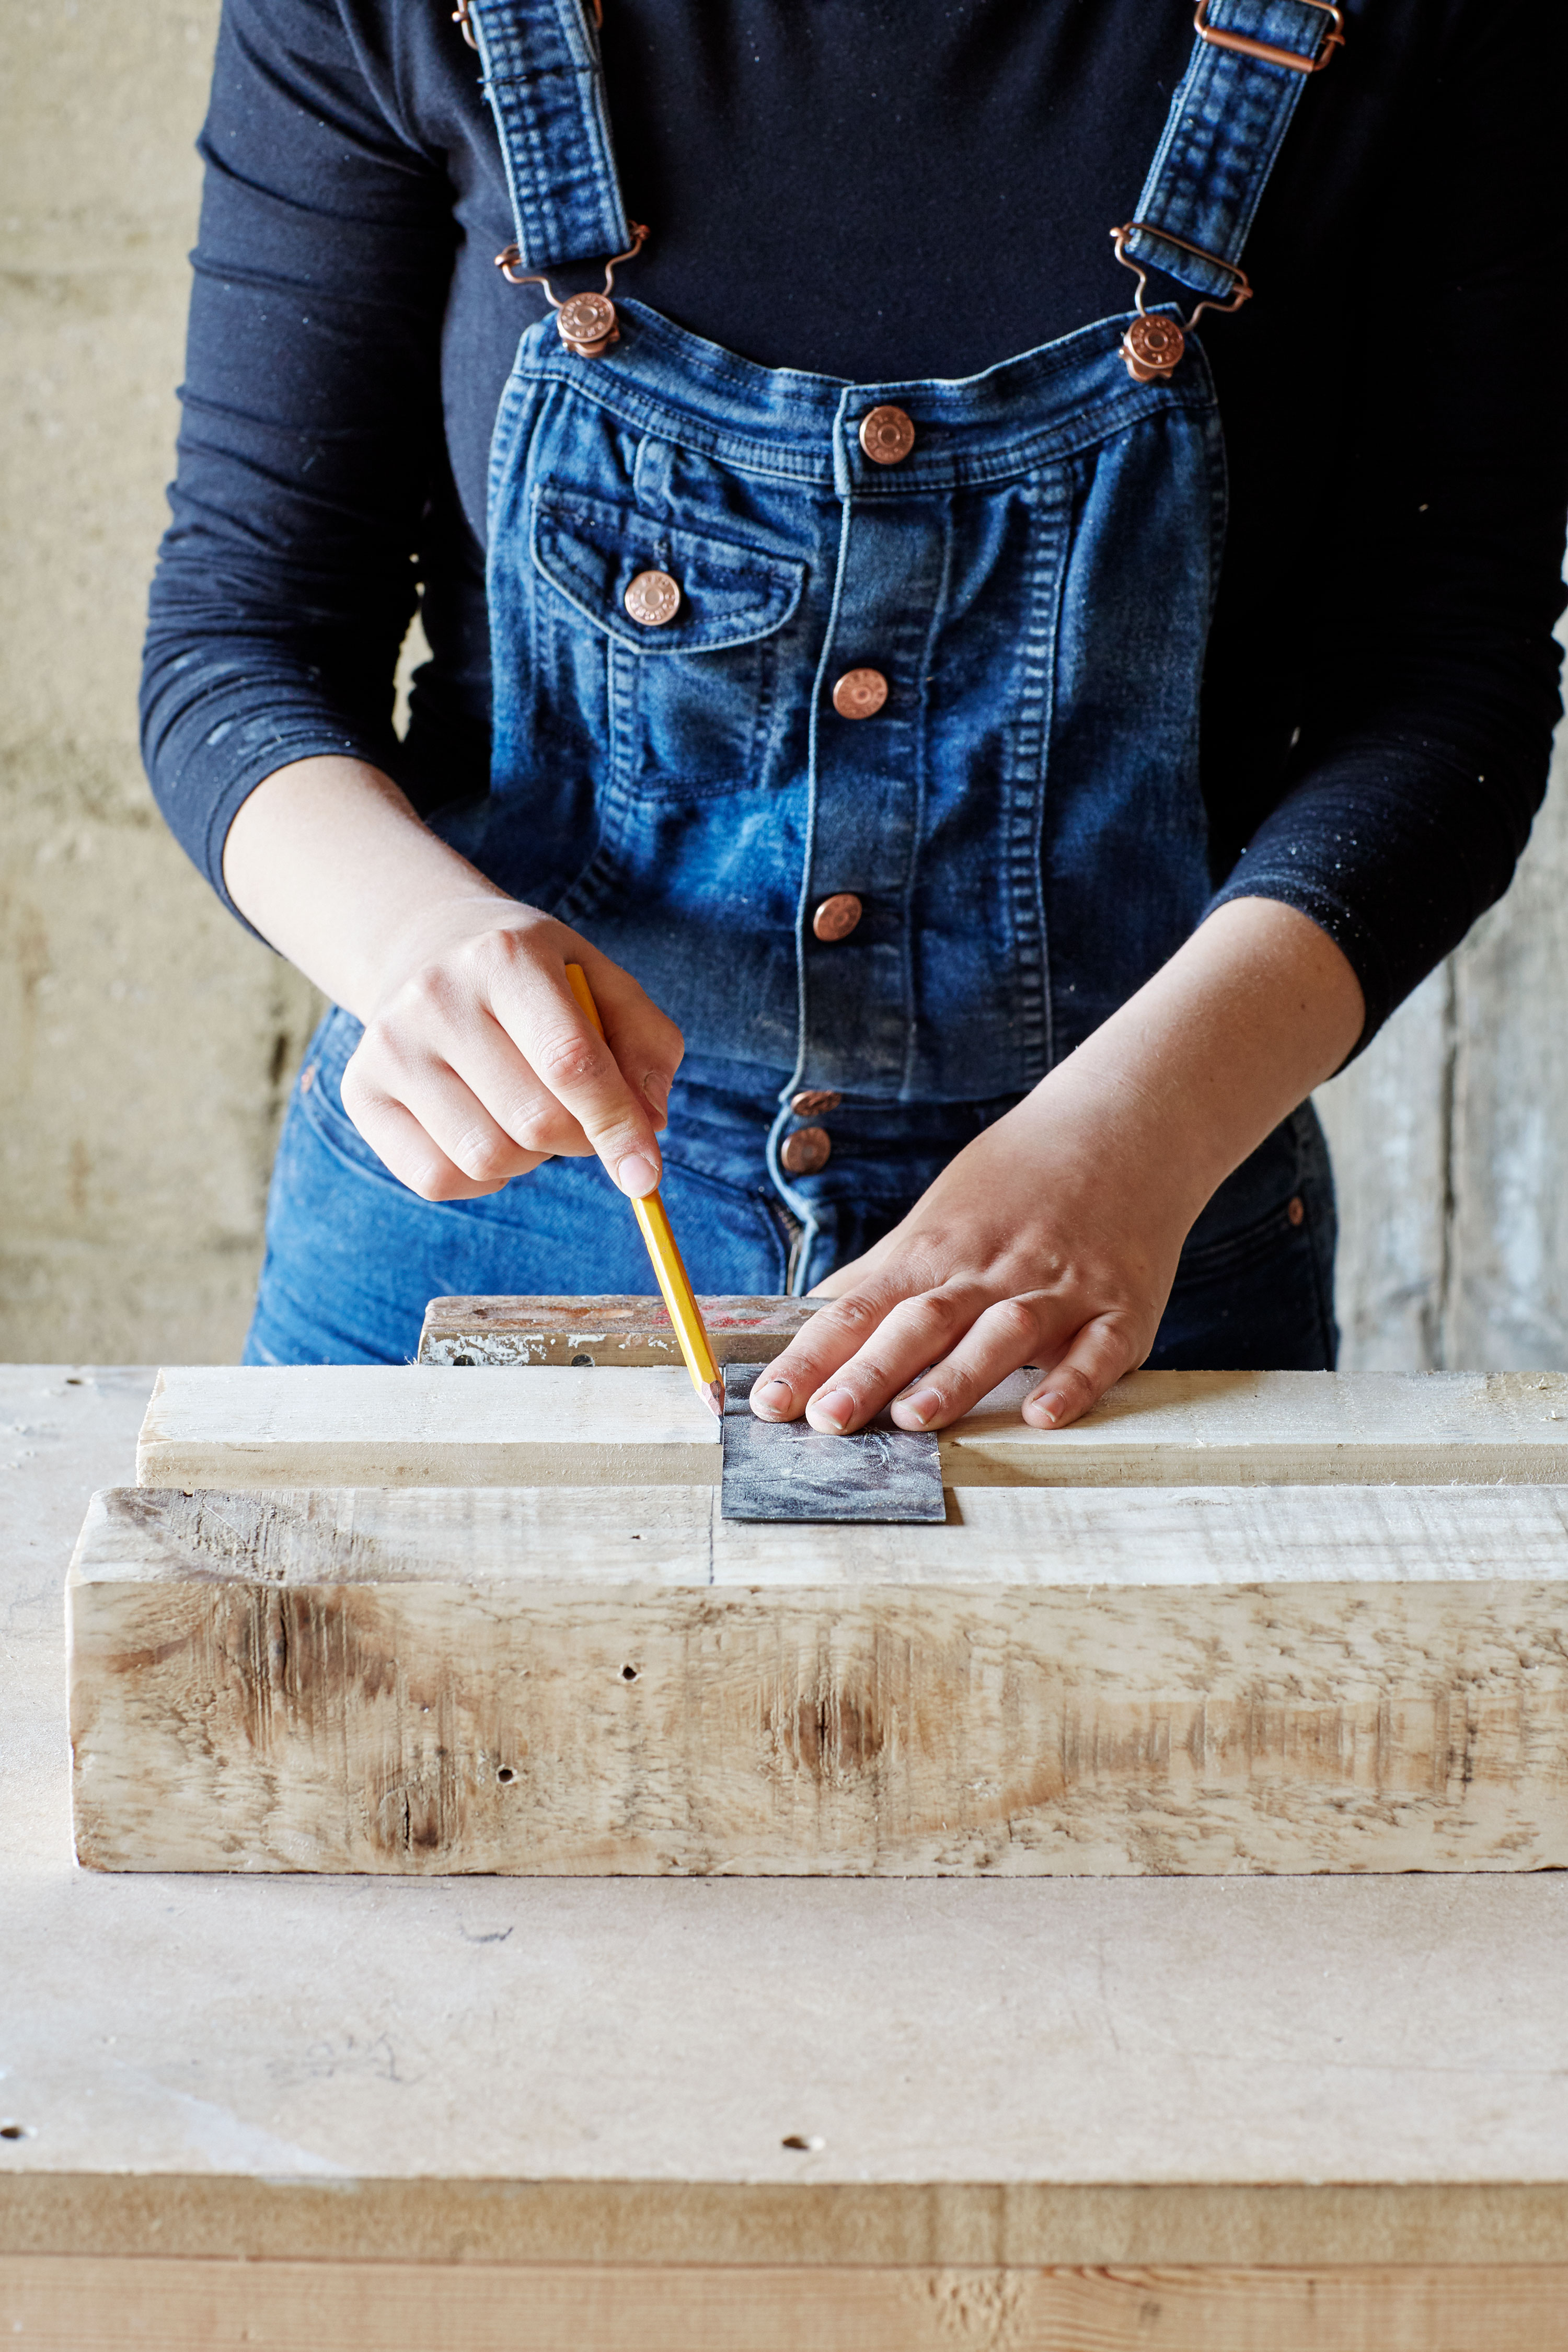
Start creating the structure for the legs
Now it's time to start making the leg structures. Begin by measuring, marking and cutting four industrial pallet bearer beams at 40cm (16in), and two industrial bearer beams at 15cm (6in). Sand all the beams until smooth.
Then, measure 15cm (6in) up from the bottom of two of the 40cm (16in) beams, and mark using a pencil and combination square.
Step six: Create an 'H' shape with the pallet beams
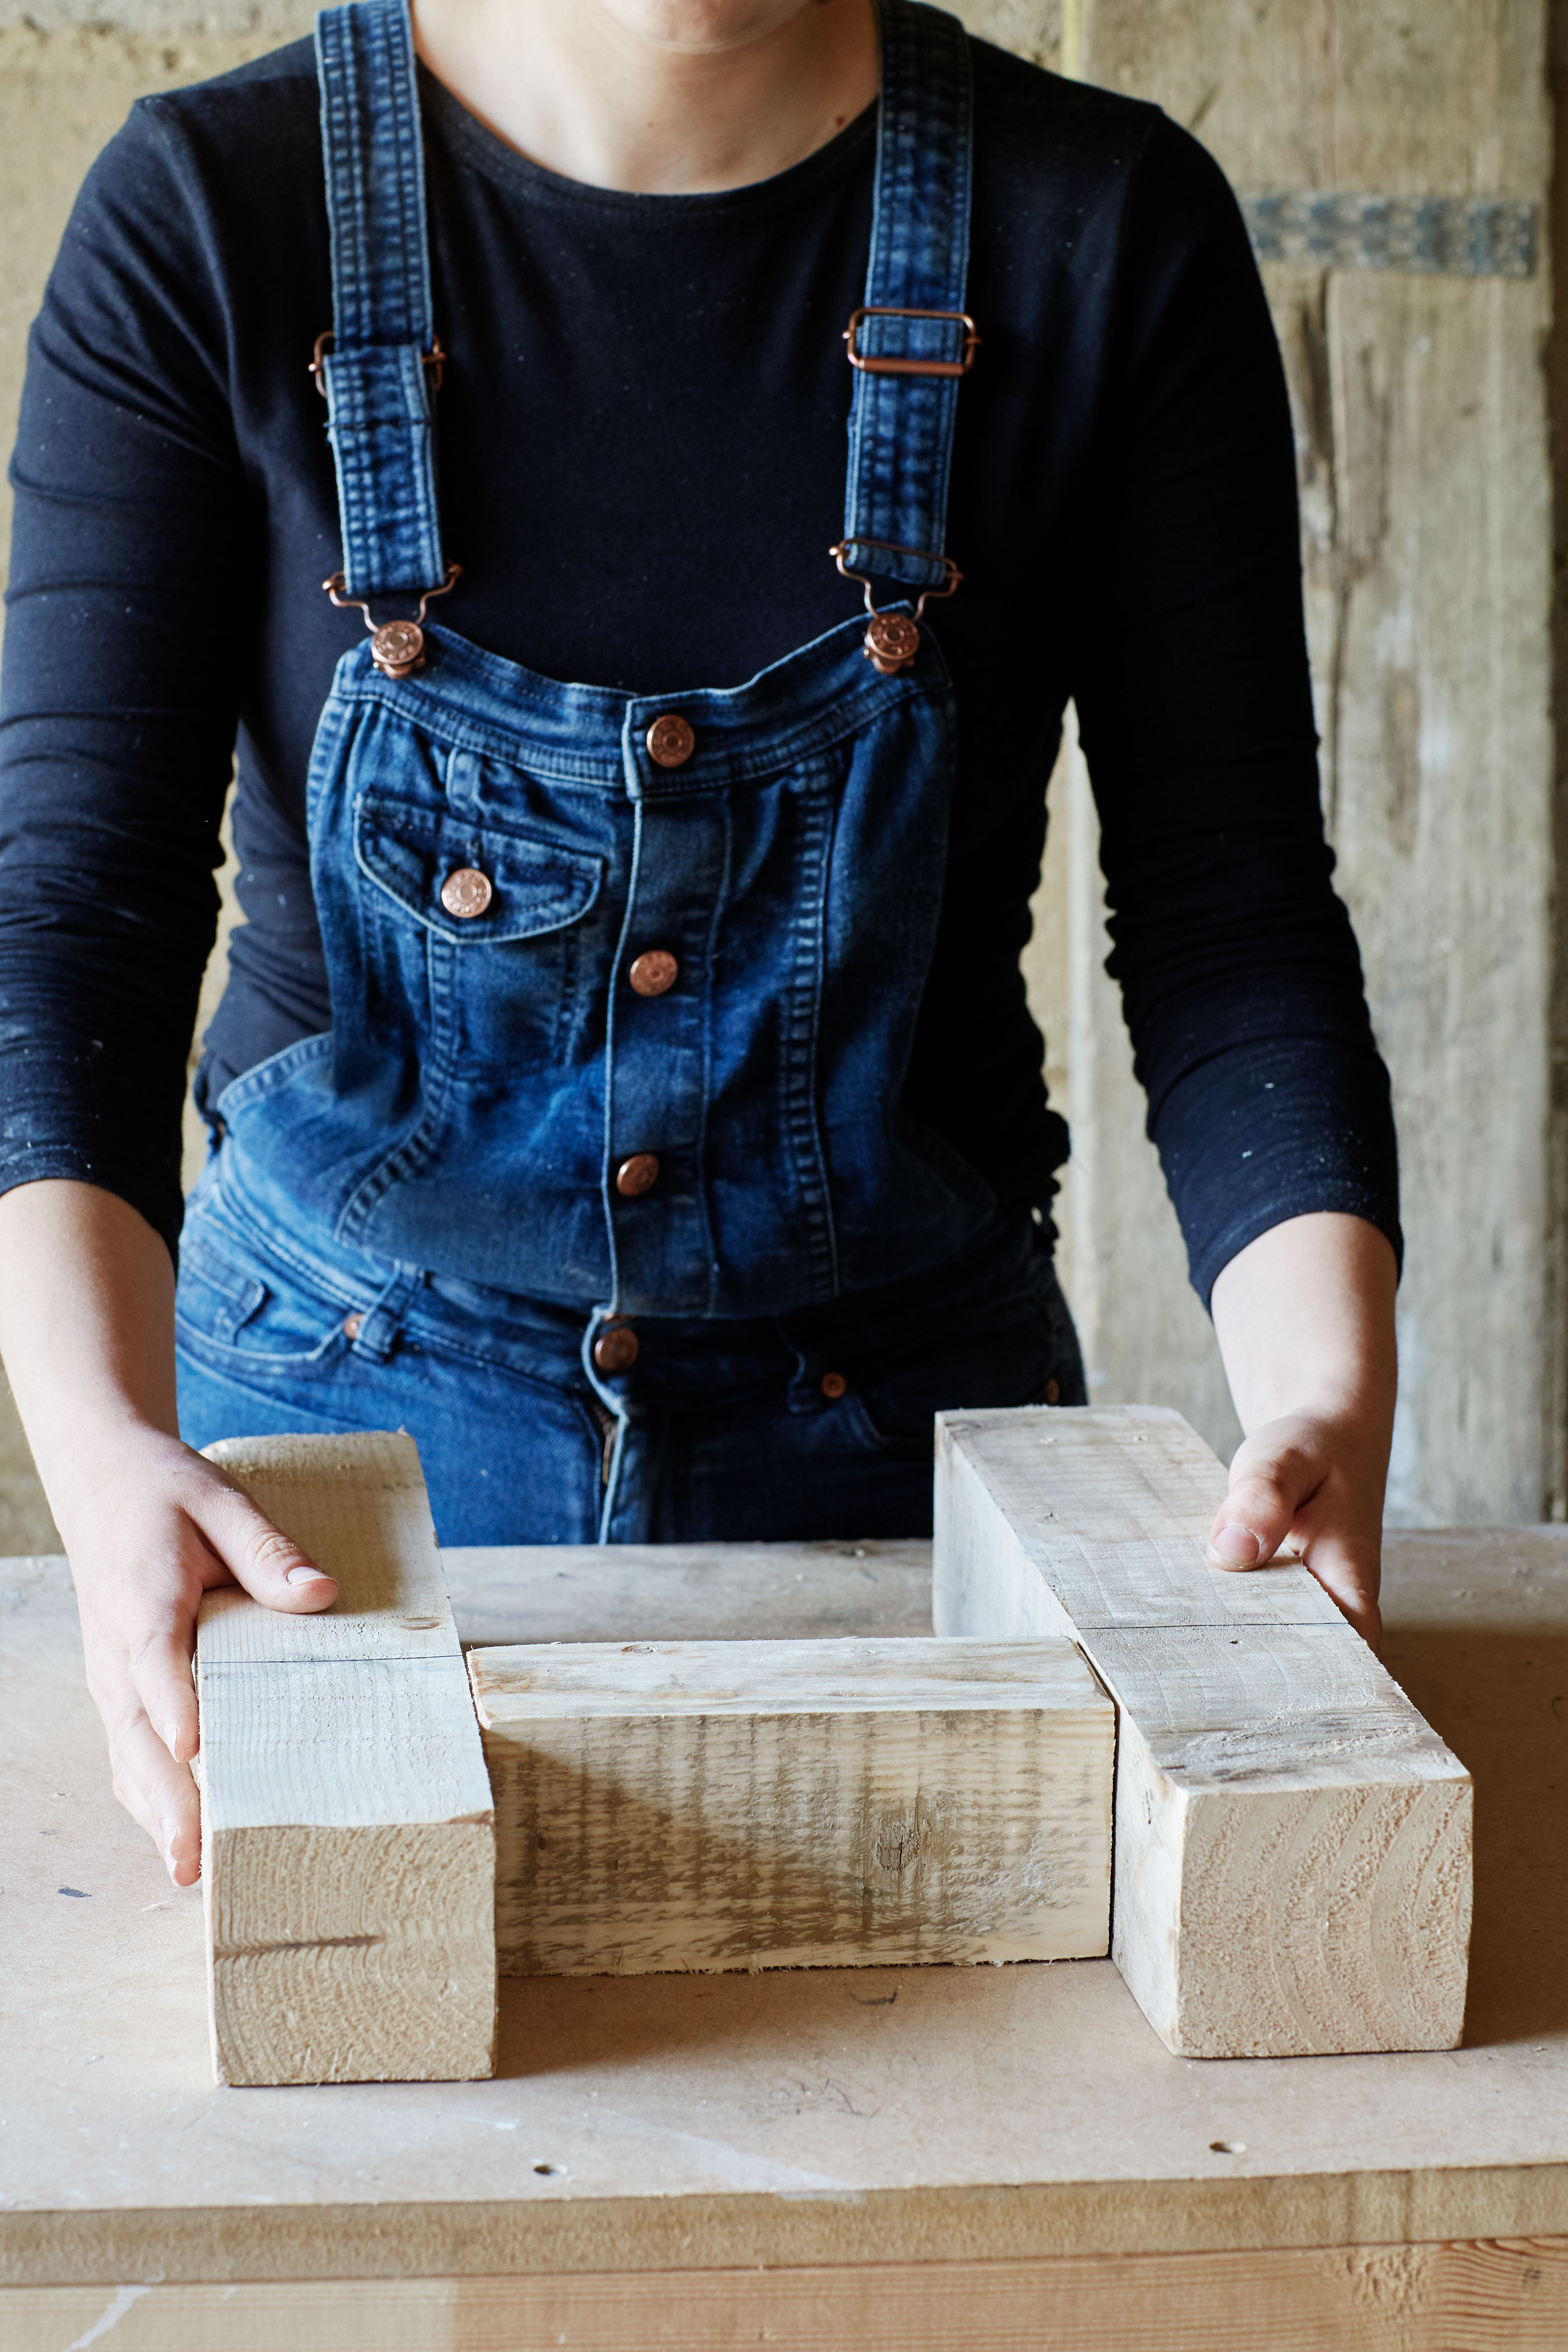
Arrange into position
Place a 15cm (6in) beam in the centre of the 40cm (16in) beams, in line with the marks created. This will create an 'H' shape.
You may wish to clamp it into position to make it nice and secure for the next step.
Step seven: Attach the pallet beams together
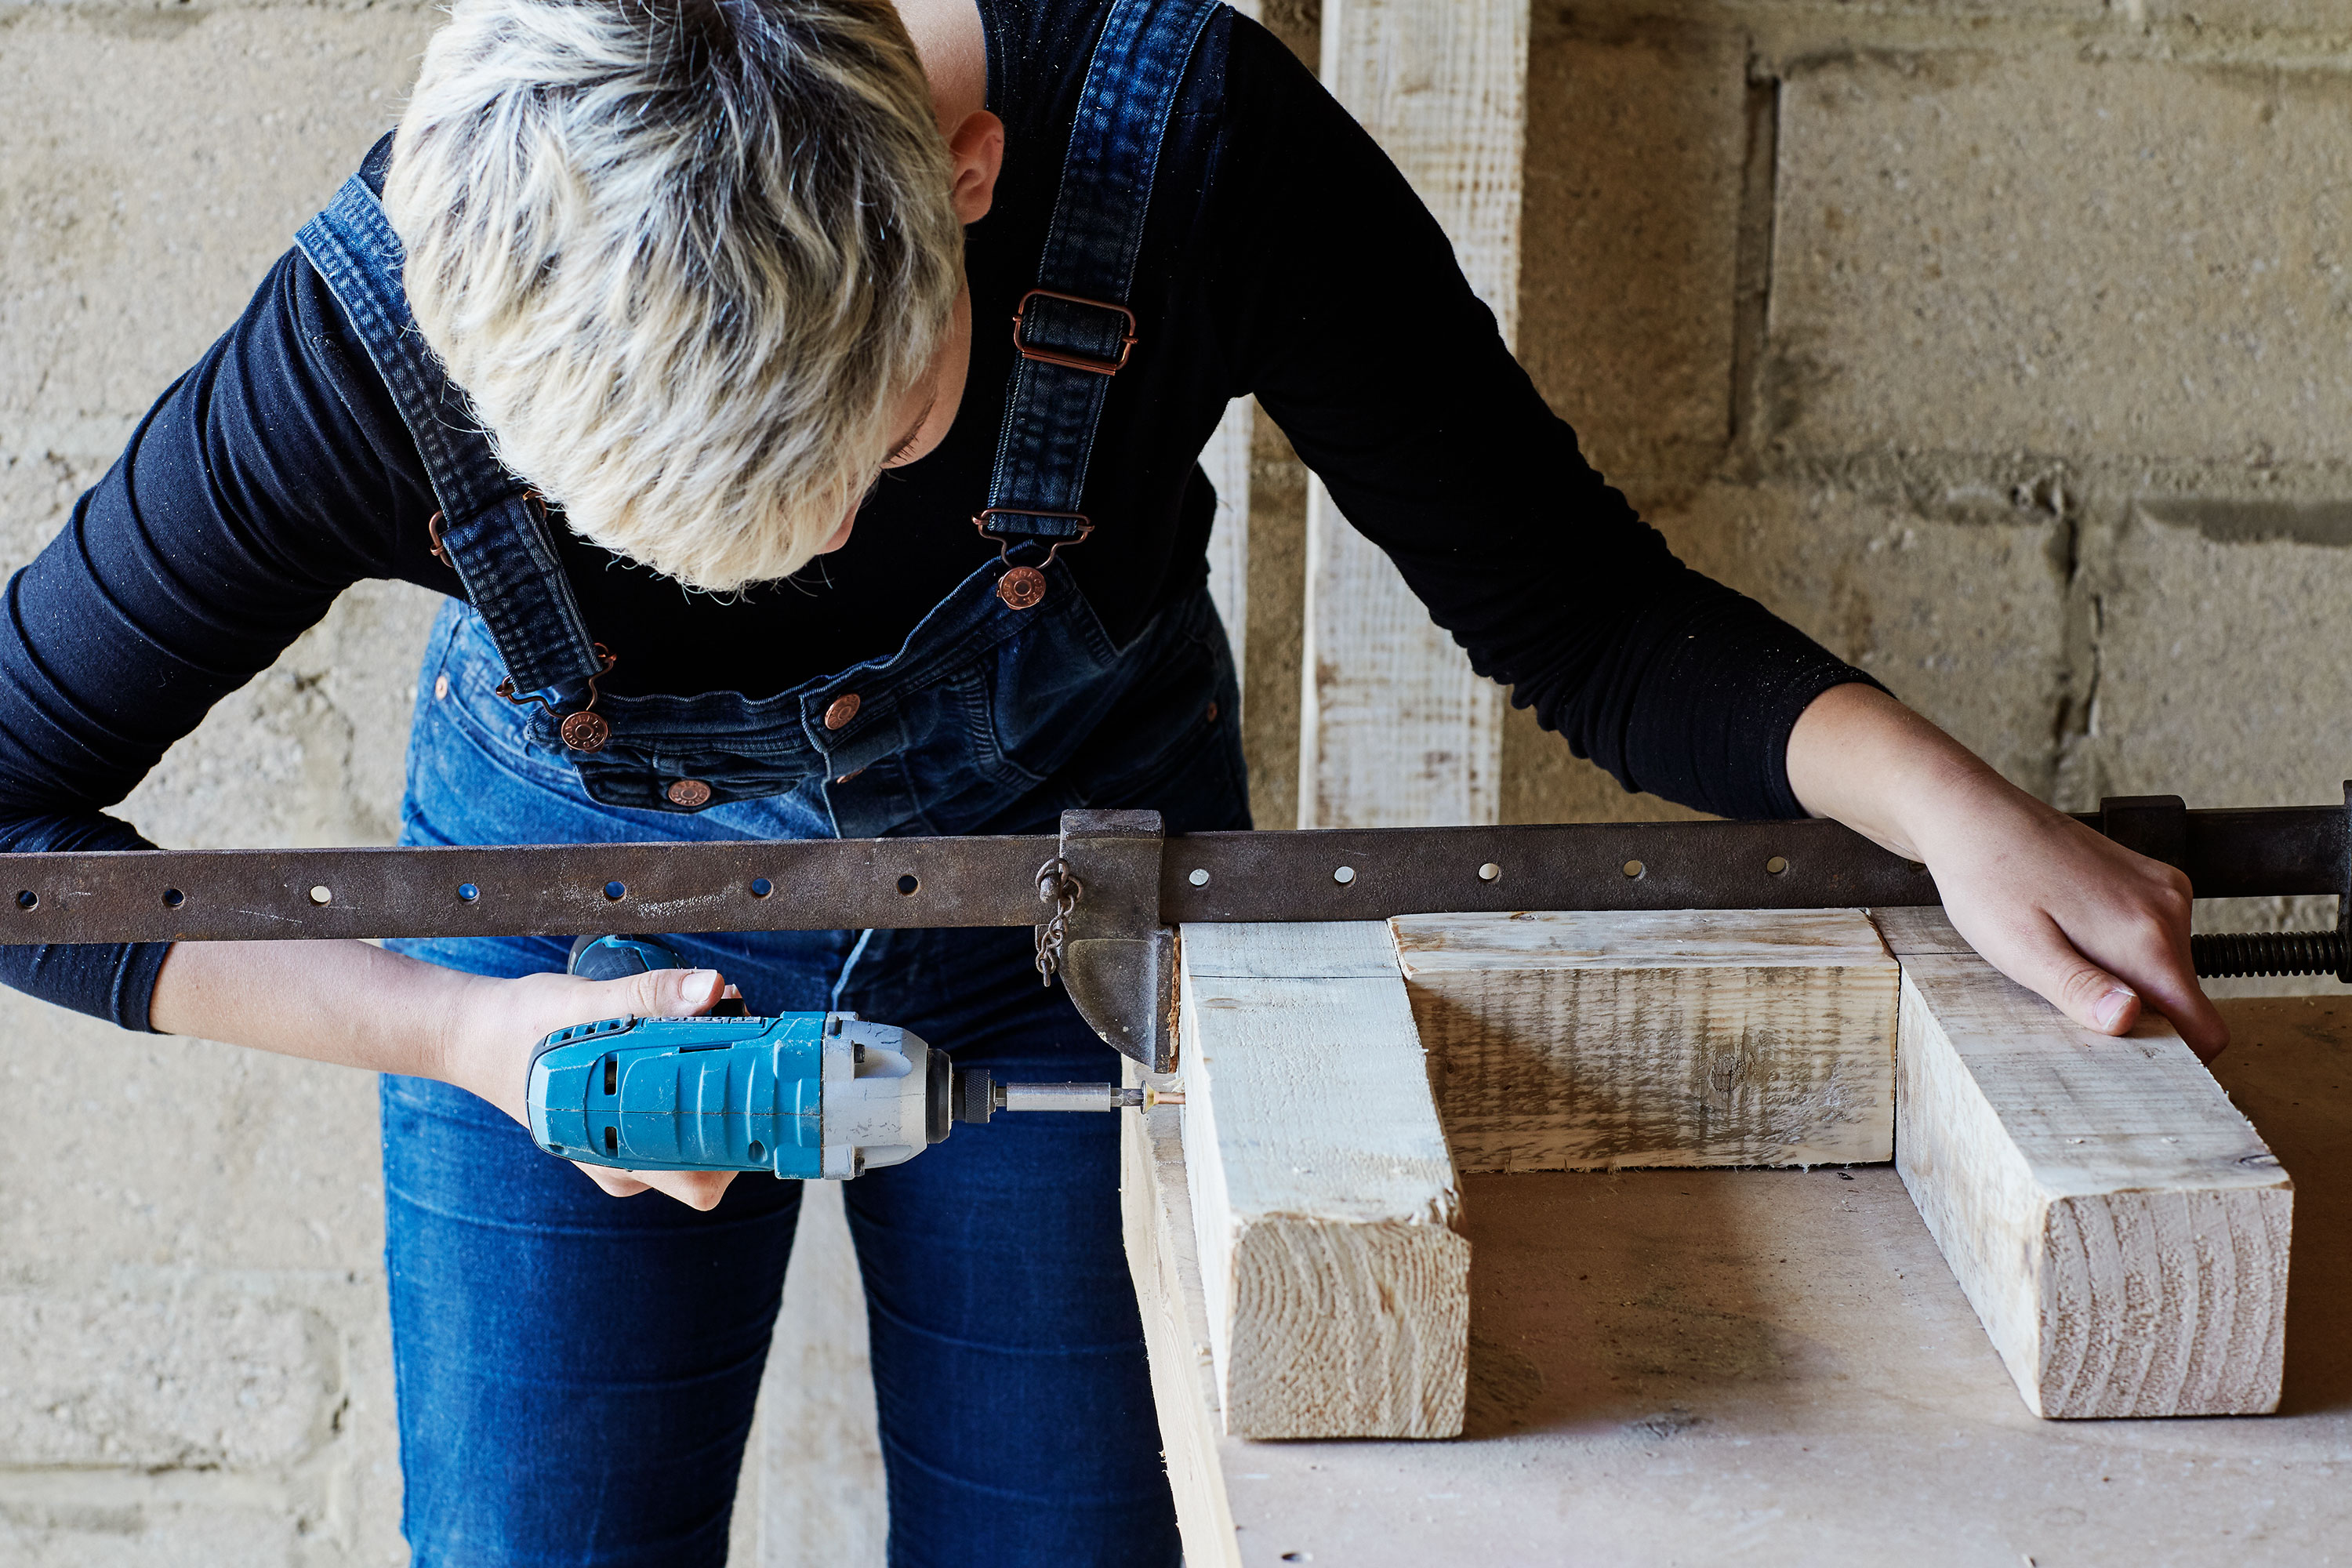
Screw the beams together to make a sturdy structure
From the outside edge of the 40cm (16in) beam, pilot and countersink two holes in each side using an electric drill.
Then, use the electric drill, screwdriver bit and screws to attach the centre beam to the two outside beams. Repeat this process with the remaining three beams.
Step eight: Place everything into position
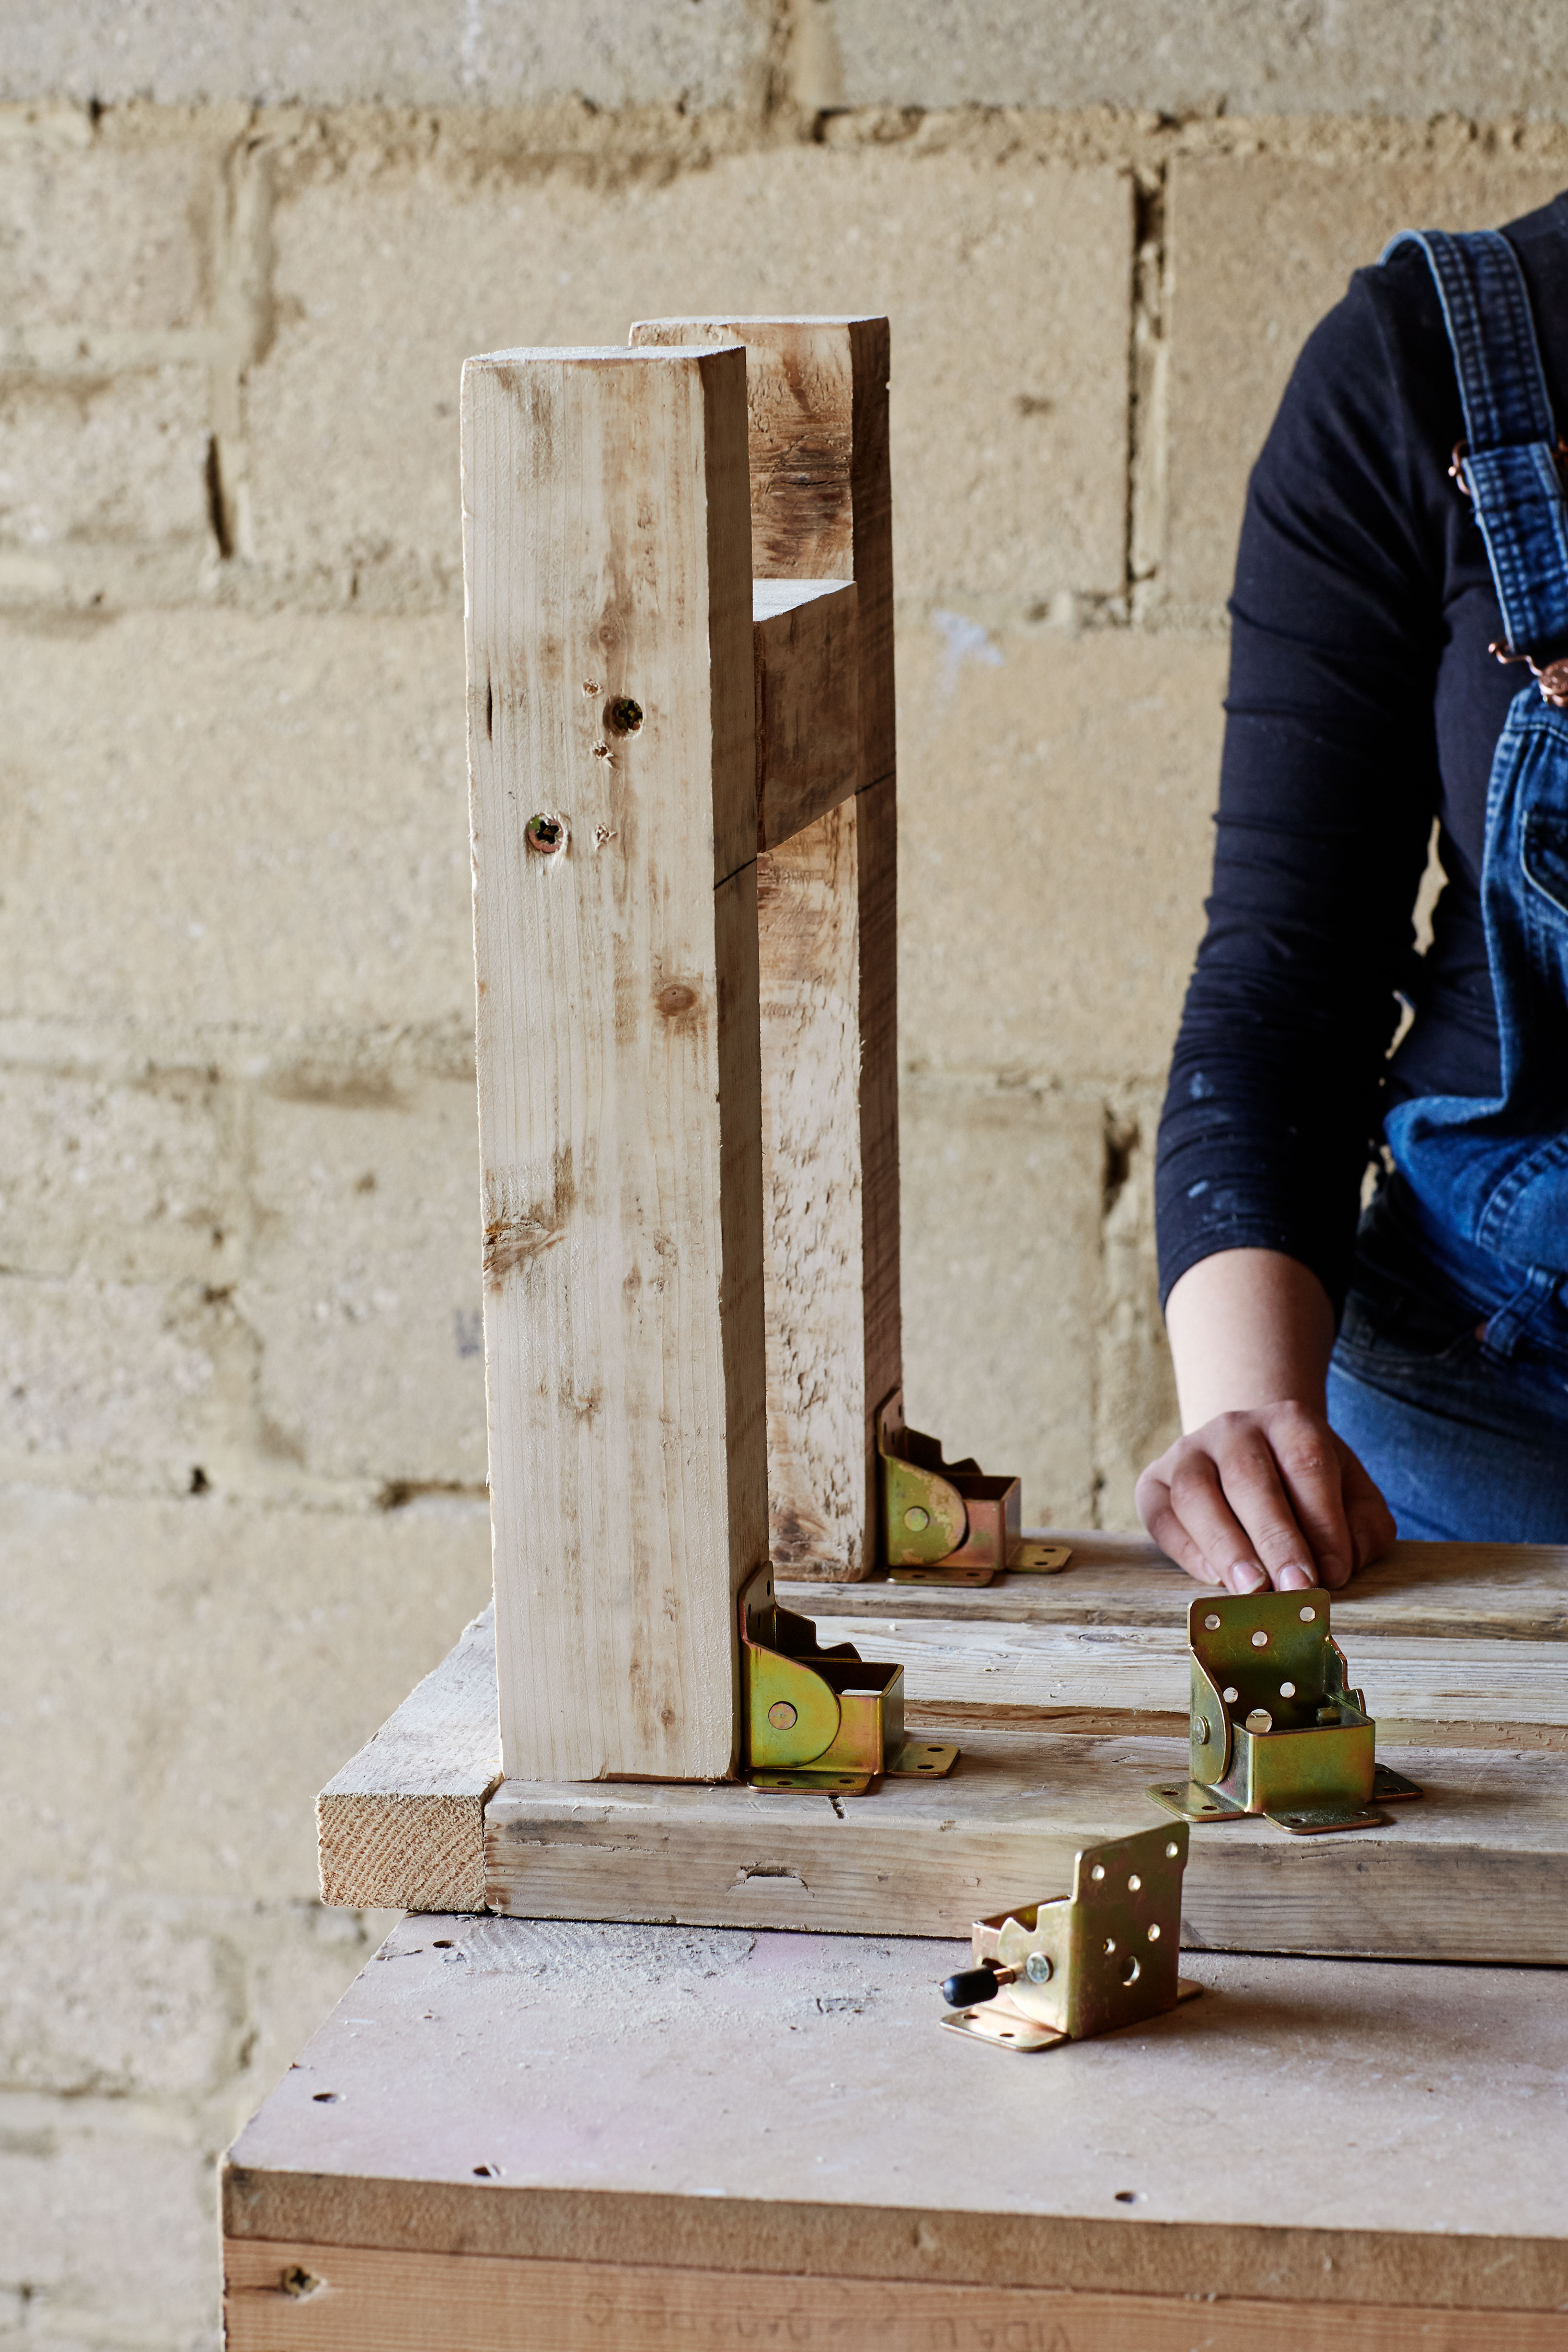
Pop the folding leg systems in their place
Next, place the two leg structures at each end of the underside of the bench. These should sit flush with the inside edge of the end-brace beams on the bench.
Then, place the folding leg systems centrally on the inside of the legs. Make sure the lock is placed on the outside edge so that it is accessible. The locking mechanisms should also be diagonally opposite each other on the bench.
Step nine: Attach the folding leg systems
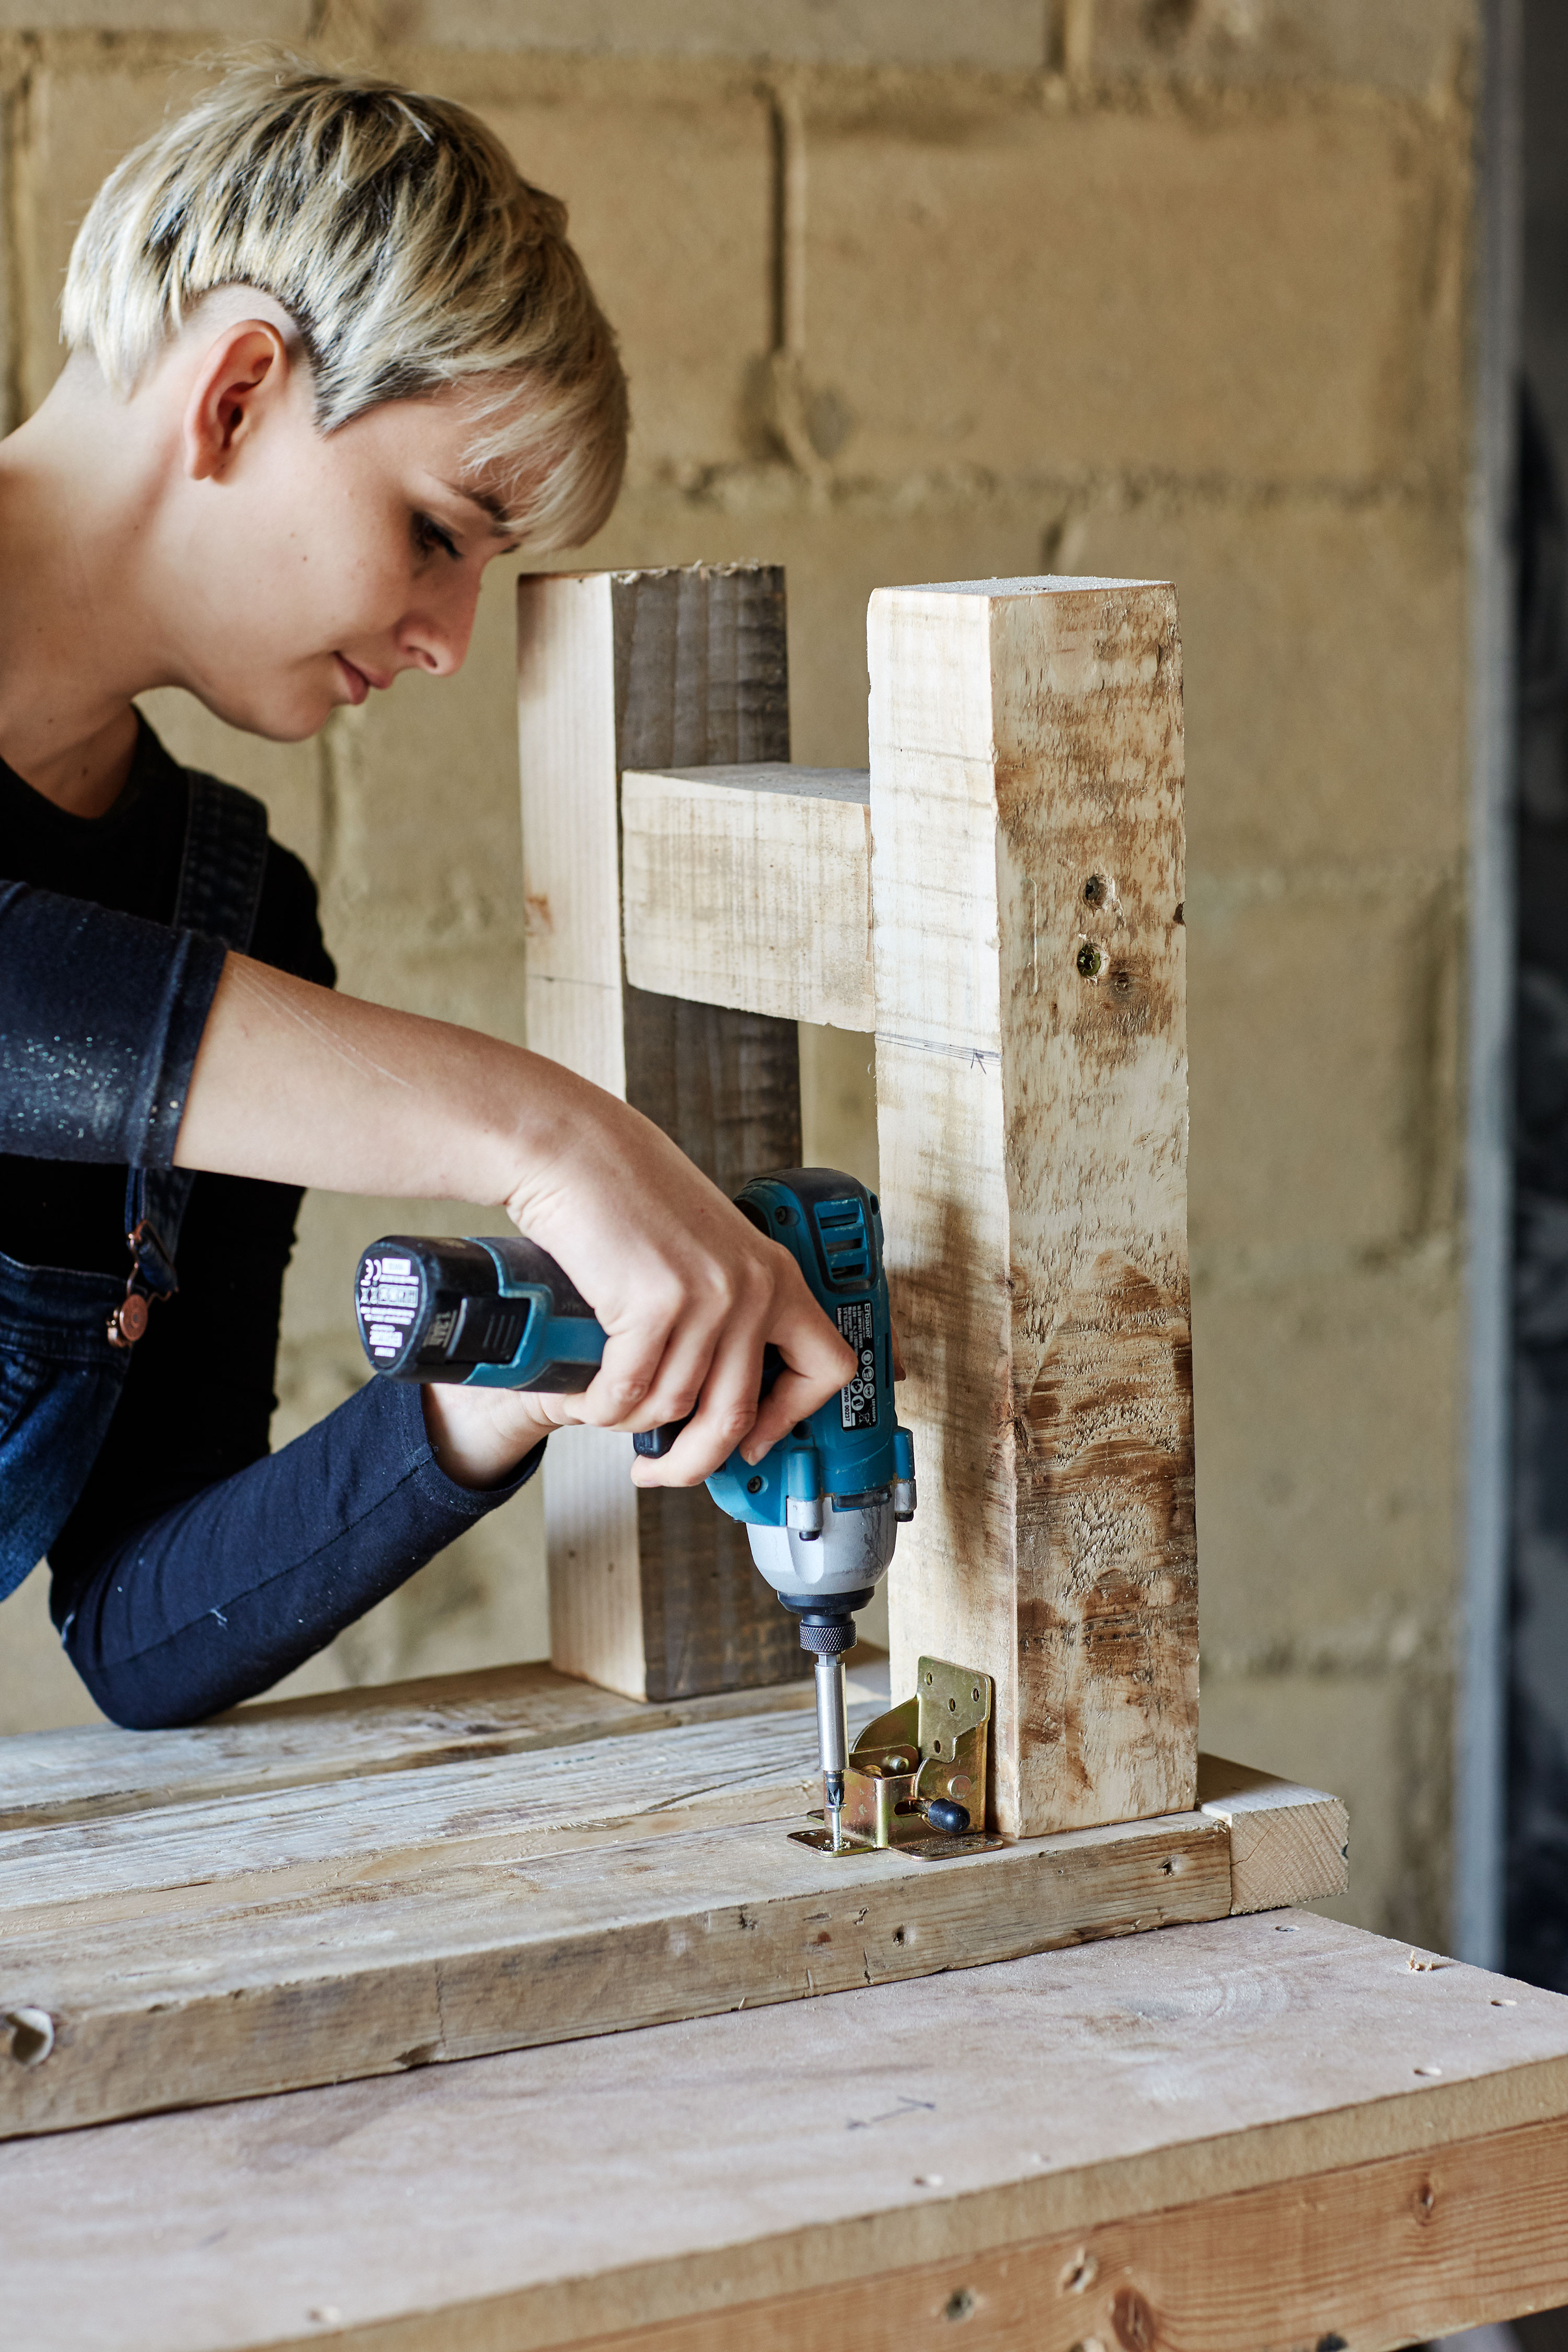
Use a drill to secure the folding leg systems
Attach the folding leg systems to the underside of the bench using wood screws and an electric drill. Then, secure the folding systems to the inside edge of the legs to secure and join to the bench.
Step ten: Use the offcut from earlier as a support
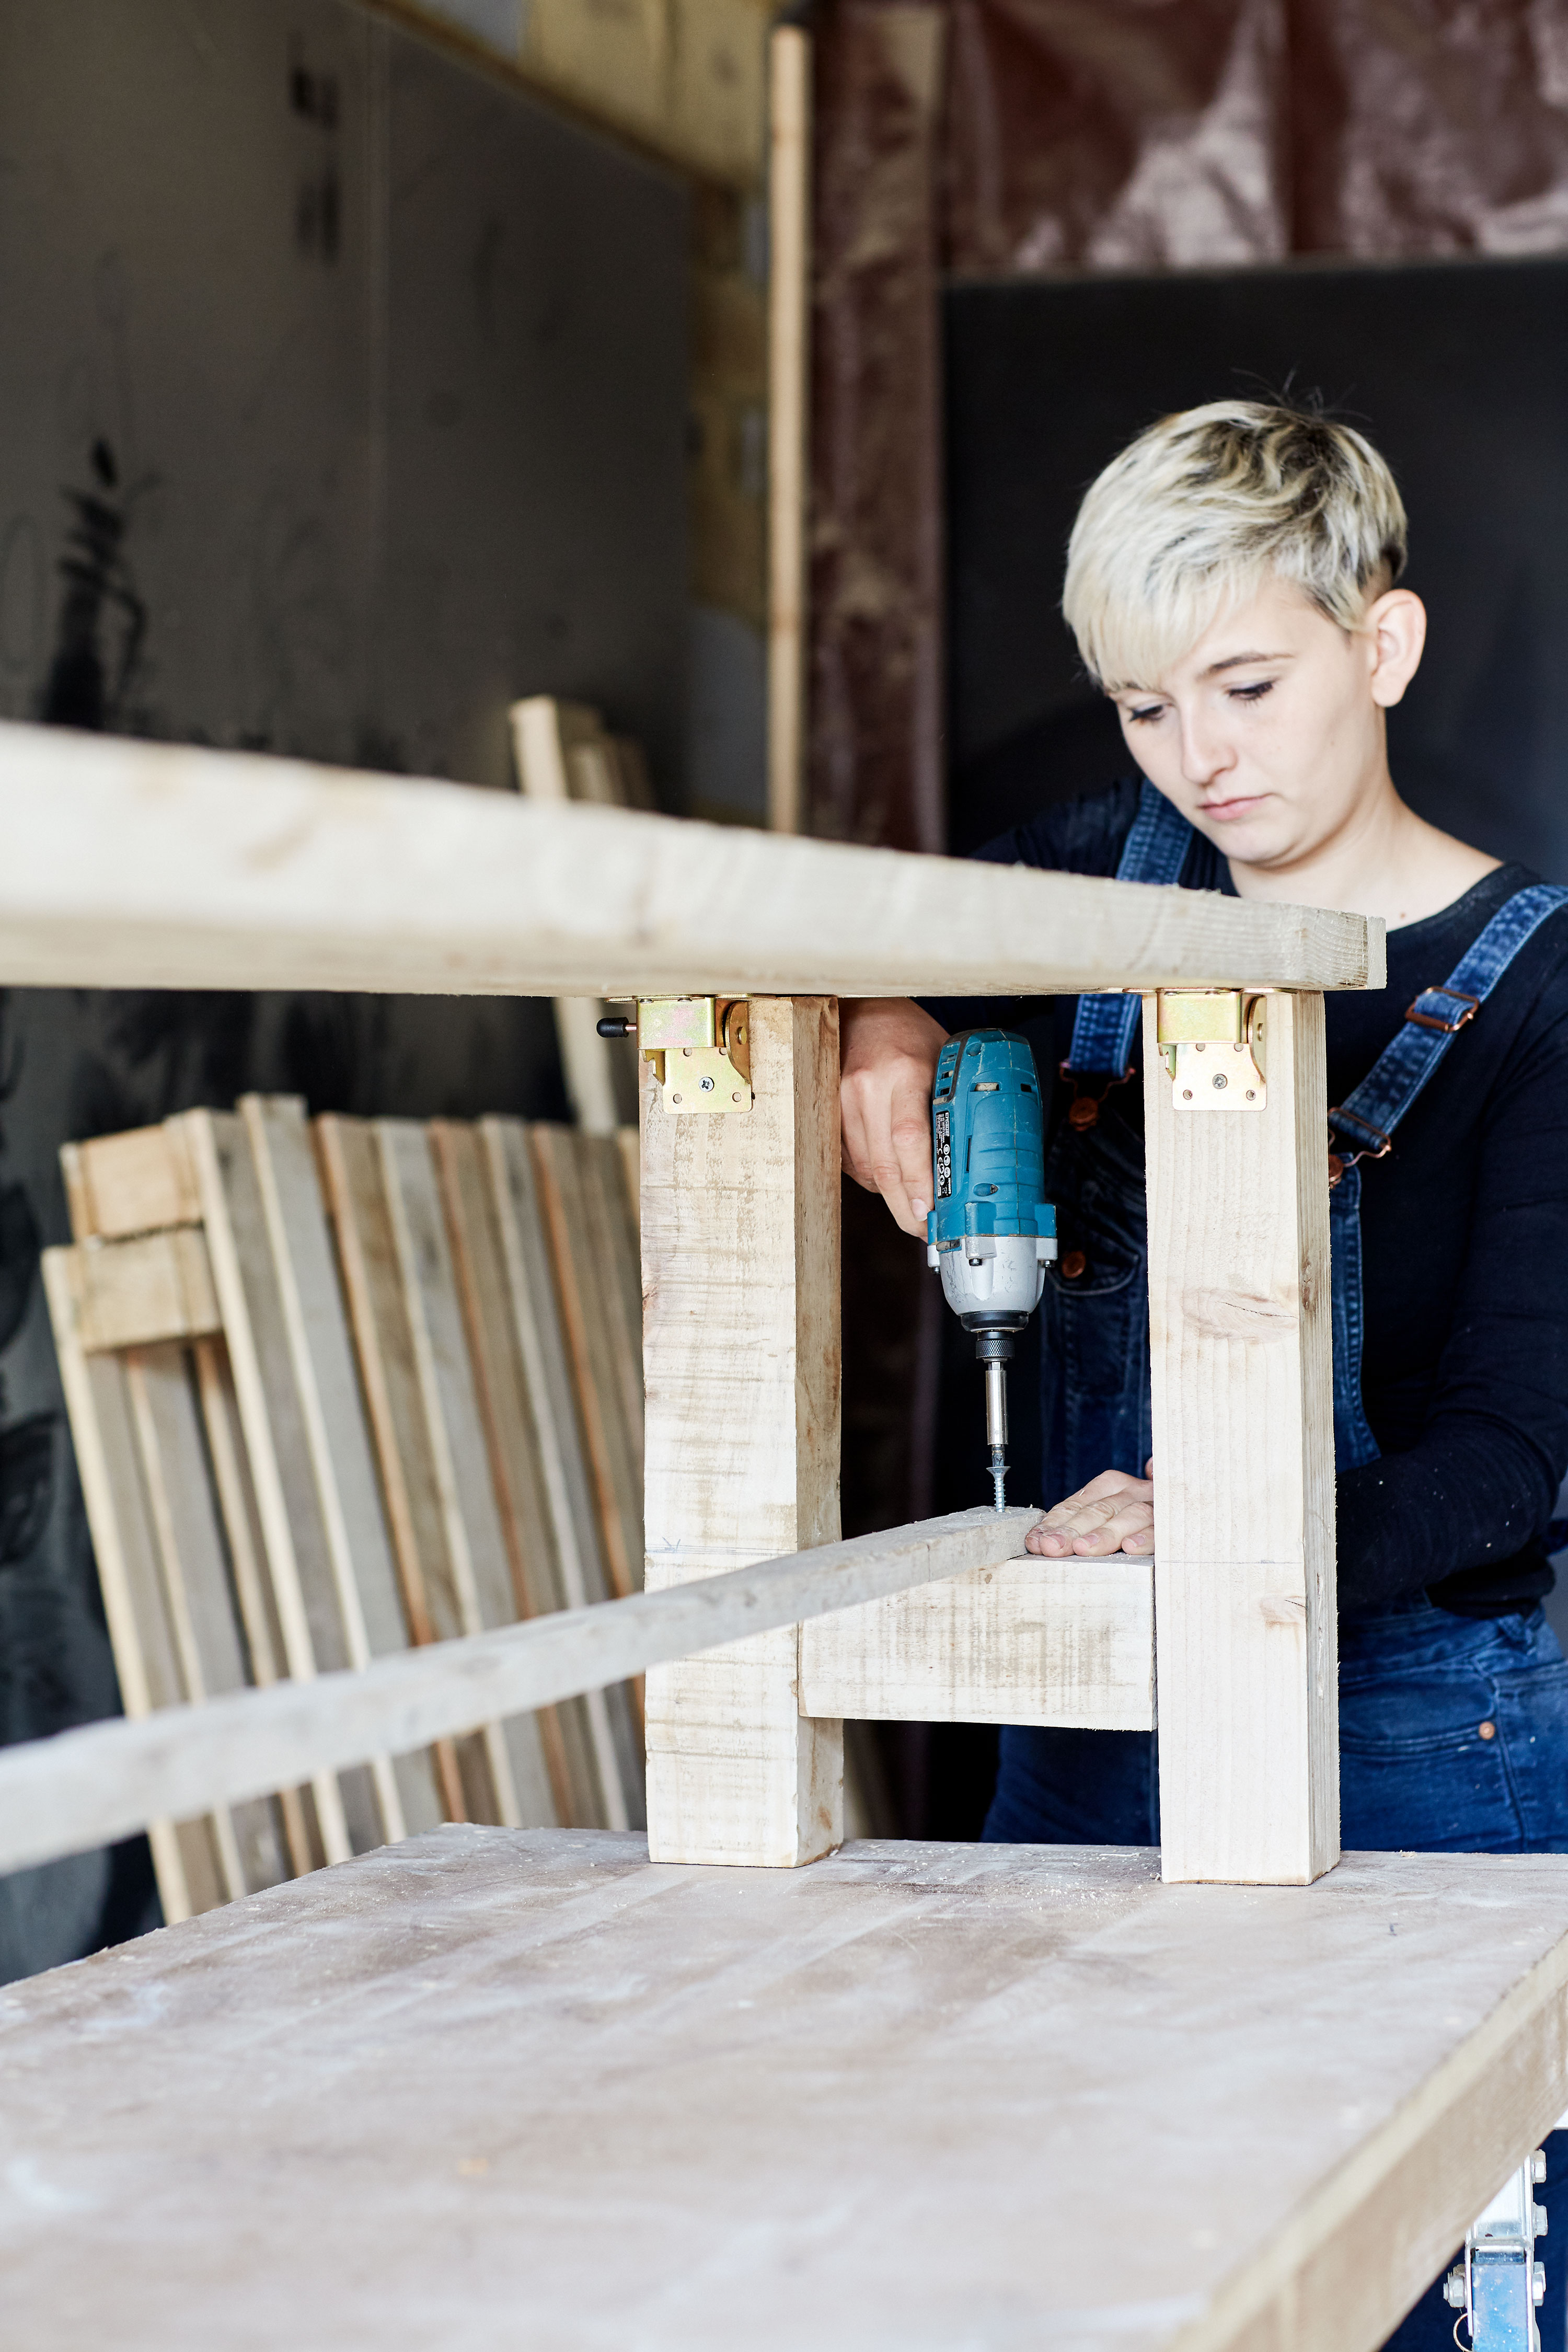
Add a supporting beam
Remember that 170cm offcut (3⁄4in x 51⁄2ft) from step one? Now's the time to sand it down – it will create a handy support between the two legs of your bench.
Screw this in to avoid the legs folding in while the bench is in use. If you drill pilot holes first, this can be done with a screwdriver.
Step eleven: Sand everything down for a smooth finish
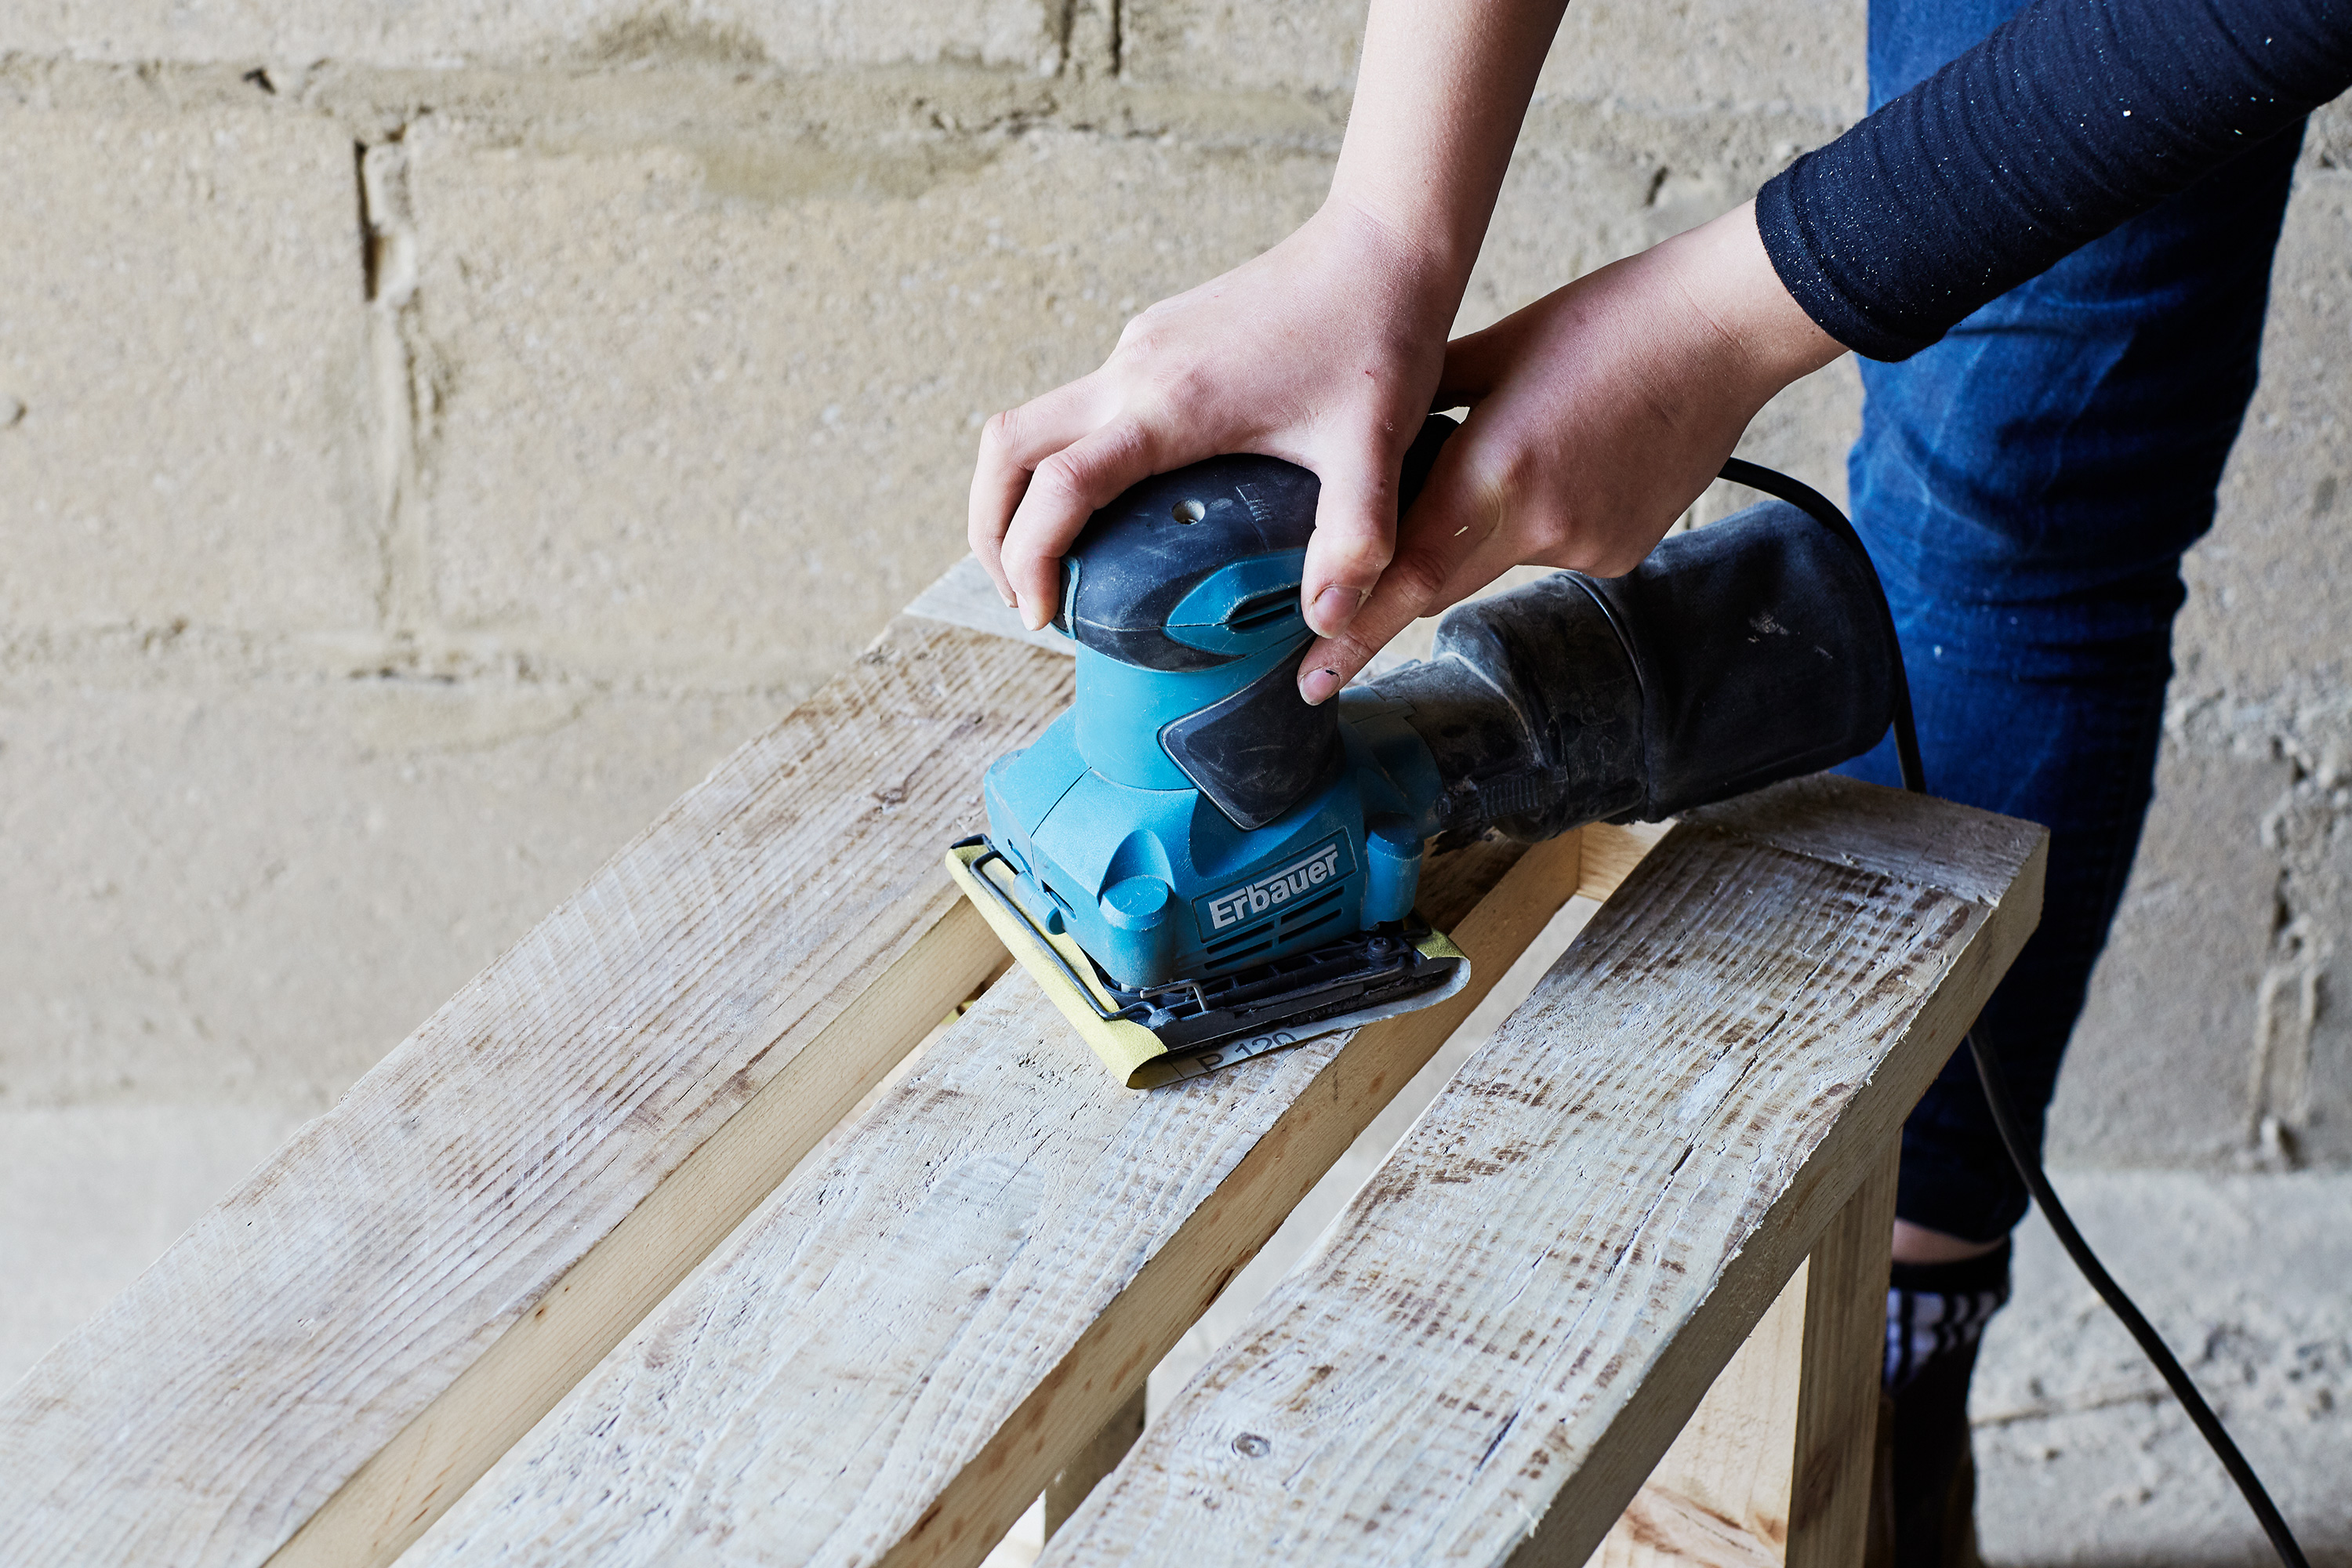
Sand down your surfaces
Give the entire bench a final sand to smooth all joins.
Step twelve: Brush over a coat of protective oil, varnish, or paint
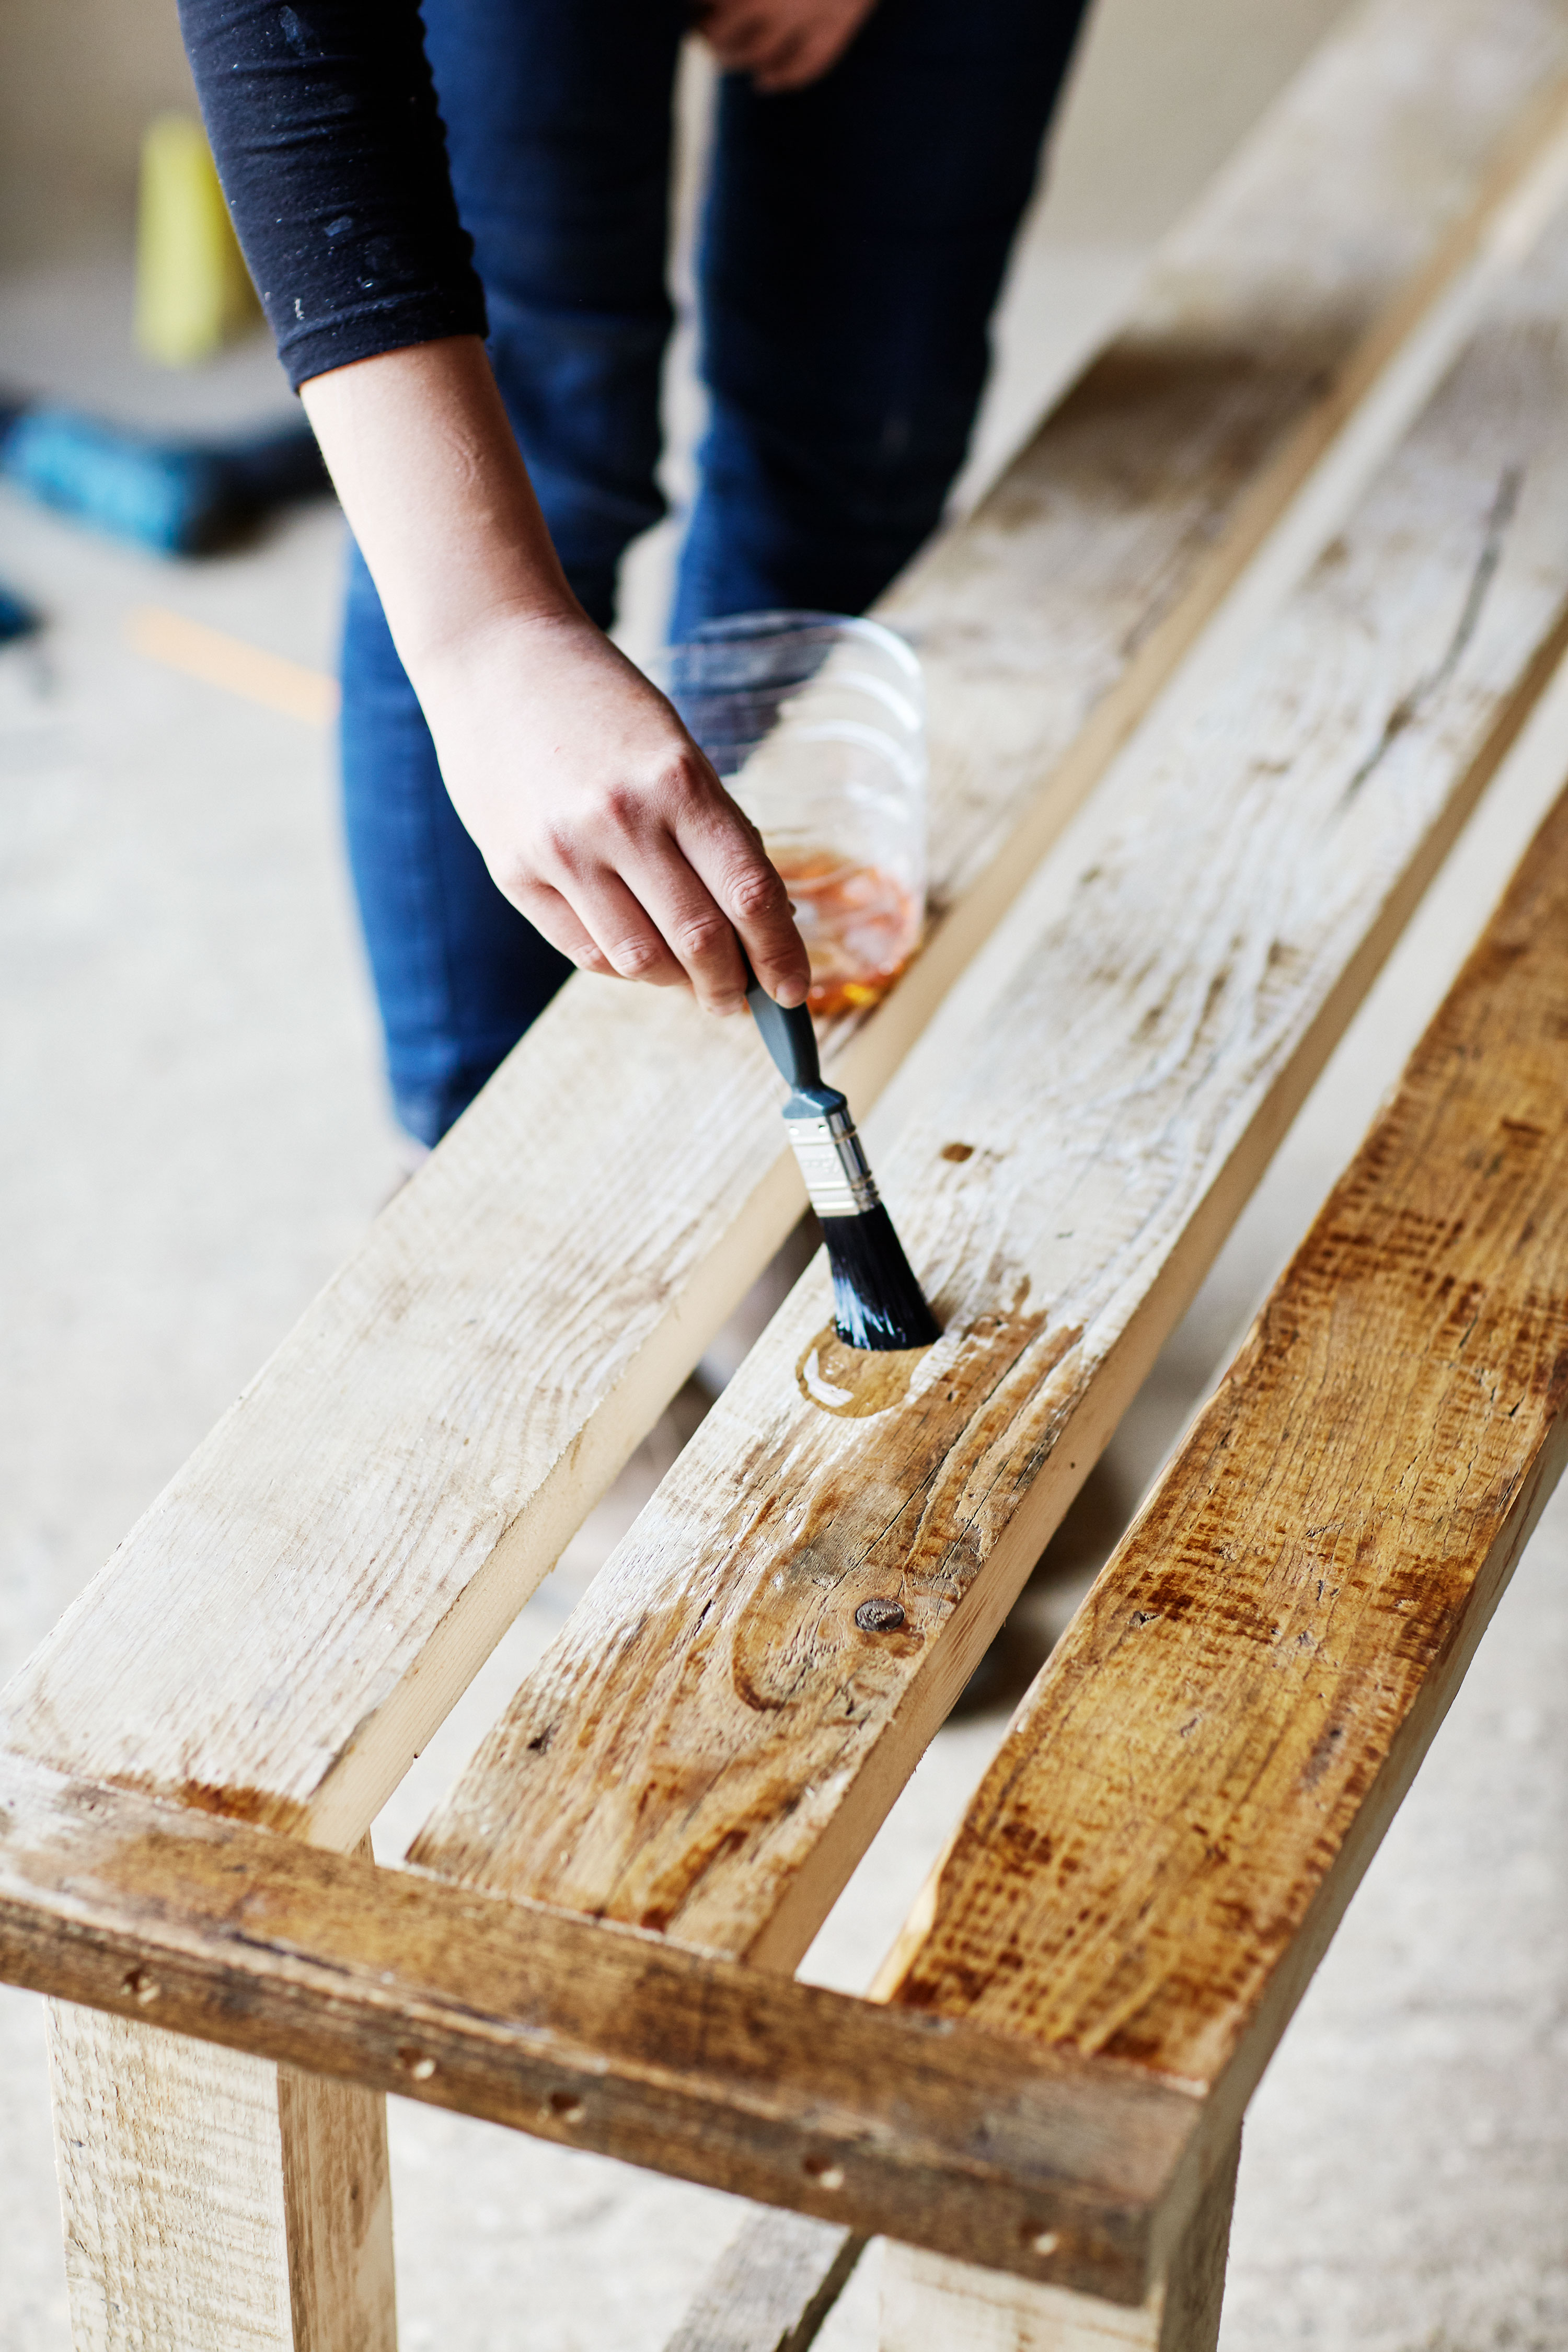
Finish your bench with a protective coat
If using indoors, coat the bench with Danish oil to protect against everyday use. If you plan to add your new bench to your garden as part of your outdoor seating ideas, Nikkita suggests using an outdoor varnish, or you could use an exterior wood paint.
Head over to our guide on painting garden furniture for more advice.
And, voila – enjoy your new bench!
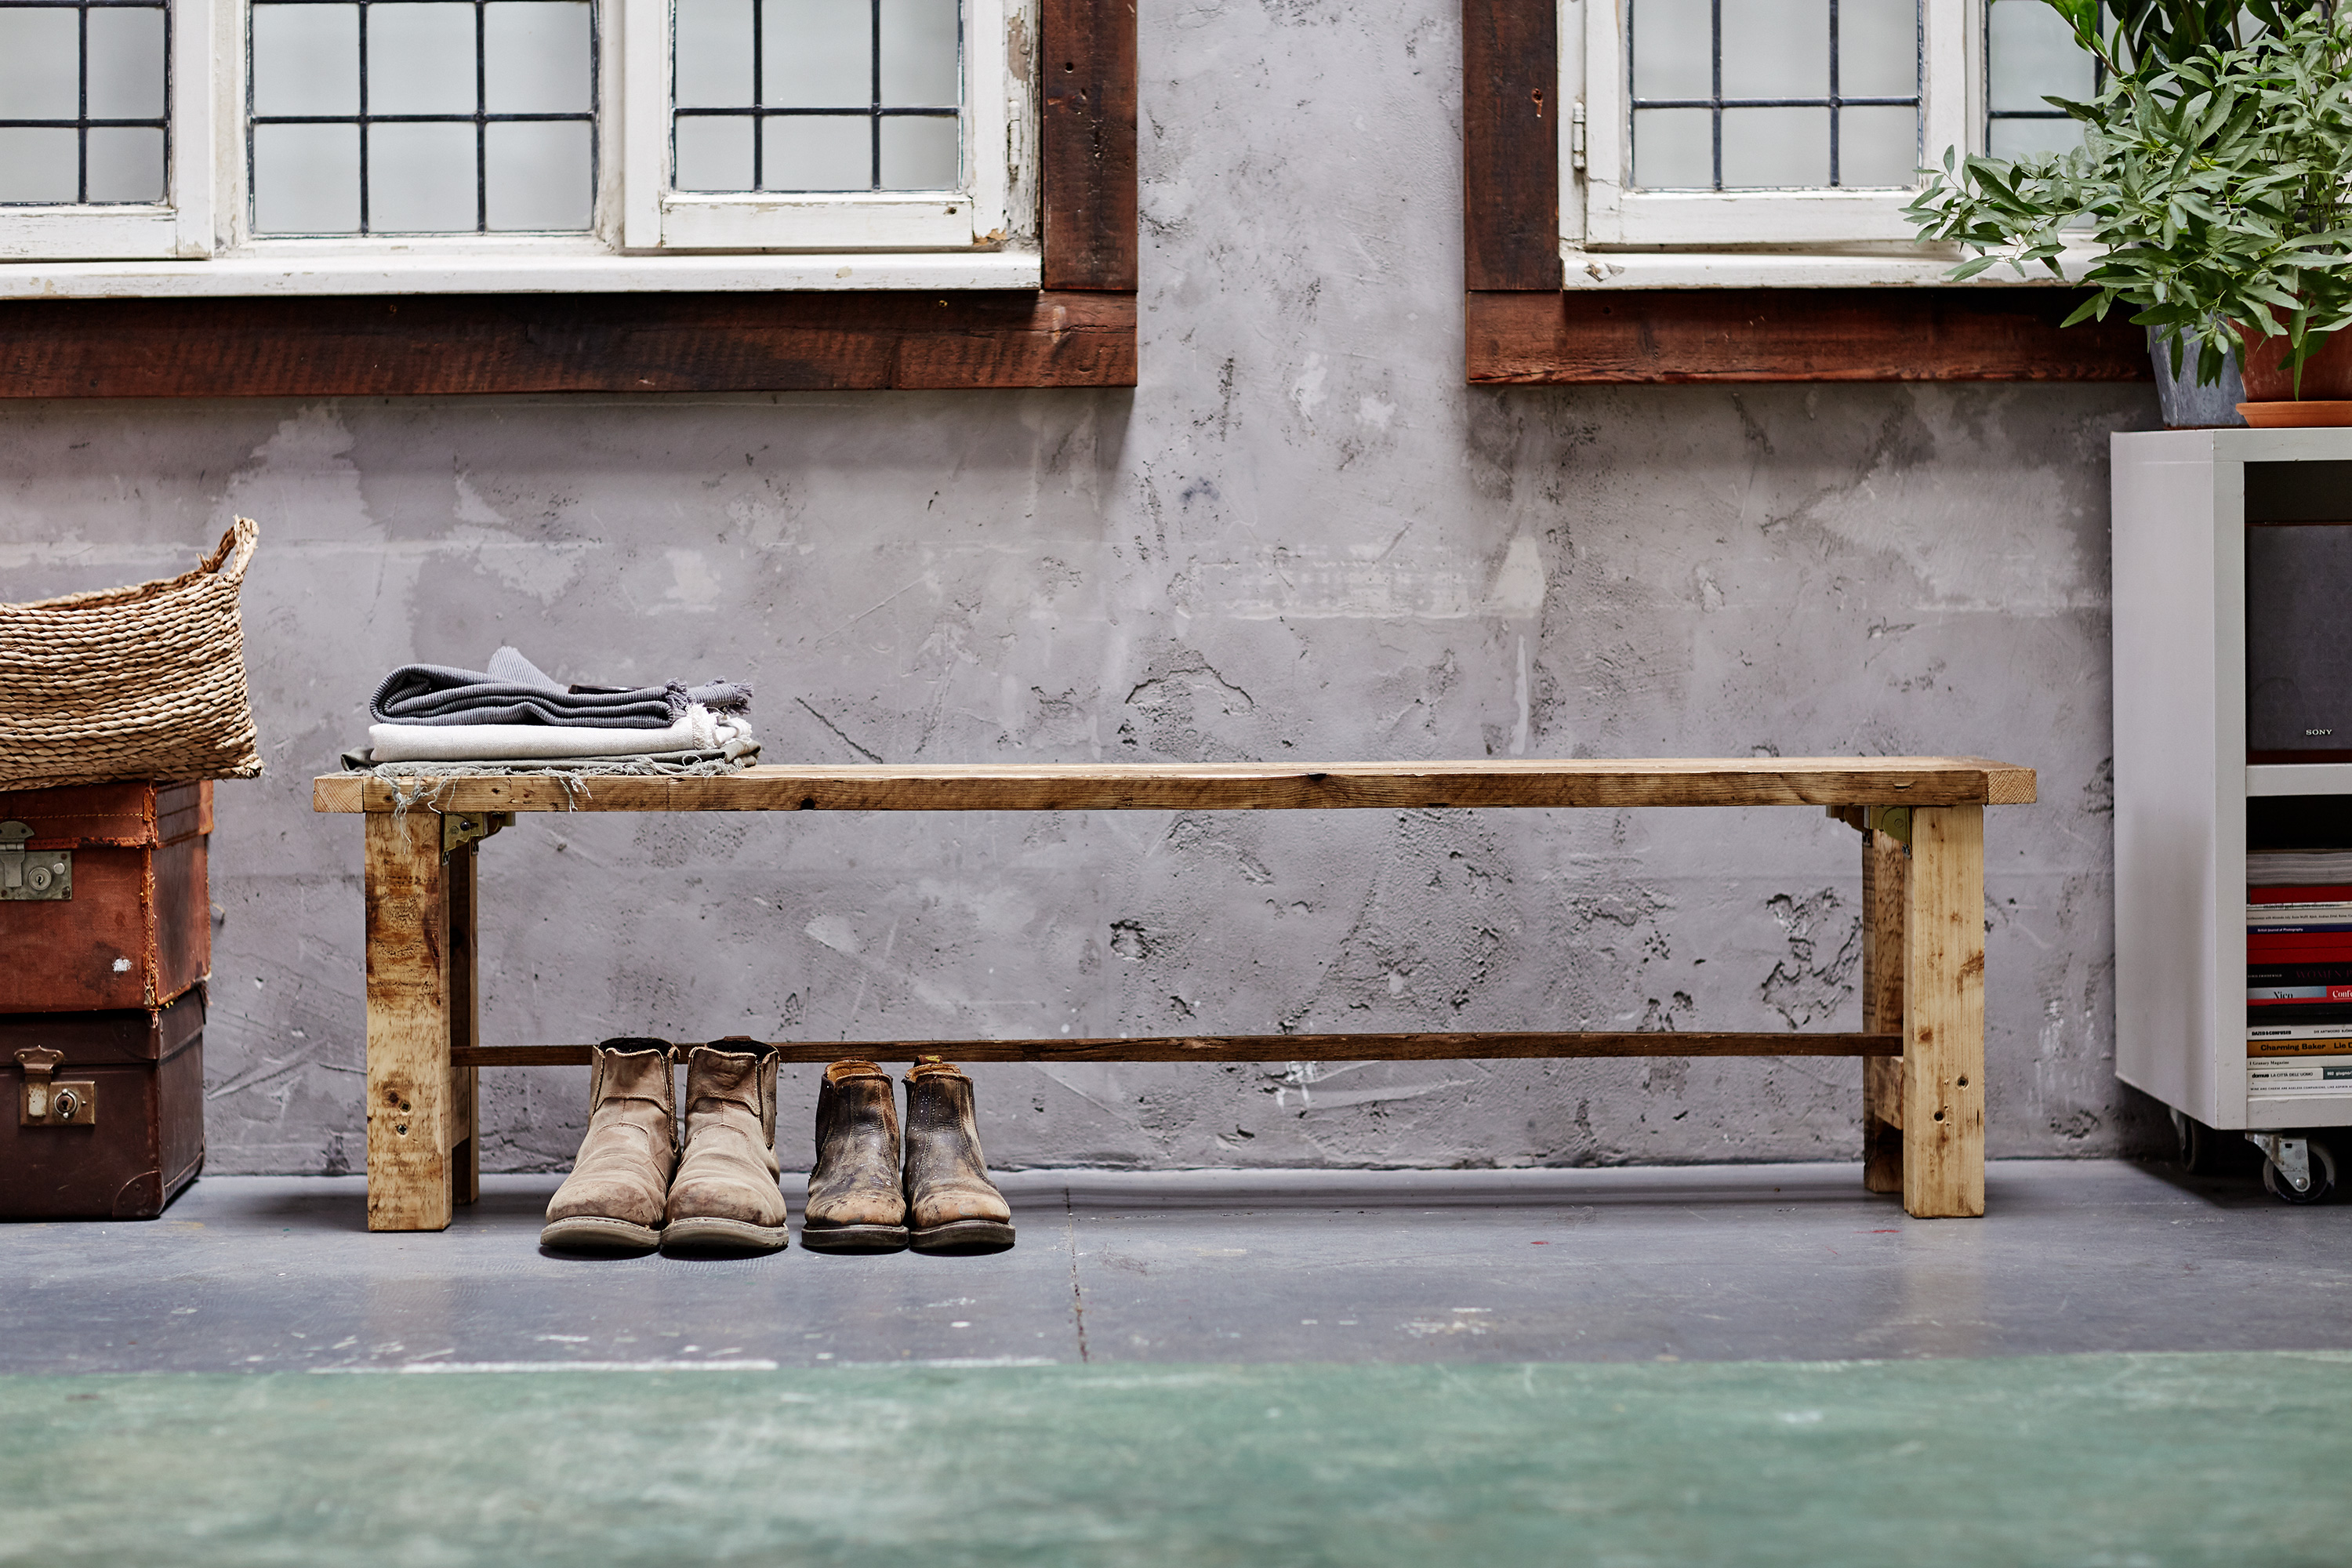
Use your new bench as a stylish and practical feature
Step back and admire your hard work! There's nothing quite like building furniture from reclaimed materials. We bet your result will give even the best garden benches a run for their money.
Can I build a pallet bench without using scaffold boards?
If you can't get hold of scaffold boards, don't worry. You can still build a pallet bench using pallet boards instead, but you'll need to make a couple of adjustments to the process as the wood isn't quite as strong. Nikkita explains how to do this:
- Use the pallet bearer beams, screws, and a drill to create a framework structure. If you're going as large as a metre wide with your bench, we would recommend putting a few extra support beams in the centre of the framework.
- Cut the pallet boards to size and clad the framework to create the bench surface.
- Create the legs and centre support in the same way as before, and attach on the inside of the framework structure, under the bench surface.
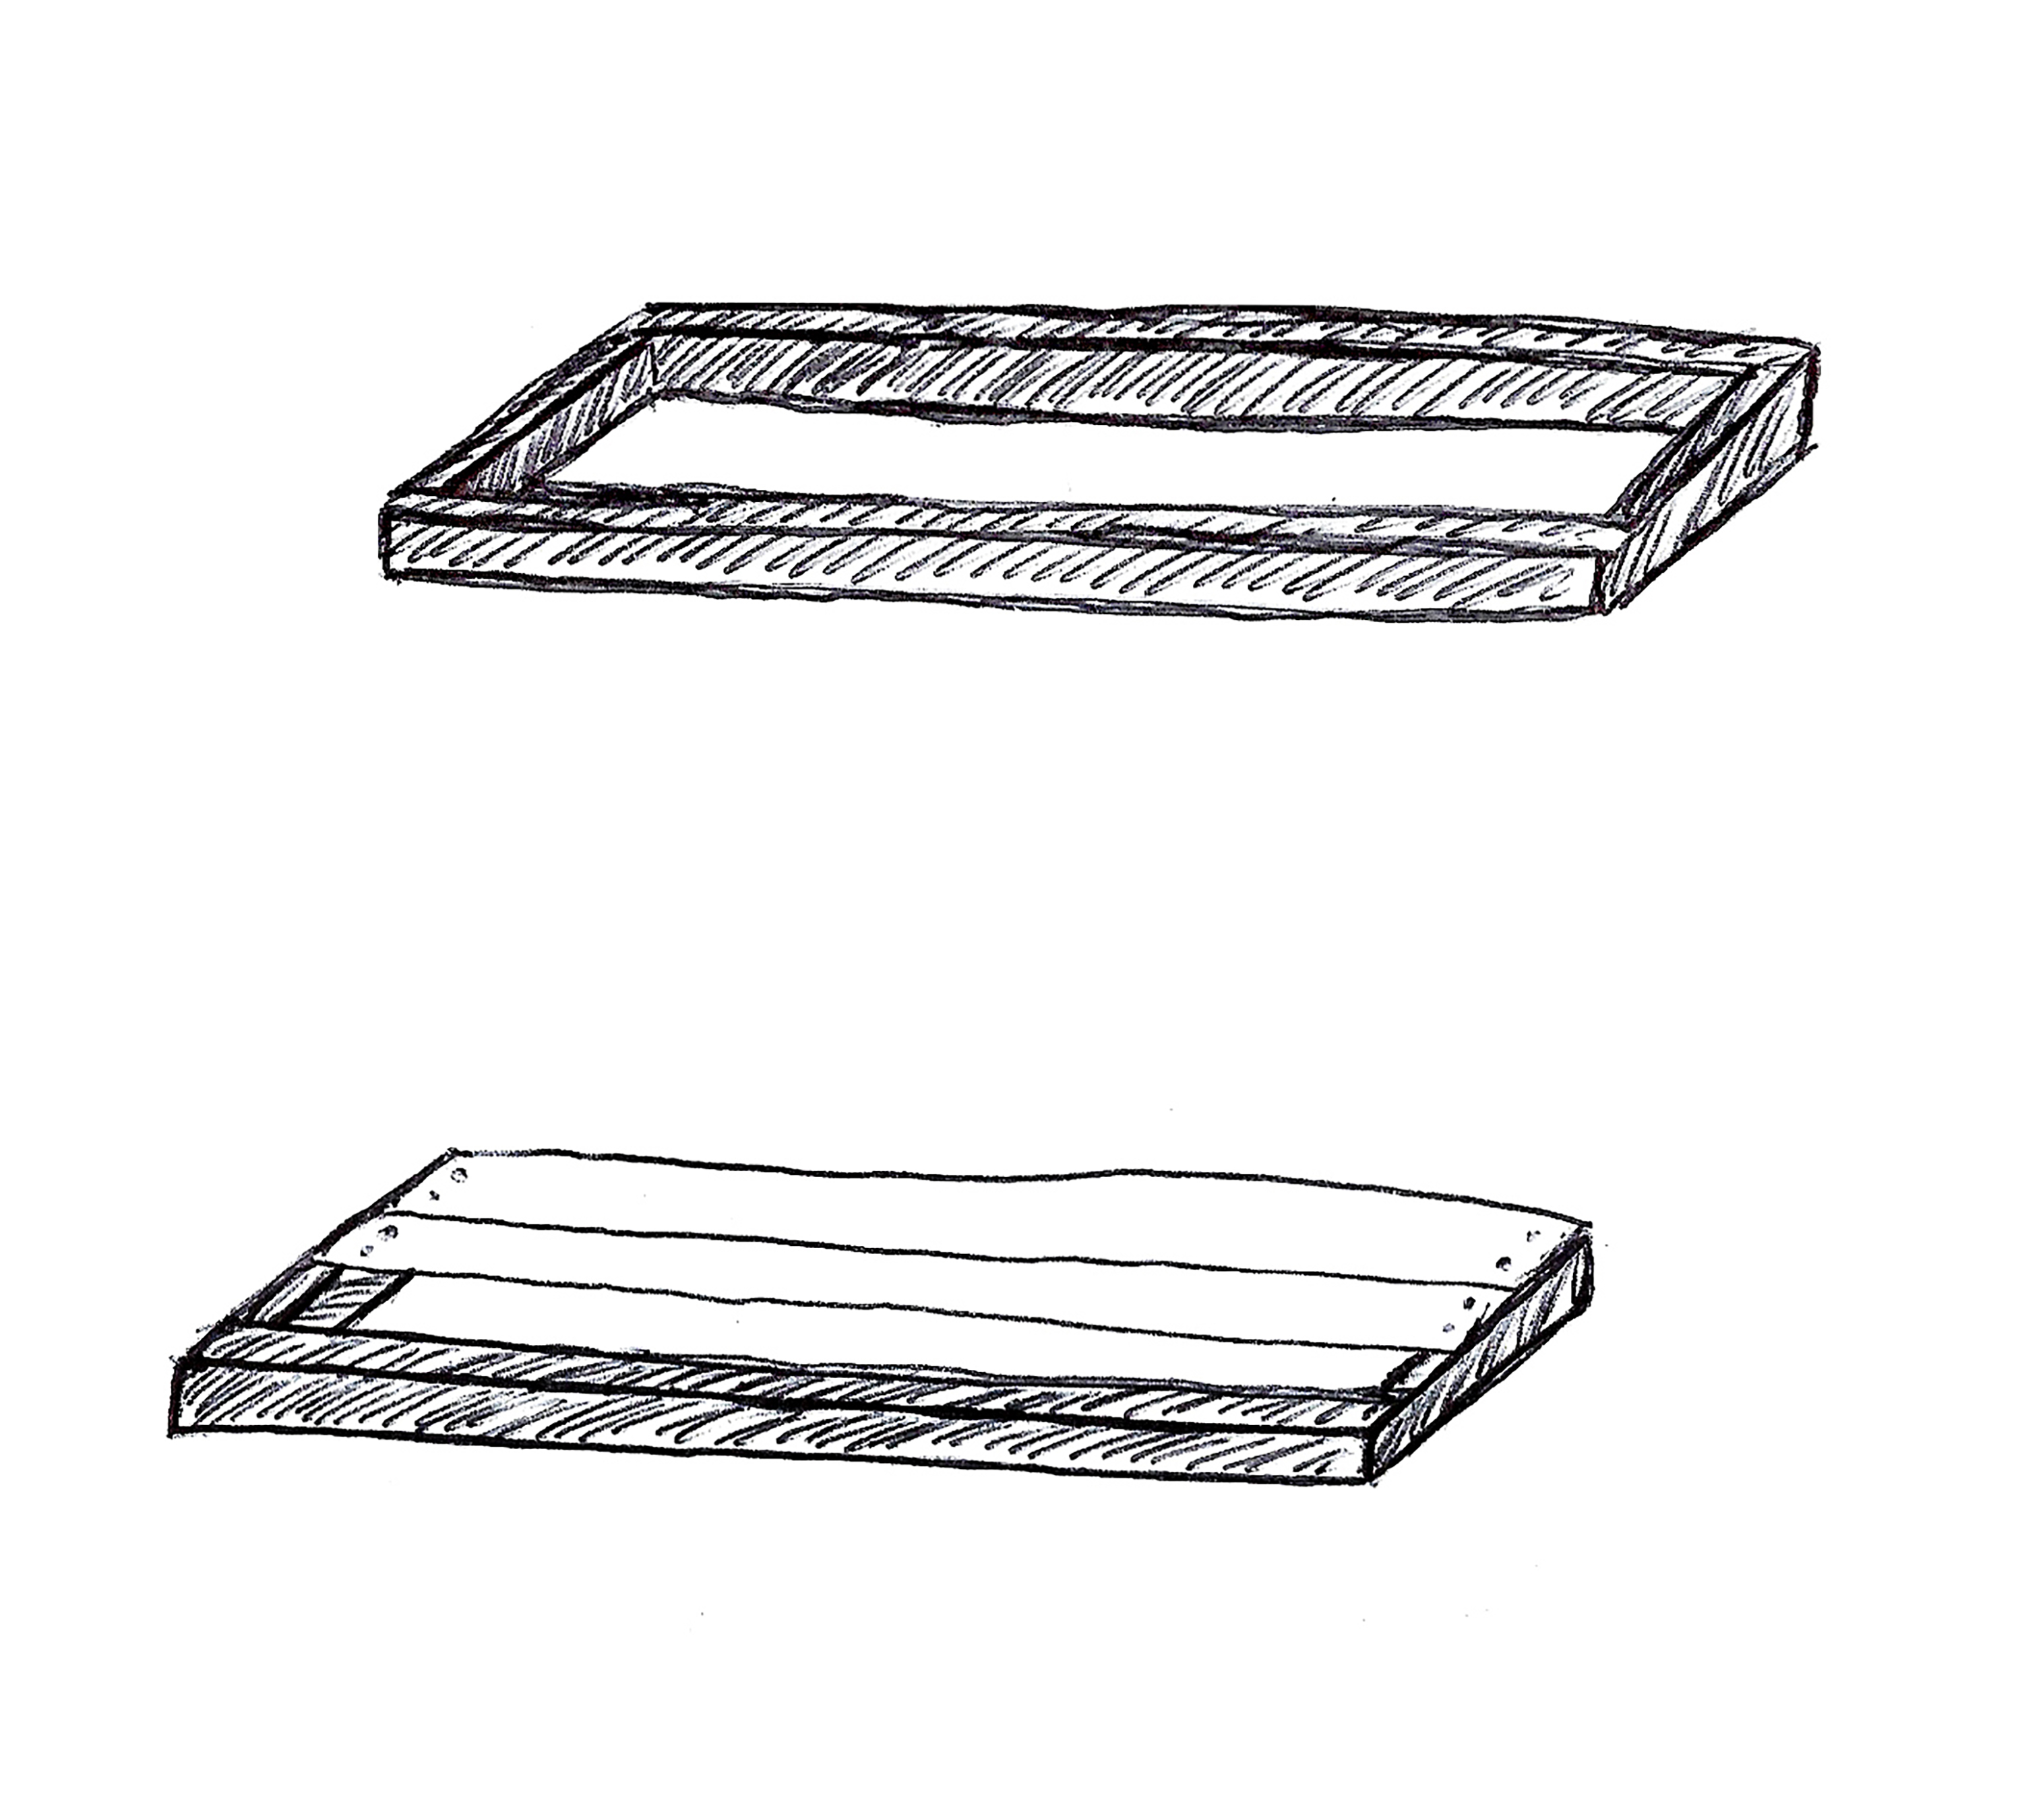
If simply using pallets for your bench, create a sturdy structure first, then clad with boards to create the seat
If you've now got the DIY bug, why not keep the theme going with more pallet projects? Our guide on how to make a bug hotel is an easy one to try.
Step-by-step tutorial adapted from 'Project 08 - bench' in 'Pallet Style' written by Nikkita Palmer and Billy Barker and published by Kyle Books.

The garden was always a big part of Holly's life growing up, as was the surrounding New Forest where she lived. Her appreciation for the great outdoors has only grown since then. She's been an allotment keeper, a professional gardener, and a botanical illustrator – plants are her passion.
