How and when to plant gladioli bulbs, plus expert growing tips for a stunning summer display
Our advice on how and when to plant gladioli bulbs will help you grow these structural flowers in your garden
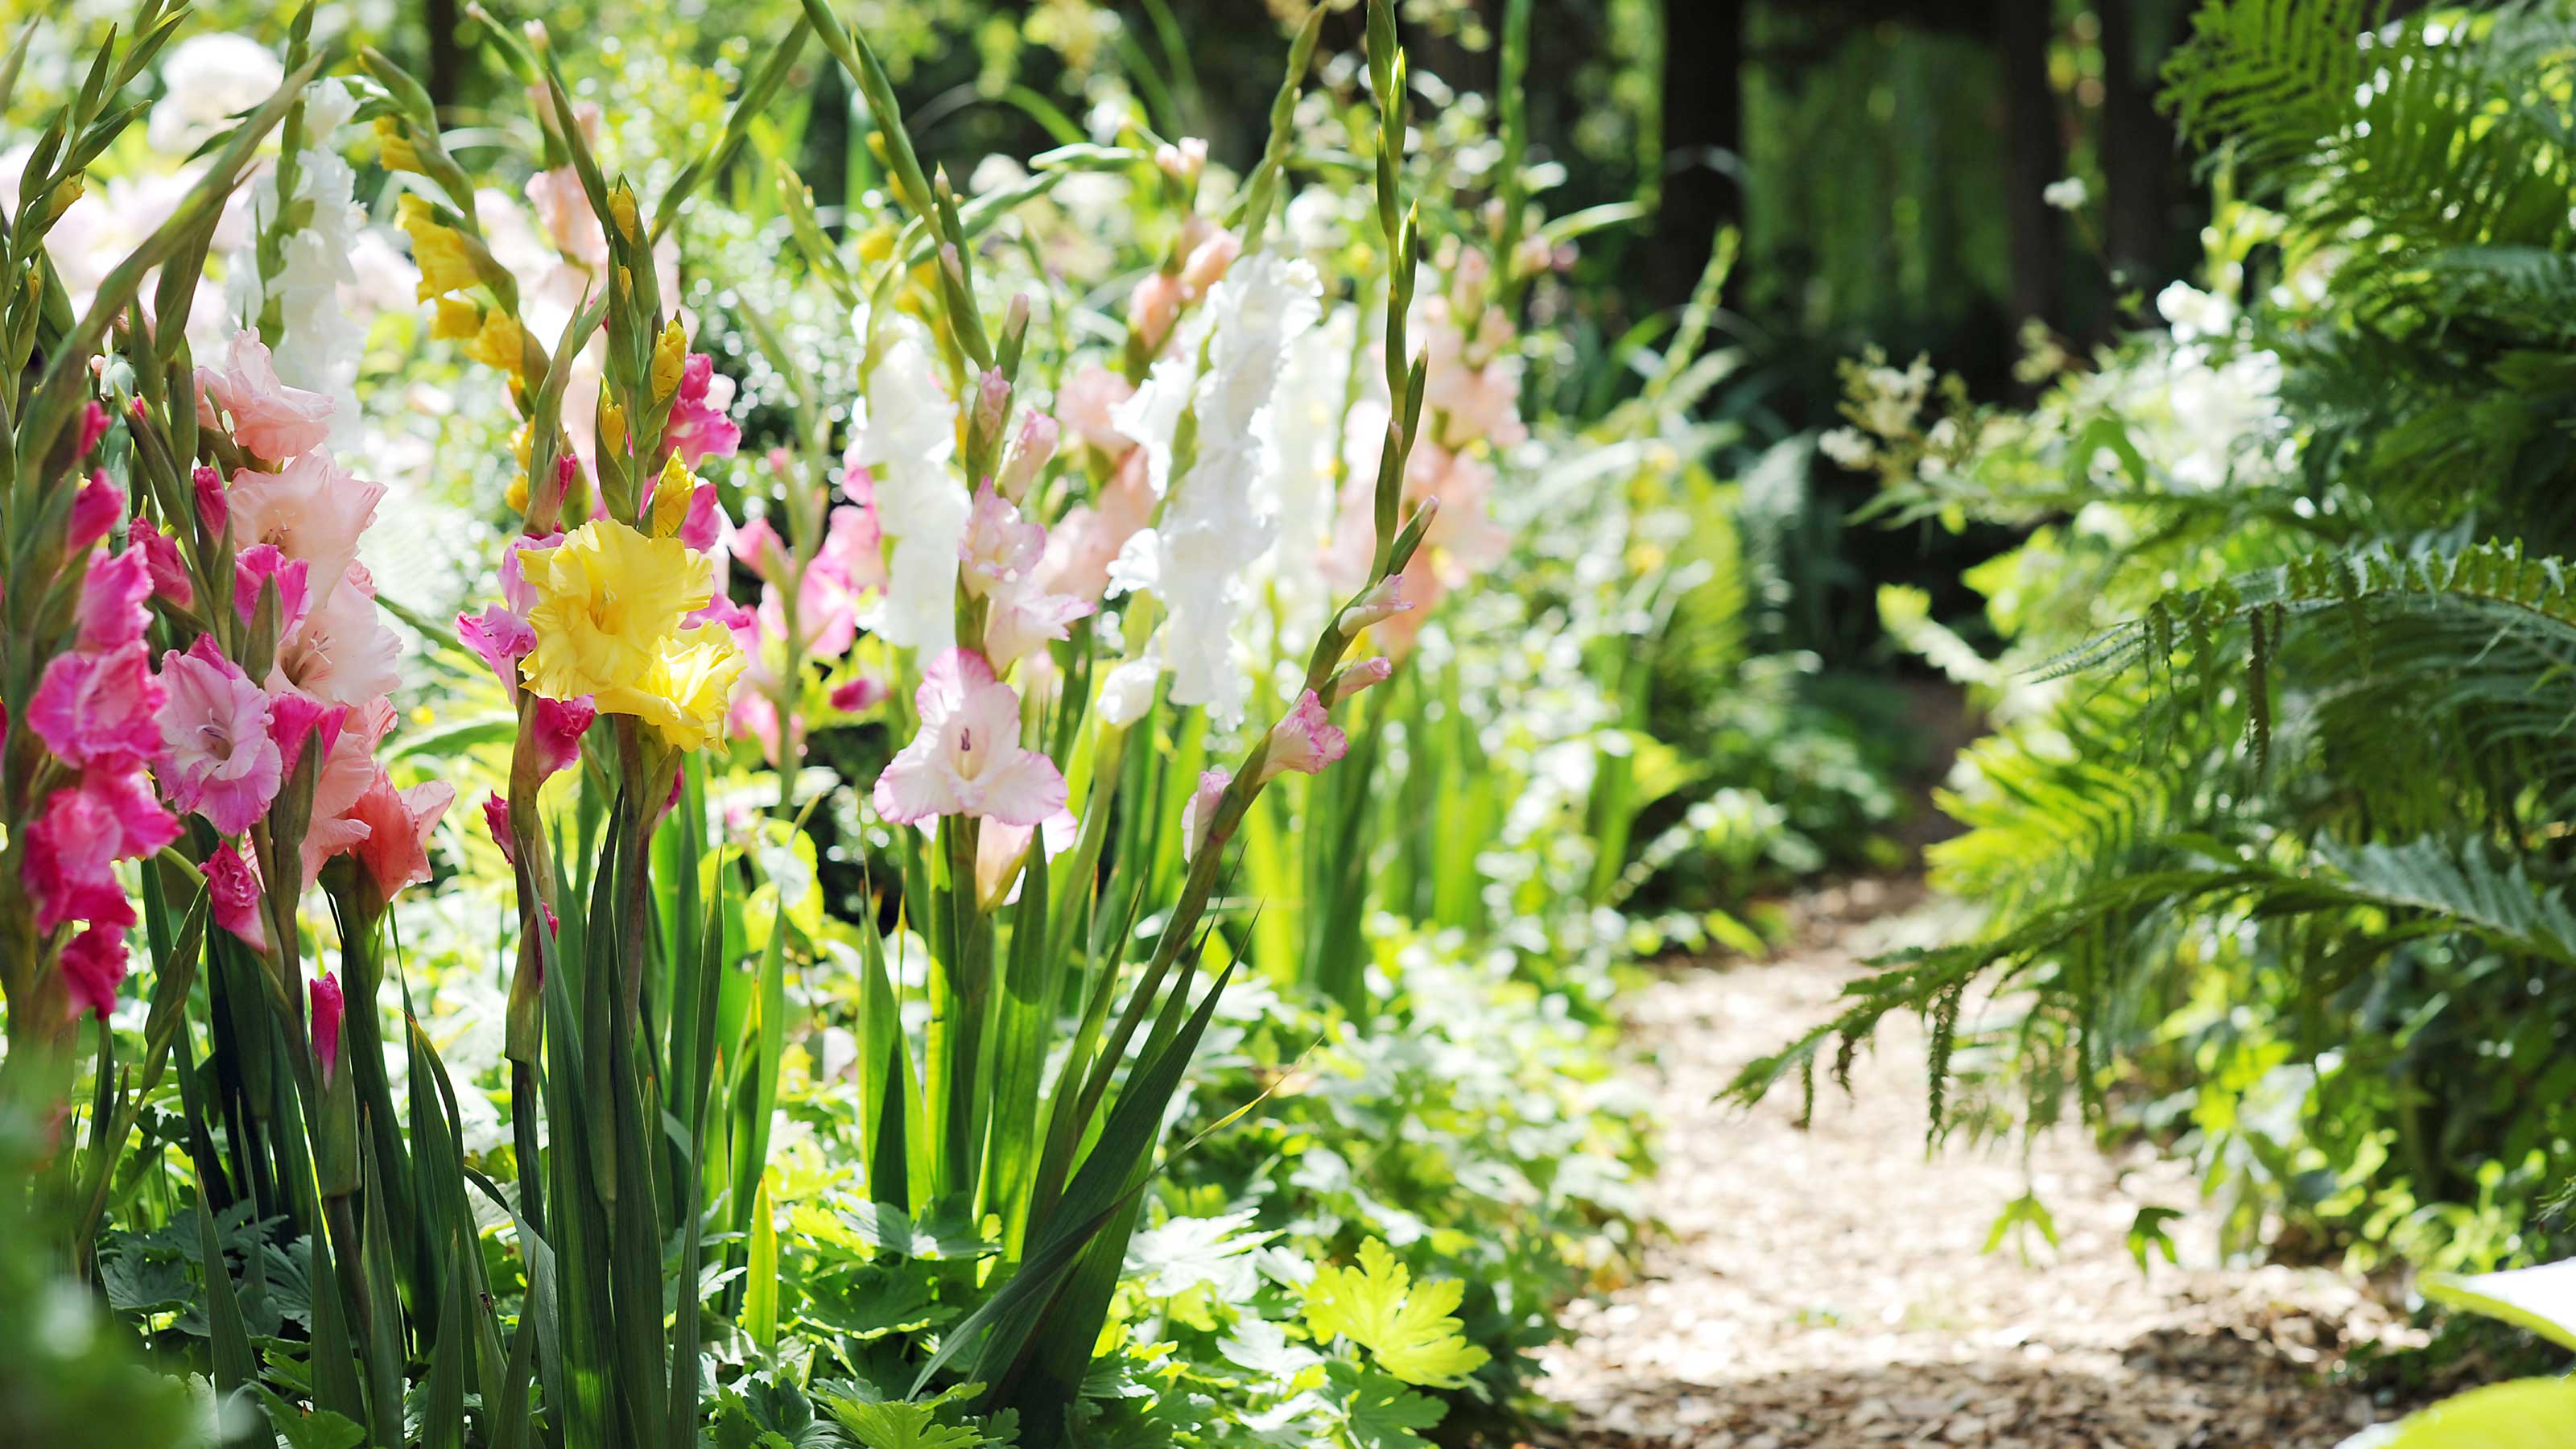

Our tips on how and when to plant gladioli bulbs and how to care for them afterward are just what you need if you want to grow these gorgeous blooms. They make a beautiful addition to summer flower beds or borders, and it's super simple to do, once you know how.
Most people consider autumn to be the time for planting bulbs, and in many cases this is true. However, while tulips, daffodils, crocuses, and all those other spring flowers need to be planted pre-winter, for gladioli, you need to hang on a few months longer.
It's worth the wait. Although once deemed a little old-fashioned, gladioli are making a comeback. With their architectural structure and riot of color, we're not surprised one bit. They look fantastic along the back of a border and, with their long vase life, make an ideal cutting flower. And you can plant them in containers, too.
When to plant gladioli bulbs
First things first – you'll need to know when to plant gladioli bulbs. Well, like crocosmia and bearded iris, gladioli are summer-flowering and need to be planted when the weather is warmer.
To get ahead, you can start them off in pots indoors in spring. Place them somewhere bright and frost-free: a windowsill or greenhouse, for instance.
If you're planting the bulbs directly into the ground or in containers outdoors (or are moving your pre-planted indoor pots outdoors), do so between early and mid-summer.
They will generally begin to flower three months after planting. It's a good idea to stagger your planting with fortnightly intervals – this will reward you with a longer-lasting display of flowers.
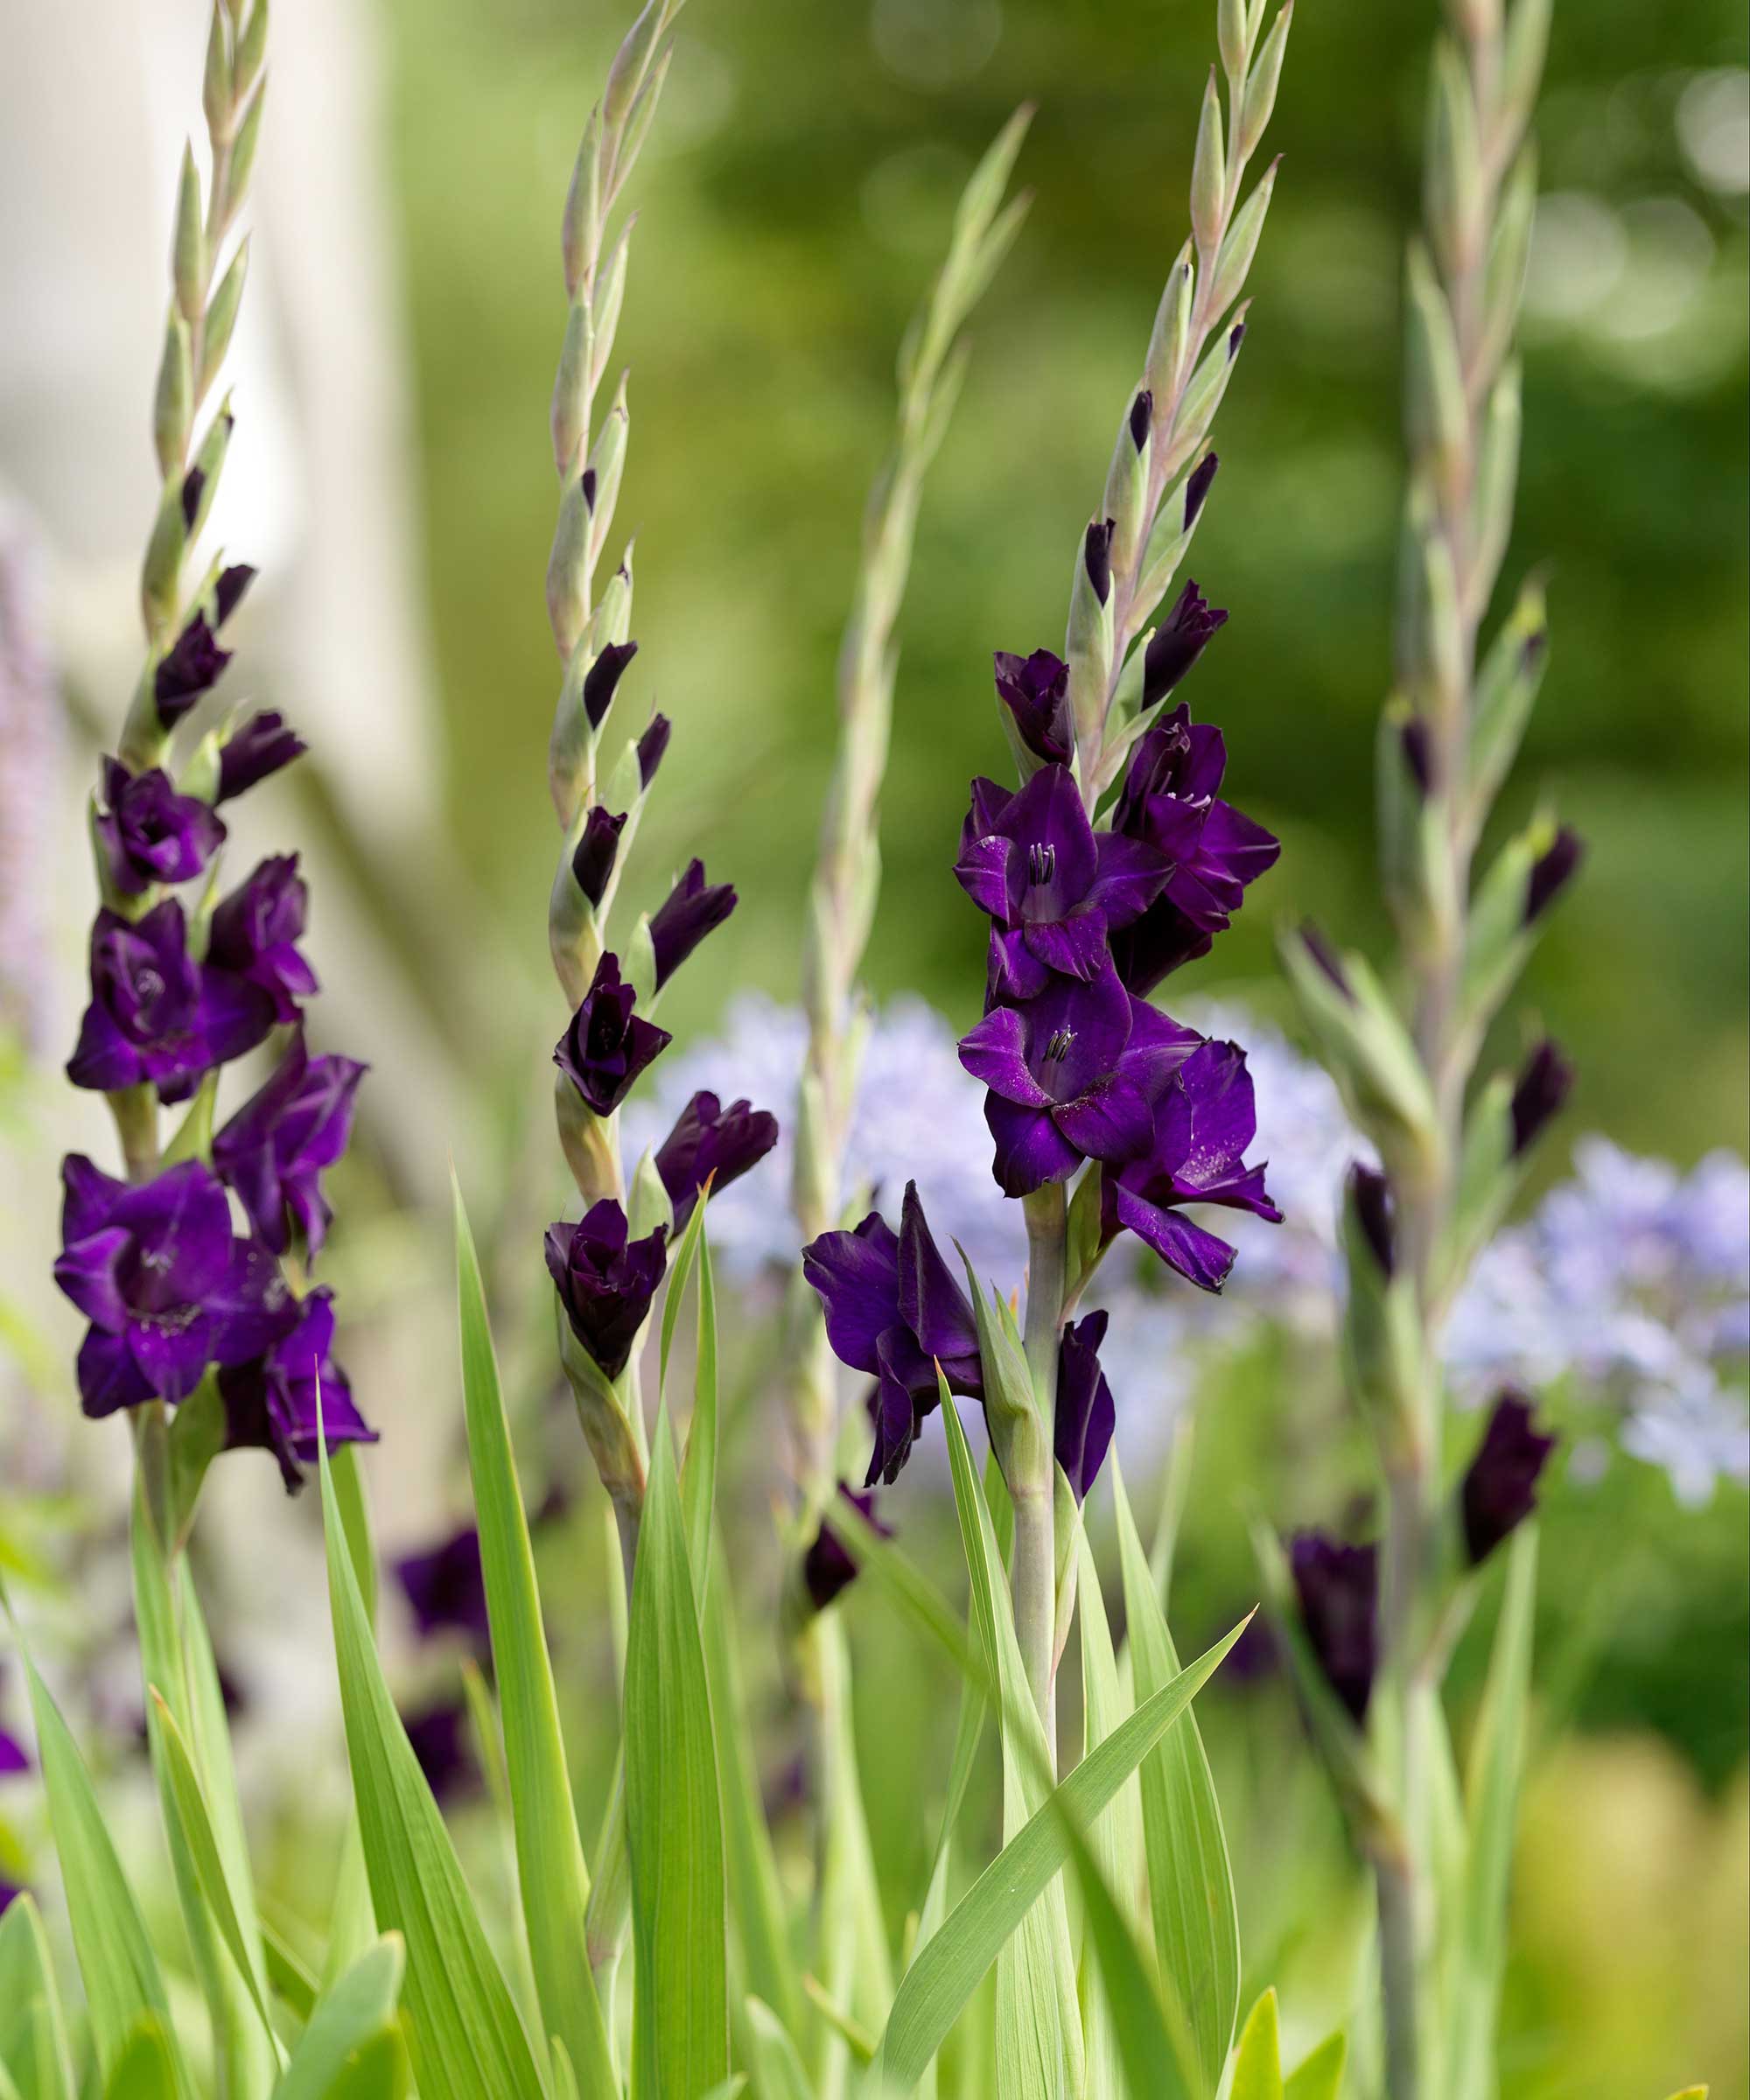
The 'Purple Mate' gladiolus
How to plant gladioli bulbs in a pot
With their vibrant color and eye-catching form, gladioli make lovely additions to container gardening displays. It's simple to do:
- In his useful video for the RHS, Robert Evans of Pheasant Acre Plants advises cleaning up your gladioli bulbs, otherwise known as corms, before planting them in a pot. Do this by carefully taking off the dry, outer layers of skin with a sharp knife. This will leave the new shoot exposed. Remember to always wear gloves when handling gladioli bulbs – they are toxic to humans and can cause skin irritation.
- Next, grab your pot. Bear in mind that some gladioli grow very tall (up to around 4ft). If this is the case with your chosen variety, opt for a larger container.
- What gladioli really need is good drainage, says Monty Don on Gardeners' World. 'Add a bit of grit to the compost – you can't really overdo this so don't be coy about it,' he says. Put a layer of this gritty compost in the bottom of the pot.
- Add your bulbs with their shoots facing upwards. Your bulbs should be spaced around 4–5in apart, but, it does depend somewhat on the variety, so double check your packet for advice. In regards to depth, Monty says, 'As a rule of thumb, you're better to go too deep than too shallow, but you can't go wrong if you do it twice the depth of the bulb.'
- Robert Evans advises to never press the bulbs in. Instead, lie them flat on the surface. If you press them, the ring of roots will push up against the compost and the corm will lift, creating a gap between the corm and the compost, he explains. This can dry out the root and lead to the plant wilting.
- Once your bulbs are in, cover them with compost, then water them and place them somewhere sheltered and sunny.
- Even though these plants love the sun, it's important to not let them dry out. As Robert says, when they start to come into flower (when the flower sheath comes through the bud), water them two or three times a week.
For extra flexibility, Monty Don says you can plant your gladioli bulbs in lattice pots (the same you'd use for aquatic plants). You can then sink them into your border, or into a terracotta pot (which are good for drainage), when you're ready to show them off.
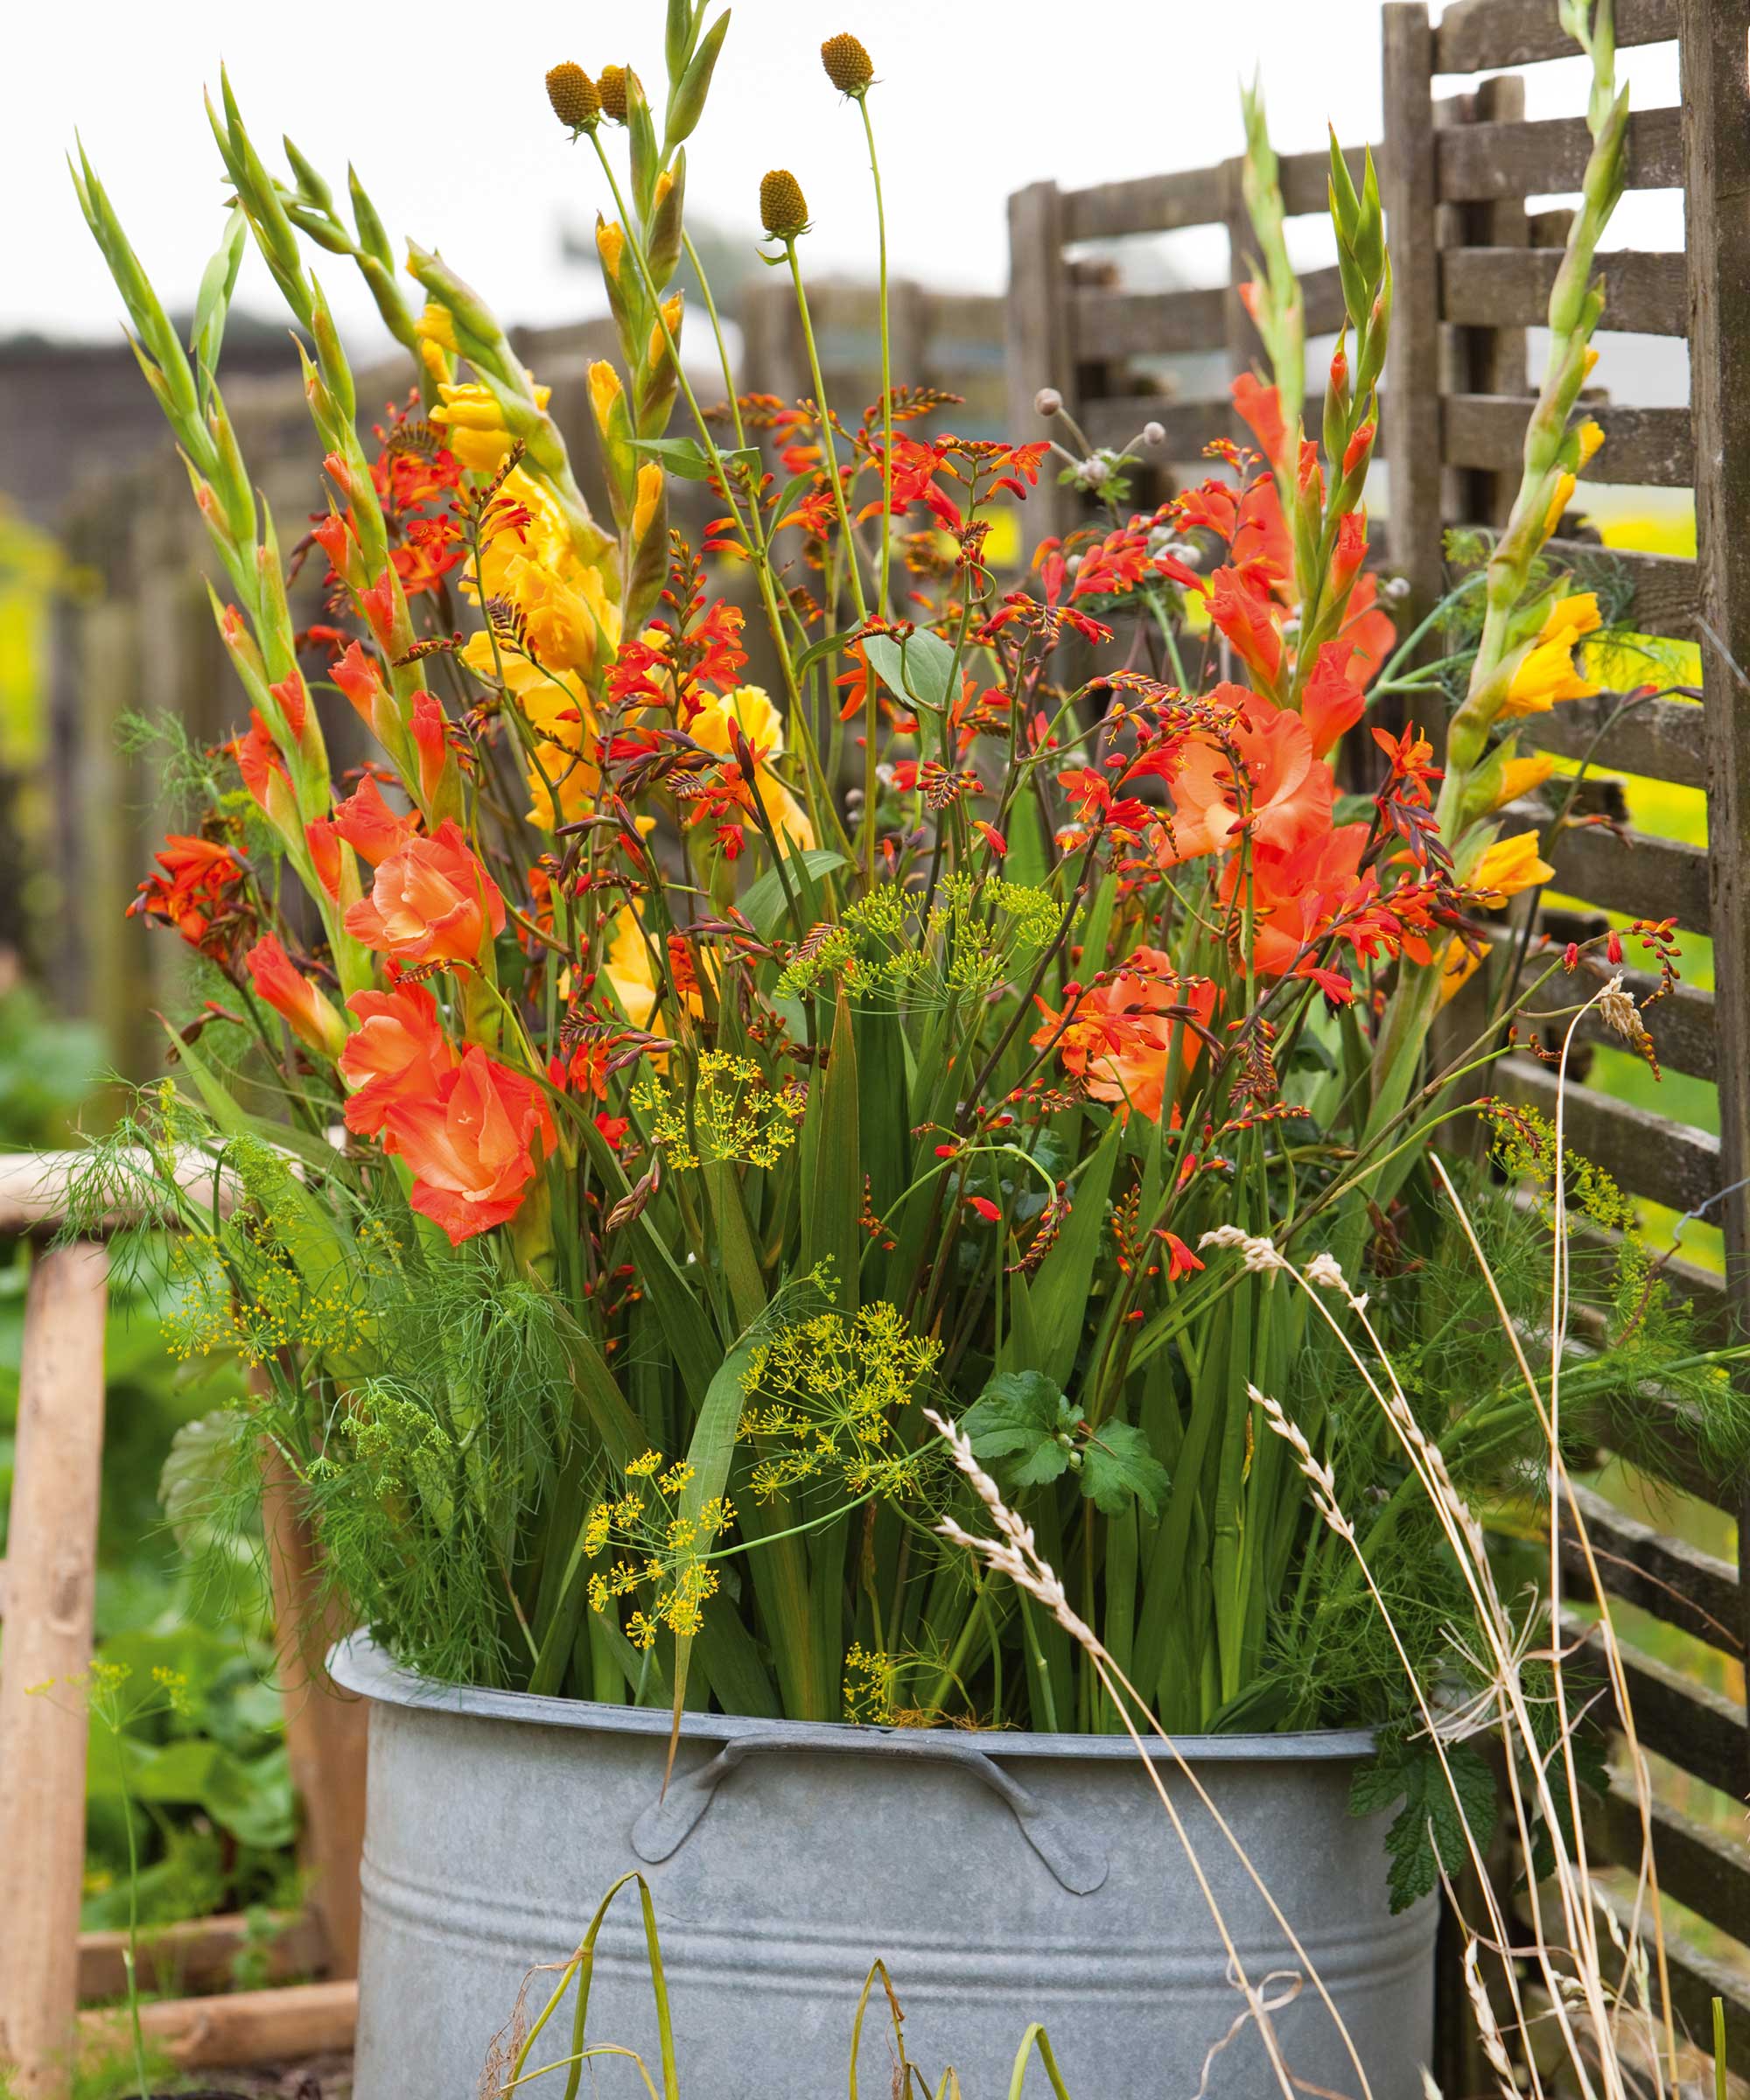
These yellow 'Lemon Drop' gladioli look stunning alongside a red variety, crocosmia and fennel
How to plant gladioli bulbs in the ground
The process of planting your gladioli directly into your flower beds is similar to planting them in pots.
- Dig a trench or use a bulb planter (available on Amazon) to make holes in the ground at around 6in deep. As mentioned above, the optimum spacing of your gladioli will depend on the variety of your bulb. However, around 6in apart should be about right.
- If you have heavy, clay soil, add a handful of grit to the hole before carefully placing in the bulb, shoot facing upwards.
- If you have chosen a very tall variety of gladioli, you will need to add a stake to support it. It's best to put the cane in place now rather than when the plant has grown, to avoid damaging the bulb.
- Cover with soil and top-dress with compost.
- As with growing gladioli in pots, make sure the plants don't dry out. Once they begin to flower, water them two to three times a week.
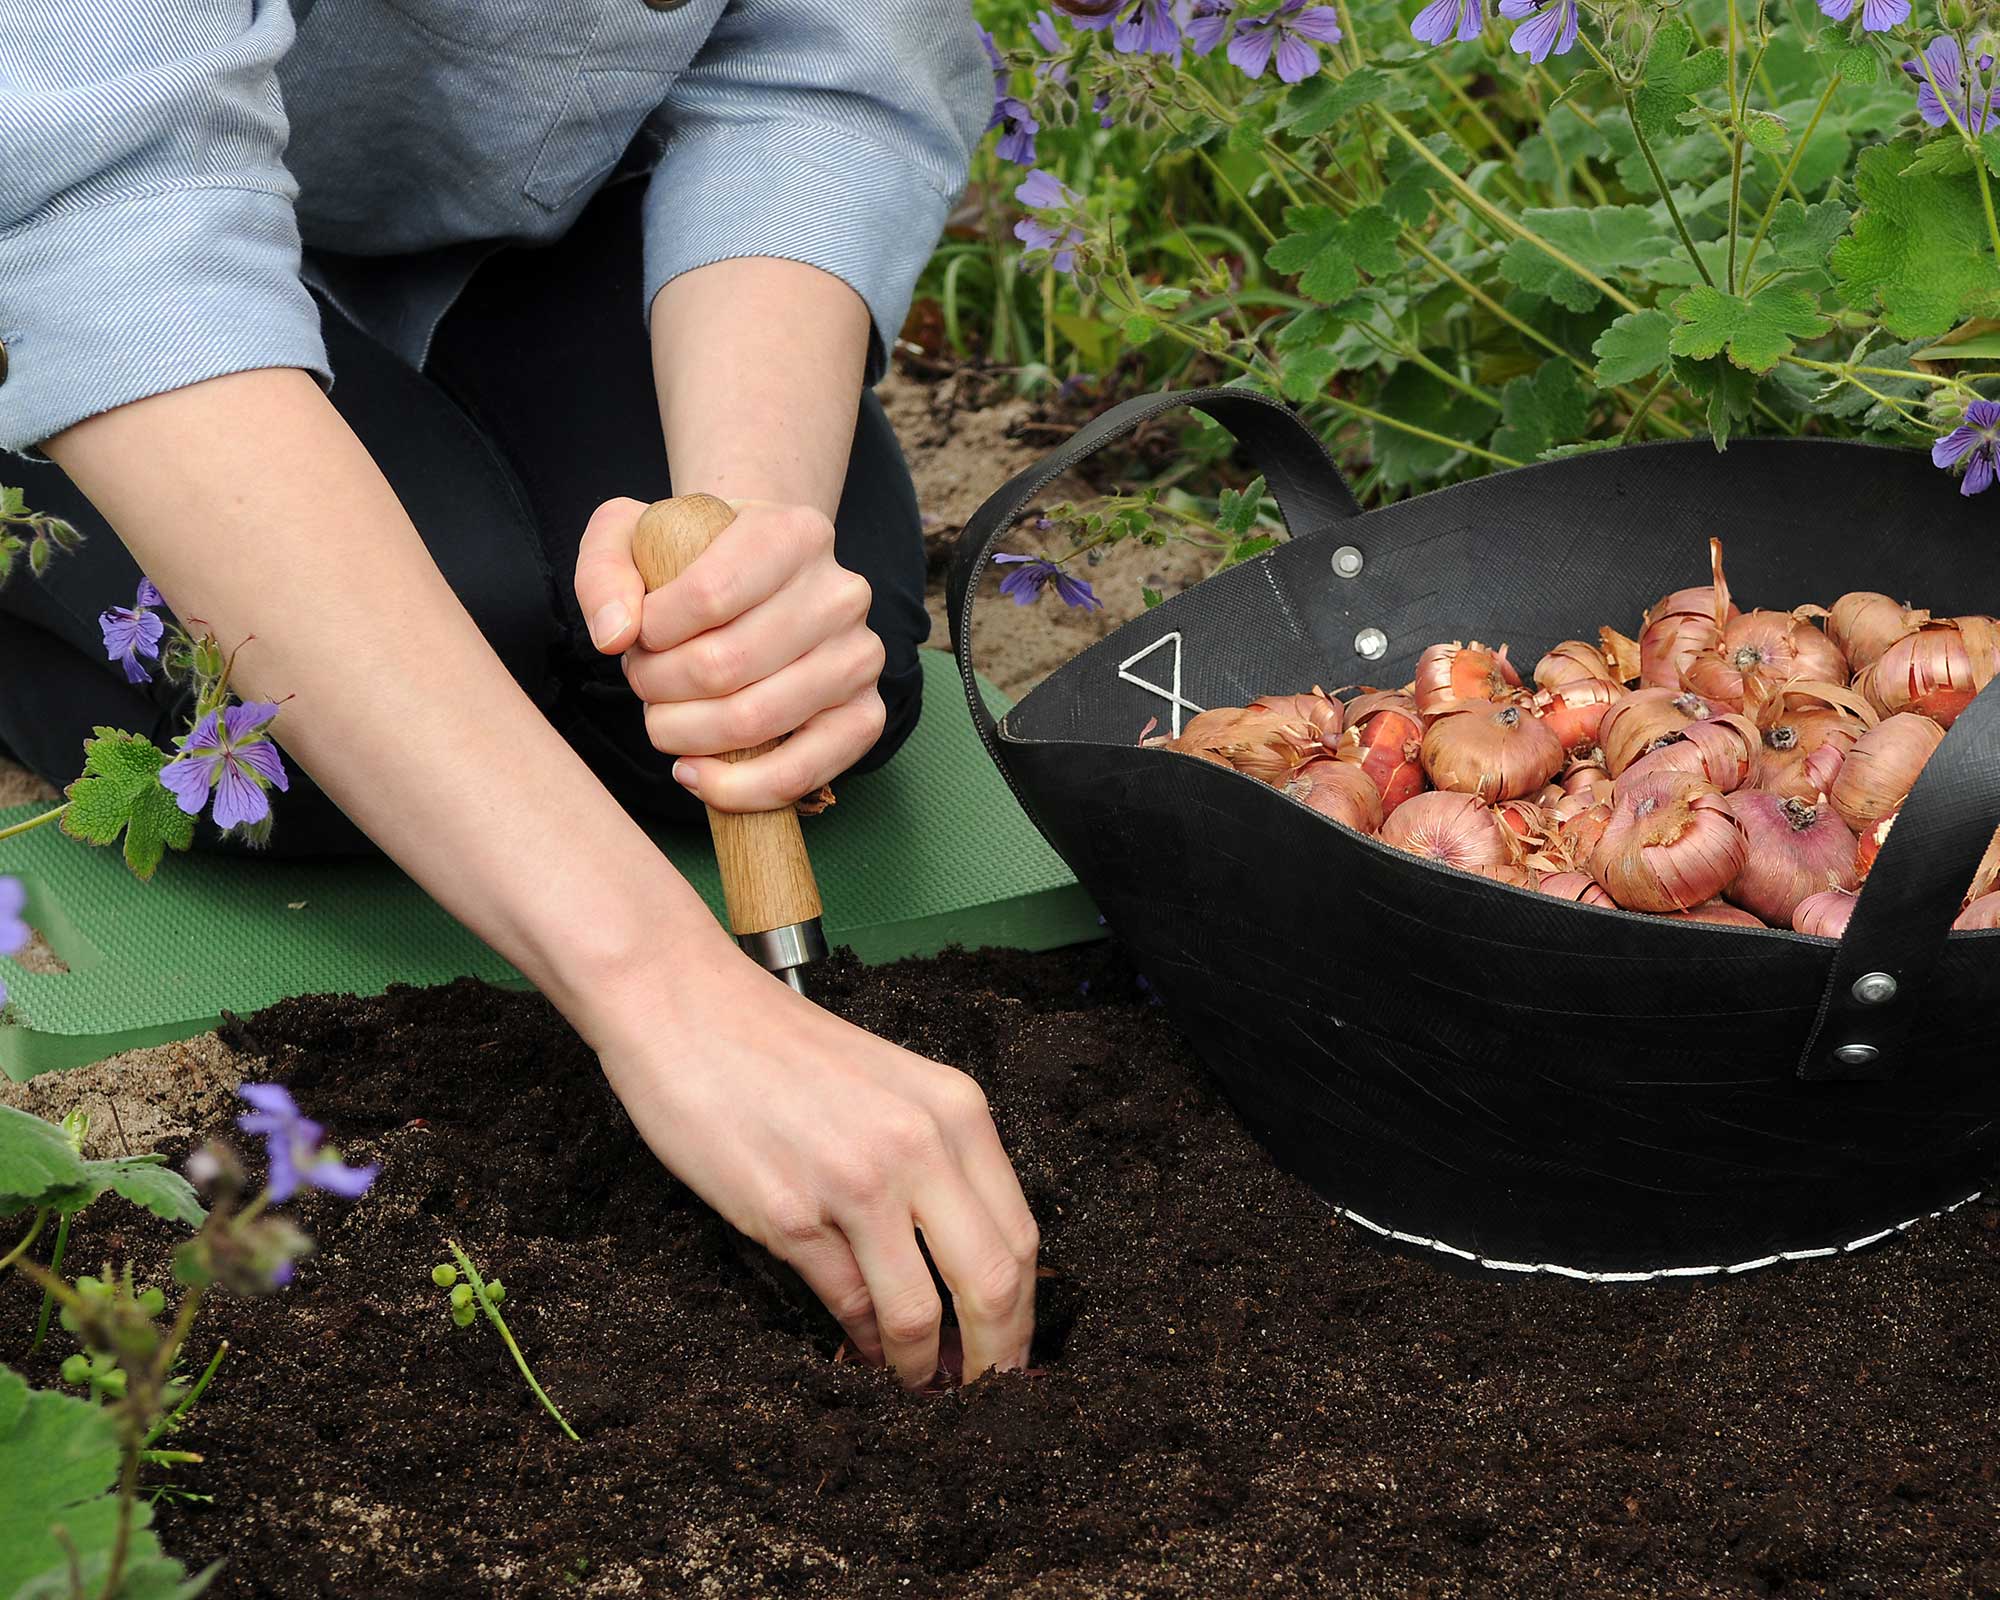
Plant your gladioli bulbs in free-draining soil in a sunny spot
Where should you plant gladioli bulbs?
Gladioli originate from hot climates, so they perform best when planted in full sun. They like well-drained soil, but ensure it's kept moist.
Due to their height, gladioli work well at the back of a border. However, they can also make a striking choice for containers if you're looking for patio gardening ideas.
They are a classic pick for cottage garden schemes, but work equally well in contemporary plots. Try mixing with dahlias and zinnias for a vibrant, summertime show.
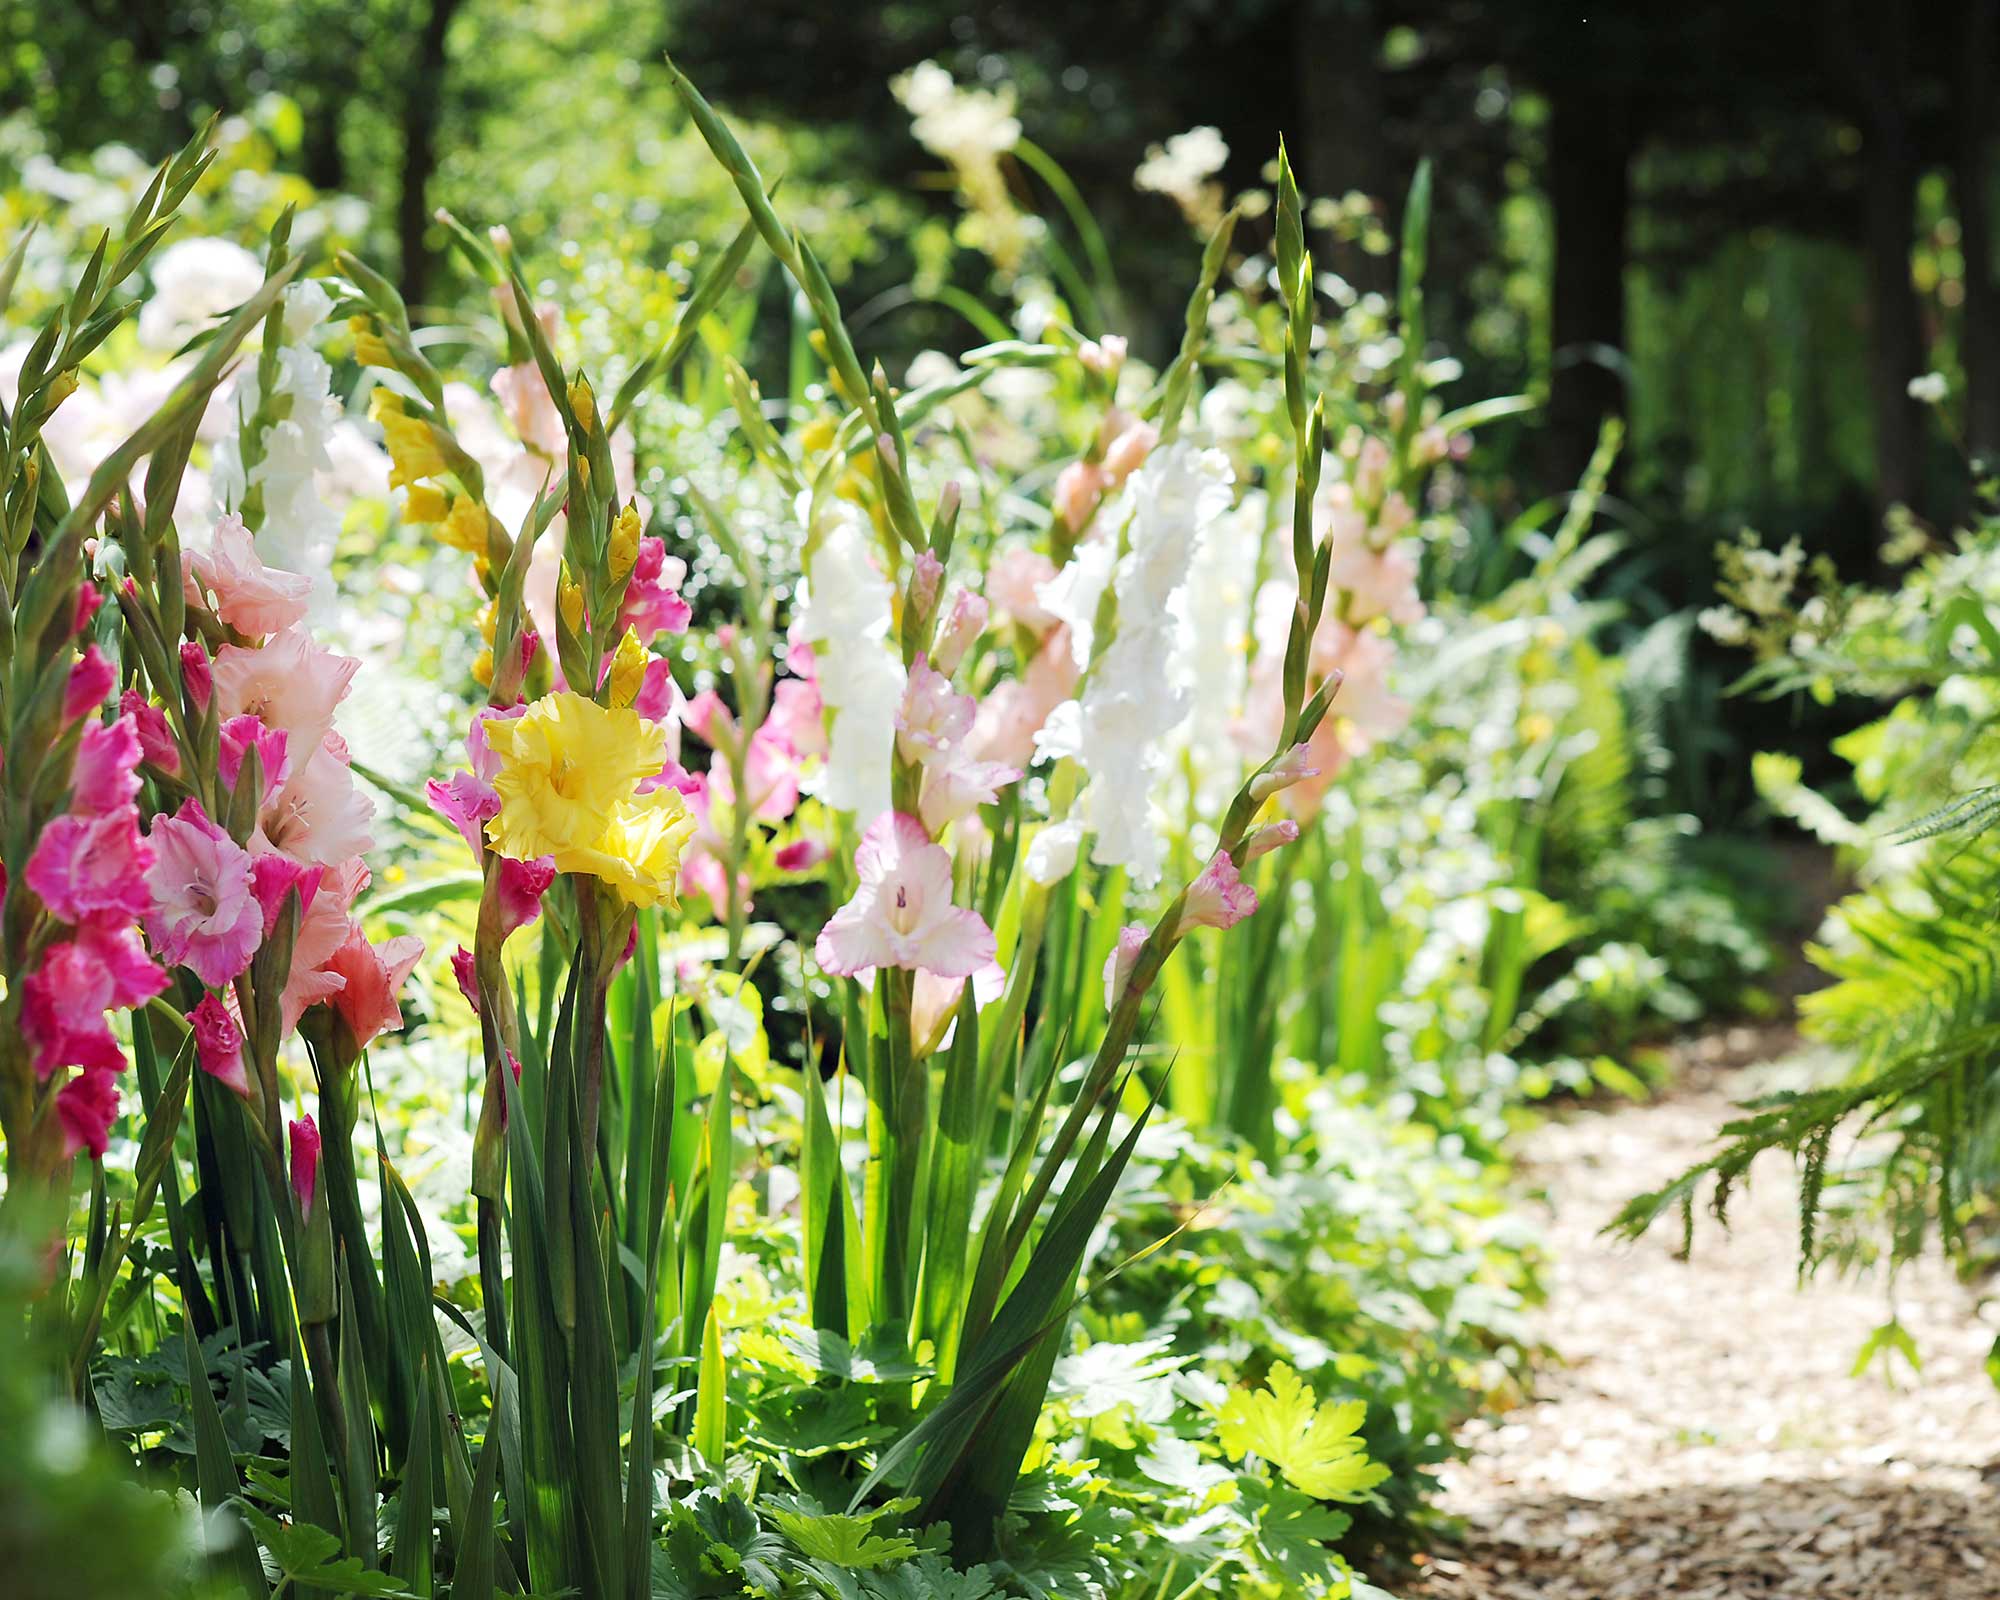
Plant gladioli along a path for an enchanting look
Do you need to dig up gladioli corms over winter?
These plants are perennials, meaning they will flower year after year with the right care. There are a couple of options for what to do with the gladioli bulbs once they've finished flowering.
Some gardeners choose to dig up and store their gladioli corms over winter, similarly to dahlias. This is the best approach for plants grown in colder regions (USDA Hardiness Zone 7 or colder) or in containers. Be sure to do this before the first hard frost.
In slightly warmer climates, such as the south of the UK, this isn't strictly necessary as long as you apply a good, deep layer of mulch. The mulch will help to protect the bulbs from frost. This is the approach gardener Sarah Raven takes, and she has grown the flowers in her garden in the south of England for years.
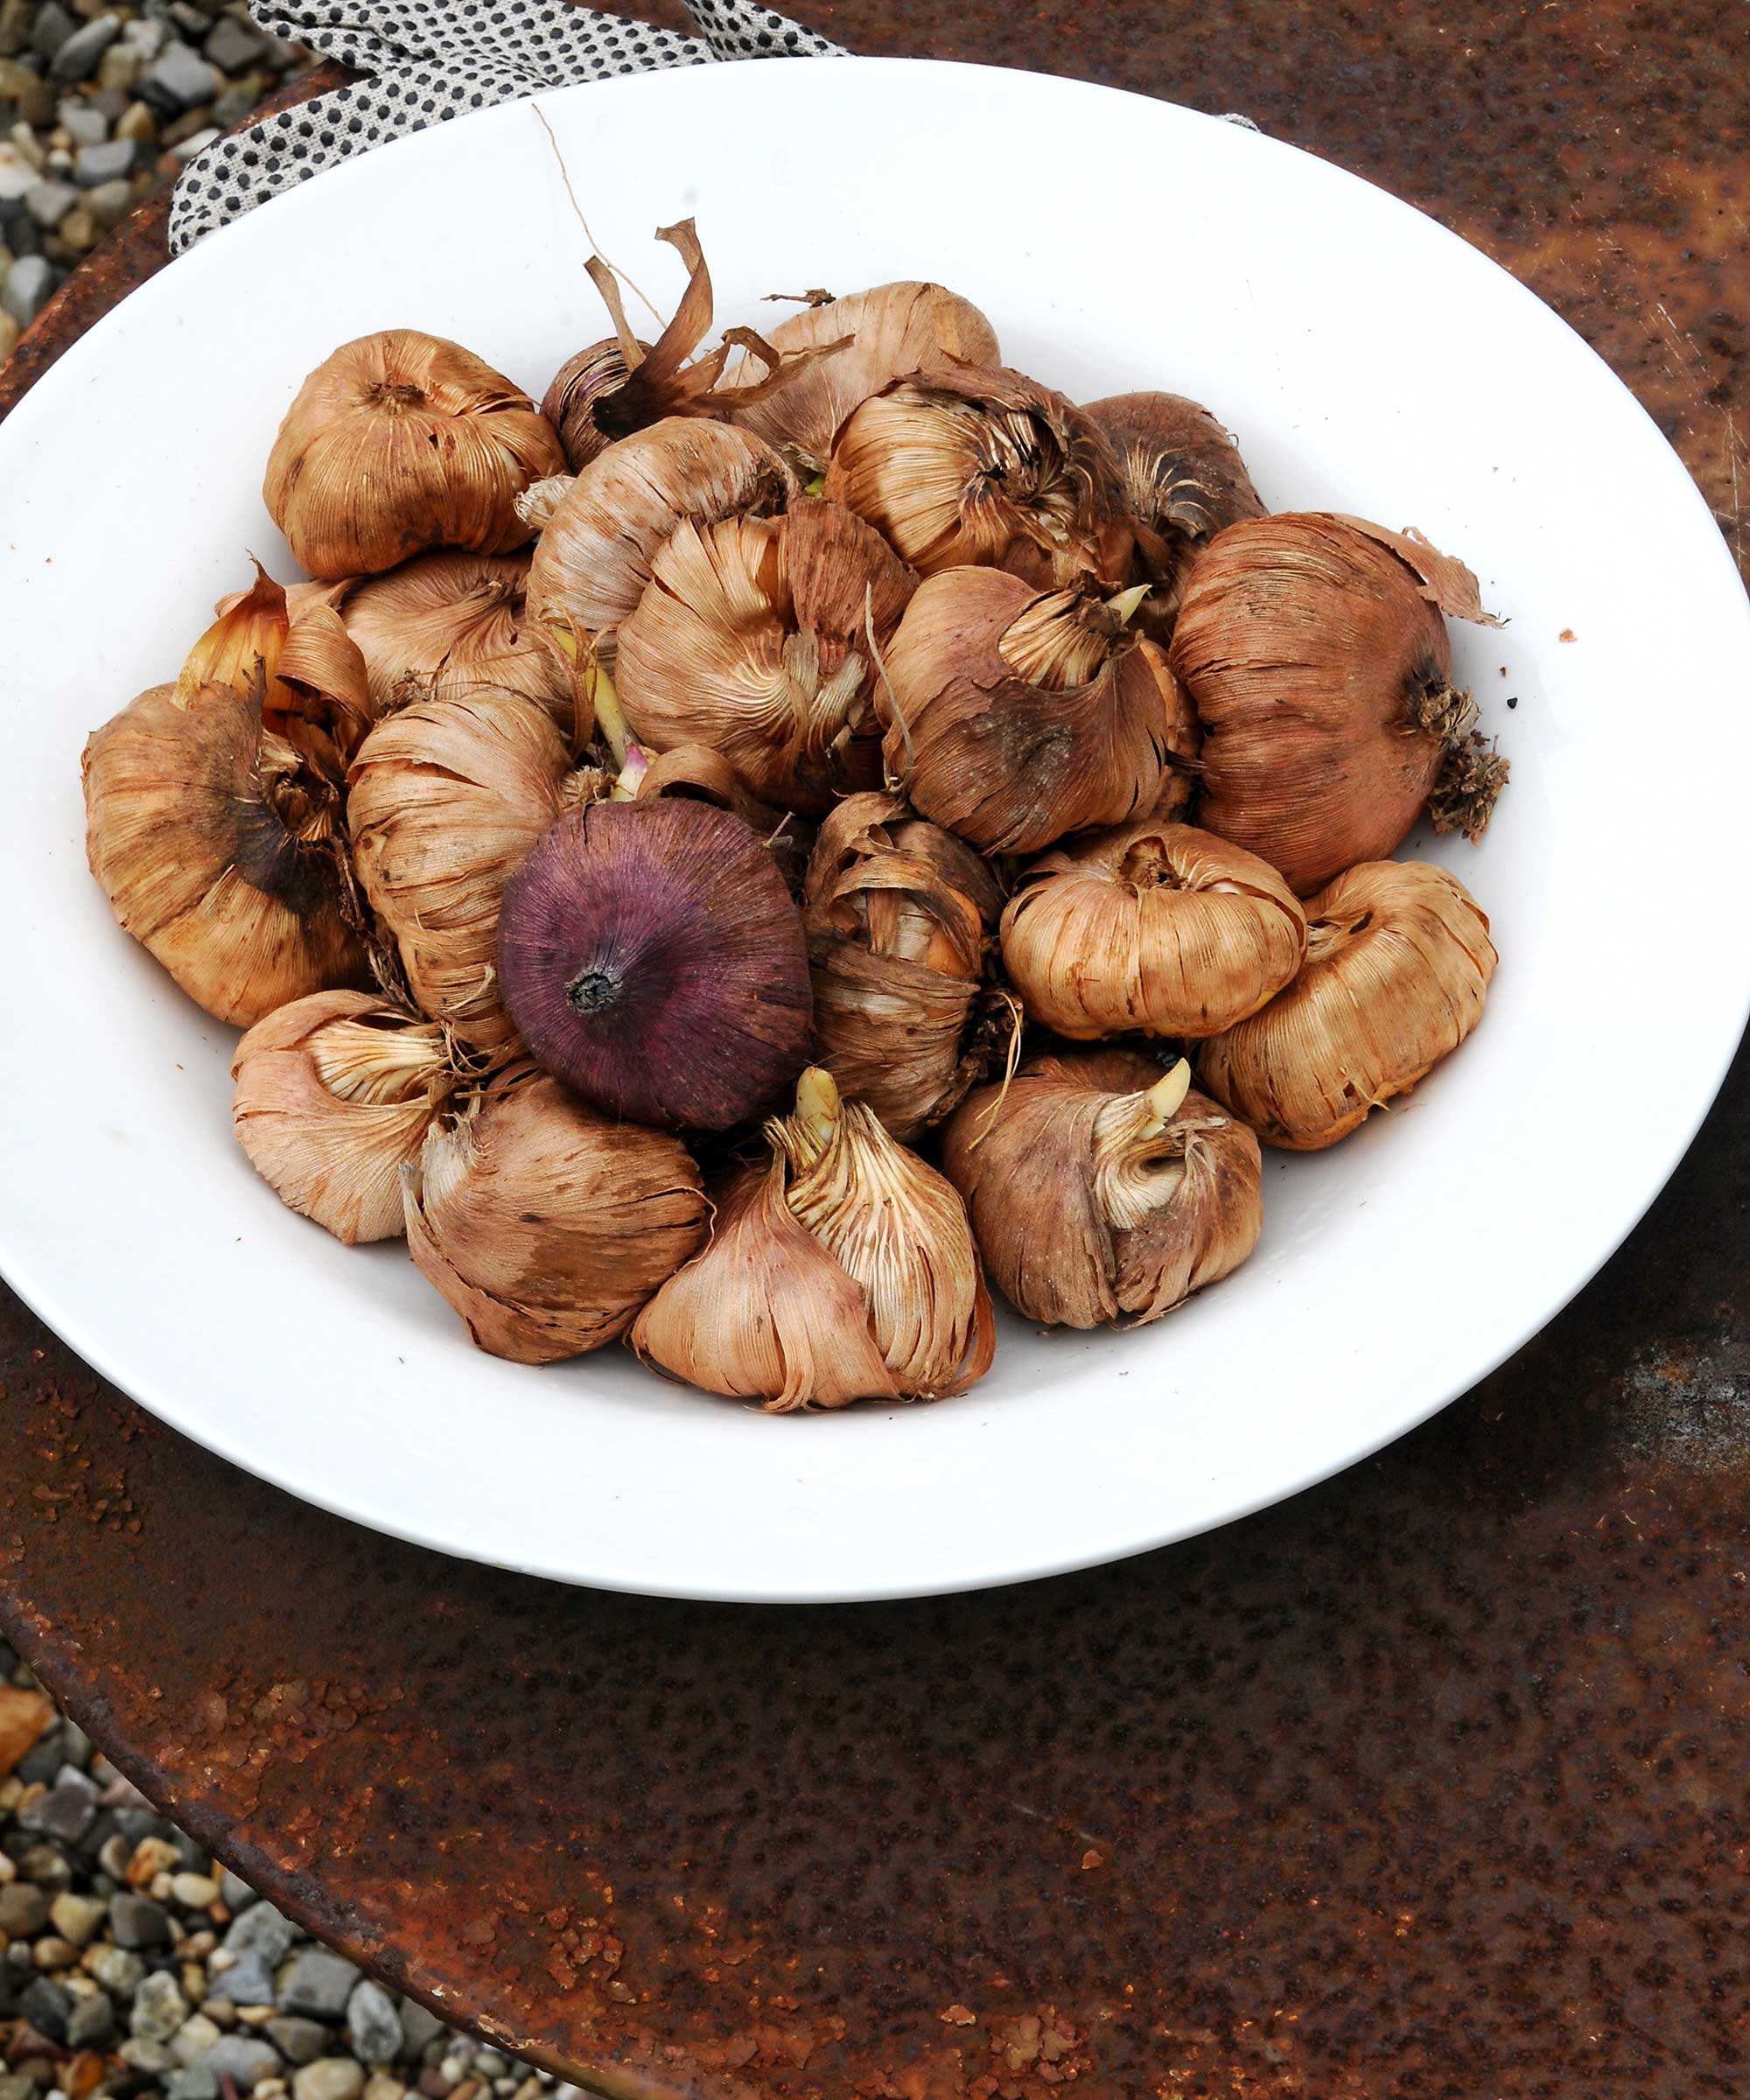
Gladioli bulbs can be dug up and stored over winter to protect them from frost
Can you divide gladioli bulbs?
Dividing perennials will give you new plants for free and prevents them from becoming congested. In terms of gladioli, you can divide them up once you have lifted them in autumn, before you put them into storage.
John Negus, a gardening expert from Amateur Gardening magazine, advises immersing them in fungicide for around 20 minutes after you've lifted them. This will make it easier to remove any old, shriveled corms from the clump (and will also 'cure' them, which helps them to store better).
Cormlets (miniature corms that grow on the sides of the main corm) can also be removed at this time. These can be stored and then potted up in spring, but bear in mind that they'll need to be grown for a couple of years until they are large enough to flower.
If you are leaving the bulbs in the soil all year round rather than storing them for winter, it's still a good idea to lift them every couple of years simply to divide the clumps. Do this in autumn, says the RHS, and replant the larger corms at a wider spacing.
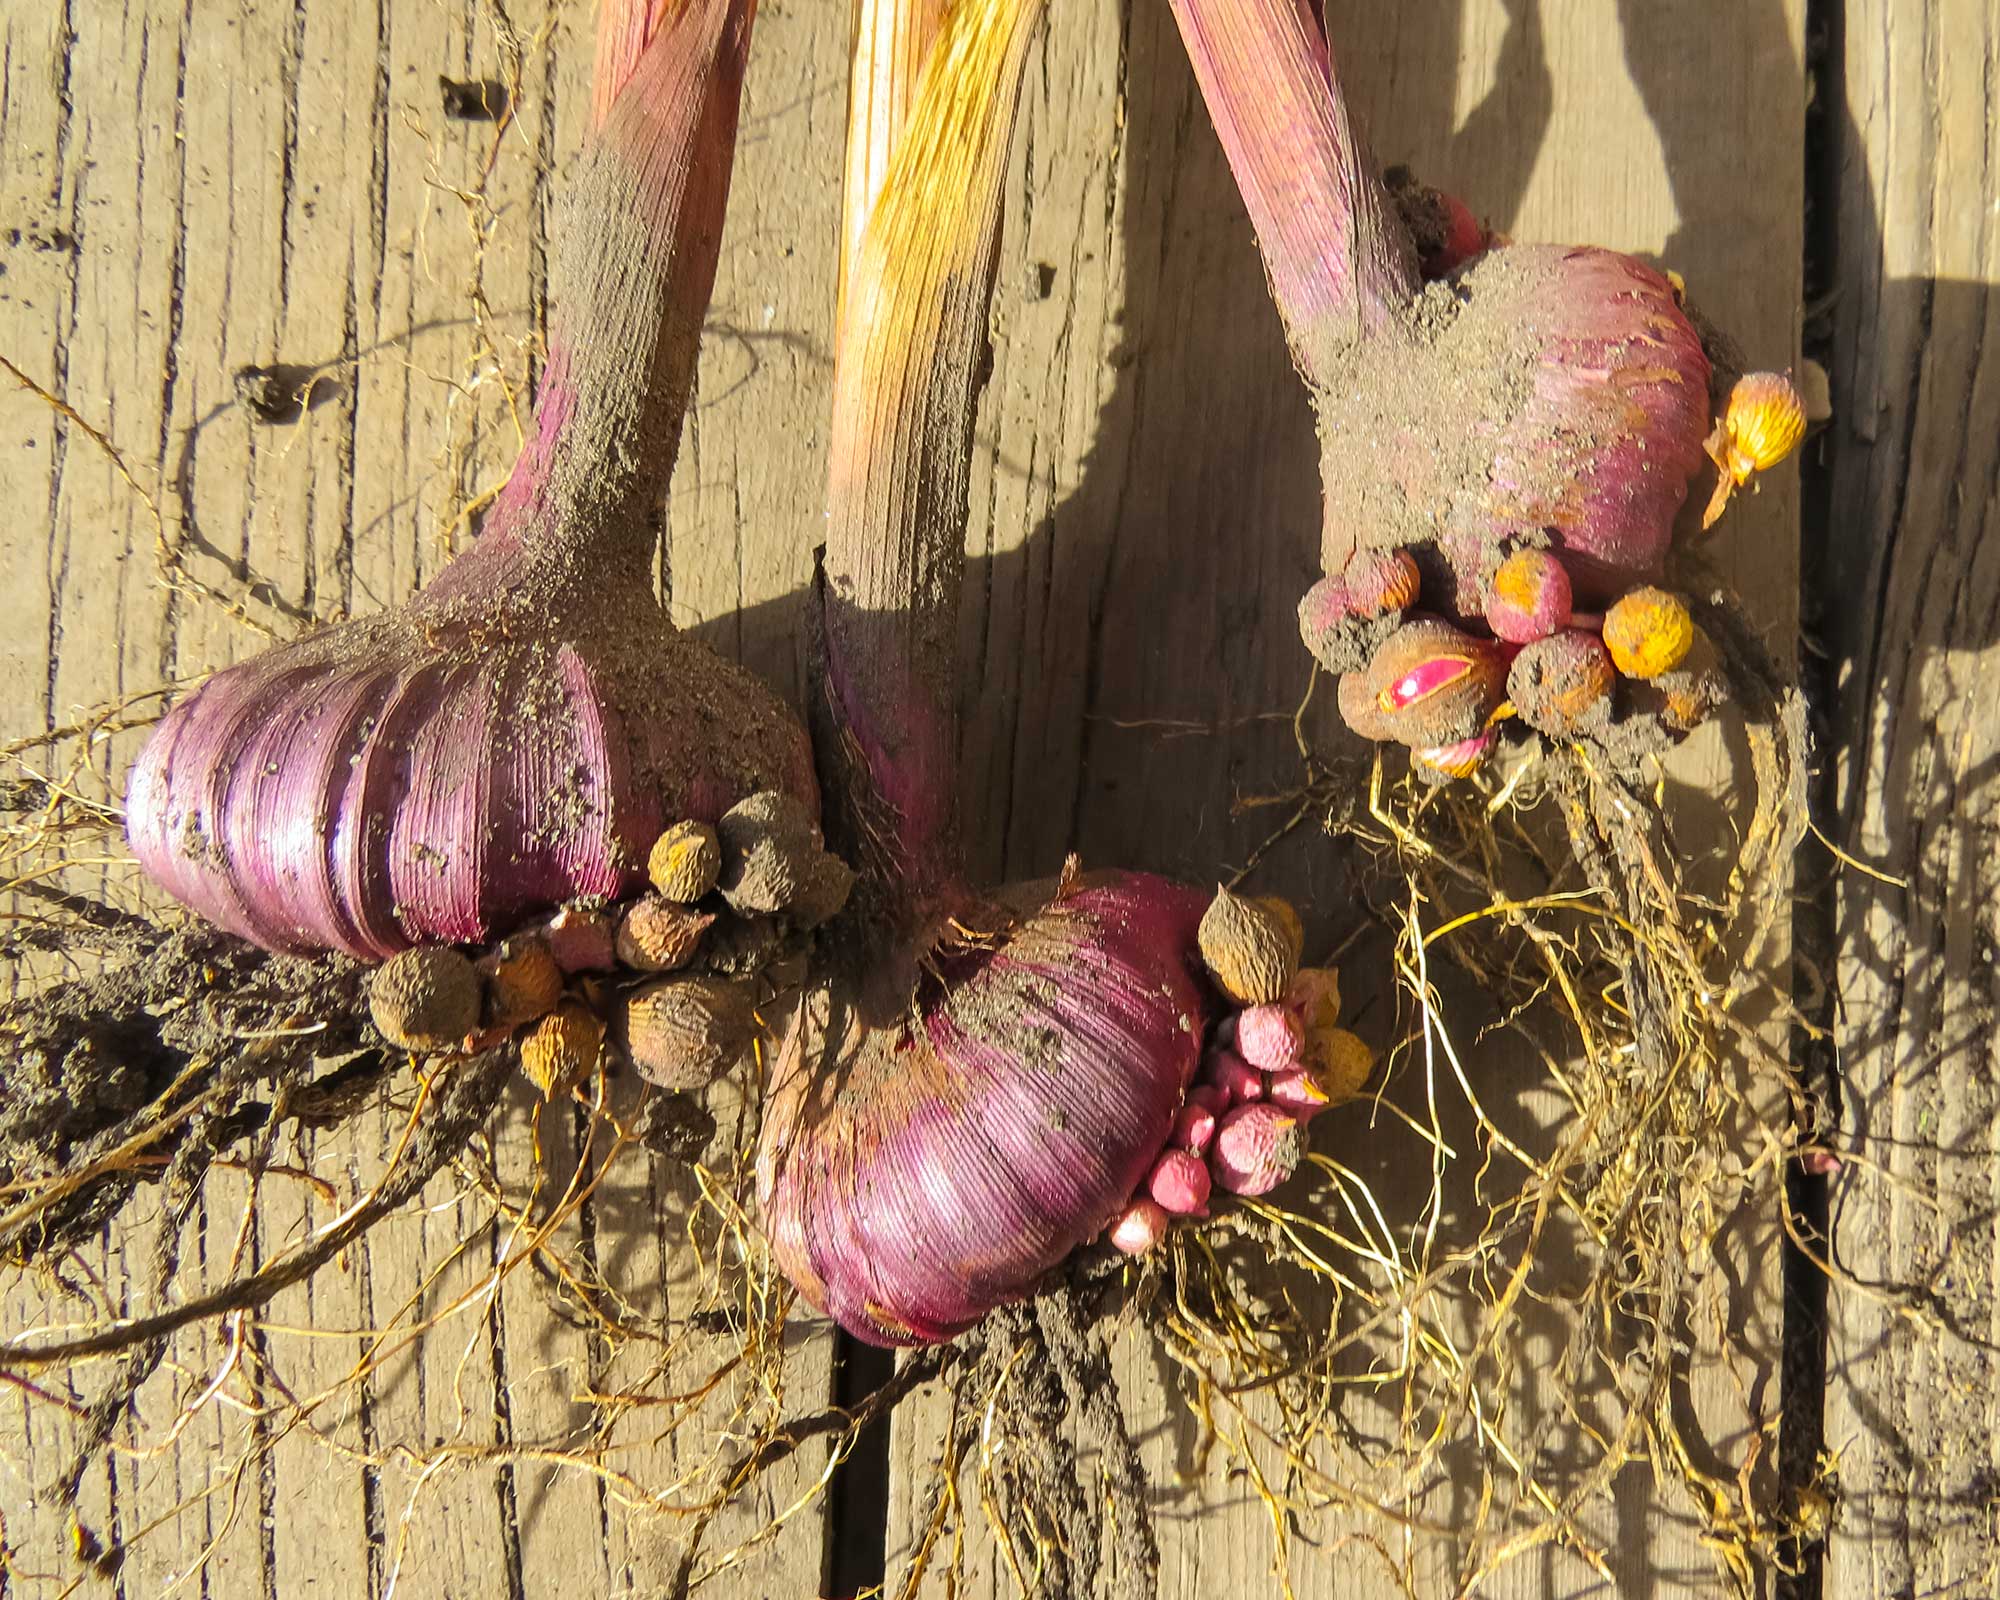
Remove cormlets to store over winter, then pot them up in spring to make new plants
How long do gladioli bloom for?
Gladioli will only flower once per season, for around one to three weeks depending on the variety. For this reason, it's best to plant a handful of bulbs every couple of weeks in late spring to early summer for a longer-lasting display.
Deadheading the flowers once they have bloomed is purely for aesthetic reasons – it won't encourage a second flush.
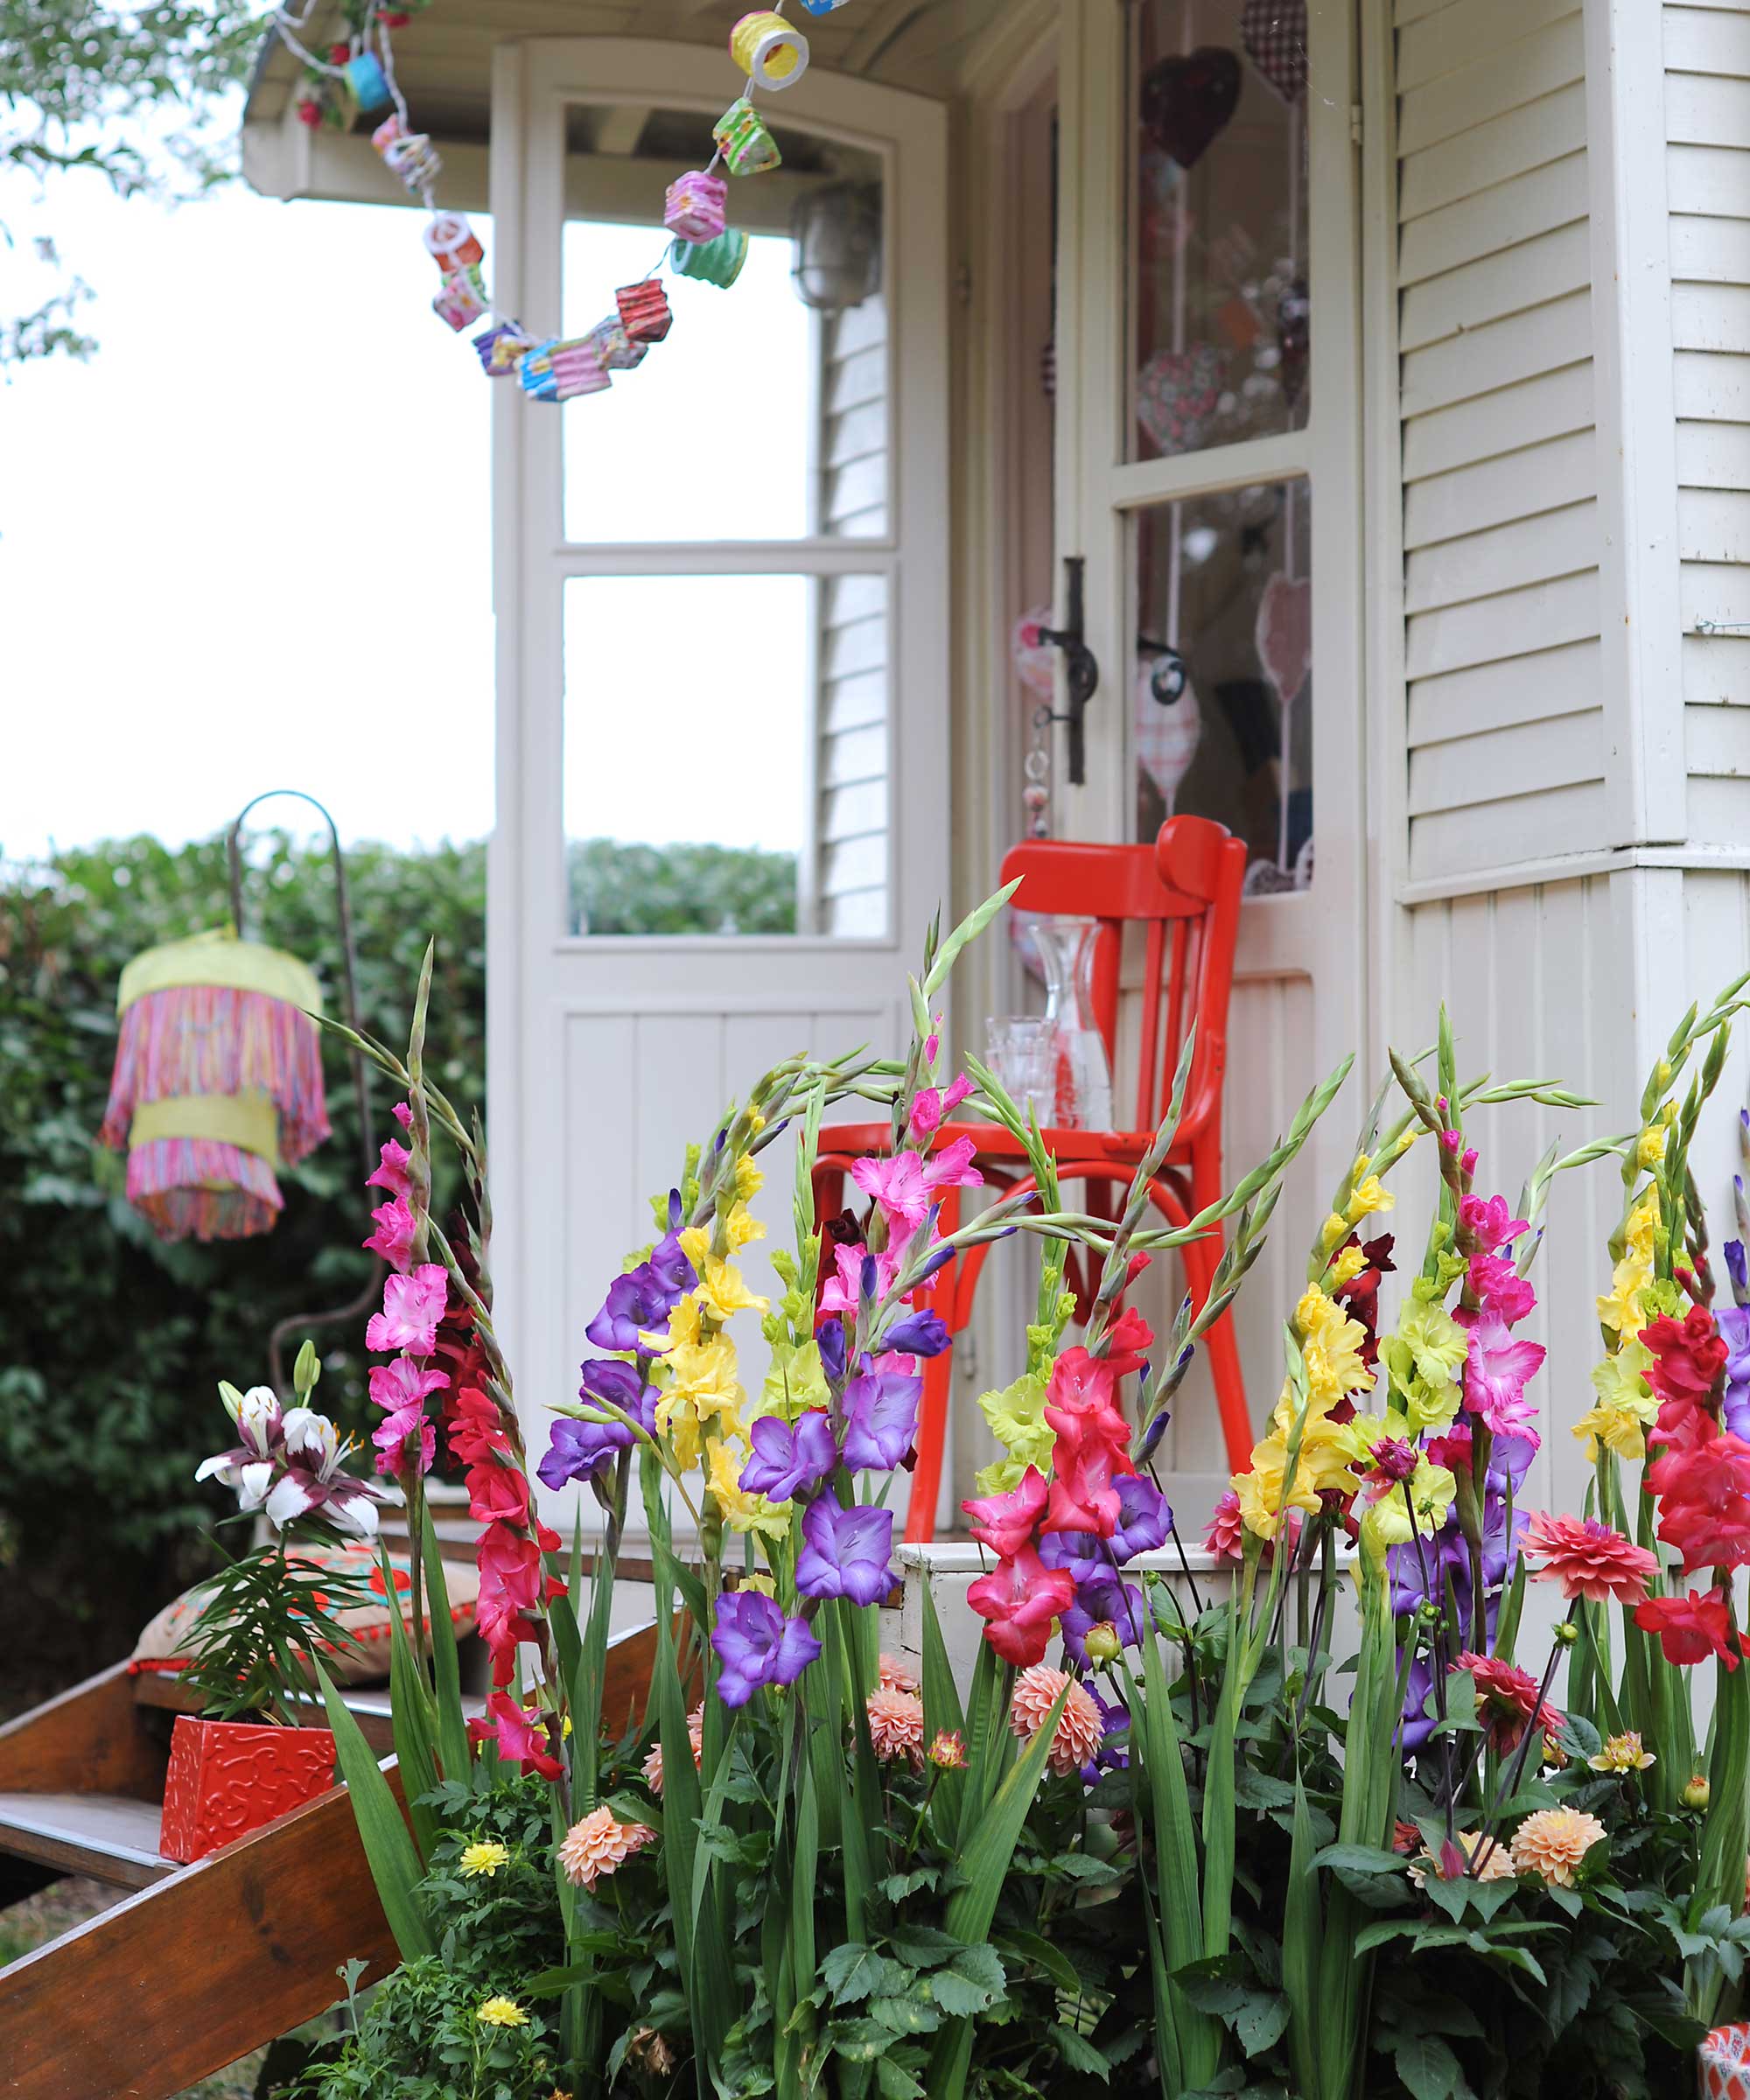
A bed of vibrant gladioli will brighten up the entrance to a summer house or shed
Are gladioli toxic to dogs?
Like most bulbs, gladioli are a poisonous plant to dogs, as well as cats. All parts of the plant are poisonous, but the bulbs themselves are particularly toxic.
For this reason, if you've got a four-legged friend who loves to dig, it might be worth avoiding these blooms in your garden. If you suspect your pet is suffering from gladioli poisoning, seek advice from a vet immediately.
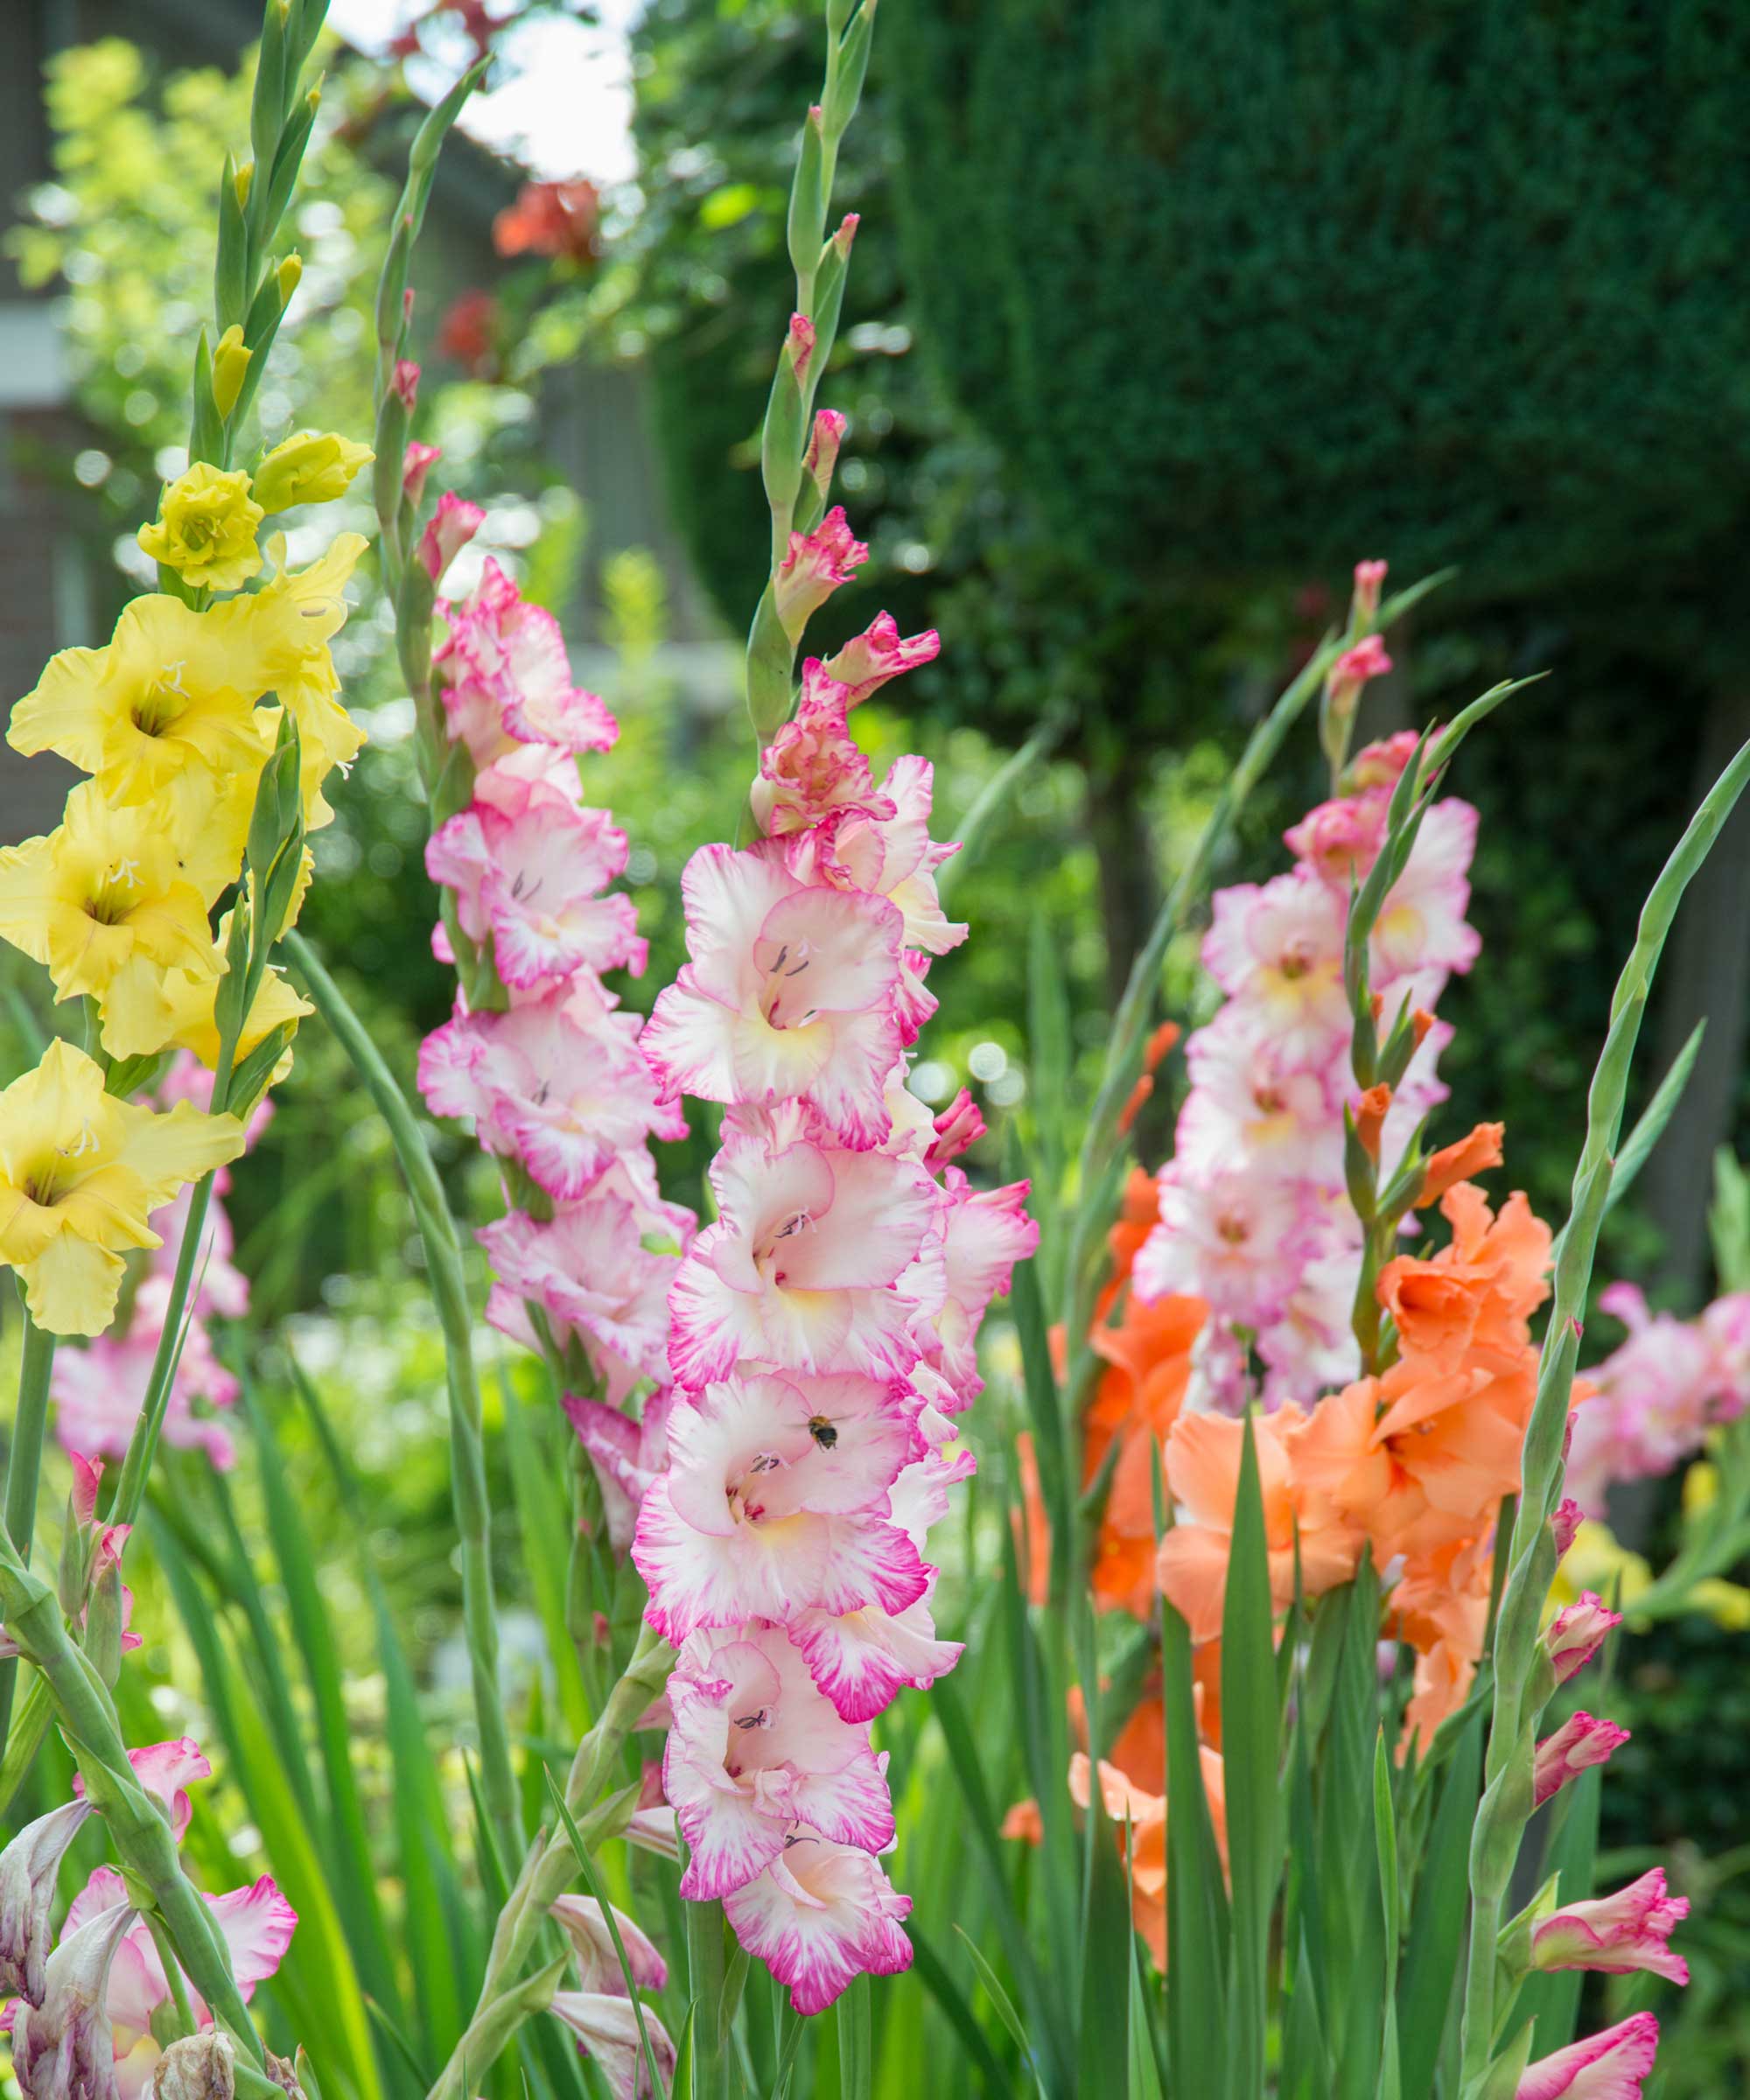
Although beautiful, gladioli are poisonous
Should you feed gladioli?
The RHS advises fertilizing gladioli with a general-purpose feed when you plant the bulbs. After this, those planted on nutrient-poor soil can benefit from a high-potassium liquid feed once flower spikes appear. Reapply every two weeks or so.
Once they have finished flowering, John Negus suggests continuing to fertilize the plants, providing the leaves are still bright green. This, he explains, indicates that the corms are ripening and becoming dormant.
Apply the high-potash fertilizer twice a week, ensuring the soil is moist at the time. 'Stop feeding only when leaves are no longer green and unable to benefit from applied nutrients,' he says. At this point, you can lift them for storage, should you plan to do so.
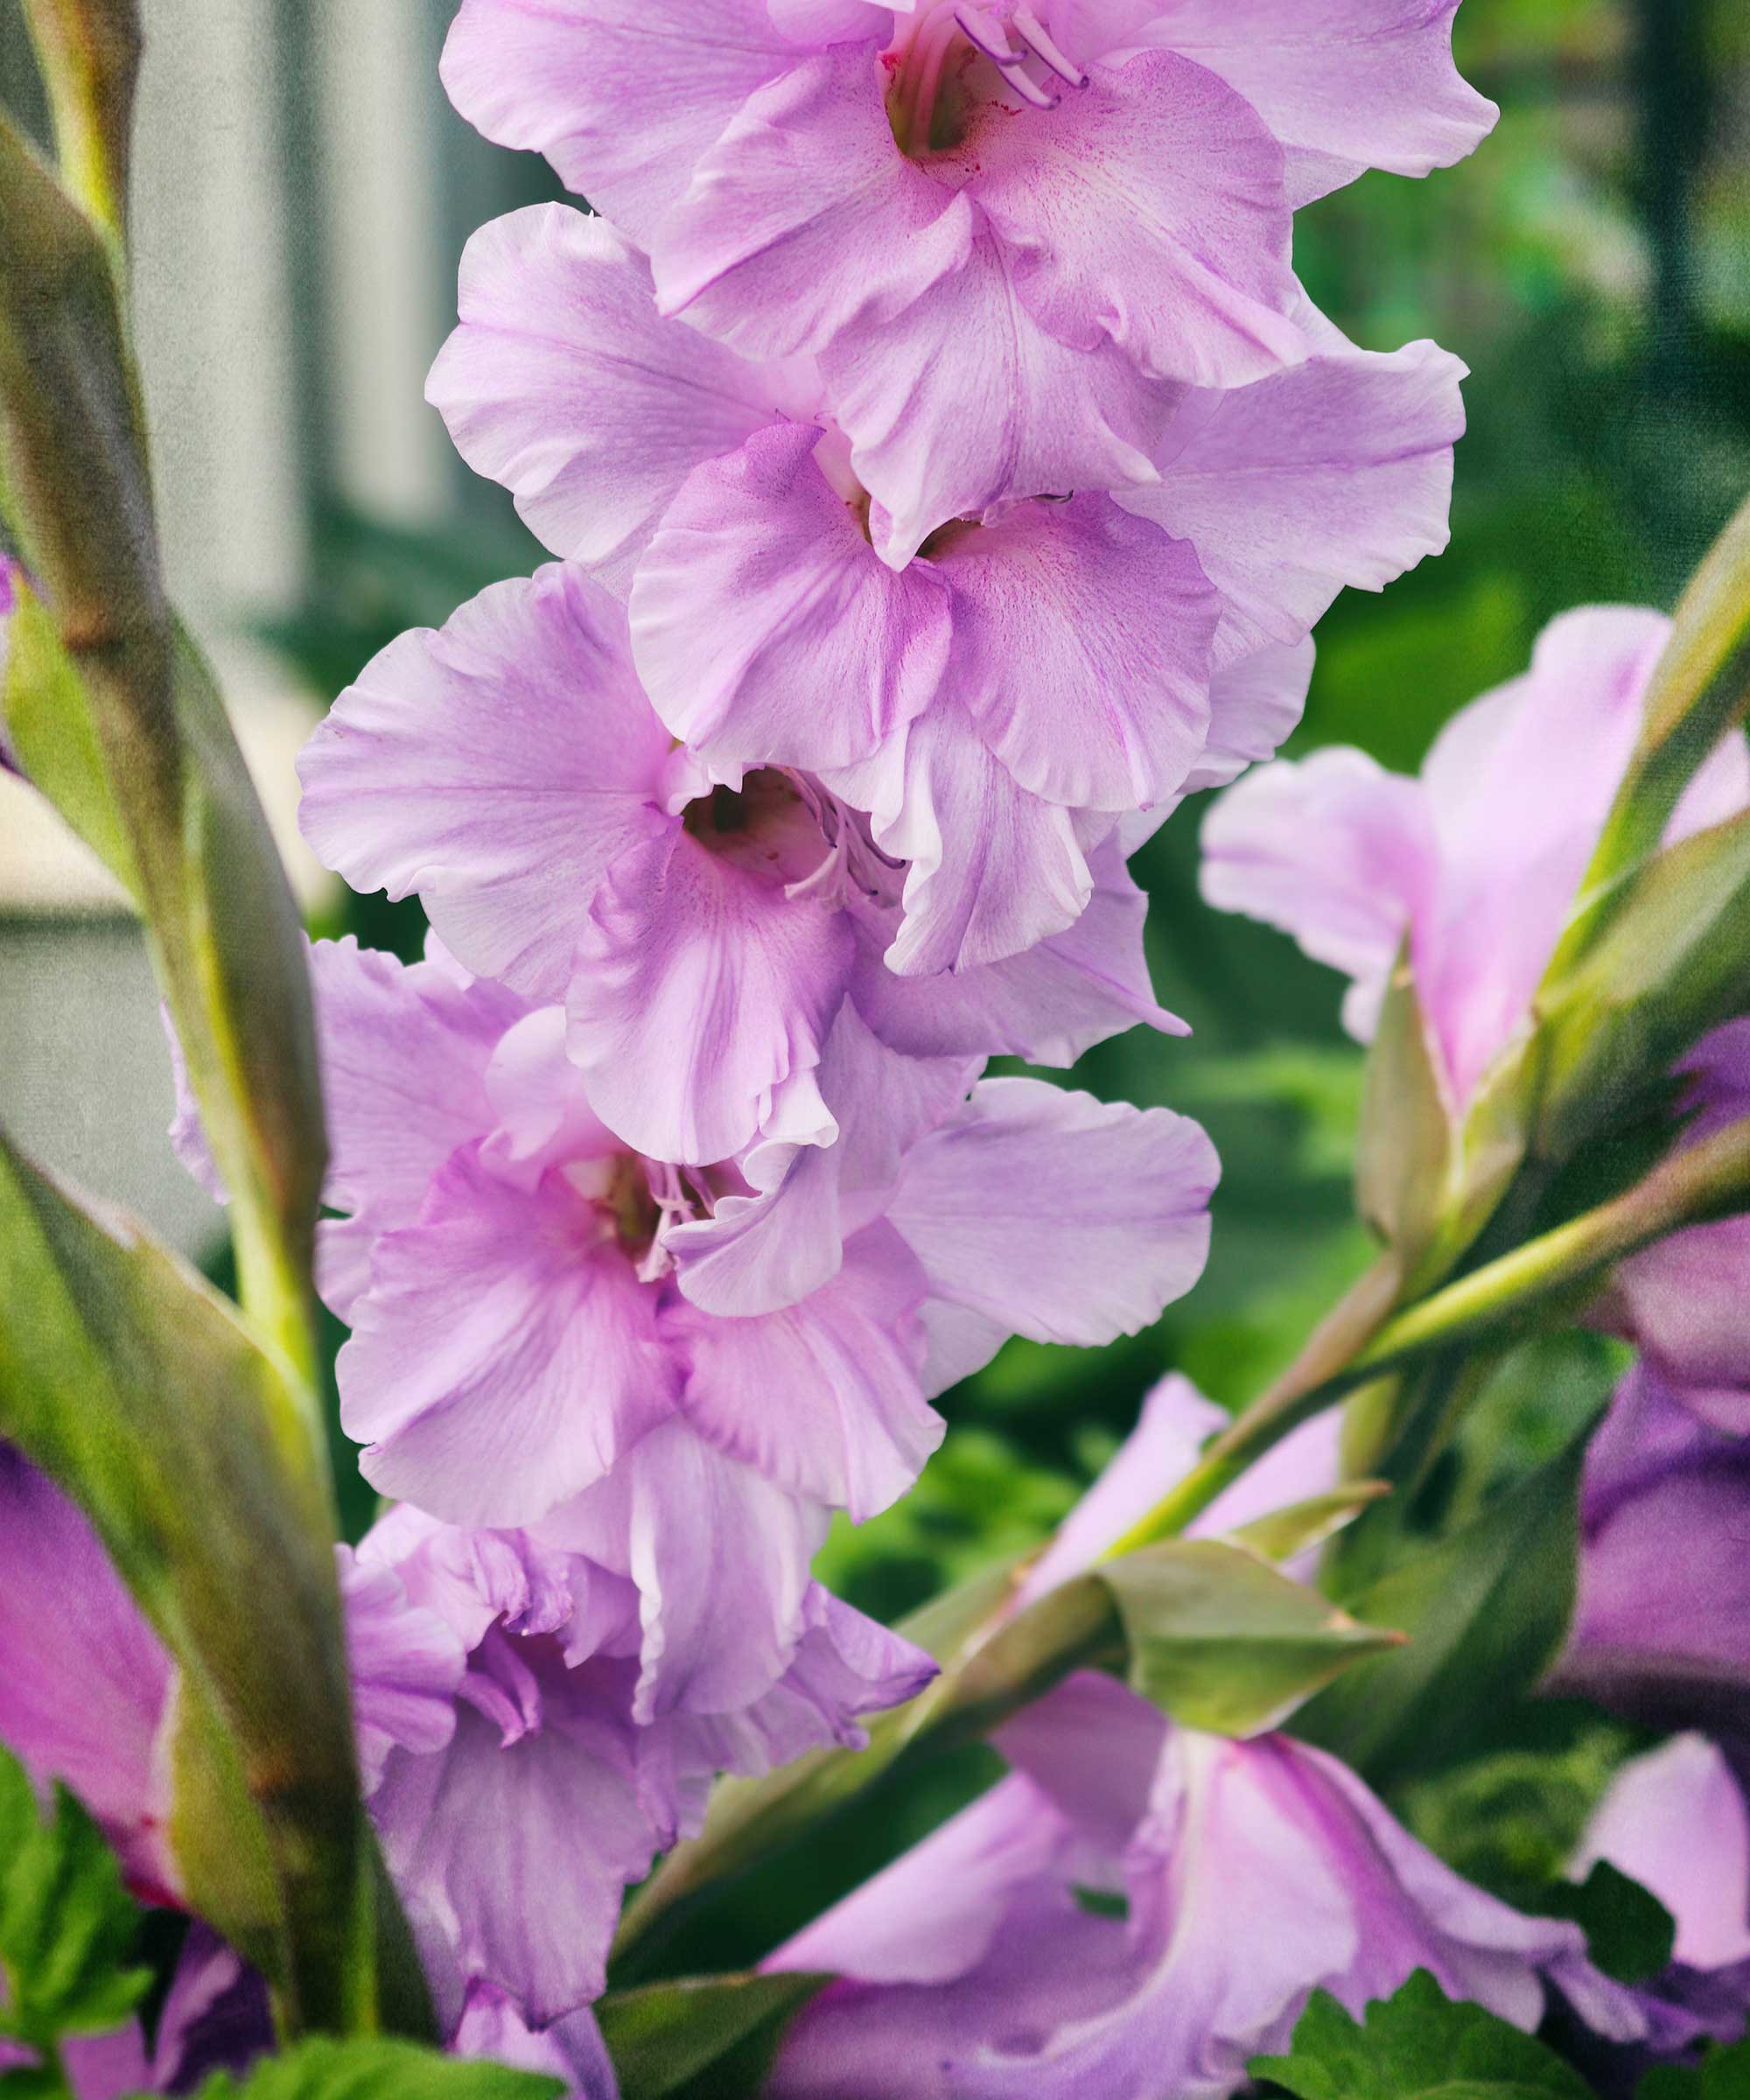
Feeding your gladioli will help them thrive
What should you do if thrips have invaded your gladioli?
Thrips are a common garden pest and can invade gladioli plants. A telltale sign is white flecks on the leaves and flowers, while in more severe cases, the blooms can turn brown, and some buds won't open at all. 'Rough, gray-brown patches form on the surface of infested corms,' adds the RHS.
The Amateur Gardening experts share their advice on how to beat these bugs: 'As these creatures overwinter on dormant corms, tackle them by dusting the corms with Vitax Py Insect Killer [available on Amazon] before you consign them to their frost-free winter quarters,' they suggest.
'In late spring, when new leaves have developed, spray plants with Py Spray Garden Insect Killer [also available on Amazon]. Repeat every three weeks to keep plants free from attack.'
Where to buy gladioli bulbs
Now you've learned how and when to plant gladioli bulbs, you're probably eager to get hold of some for your own plot. Although you can buy them at garden centers in early spring, there are lots of places to buy them online.
Our quicklinks below will help you get started.
Where to buy gladioli bulbs in the US:
Where to buy gladioli bulbs in the UK:

The garden was always a big part of Holly's life growing up, as was the surrounding New Forest where she lived. Her appreciation for the great outdoors has only grown since then. She's been an allotment keeper, a professional gardener, and a botanical illustrator – plants are her passion.
