February gardening jobs: 10 must-do tasks for the month
As spring approaches, the most important February gardening jobs will ensure your plot is in great shape and ready for the warmer weather

February gardening jobs are some of the most important tasks of the year, as the garden comes back to life after its winter sleep and we look forward to the year ahead.
Early bulbs are starting to shoot and trees and bushes will soon be covered in the faint fuzz of green that heralds the onset of spring.
Many of the late winter and early spring jobs in our monthly gardening calendar involve cutting back and pruning, and it is important to get it right to ensure healthy plants that will flower to their full potential later in the year.
Below I have listed some of the most important jobs for the month ahead, and whatever you do, don’t forget to watch the weather and be ready to protect your garden in the face of bad conditions. The worst of the weather often hits us in the earliest three months of the year, so forewarned is forearmed.
Add these February gardening jobs to your list
Make sure your garden remains protected from the winter weather and start preparing for spring with our checklist of February gardening jobs.
1. Plant up a colorful container
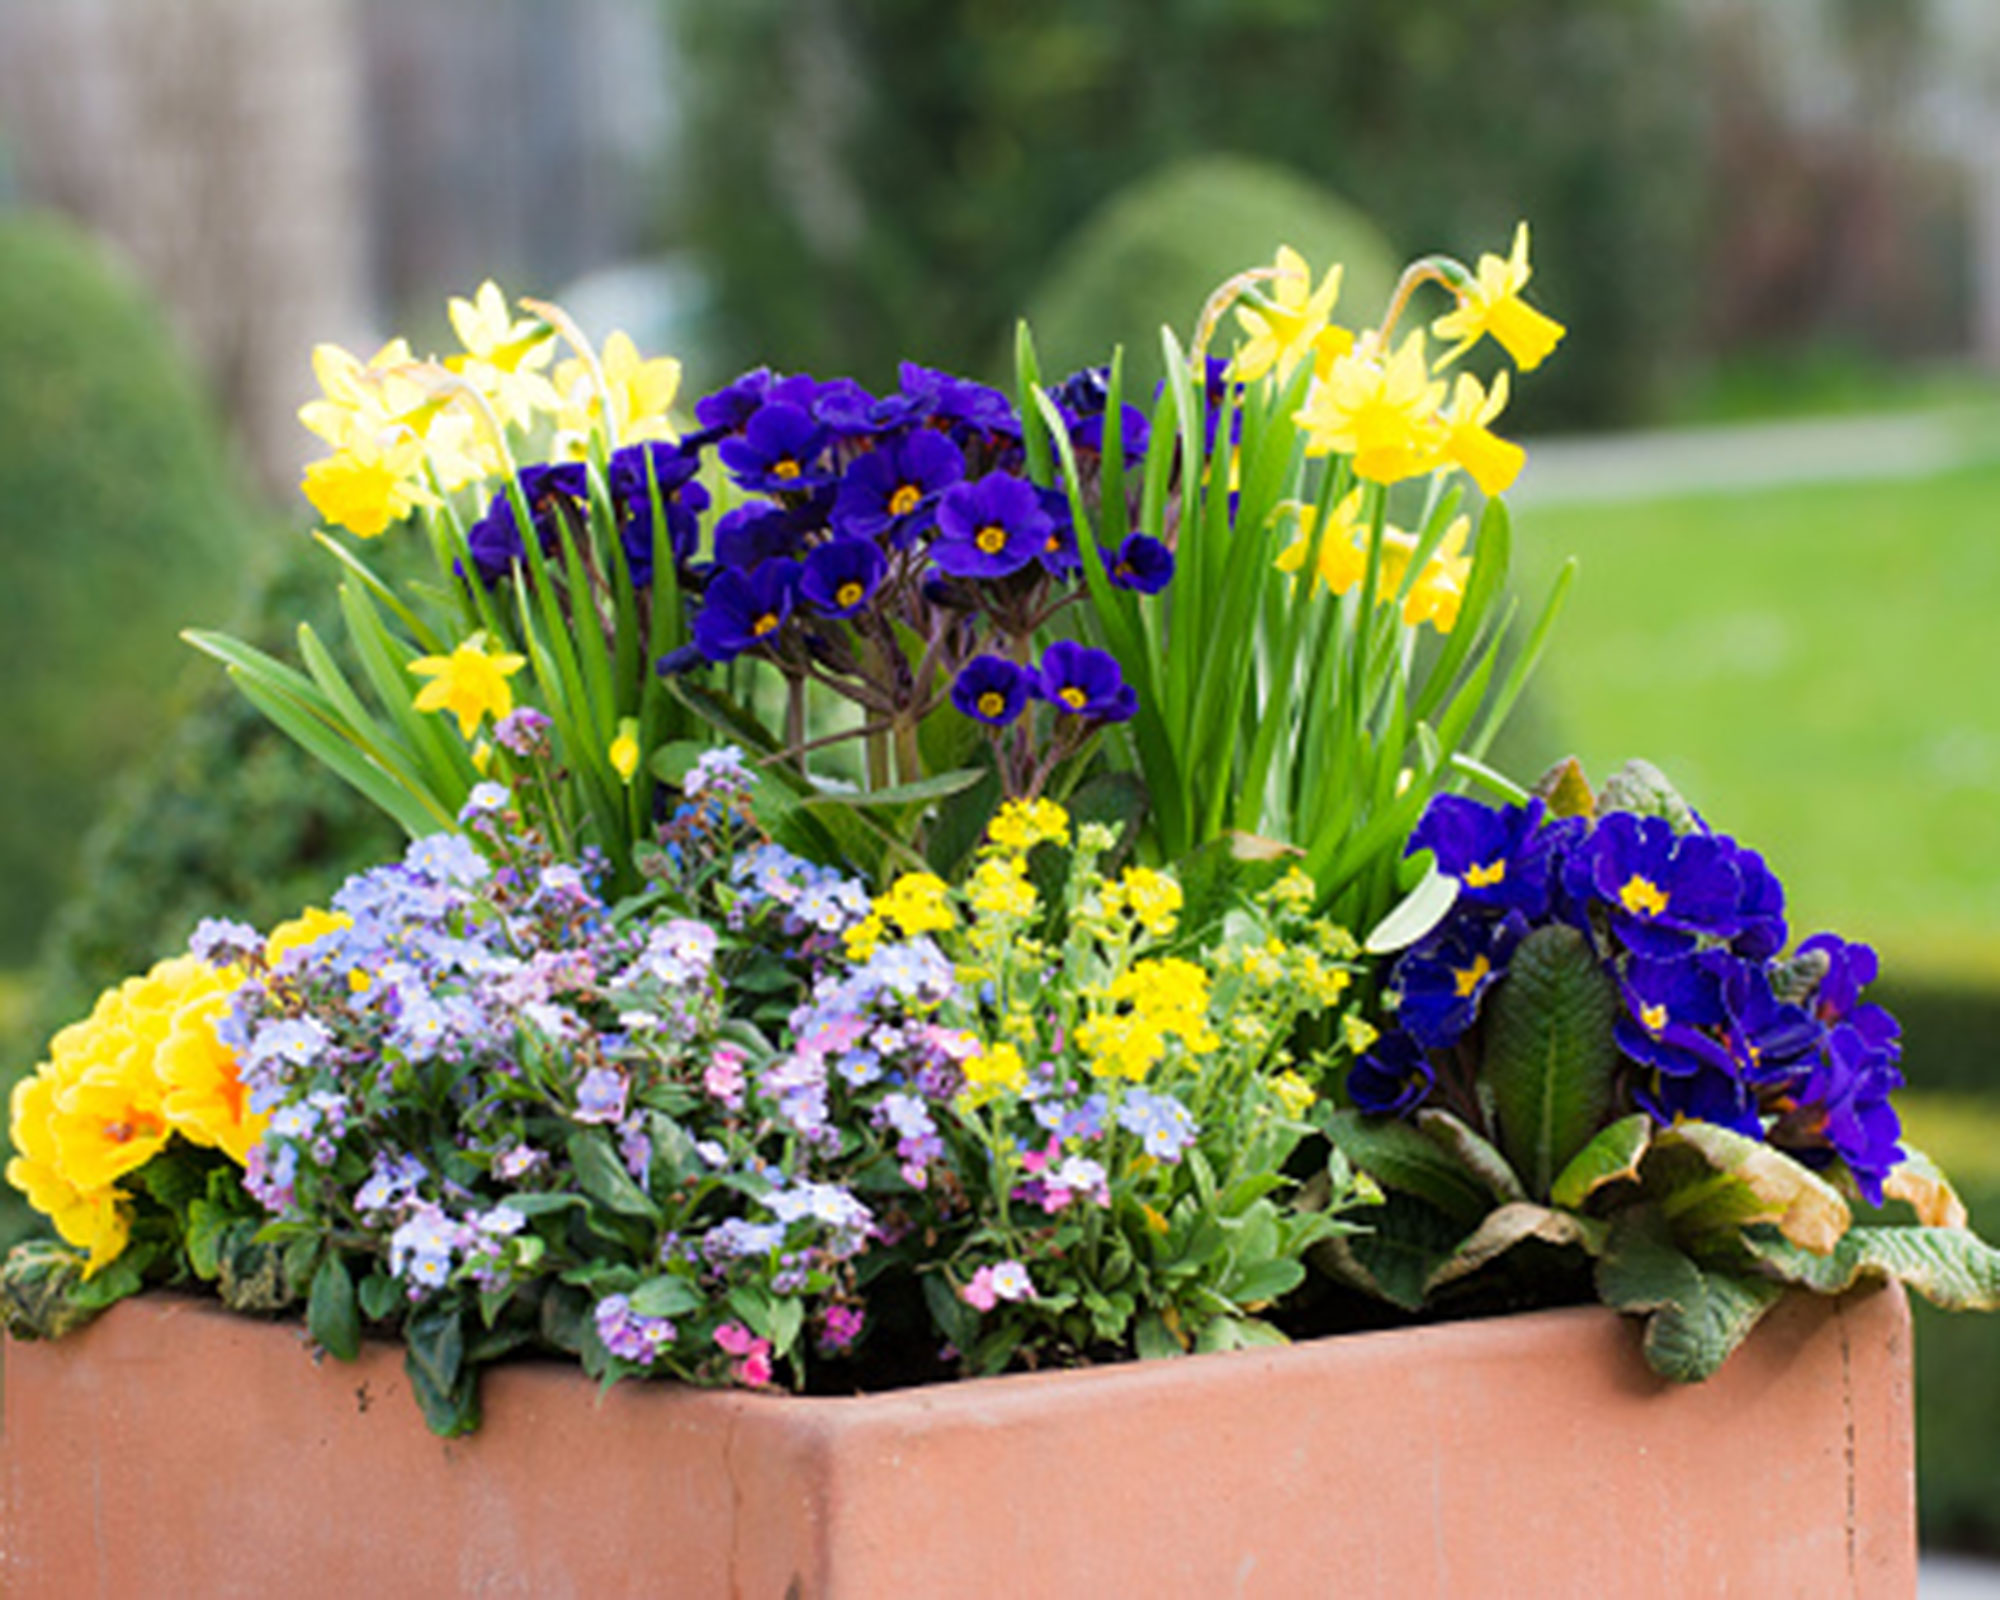
You may think that summer has the best and brightest blooms, but winter/spring bedding and a wide array of plants chosen for their intriguing and varied foliage mean that there are plenty of options for your container gardening ideas that will keep the color coming until you want to replace them with summer bedding.
For my late winter pot (pictured below) I selected a multipack of pansies, a couple of primulas and gem-bright cyclamen, all offset by trailing variegated Vinca minor, a funky-looking trailing Muehlenbeckia on wiry stems and grey-green sage and thyme for scent. My central plant is a frost-hardy winter cherry or Solanum capsicastrum, which has sweet white flowers followed by little round orange fruits.
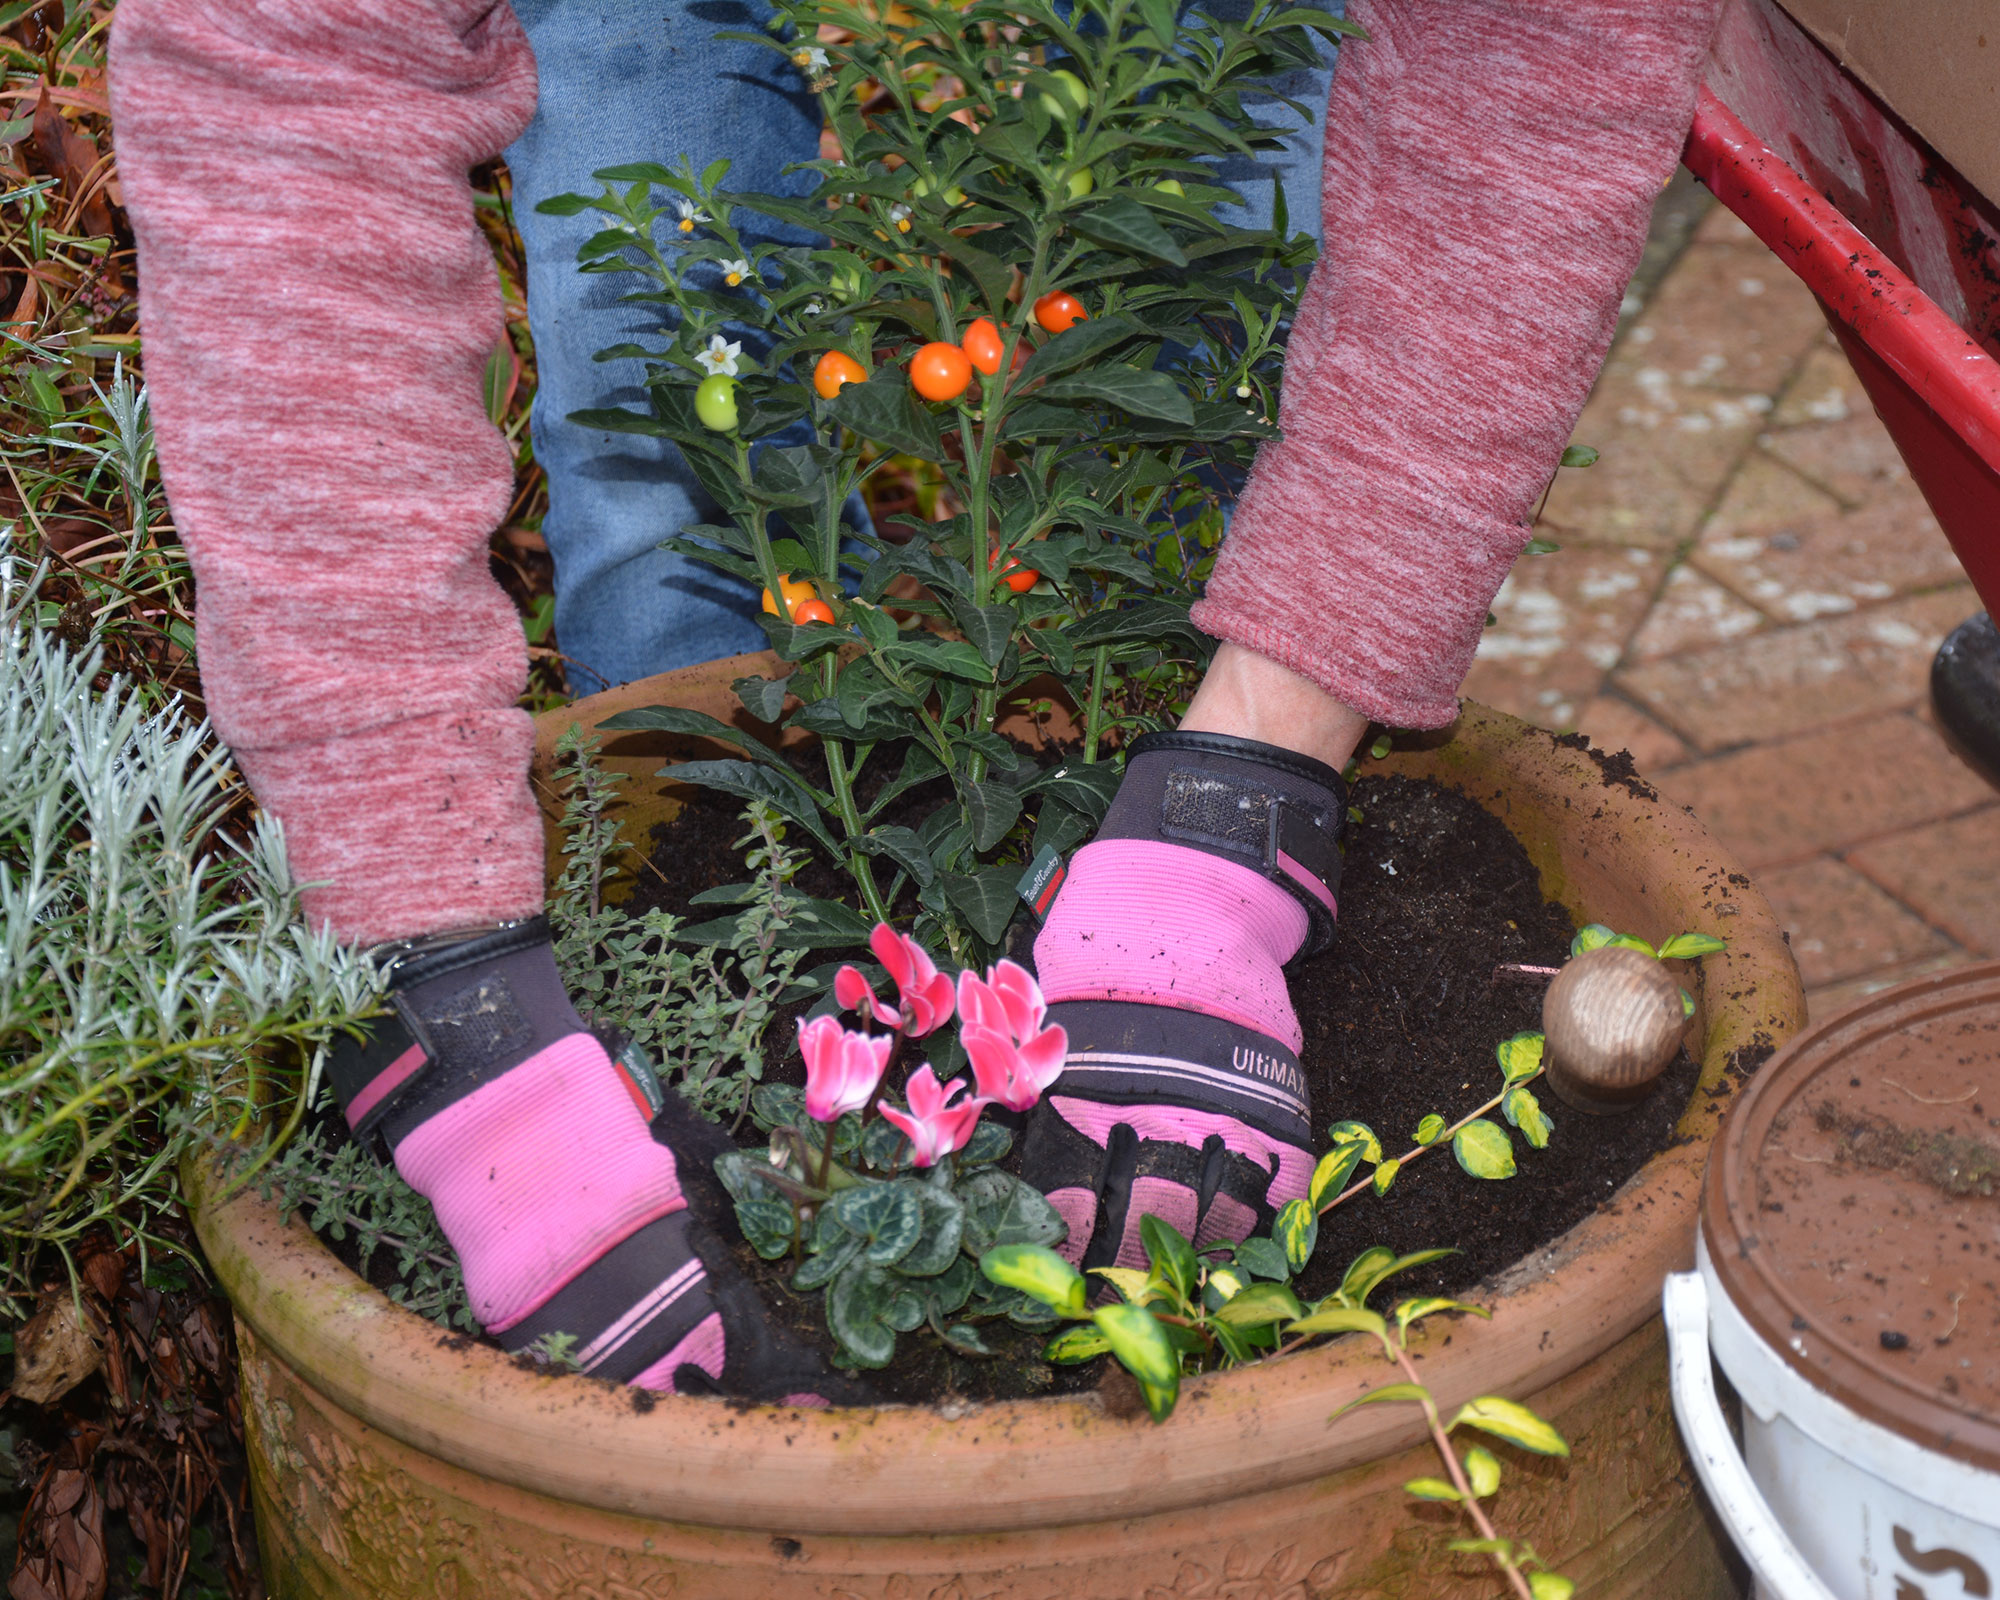
The plants are hardy perennials so they can be planted out should I need the pot for summer bedding. The two herbs will fit seamlessly into our small rock garden, which is close enough to the kitchen door for easy access while cooking.
I used multipurpose compost for the planting, augmented with bone meal. If you want to create something similar, here's how I planted my late-winter container.
- Place crocks in the base and add compost to within 2in (5cm) of the top to leave room for watering.
- Mix in some bone meal or blood fish and bone as dense planting will quickly use up the compost’s goodness.
- Add the central plant, teasing out the roots and making sure it is planted at the same depth as its rootball.
- Add the peripheral plants around the sides. Any gaps between them will fill as they grow.
- Raise the pot up on feet and water well to settle the compost around the plants.
Top tip: The key to a successful winter container is to deadhead regularly and, if practical, move the pot somewhere sheltered if heavy snow is forecast. Wrapping the container in fleece when frosty conditions are forecast will help to protect plants from frost and prevent the compost from freezing.
2. Cut back your butterfly bush
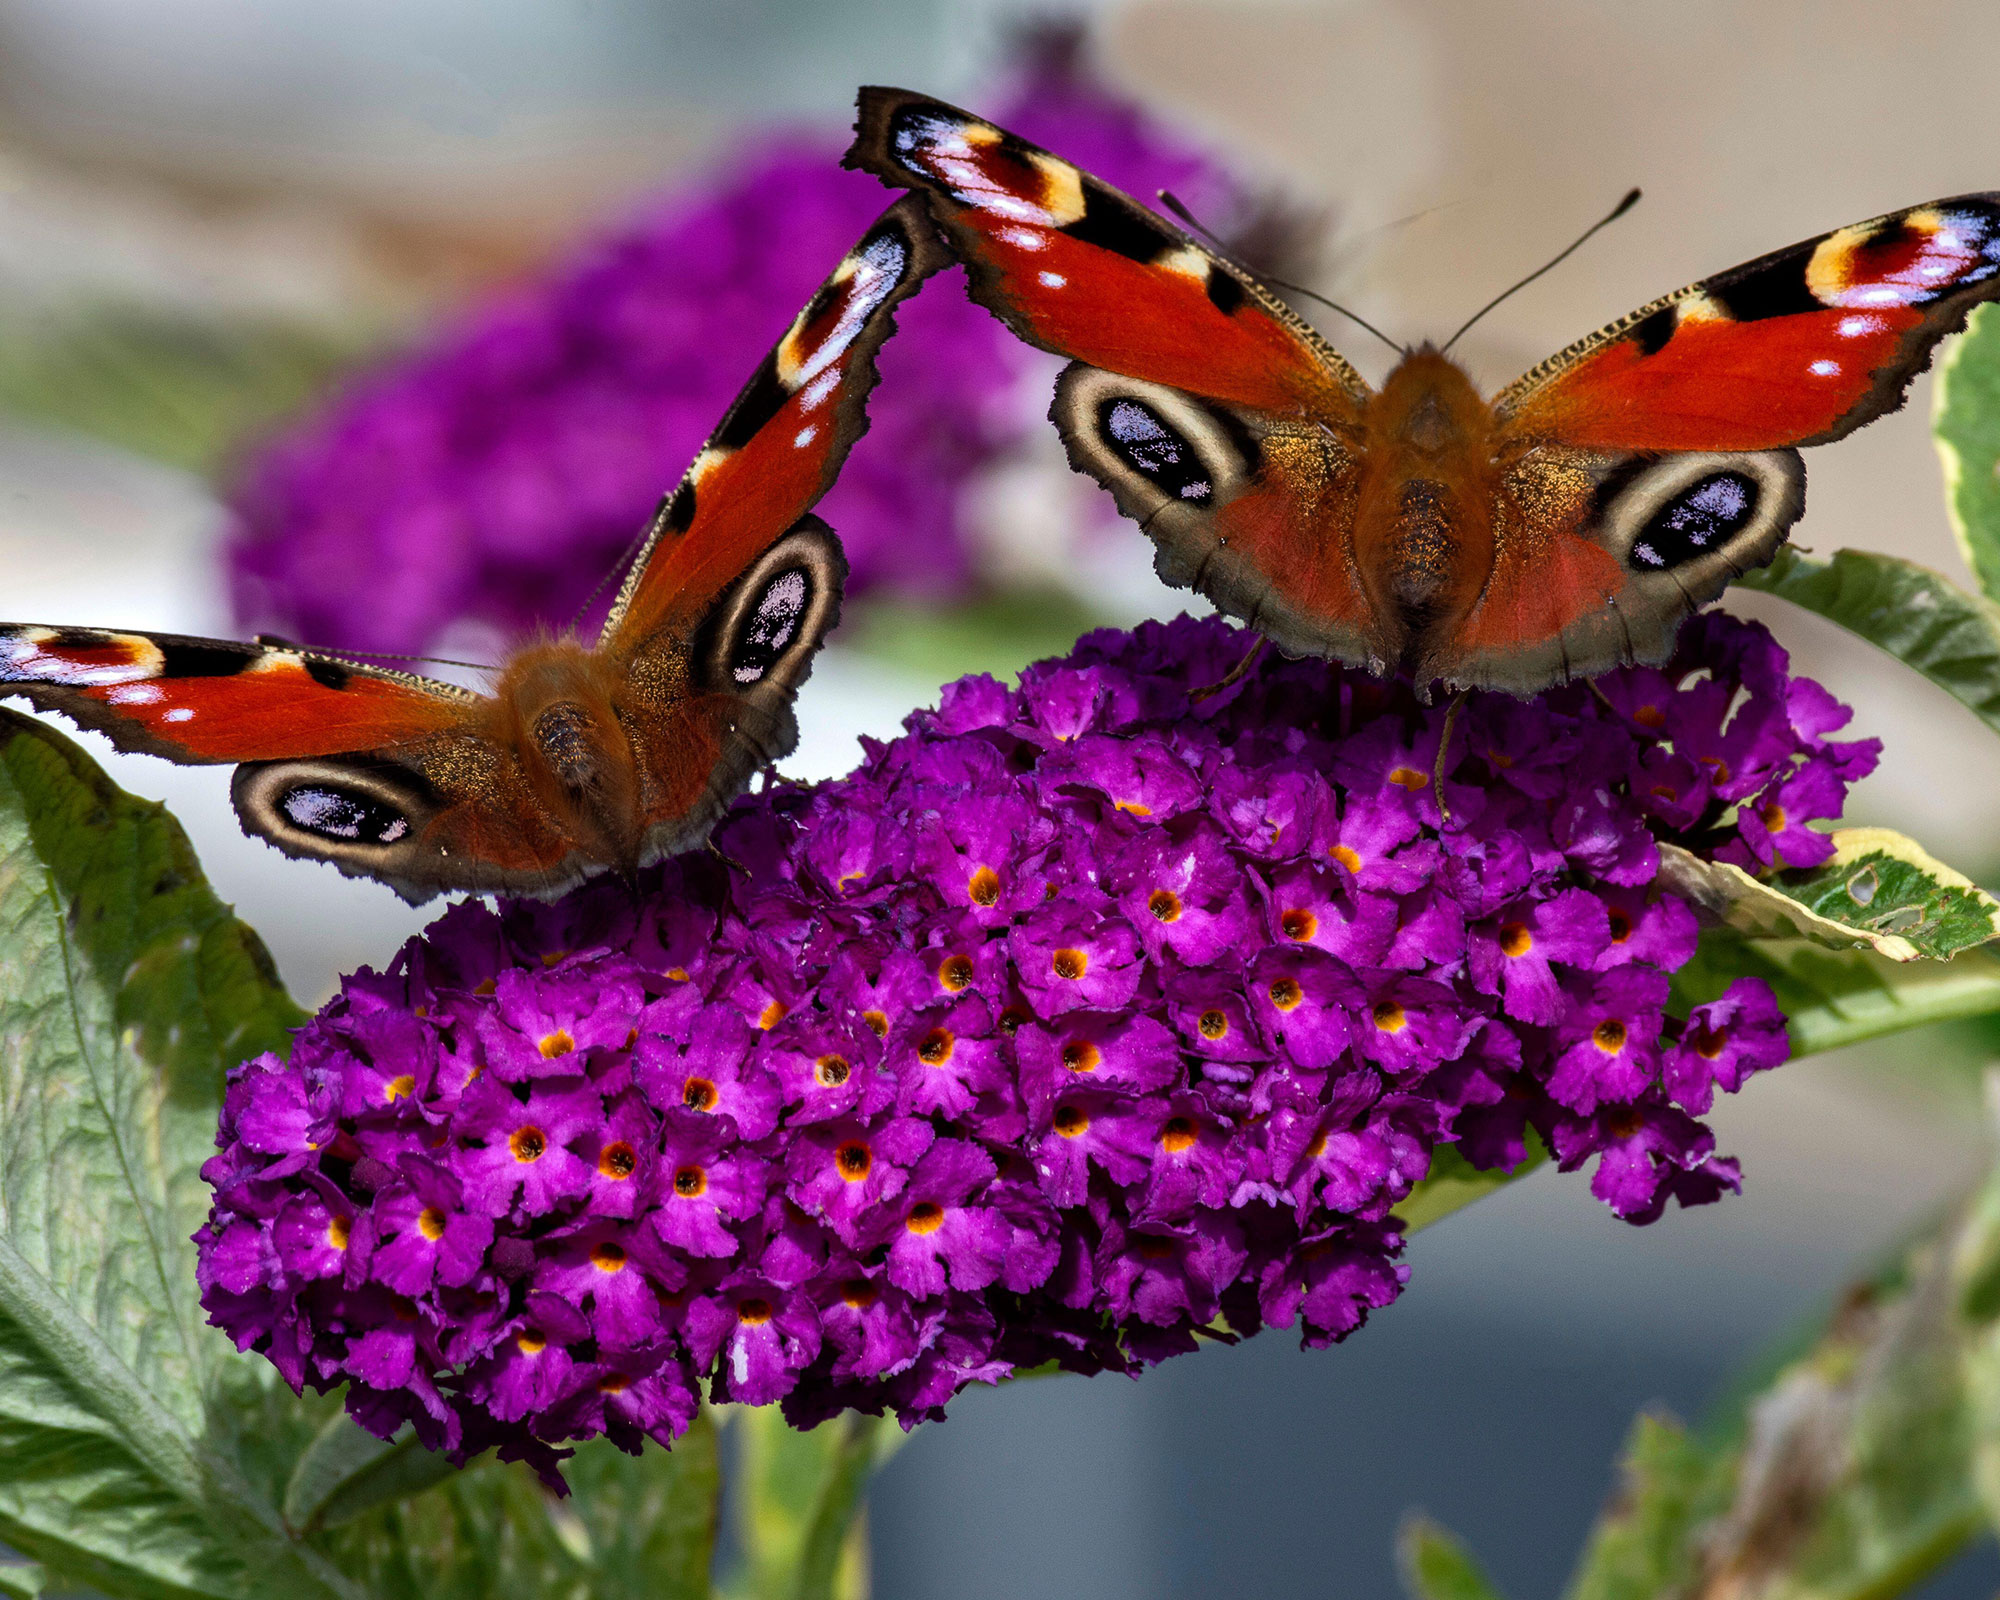
If left unpruned, Buddleja davidii – also known as ‘butterfly bush’ – soon become unruly, and take over their corner of the garden with extended stems and reduced flowering.
To keep plants healthy, shapely and flowering well, cut them back hard now as one of your winter garden jobs, before they really get into their spring growth.
This process is known as ‘stooling’ and involves pruning branches right back, but without cutting into the old wood which may not shoot as readily if it is cut into. The end result should be a 'plate' of short stumps of wood, from which new growth will emerge.
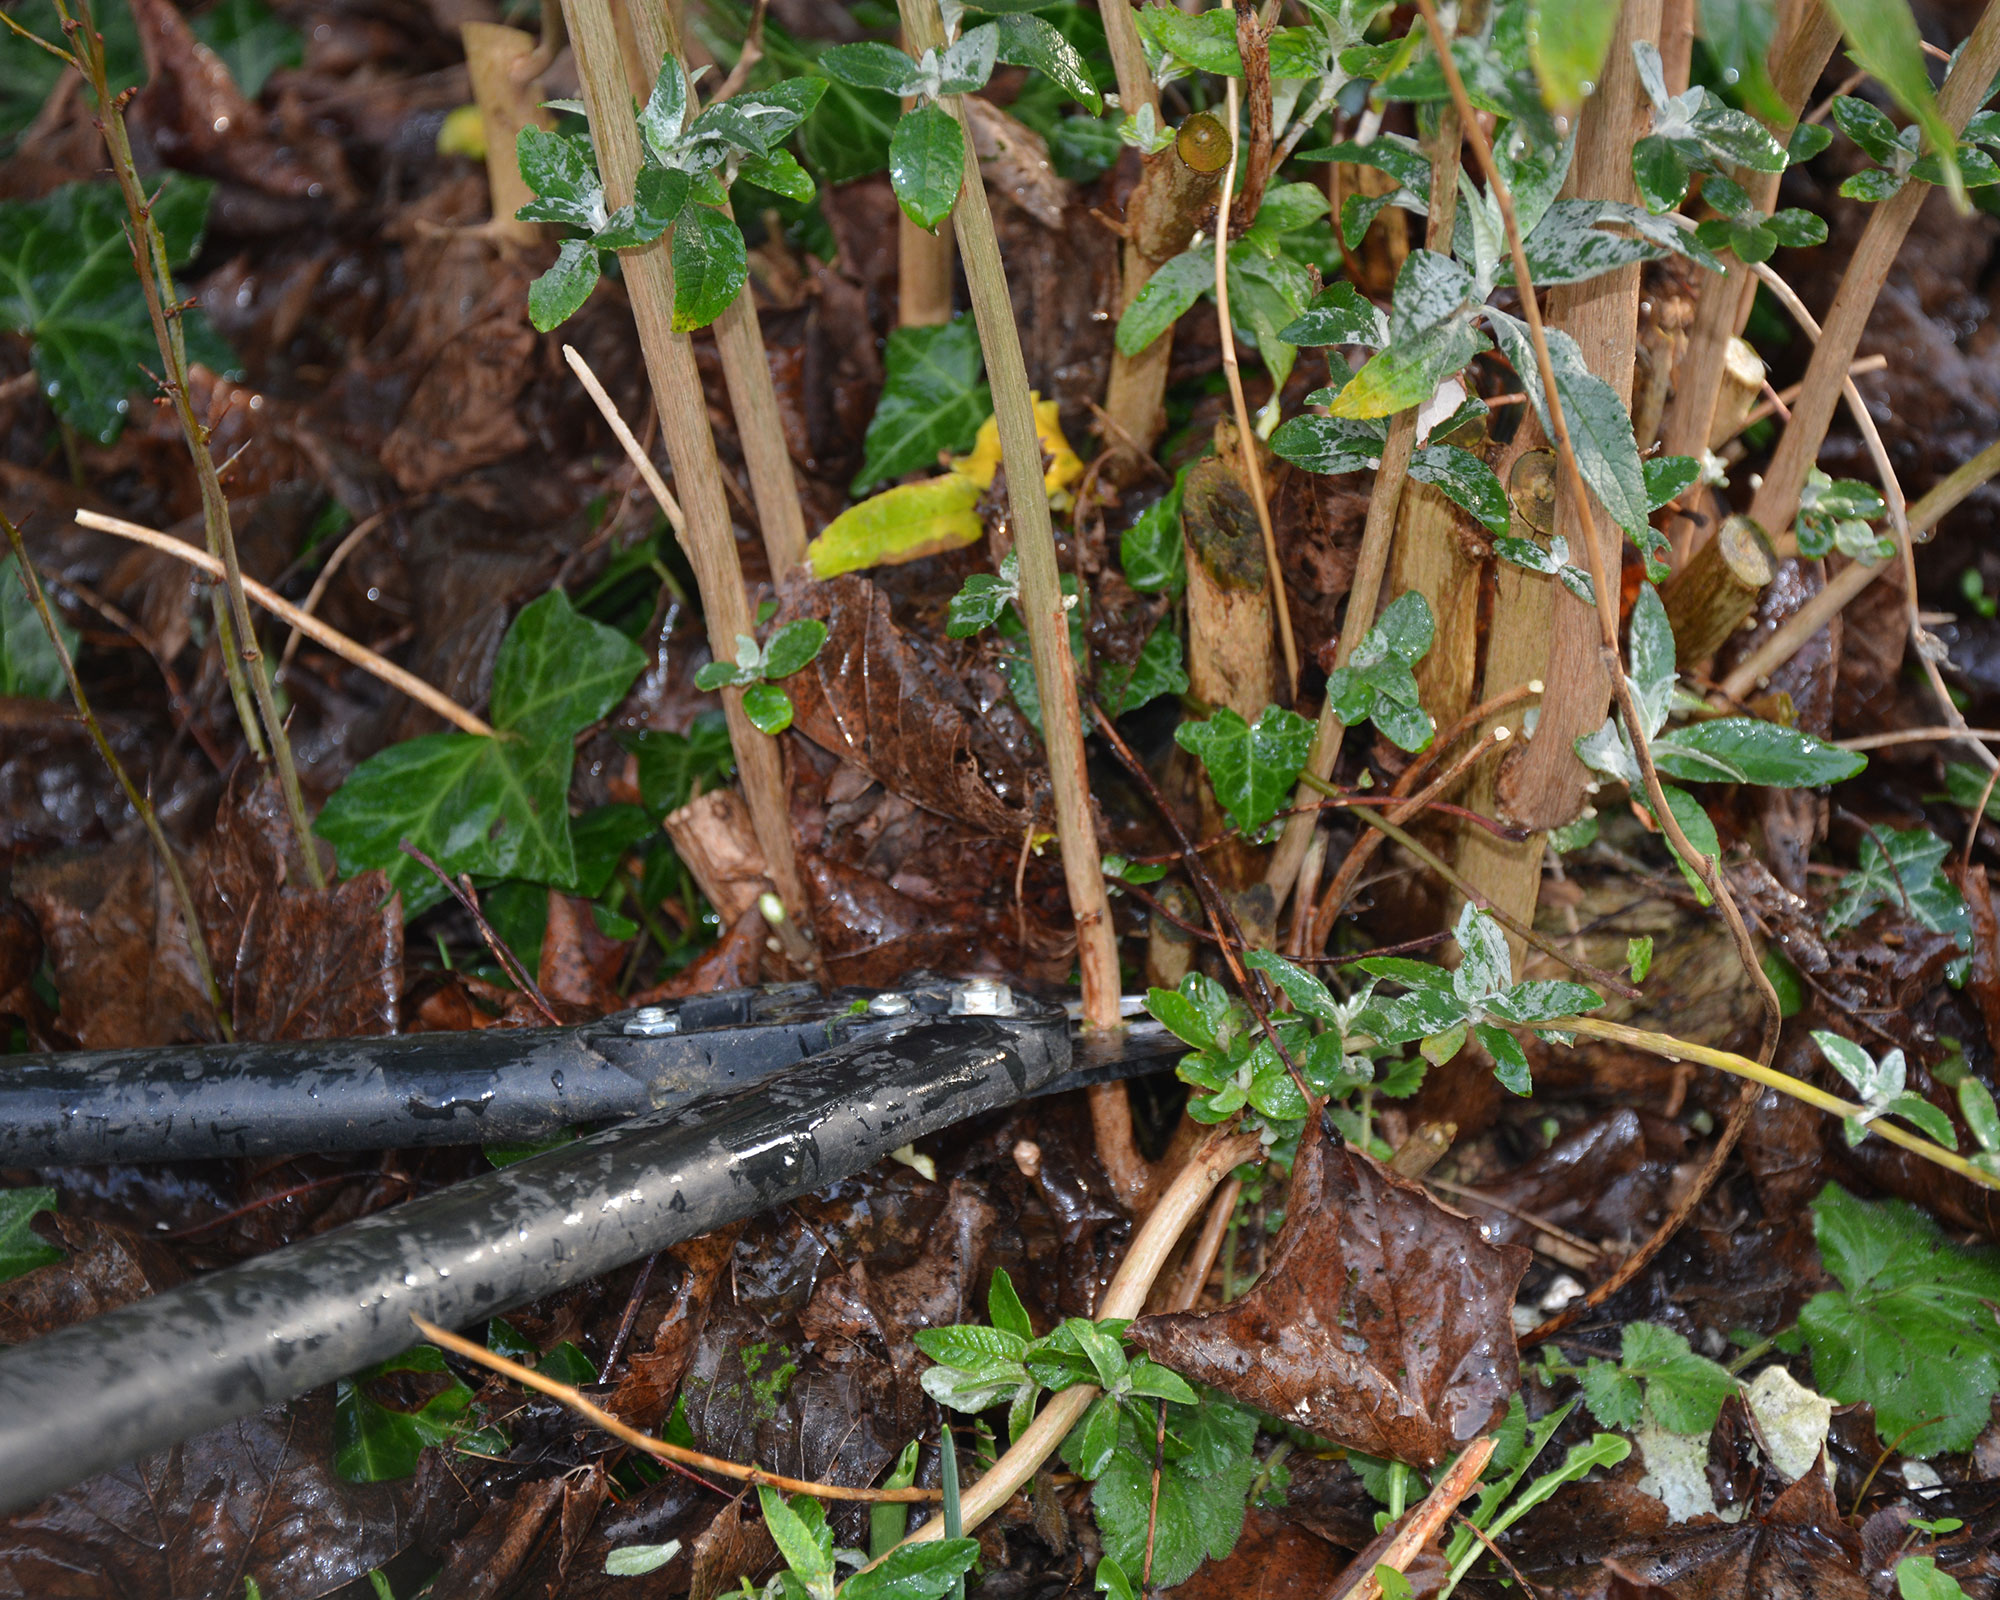
Hard pruning with your best secateurs or loppers allows you to reshape the tree, and encourages it to put on strong, new growth from the base, which will flower well in summer – and bring the butterflies flocking!
Top tip: As with all shrubs, after pruning feed with a slow-release organic fertilizer, or with well-rotted compost or manure.
3. Look after your houseplants
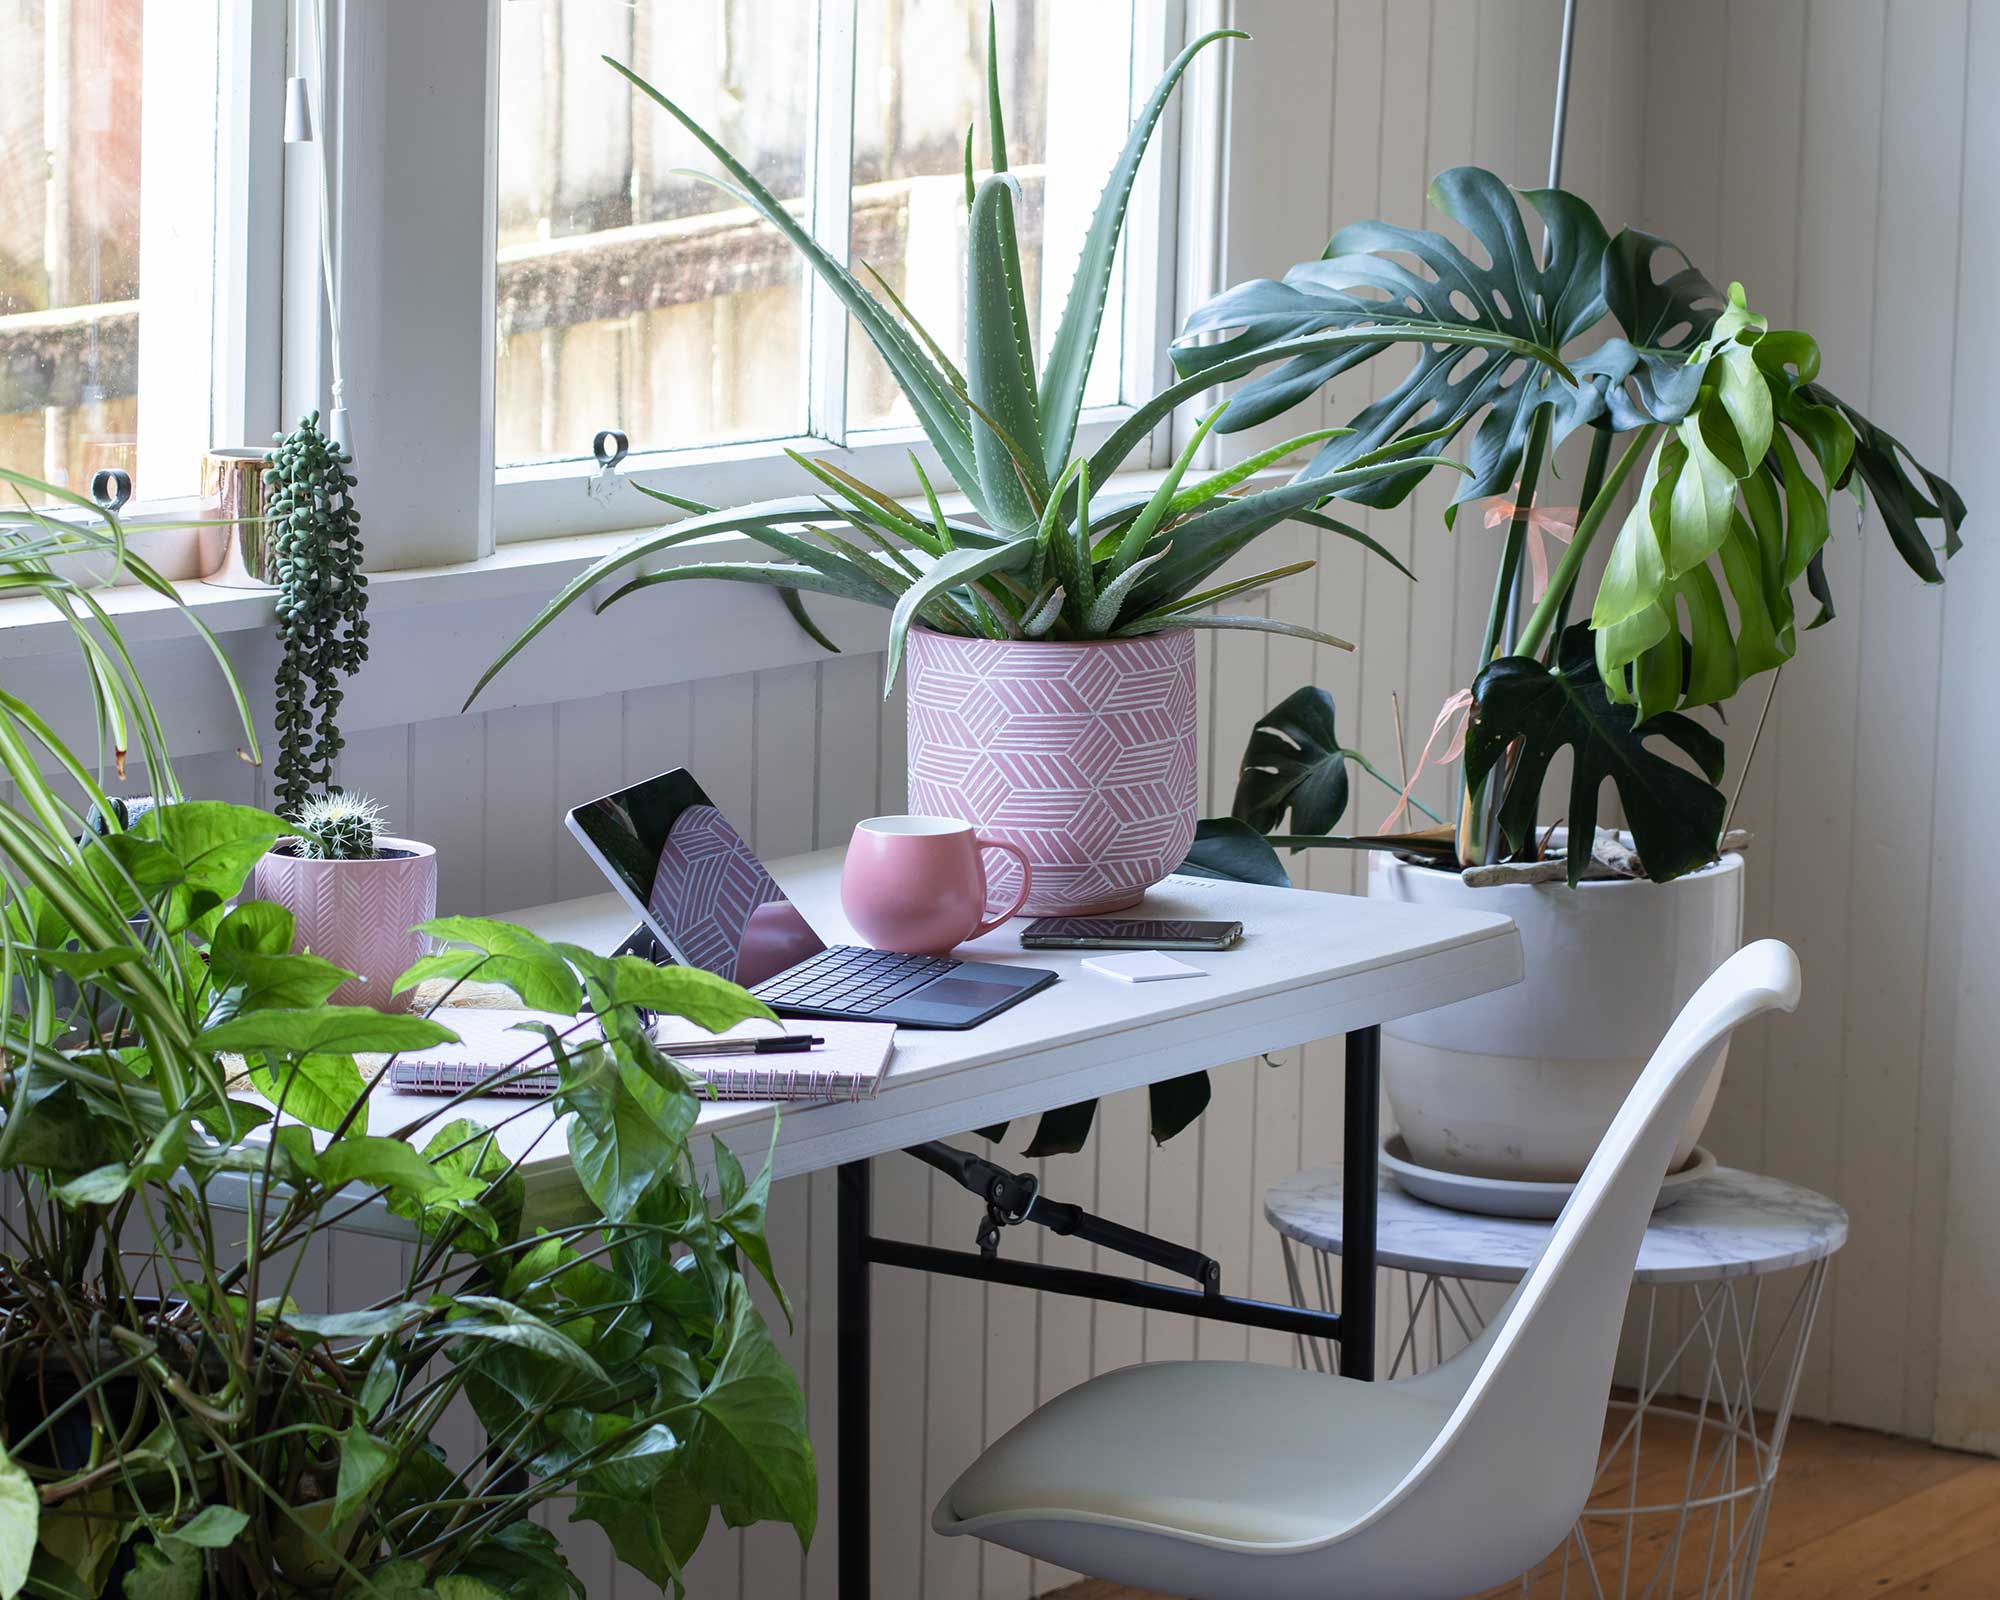
As the days gradually get longer in the northern hemisphere, houseplants will wake from their winter dormancy and start to grow again.
This means that one of your essential February gardening jobs in cold areas is to water them more regularly and feed them fortnightly. If you live in warmer climates and they are still growing, it’s simply a case of carrying on as before.
The best indoor plants are amazingly versatile and there is one for every room in your home. They help purify the air and can improve our mental and physical wellbeing.
One of the best tips for how to care for houseplants in winter is to stand pots on a layer of gravel that is kept constantly damp. Most houseplants originate in tropical and temperate climates so raised humidity around their leaves helps them thrive and is essential in homes where central heating dries the air.
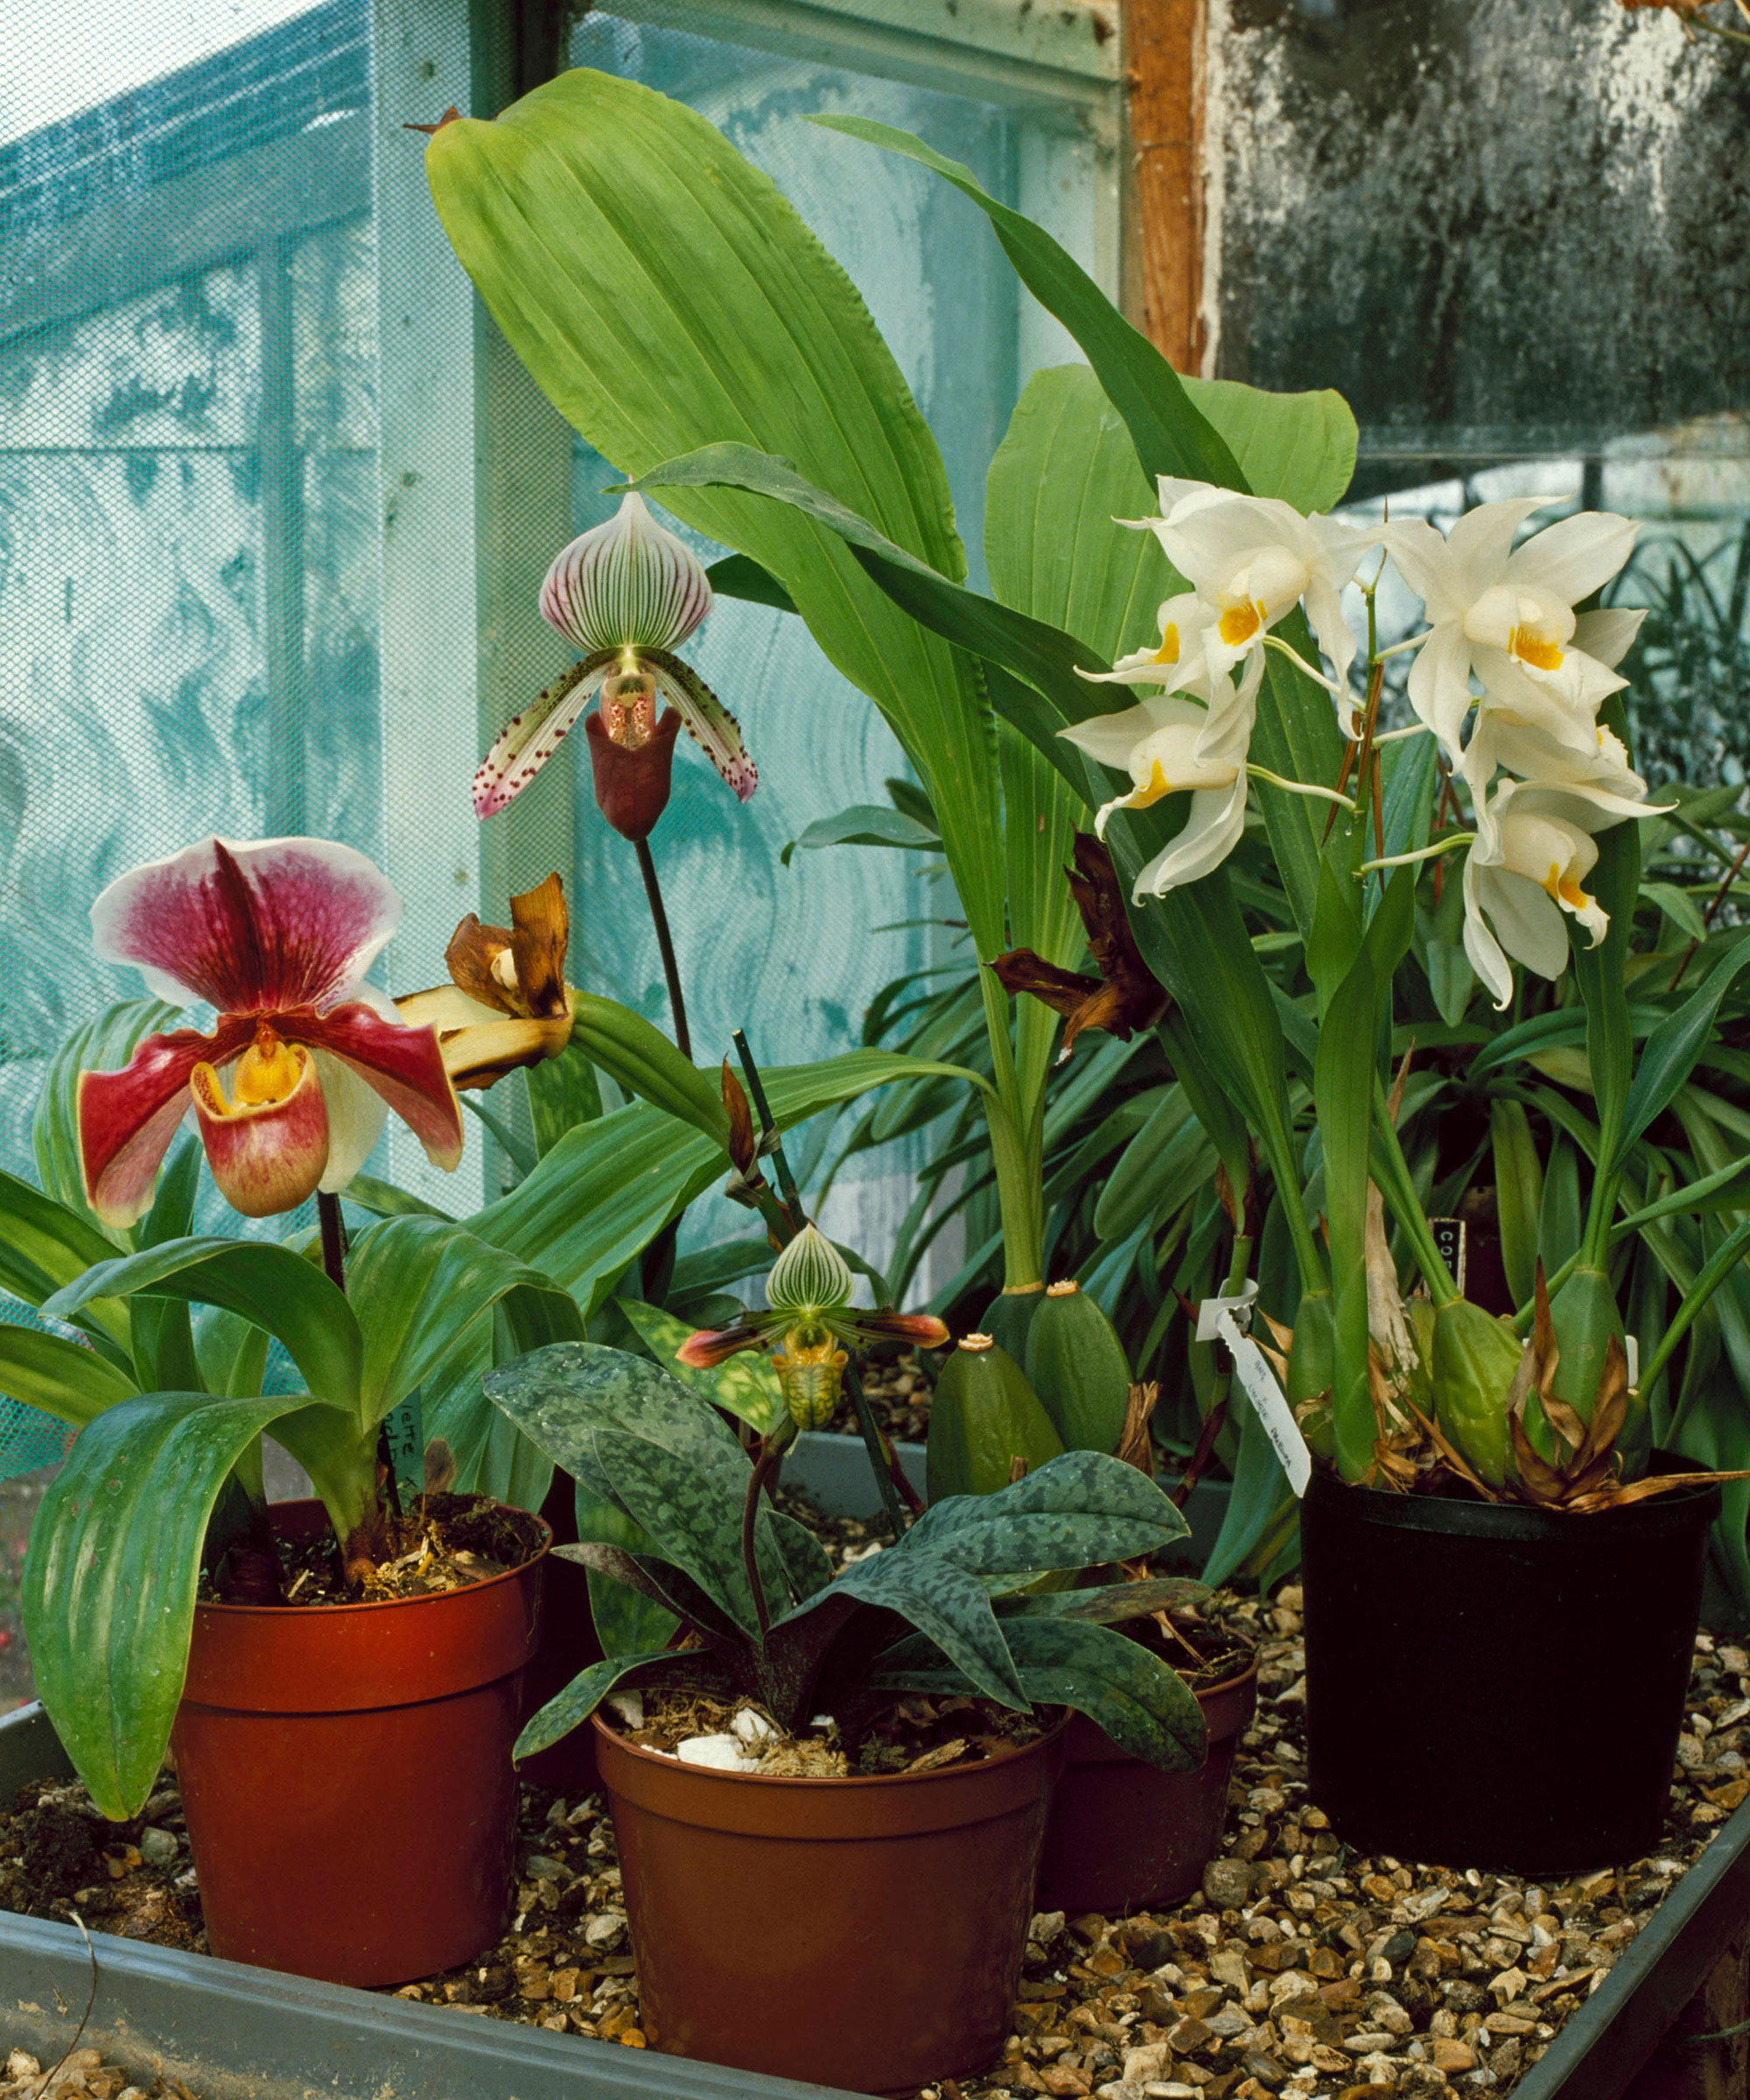
You should also mist the leaves regularly, keeping droplets off flowers. Don't do this to plants with 'furry' leaves, such as African violets, as it will cause unsightly marks on the foliage.
African violets, gardenias, ferns and azaleas like an ericaceous fertiliser, cacti and succulents like specialist cactus food, and carnivorous plants should get by without added feeds – just don’t kill off all your household bugs!
Use rainwater to keep compost damp and don’t overwater. Cut away last year’s dead and withered foliage to keep plants attractive and healthy.
Top tip: If small black fungus gnats are flying in and out of your houseplant compost, put a bottle lid filled with almond oil on the surface. They are attracted to its sweetness and will fall in and drown.
4. Take your hardwood cuttings
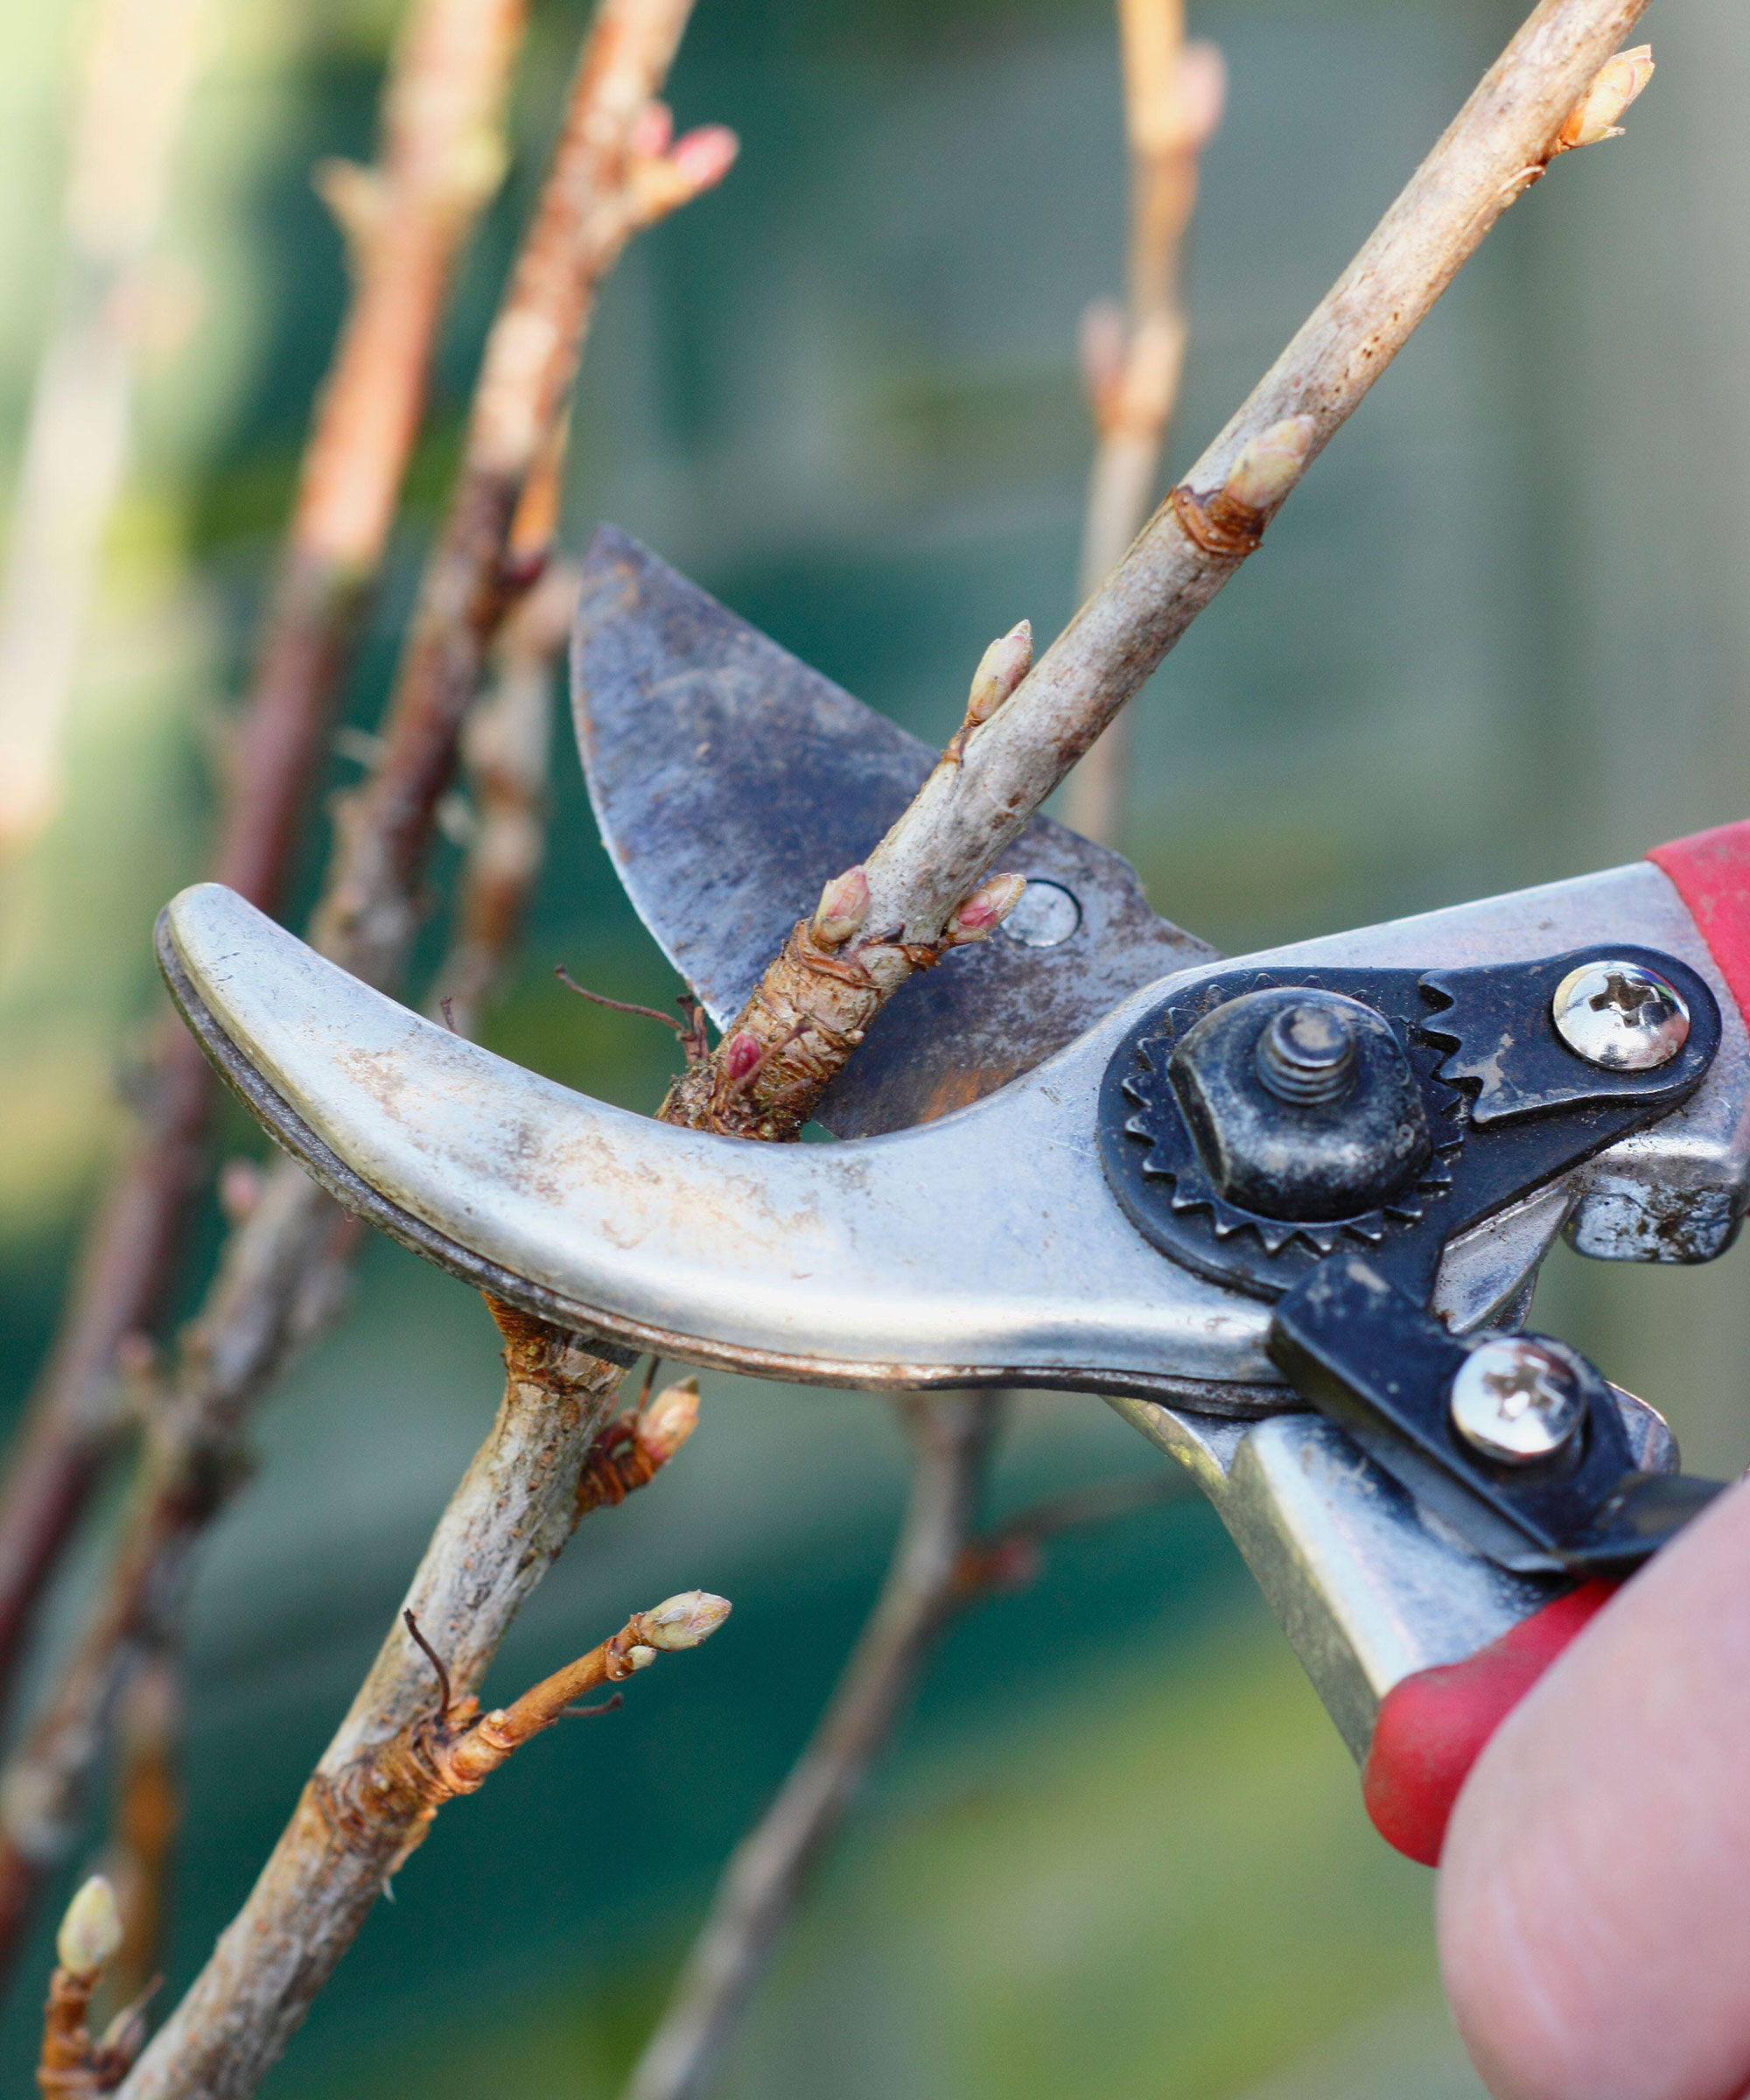
I reckon we have around a month or so left before trees and shrubs start to develop their springtime fuzz of green and it becomes too late to take hardwood cuttings.
Learning how to take cuttings from plants isn't difficult and it's a fulfilling February gardening job for even the most novice gardener. You can take hardwood cuttings of most deciduous trees and shrubs including fruit bushes and roses now, when they are dormant. Our guide on how to take rose cuttings has lots of useful tips on how to do this.
All you need is seed and cuttings compost, small-grade gravel or the mineral perlite to make the compost less compacted, clean, sharp secateurs and hormone rooting compound. All these items can be found in good garden centers and DIY stores.
They can be rooted in pots or in a trench in a sheltered part of the garden. The main requirement here is patience, as they will take up to a year to take root and be ready to be potted on again for next winter. The young plants can then be planted out the following spring.
I find it easiest to root hardwood cuttings in pots, rather than a trench in the garden where they can be attacked by pests – or neglected by me!
Top tip: Hardwood cuttings can be overwintered in an unheated greenhouse, mini greenhouse or cold frame, but do make sure you don’t let the compost dry out.
5. Cut back clematis and wisteria
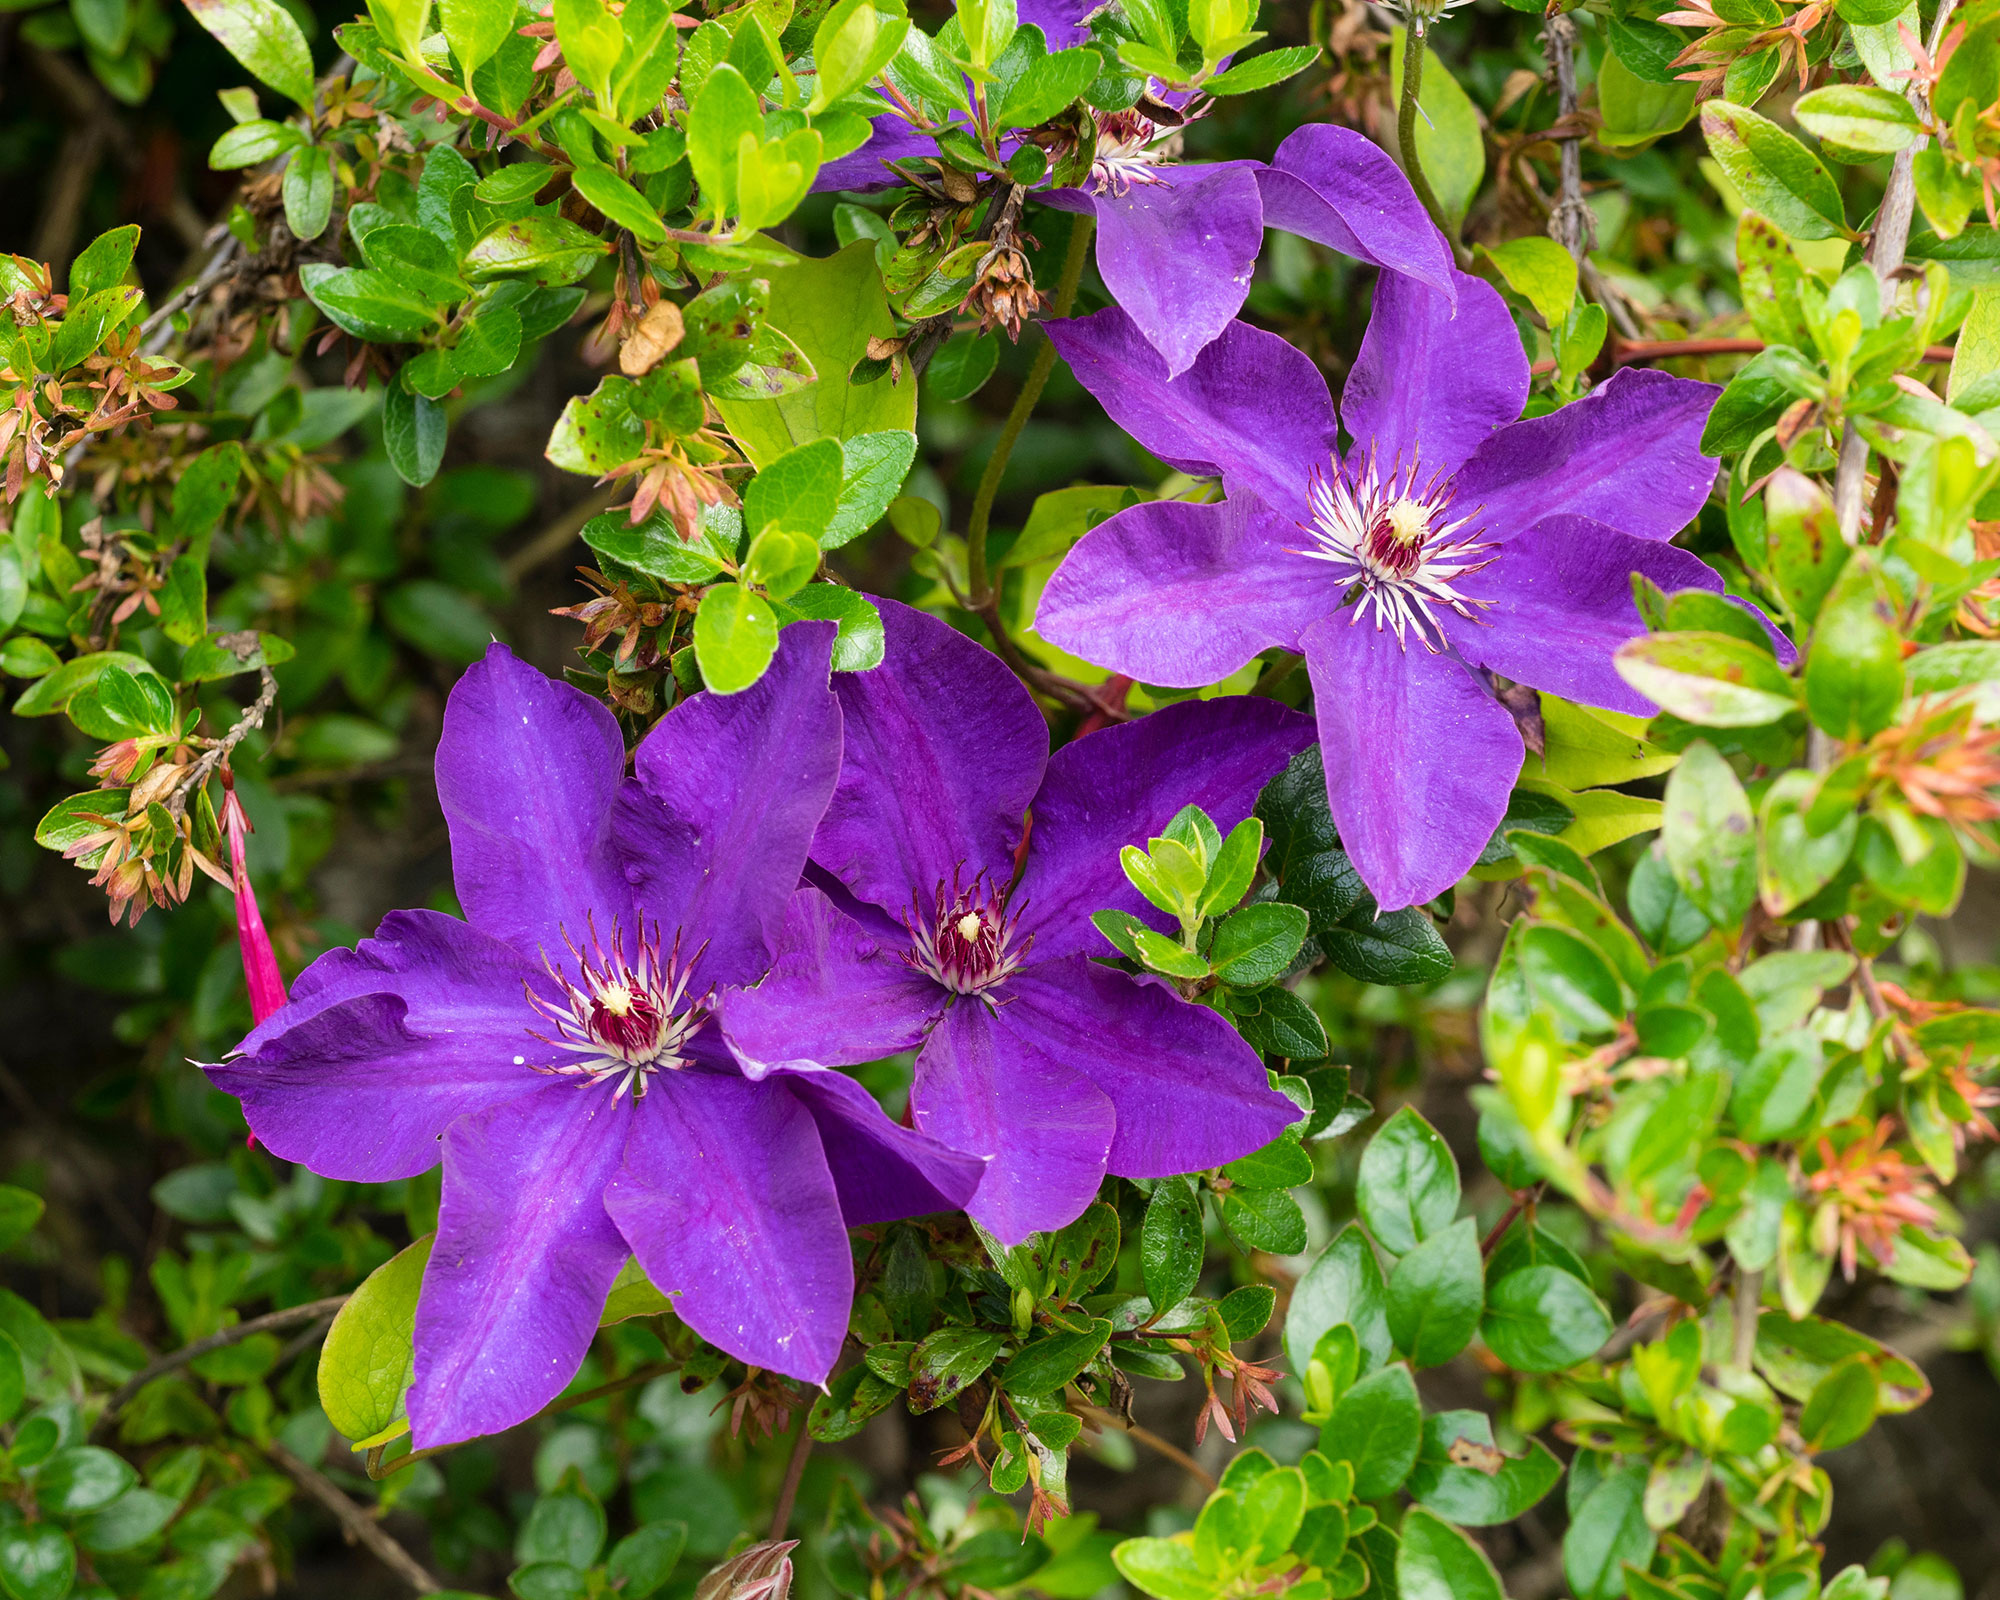
The clematis family can fill a garden with color all year round, from the delicate shades of winter-flowering ‘Freckles’, to the large-flowered stars of midsummer and the bright pops of the Clematis viticella clan that bring color to walls in late summer and fall.
In February, you need to prune clematis from Group 2 (they flower in May and June on short shoots that grew the previous year) and Group 3, which grow on the fresh growth that develops each year.
For group 2 clematis, remove dead and weak stems and then prune the remaining ones back to a healthy pair of buds. Don’t be too zealous or you will remove flower buds. For Group 3 plants, simply reduce all the stems to 12in (30cm) above the soil.
If you don’t, your plant will become a tangle of old and new stems which will look unattractive but also reduce flowering.
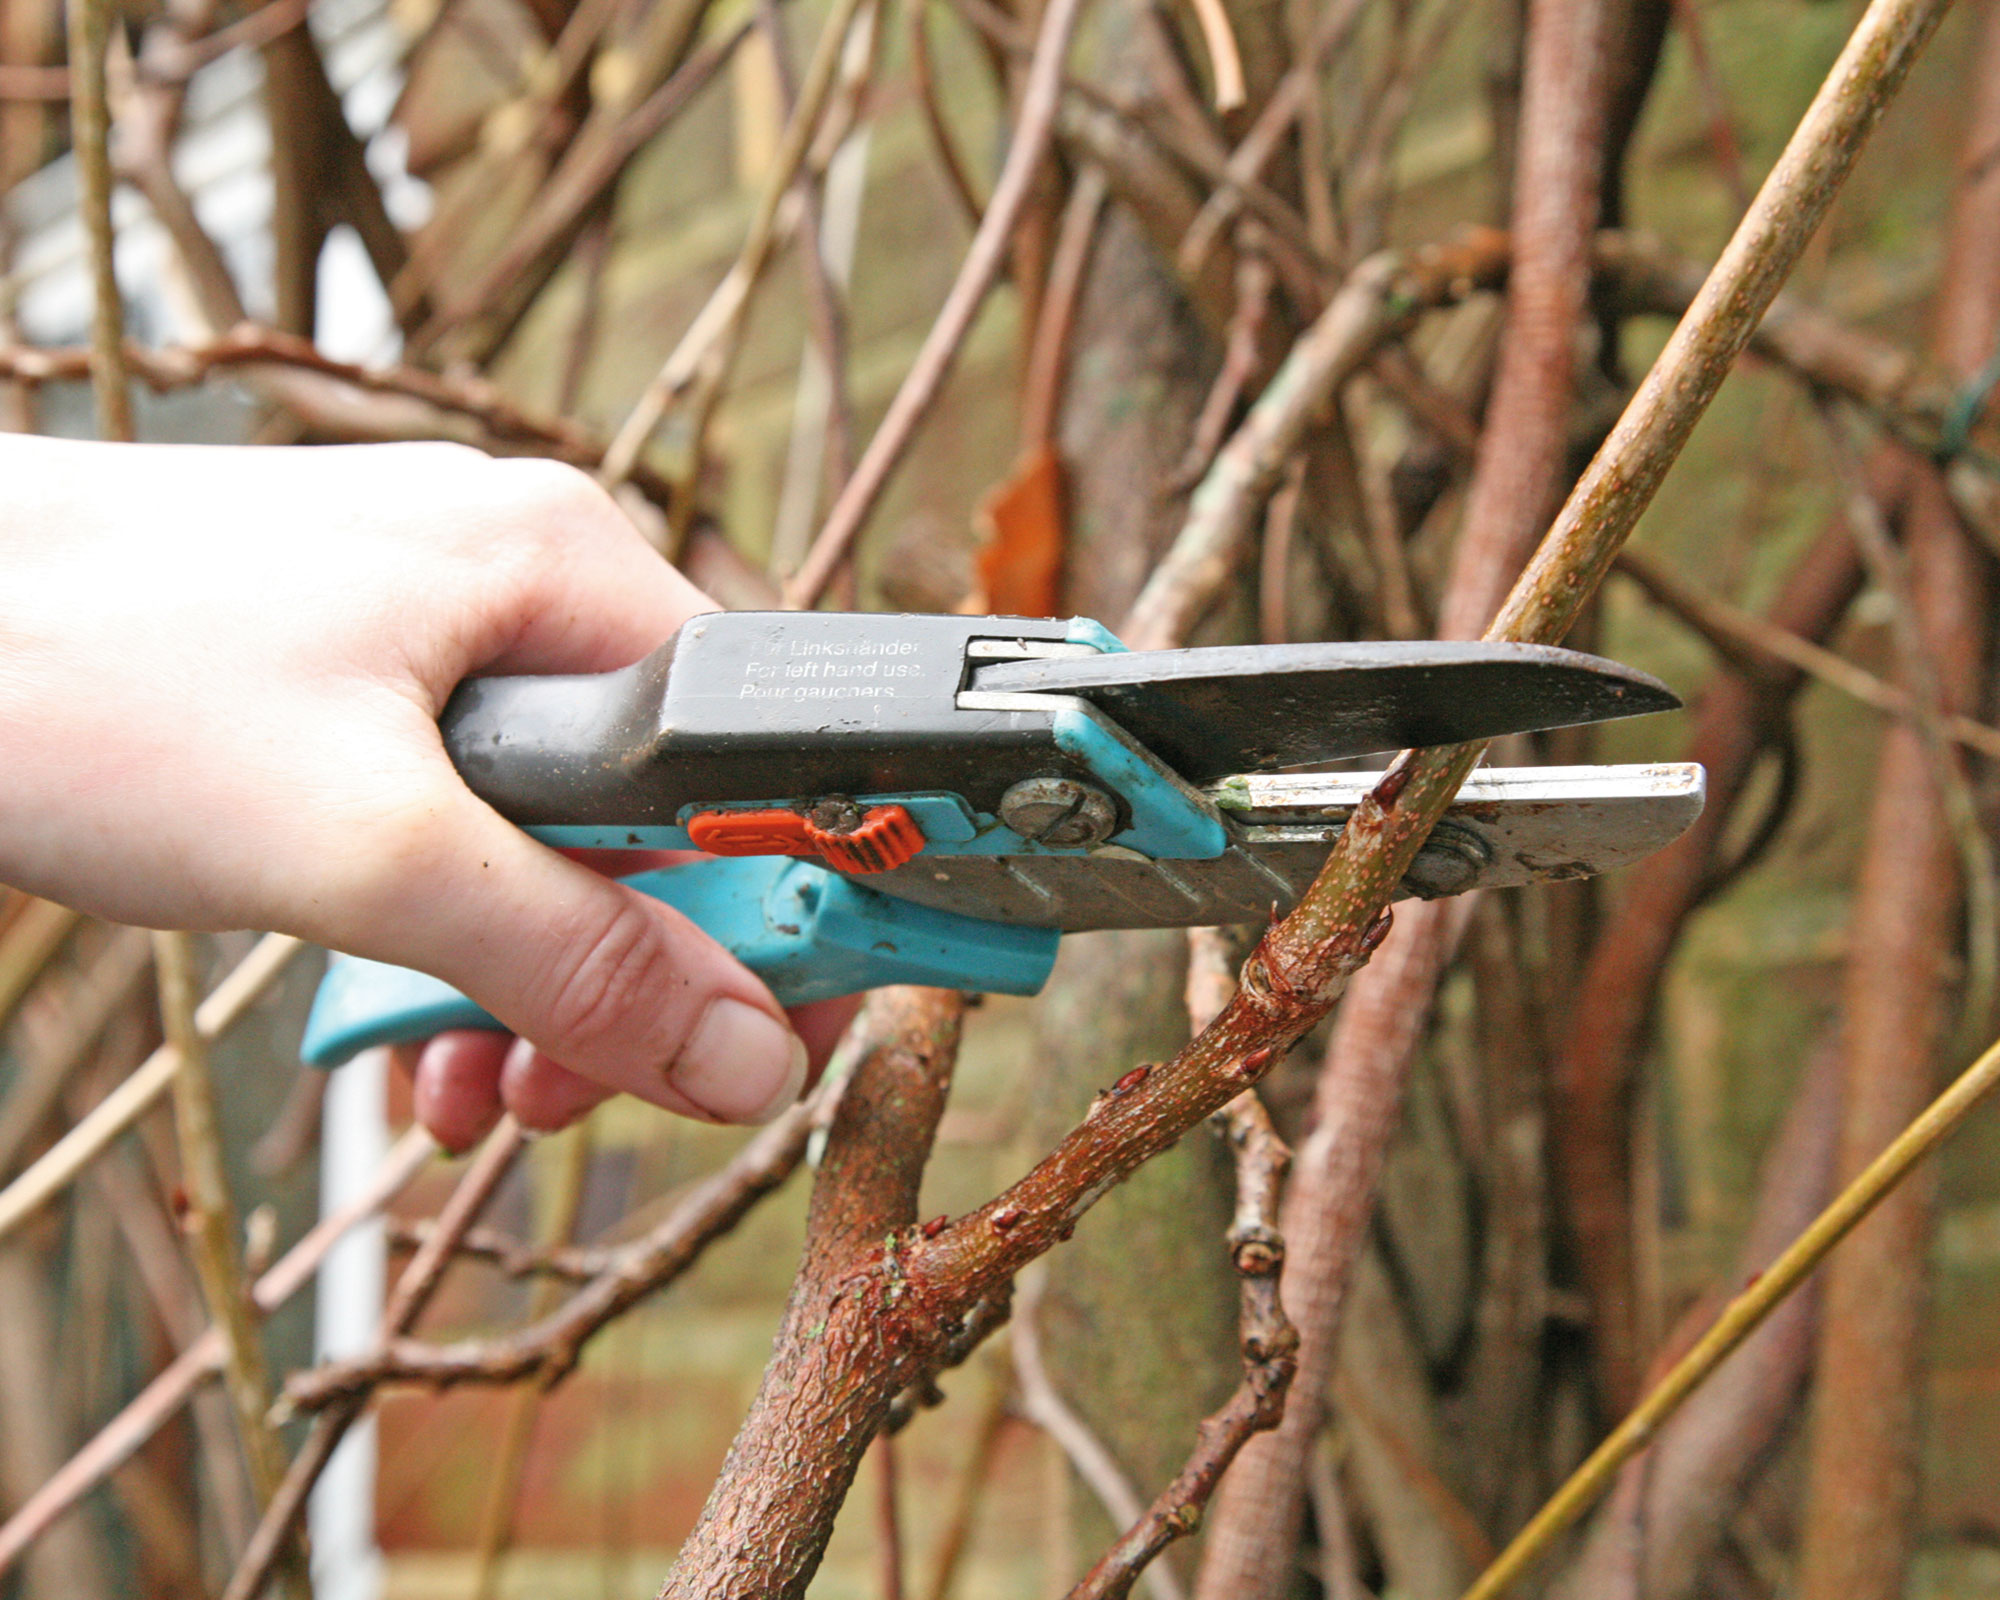
If you're learning how to grow wisteria, pruning it is another important February gardening job. Simply cut back last year’s side shoots to two or three buds from the main stem. This will keep the plant tidy and ensure that over-exuberant foliage doesn’t obscure those beautiful mauve skeins of flowers when they appear in early summer.
Top tip: After pruning, chop up and compost the removed stems and then feed the plants with a slow-release fertilizer.
6. Attach plant supports where needed
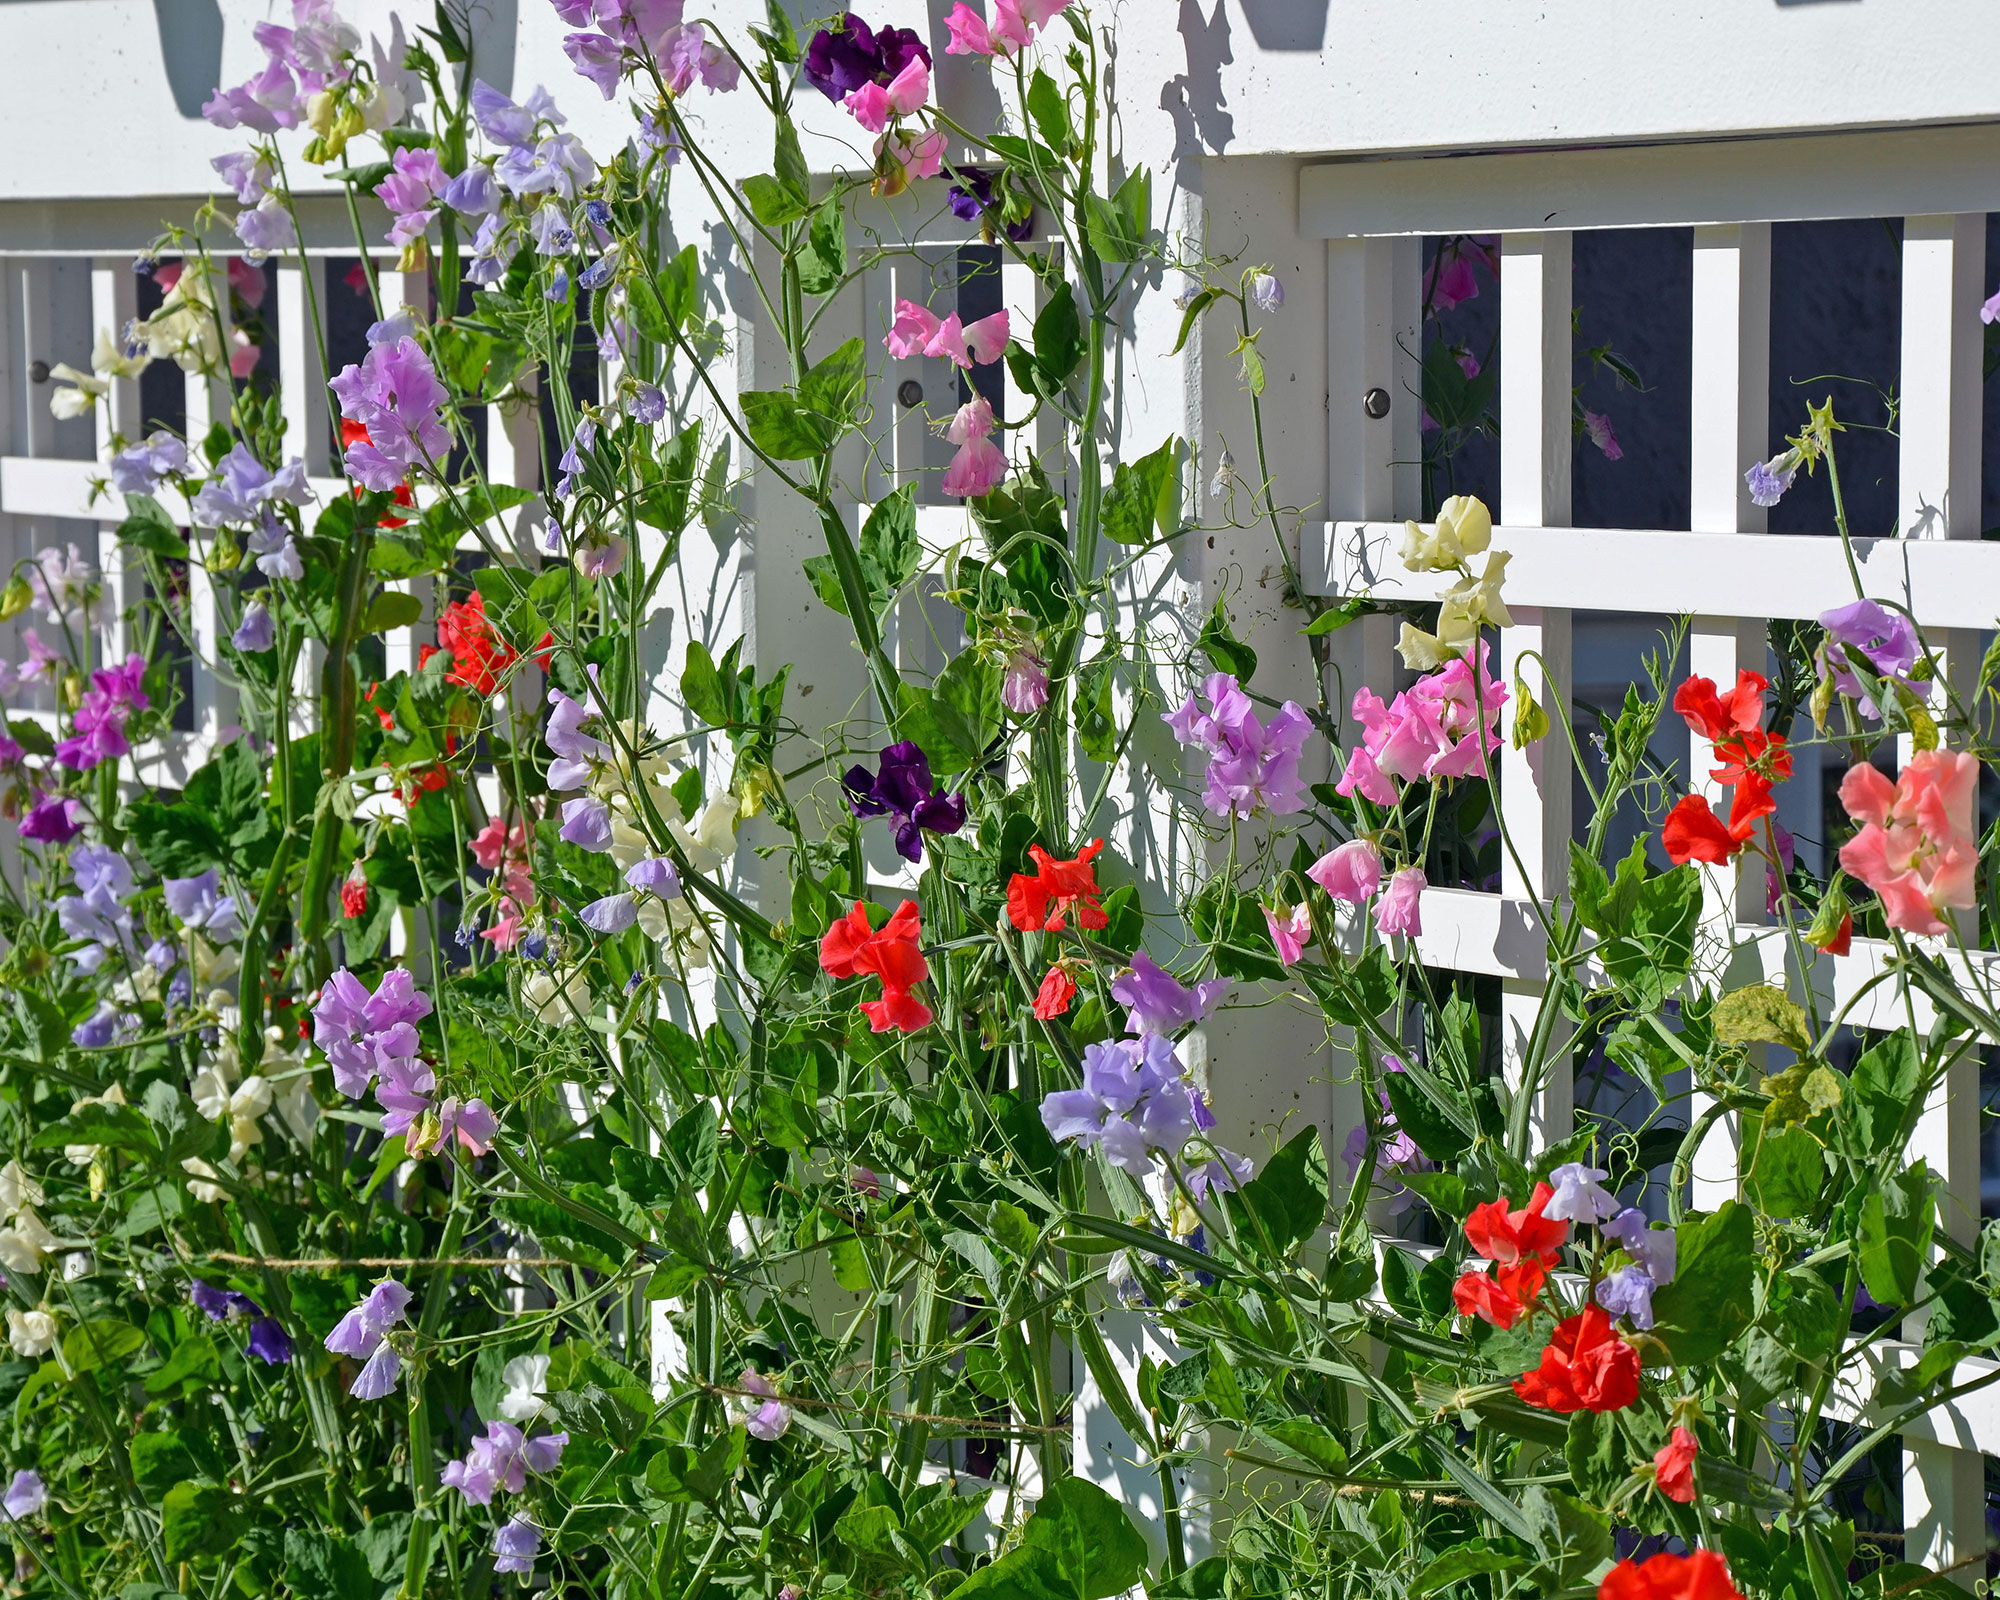
Attaching a new trellis for when your dormant clematis returns to life, or before you sow and plant your annual climbers, is an essential February gardening job.
There is a climbing plant support idea for every variety and situation and they are perfect for keeping plants looking neat and for screening off areas of the garden for added interest and privacy.
As long as the wall is sound, attaching a trellis to a wall is a relatively easy task, though it will take two people and a spirit level!
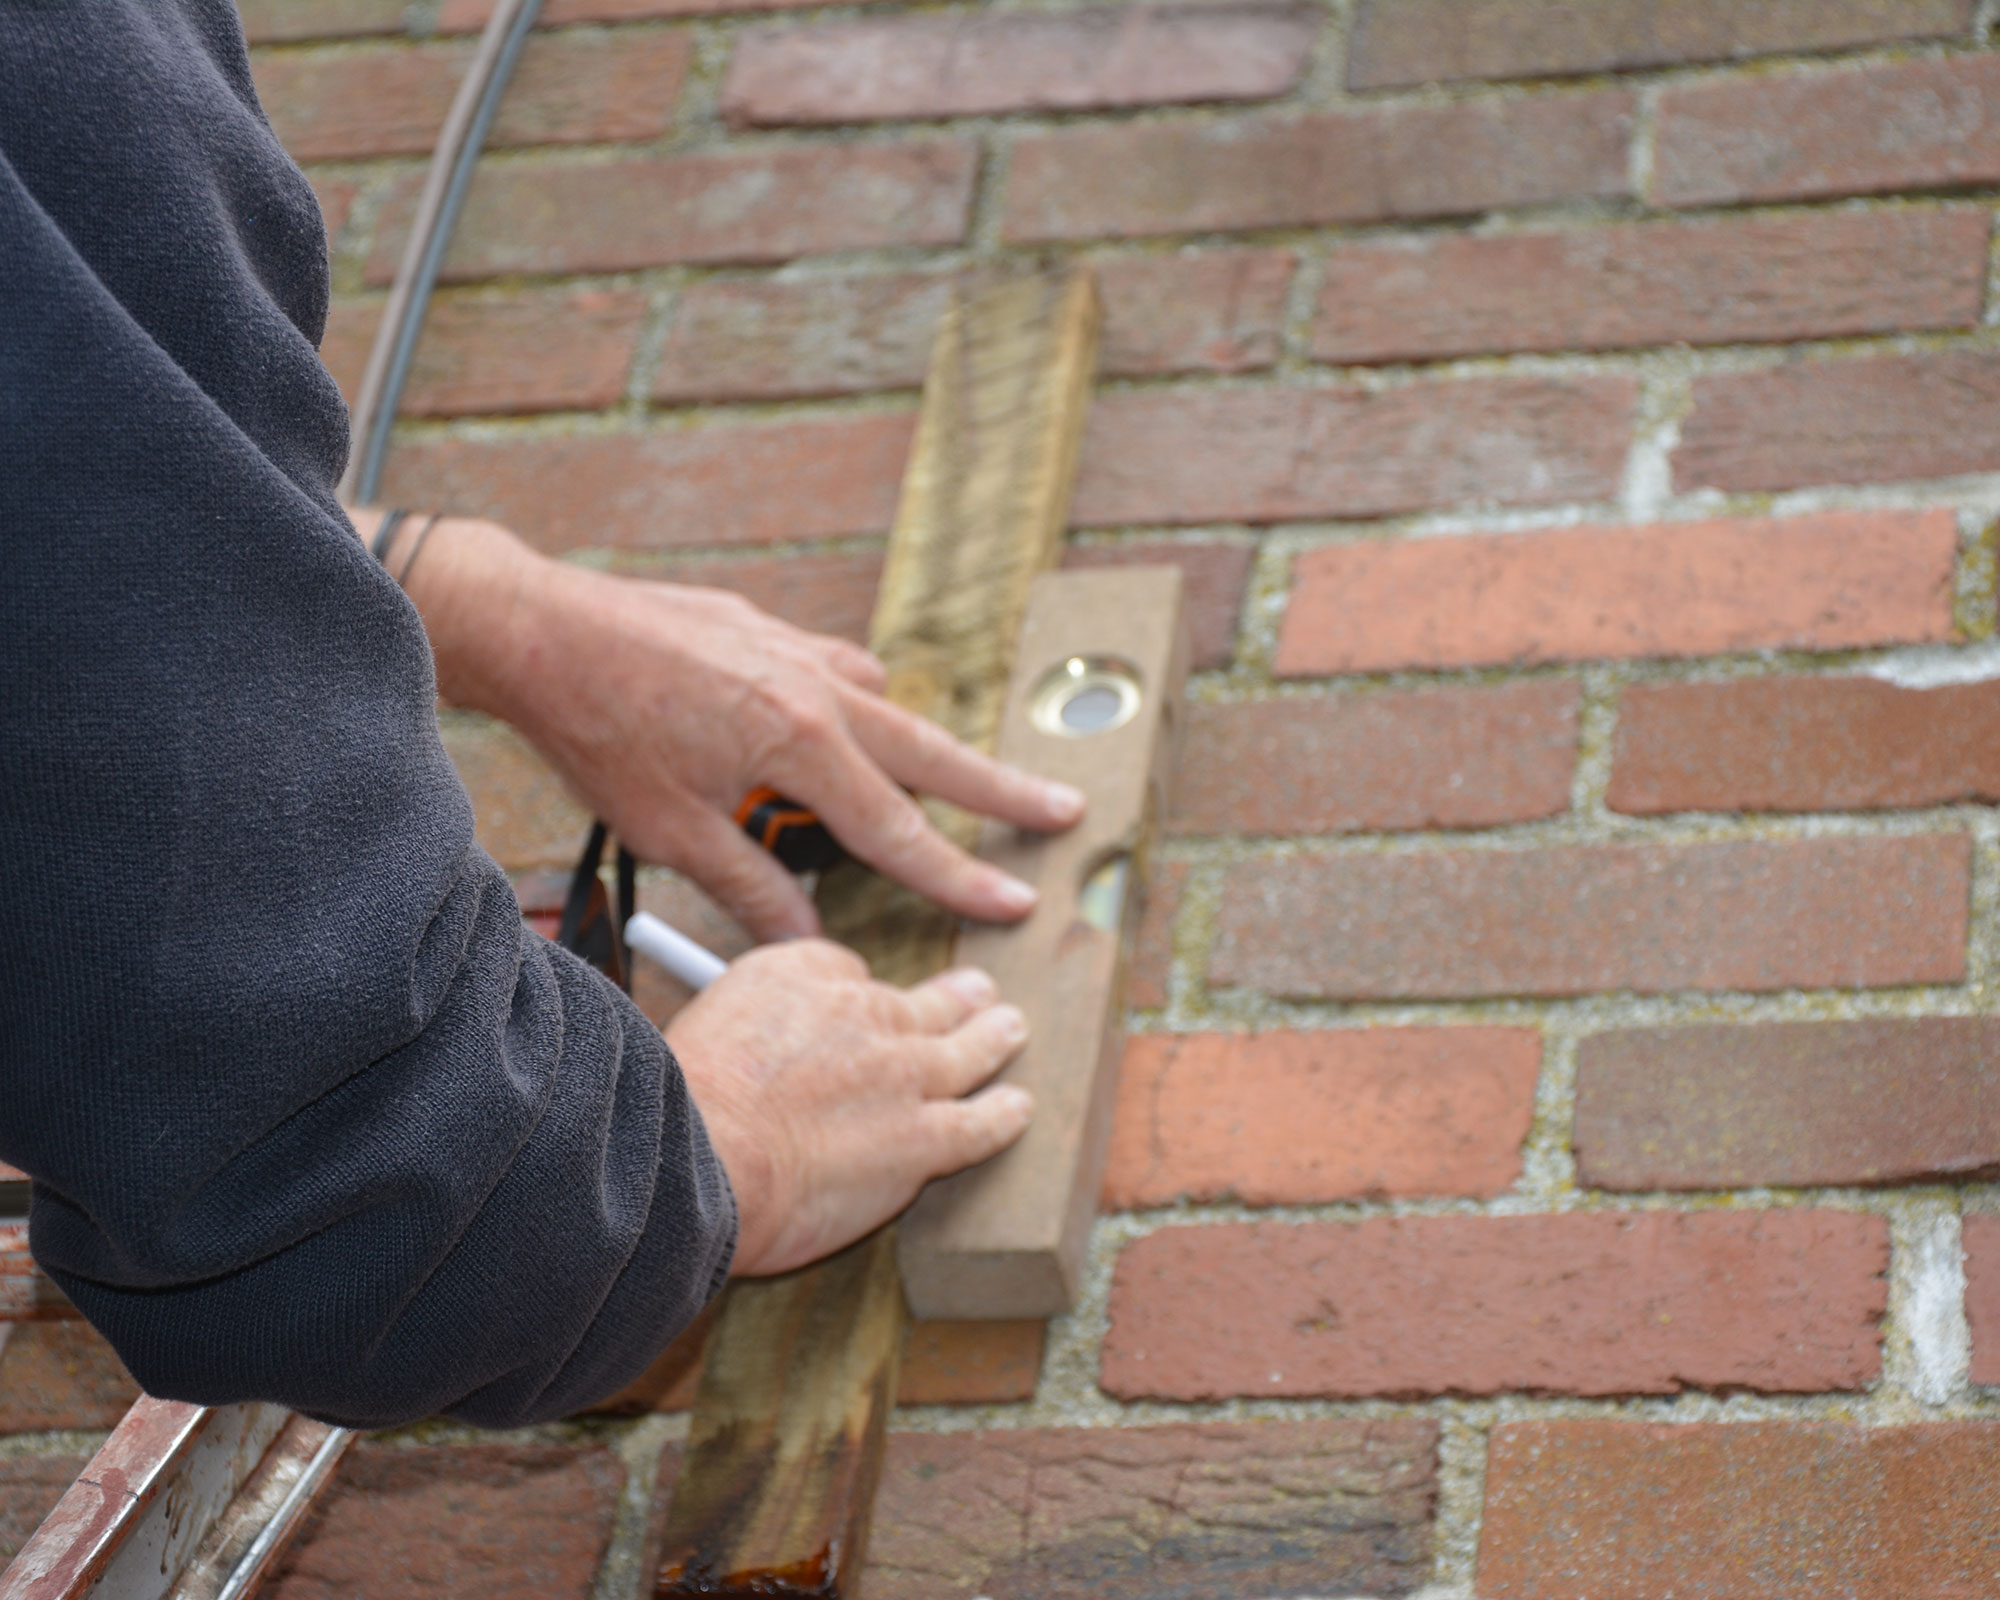
Work out what size you need for your trellis ideas and where you want it to go. Then follow these easy steps to attach your trellis to a wall securely.
- Hold the trellis against the wall, use a spirit level to make sure the sides are straight and mark the straight edges with chalk.
- Use a masonry drill to make holes in the mortar to avoid damaging the brickwork and then insert rawlplugs to hold the screws in place.
- Attach the supports first, holding them to the perpendicular lines and drilling through to make a mark on the mortar.
- Then fix the trellis to the supports, taking care you don’t drill through the nails holding the wooden slats in place!
Top tip: Brush wood preservative over the nail and screw holes and the cut ends of the supports to help prevent damp and rot setting in.
7. Prune winter jasmine after flowering
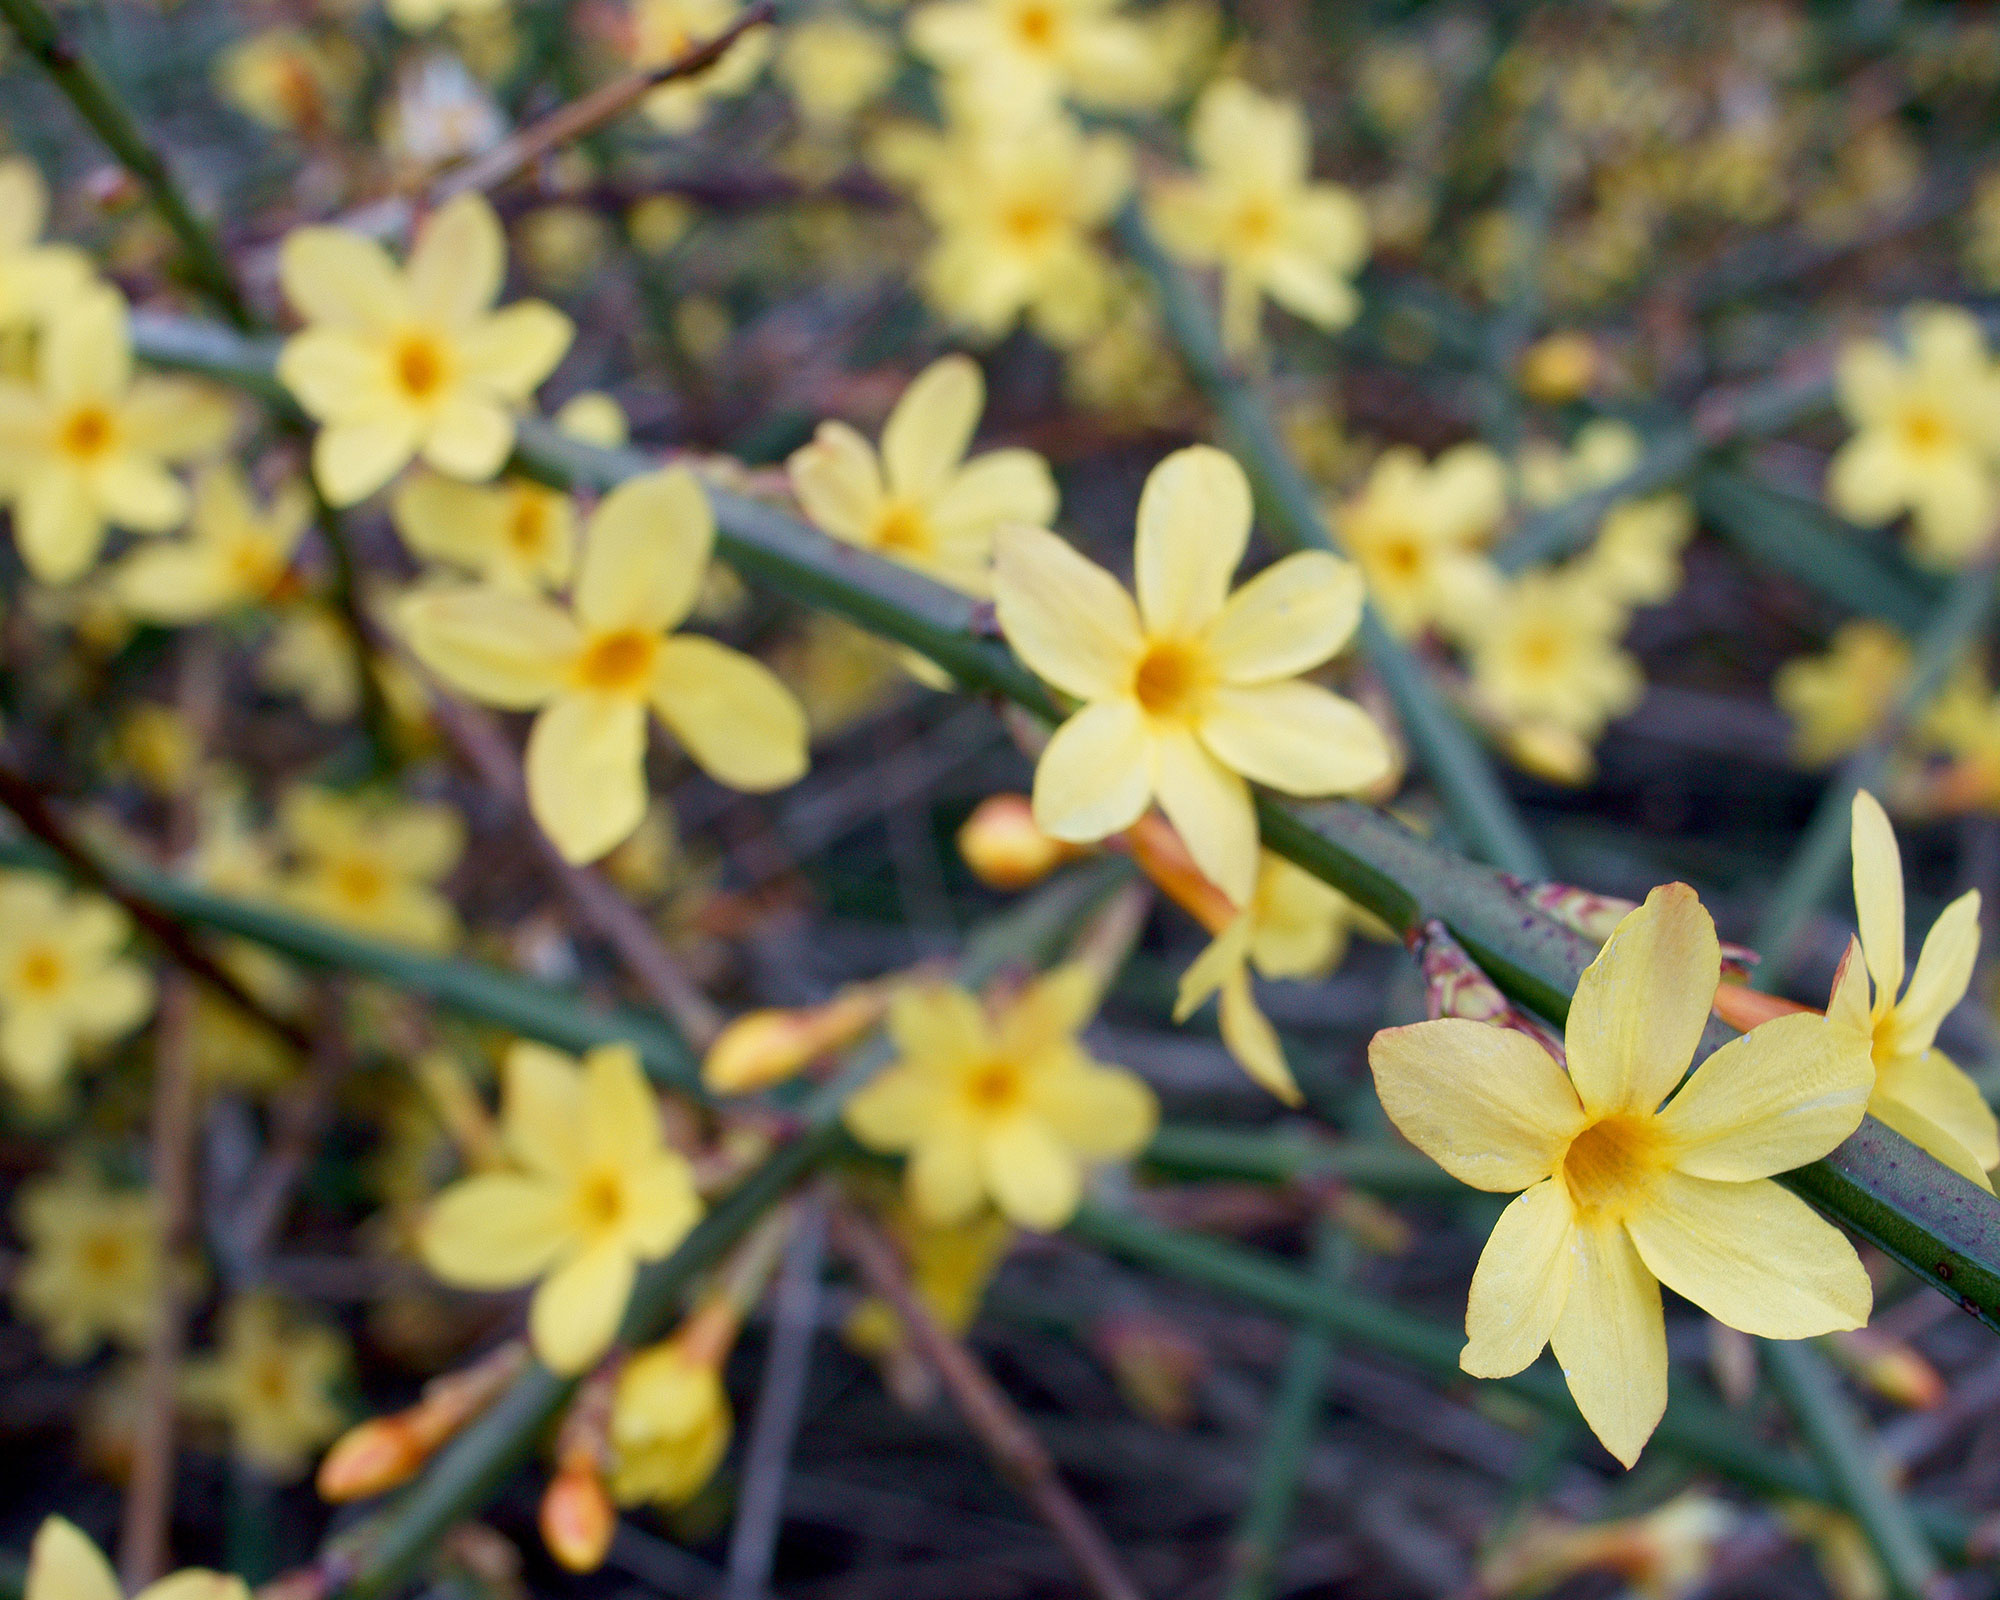
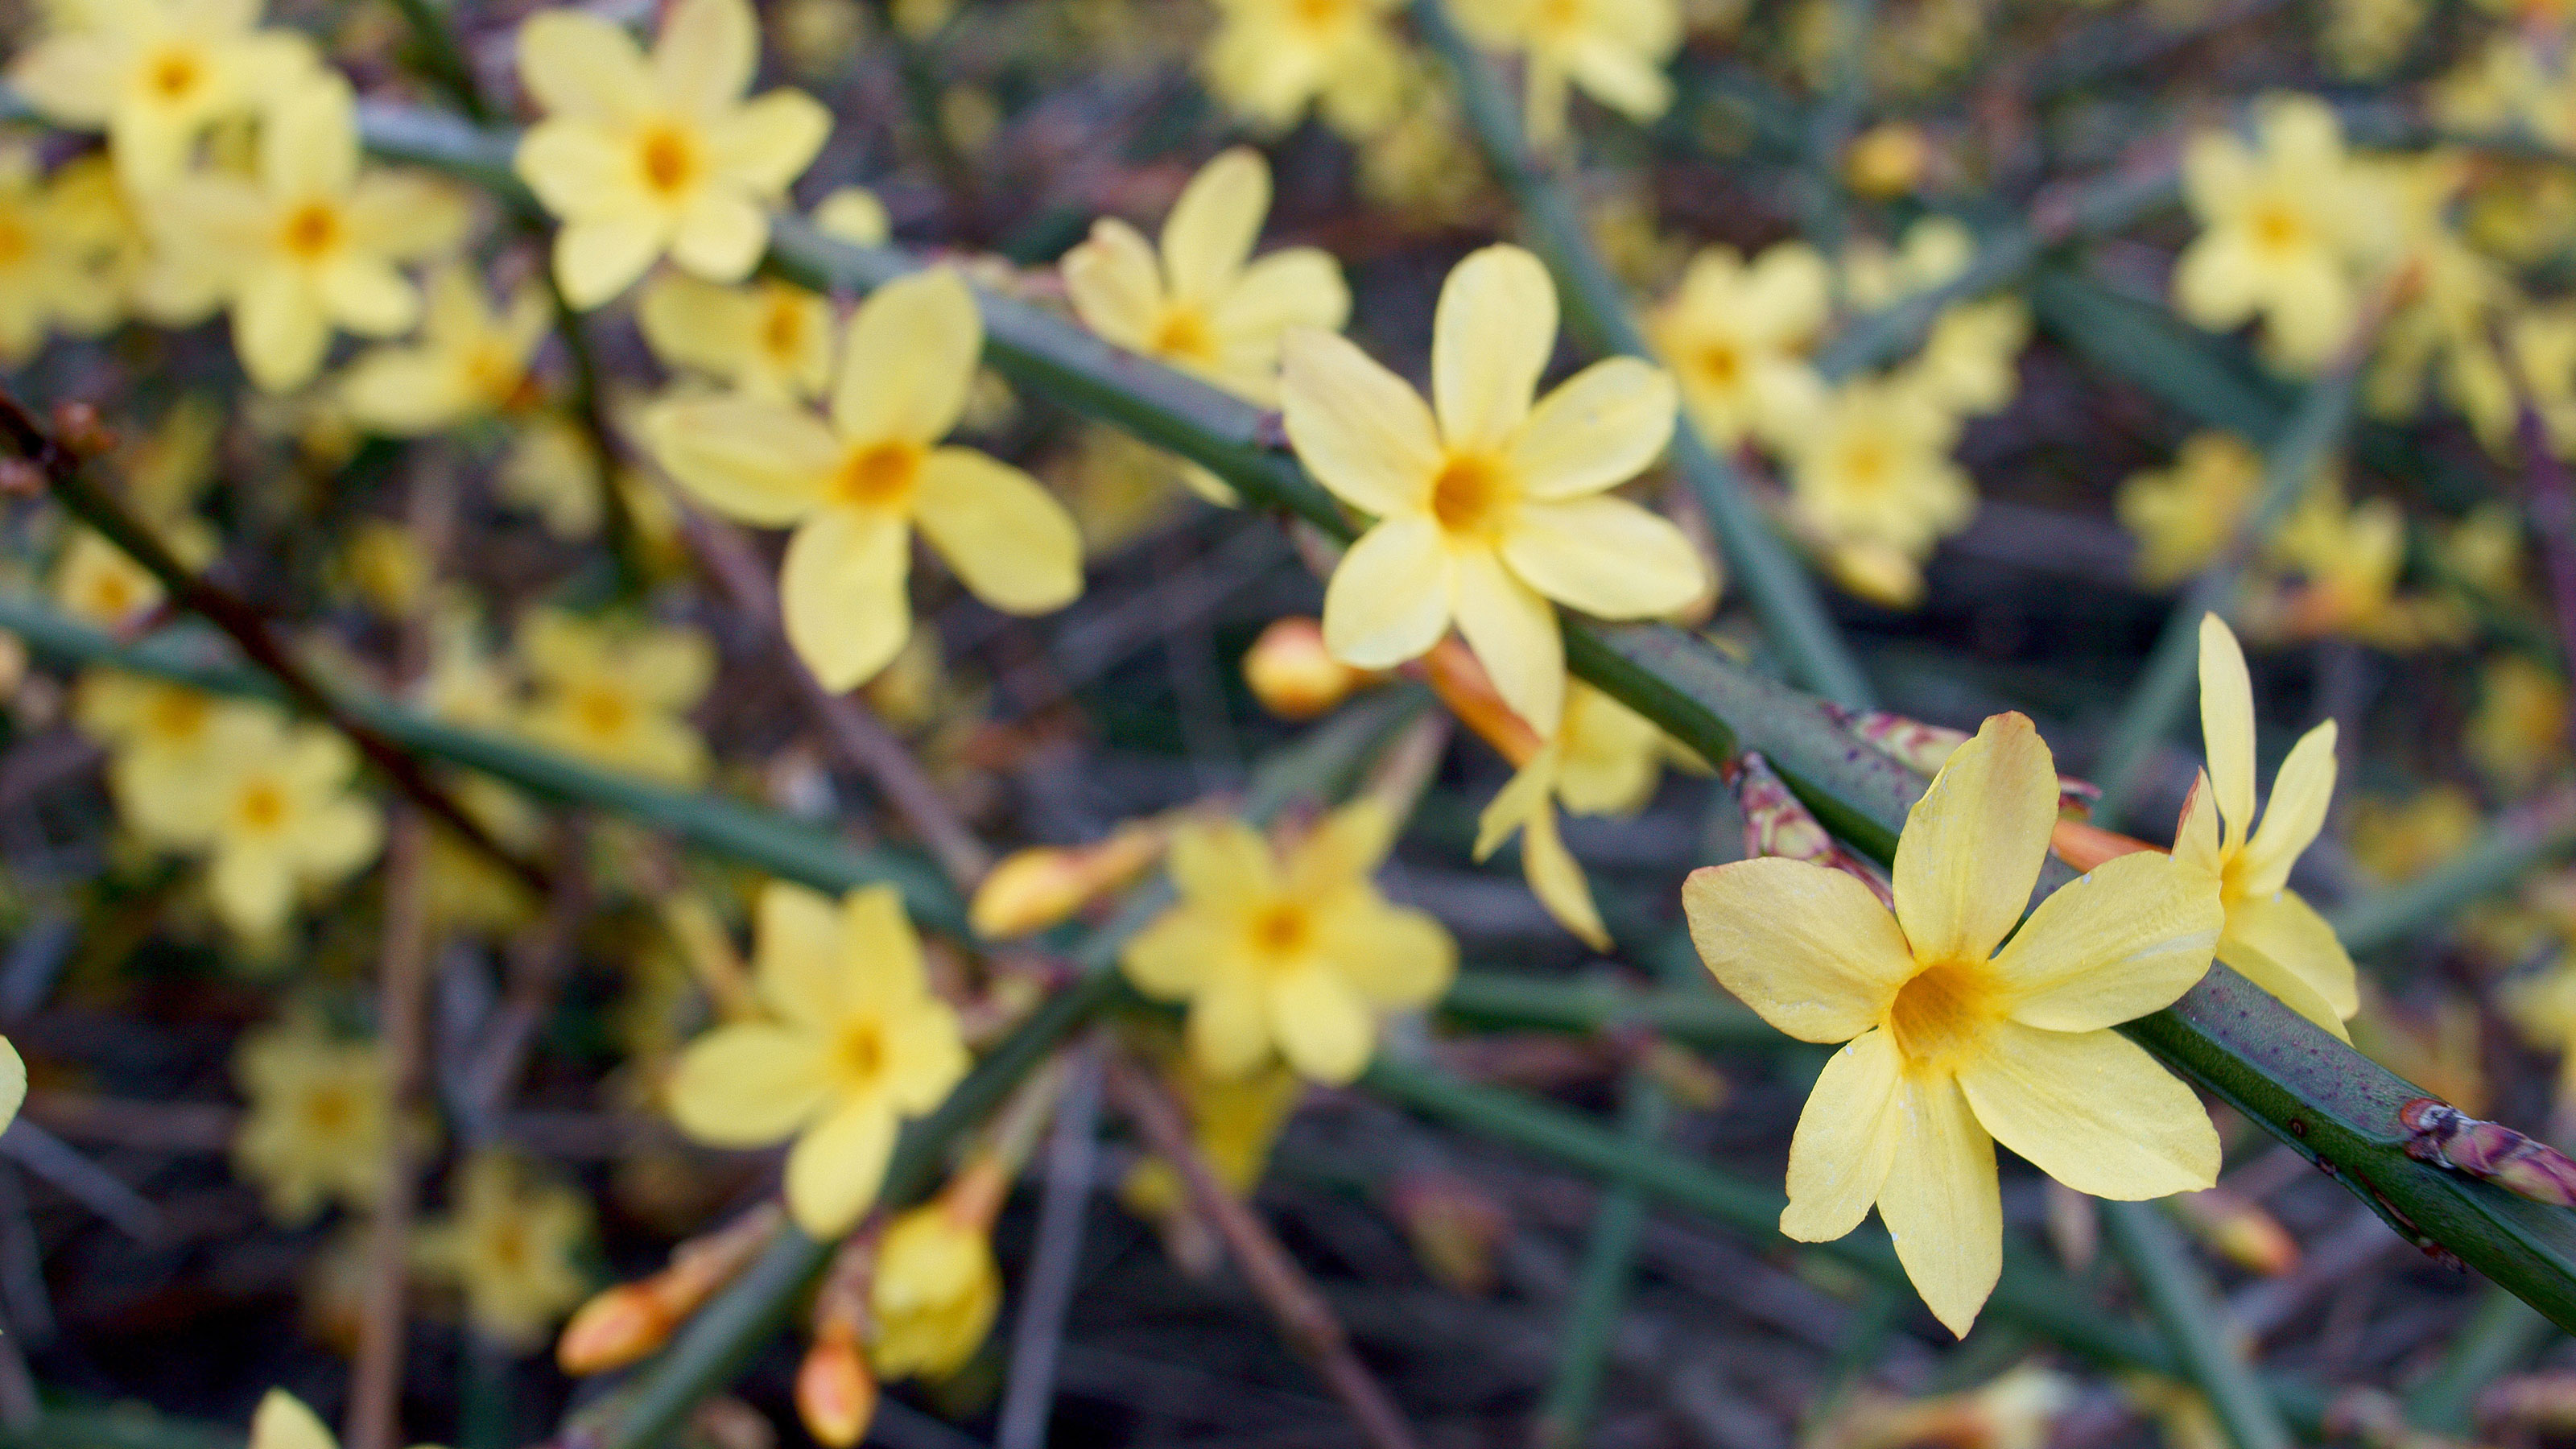
I love the lemony blooms of yellow jasmine, which is one of the best winter flowering shrubs for adding color to the garden. To keep ours flowering well I make sure that my list of late February gardening jobs includes giving it a trim once it has finished flowering.
When we first moved to our current house, our jasmine had been neglected and left to grow rampant, with tangled stems and hardly any flowers. Luckily winter jasmine can take a hard prune, though it may not flower profusely the following year while it regenerates, so the ideal is to give them a light trim each year to keep them shapely and blooming well.
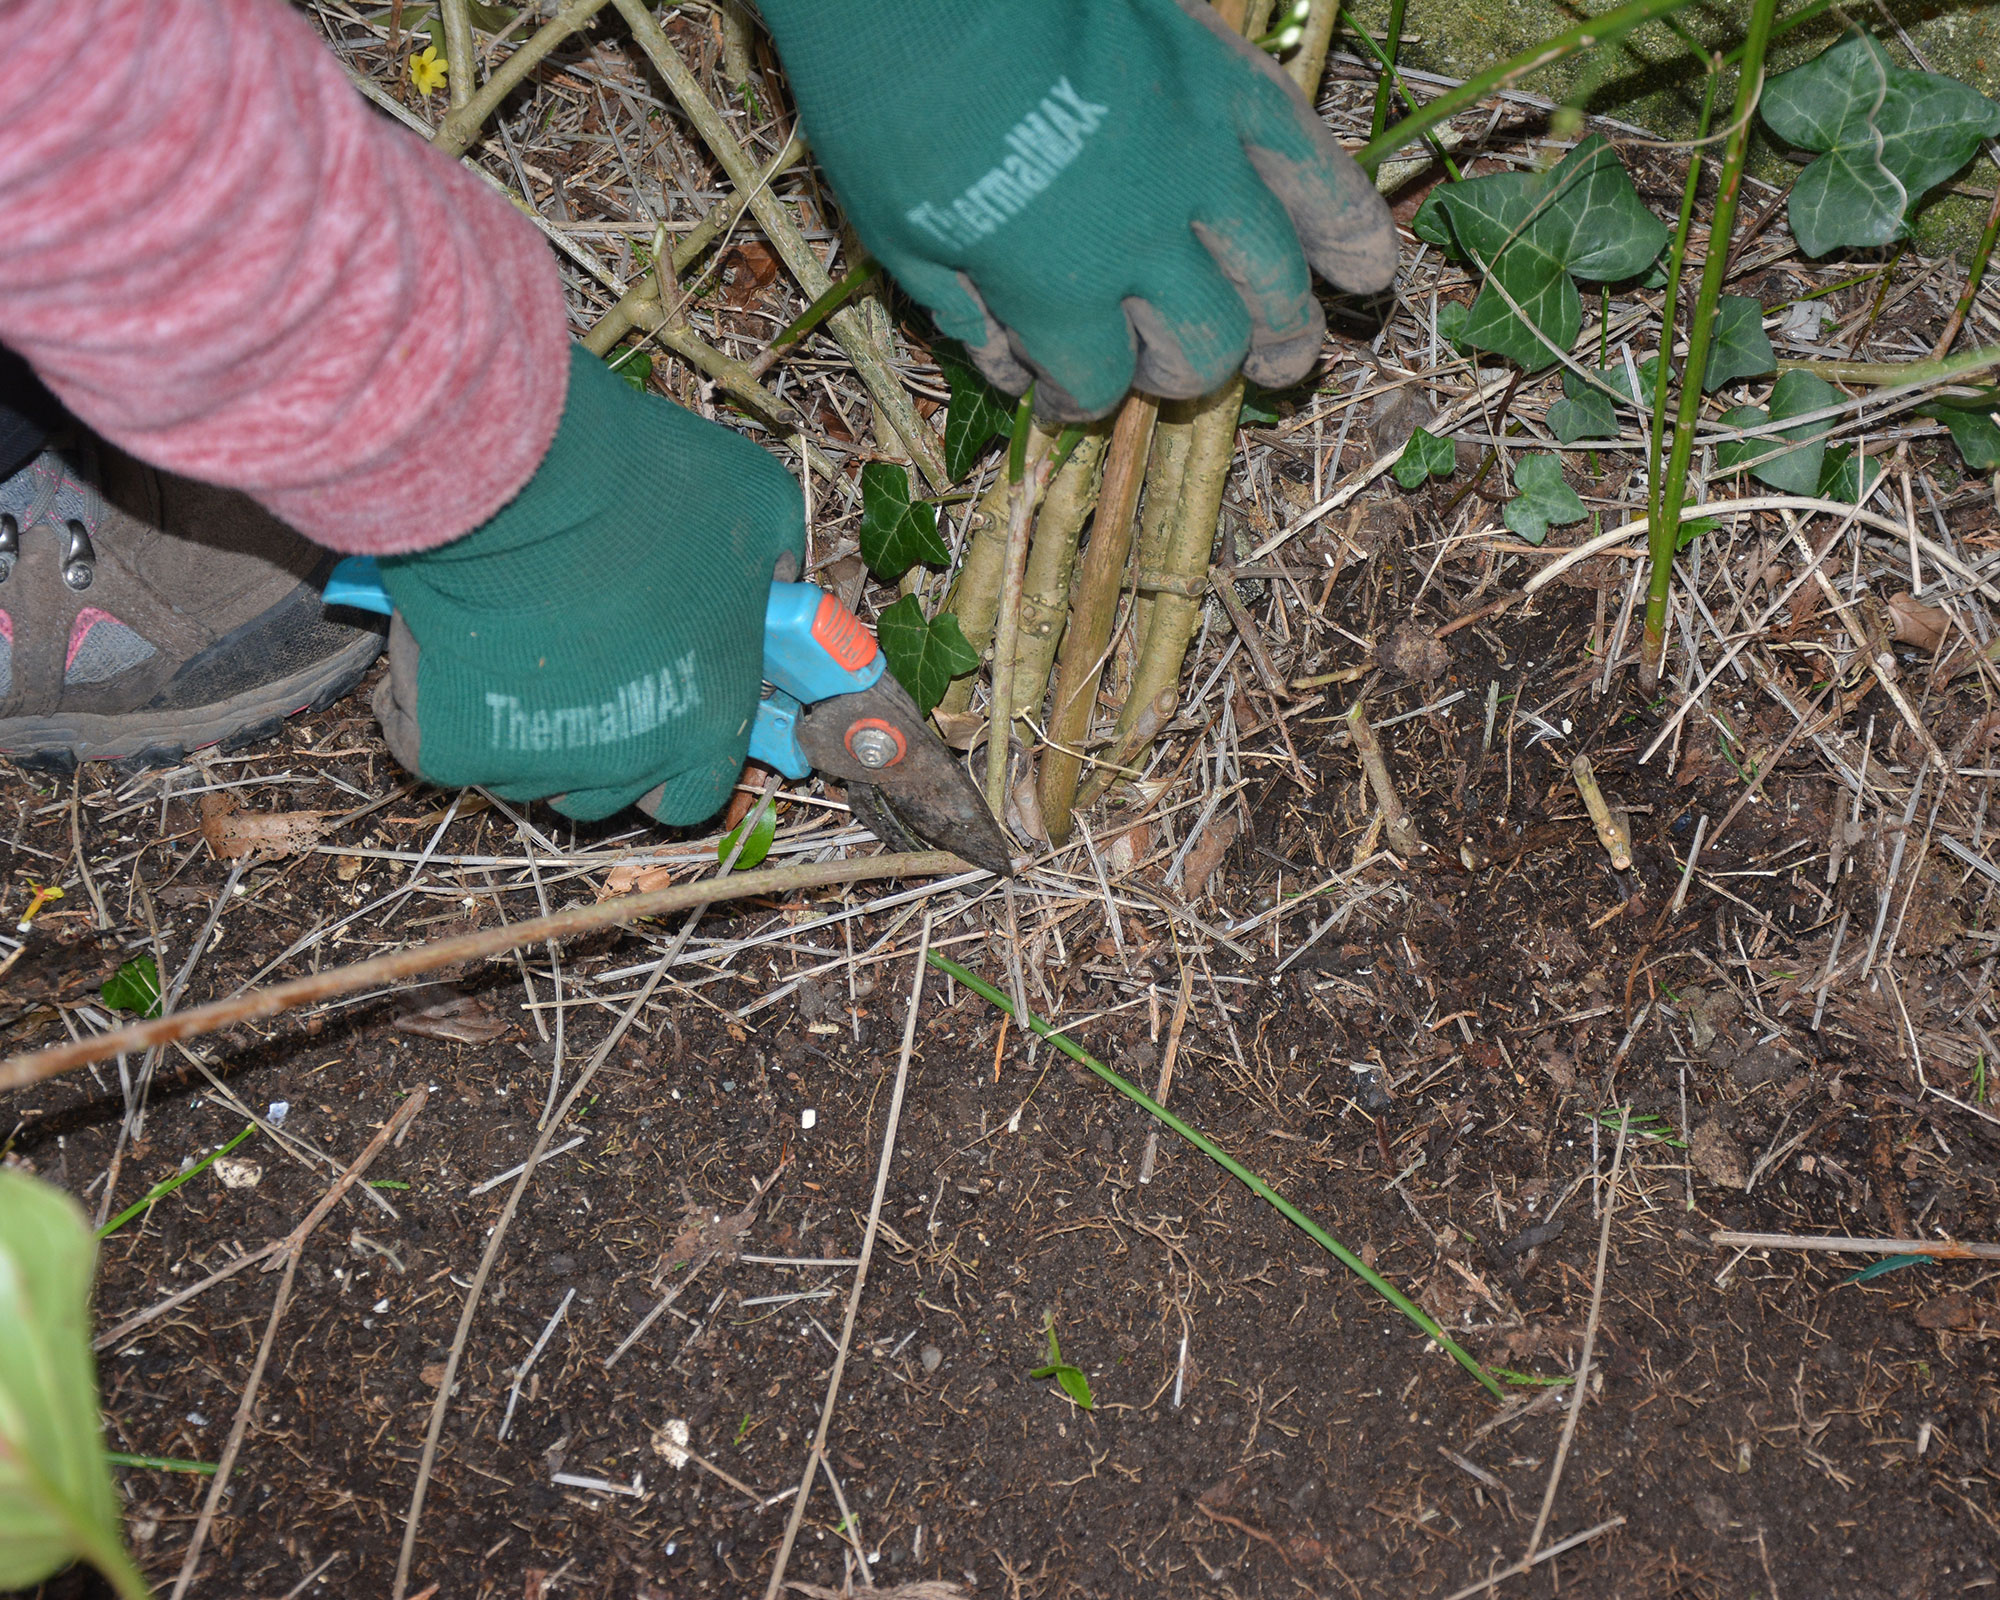
If yours is seriously overgrown and you are uncertain about a heavy trim, shape it gradually over a three-year period. Plants that are young or kept in good shape should only need their side shoots reducing to a healthy bud or a young shoot growing in the direction you want it to continue.
Every few years it is a good idea to remove one or two of the older stems at ground level to declutter the base and allow light, water and nutrients through to the remaining growth.
Finally, feed with granular fertilizer and water it in. Mulching it with well-rotted compost or manure will help to keep it healthy too.
Top tip: Sometimes unpruned jasmine branches grow so long they bend down to the earth and take root. If yours has done this, carefully unearth the rooted end, cut it free from the parent plant leaving around 4in (10cm) attached to the roots, and pot up. It will grow and can be planted elsewhere in the garden next year.
8. Sort your seeds in time for sowing
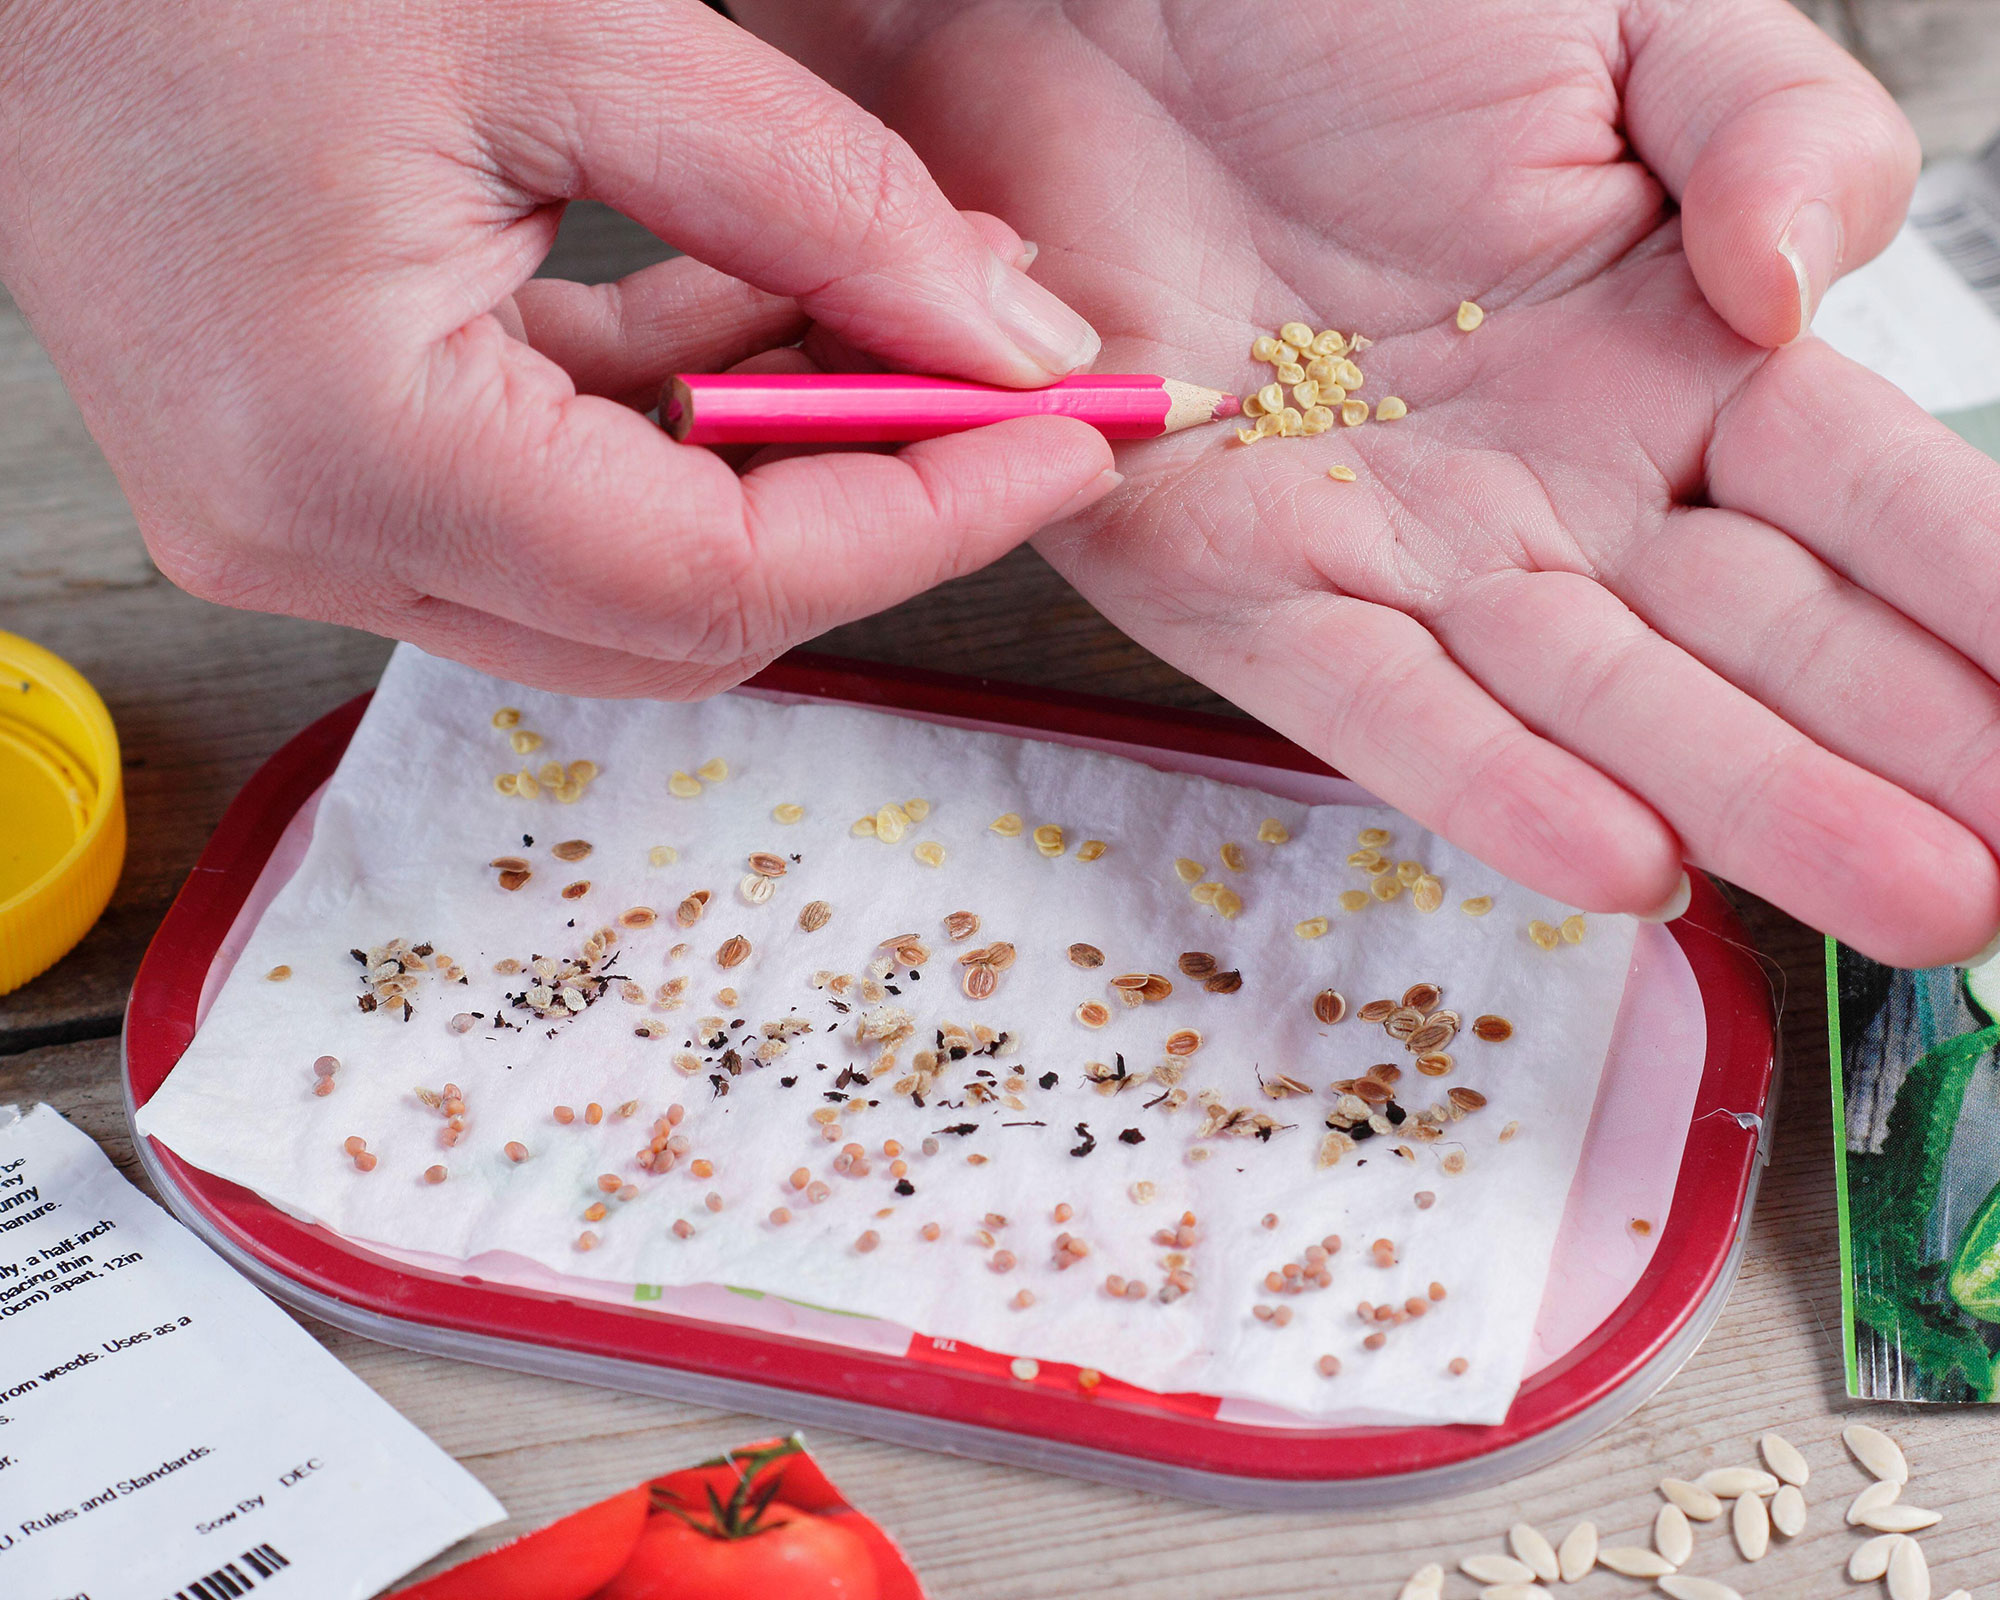
We all have opened and half-sown packets of seed lurking in the shed, but how do we know whether they can still be sown successfully? Most seeds remain viable (able to germinate) for at least a year but most will remain sound for much longer.
But how do you know? Whether you are sowing ornamental or edible seeds, there are a couple of easy ways to tell whether old seeds will still germinate – and as we are now in peak seed-sowing time, it's best to get checking sooner rather than later.
You can sow a few onto a dampened piece of kitchen paper, seal it in a clear plastic bag and place it somewhere light and warm. If the seeds are good, they will start to shoot.
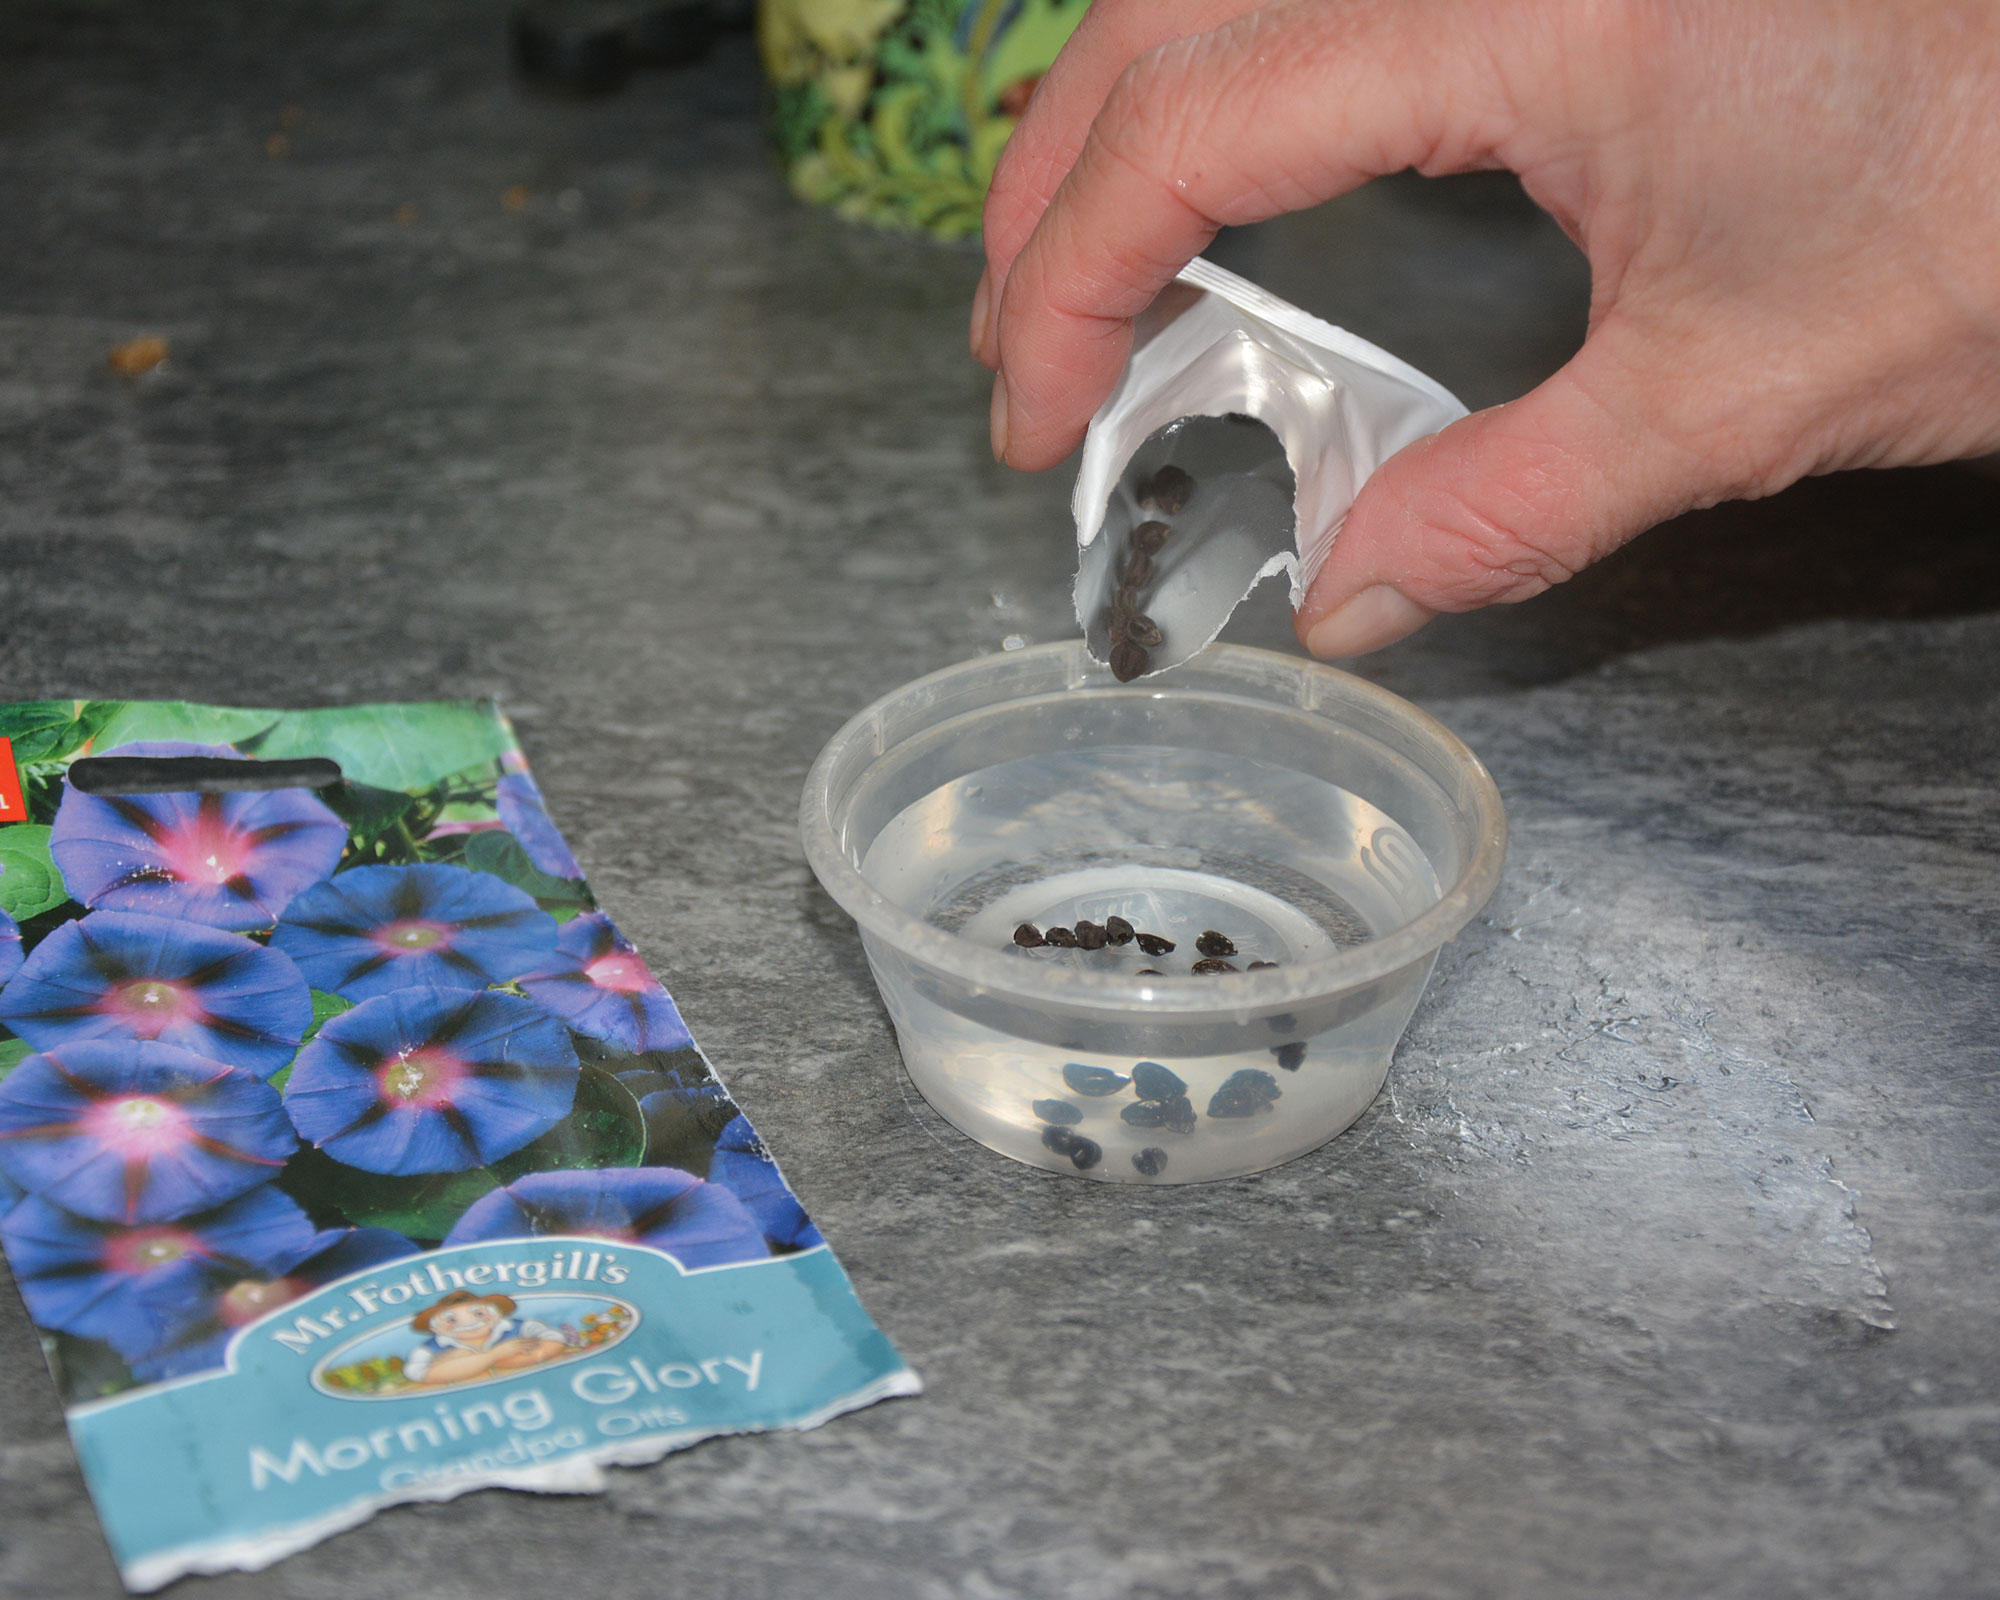
Larger seeds can be popped into a bowl of water. If they sink they will germinate but if they float, discard them.
Don't forget to check out our expert advice on how to grow flowers from seeds before you start germinating yours for this year's garden.
Top tip: Leftover seeds from this year will save until next if they are re-sealed and stored in an airtight box somewhere dry and cool; a fridge is ideal.
9. Prepare roses for summer
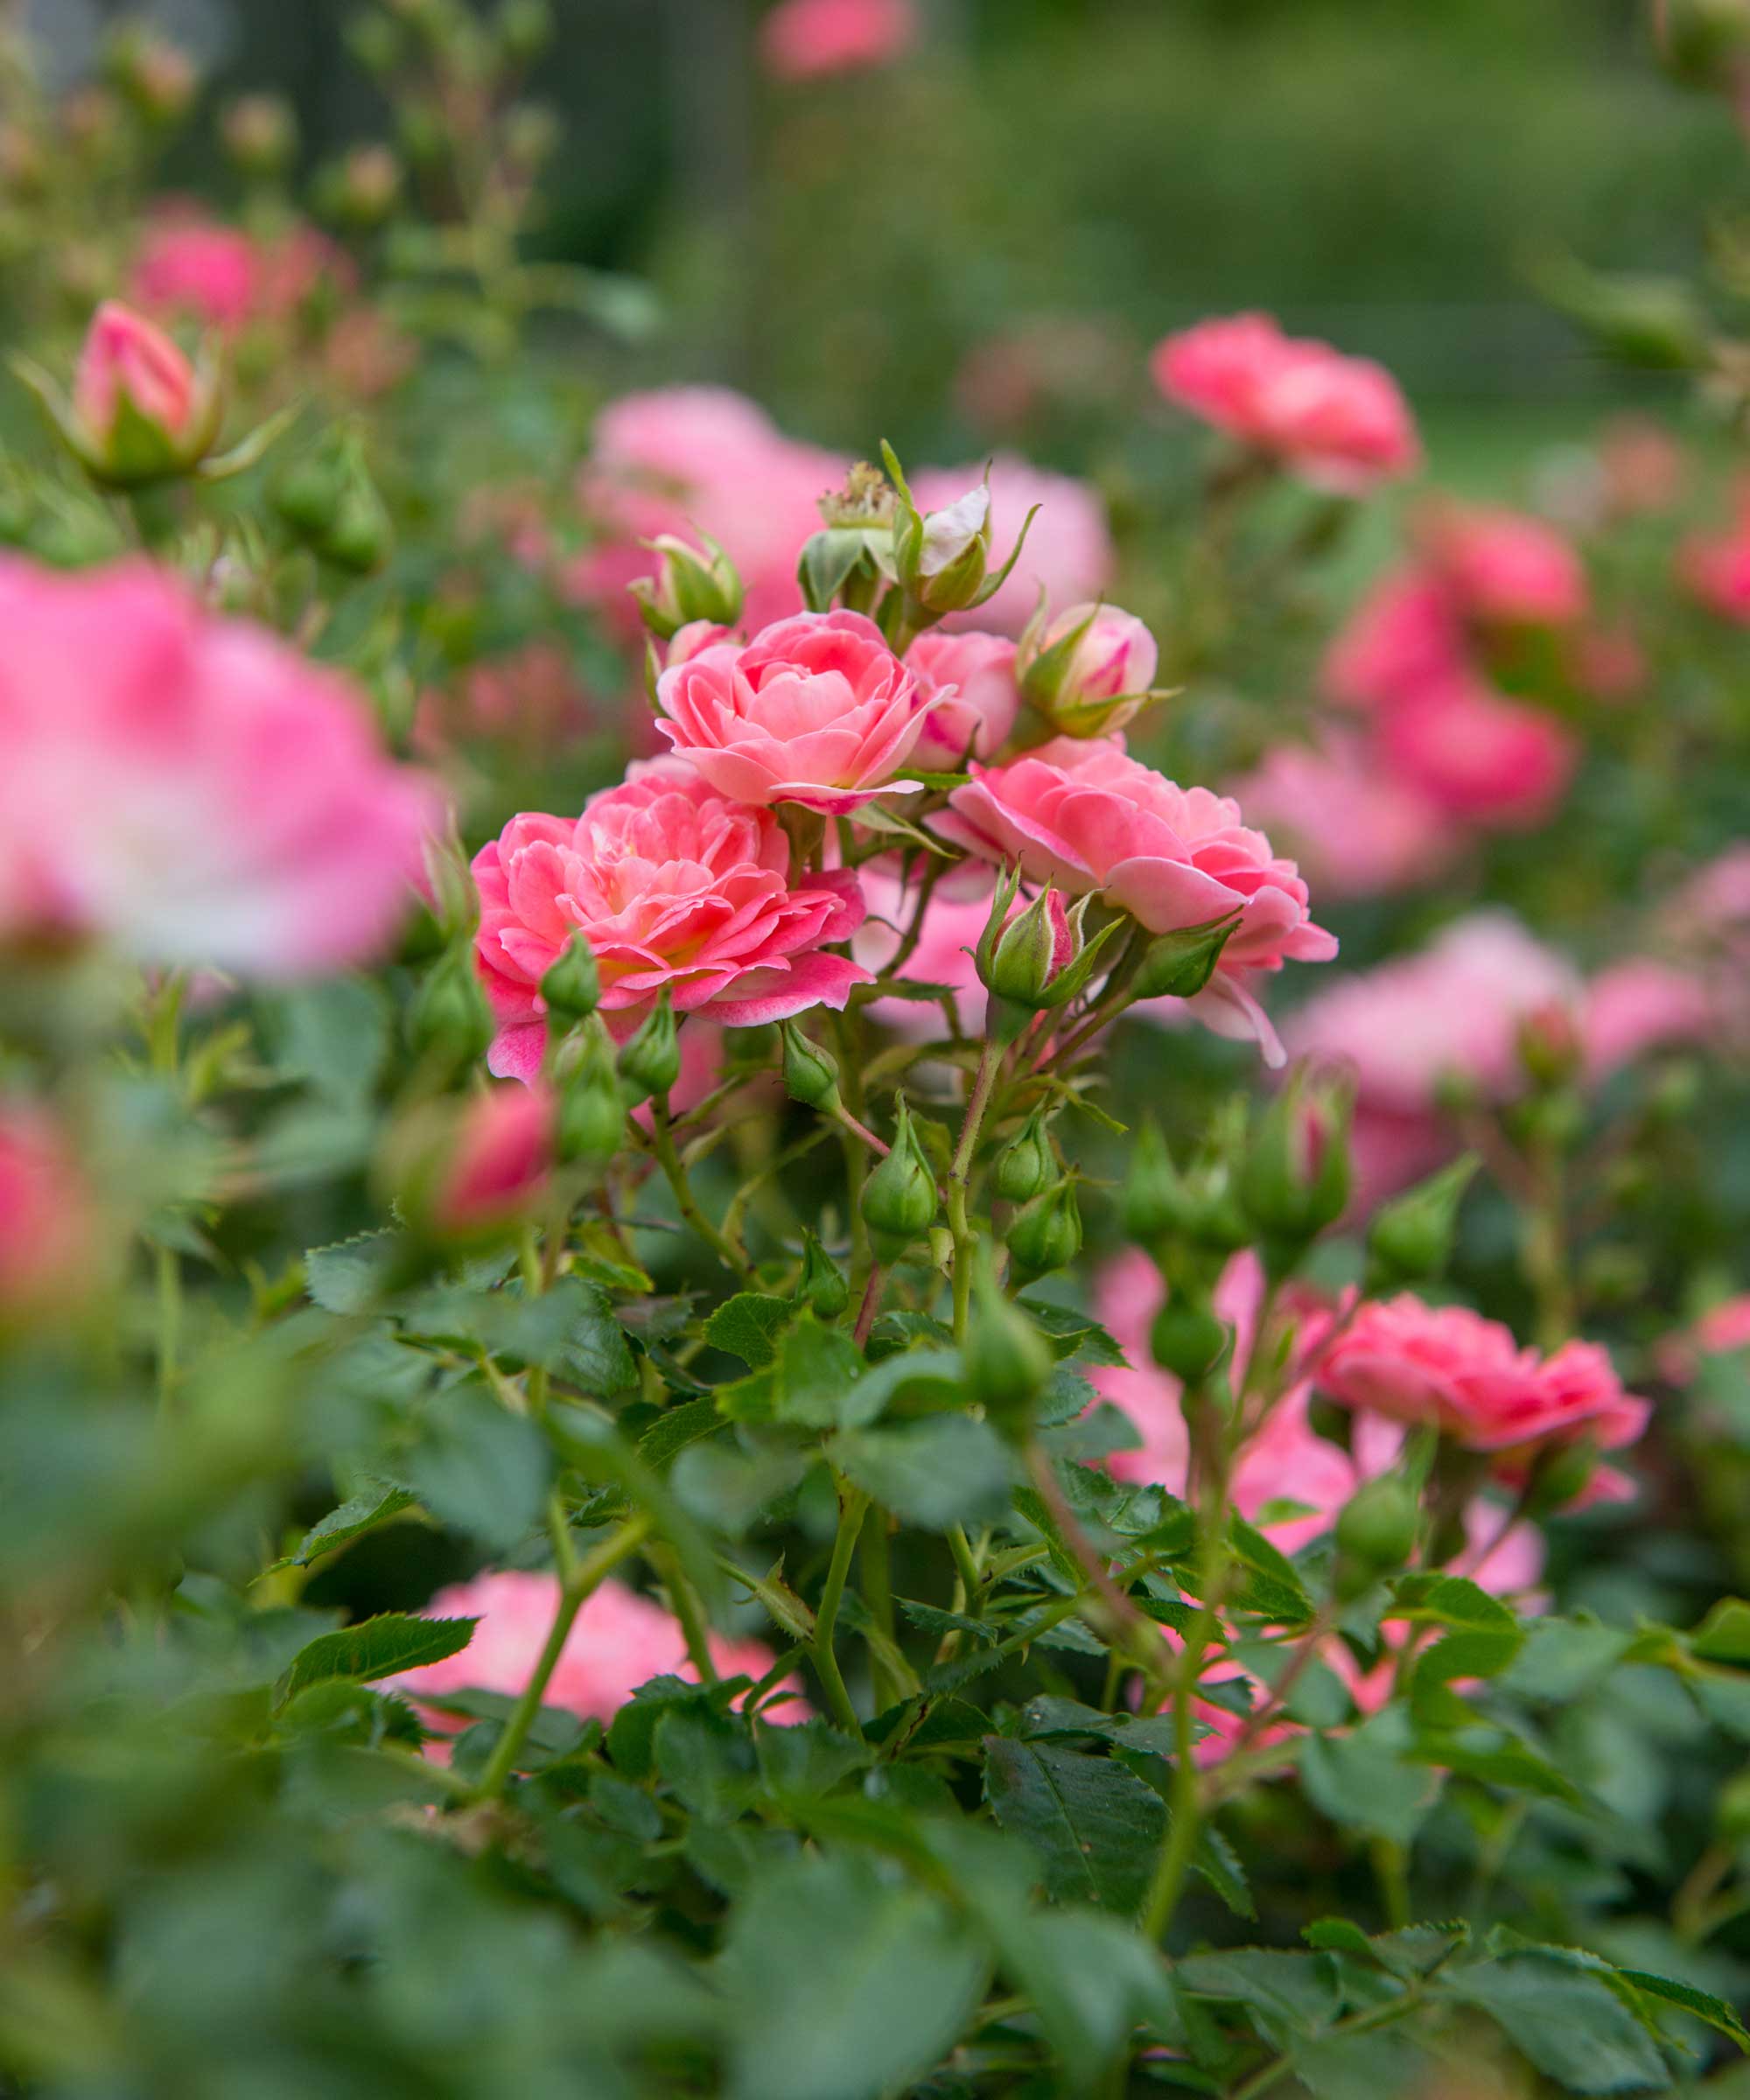
When it comes to how to prune roses at this time of year, bush roses can take a hard prune; in fact they flourish and will send out lots of new shoots as a result.
Whether or not you cut yours back by a third in autumn to help protect them from wind damage, in late winter you can cut them back really hard and although this is a scary prospect, it will actually help them flourish.
Do remember though, this is only for shrub roses, not for climbing and rambling varieties.
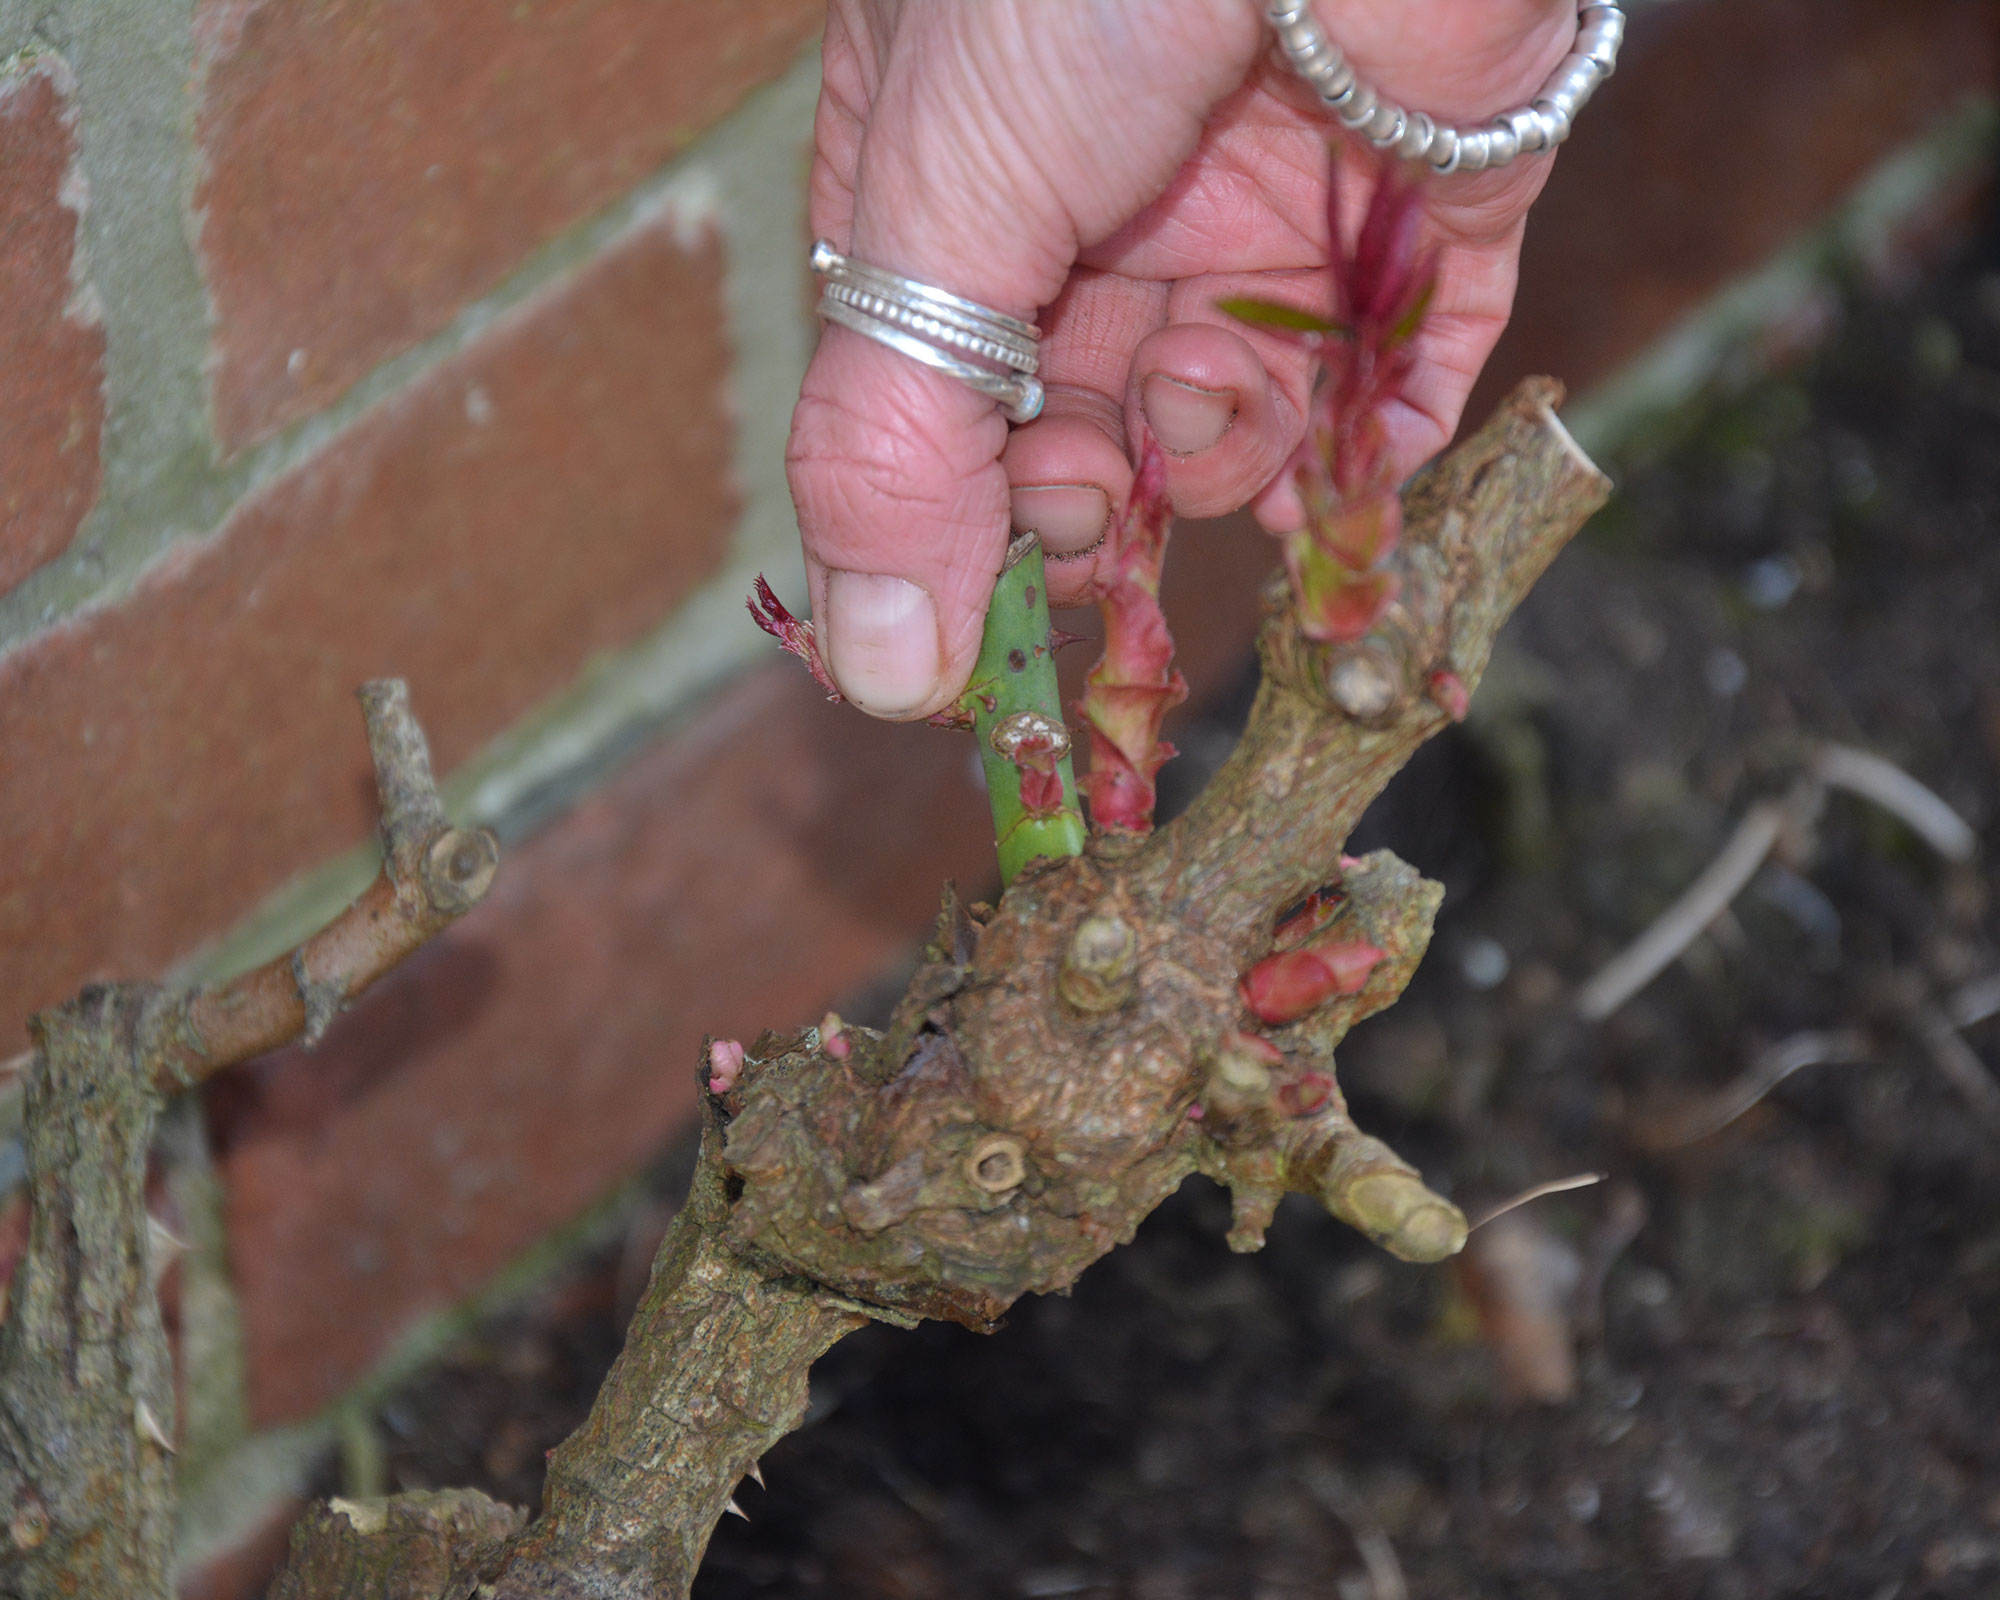
Last winter I cut our inherited floribunda right back to just over ankle height. I was slightly alarmed by my bravado but it paid off as lots of new shoots appeared and the plant produced masses of brilliant deep red flowers from summer right through to early December. Not only that, but it wasn’t afflicted by the fungal disease rose black spot.
Climbing roses are trimmed and tied in, and ramblers are tied and left until flowering in summer, when they can be pruned as required.
Top tip: The ideal shape for shrub roses is an elegant goblet that has an open centre to let air flow through and keep the plant healthy. If new shoots are encroaching inwards, remove them or rub off any inward-facing buds.
10. Cut back ornamental grasses
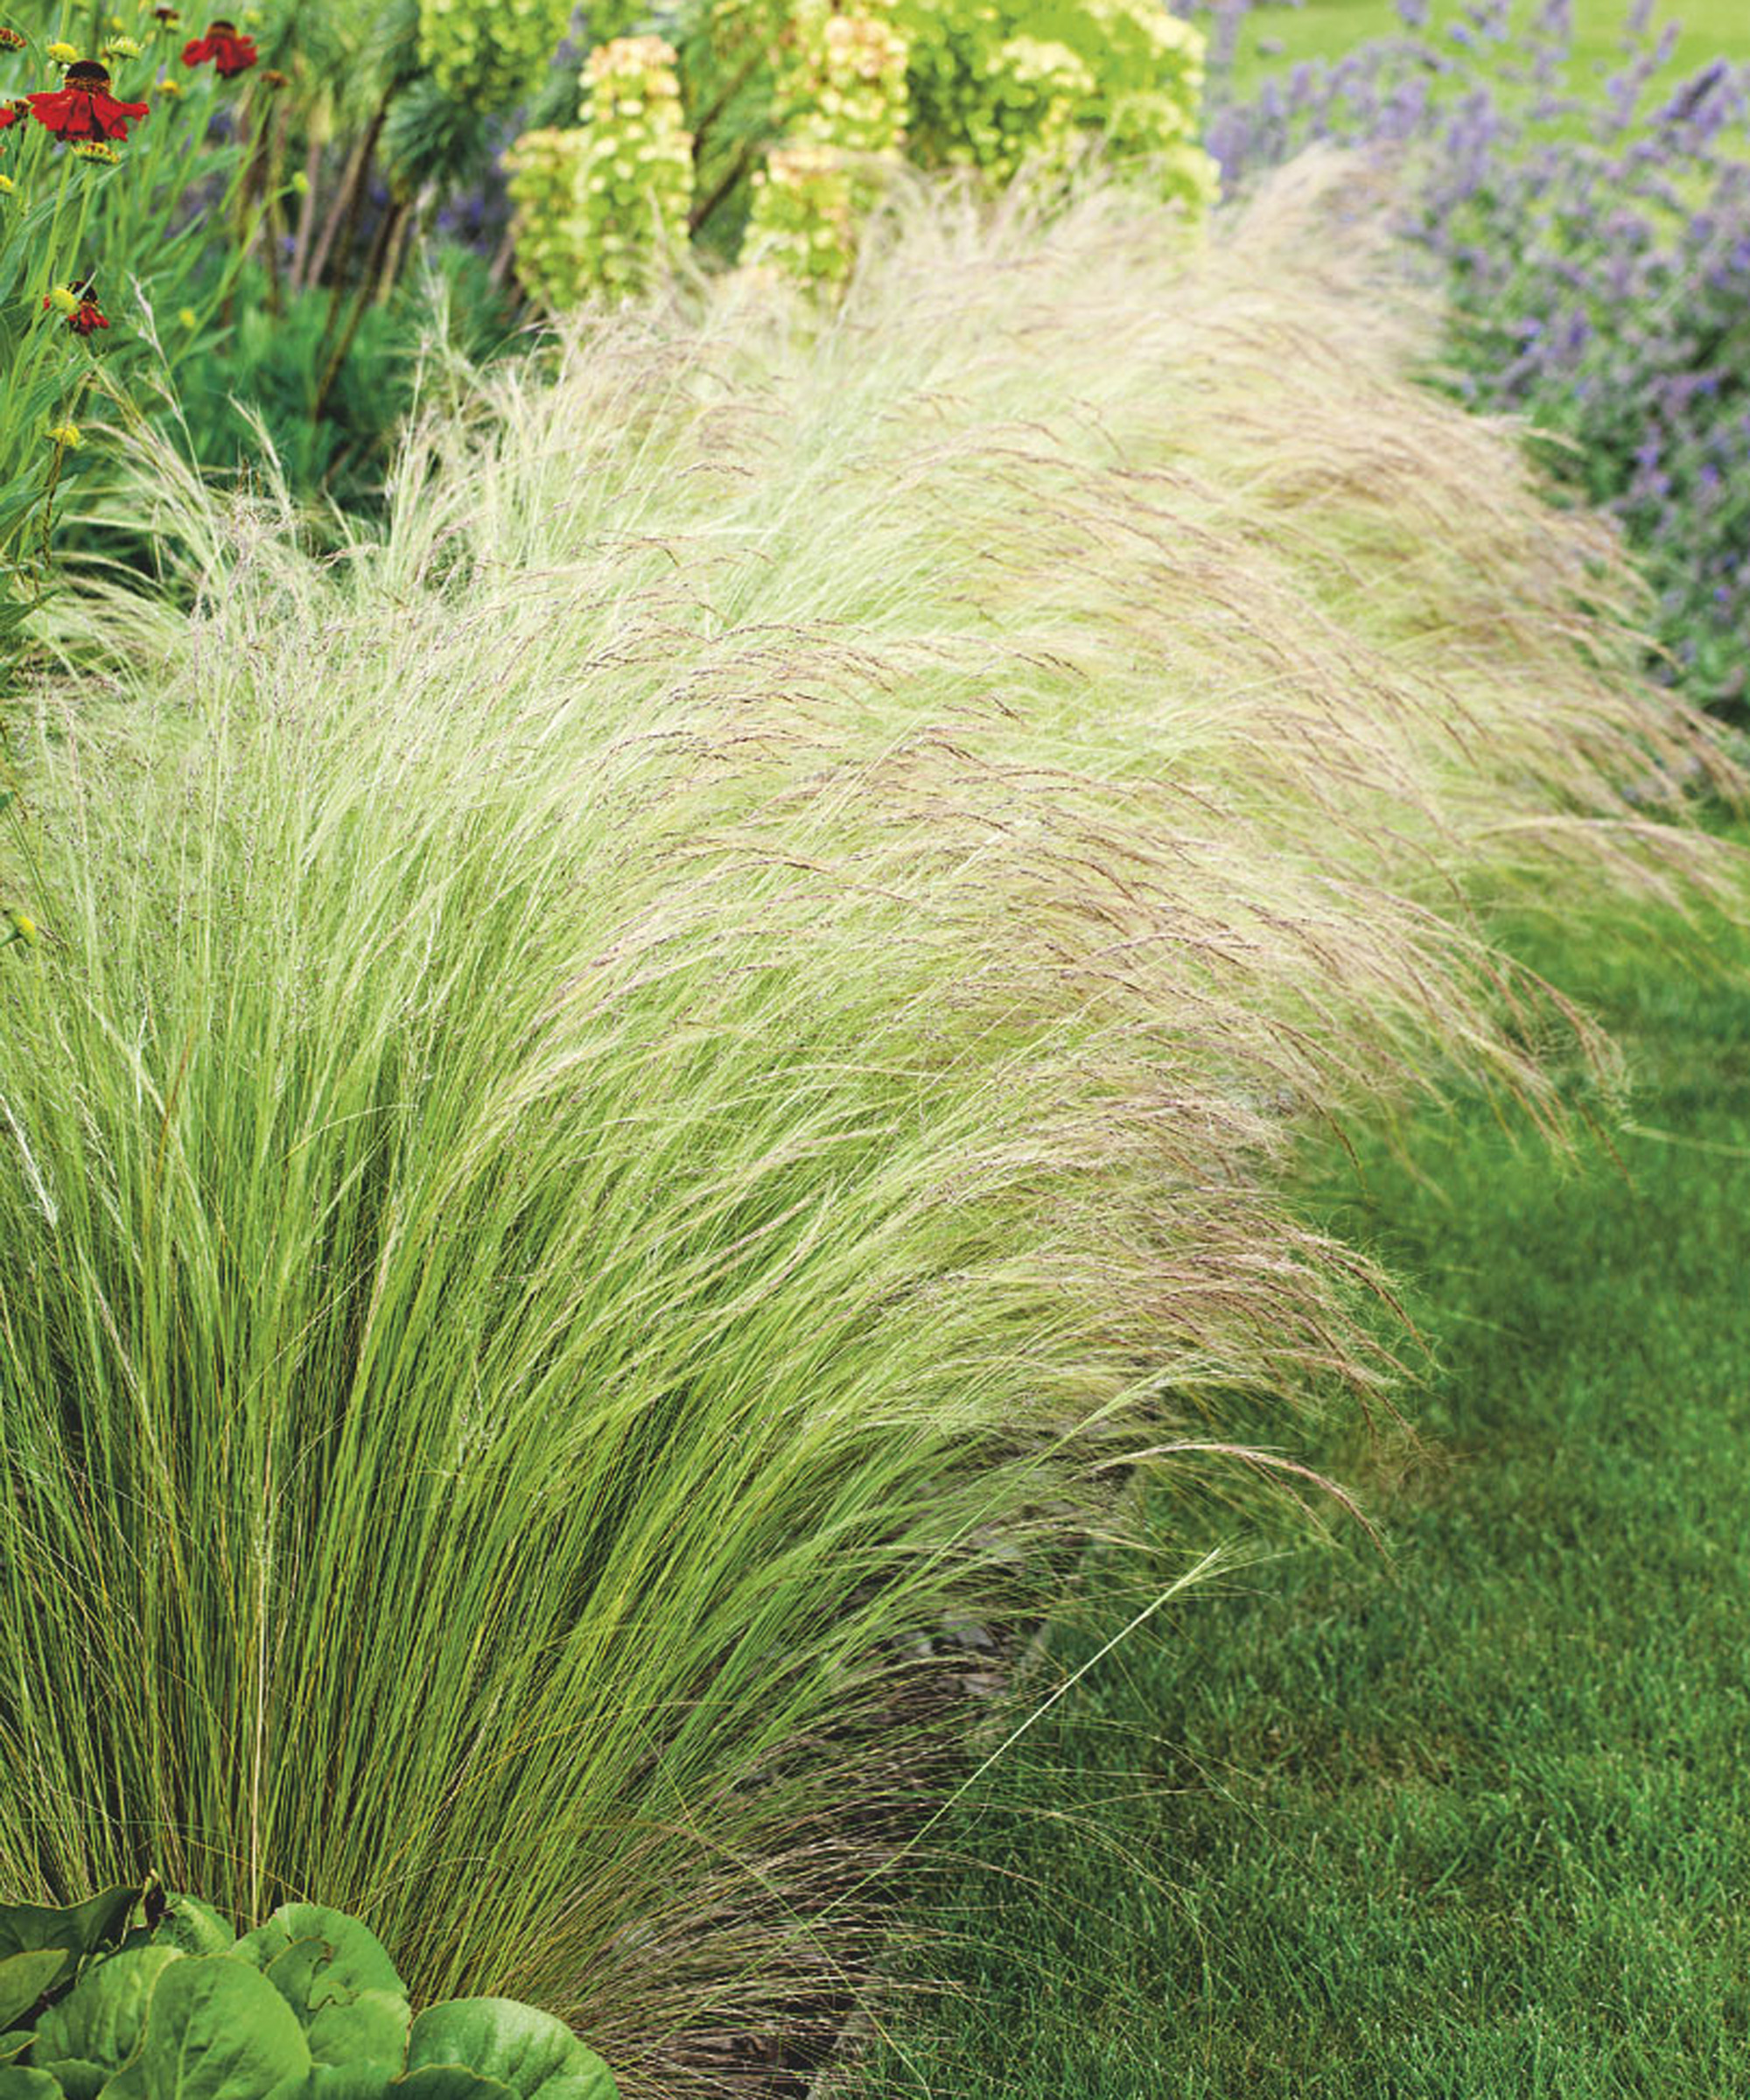
There are many types of ornamental grass and lots of them can be left alone when winter comes, as their elegant fronds and seedheads give interest and look wonderful when touched by frost on clear, freezing mornings. But by now they will be a bit bedraggled and weather-worn, and will need cutting back in order to look their best this summer.
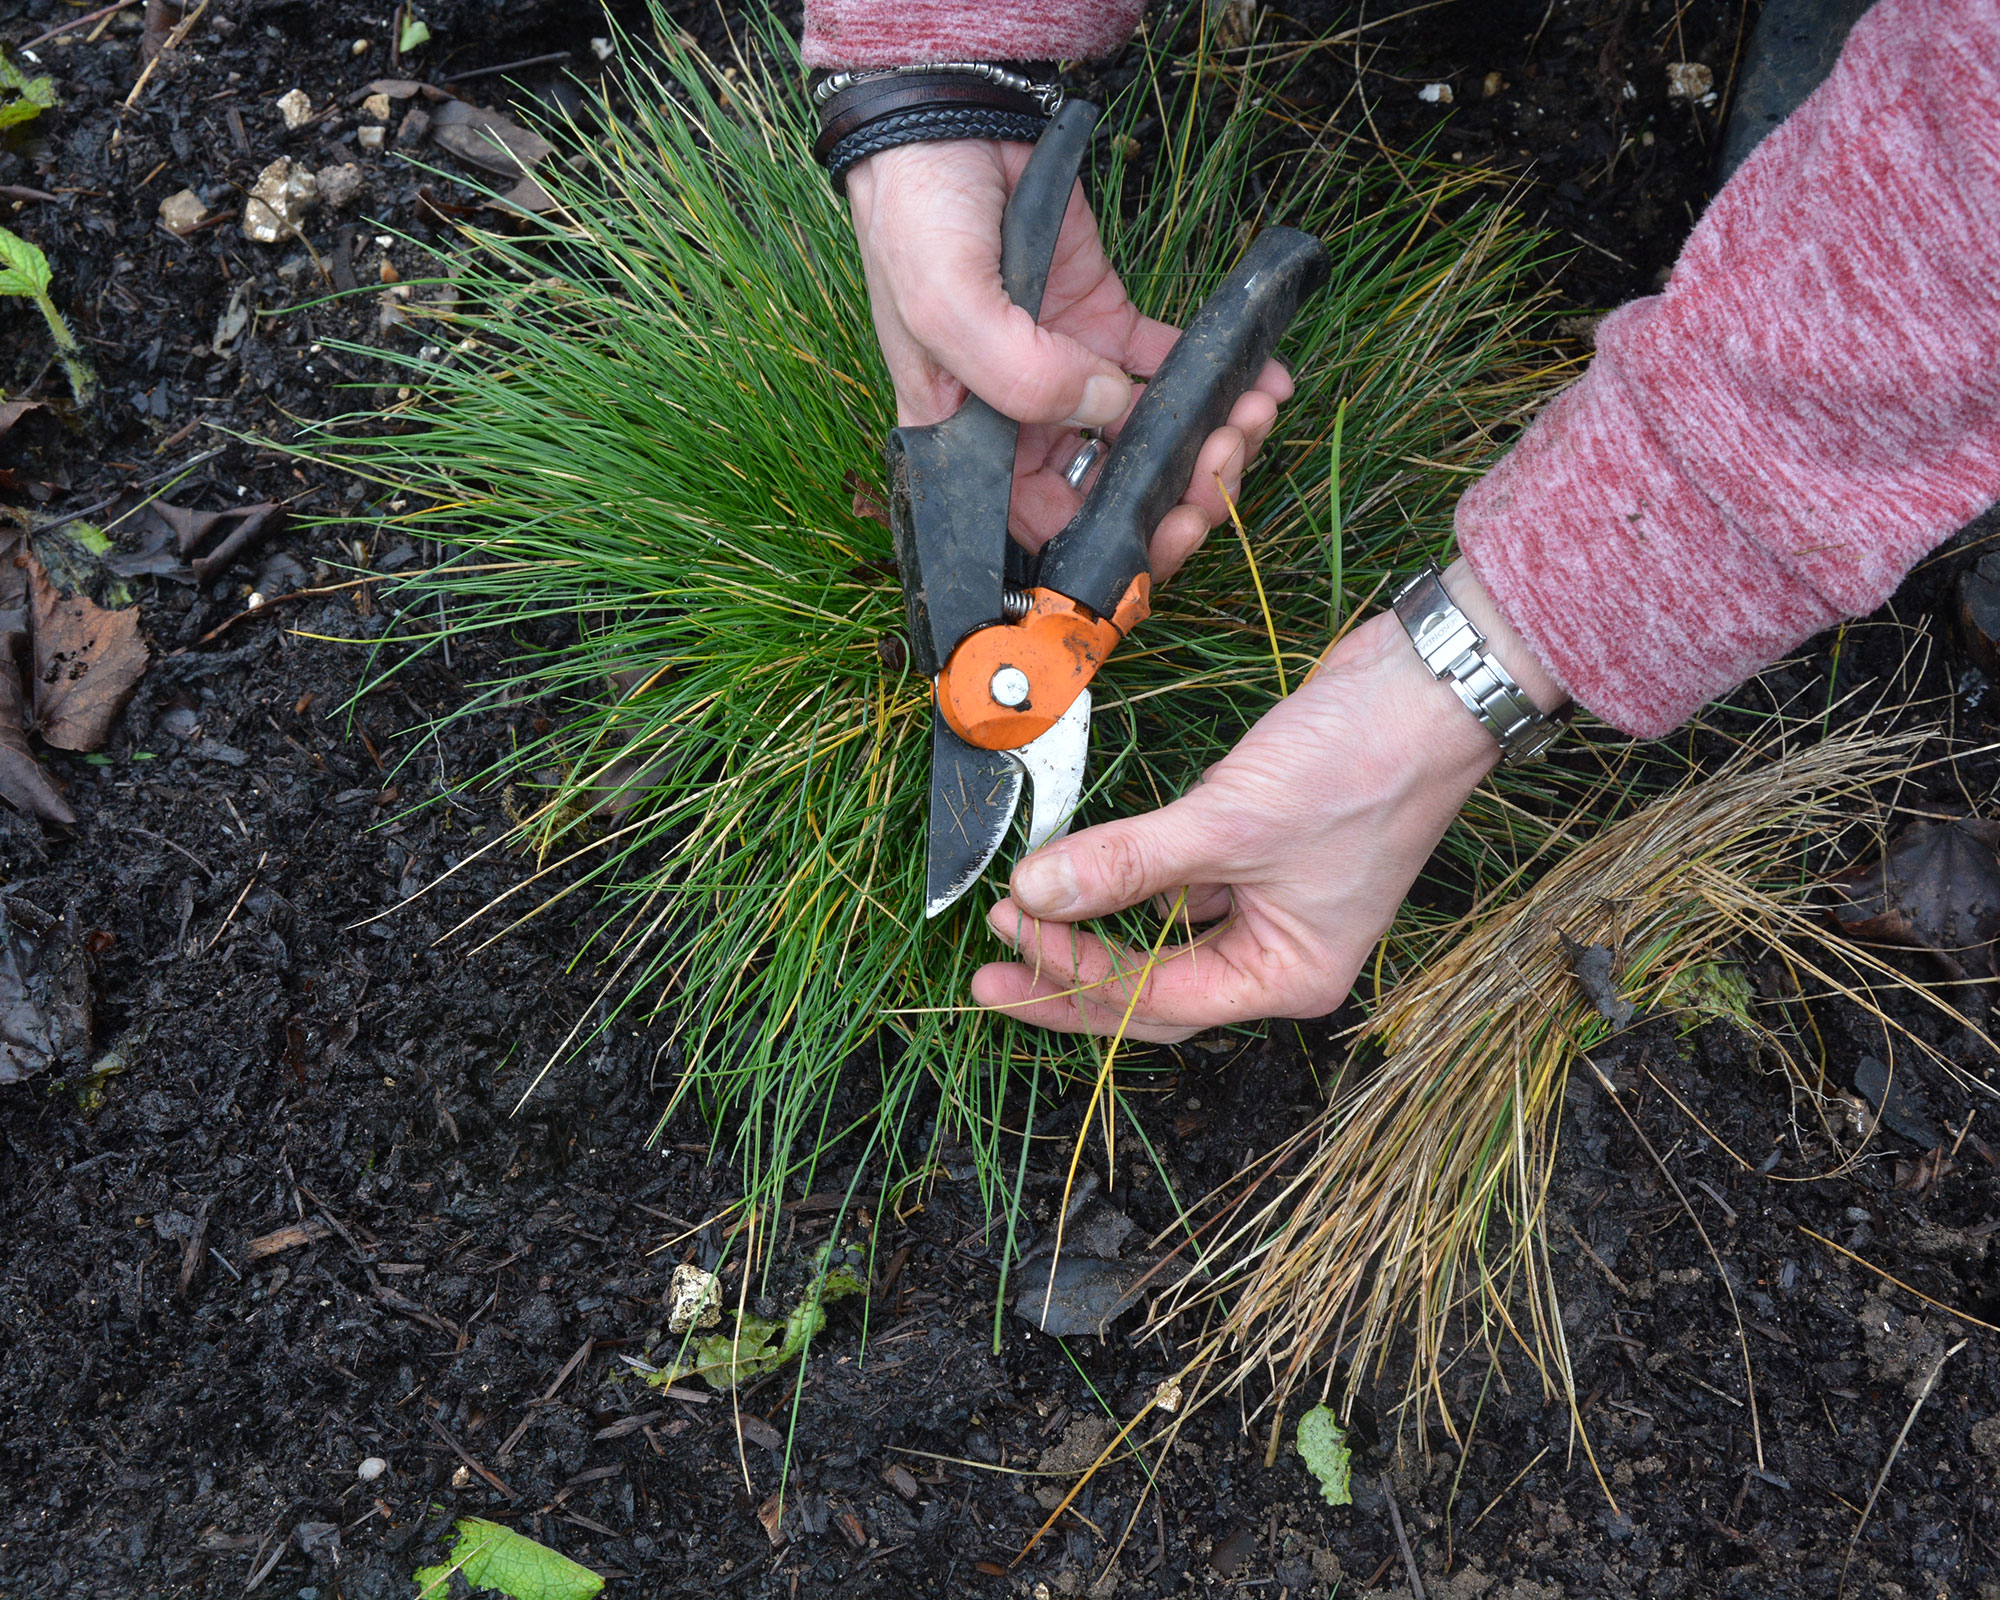
In general terms, deciduous grasses can be cut right back to remove the dead, brown fronds and make room for fresh growth.
Evergreen varieties do not respond well to such a hard chop, so limit yourself to removing dead blades at the base and simply removing any browning tips.
Ruth is the gardening editor of Amateur Gardening magazine and spends her working days carrying out, writing about and photographing the tasks the readers should be carrying out each week, as well as testing many of the new products that arrive on the gardening market. She is horticulturally trained, with a qualification from the Royal Horticultural Society.
