April gardening jobs: our top 10 tasks to do this month
Tick off these April gardening jobs so you can enjoy a colorful, healthy garden this spring and summer

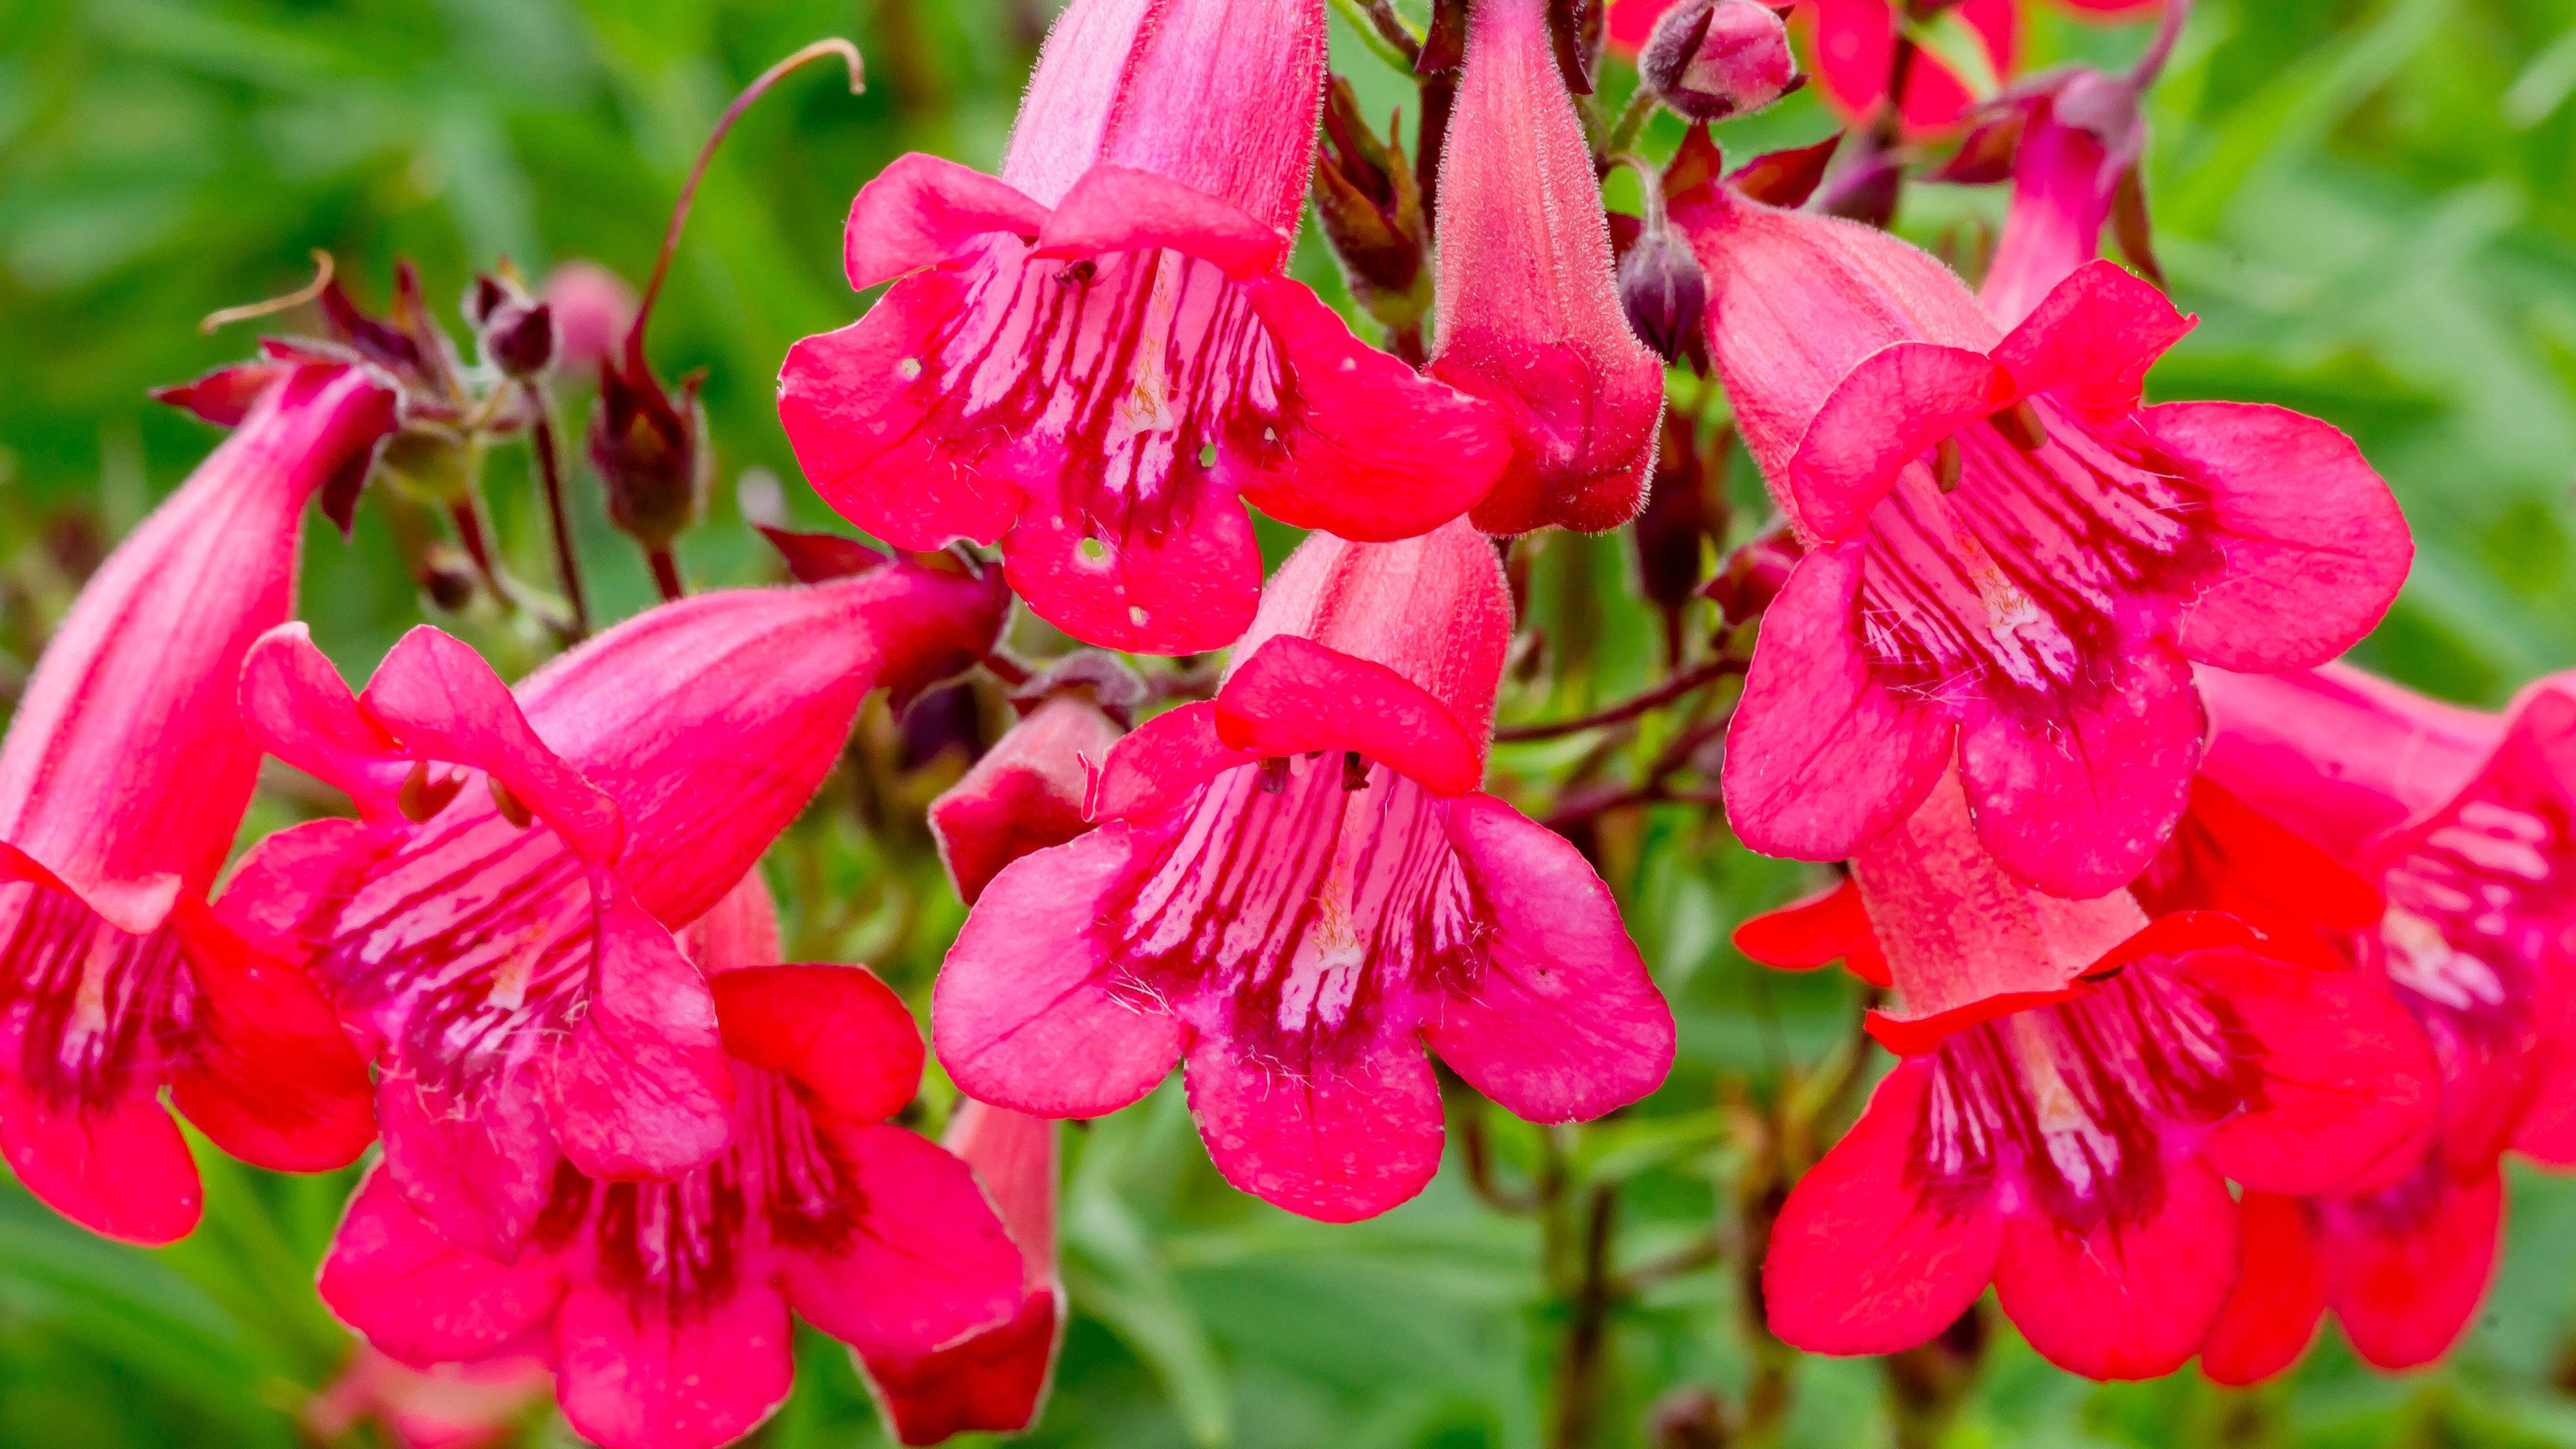
April gardening jobs come thick and fast as it is the prime month for getting your plot ready for the rest of the year.
The soil will be warming up and dampened by showers, making it perfect for planting and sowing, and plants are growing well, filling beds, borders and containers with that luscious fresh green that is the calling card of spring.
You will be kept busy in the greenhouse too, where seedlings and cuttings will be bursting from their compost while tender plants will be growing again after their winter dormancy.
All of which means it's a busy time in the monthly gardening calendar, so get outside and tick off these top 10 tasks to ensure your garden is looking its best for the warmer weather ahead.
Keep busy with our list of April gardening jobs
The most important April gardening jobs include some of the best ways of keeping plants healthy and flowering, as well as preparing your plot for the longer days and plentiful sunshine ahead.
1. Boost your daffodil blooms for next year
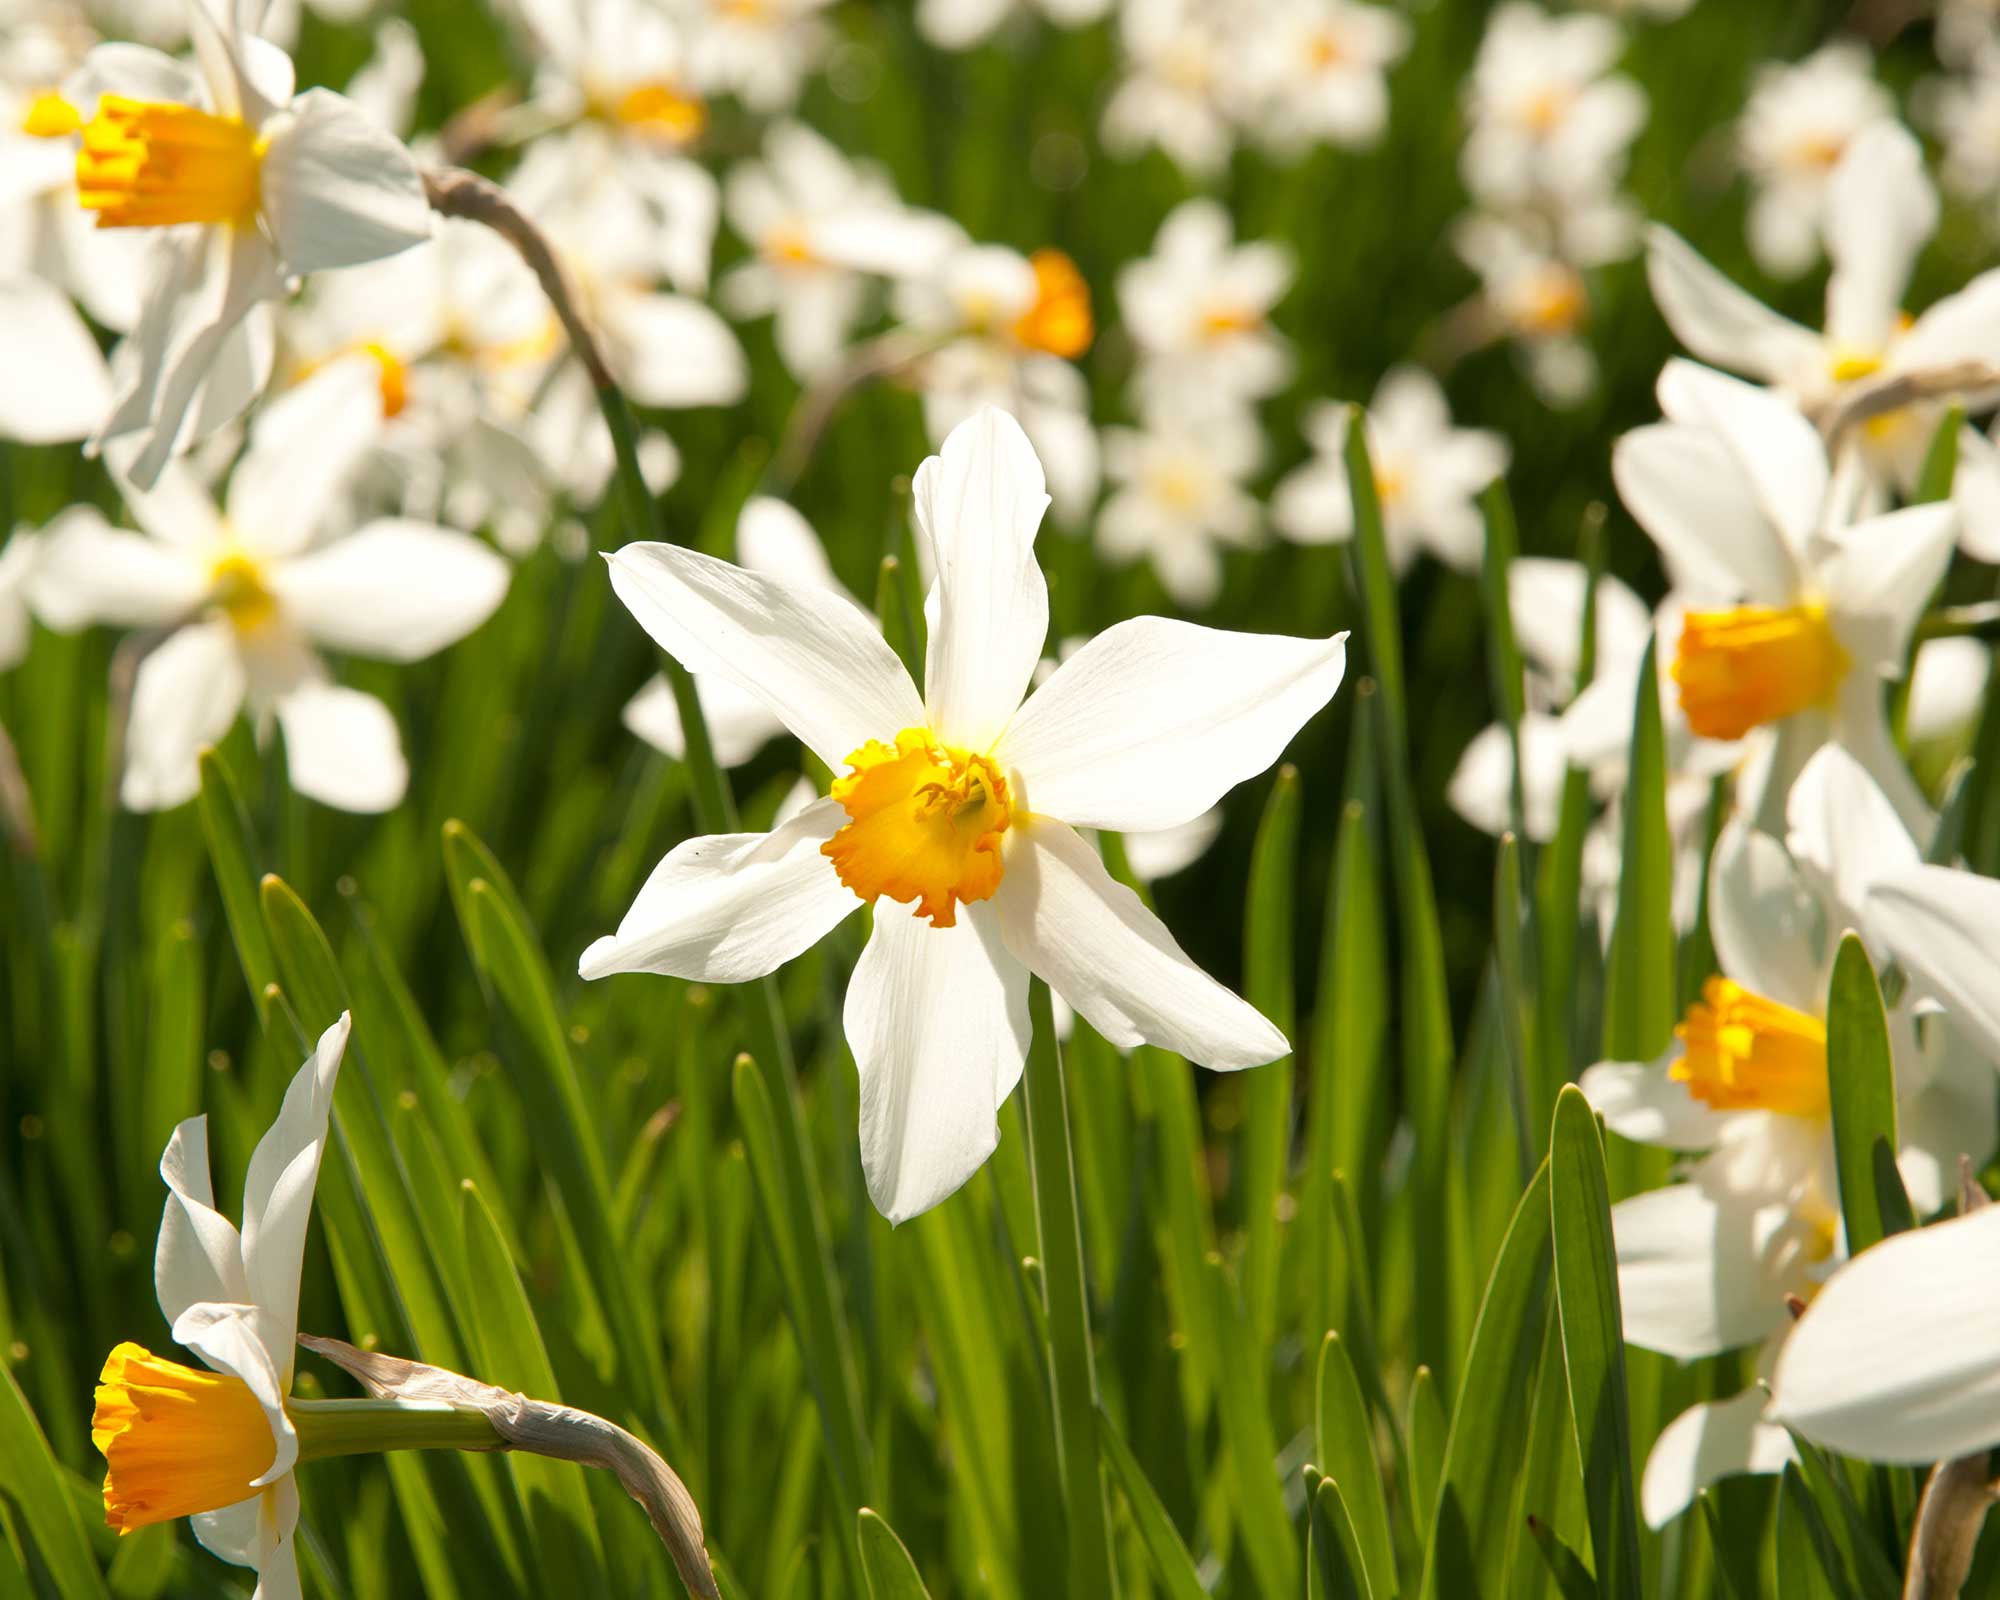
By now you will know which of your daffodils have done well and which have come up blind, with lots of leaves but no flowers.
There are several reasons why daffodils fail to flower, the main ones being their bulbs have been attacked by pests or disease or they are planted too shallow and in the wrong place. It's why knowing how and when to plant daffodil bulbs can often be key to their chance of success.
If yours haven't flowered properly this year, the first thing to do is carefully dig them up, using a spade rather than a garden fork that can spear the bulbs. Check they are firm and not soft, showing signs of rotting or pests.
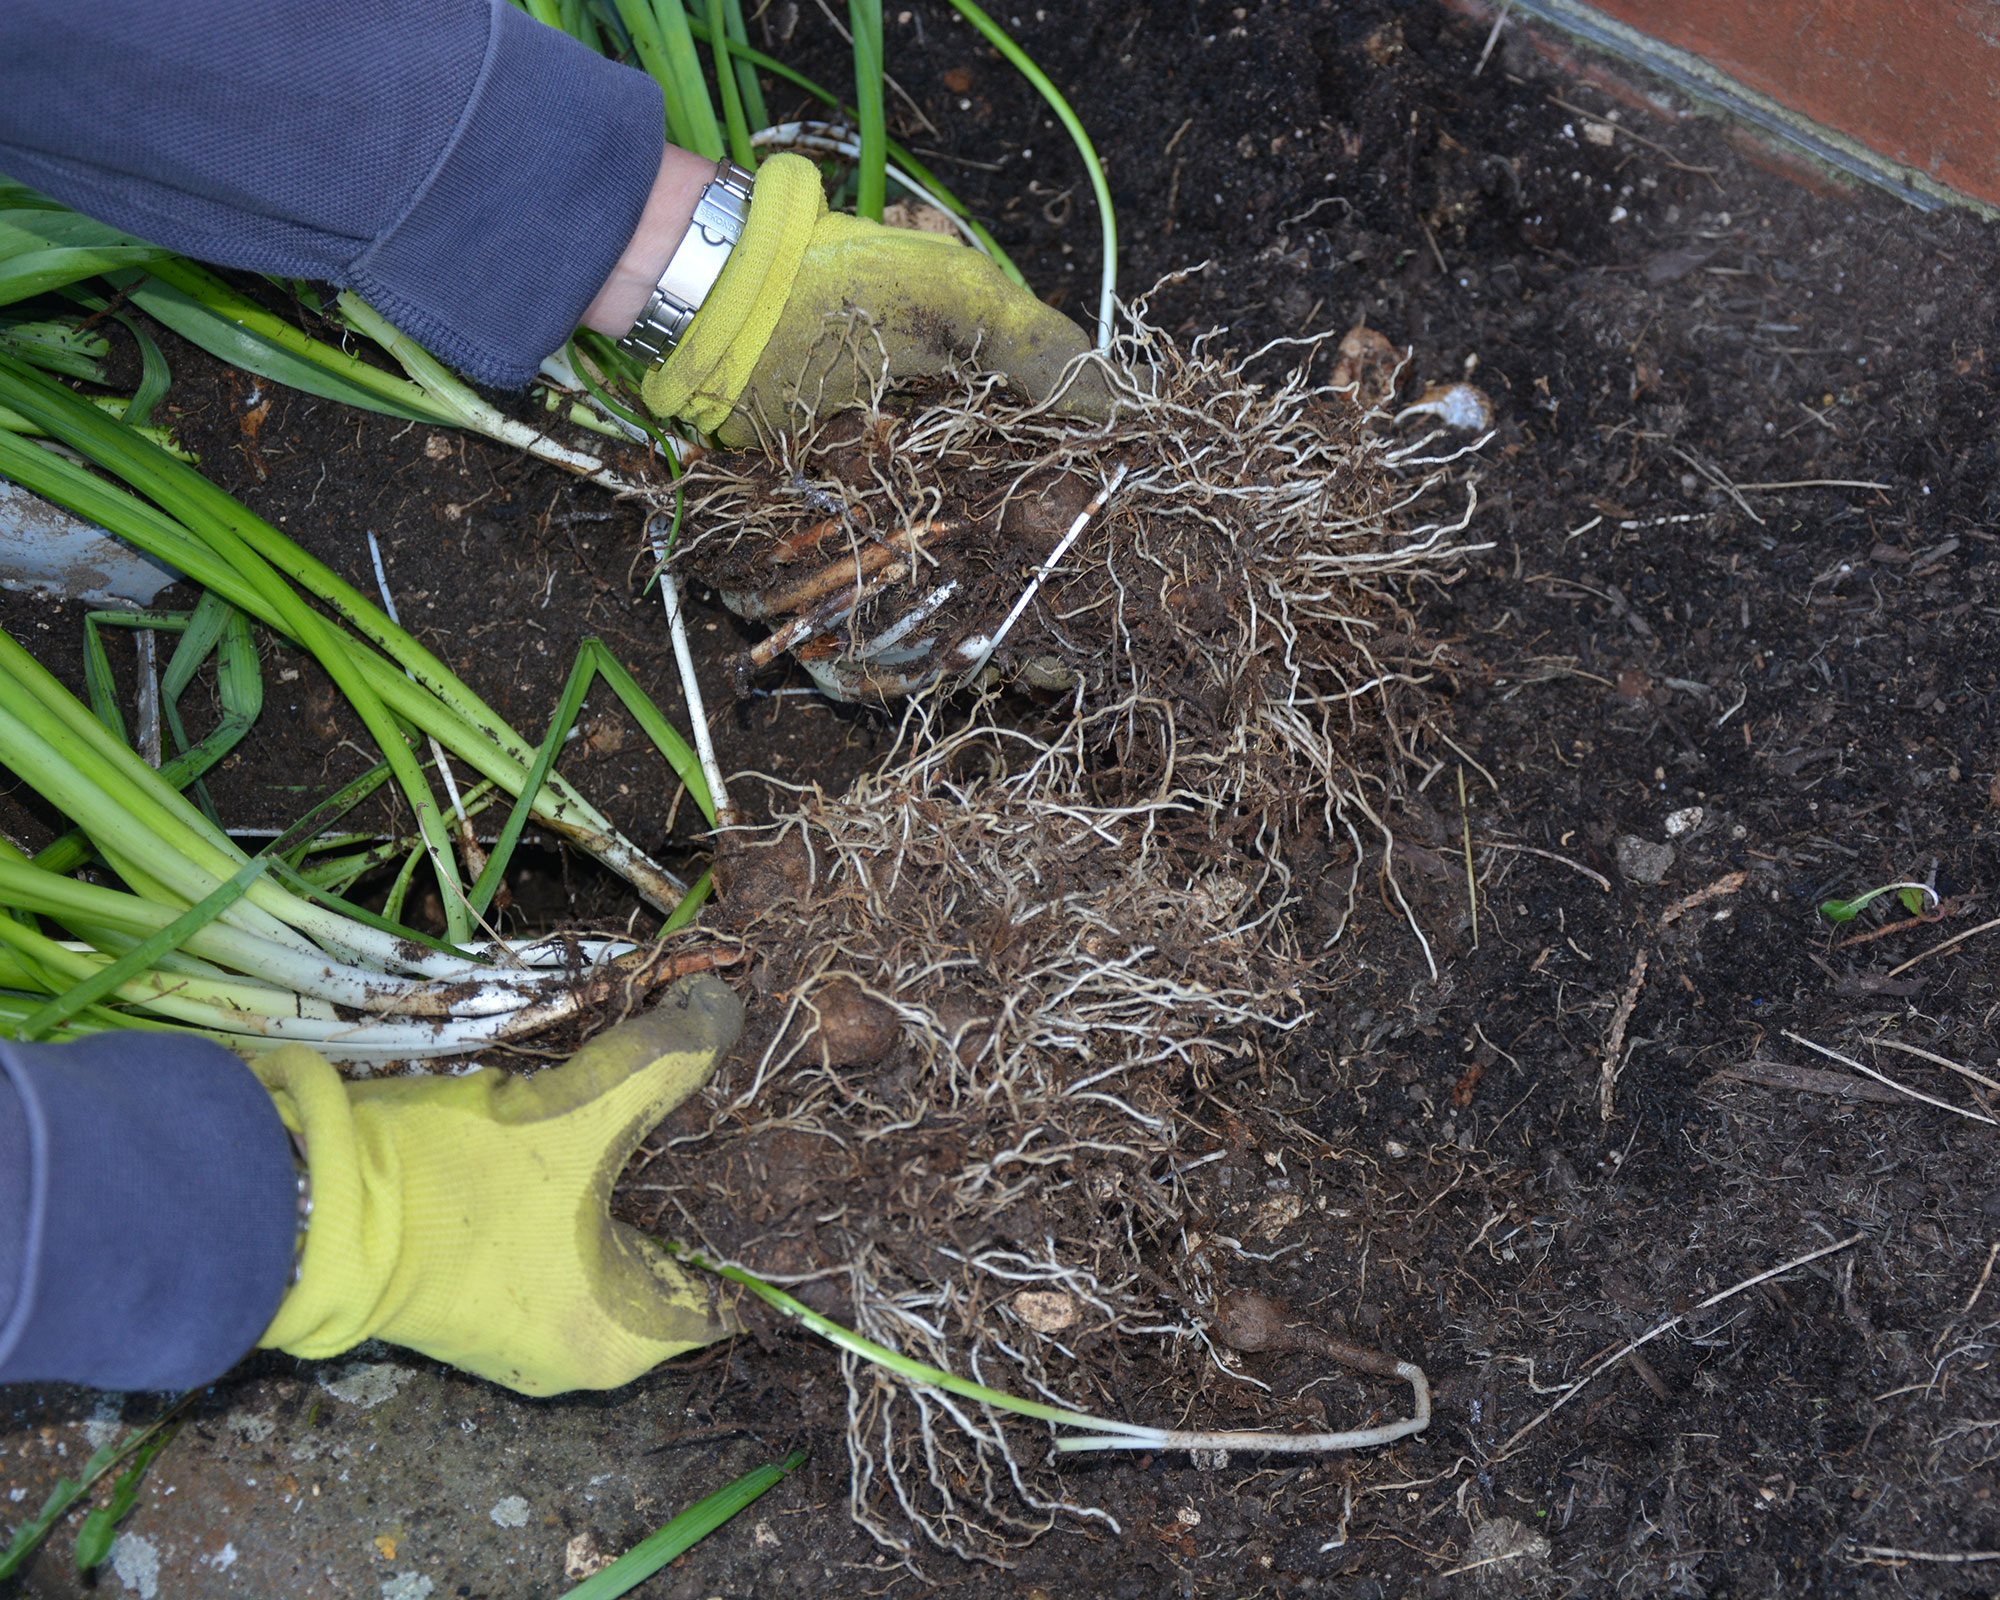
Next, replant them in a sunny spot in soil that has been enriched by forking in a generous amount of well-rotted compost or manure or a fertilizer such as chicken manure pellets.
Set the bulbs at a rough depth of three times their own height, and a bulb’s width apart. Cover with soil, firm it down and water well. Then – and this is most important – feed the bulbs fortnightly with a solution of liquid tomato fertilizer and leave the leaves to die down naturally. They will return goodness to the bulbs so you should get lots of flowers next year.
Top tip: If you have no room to replant your bulbs, let them die back naturally, which takes around six weeks, then dig them up and store them somewhere cool and dry until fall when they can be replanted as above.
2. Show your potted shrubs some love
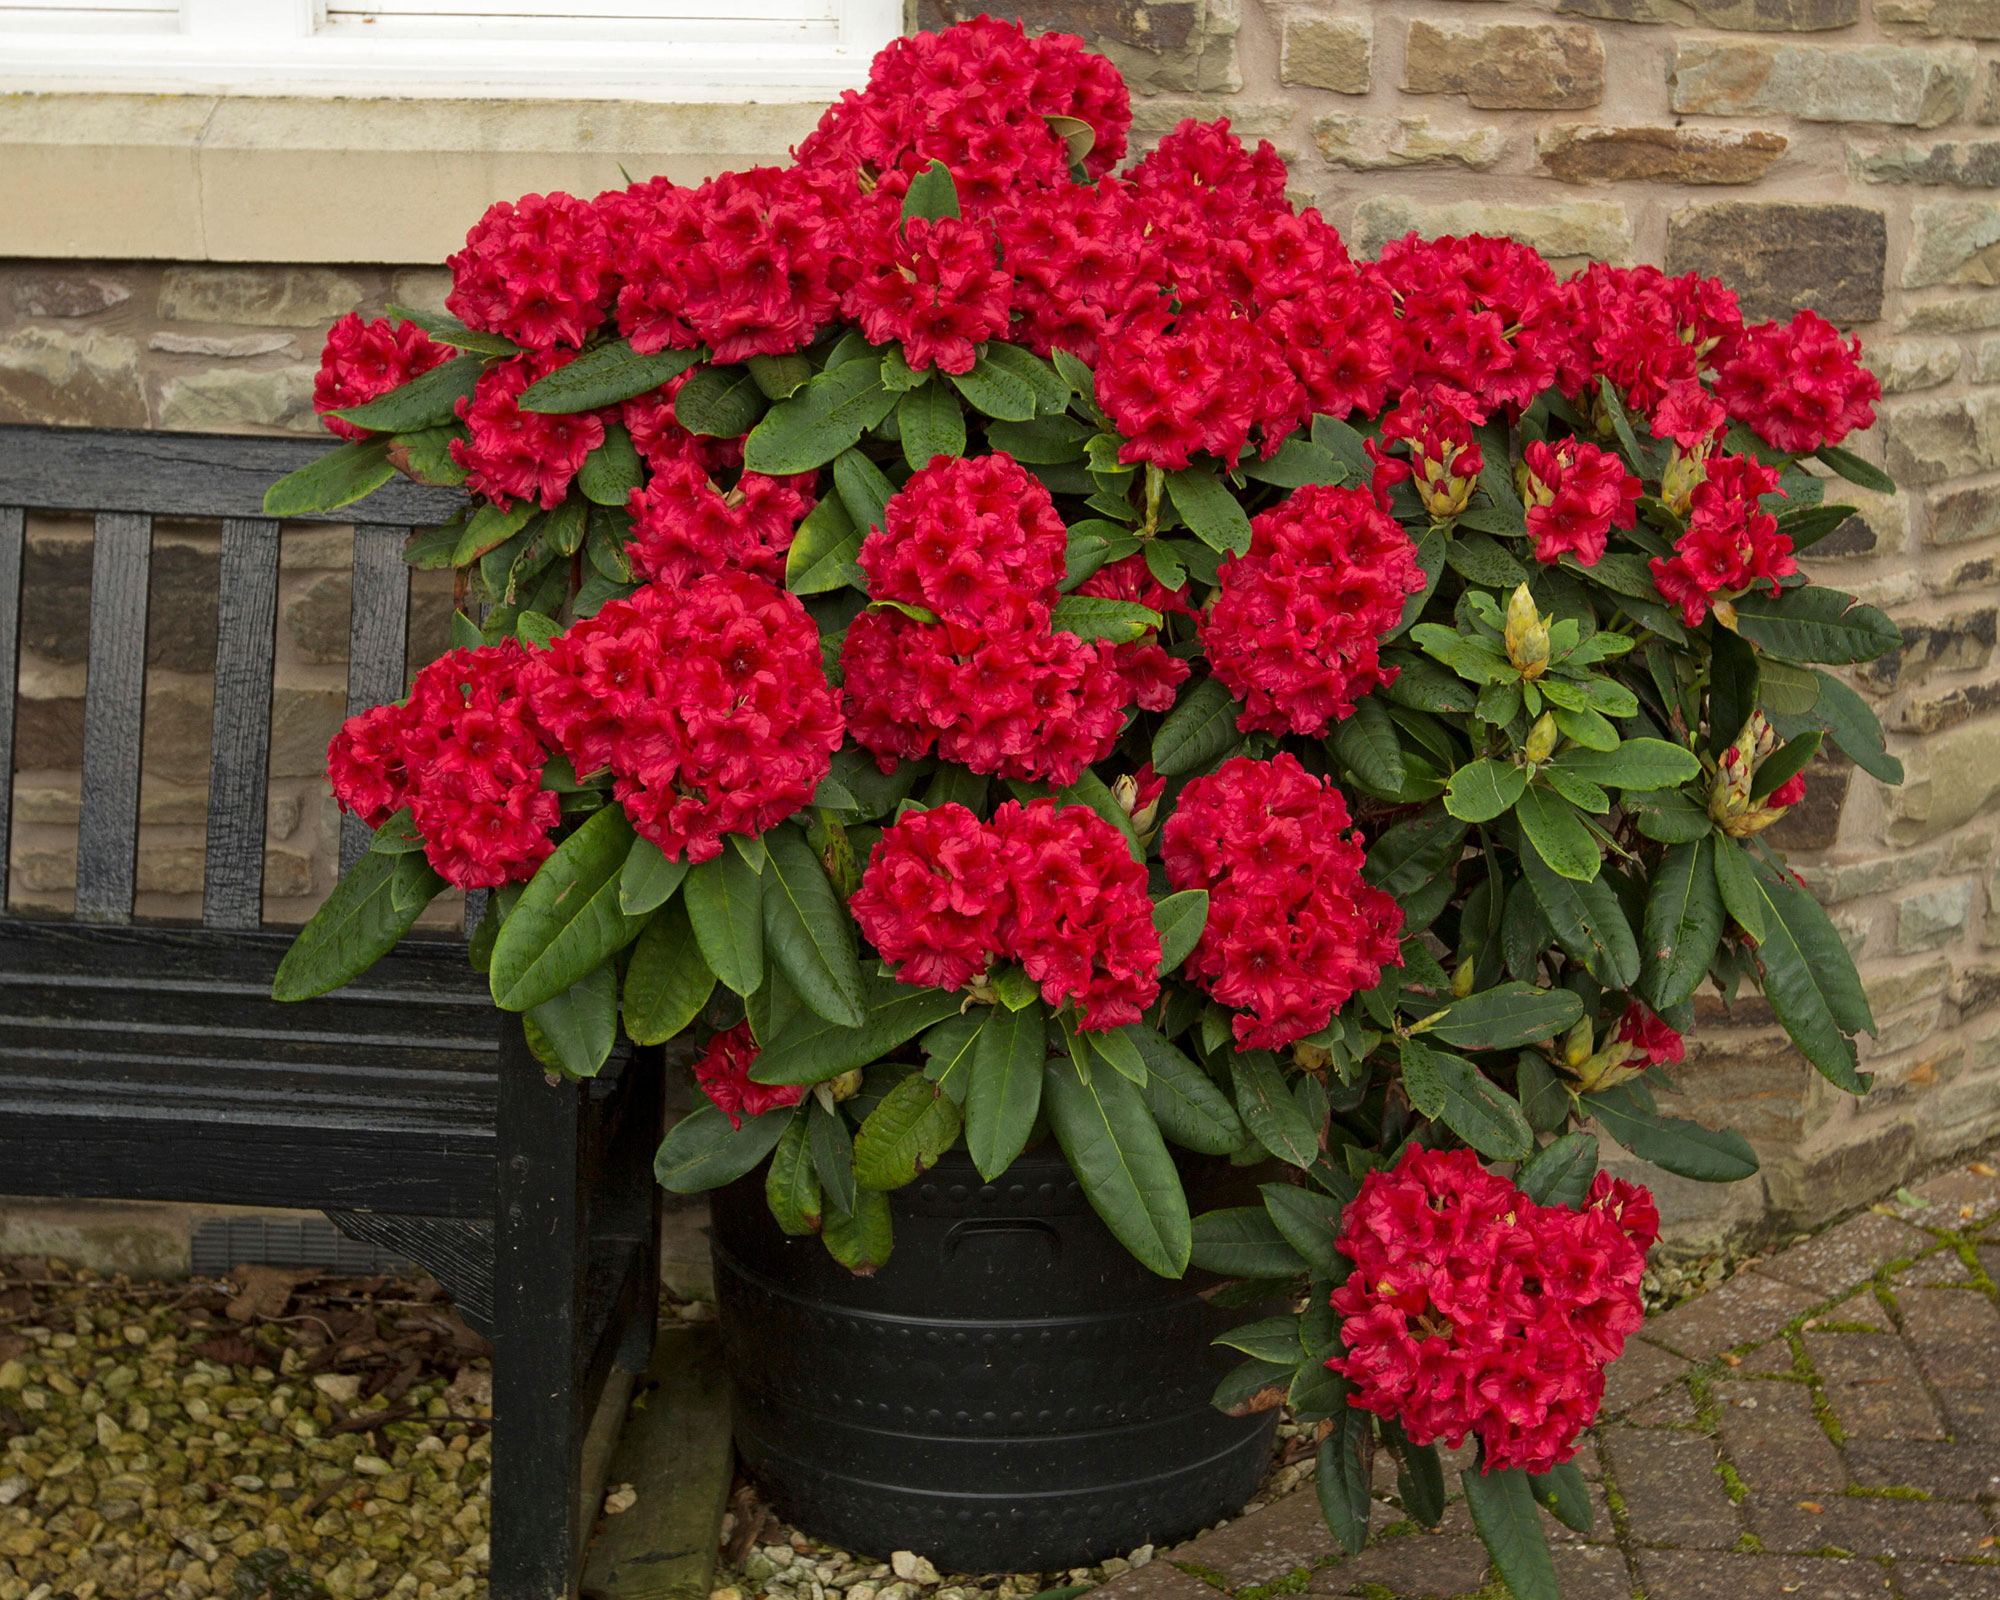
Shrubs grown as part of your container gardening ideas will need some extra love now as they return to growth. Whether they are ornamental plants or one of the many fruit bushes that thrive in a confined space, they need some extra goodness to start them off.
Because they only have a finite amount of food in their pots, you need to topdress them – remove the top couple of inches of old compost, add a granular fertilizer, then replenish with fresh compost and water well.
While you do so, check for creamy vine weevil grubs that eat the roots of many container plants. They are often curled into a C-shape and have brown heads and can be killed off with a solution of Vine Weevil Killer, available from Amazon.
Top tip: If you are growing rhododendrons, azaleas or blueberries in pots, make sure you use ericaceous compost and fertilizer.
3. Pot up summer cuttings
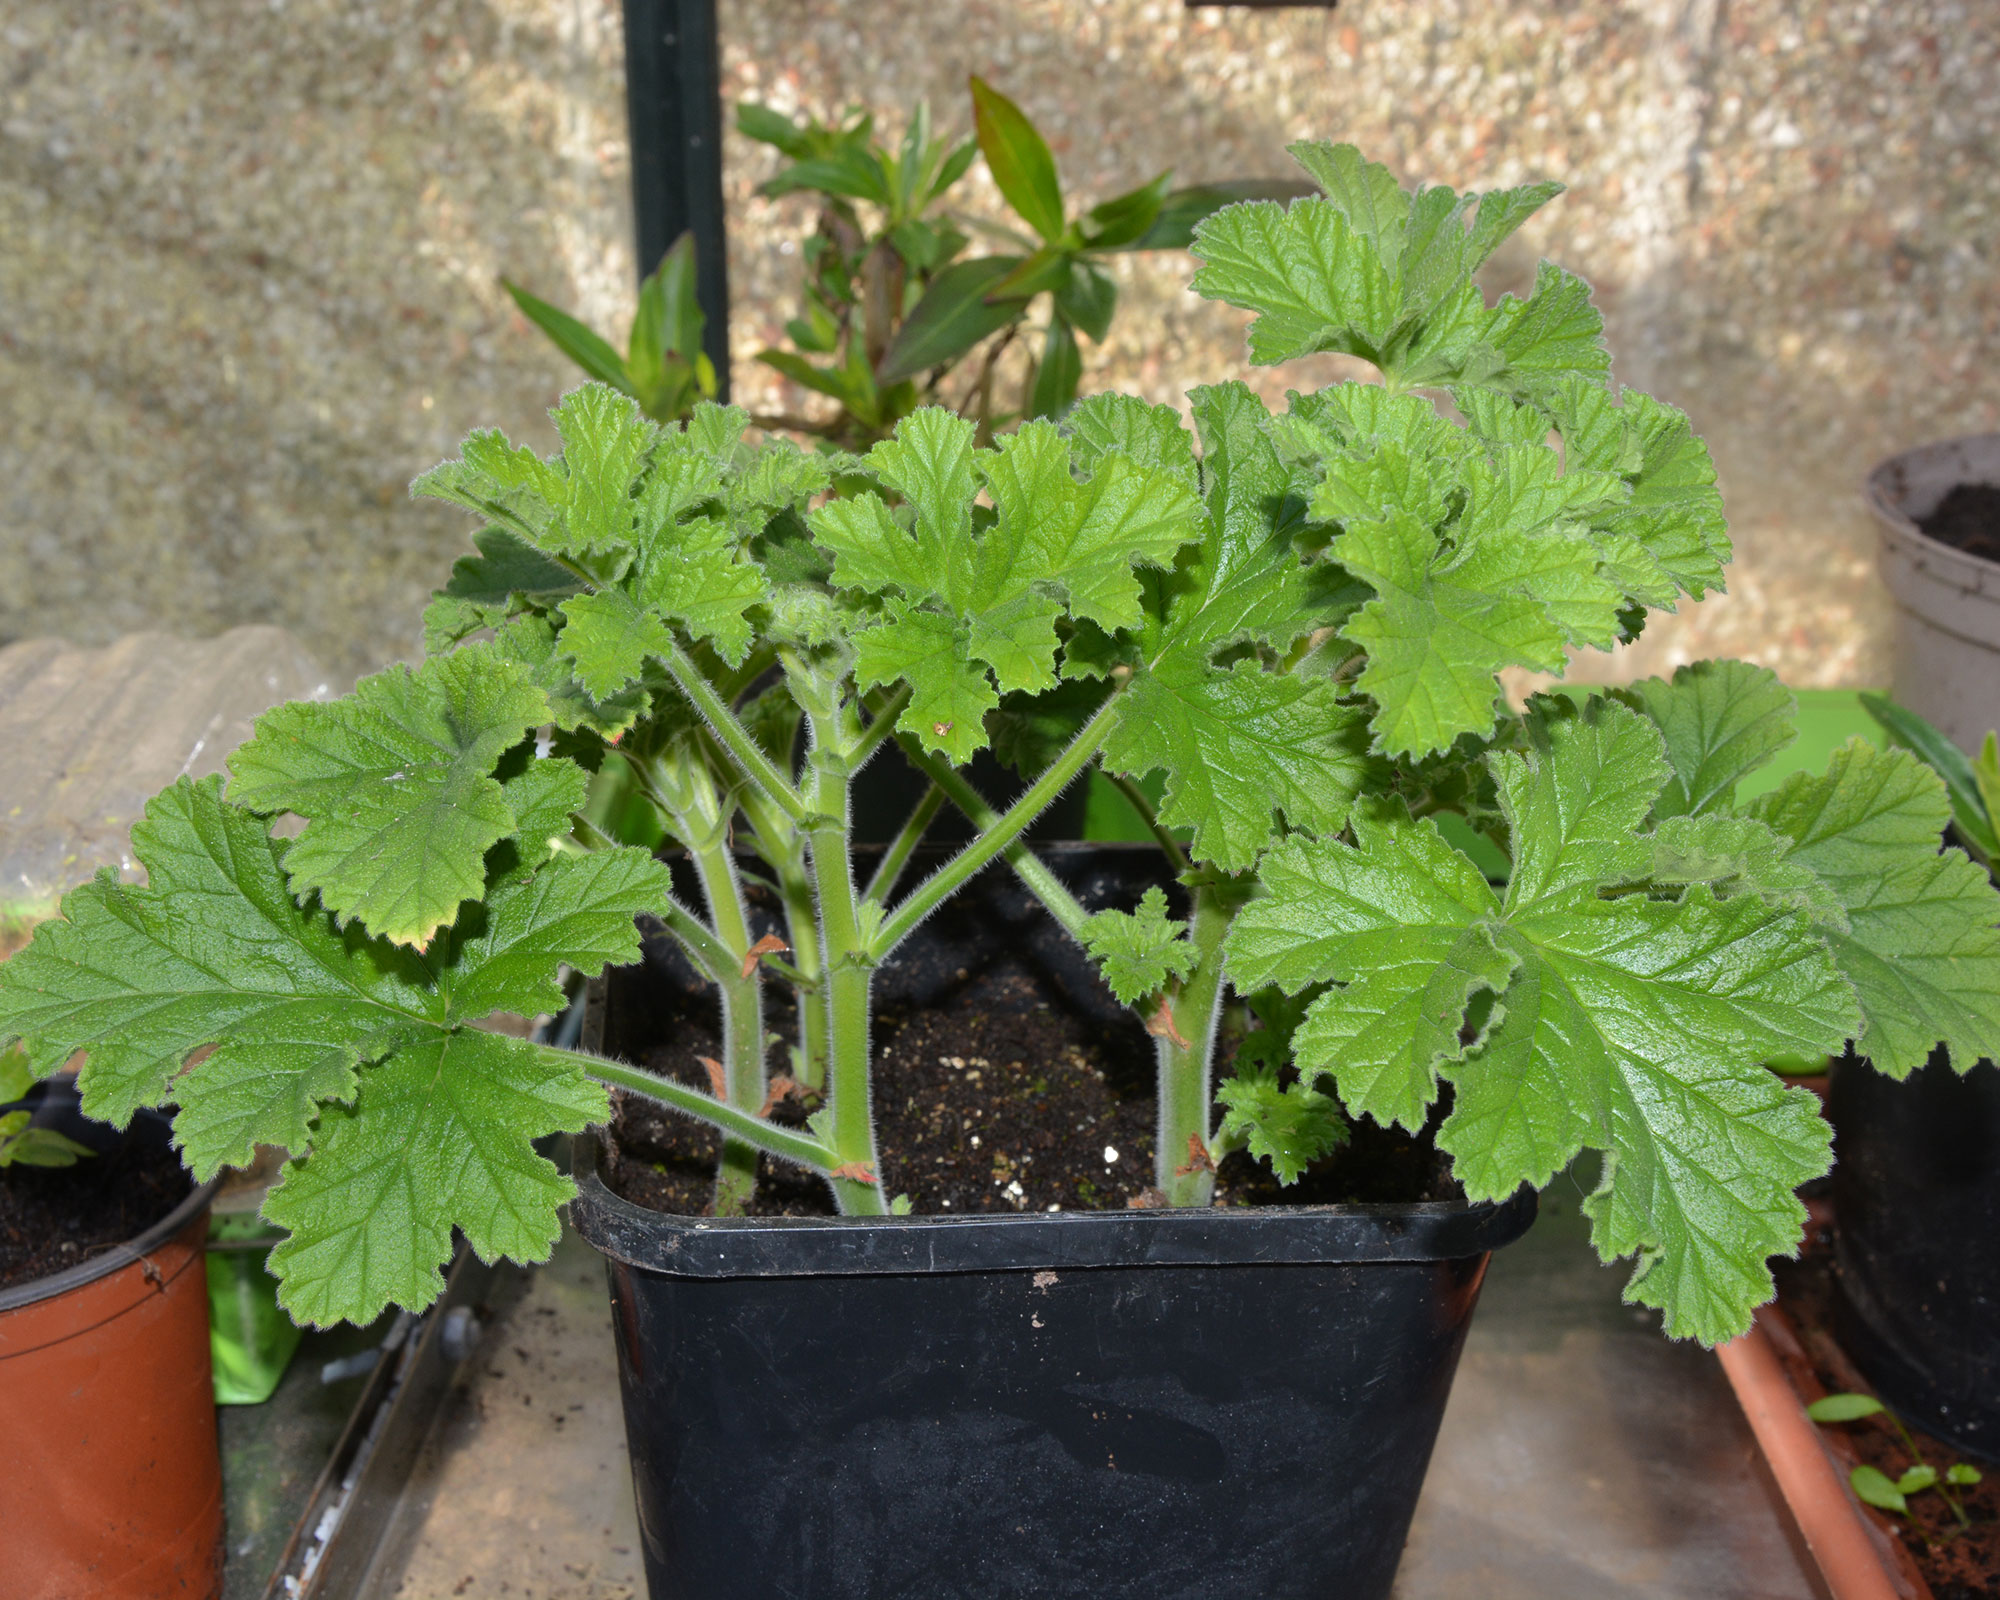
Any softwood or semi-ripe cuttings taken from perennials last autumn should have rooted and grown through winter and will be ready to pot up individually now.
Hardwood cuttings taken from shrubs should be left alone until the coming fall, as they take a lot longer to produce roots than their more flexible cuttings cousins.
Once you've learned how to take cuttings from plants, you'll be able to spot if the cuttings have rooted, or ‘taken’ successfully because they will have grown since they were potted up.
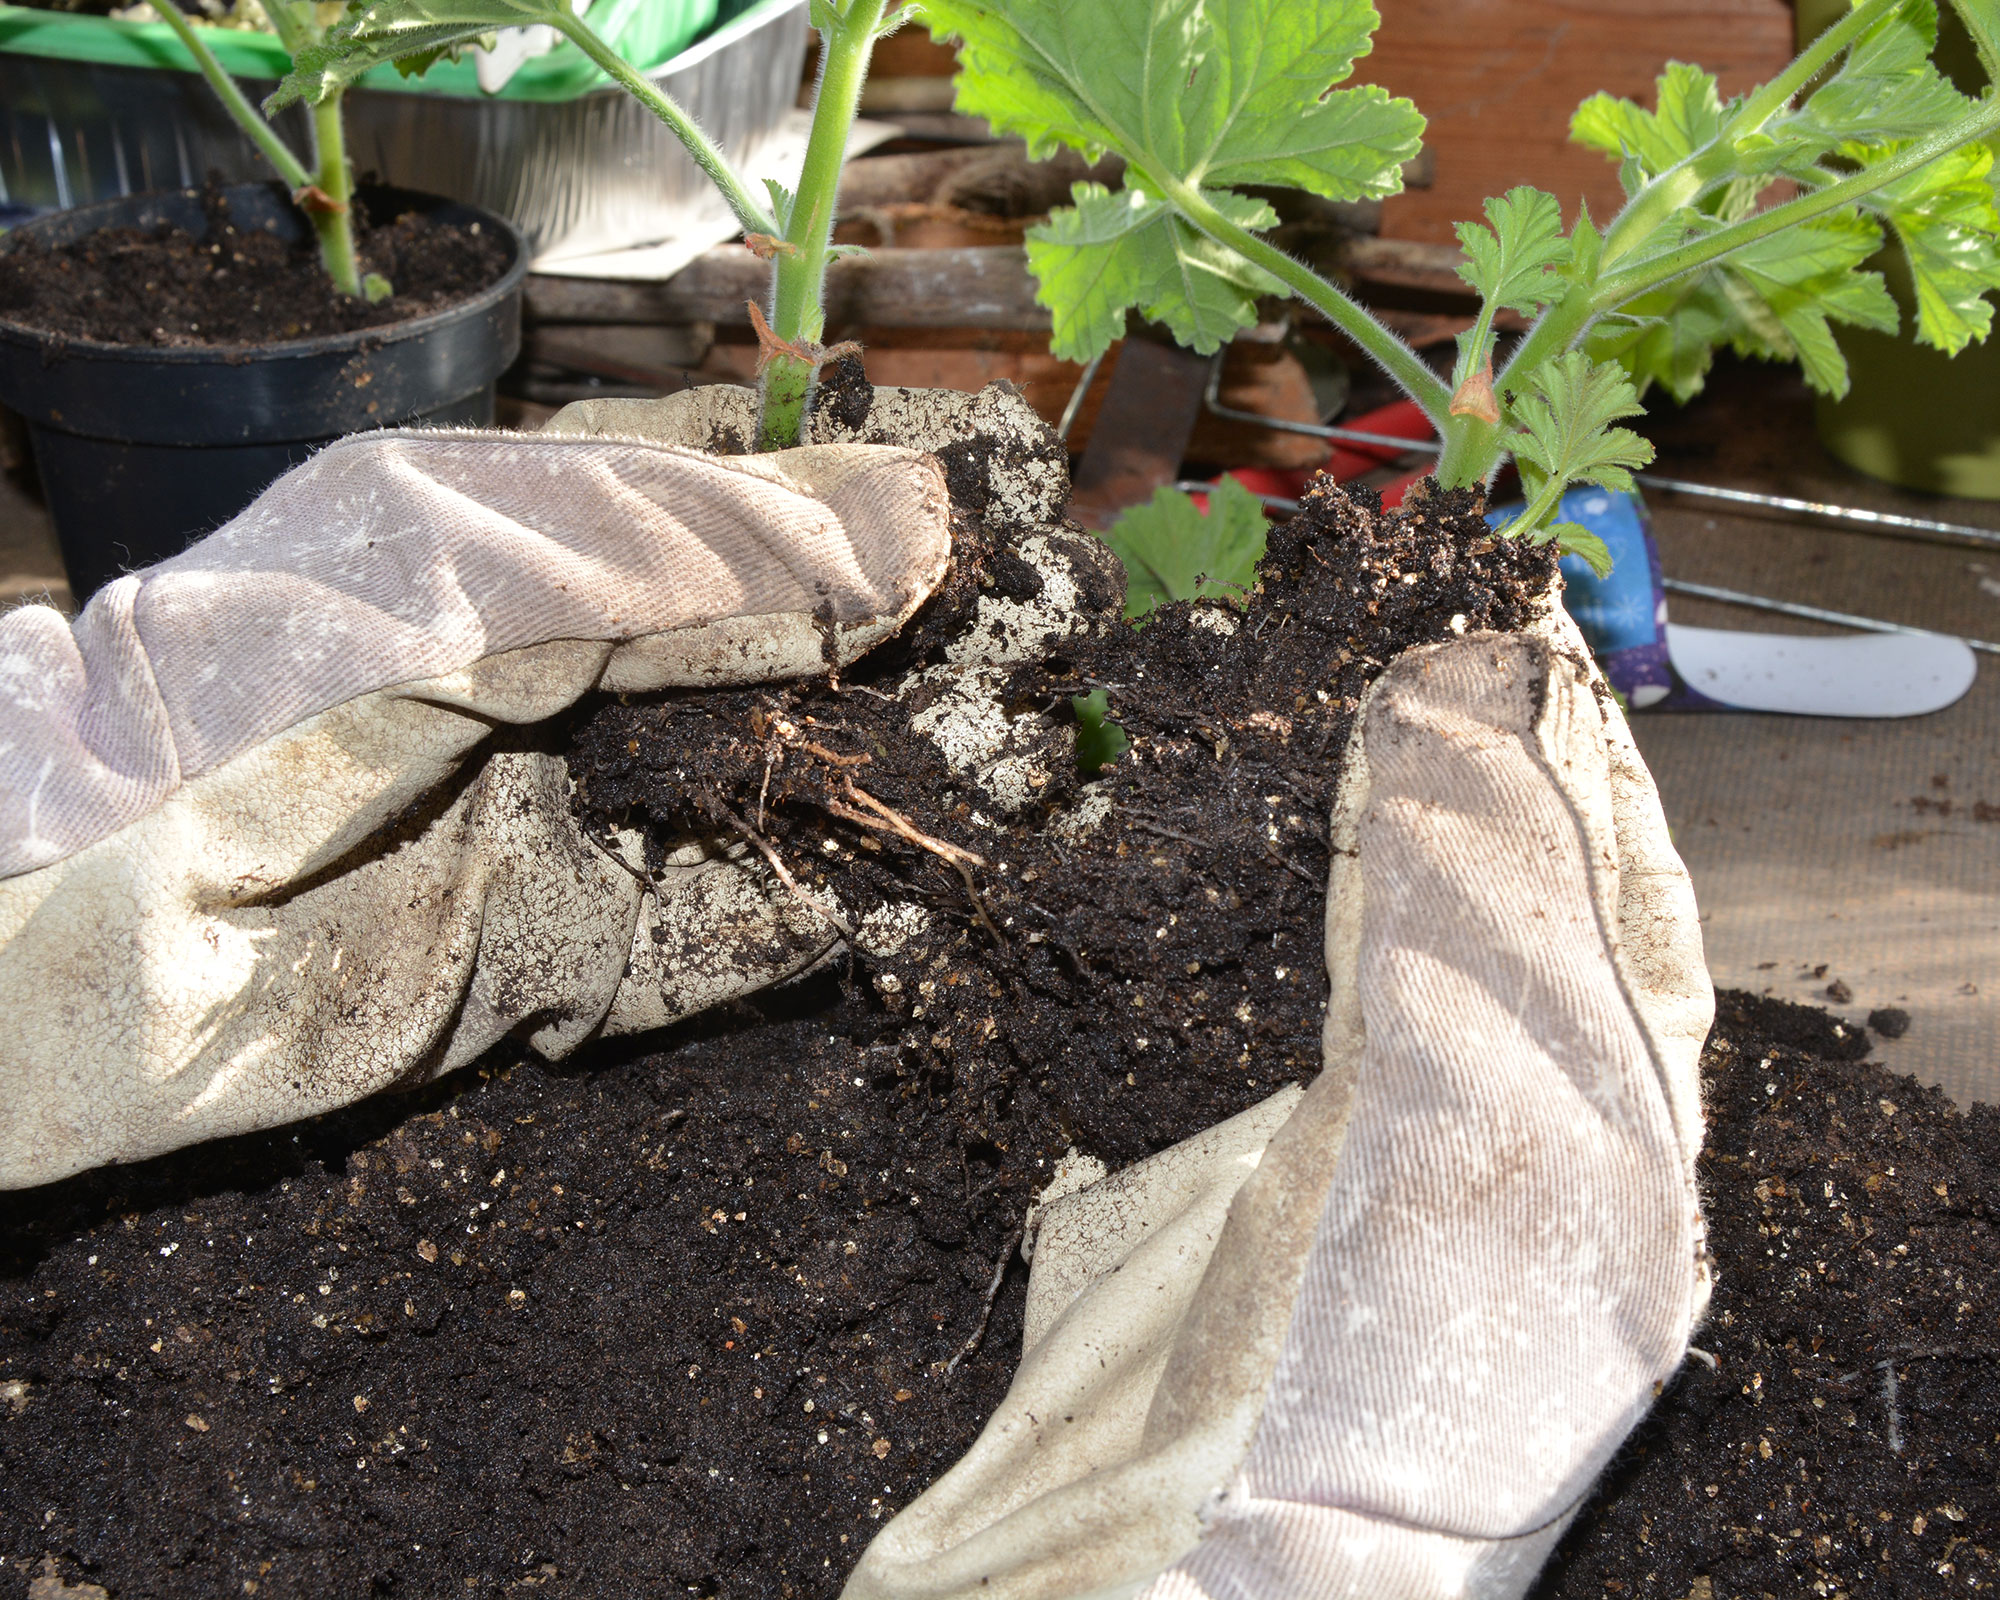
Start the potting-up process by standing the cuttings' pot or pots in water for around 30 minutes to soak the compost, then gently tap them out. If you have more than one cutting per pot, carefully separate the roots so the young plants can be potted up individually.
Inspect the roots to make sure they are robust and healthy (if they aren’t strong, repot them in cuttings compost, water them in and leave them for a few more weeks) then pot each plantlet in its own 3in (7cm) pot of multipurpose or John Innes No 2 compost.
Set them somewhere light and frost-free for a few more weeks, keeping their compost damp and the plants pest-free. They can be hardened off and planted out to flower this summer.
Top tip: If the cuttings starts to produce flower buds while they are still in the greenhouse, pinch them out so all energy is directed towards growing rather than flowering.
4. Spring prune semi-evergreen shrubs
Many trees and shrubs are pruned while they are dormant in fall and winter, but there are others that need a trim when the weather has started to warm up.
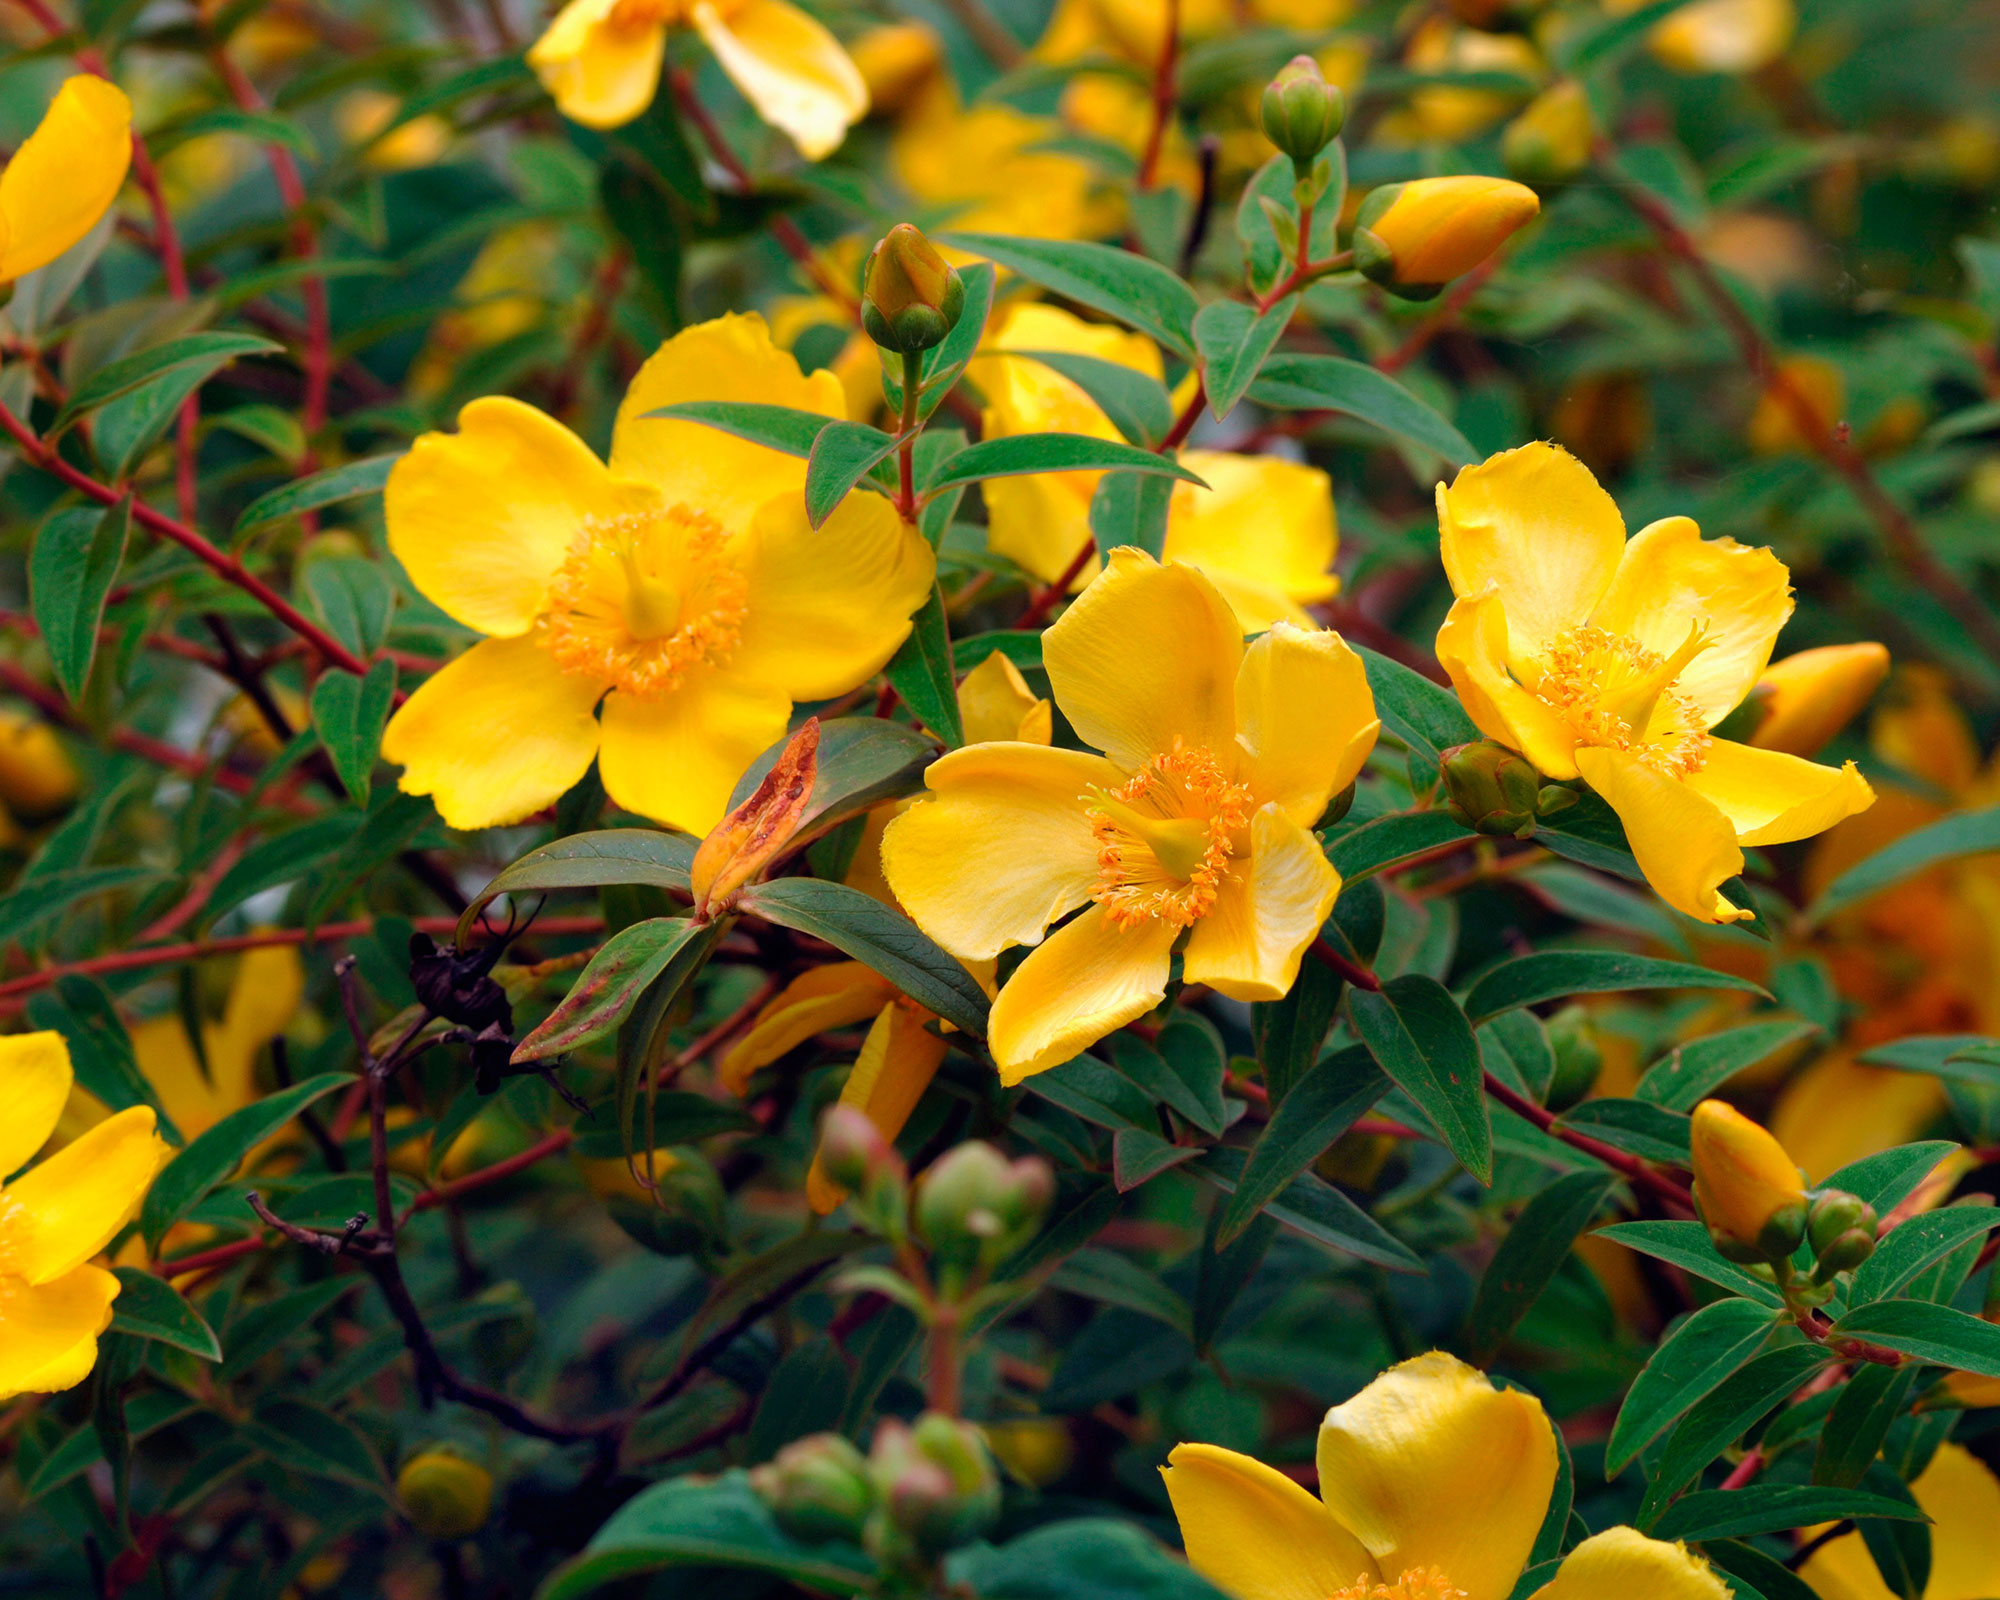
April gardening jobs can include cutting back semi-evergreen shrubs such as pheasant berry (Leycesteria formosa) and St John’s Wort (Hypericum), while it is now warm enough to prune hydrangeas such as mophead and lacecap varieties.
They all need slightly different pruning requirements, but the end result should be pleasingly compact shrubs laden with plenty of flowers and berries in season.
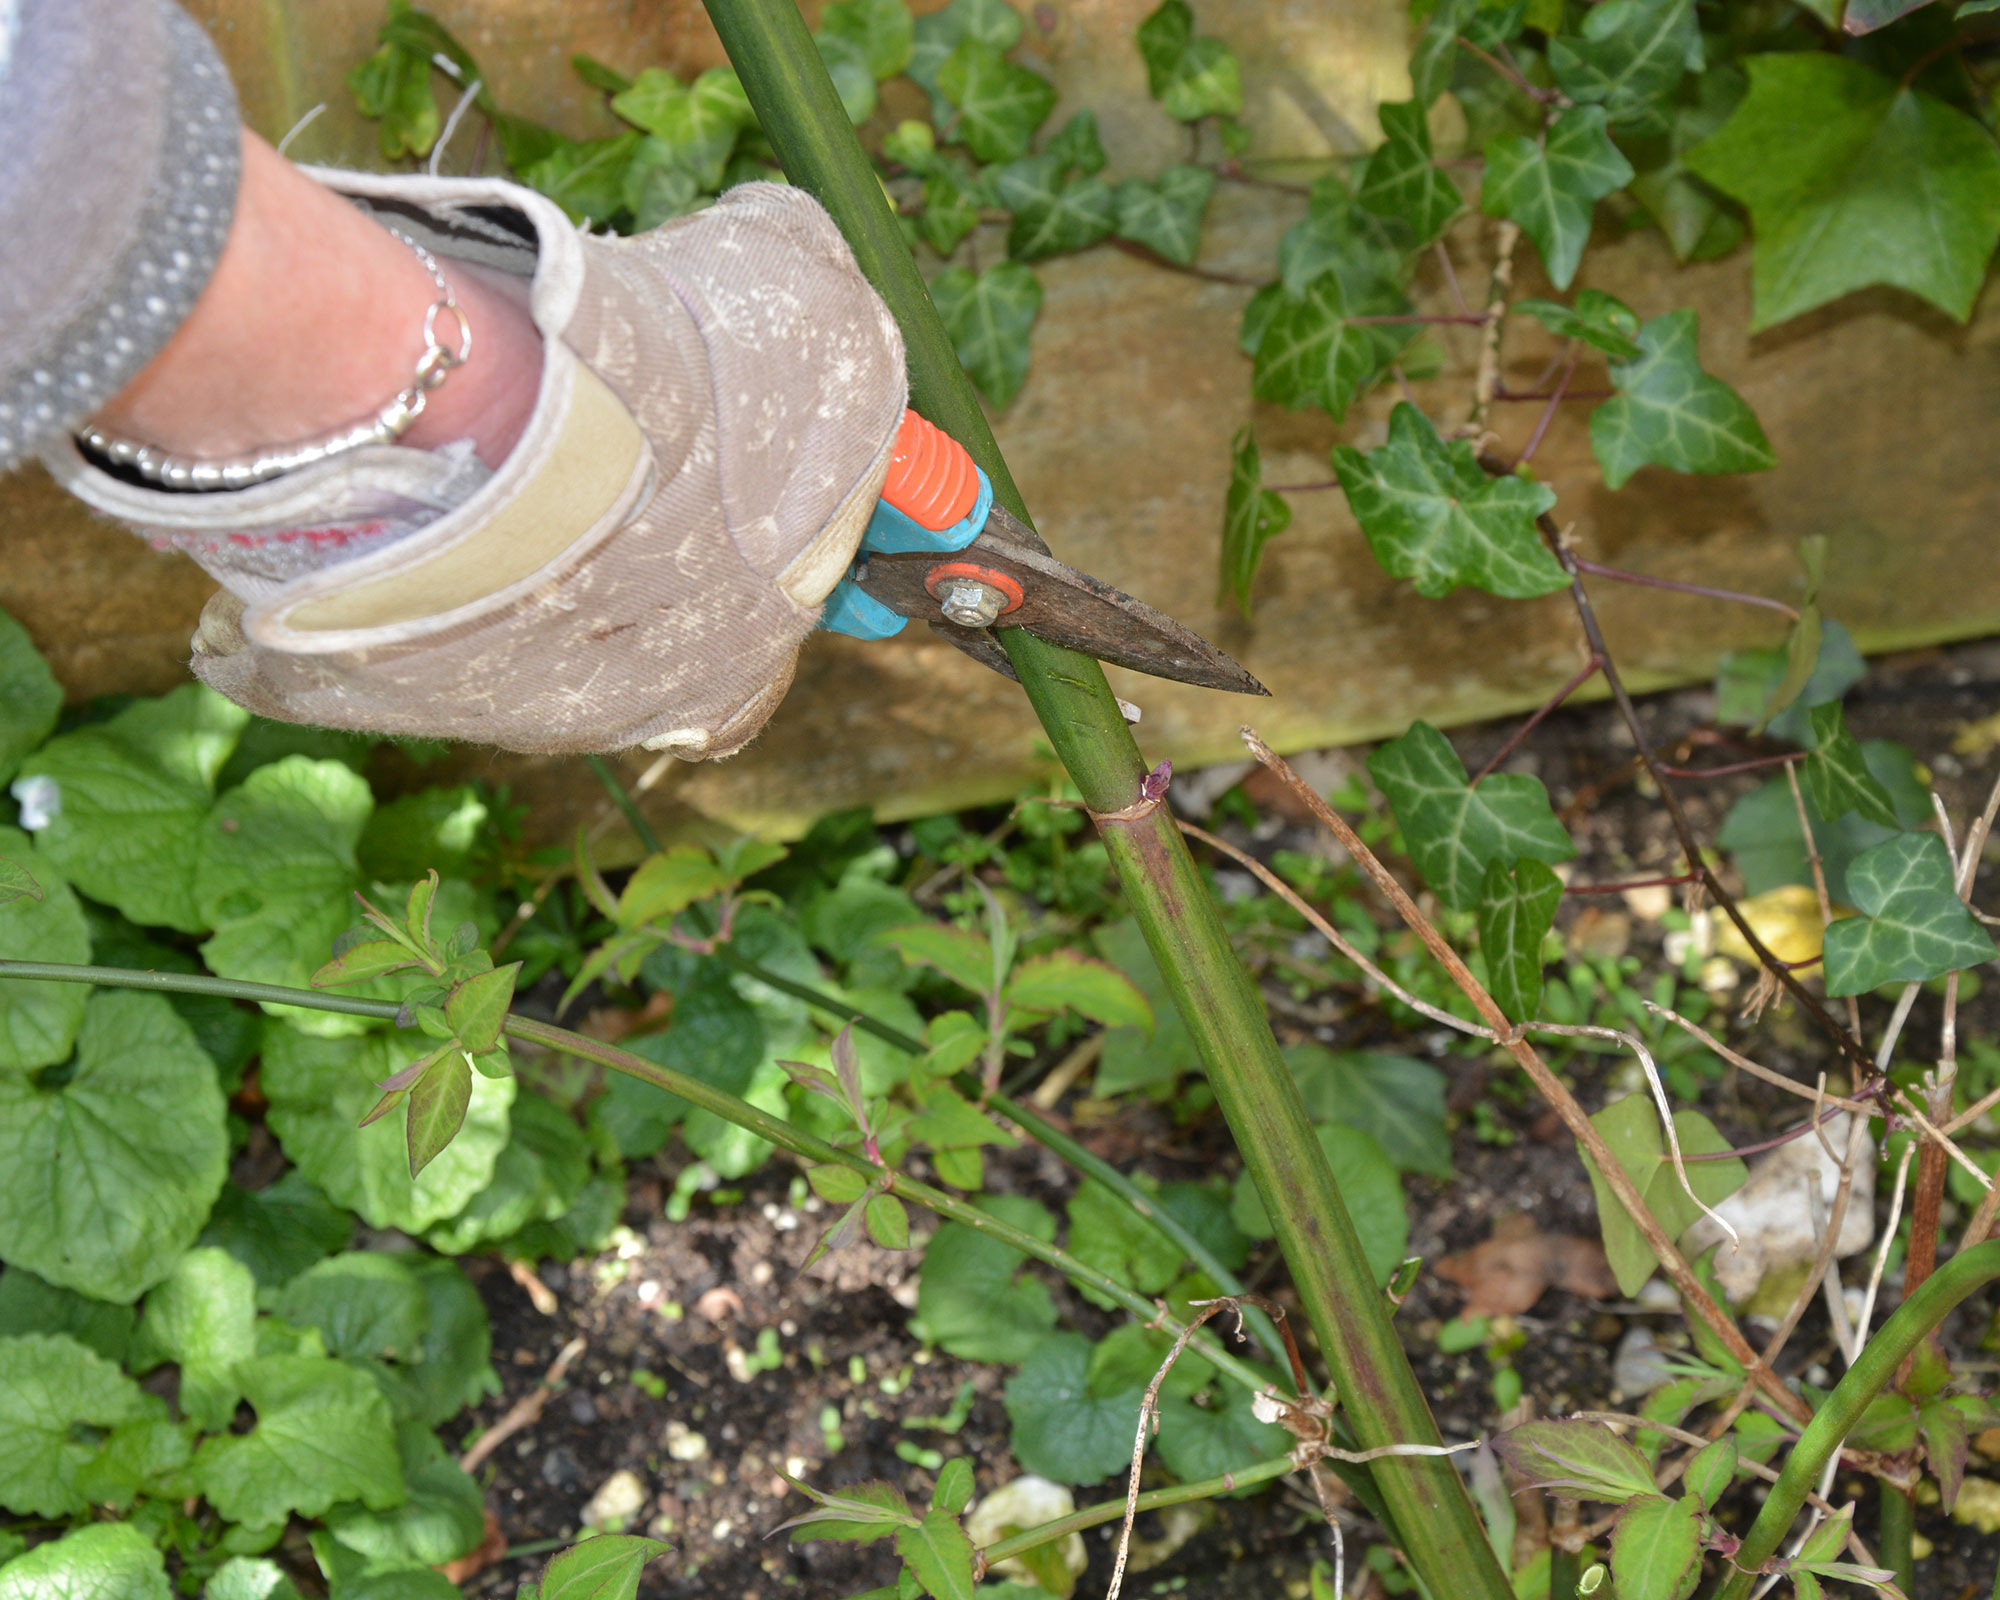
Pheasant berry, also known as Himalayan honeysuckle, is a wonderful addition to any garden. Fast growing, it can become leggy if left untended, but if you keep it in check by grabbing your best secateurs and cutting stems down to a low pair of healthy leaf buds, you will have a plant with pendulous maroon and white flowers that are followed by dark purple/brown berries that birds love
St John’s Wort is an attractive bushy shrub that has statement yellow flowers through summer and red berries in autumn. It can get a bit cluttered around its base, so remove some of the older stems every few years to make room for new ones. The main stems of St John's Wort should be reduced to a pair of healthy leaf buds to encourage strong branching and more flowers.
Top tip: After pruning, give these shrubs a feed with a granular fertiliser such as Vitax Q4, then water it in and mulch their root area with well-rotted compost or manure.
5. Cut back frost-tender perennials
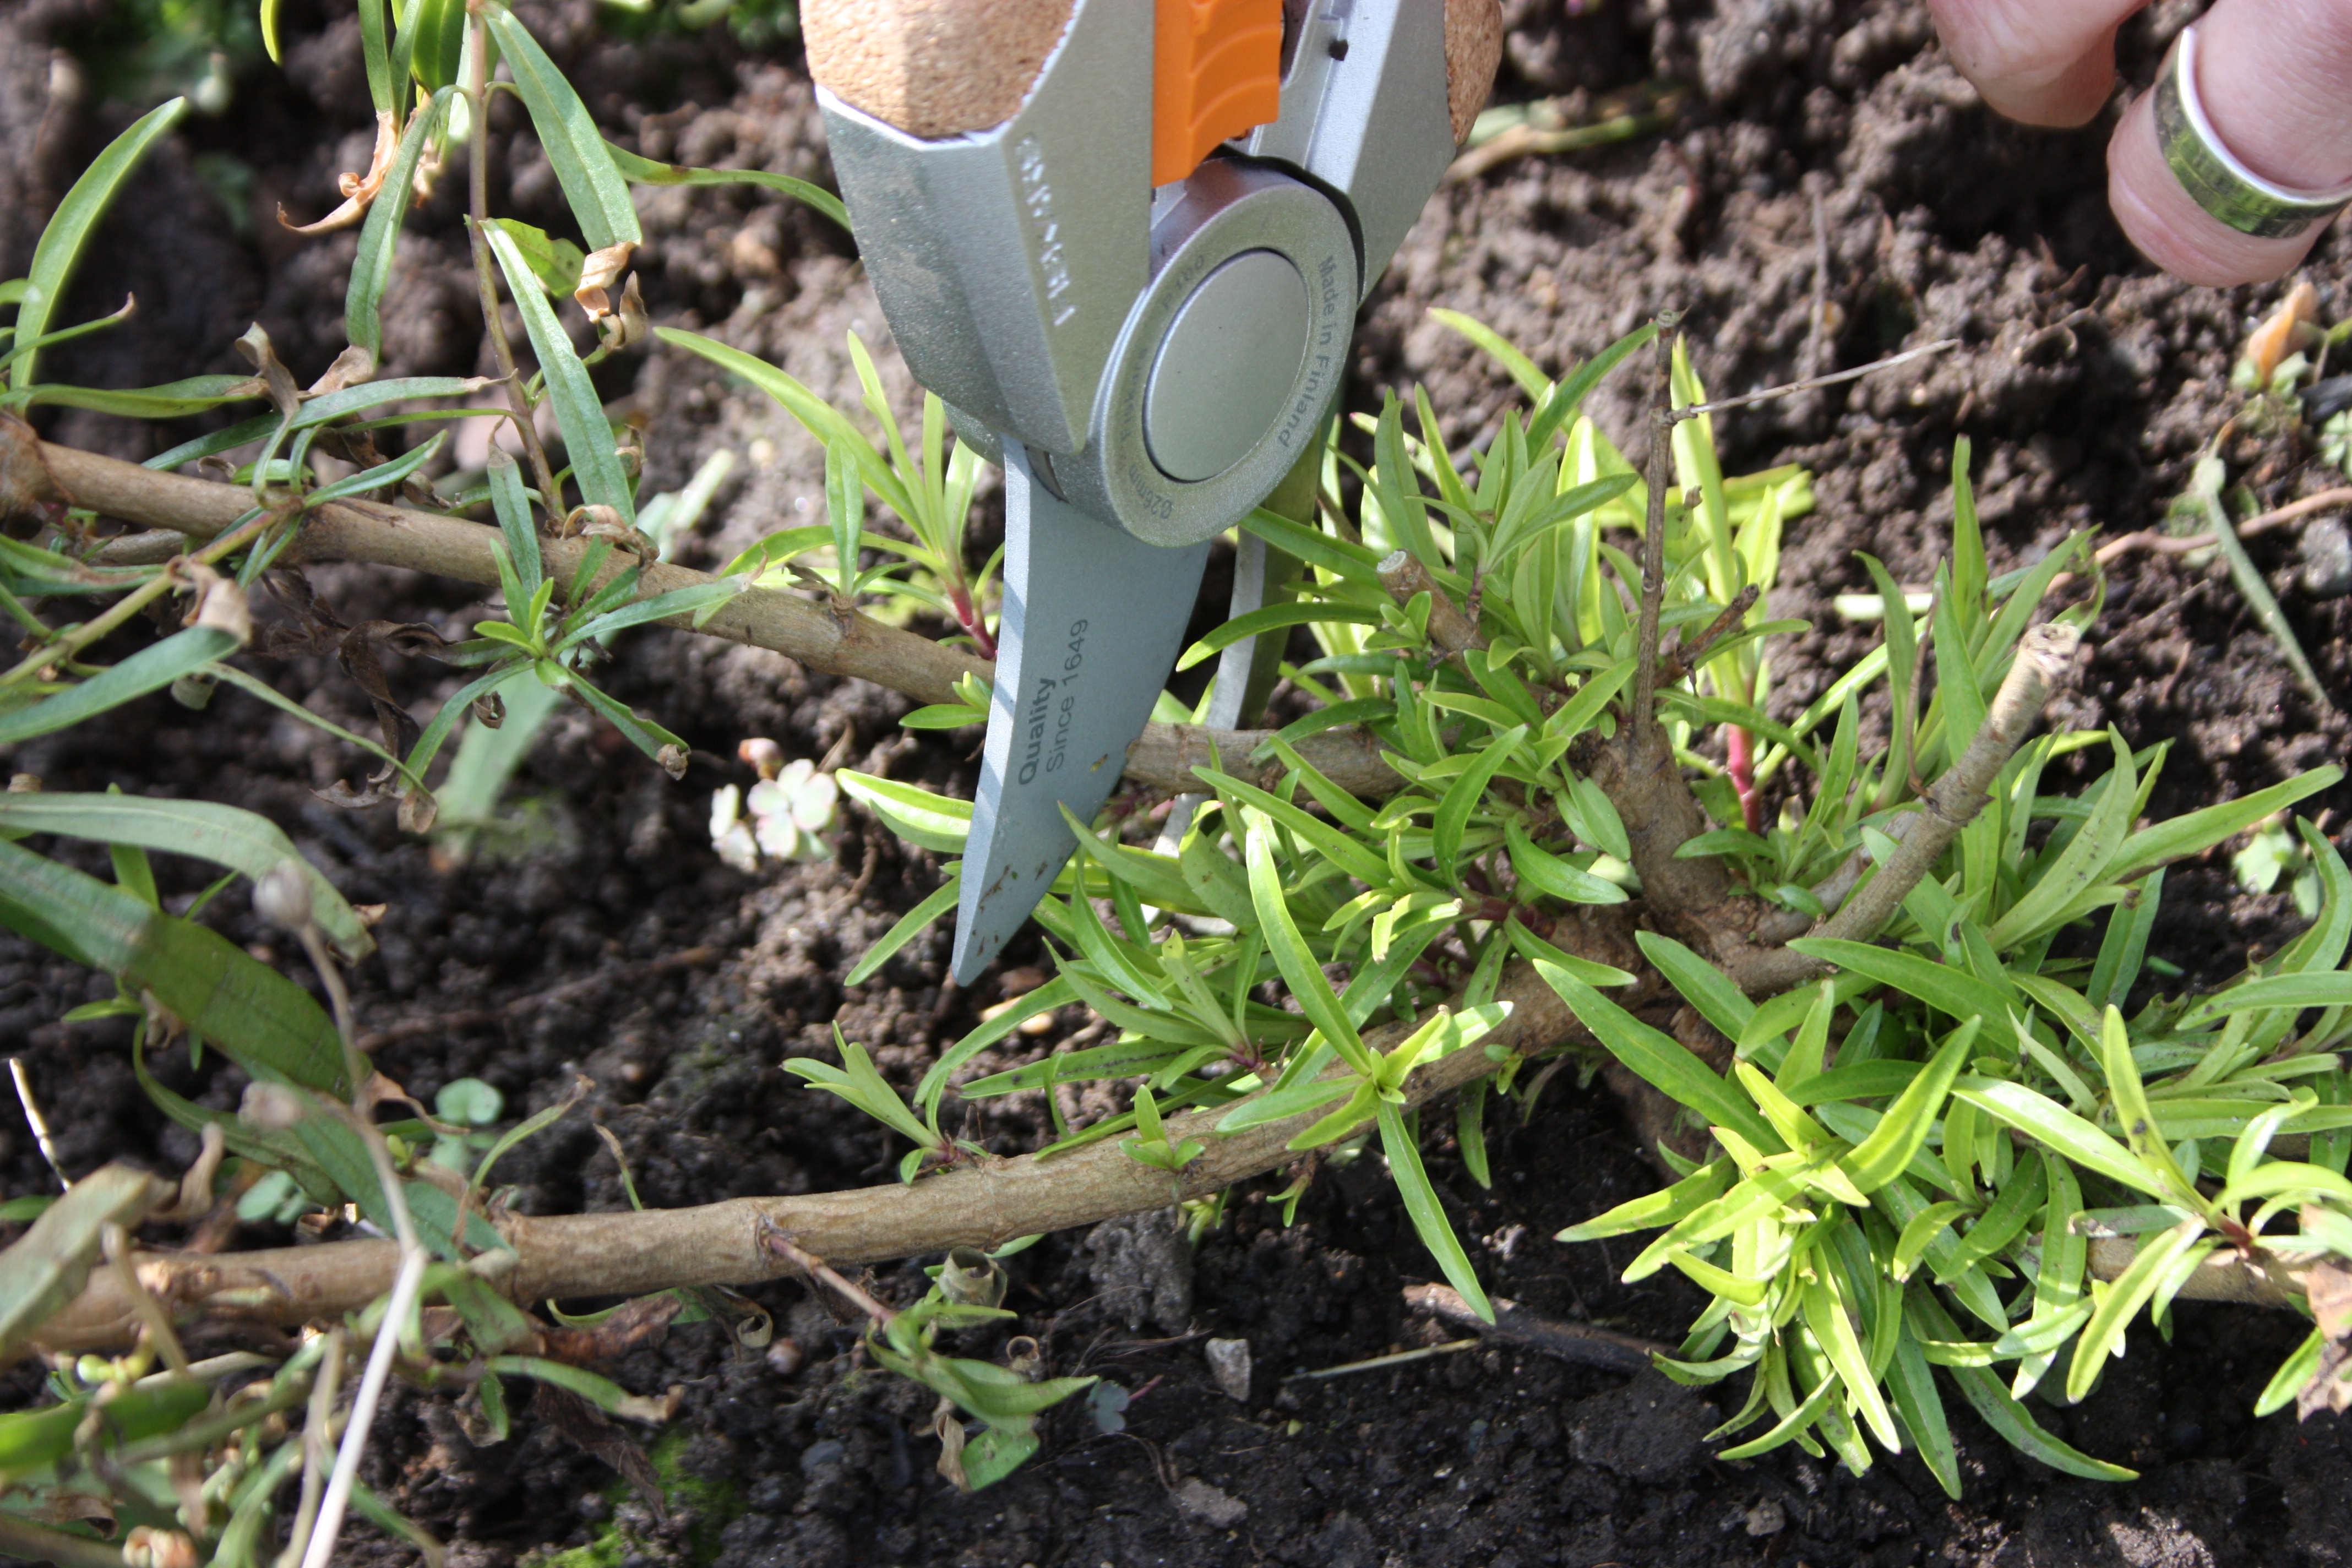
Now the weather should be getting reliably warmer, you can cut back the more tender perennials you have growing in your garden.
Penstemons and salvias are not a big fan of our grey wet winters, and it is not unusual for both plants to turn up their toes in sodden, freezing soils during the coldest months. One of the best ways to help them survive winter is to leave last year’s stems attached in fall, as they help insulate the crown.
Penstemon shoots appearing at the base of healthy plants now is the signal to remove the old stems. Cut them down to just above the lowest new shoots, then feed with blood, fish and bone or another granular fertilizer and water it in. They should soon start to grow well.
There are many varieties of salvia and they all have different requirements when it comes to cutting them back. Follow our guide on how to prune salvias to pair the right technique with the right plant.
Untrimmed lavender can also be cut back now to create a neat shape and lots of flowers. Simply remove last year’s dead seedheads and the first inch or so of growth. Don’t prune hard into the old, woody stems as they won’t regenerate and you’ll be left with unsightly plants. There are more tips on how to prune lavender in our dedicated guide.
Top tip: If left untrimmed for several years lavenders will start to splay outwards and reveal their woody hearts. This can’t be reversed, so you are better off removing the old plants and replacing them with new.
6. Give your houseplants a head start
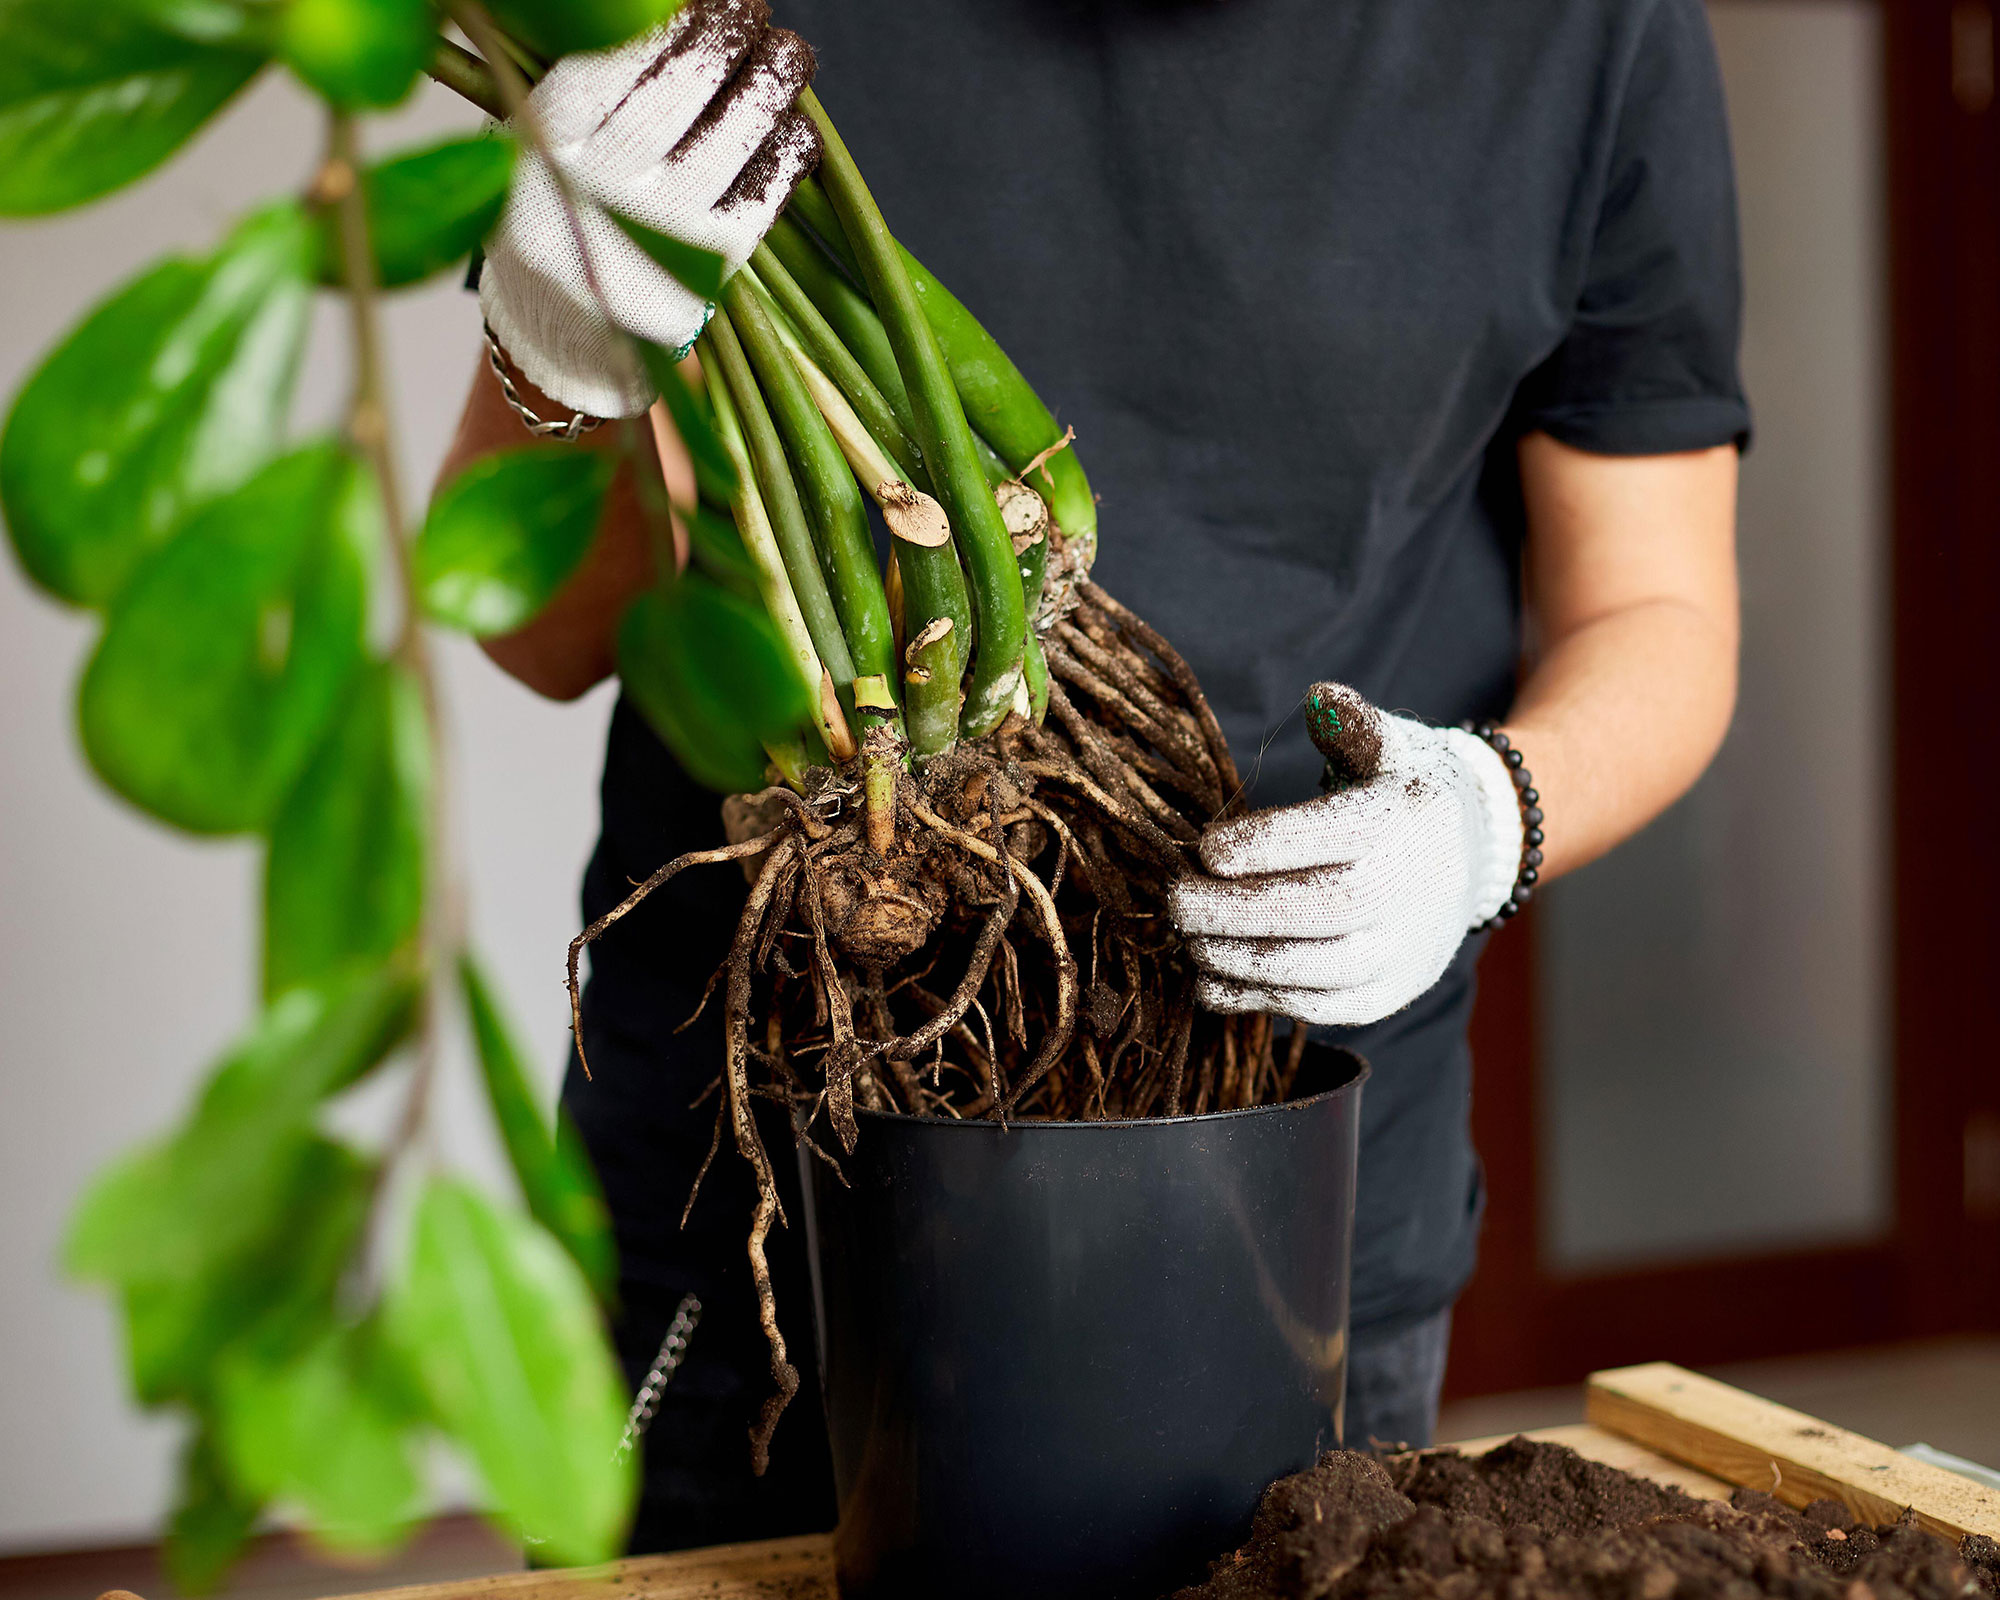
After a winter of not doing very much, many of the best indoor plants will be growing again now, so you can restart their feeding and watering regimes as appropriate.
Water whenever the compost feels just dry to the touch and feed with houseplant fertilizer fortnightly.
Cacti and succulents need less water and orchids should be watered with harvested rainwater or tap water that has been left to sit for 24 hours so the chlorine and chemicals can disperse. Feed them with a proprietary orchid food or spray.
Move plants to a well-lit spot, but keep them out of direct sunlight that can scorch their leaves. Wipe leaves clean with a soft damp cloth and make sure you deal with any pests that may have infested them in winter.
Once houseplants start to grow again in spring you can re-pot them into fresh compost. Set them in a container one size larger than the one they were originally in and use proprietary houseplant compost or multipurpose with added grit for improved drainage.
Top tip: Remove old, dead leaves and stems to create a better look and make room for new shoots.
7. Spruce up garden structures
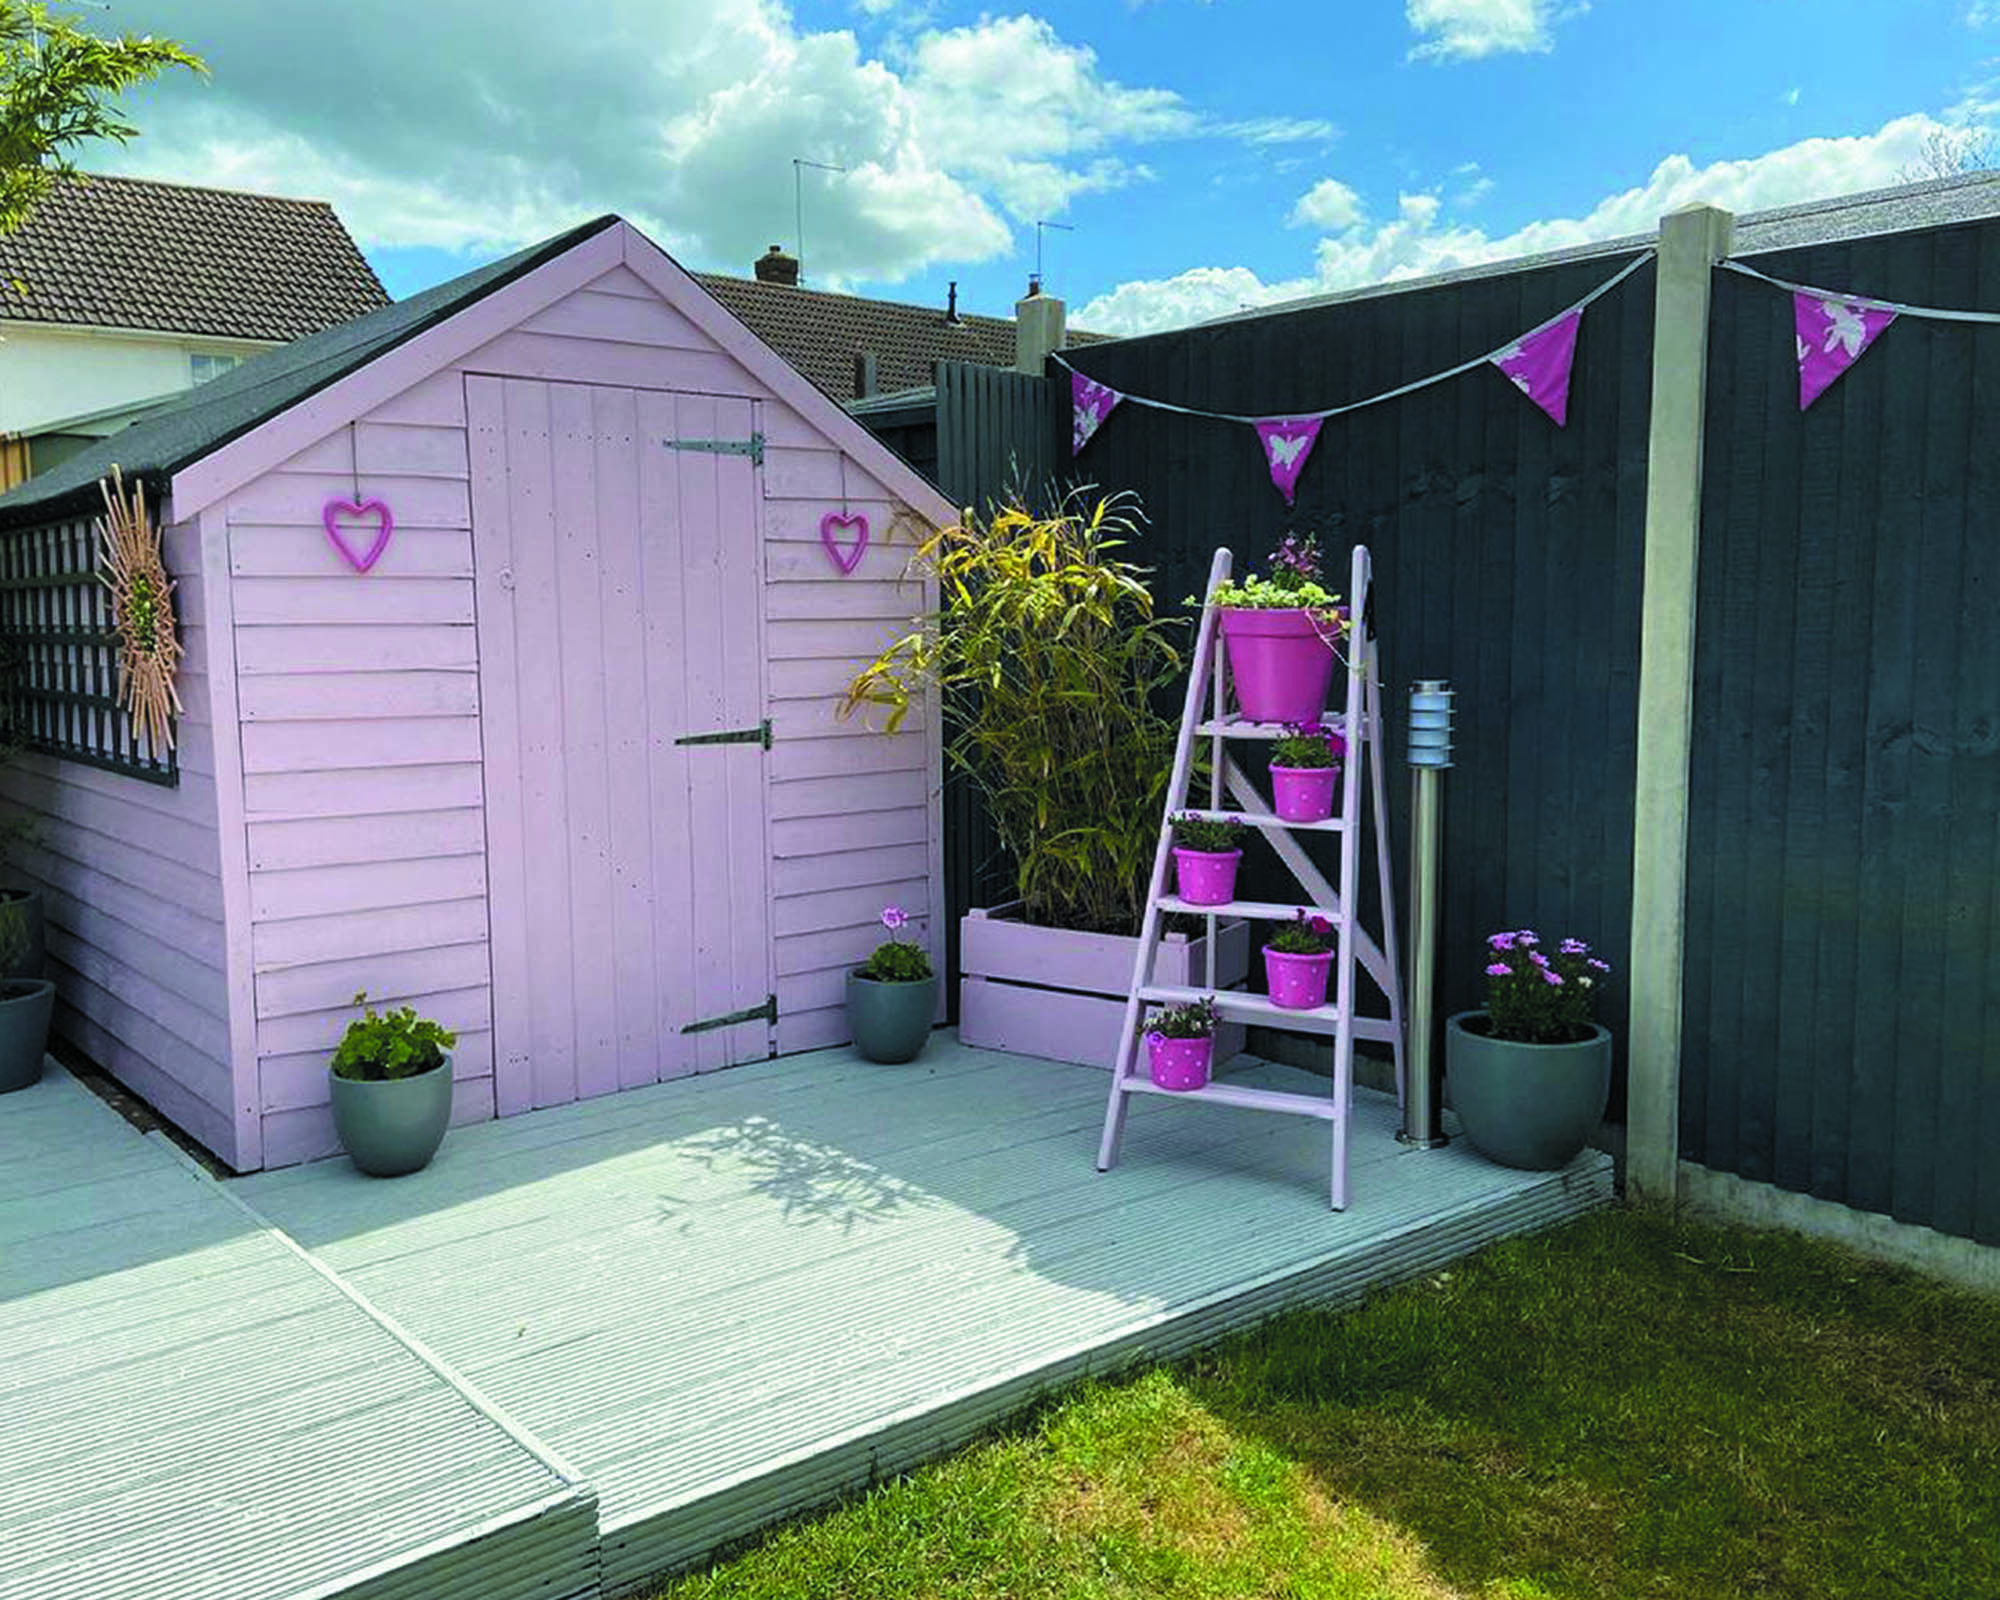
Now the weather is generally on the up and dry days are almost guaranteed, we can turn our attention to making sure our garden structures are in good order.
Wooden sheds, garden fences and gates will thank you for a lick of paint or preservative, as will any ornamental metalwork. There is a wide range of colorful and eco-friendly exterior wood paints available to give your garden a lift and complement the plants growing there.

For best results with how to paint a shed and how to paint a fence, choose a dry, still day, remove debris, dust, ivy and moss growing on the structure you need to repair and decorate, and sand away old and flaking paintwork and wipe down with a damp cloth. Cut away any rotten wood and replace it with a wood filler, then let this dry before sanding it down to fit.
Finally paint, preserve or varnish your structure, following the grain of any wood to ensure full coverage and absorption.
Top tip: Keep shed windows paint-free while decorating by sticking broad masking tape around the edges of the glass. It is easy to peel off afterwards.
8. Protect your garden from late frosts
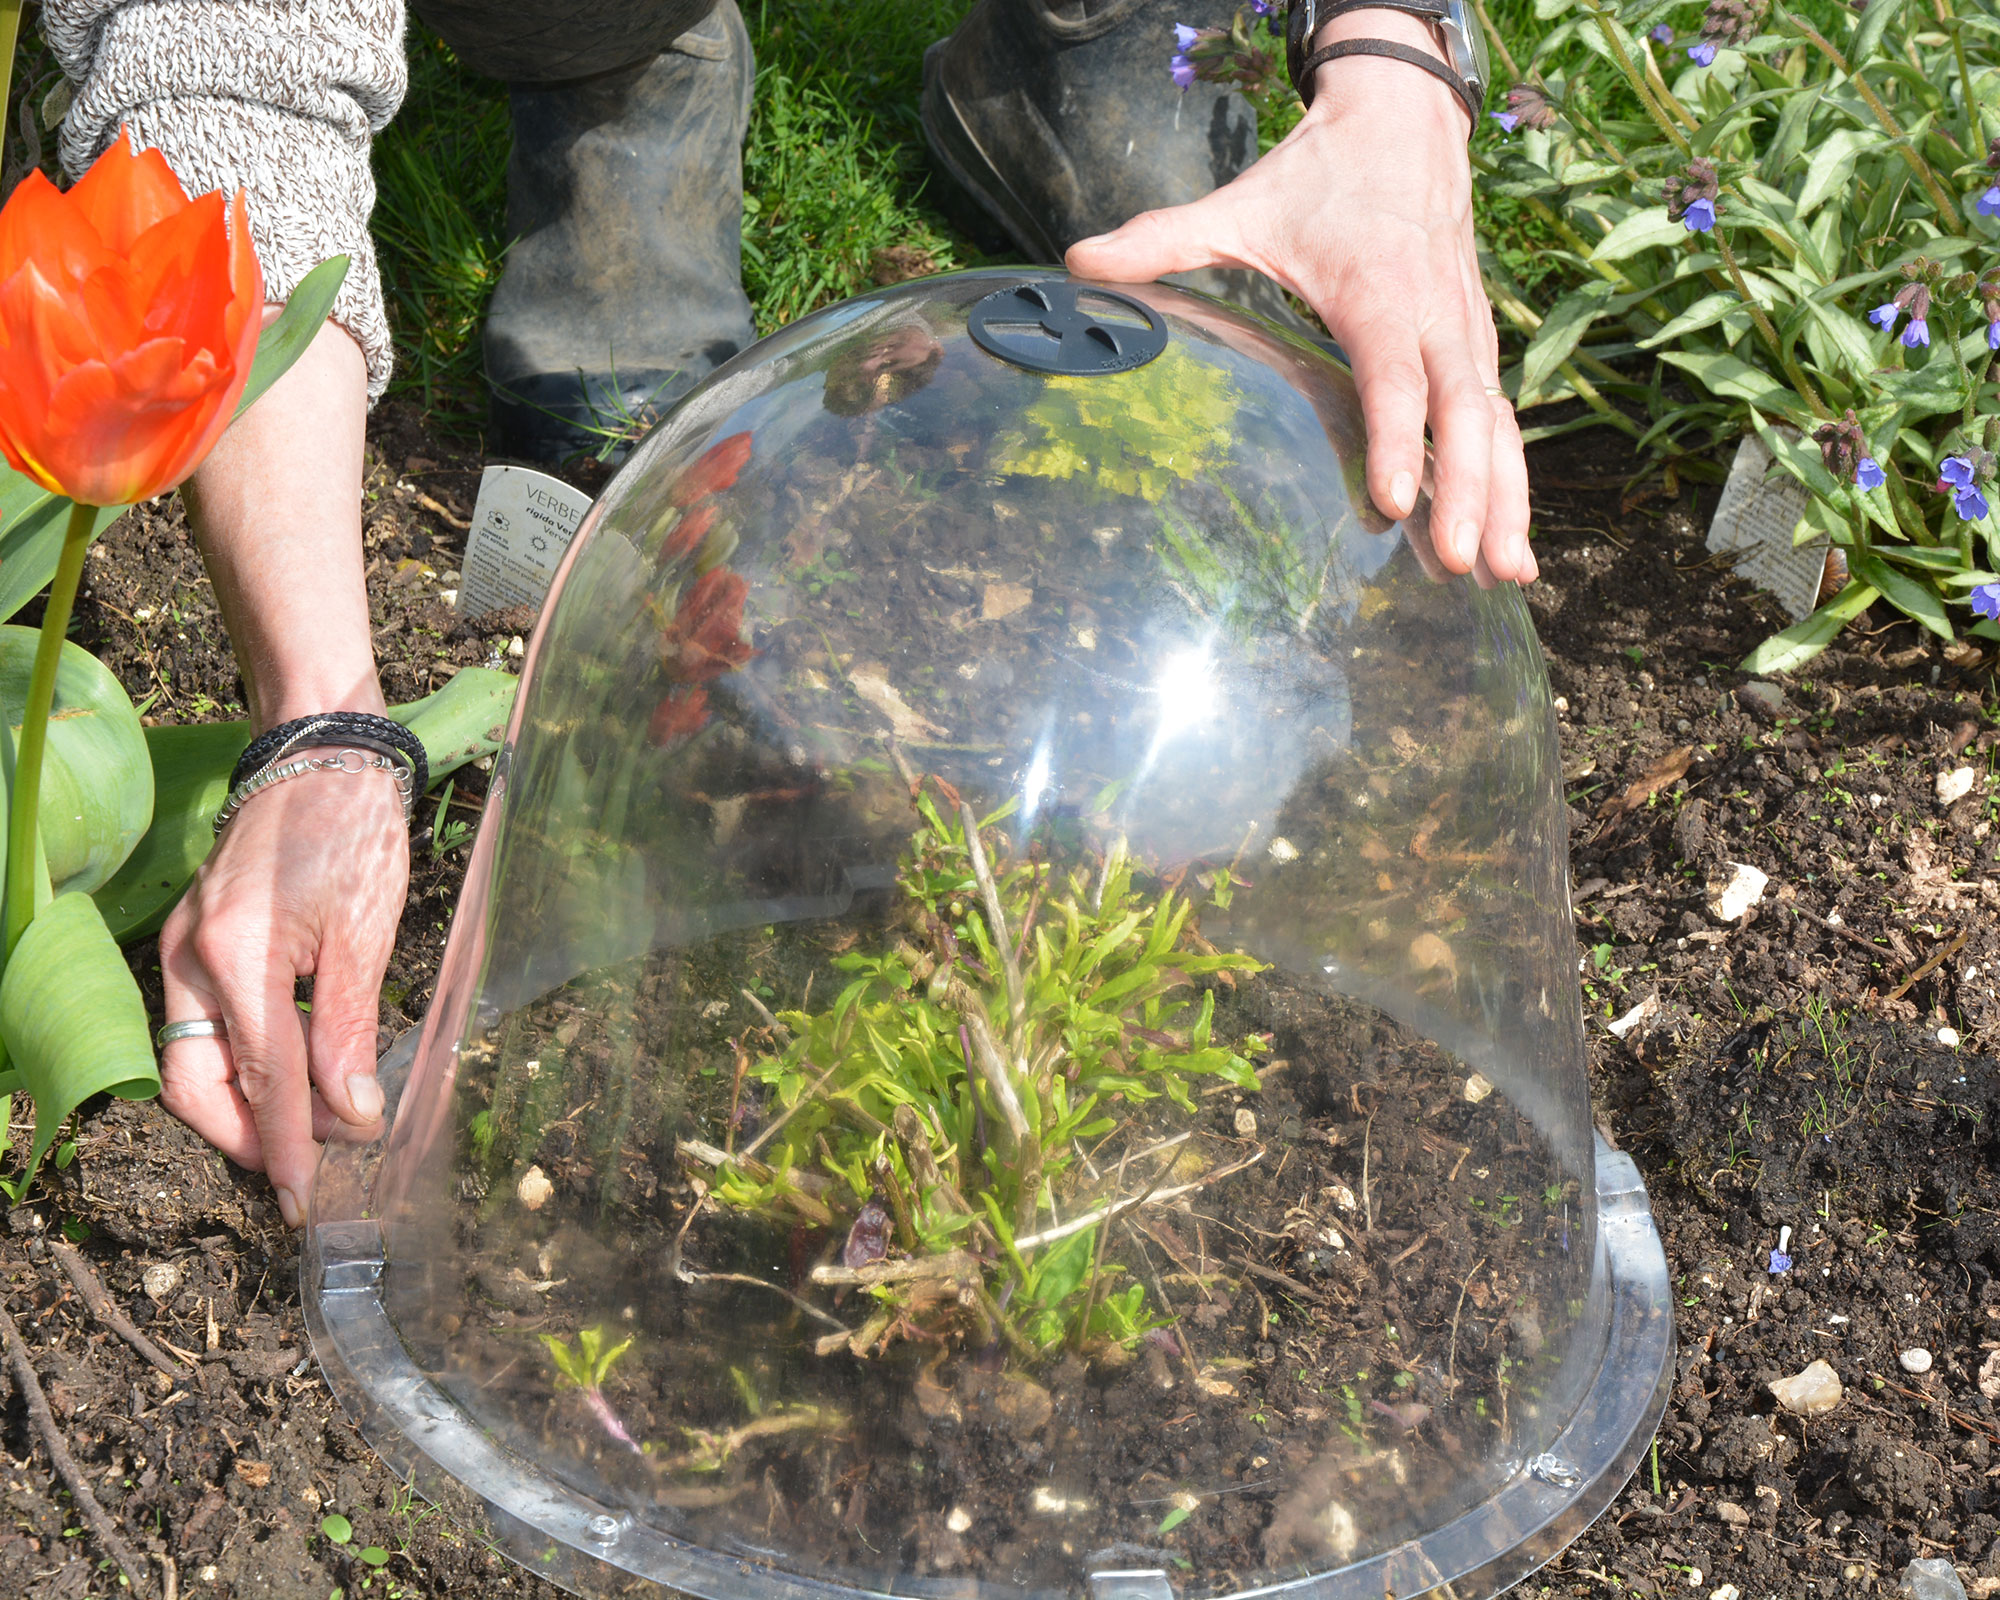
Although April should be the gateway to better weather, it can still be a temperamental month and as 2021 showed us, it can still give a freezing bite.
One of the essential April gardening jobs, especially towards the front end of the month, is to not drop your guard when it comes to protecting plants from frost.
While mature and hardy plants can withstand a spring freeze, seedlings and new cuttings as well as overwintered plants that are put outside without proper hardening off can all be killed or stunted by sub-zero temperatures.
Even plants in an unheated greenhouse can freeze on very cold nights, so always keep a roll of horticultural fleece handy to drape over vulnerable specimens.
Don't neglect recently sown seeds either. Anchoring a layer or two of garden fleece over a seedbed or raised garden bed will insulate it on very cold nights and also keep seeds safe from foraging rodents.
Top tip: Remove fleece and other protection when temperatures rise the next morning as they will trap condensation on the plants which can then attract rots and molds.
9. Give your plants some support
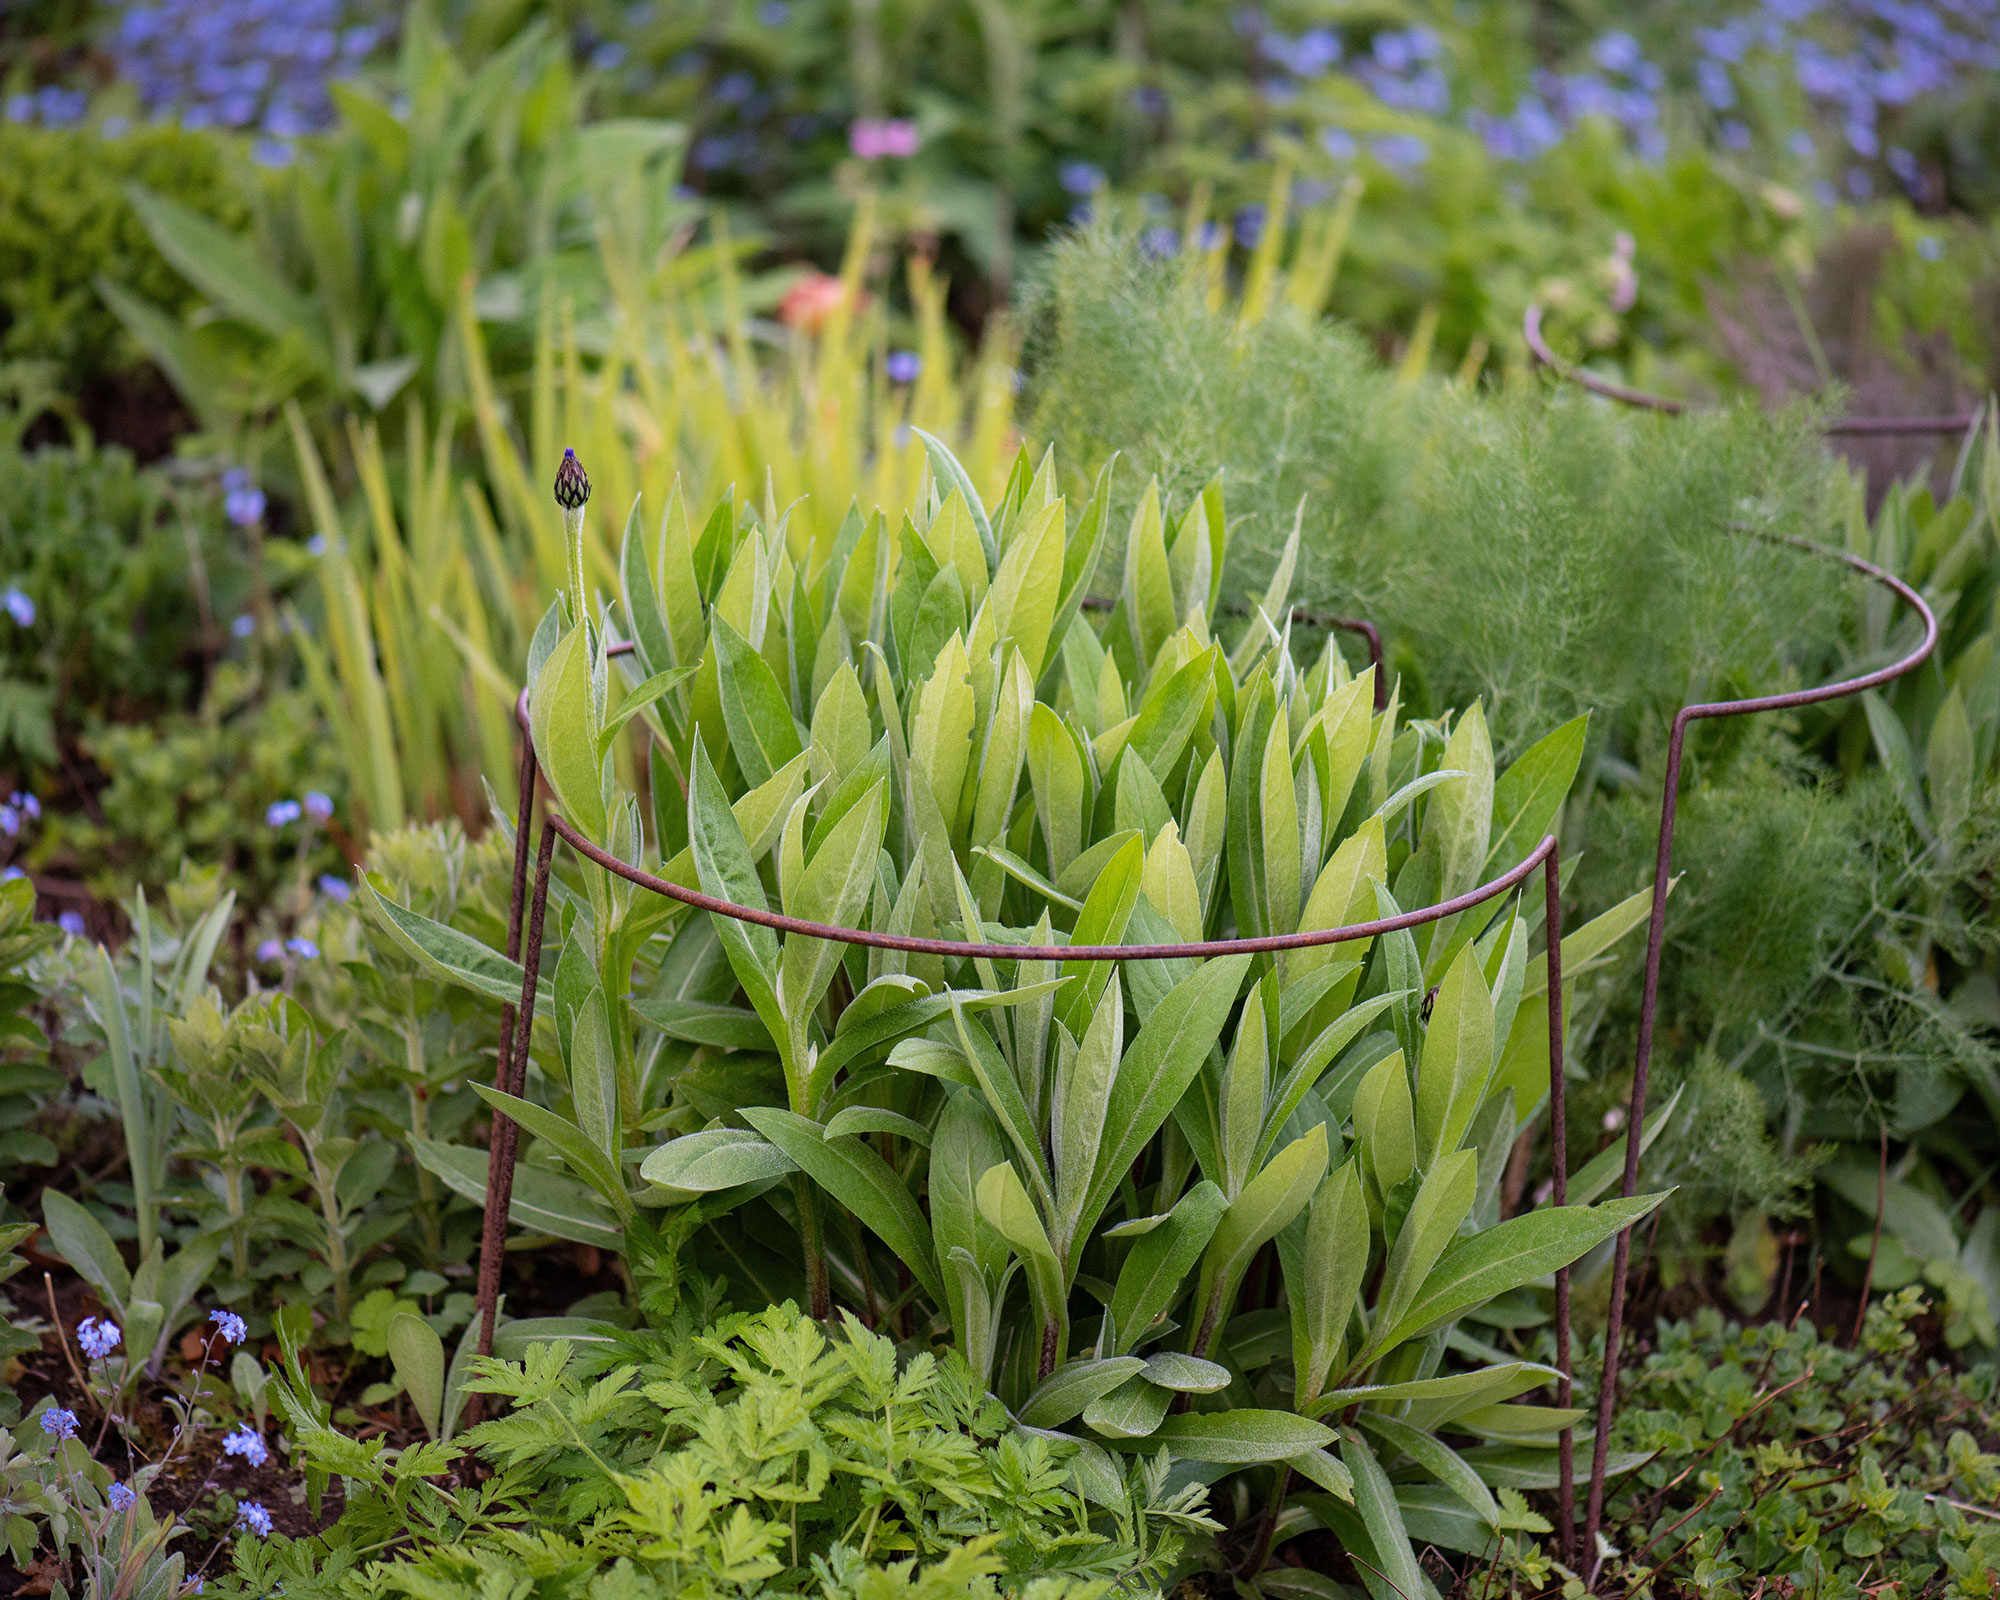
Supporting tall plants is essential to keep the garden looking attractive and also to safeguard the plants’ structure and health.
It is easier to put climbing plant support ideas in place when plants are in the early stages of growth than when they have already grown large and bushy, as you risk snapping stems and damaging leaves.
This means that an important April gardening job is to get supports in place to help plants as they grow.
There are all sorts of designs available; trellises and wigwams are ideal for annual climbers, clematis suit pergolas and arches, and simple canes can be used for single plants such as delphiniums, hollyhocks and sunflowers.
Top tip: It’s also worth keeping pruning offcuts each fall, as longer twigs make attractive natural supports for cottage garden plants and are traditionally used for shorter, sprawling crops such as peas and dwarf beans.
10. Divide and rule your perennials
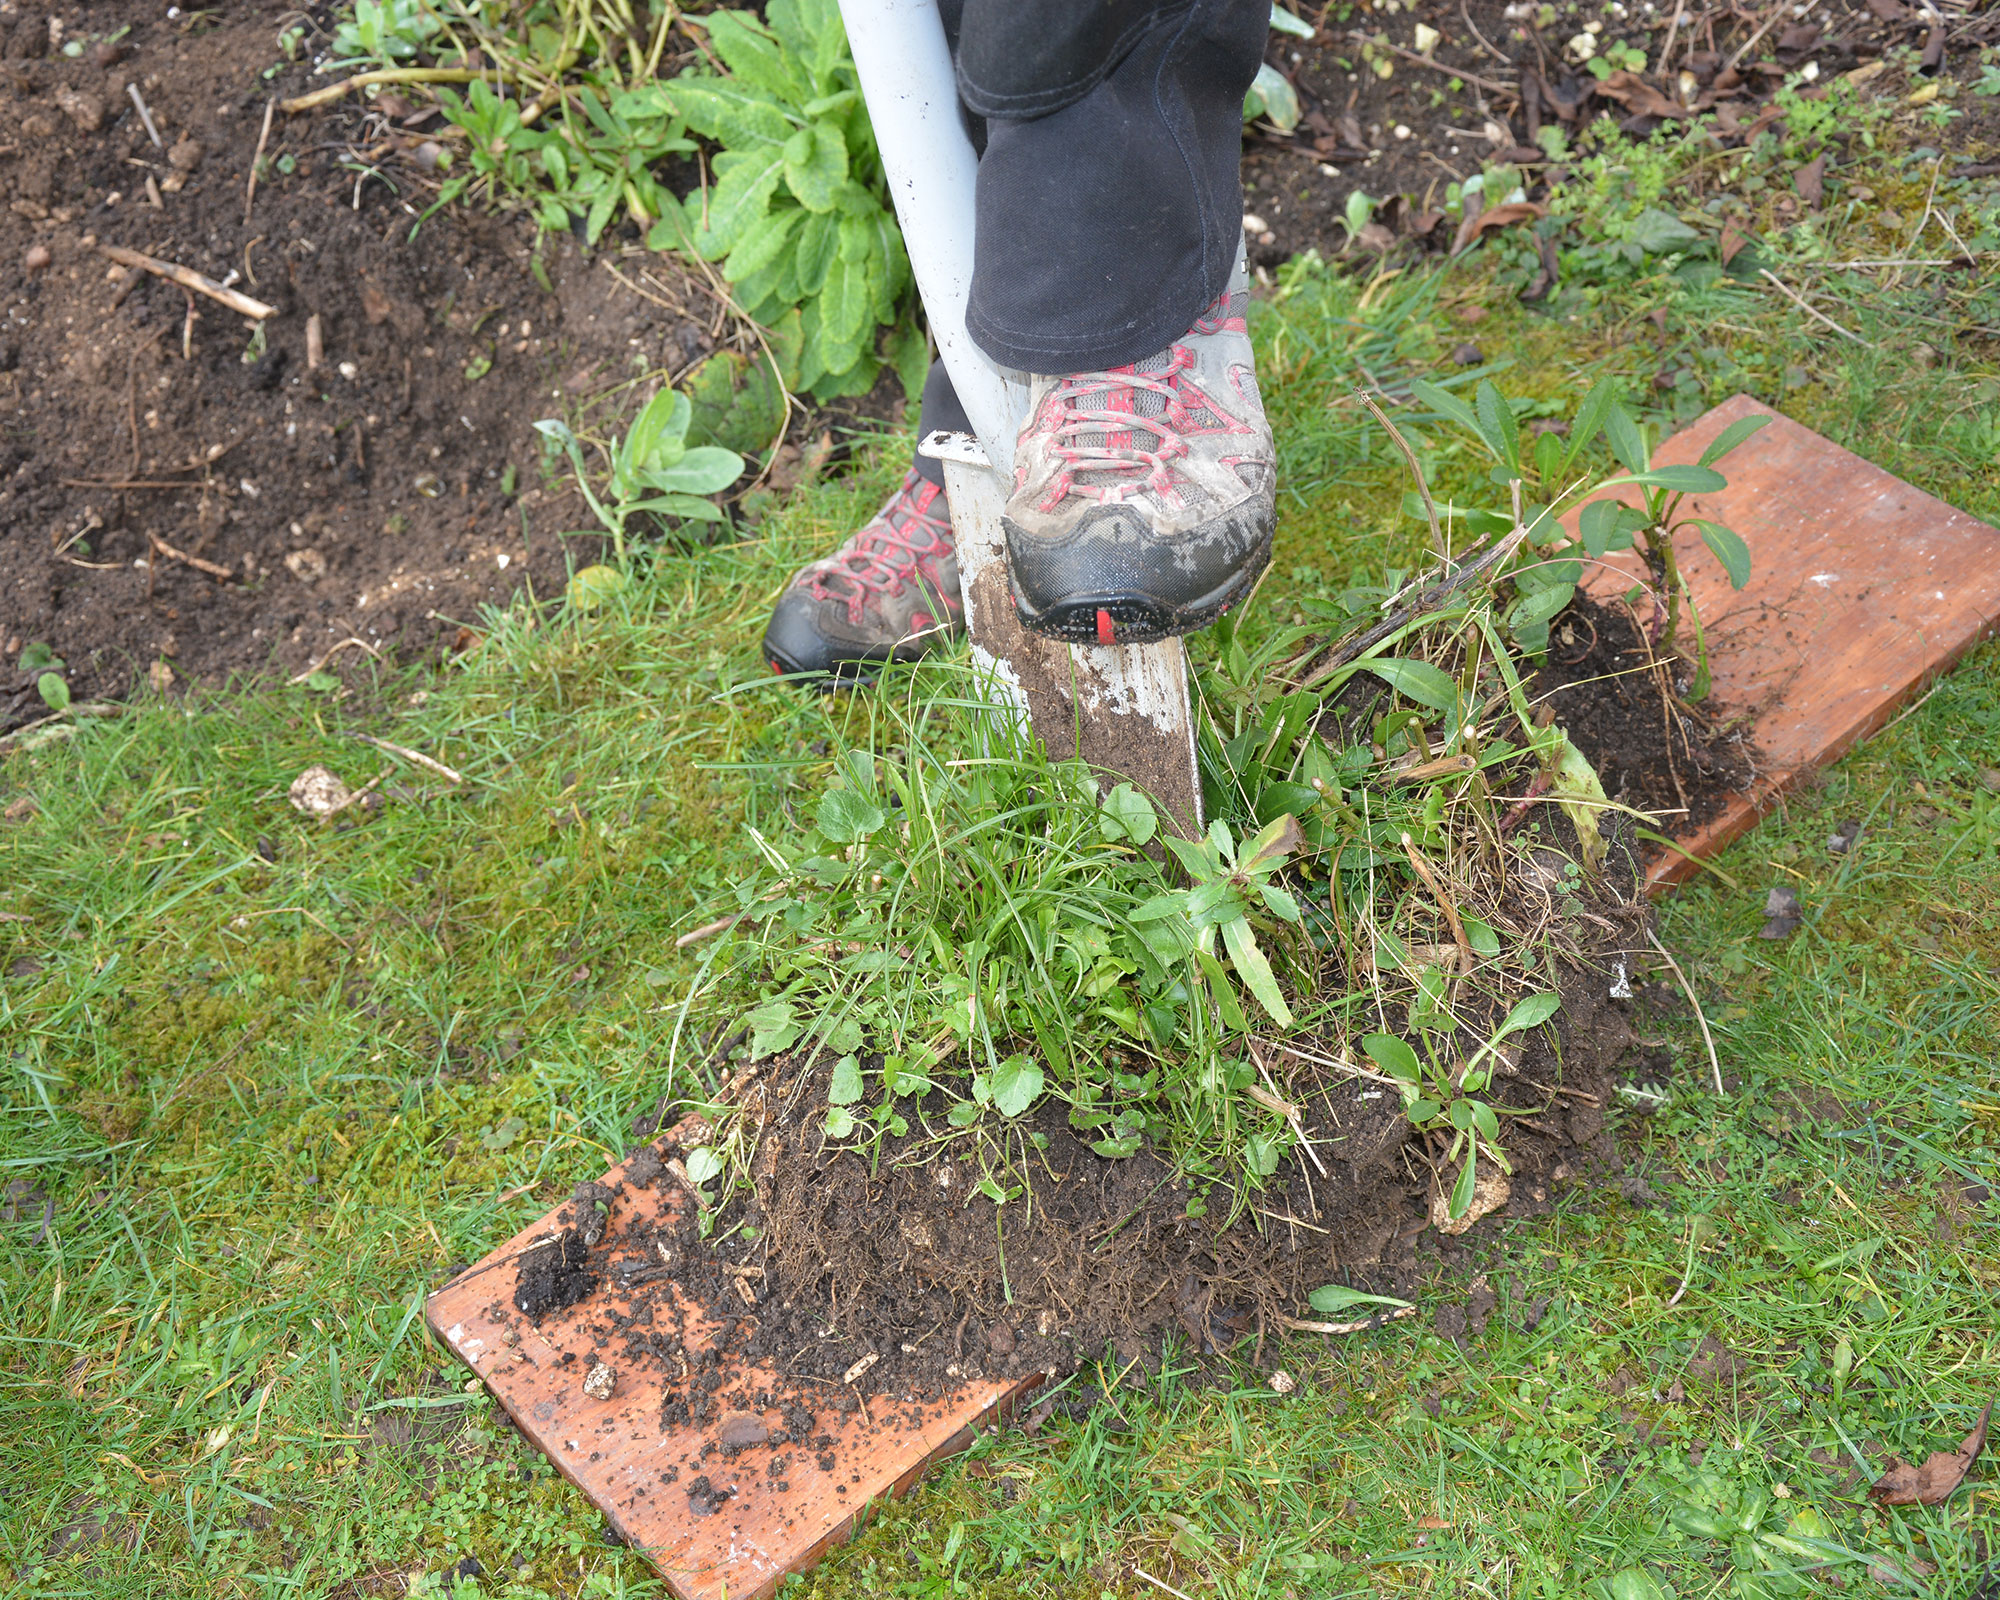
The soil is warm and damp and perennials should be growing well, so make sure that one of your April gardening jobs is dividing any that have grown leggy and unproductive or are sprawling out of their allotted space.
Dividing is an easy and satisfying task. It gives you several new plants that will flower ‘true’ to their parent’s coloring and it lets you get rid of any old, woody and unproductive plant material.
In spring, many plants also have the dreaded coarse couch grass growing through their stems and roots, so this is also a good time to learn about killing grass in flower beds.
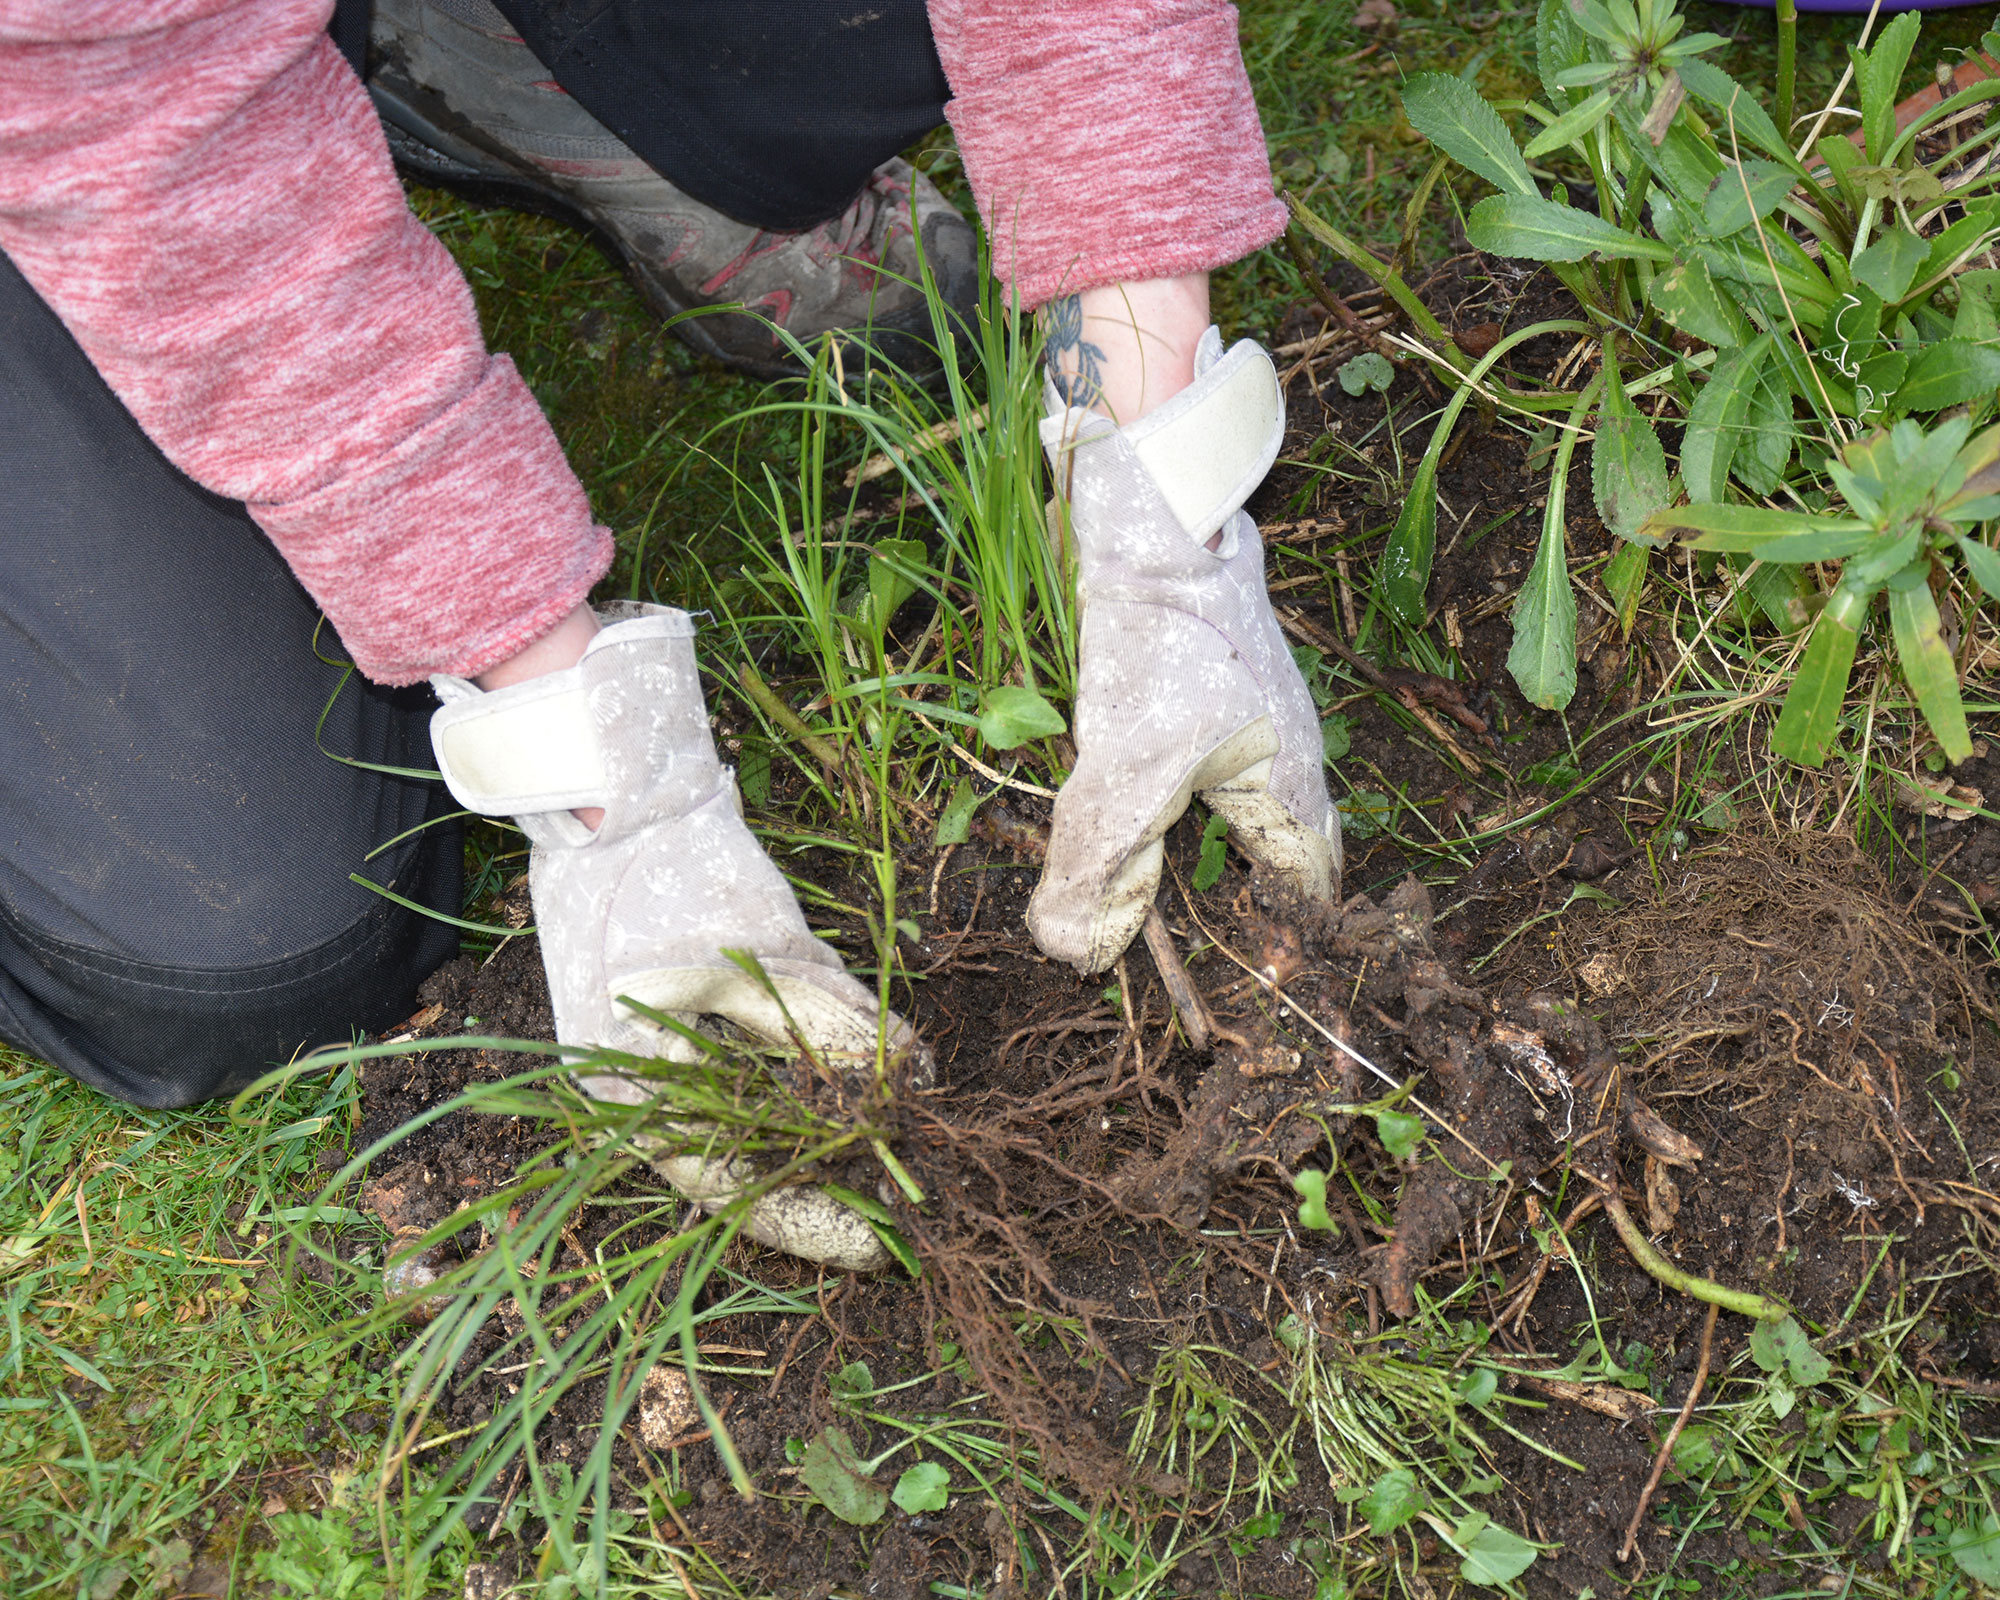
Carefully excavate your plant, keeping some soil around the roots, then tease out the grass from among the roots and top growth before replanting the perennial at the same depth as before, and watering in.
Dividing plants is equally simple, and has the benefit of creating several more of your favourite varieties and also breathing life back into old plants that may have lost their oomph and aren't flowering as well as in previous years.
Top tip: Keep newly planted divisions well watered and they will soon start to grow and should flower this summer.
Ruth is the gardening editor of Amateur Gardening magazine and spends her working days carrying out, writing about and photographing the tasks the readers should be carrying out each week, as well as testing many of the new products that arrive on the gardening market. She is horticulturally trained, with a qualification from the Royal Horticultural Society.
