Amaryllis care and growing guide: expert tips for these flamboyant festive blooms
Find out about amaryllis care to get a longer-lasting display and keep your plants going from one year to the next


Proper amaryllis care is essential for getting the best out of these bold and beautiful blooms. One of the most popular bulbs to grow indoors ahead of the festive season, the good news is that these stunning flowers (also known as hippeastrum) are easy to cultivate and quick to bloom.
Choose a good selection of these bumper-sized bulbs that will each give you several flowers. Plant a few bulbs in a large pot rather than singly and these arrangements will be sure to take centerstage in your festive indoor display.
If you need any further convincing about why amaryllis are so popular, then how about the fact that the US National Garden Bureau has chosen amaryllis as the Bulb of the Year for 2023? In terms of finding the best Christmas plants, they're hard to beat.
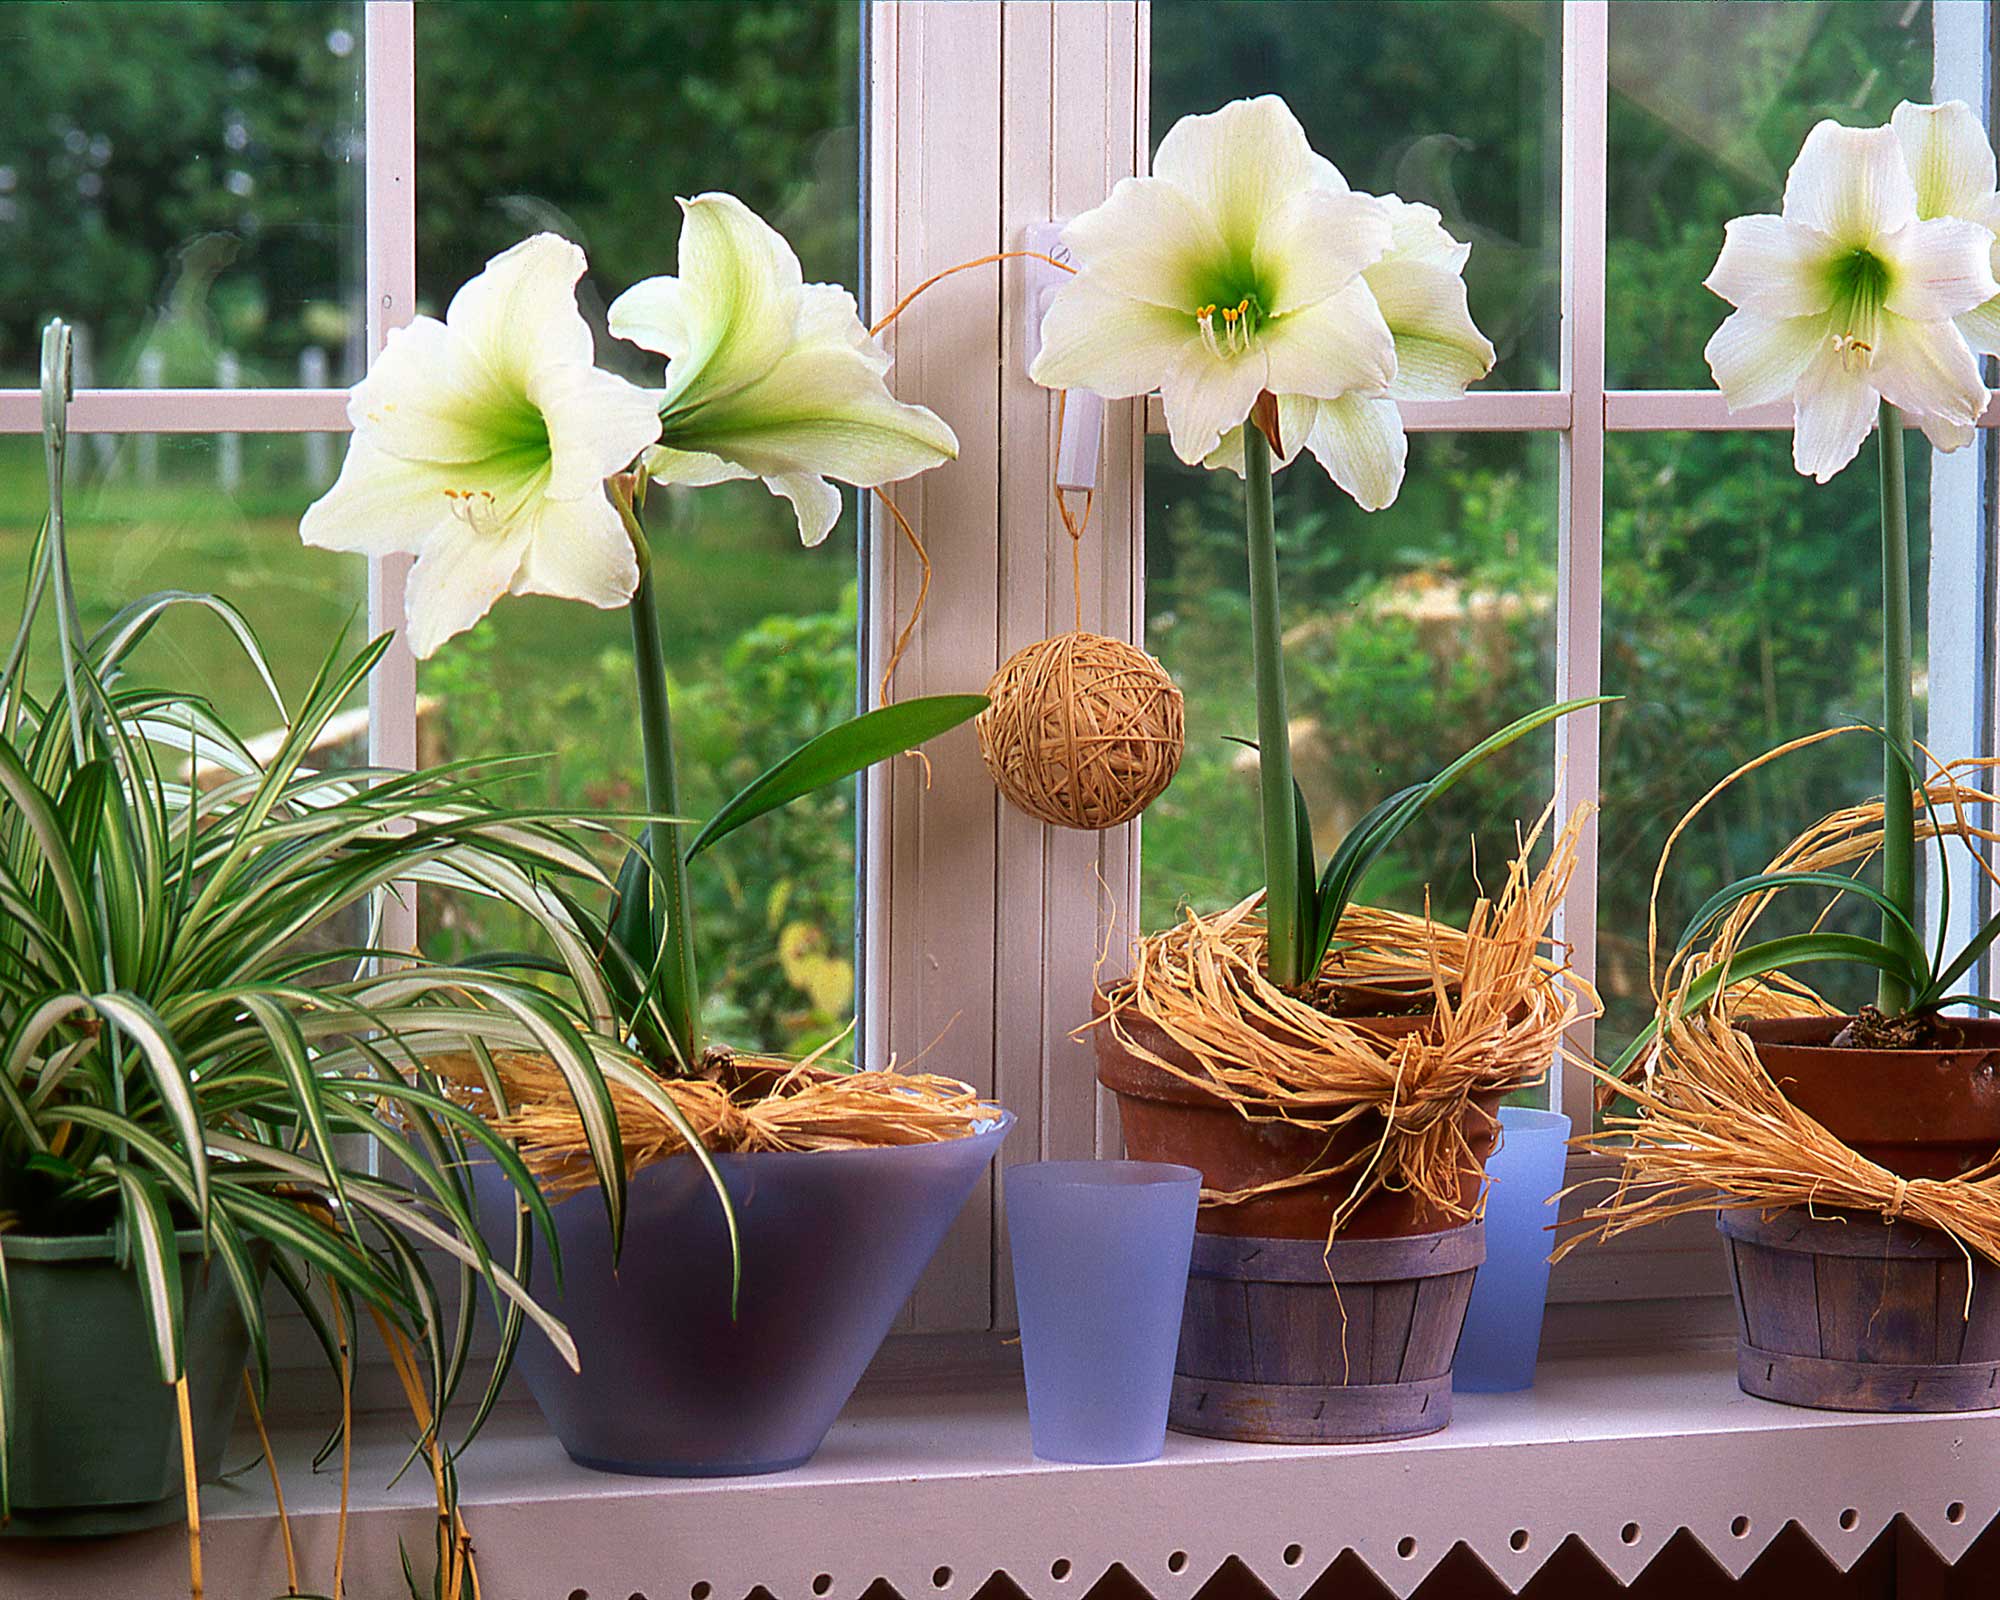
Amaryllis come in a range of colors, most often red and white
How to grow amaryllis bulbs in 3 simple steps
Although you can arrange a few stems of amaryllis flowers in a vase, the usual way to display them in the house is planted up in a pot to create a wonderful Christmas feature.
'We love to see amaryllis displayed in a pot,' says Larry Walshe, Founder of the florists Bloom. 'They are regularly associated with Christmas because when grown as a houseplant, they bloom in November and December. Their large trumpet-shaped flowers make them a wonderful addition to any interior, injecting a huge burst of joy and color.'
Patty Willems of sustainable pot company Elho is a big fan, too: 'To inject your space with a splash of color this fall, opt for amaryllis,' she says.
Follow our amaryllis care advice and you'll soon see why they're considered one of the best indoor plants at this time of year.
1. Prep the amaryllis bulbs before you plant
Before planting your bulbs, you need to prep them properly. 'Place the bulb with its base and roots in lukewarm water for several hours,' says leading Dutch amaryllis experts W.S.Warmenhoven. 'If you cannot plant the bulb immediately after purchase, keep it in a cool place at about 9°C [48°F].'
Soaking the bulbs like this is an essential step as it helps to rehydrate the roots and speed up the growth process. 'The easiest way to do this is to rest the base of the bulb on the rim of an appropriately-sized jam jar so that all the roots can sit in the water below,' says plant expert Sarah Raven, who is another fan of amaryllis.
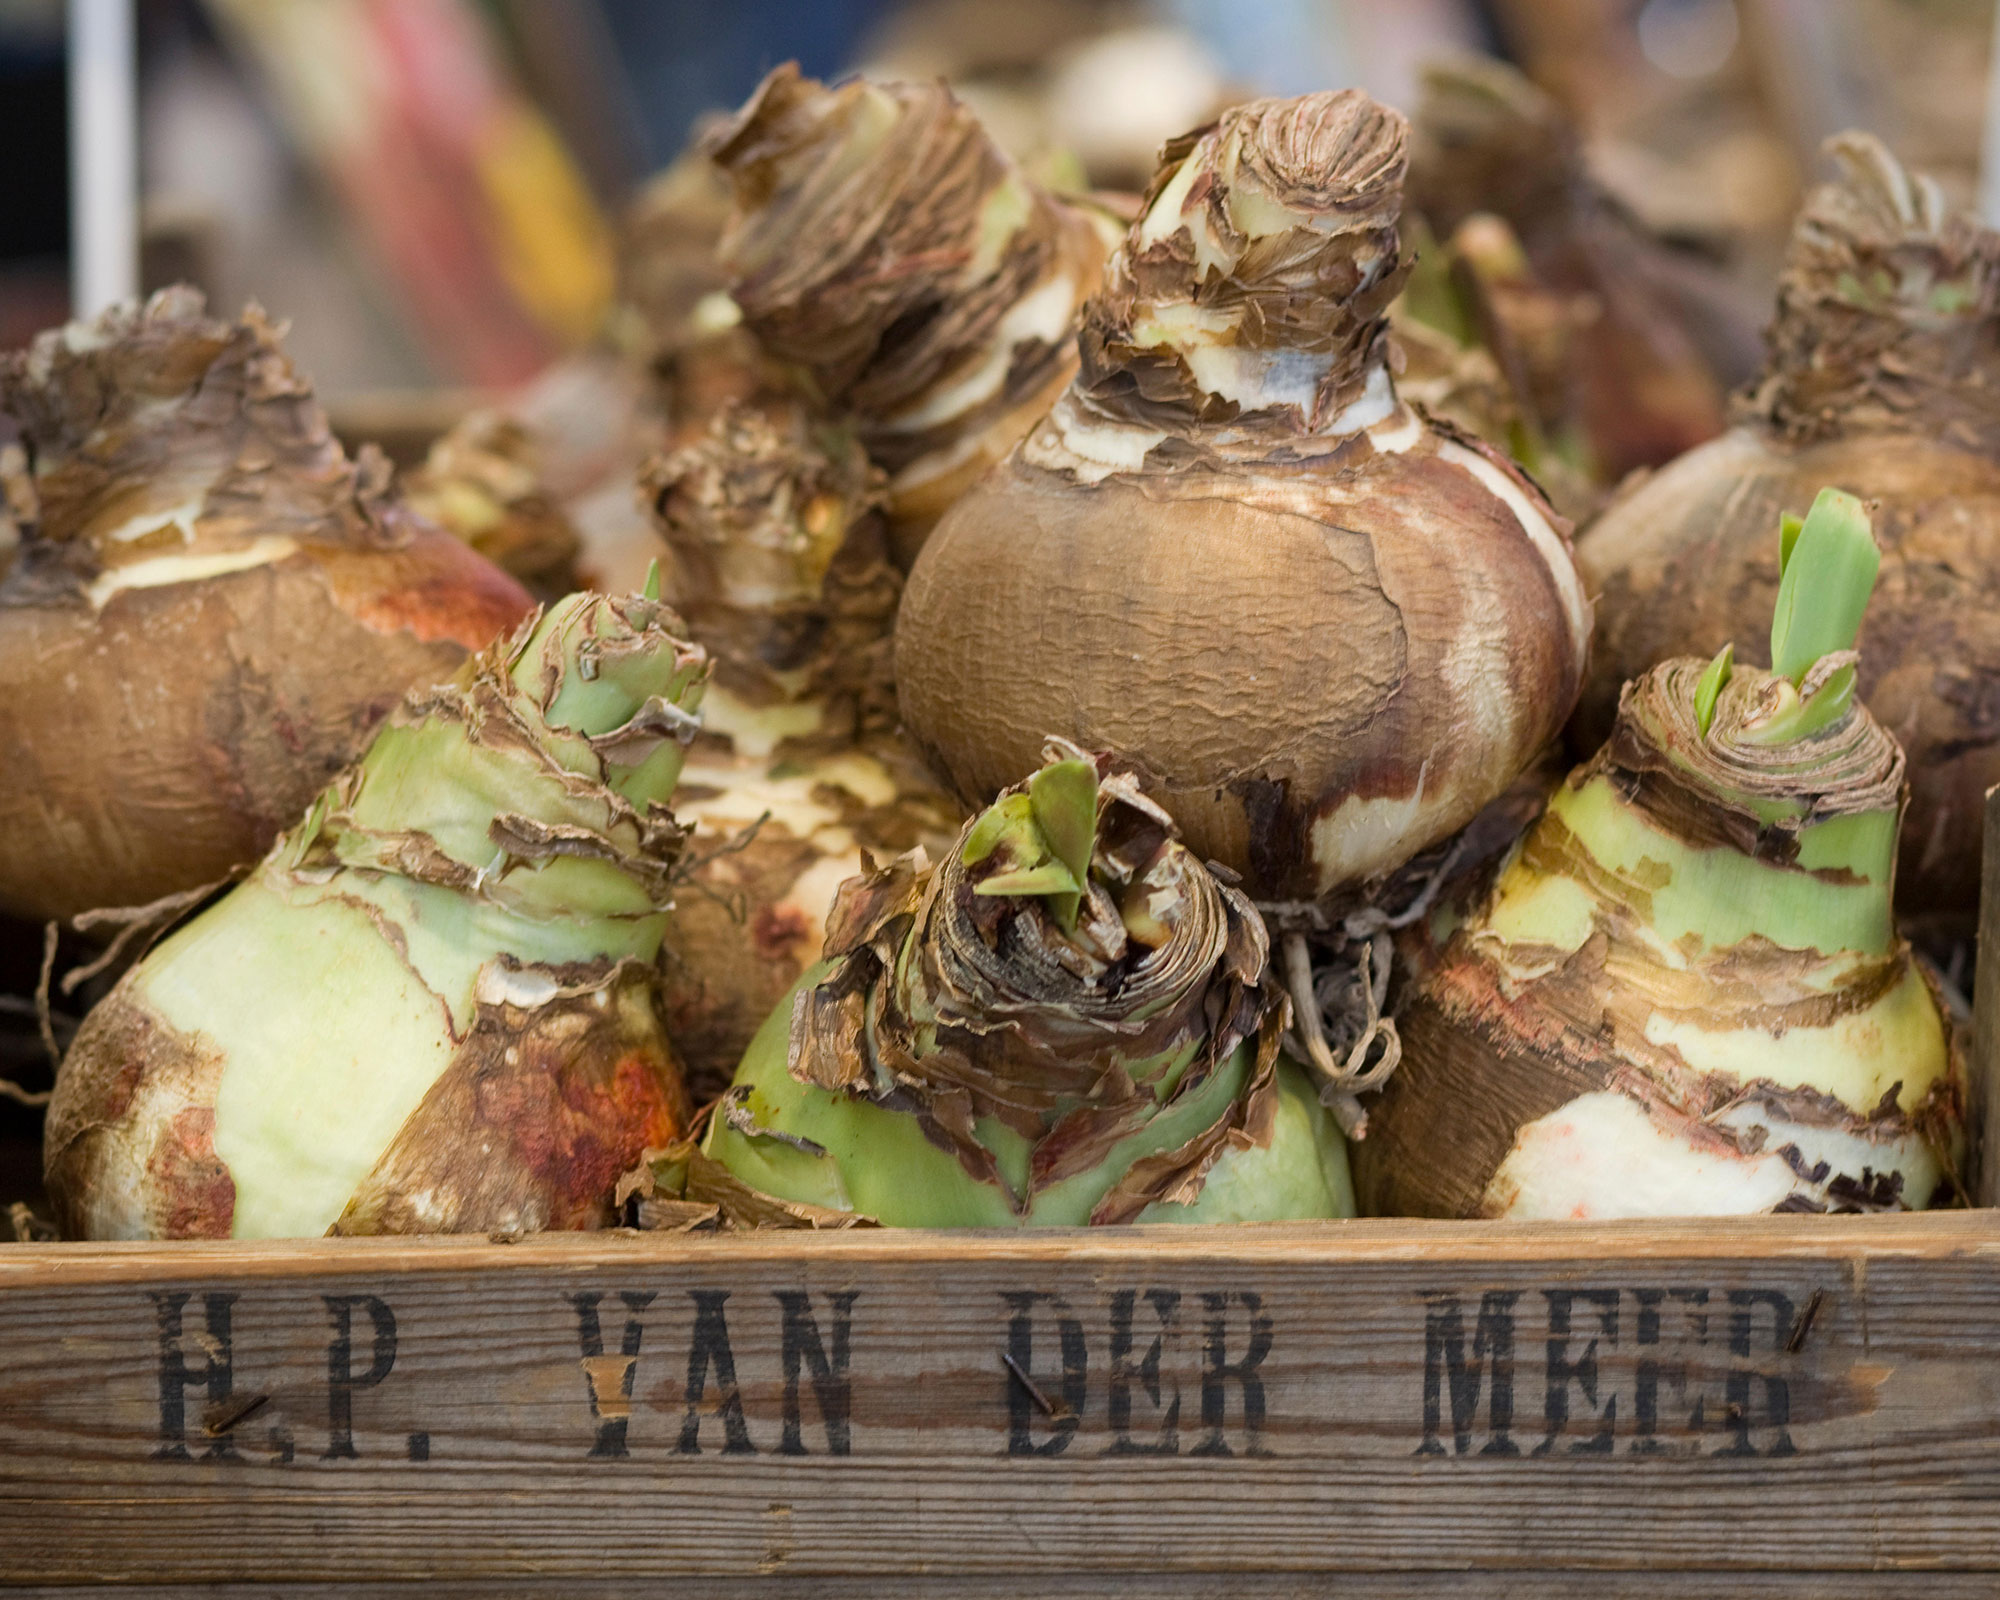
Store amaryllis bulbs in a cool place ahead of planting them
2. Plant the amaryllis bulbs
Plant amaryllis bulbs together in a pot so they fit into it snugly, as they thrive in cramped conditions. 'Select a tight-fitting pot, with about 1in (2.5cm) between the bulb and the side of the pot. The size of the pot will depend on the bulb, but make sure the depth is at least 1ft (30cm) to allow room for good root growth,' says Sarah Raven.
Add a little soil to the pot and set each bulb on top of it then add more soil so that the top inch of the bulb is still visible above the surface. 'Amaryllis need rich and well-drained soil,' says Sarah. 'Create a mix from one part well-rotted manure, one part horticultural grit or sand, and two parts leaf mold. Two parts compost mixed with one part grit also works. Amaryllis have a tendency to rot, so good drainage is vital.'
Water lightly and place the pot in a warm bright room, and a stem with a bud will soon appear.
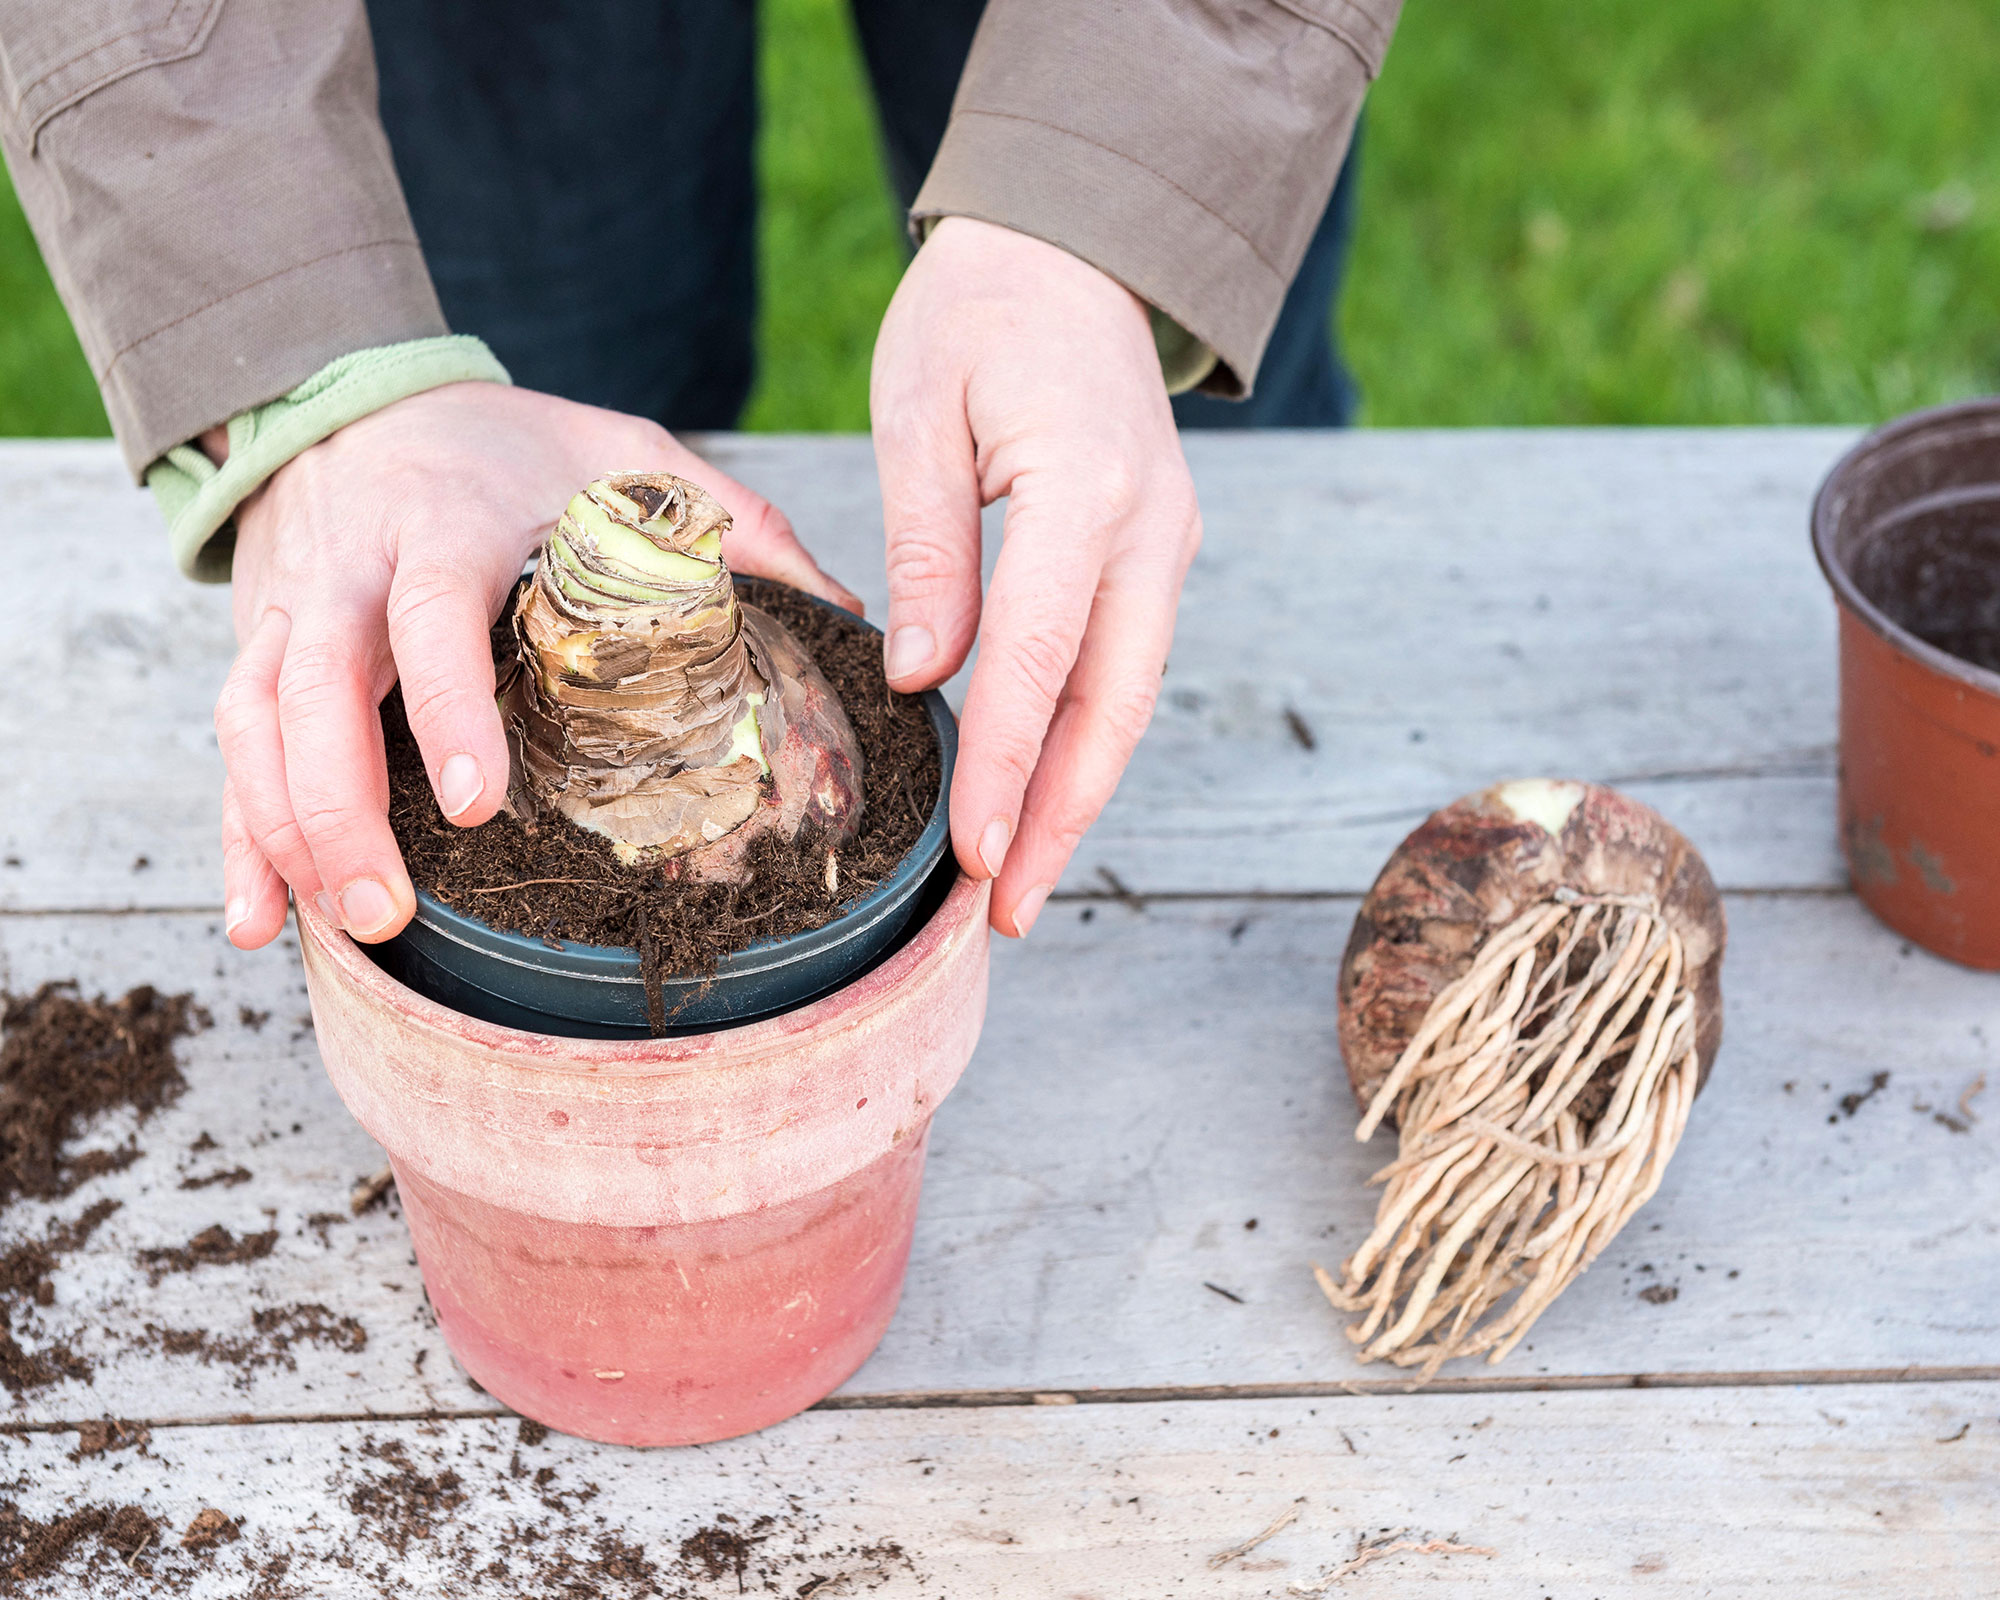
Amaryllis bulbs like a snug fit in a pot
3. Care for your amaryllis to help it grow
For amaryllis care indoors, you'll need to provide the right amount of light, warmth, and water at the right times.
Ideally, grow your amaryllis in a warm place, as heat is essential for the development of the stems. A normal room temperature of 68°F/20°C is ideal. Amaryllis need lots of light to flower, but it’s important to keep them out of harsh direct sunlight. They will thrive in a room with indirect bright light.
You don't need to water the plant excessively. The usual recommended growing advice is to pot amaryllis in the fall, then keep the compost moist during flowering and growth (autumn through to early/mid-summer), says Amateur Gardening expert John Negus. 'They will benefit from liquid feeding while the leaves are growing.'
You will need to support your amaryllis, too. 'They have hollow stems and owing to their large flower heads, can easily collapse on themselves,' says Larry Walshe. 'To avoid this and ensure you get the maximum enjoyment from your blooms, we advise adding a supporting cane adjacent to the stem.'
When your amaryllis starts to flower, you need to keep the bulbs growing well, so supply them with enough water and feed occasionally, says John.
Our guides on cyclamen plant care, how to care for a poinsettia and how to grow a Christmas cactus will help you keep the other flowers in your festive houseplant collection going strong right through the Christmas season.
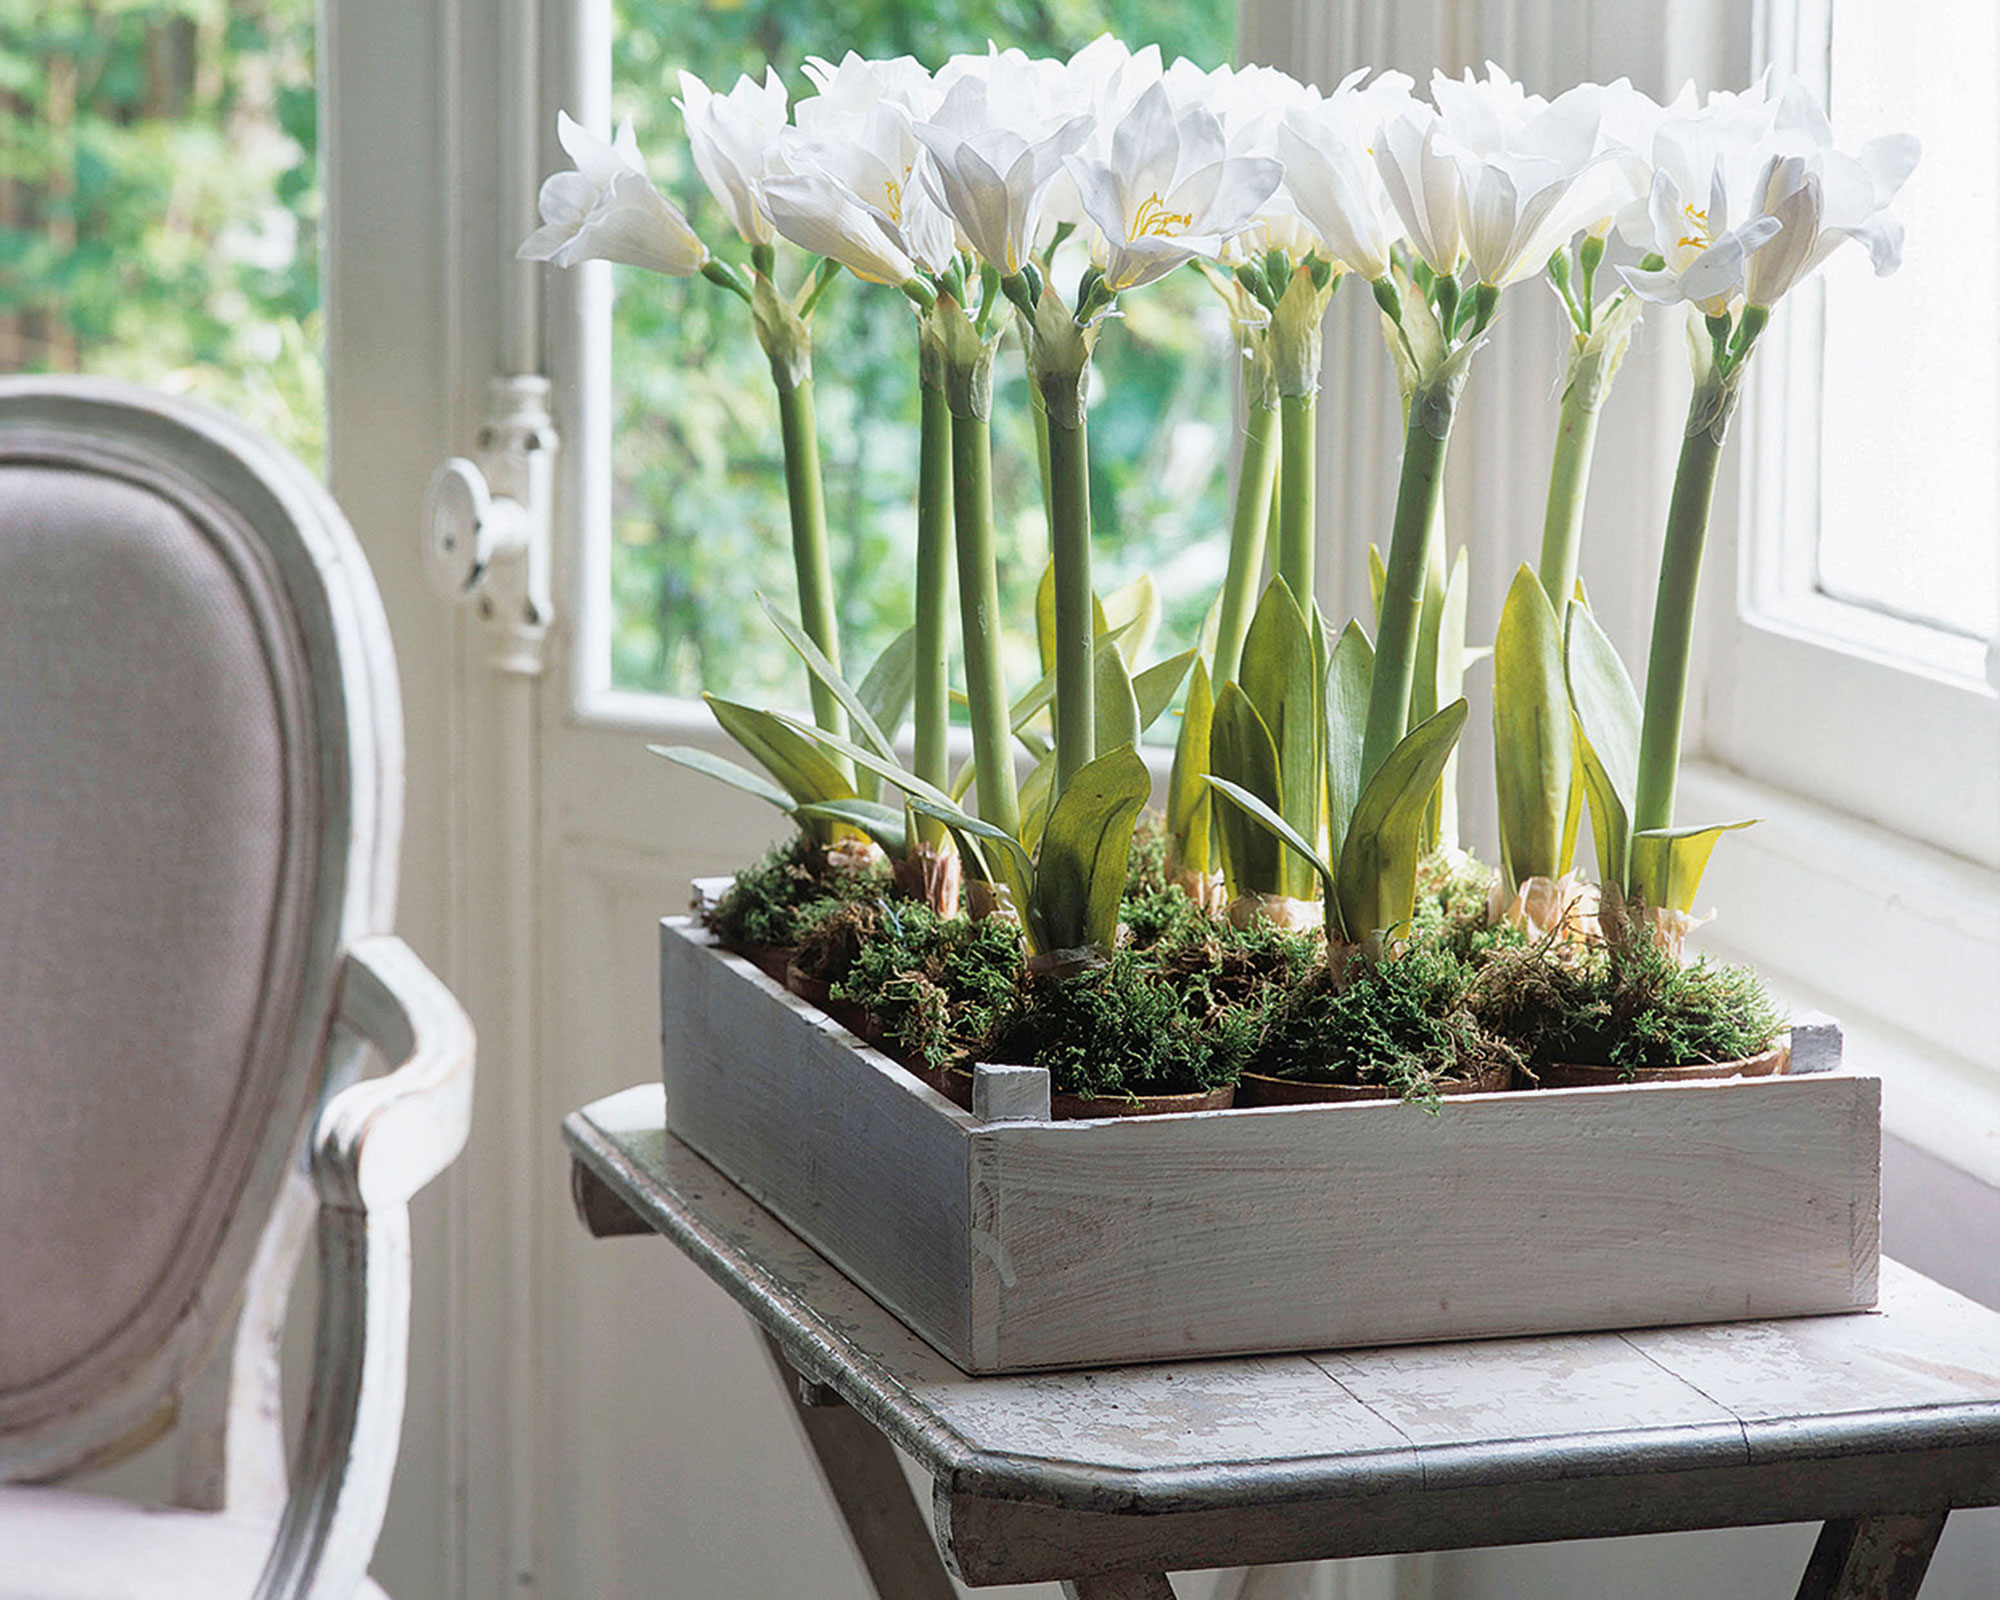
Amaryllis flowers thrive in bright light but not in direct sunlight
What should you do with amaryllis bulbs after they've finished blooming?
When the bulbs have stopped flowering, don't throw them away. With a little TLC, they can be made to flower again next year, similar to how you make a Christmas cactus bloom.
'After flowering, cut the stems and allow the leaves to develop further,' says W.S.Warmenhoven. 'Water regularly and add some pot-plant fertilizer to the water (tomato food works well).' You can move them outdoors or into a greenhouse during this time, says the Amateur Gardening experts, 'making sure they are sheltered and shaded from scorching sunshine and watered regularly. Watch for pests.'
In early fall, you can move the plants to somewhere with good lighting and cooler temperatures of around 55°F (13°C) for 8-10 weeks, they continue. 'Stop feeding and reduce watering.'
After this dormant period, cut back the remaining, old leaves to 4in (10cm) from the neck of the bulb. Then, replace the top 1-2in (2.5-5cm) of compost with fresh, and restart the plant as though it were a new bulb, they advise.
John Negus agrees that top-dressing with a new compost in fall is a good idea, and adds: 'Amaryllis often flower better when pot-bound and shouldn’t be repotted every year.'
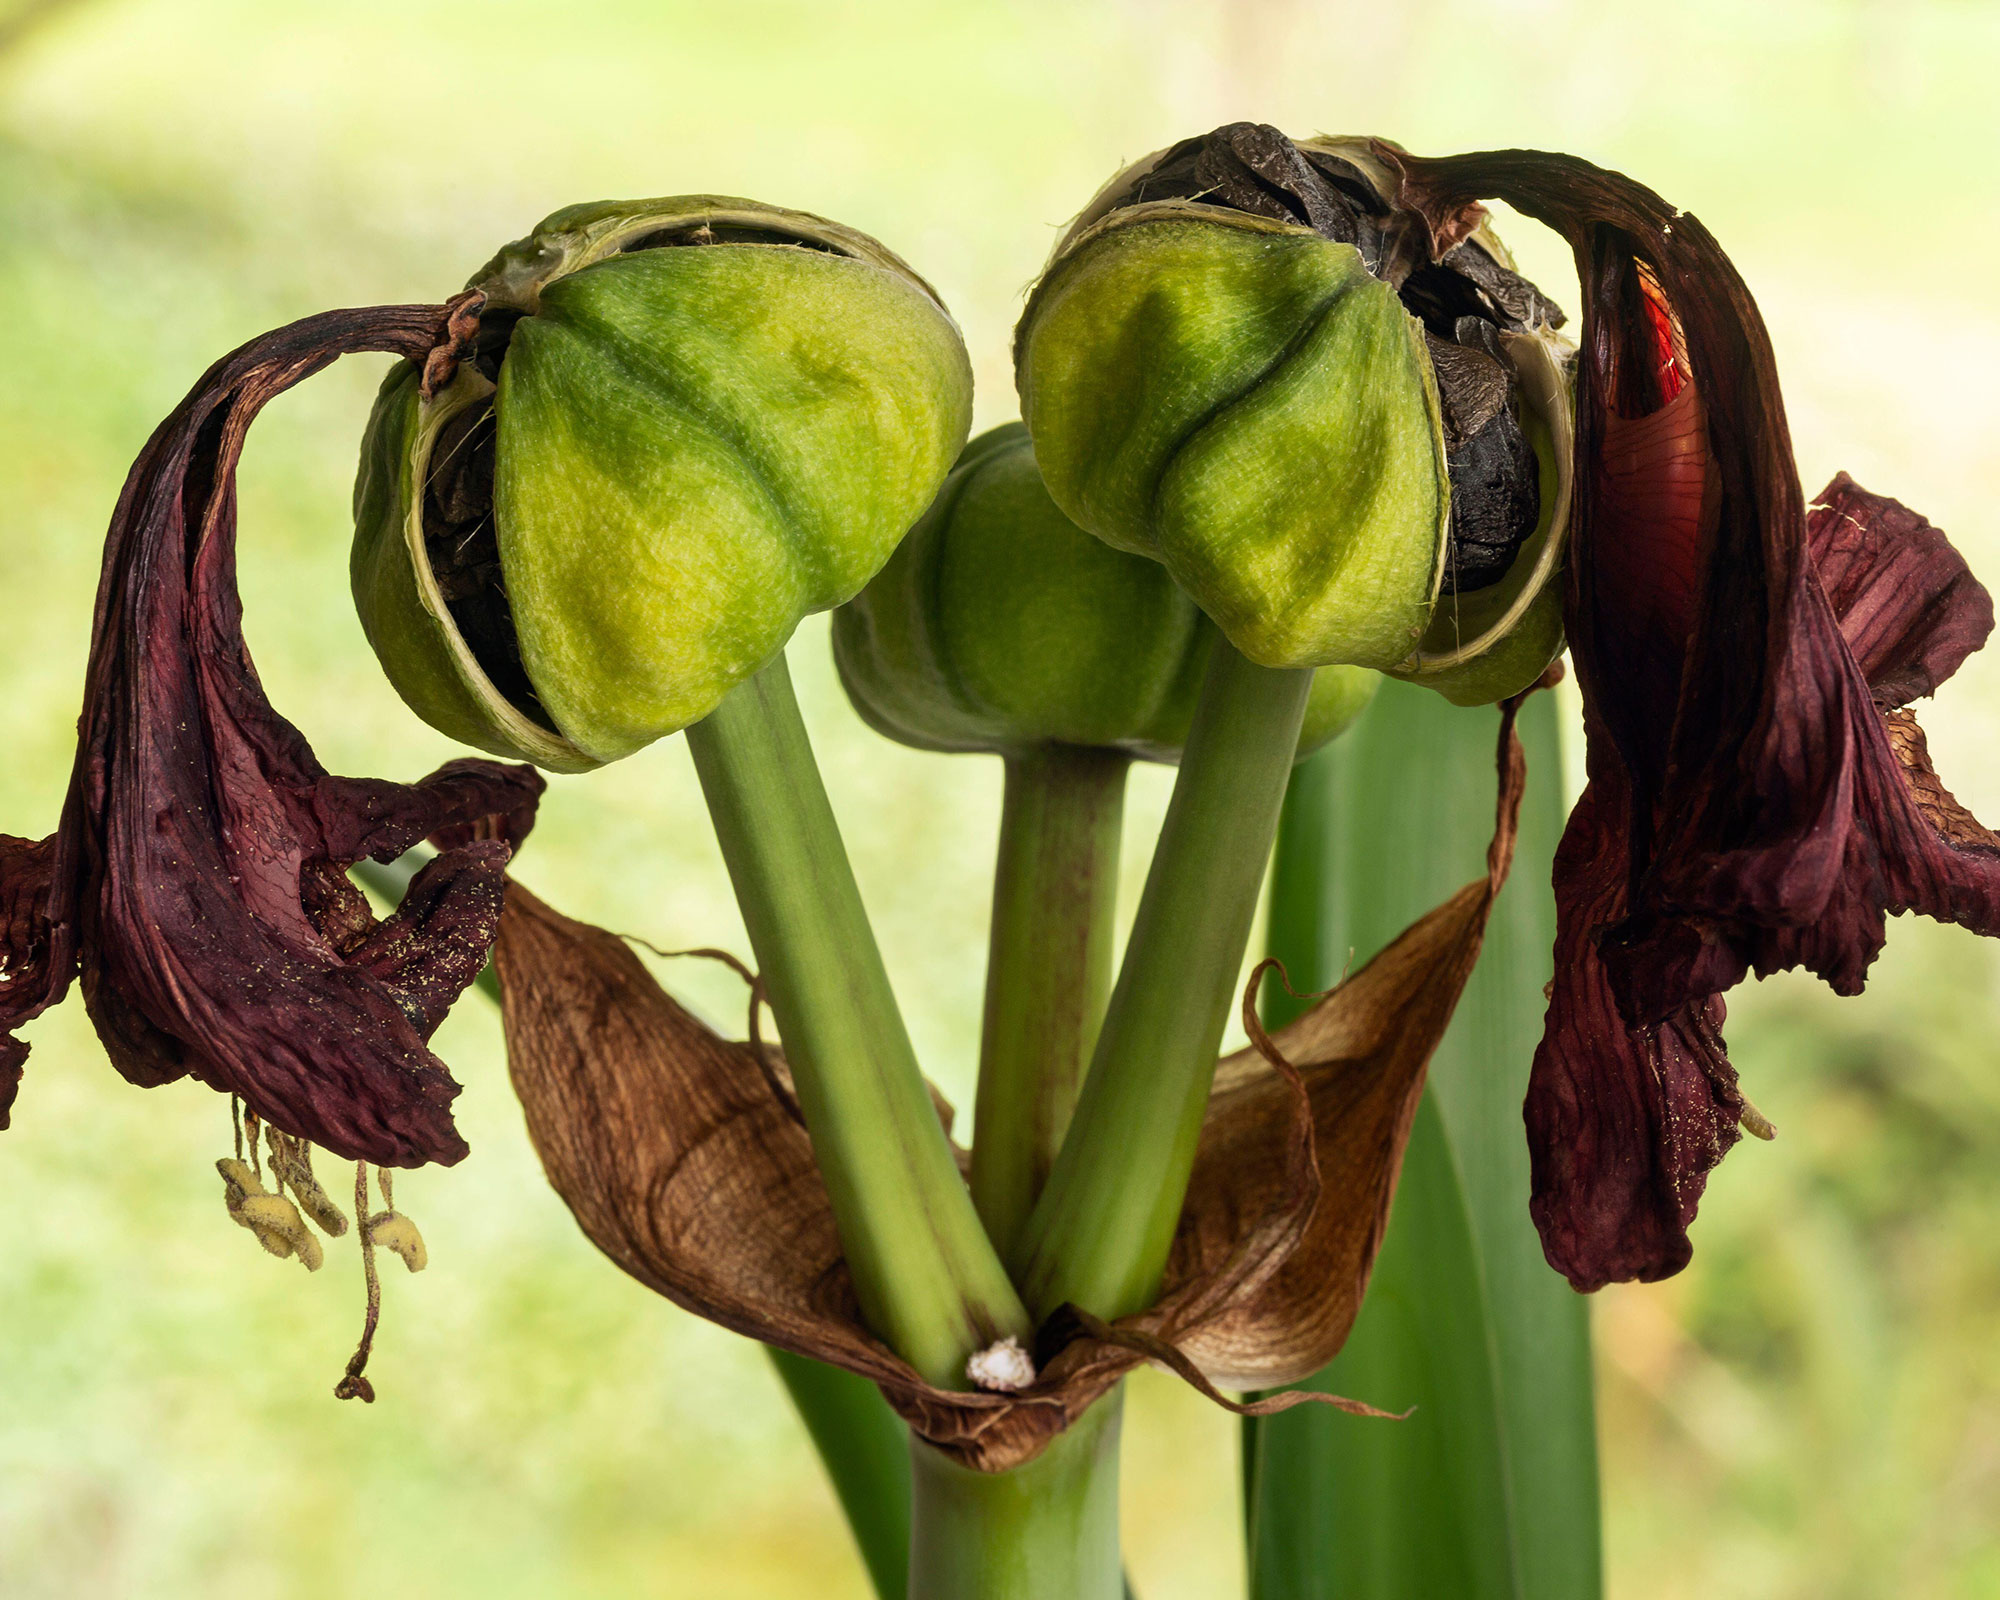
Snip off faded flowers but keep amaryllis bulbs for next year
What should you do if your amaryllis produces a baby shoot?
This is a happy event, as it means you can get free plants and that can only ever be a good thing. 'Detach the shoot from the parent plant,' says John Negus. 'Carefully tap the larger plant from its pot, and cut away the young shoot using a sharp knife. Reset it in loam-based ericaceous compost, and feed it fortnightly with high-potash liquid tomato feed [available on Amazon].' John then suggests watering it freely to keep the leaves green. The parent plant can be returned to its pot.
'Propagation by offsets will produce a flowering bulb in three to four years, which will be identical to the parent plant,' says the RHS.
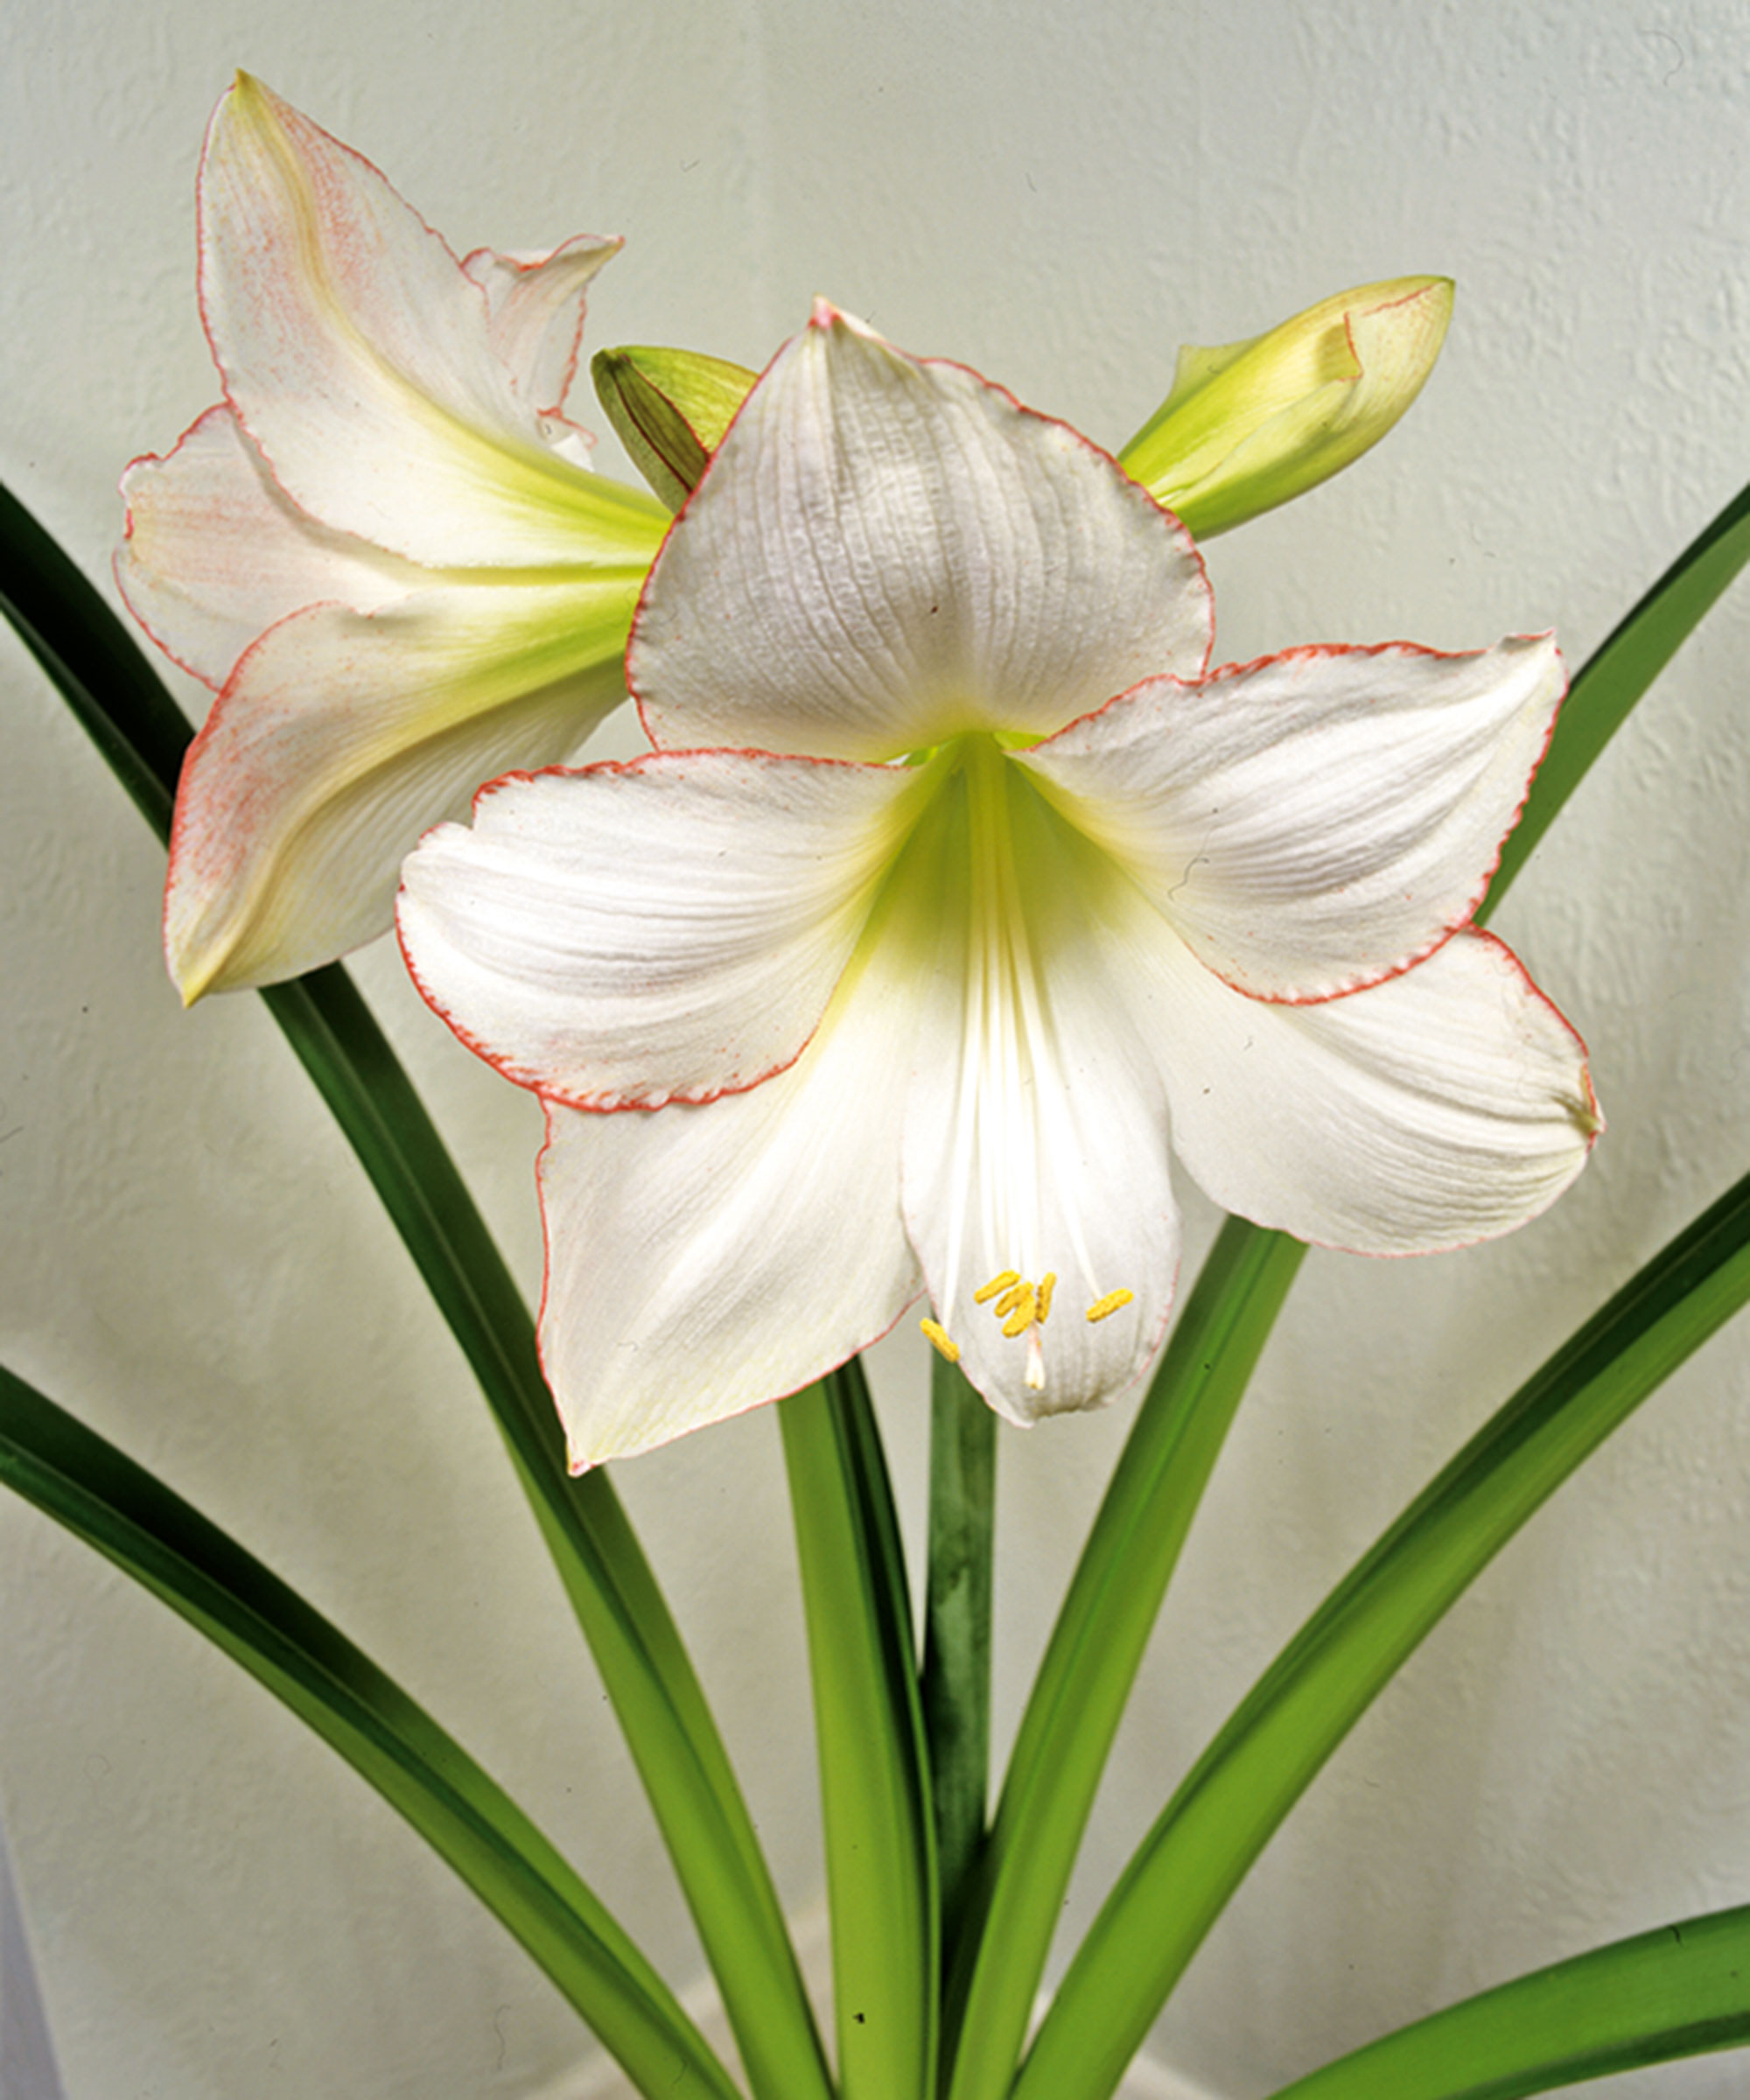
Amaryllis have beautiful blooms

Lifestyle journalist Sarah Wilson has been writing about gardens since 2015. She's written for Gardeningetc.com, Livingetc, Homes & Gardens, Easy Gardens and Modern Gardens magazines. Having studied introductory garden and landscape design, she is currently putting the skills learned to good use in her own space where the dream is establishing a cutting garden.
